
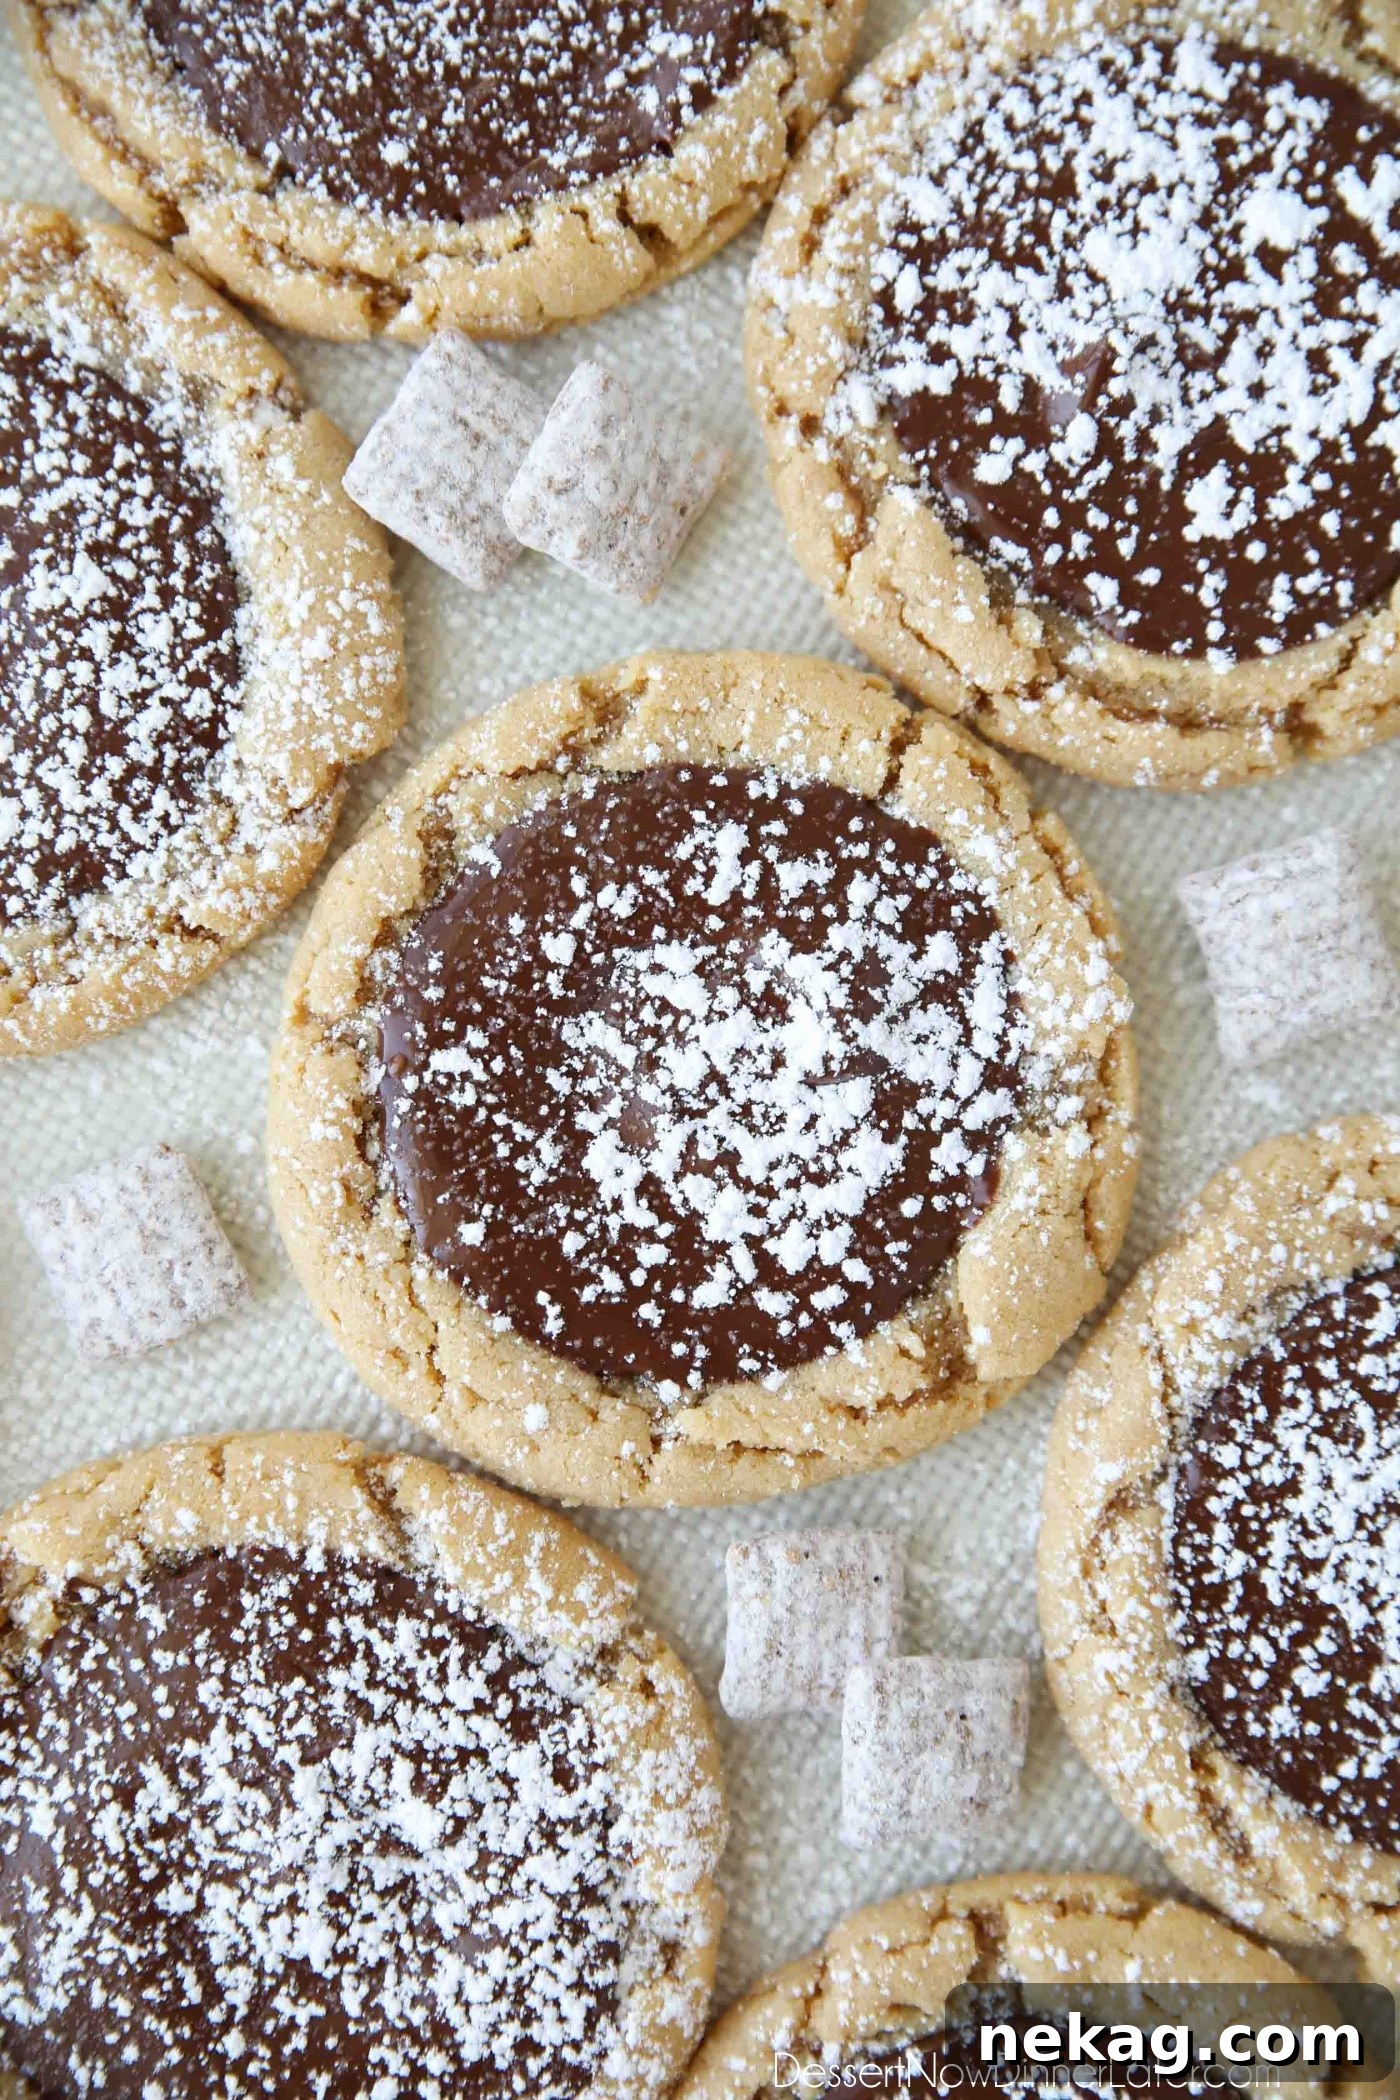
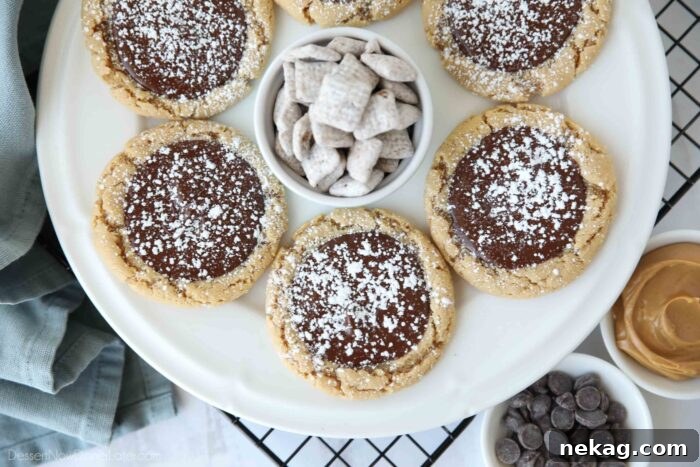
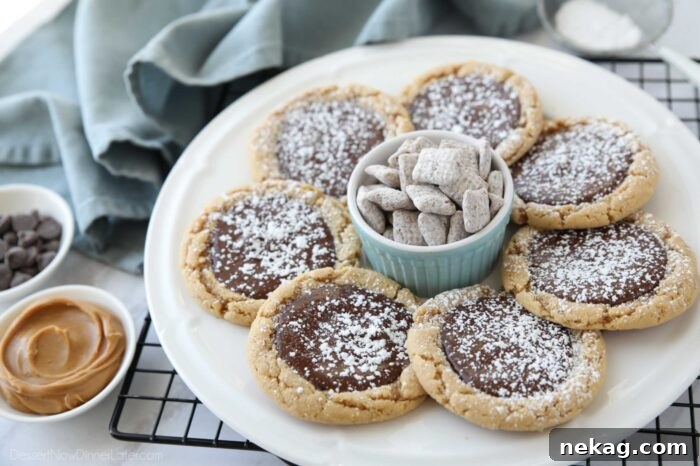
Muddy Buddy Cookies are the ultimate peanut butter and chocolate cookies. Soft peanut butter cookies are finished with a creamy layer of melted chocolate and a dusting of powdered sugar—capturing the flavors of classic muddy buddies in cookie form.
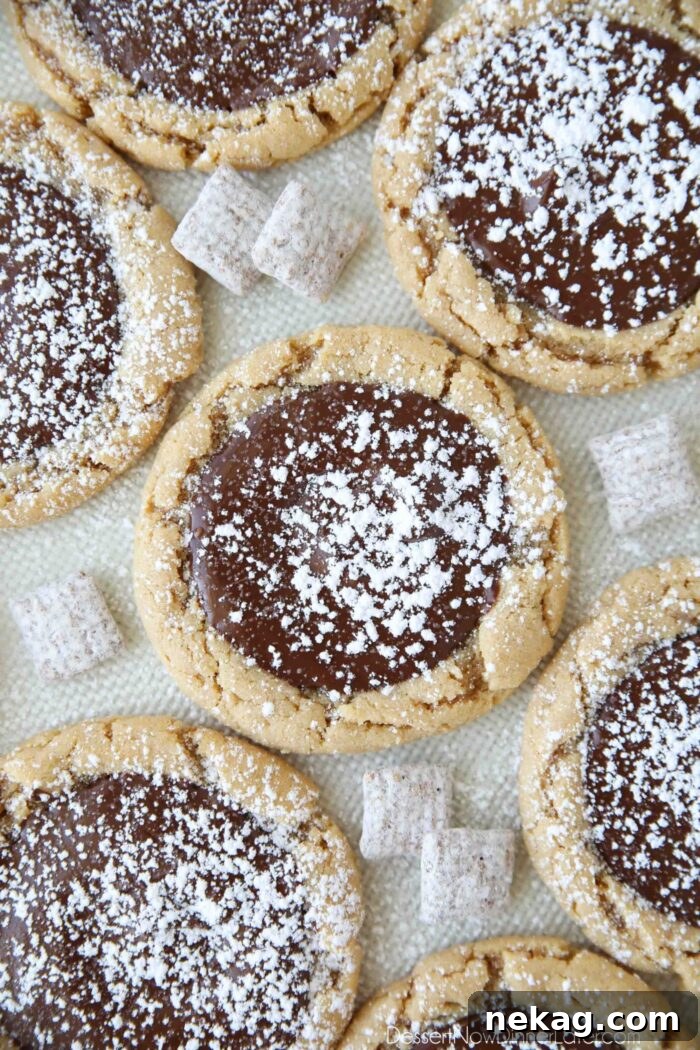
Muddy Buddy Cookies
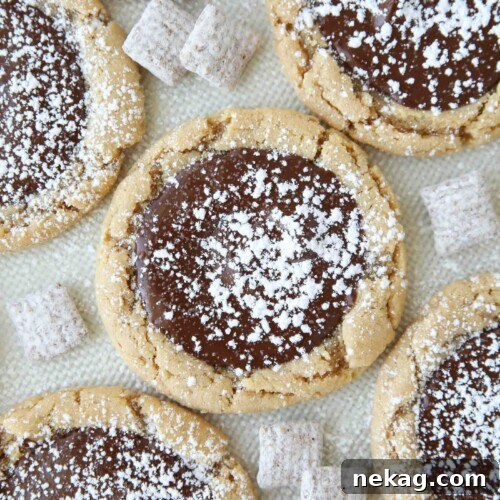
This recipe is similar to peanut butter blossoms but swaps the unwrapped chocolate candy for a smooth, spread chocolate topping so there’s chocolate in every bite. The result is a soft, thick peanut butter cookie with a creamy chocolate center and a light sprinkle of powdered sugar for a finished, festive look.
Using melted chocolate instead of individual candies also speeds prep—no unwrapping required—and creates a more consistent chocolate layer that spreads to the edges of the cookie well.
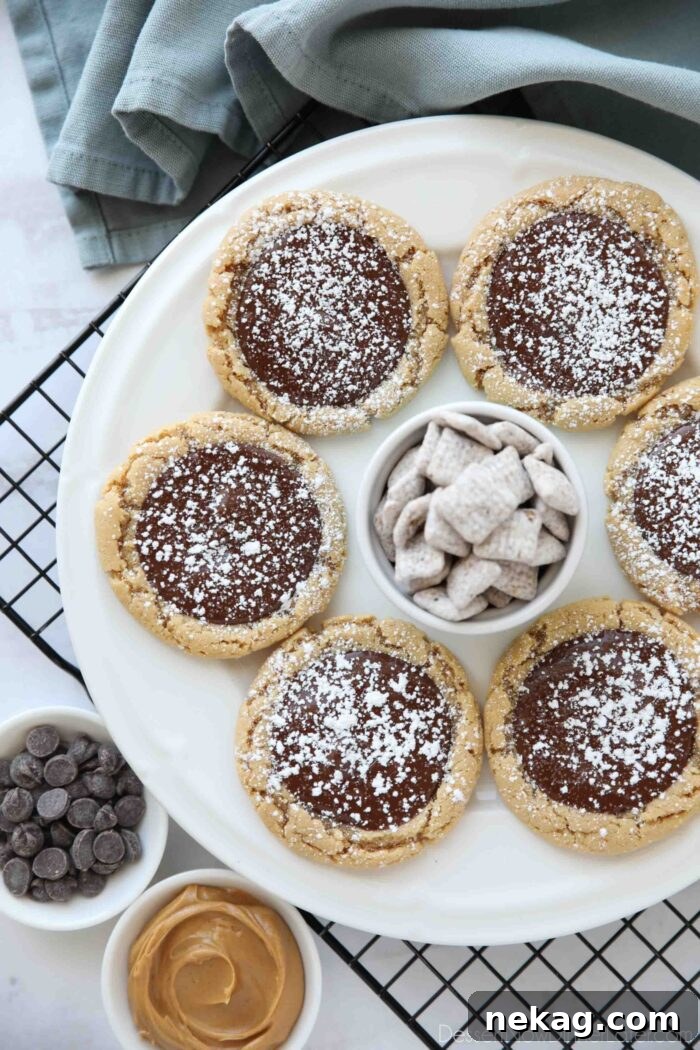
Perfect for Holidays or Any Day
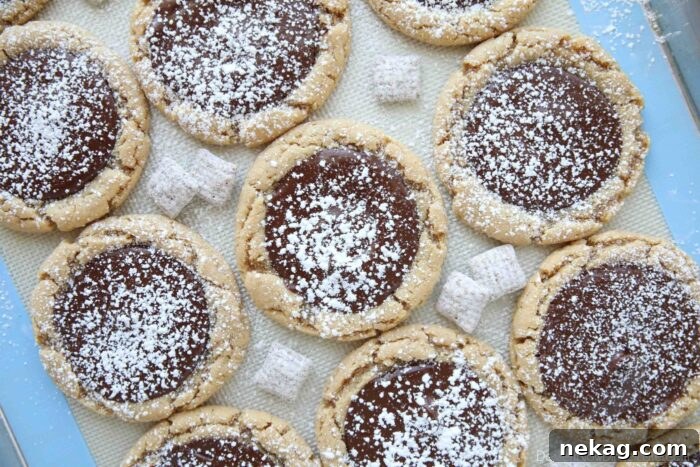
The light dusting of powdered sugar makes these cookies elegant enough for holidays but still easy enough for everyday baking. Skip the powdered sugar or swap it for colored sprinkles to match seasonal themes. Adding a few Muddy Buddies pieces on top creates a playful, snack-inspired variation.
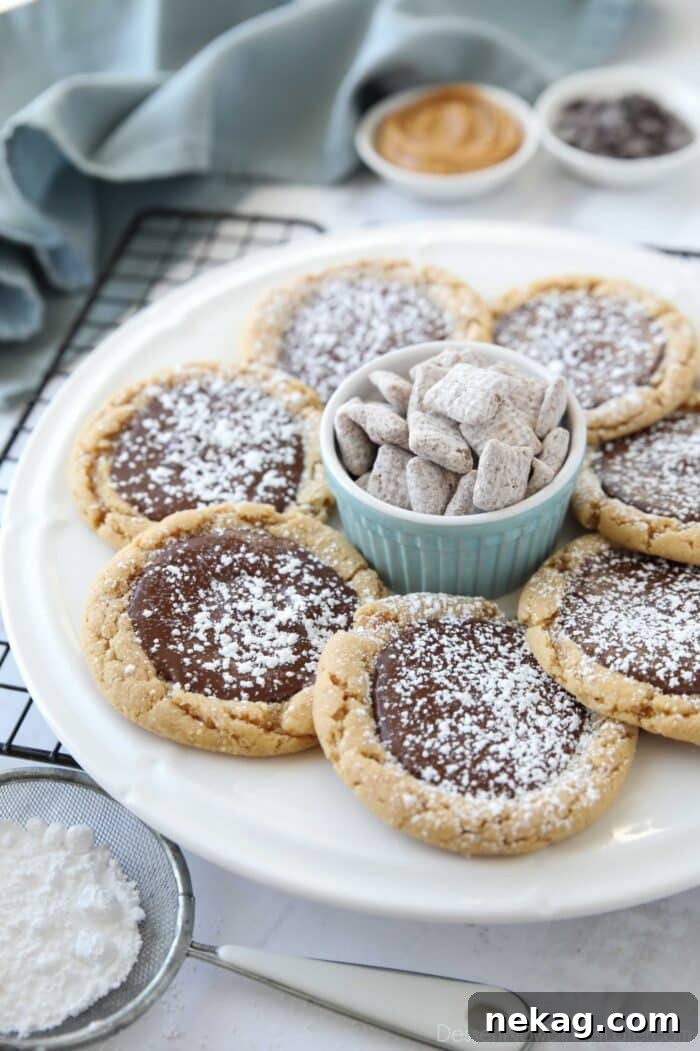
Ingredients
To make these cookies you will need:
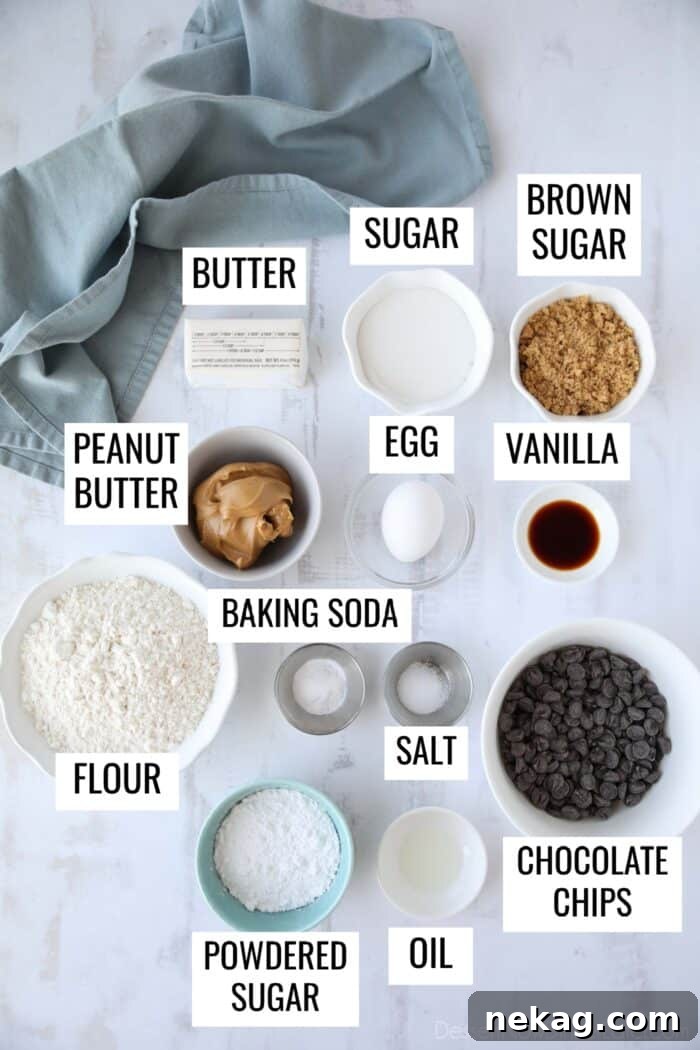
- Butter – Unsalted, room temperature.
- Granulated sugar
- Brown sugar – light brown, gently packed.
- Peanut butter – creamy variety (Jif or Skippy recommended).
- Large egg
- Vanilla extract
- All-purpose flour
- Baking soda
- Salt
- Chocolate chips – semi-sweet or milk chocolate, based on preference.
- Neutral oil – a small amount to thin the chocolate for spreading (canola, vegetable, or light olive oil).
- Powdered sugar – for dusting.
Making the Cookie Dough
Once your ingredients are ready, make the dough:
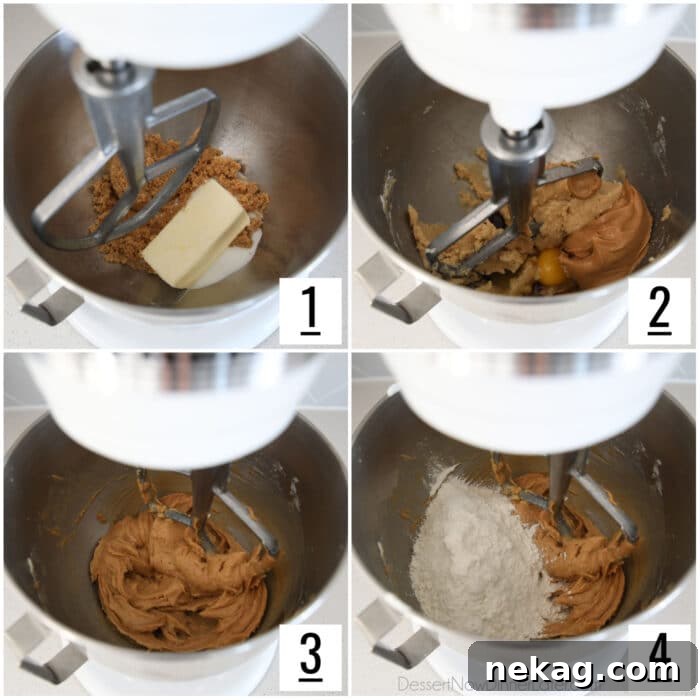
- Cream the butter with both sugars using the paddle attachment of a stand mixer.
- Add the peanut butter, egg, and vanilla; mix and scrape the bowl.
- Whisk together flour, baking soda, and salt. Add to the wet ingredients and mix until just combined.
Making Muddy Buddy Cookies
After the dough is ready, form and bake the cookies, then add the chocolate topping:
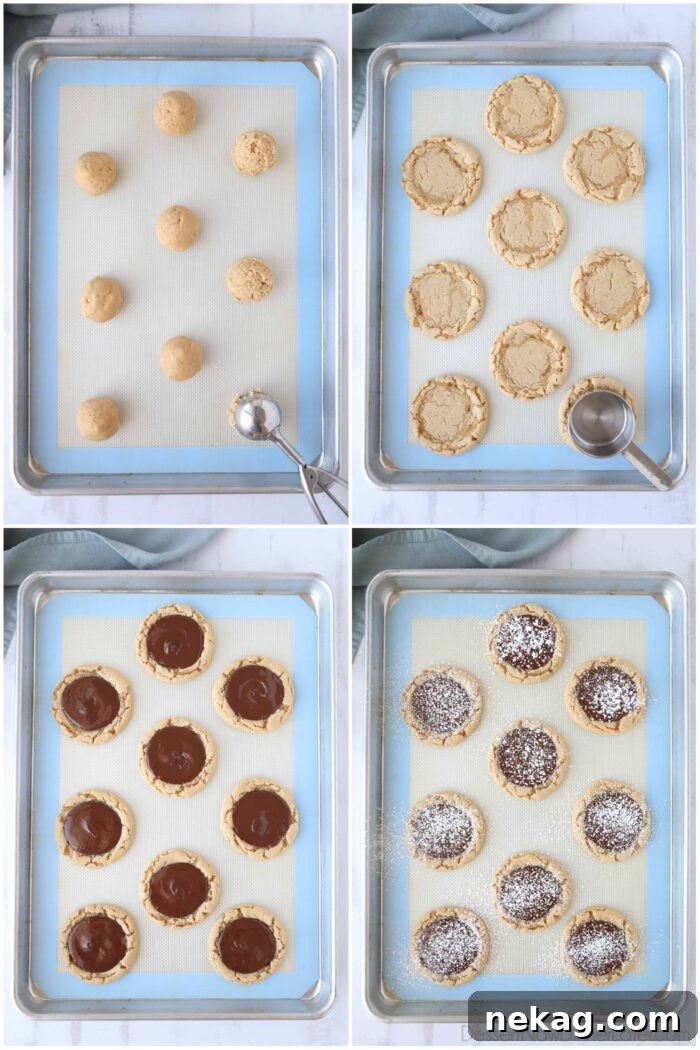
- Scoop dough into roughly 2 tablespoon portions (a #30 scoop works well). Roll into smooth balls and place several inches apart on parchment- or silicone-lined baking sheets.
- Bake at 350°F for 11–12 minutes, until the tops look puffy and matte (not shiny).
- Right after removing from the oven, press the center of each cookie with the bottom of a 1/3-cup measuring cup to create a shallow well. Cool completely at room temperature (about 1 hour) or chill in the refrigerator for 15–20 minutes. Cooling prevents melted chocolate from overflowing.
- Melt chocolate chips with 1/2 teaspoon of neutral oil in 20–30 second microwave bursts, stirring between intervals until smooth. Spoon the melted chocolate into each cookie well and spread evenly.
- Allow the chocolate to set at room temperature (about 2 hours) or chill for 15–20 minutes, then dust the cookies with powdered sugar using a fine sieve. Waiting for the chocolate to firm ensures the powdered sugar won’t dissolve into the chocolate.
Baking Tips
- Use room-temperature butter for proper creaming—soft but not greasy.
- Measure flour correctly: stir, spoon into the cup, then level off to avoid dense cookies.
- Choose creamy commercial peanut butter for best texture; natural peanut butter can make cookies dry and crumbly.
- Round dough with your hands after scooping to create smooth edges and keep the chocolate centered.
- Respect the cooling steps between layers—chilling on a tray in the refrigerator speeds the process if you’re short on time.
Storing and Freezing
Store cookies in an airtight container at room temperature for up to 5 days. If your home is warm, refrigerate them, but they’re best served at room temperature.
To freeze, layer cooled cookies in a flat-bottomed airtight container separated by parchment or waxed paper for up to 3 months. Powdered sugar can dissolve during freezing; add it after thawing if desired. Thaw frozen cookies on a paper towel–lined plate at room temperature to avoid condensation that can make them sticky.
More Chocolate and Peanut Butter Desserts
If you enjoy these cookies, try other peanut butter and chocolate treats such as peanut butter balls, peanut butter bars, or peanut butter cup ice cream for more sweet inspiration.
Muddy Buddy Cookies
Ingredients
Peanut Butter Cookies:
- ½ cup (113 g) unsalted butter, room temperature
- ½ cup (100 g) granulated sugar
- ½ cup (100 g) light brown sugar, gently packed
- ½ cup (132 g) creamy peanut butter (like Jif or Skippy)
- 1 large egg
- 1 tsp vanilla extract
- 1 ½ cups (180 g) all-purpose flour (stir, spoon & level)
- 1 tsp baking soda
- ½ tsp salt
Topping:
- 1 cup (170 g) semi-sweet chocolate chips
- ½ tsp canola oil (or other neutral oil)
- 2 Tbsp powdered sugar
Instructions
- Preheat oven to 350°F. Line sheet trays with silicone baking mats or parchment paper.
- Cream butter and both sugars in a mixer bowl using the paddle attachment.
- Add peanut butter, egg, and vanilla. Mix well and scrape the bowl.
- Combine flour, baking soda, and salt. Add to wet ingredients and mix until just incorporated.
- Scoop dough into 2 Tbsp portions, roll smooth, and space several inches apart on prepared sheets.
- Bake 11–12 minutes until tops are puffy and matte.
- Immediately press the center of each cookie with the bottom of a 1/3-cup measuring cup to form a well. Cool completely at room temperature (~1 hour) or chill 15–20 minutes.
- Melt chocolate chips with oil in 20–30 second bursts in the microwave, stirring between intervals until smooth. Spoon into cookie wells and spread evenly.
- Let chocolate set (room temperature ~2 hours or fridge 15–20 minutes) then dust with powdered sugar. Enjoy.
Notes
- Use creamy peanut butter; natural varieties can cause dry, crumbly cookies.
- For thicker cookies, do not press centers too far down after baking.
- Chilling between steps speeds the process.
- Store in an airtight container at room temperature up to 5 days.
- Freeze in a flat airtight container with parchment between layers for up to 3 months. Add powdered sugar after thawing if needed.
Nutrition
Disclaimer: Nutritional values are estimates provided for reference only.
Sharing this recipe with a link is encouraged and appreciated. Content and photographs are copyright protected.