
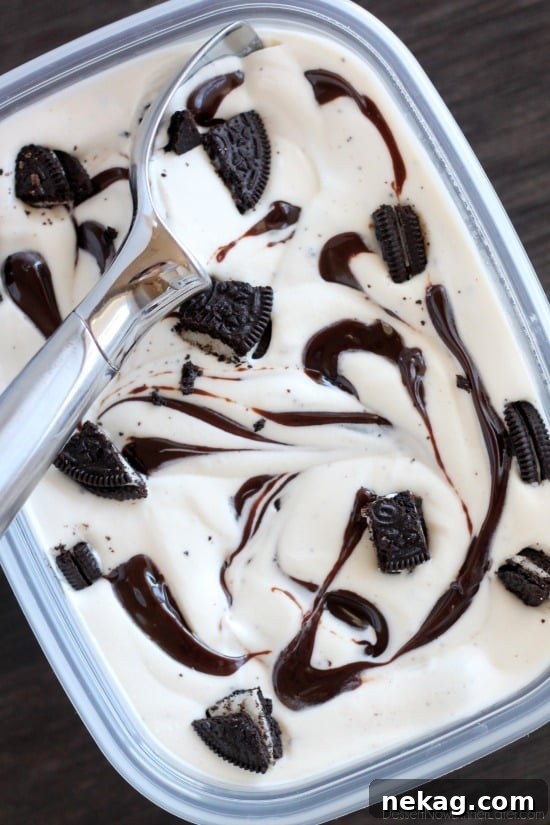
This No Churn Oreo Fudge Ice Cream begins with a simple two-ingredient base — add Oreos and hot fudge for an indulgent, machine-free dessert that’s quick and foolproof.
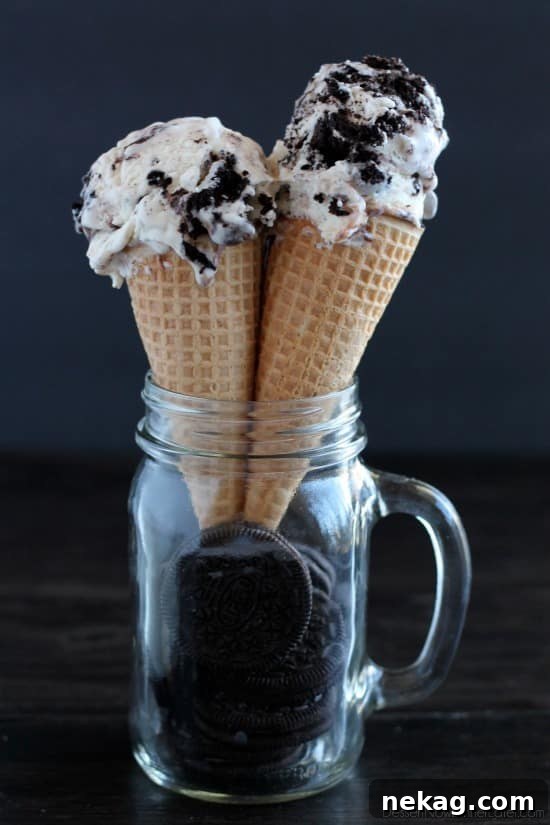
This is the third no-churn ice cream on my blog, alongside Cake Batter and Chocolate Peanut Butter Cup, and it’s my favorite. I may have eaten most of this batch myself — my kids can attest to that!
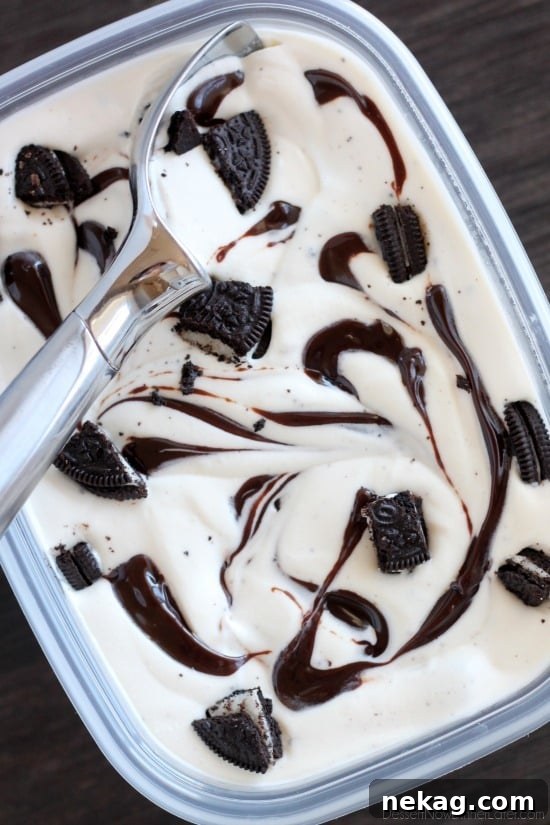
I can’t resist cookies and cream, and this No Churn Oreo Fudge Ice Cream truly hits the spot. The best part is the large, soft Oreo chunks — homemade ice cream lets you load up on mix-ins without the stingy portions you sometimes find in store-bought tubs.
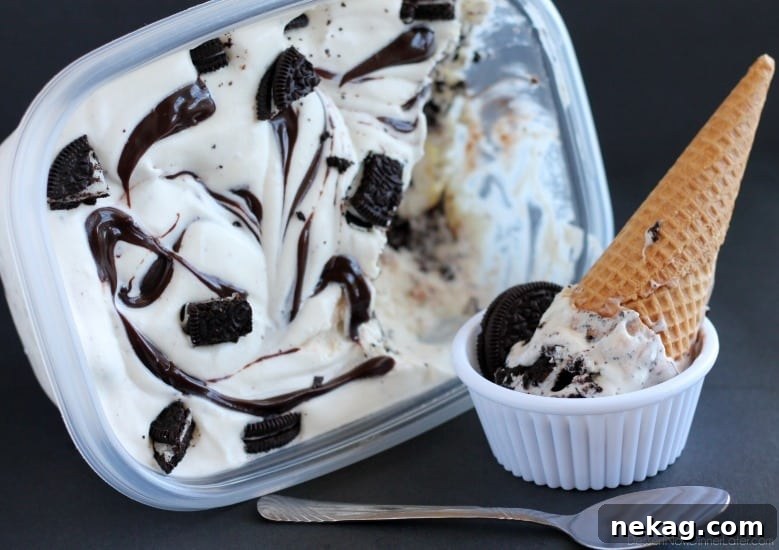
If you love Oreos (and really, who doesn’t?), this recipe is a must-try. The hot fudge remains slightly soft after freezing, giving every scoop a smooth, chocolatey ribbon. Enjoy!
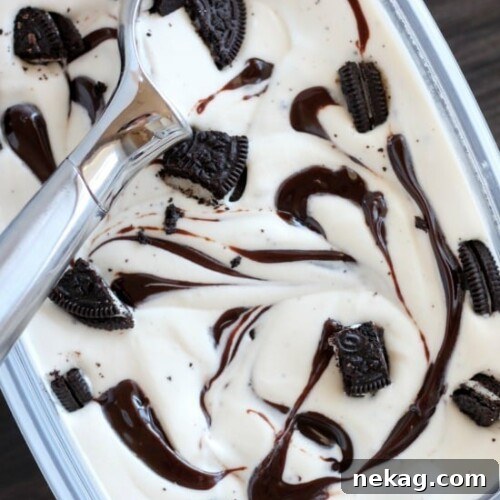
No Churn Oreo Fudge Ice Cream
Pin
Rate
SaveSaved!
Ingredients
- 2 cups (473 ml) heavy cream
- 14 oz (396 g) can sweetened condensed milk, (I used fat free)
- 14 Oreos, crushed or cut into chunks
- ½ cup (156 g) Smucker’s Hot Fudge, warmed for 30 to 45 seconds; allow to cool slightly
Instructions
-
In the bowl of a stand mixer fitted with the whisk attachment, whip the heavy cream on high until stiff peaks form, about 3½ minutes.
-
Fold the sweetened condensed milk into the whipped cream until fully combined.
-
Gently fold in most of the Oreo pieces, reserving a few to scatter on top for presentation.
-
Using a 2-quart container, layer the ice cream mixture and hot fudge: pour one-third of the mixture, drizzle with hot fudge; add another third, drizzle again; finish with the remaining mixture and more fudge. Swirl lightly with a knife and top with remaining Oreos.
-
Freeze for at least 6 hours, or overnight, until firm. Store covered in the freezer.
Notes
Sharing this recipe with a link is both encouraged and appreciated. Copying/pasting and/or screenshots of full recipes to any social media is strictly prohibited. Content and photographs are copyright protected.
Did you make this?
Don’t forget to leave a rating below and share your photos — it helps others find and enjoy this recipe.