
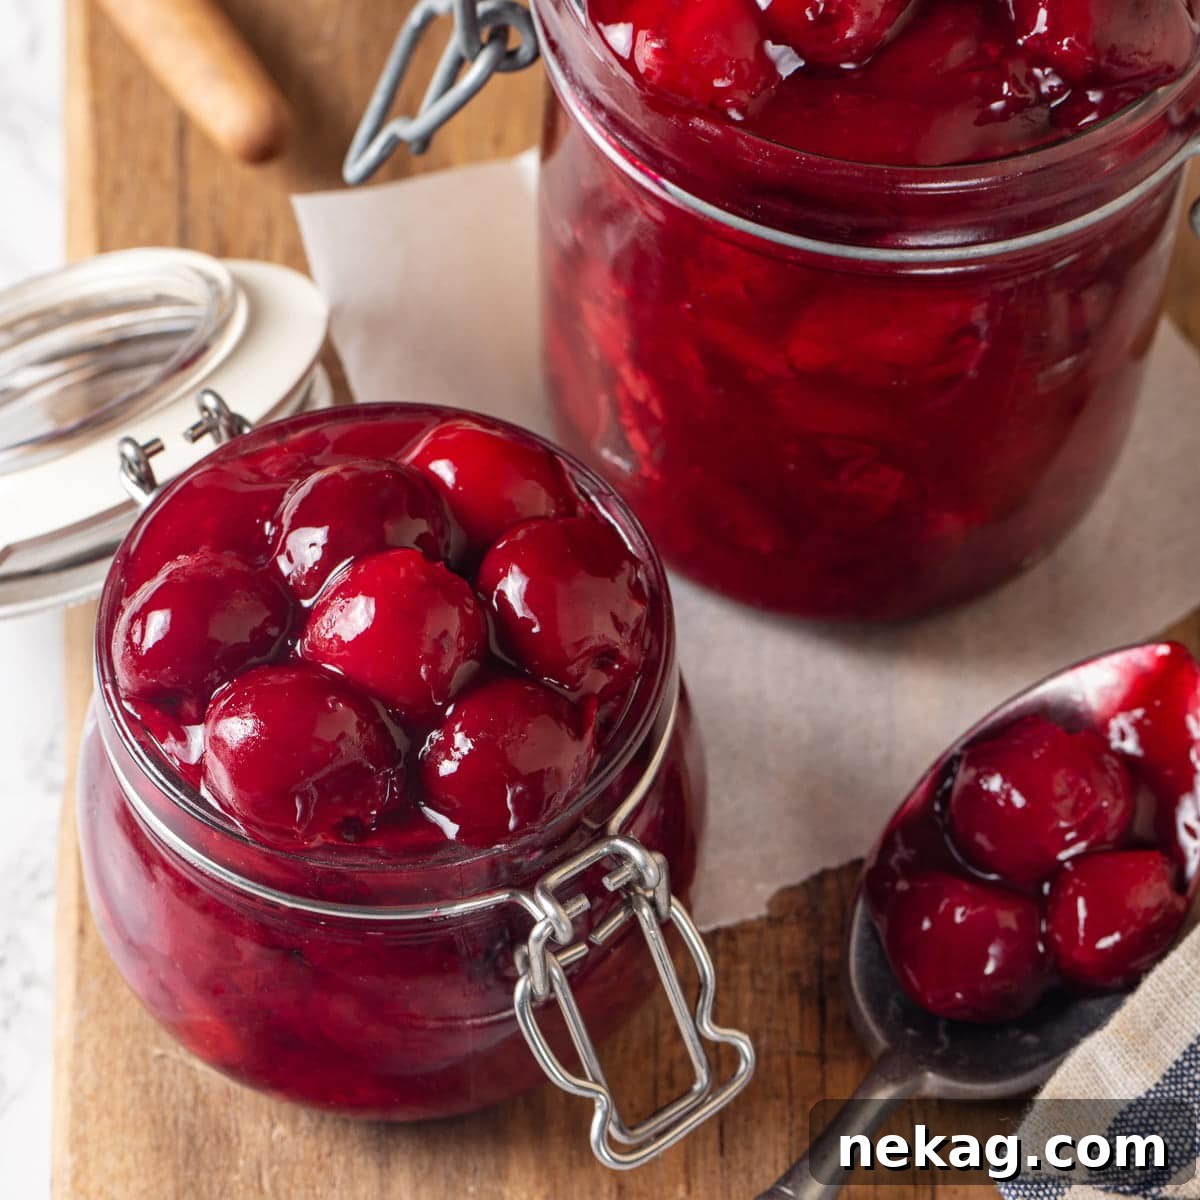
Homemade Cherry Pie Filling: Your Secret to Luscious Desserts
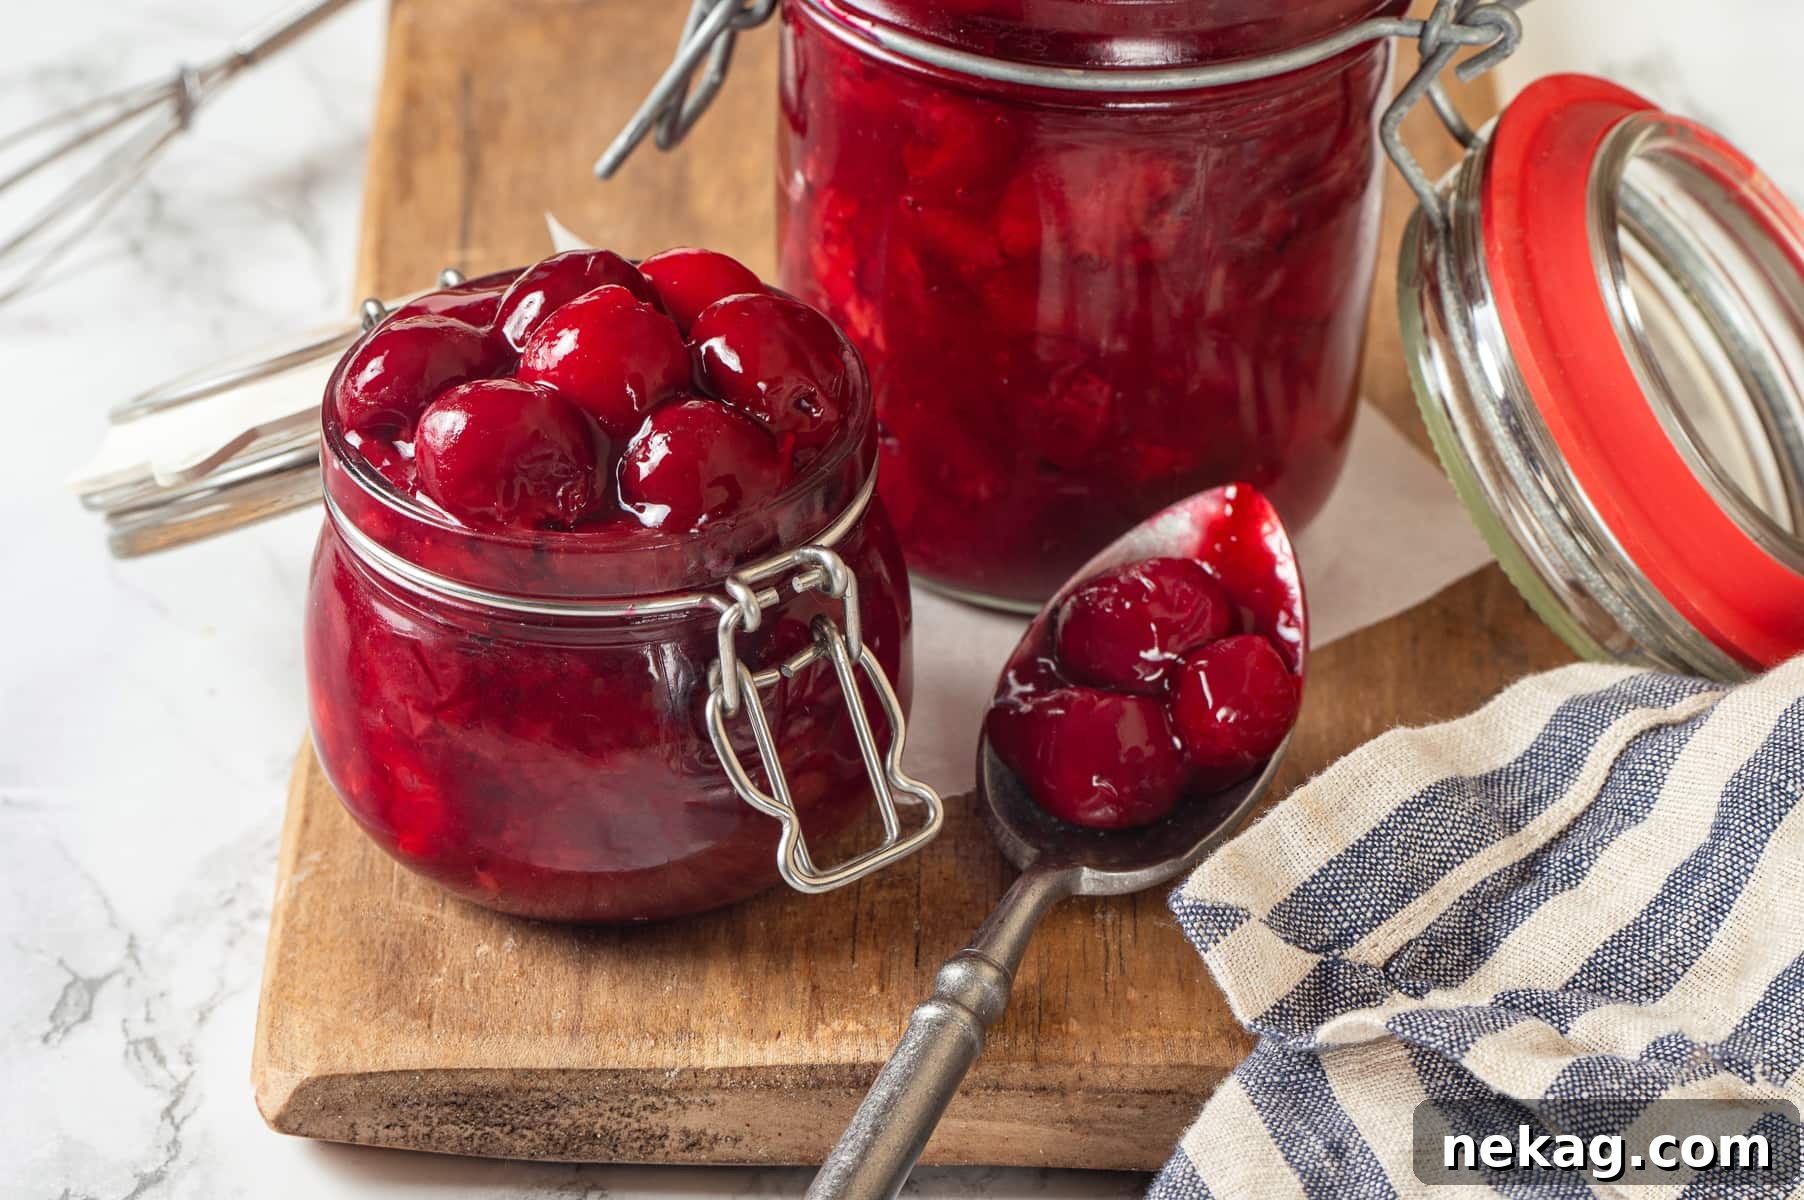
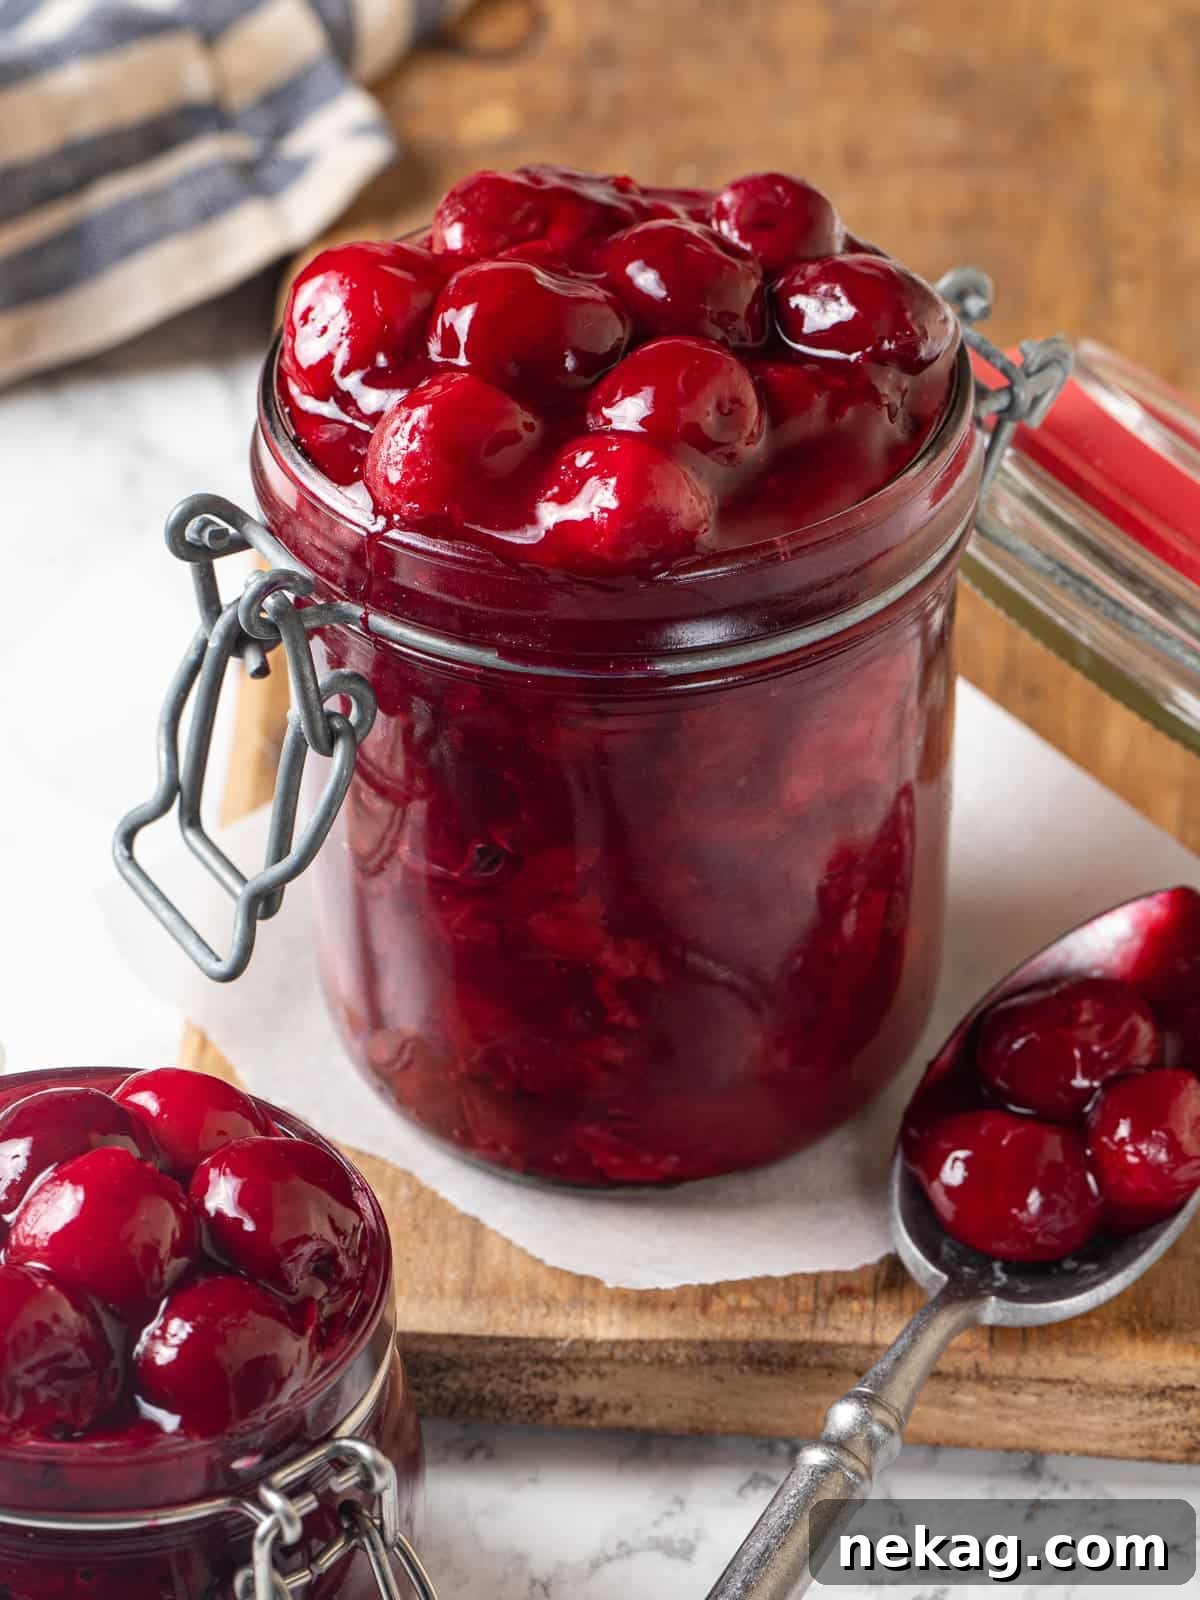
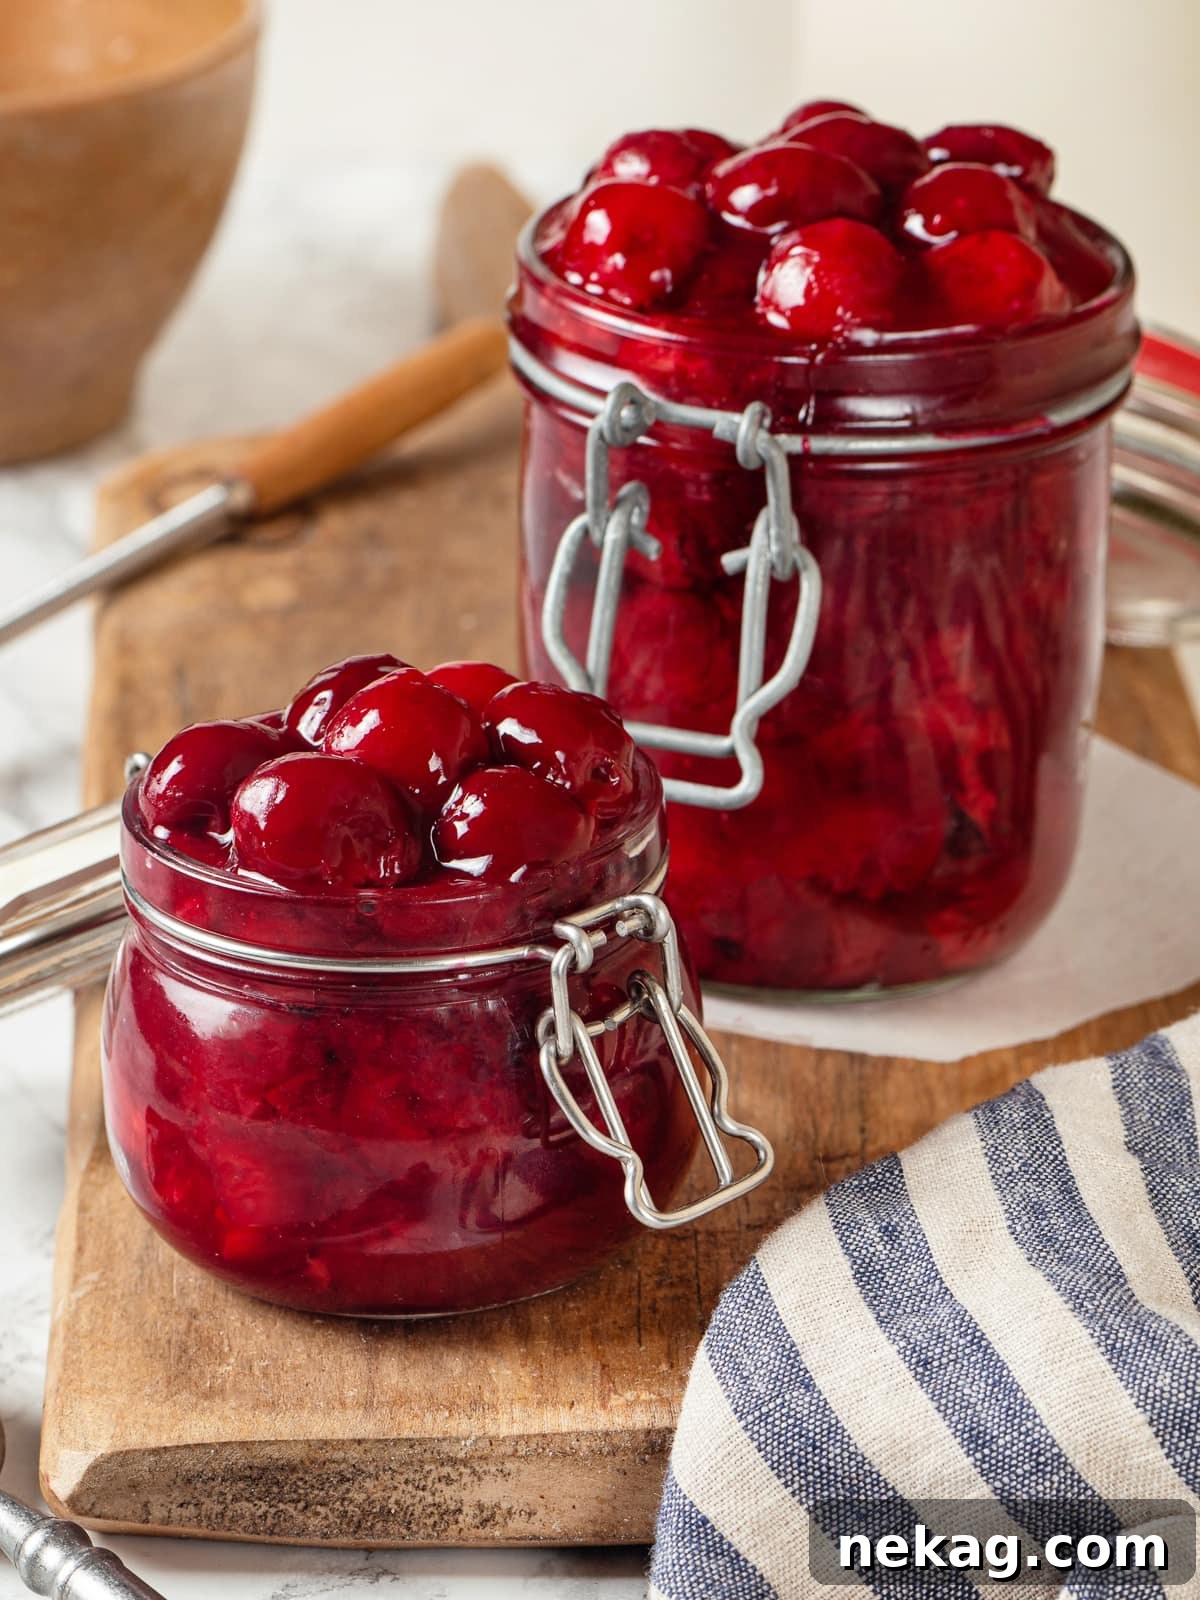
This homemade cherry pie filling recipe is incredibly simple, requiring just four basic ingredients, and comes together in a flash. It’s cooked to a thick, luscious perfection, making it the ideal foundation for classic pies, rustic cobblers, delightful crisps, or elegant cakes. Forget store-bought options; once you experience the vibrant flavor and perfect texture of this homemade version, you’ll never look back!
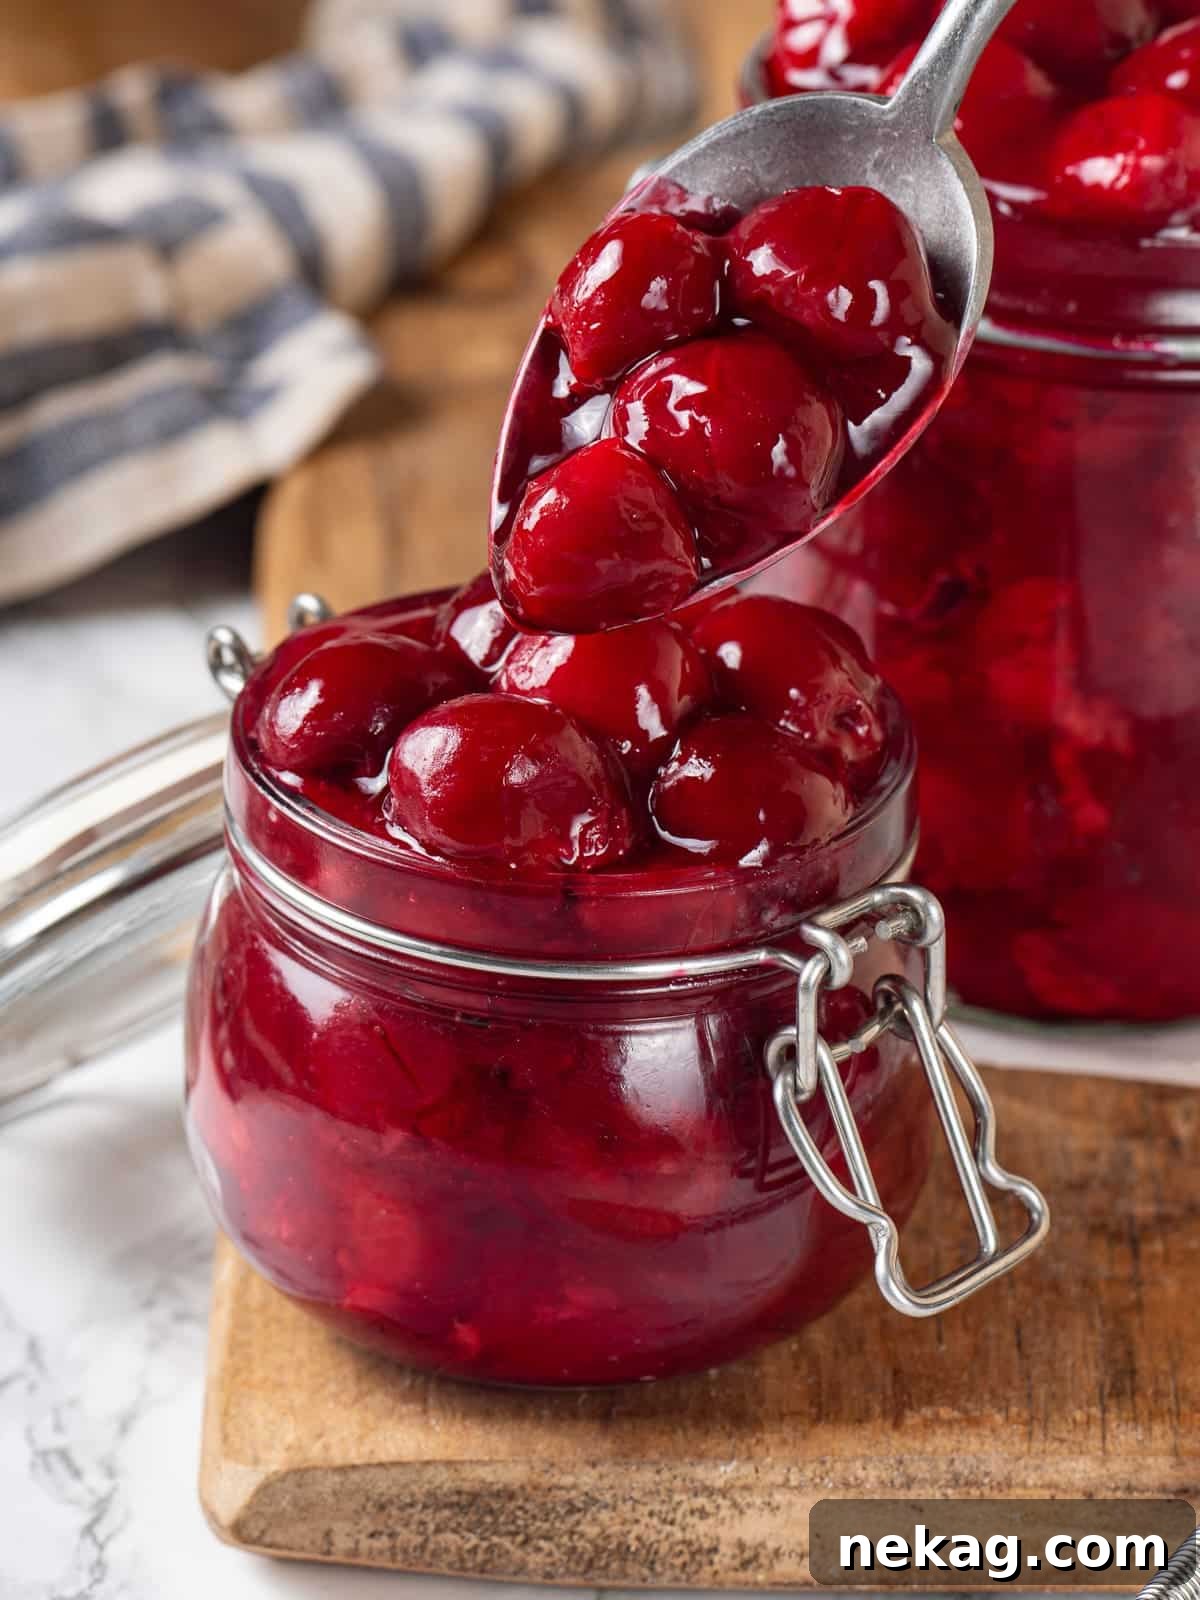
There’s truly nothing quite like the taste and quality of homemade pie filling. This recipe elevates the natural sweetness and tang of cherries with a hint of almond extract, adding a sophisticated and irresistible depth of flavor that store-bought fillings simply can’t match. It’s a game-changer for any dessert.
Peak cherry season is a delightful time, often found brimming at local farmer’s markets. When those bright red cherries are in abundance, it’s impossible to resist stocking up! Beyond this versatile filling, I love transforming fresh cherries into various treats. My cherry preserve recipe is fantastic for toast, and these unique pickled cherries add an unexpected zing, especially as a delightful component in my summer panzanella salad!
Table of Contents
- Why You Will Love This Cherry Pie Filling
- Key Ingredients & Clever Substitutions
- Creative Variations to Elevate Your Filling
- How to Use Your Homemade Cherry Pie Filling
- Step-by-Step Guide: How to Make Homemade Cherry Pie Filling
- Chef Lindsey’s Pro Tip
- Cherry Pie Filling FAQs
- Recommended Cherry Recipes to Try Next
- Full Cherry Pie Filling Recipe Card
- Before You Go
Why You Will Love This Cherry Pie Filling
- Achieve Perfectly Thick and Luscious Filling: This recipe guarantees a filling with a beautifully cooked, thick, and glossy texture that holds its shape. Whether you’re making a classic cherry pie that slices cleanly, a spoonable cobbler, or a delicate cake layer, you can easily adjust the cooking time to achieve your desired consistency. Just remember, if you plan to bake the filling again within a pie or tart, be mindful not to overcook it on the stovetop to prevent it from becoming too stiff.
- Effortless and Quick Preparation: Say goodbye to bland, gelatinous store-bought fillings! This homemade cherry pie filling is incredibly straightforward, transforming fresh or frozen cherries into a perfectly sweet and tart masterpiece in under 20 minutes. Its ease and superior flavor profile will make it your go-to recipe, ensuring you’ll never consider a canned alternative again.
- Versatile for Year-Round Enjoyment: The beauty of this recipe lies in its adaptability, making it suitable for any season. Imagine serving vibrant cherry pie bars for a Fourth of July barbecue, a comforting cherry cobbler as a Thanksgiving dessert, or a warm cherry crisp to cozy up with at Christmas. This filling can be prepared anytime using frozen cherries, ensuring you have the taste of summer cherries at your fingertips all year long. Plus, it freezes beautifully in large batches, ready for future baking adventures!
Key Ingredients & Clever Substitutions
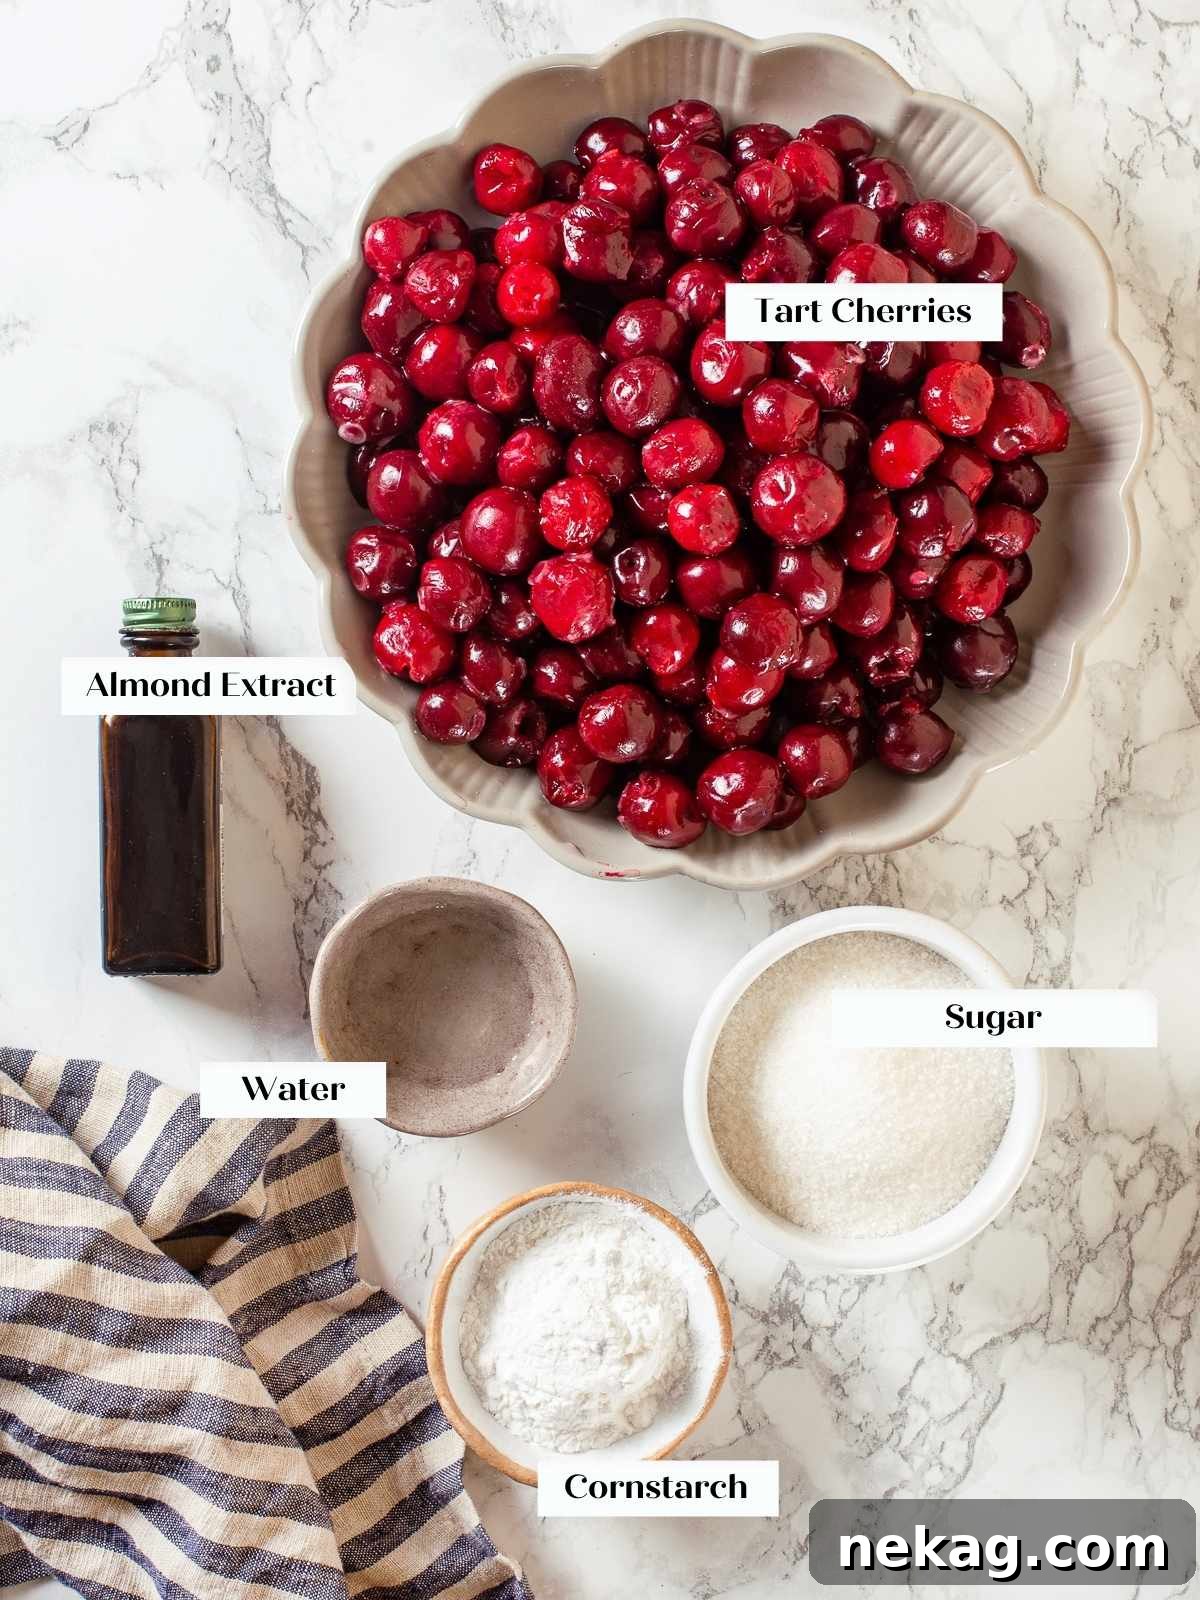
- Tart Cherries: For the most vibrant color and quintessential cherry flavor, tart cherries are highly recommended. You can use fresh, frozen, or canned pitted tart cherries. If using fresh, remember to pit them first. While sweet cherries can be used, they tend to yield a darker, less vibrant filling, and you might need to adjust the sugar content down. A mix of both tart and sweet can also create a wonderfully balanced flavor profile.
- Cornstarch or Tapioca Flour: These are your key thickeners. I personally lean towards tapioca flour (like Bob’s Red Mill) for its superior thickening power and ability to maintain texture longer without developing an “off” flavor or gradually releasing moisture, which can happen with cornstarch over time. Cornstarch is also an excellent option, producing a clear and tasteless thickening agent, provided it’s brought to a full boil for at least one minute to fully activate.
- Granulated Sugar: Essential for balancing the tartness of the cherries. The amount can be adjusted to your preference and the natural sweetness of your cherries. You can also experiment with brown sugar for a deeper, molasses-like flavor, or a touch of maple syrup for a natural sweetness boost.
- Almond Extract: This is my secret ingredient! Almond extract magnificently accentuates the cherry flavor, adding an elegant, marzipan-like note that truly elevates the filling beyond basic fruitiness. A little goes a long way, so use sparingly. Vanilla extract can be used as a substitute if almond isn’t available, but it will offer a different, albeit still delicious, flavor profile.
- Water: Primarily used to create a “slurry” with cornstarch, ensuring it dissolves smoothly before being added to the hot cherries, preventing lumps. If using tapioca flour directly, you might not need additional water as the cherries will release enough juice.
- Optional: Lemon Juice: A squeeze of fresh lemon juice can brighten the flavors, enhancing the tartness of the cherries and preventing the filling from tasting too sweet.
- Optional: Pinch of Salt: A tiny pinch of salt can dramatically enhance the overall flavor profile, bringing out the sweetness and complexity of the cherries without making the filling taste salty.
For precise measurements and full ingredient details, please refer to the comprehensive recipe card below.
Creative Variations to Elevate Your Filling
- Infuse with Aromatic Spices: While the cherry filling simmers, consider infusing it with whole spices for an extra layer of warmth and complexity. Cinnamon sticks, whole cloves, star anise, a knob of fresh ginger, or a hint of freshly grated nutmeg can create a unique flavor profile. Remember to remove the whole spices before using the filling for a smooth texture.
- Combine with Other Fruits: Cherry pie filling is wonderfully adaptable to other fruits. For instance, you can create a delightful blueberry cherry cobbler by adding fresh or frozen blueberries. Blackberries or raspberries also pair beautifully with cherries. Don’t stop there; transform it into a stone fruit filling by incorporating diced peaches or apricots, which would be divine in my favorite peach loaf cake!
- Stir in Luxurious Chocolate: For an indulgent twist, stir in some chopped dark chocolate or chocolate chips once the filling is cooked and removed from the heat. The residual heat will melt the chocolate, enriching the filling with a decadent, slightly bitter counterpoint to the cherries. This chocolate-infused filling is excellent for tarts, cakes, or as a sophisticated ice cream topping. Avoid cooking the filling further after adding chocolate, as it can cause the chocolate to seize and the filling to become grainy.
- Brighten with Citrus Zest or Juice: Swap the almond extract for a burst of citrus. Freshly grated zest and juice from limes, clementines, blood oranges, or lemons can add a refreshing, tangy dimension that complements the cherries beautifully, offering a brighter, zestier flavor profile.
- Introduce a Hint of Booze: For an adult-friendly dessert, once the filling has thickened, stir in a tablespoon or two of your favorite liqueur. Cognac, brandy, bourbon, amaretto (which enhances the almond notes), or Frangelico (hazelnut liqueur) can add a sophisticated depth. You can continue to simmer for a few minutes to cook off some of the alcohol or leave it as is for a stronger flavor presence.
How to Use Your Homemade Cherry Pie Filling
- Classic Baked Goods: Pies, Tarts, Crisps, and Cobblers: This filling is born for baking! Use it in a classic double-crust pie with my flaky vodka pie crust or this versatile all-butter pie crust for an unforgettable cherry pie. For a more rustic dessert, bake a charming cherry galette using my Crisco pie crust recipe, or whip up a simple cherry cobbler. Feeling fancy? Combine it with frangipane inside a homemade pie crust or almond flour dough for an exquisite almond cherry tart.
- Create a Stunning Seasonal Trifle: Layering is key to a show-stopping trifle! Take your favorite pound cake (my cherry almond pound cake would be divine here), slice it, and layer generously with this vibrant cherry filling and billows of freshly whipped cream. For an extra luxurious touch, incorporate a rich crème légère using my vanilla bean pastry cream recipe.
- Elevate Your Cakes and Bars: This versatile filling is perfect for cakes! Use it as a delightful layer between rich chocolate fudge cake sponges. It can also replace blueberries in these creamy no-bake cheesecake bars, or be swirled into a chocolate cheesecake recipe for an irresistible chocolate-cherry fusion. Alternatively, simply spoon it as a glistening topping for my beloved cherry cheesecake.
- Serve as a Topping for Desserts: Beyond baked goods, this filling is an exceptional topping for various desserts. Drizzle it generously over a scoop of your favorite chocolate ice cream or creamy homemade vanilla pudding. It would also make a delightful and colorful variation on this elegant lemon berry pavlova cake.
- Brighten Your Brunch Menu: Bring a touch of gourmet flair to your breakfast or brunch spread! Spoon this irresistible filling over fluffy sourdough pancakes, crispy sourdough waffles, or even fold it into the layers of the best cinnamon rolls you’ve ever made. For a healthier option, create a vibrant yogurt parfait by layering Greek yogurt, granola, and generous dollops of cherry pie filling.
Step-by-Step Guide: How to Make Homemade Cherry Pie Filling
Follow these simple instructions to create your own perfectly tart and sweet cherry filling. Detailed measurements and complete information can be found in the recipe card at the bottom of this post.
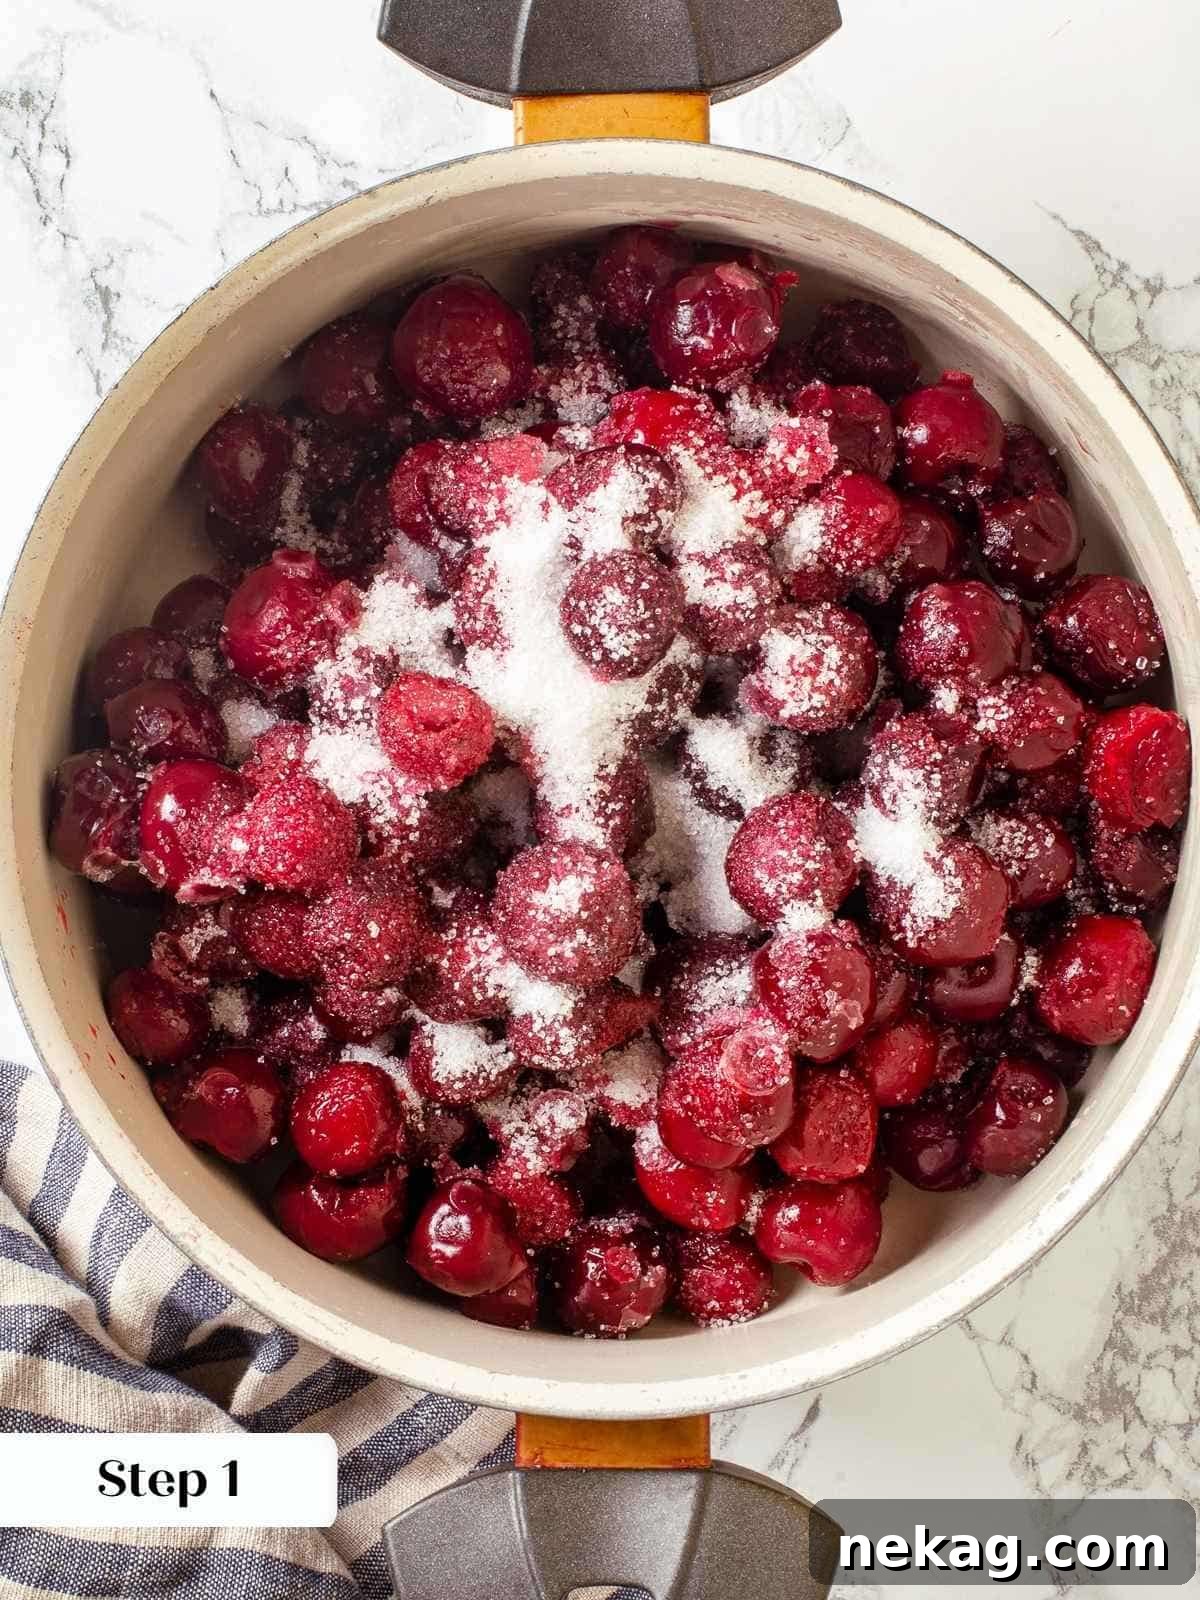
Step 1: Combine Ingredients. In a medium saucepan, combine your cherries (and any accumulated liquid if using canned or thawed frozen cherries), almond extract, and granulated sugar. If using fresh cherries, ensure they are pitted before adding them to the pan. If you’re opting for tapioca flour as your thickener, add it at this stage along with all the other ingredients.
Note: When using tapioca flour, it’s generally added with the fruit at the beginning of the cooking process, allowing it to absorb the fruit juices as they release.
Step 2: Simmer and Release Juices. Cook the cherry mixture slowly over low heat, stirring occasionally, until the cherries begin to release their juices. This process should take about 5-10 minutes, depending on whether you’re using fresh or frozen cherries. If using canned cherries packed in water, I recommend boiling the mixture gently for 5-10 minutes to allow some of the excess water to evaporate, which helps achieve a thicker filling. Be sure to stir frequently to prevent scorching.
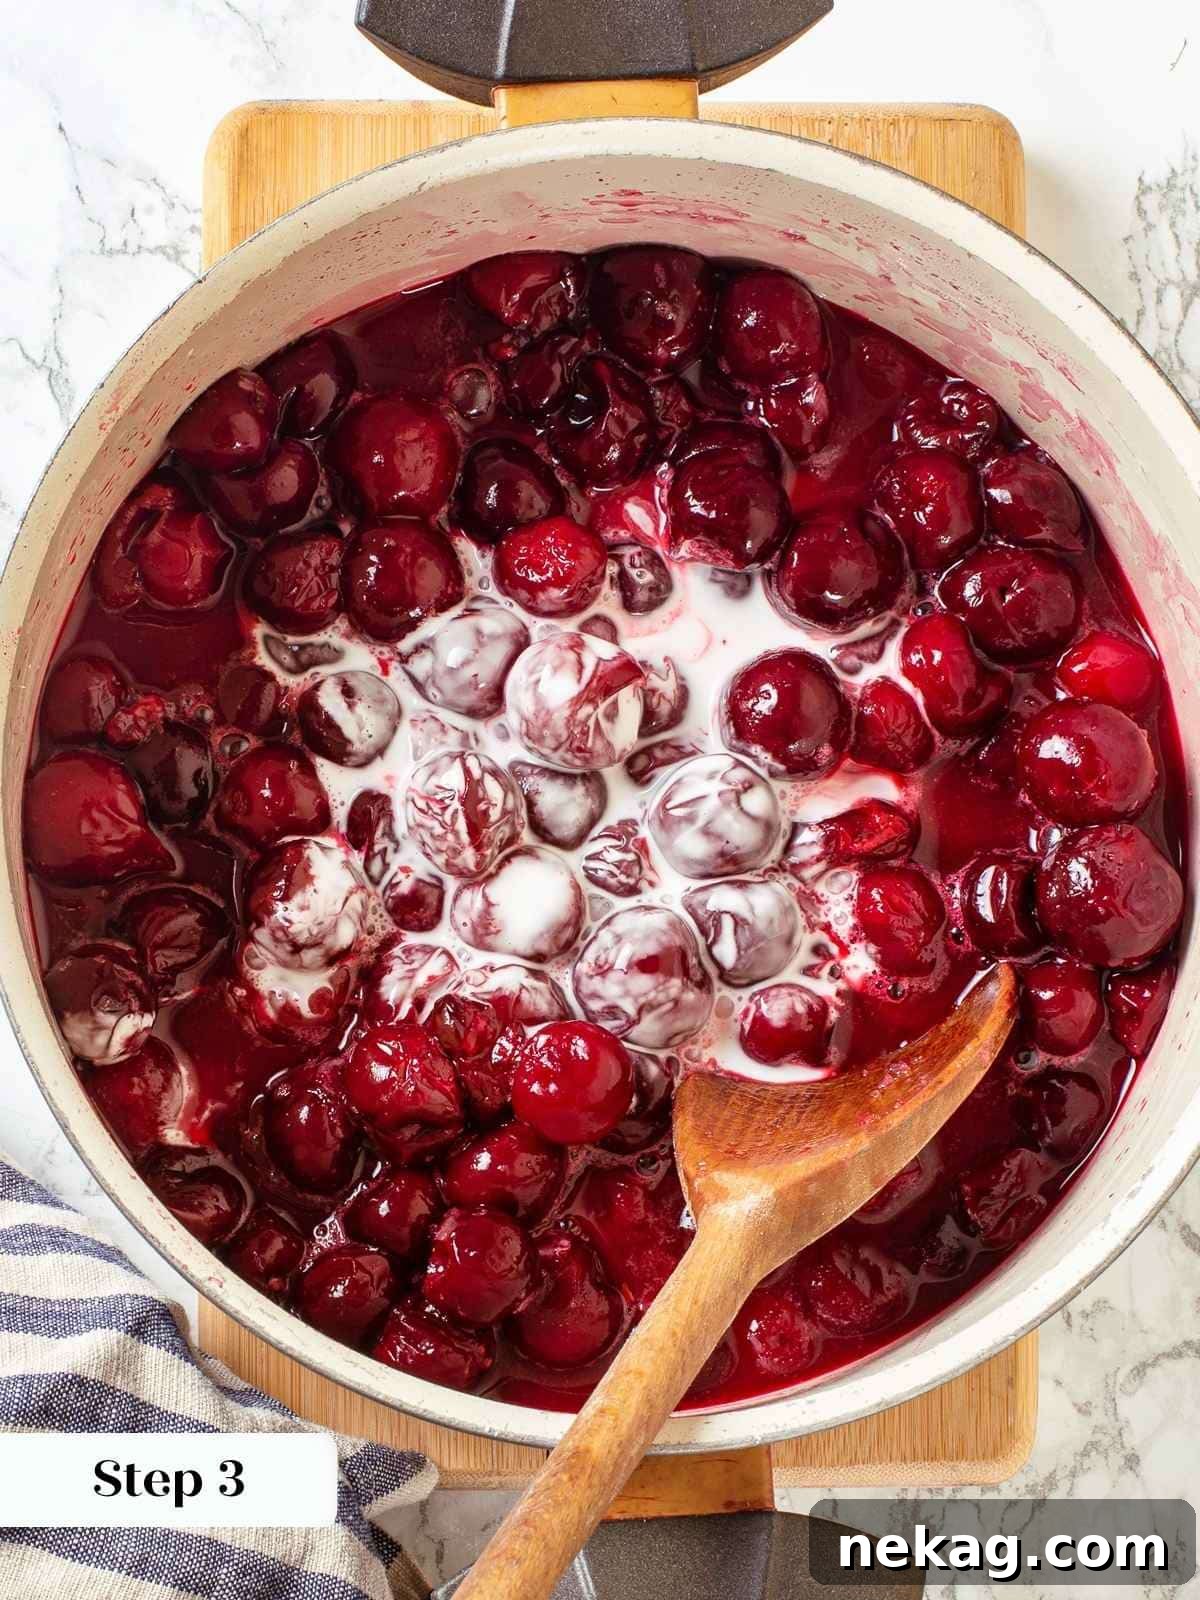
Step 3: Prepare and Add Slurry. If using cornstarch, whisk together the cornstarch and cold water in a small bowl until a smooth “slurry” is formed. Reduce the heat under the cherry mixture to low, and slowly pour the cornstarch slurry into the cherry filling in a steady stream, stirring constantly to prevent lumps and ensure even distribution. Continue stirring as the filling begins to thicken.
Step 4: Activate the Thickener. Increase the heat to medium and bring the mixture to a boil. Allow it to boil for at least one minute, stirring continuously. This crucial step fully activates the thickening power of either tapioca or cornstarch. You’ll notice the filling transition from an opaque appearance (after adding the slurry) to a more translucent and glossy state once the starch is fully activated and cooked through.
Pro Tip: The change from opaque to translucent is your visual cue that the starch has done its job!
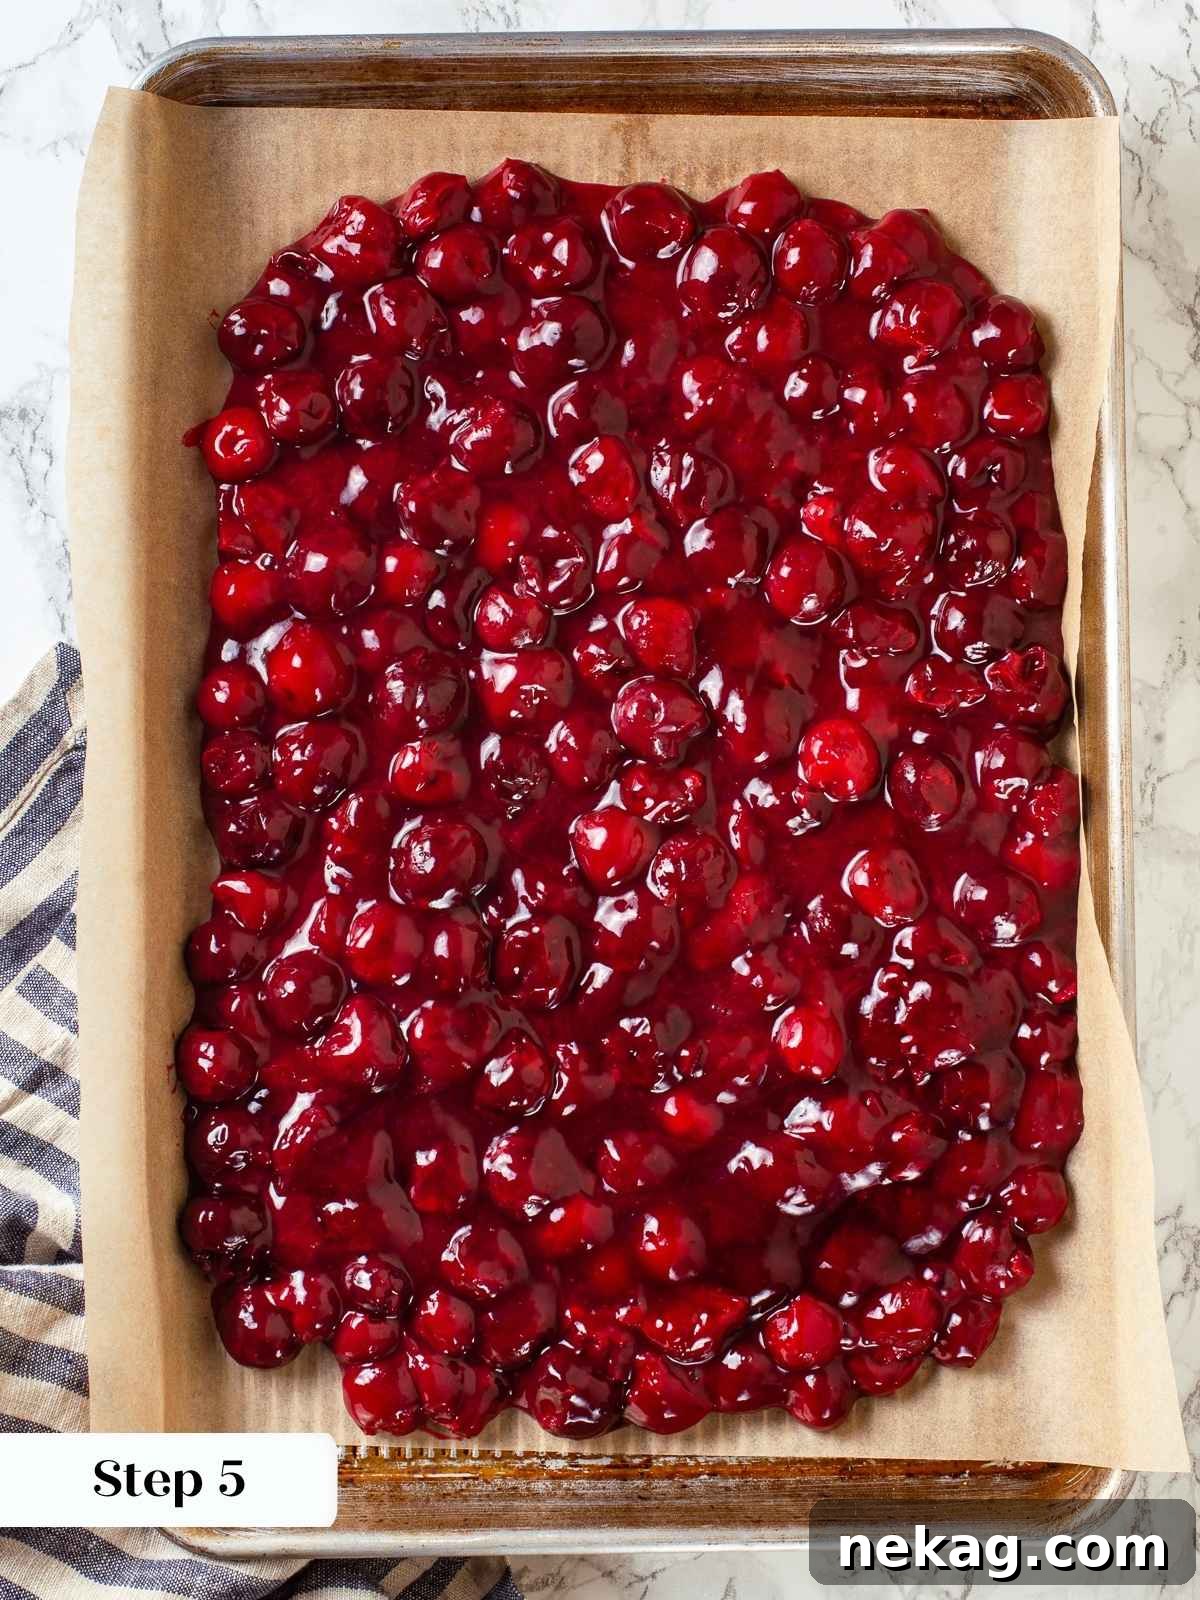
Step 5: Cool and Store. Once thickened to your desired consistency, remove the pan from the heat. Pour the hot cherry filling onto a parchment-lined rimmed baking sheet or into a shallow pan. This helps it cool quickly and evenly. Allow it to cool completely at room temperature. The pie filling is now ready to be used immediately in your favorite recipes. Alternatively, spoon it into a clean, airtight container and refrigerate for up to 2 weeks, or freeze for up to 3 months for longer storage.
Chef Lindsey’s Pro Tip: The Tapioca Advantage
If you have tapioca flour on hand, I highly recommend using it over cornstarch for your fruit pie fillings. Tapioca flour creates a remarkably stable, clear, and glossy filling that holds up beautifully over time. Unlike cornstarch, which can sometimes “weep” or lose its thickening power, particularly after freezing and thawing, tapioca maintains a firmer, more consistent hold. Fillings thickened with cornstarch may gradually release moisture, especially if stored for longer periods or subjected to temperature changes. Tapioca starch provides a resilient texture that resists breakdown, ensuring your desserts remain perfectly luscious from the first slice to the last. This difference is especially noticeable in baked goods where the filling needs to withstand further cooking.
Cherry Pie Filling FAQs
Once your cherry pie filling is cooked and completely cooled, transfer it to an airtight container. It can be safely stored in the refrigerator for up to 2 weeks. For longer storage, you can freeze it for up to 3 months. When ready to use, simply allow it to defrost in the refrigerator overnight or at room temperature for a few hours. Stir well before using.
Several factors can lead to a runny cherry filling. If you used canned cherries packed in water, it’s crucial to boil the mixture for 5-10 minutes initially to evaporate excess liquid. Another common reason is that the cornstarch or tapioca wasn’t fully activated by boiling. Ensure the mixture boils for at least one full minute after adding the thickener. Also, freezing and then defrosting can sometimes cause cornstarch-thickened fillings to thin out slightly, which is why tapioca is often preferred for freezer-friendly options.
For the most vibrant red color and a classic sweet-tart flavor, fresh or frozen pitted tart cherries (such as Montmorency) are highly recommended. These cherries yield a beautiful, bright filling that truly shines. Sweet cherries will produce a darker, duller-colored filling and may require less added sugar. If fresh or frozen tart cherries are unavailable, canned tart cherries in water are a good alternative, offering excellent flavor, just be sure to adjust for moisture content as mentioned above.
Yes, you absolutely can! If using frozen cherries, there’s no need to thaw them beforehand. Simply add them directly to the saucepan with the other ingredients. Keep in mind that frozen cherries will release more liquid as they cook, so you might need to simmer them a bit longer in Step 2 to allow some of that moisture to evaporate before adding the thickener. This ensures your filling isn’t too watery.
Beyond pies and tarts, cherry pie filling is incredibly versatile. It can be served warm or cold over creamy vanilla bean ice cream, rich chocolate pudding, or a refreshing bowl of Bircher Müesli overnight oats. It also makes an excellent topping for pancakes, waffles, cheesecake, or simply enjoyed on its own!
Recommended Cherry Recipes to Try Next
Pies and Tart Recipes
Cherry Pie with Almond Crust
Date Night
Cherry Galette with Almond Buttermilk Crust
Summer Dessert Recipes
Cherry Almond Tart
Jams & Jelly Recipes
Easy Cherry Preserves
If you tried this recipe and loved it, please leave a 🌟 star rating and let me know how it goes in the comments below. I love hearing from you; your comments make my day!
Cherry Pie Filling
Chef Lindsey
5 mins
15 mins
1 hr
1 hr 20 mins
8 slices
Ingredients
- 29 ounces tart cherries pitted (2 cans)
- ¼ teaspoon almond extract
- ¾ cup granulated sugar or more to taste
- 3 tablespoons cornstarch or tapioca flour
- 1 tablespoon water
Instructions
-
Combine cherries and their accumulated juices, almond extract, and granulated sugar in a medium sauce pot. If you use tapioca flour, add it with all the other ingredients and cook them over low heat until cherries release juices.
-
Cook slowly over low heat until the cherries release all their juices. If you are using canned cherries, I recommend boiling the mixture for 5-10 minutes to evaporate some of the additional water, just be careful that it doesn’t burn.
-
In a small bowl, whisk together cornstarch and cold water. Reduce the heat to low and slowly pour the cornstarch slurry into the cherry filling while stirring constantly. Turn up the heat and boil the mixture for one minute to begin activating the tapioca or cornstarch.
-
Pour the mixture onto a parchment-lined rimmed baking sheet or pan and cool completely at room temperature. The pie filling is now ready to use, or you can transfer it to a clean, airtight container and refrigerate for up to 2 weeks or freeze for 3 months.
Notes
Flavor Tips – All cherries have their own flavor profile, so make sure to taste the cherries after adding the sugar and extract so you can adjust for sweetness. Do this before you add the tapioca starch or cornstarch. You can also adjust after boiling the cornstarch.
Storage – Cooked and cooled cherry pie filling can be stored in an airtight container in the refrigerator for two weeks or up to two months in the freezer. Allow to defrost in the fridge or at room temperature.
Nutrition
Condiments, Dessert
American
149
Before You Go
I hope you thoroughly enjoyed preparing and tasting this delightful homemade cherry pie filling recipe. It’s truly a labor of love that pays off in delicious dividends. Don’t stop your baking adventure here! Be sure to explore our other mouth-watering pie and tart recipes, such as the wonderfully tart and easy key lime pie or these incredibly rich and satisfying mini salted chocolate tarts. Happy baking!