

This Red Velvet Cheese Ball is a crowd-pleasing snack or dessert perfect for holiday gatherings, Valentine’s Day, or any celebration. It pairs wonderfully with vanilla cookies or graham crackers.

I first noticed this red velvet cheese ball recipe on Pinterest and finally tasted it at a friend’s party. I expected it to be overly sweet, but it surprised me: creamy, balanced, and easy to enjoy without feeling too rich. I went back for seconds.
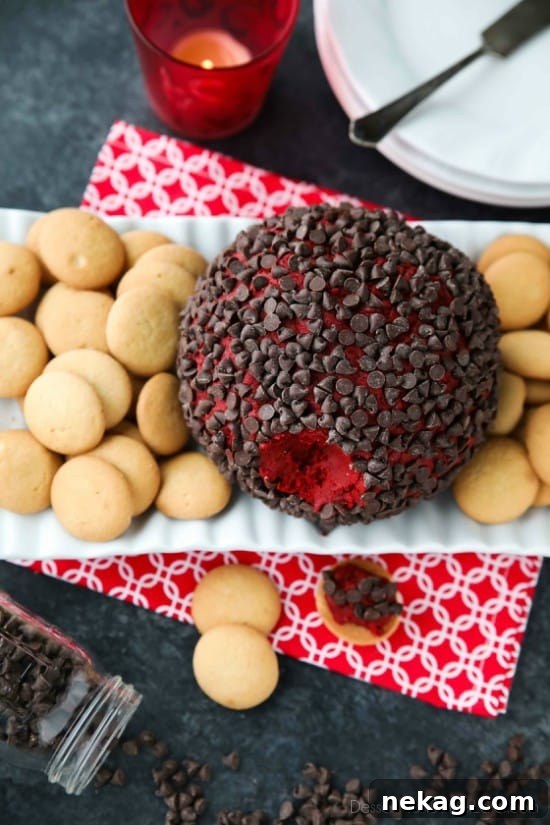
The recipe is versatile: the original calls for less cake mix, but using a whole box worked well here and avoided leftover mix. I prefer serving the cheese ball at room temperature so it’s soft and easy to scoop. The bright red color makes it especially festive for Christmas or Valentine’s Day.
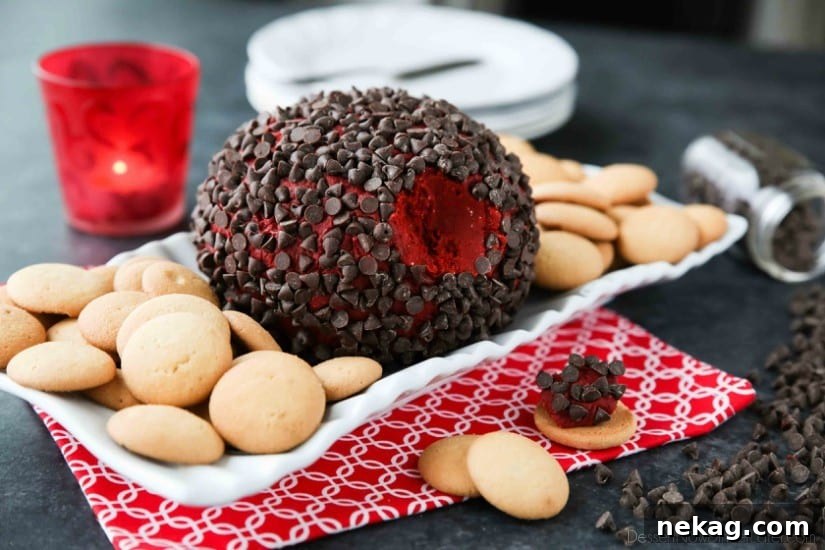

Red Velvet Cheese Ball
Pin
Rate
Save
Ingredients
- 8 oz (226 g) cream cheese, room temperature
- ½ cup (113 g) unsalted butter, room temperature
- 15.25 oz (432 g) box red velvet cake mix, dry
- ½ cup (60 g) powdered sugar
- 2 Tbsp brown sugar
- ½ cup (85 g) mini chocolate chips
- vanilla cookies or graham crackers, for serving
Instructions
-
Heat-treat the dry cake mix by spreading it on a baking sheet and baking at 350°F for about 5 minutes. Allow it to cool completely. (This step reduces risk from raw flour while keeping the mix flavorful.)
-
In a stand mixer fitted with the paddle (or using a hand mixer), beat the cream cheese and butter until smooth.
-
Add the cooled cake mix, powdered sugar, and brown sugar. Mix until well combined and uniform in color.
-
Scrape the mixture onto plastic wrap and shape it into a ball using the wrap to help. Refrigerate, wrapped, until firm enough to handle, about 30 minutes.
-
Spread the mini chocolate chips on a plate. Unwrap the cheese ball and roll it in the chips to coat. Tip: use the plastic wrap to assist rolling and keep hands cleaner. Serve with vanilla cookies or graham crackers.
Notes
**Recipe lightly adapted from Taste and Tell.
Sharing this recipe with a link is encouraged. Copying full recipes or photos to social media without permission is prohibited. Content and photographs are copyright protected.
Did you make this?
Leave a rating below and consider following for more recipes.