
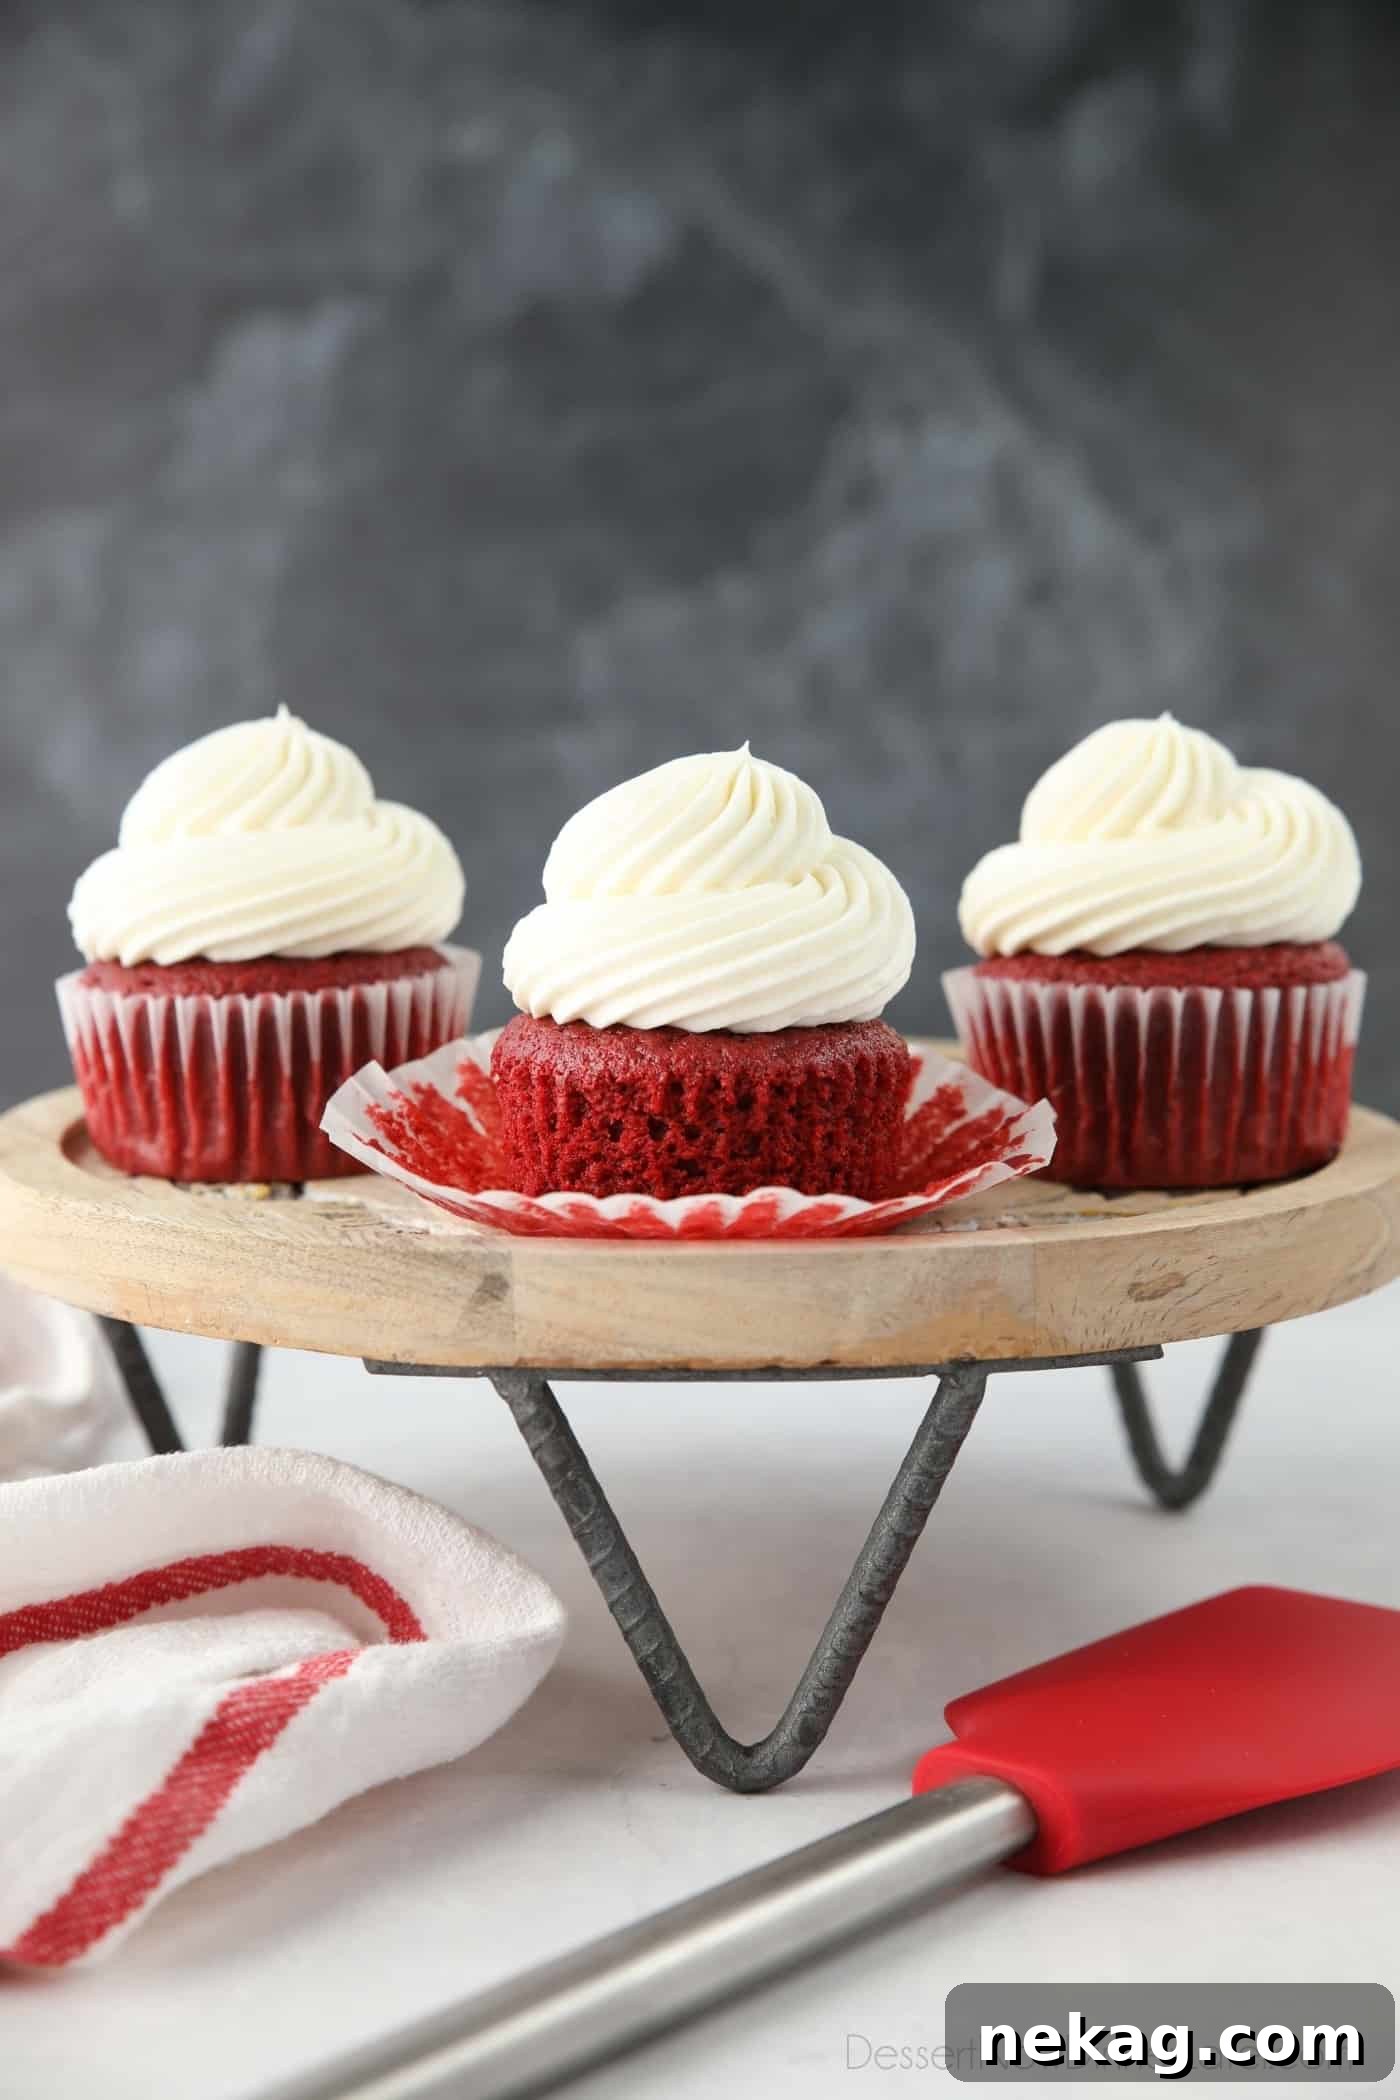
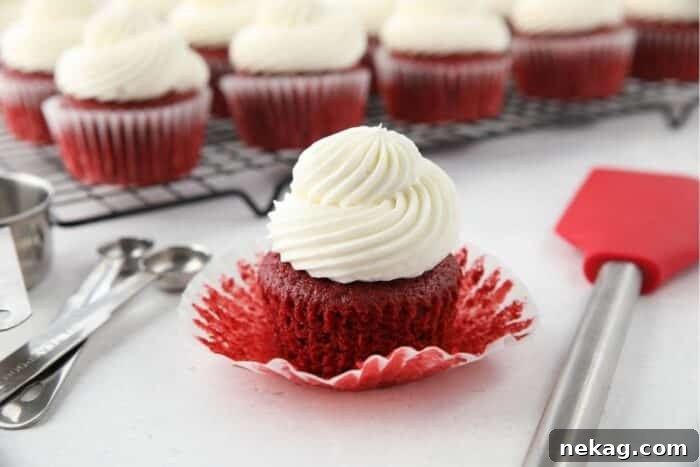
These Red Velvet Cupcakes are more than just a dessert; they are a celebration of flavor and texture, renowned for their stunning crimson hue and signature tangy cream cheese frosting. Each bite offers a delightful journey through a fluffy, moist crumb with a subtle hint of chocolate, culminating in a melt-in-your-mouth experience that is truly unforgettable. Perfect for festive occasions like Christmas and Valentine’s Day, or any special gathering that calls for a touch of elegance and indulgence, this recipe ensures show-stopping results every time.
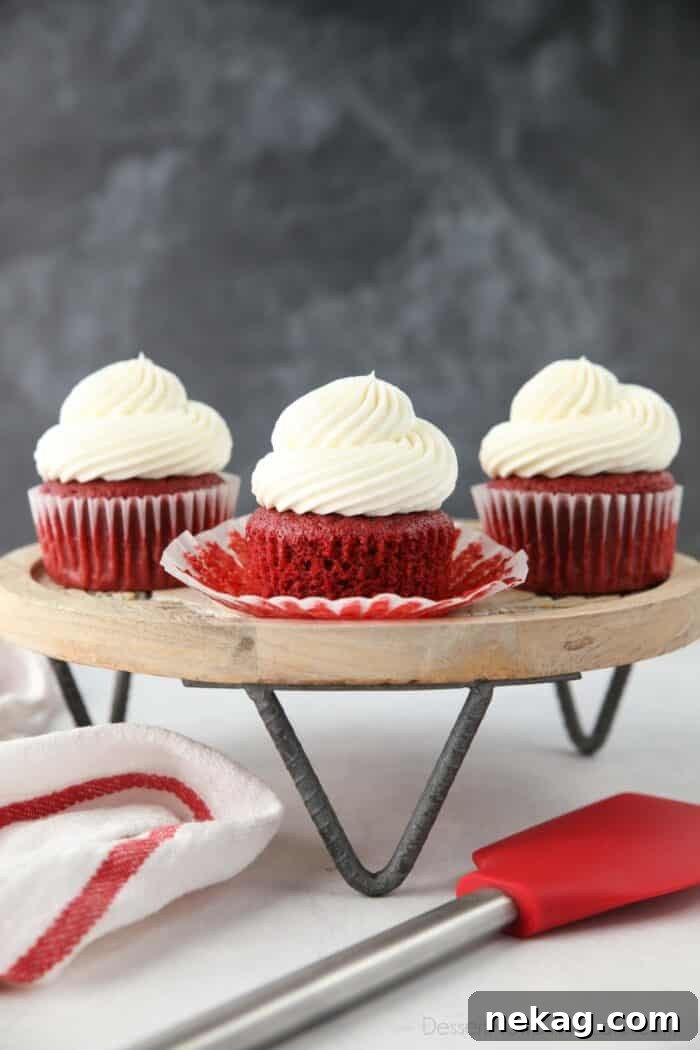
Few desserts evoke the same sense of joy and festivity as red velvet treats. Their striking red and white appearance instantly brings to mind images of holiday cheer and heartfelt declarations of love, making them a perennial favorite for Valentine’s Day, Christmas, or any moment deserving of a sweet, visually appealing indulgence. The irresistible charm of a beautifully colored red cake, crowned with a cloud of pristine white cream cheese frosting, is simply undeniable. It’s a dessert that not only tastes incredible but also adds a touch of sophistication to any dessert spread.
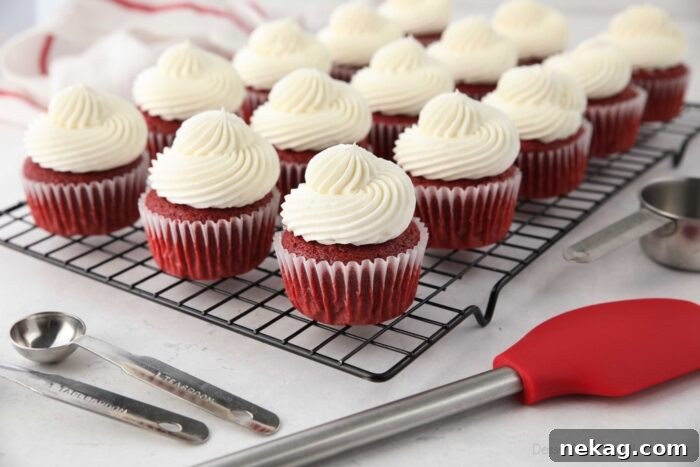
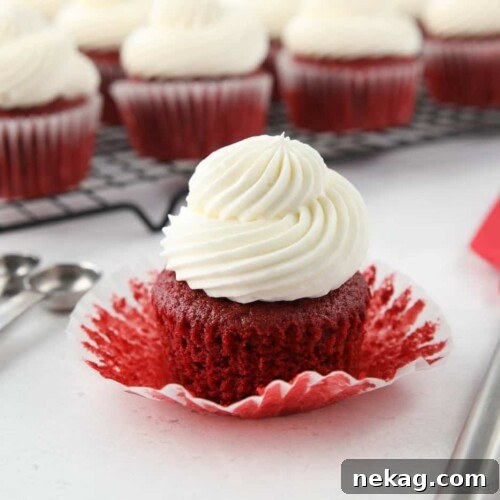
Today, we’re diving into an incredibly easy-to-follow recipe for these classic red velvet cupcakes. Our method yields cupcakes that are so remarkably fluffy and moist, you’ll find the wrappers practically peeling away on their own, revealing a perfect, tender crumb beneath. This isn’t just another cupcake recipe; it’s your guide to creating bakery-quality red velvet delights right in your own kitchen.
A crucial ingredient for achieving the authentic red velvet flavor and texture is buttermilk. We understand that finding buttermilk in stores, especially during busy holiday seasons, can sometimes be a challenge. But fret not! We’ll share a simple, foolproof trick to make your own homemade buttermilk substitute, ensuring your baking plans never get derailed. This clever substitution means you can whip up these delectable red velvet cupcakes whenever the craving strikes, without any added stress.
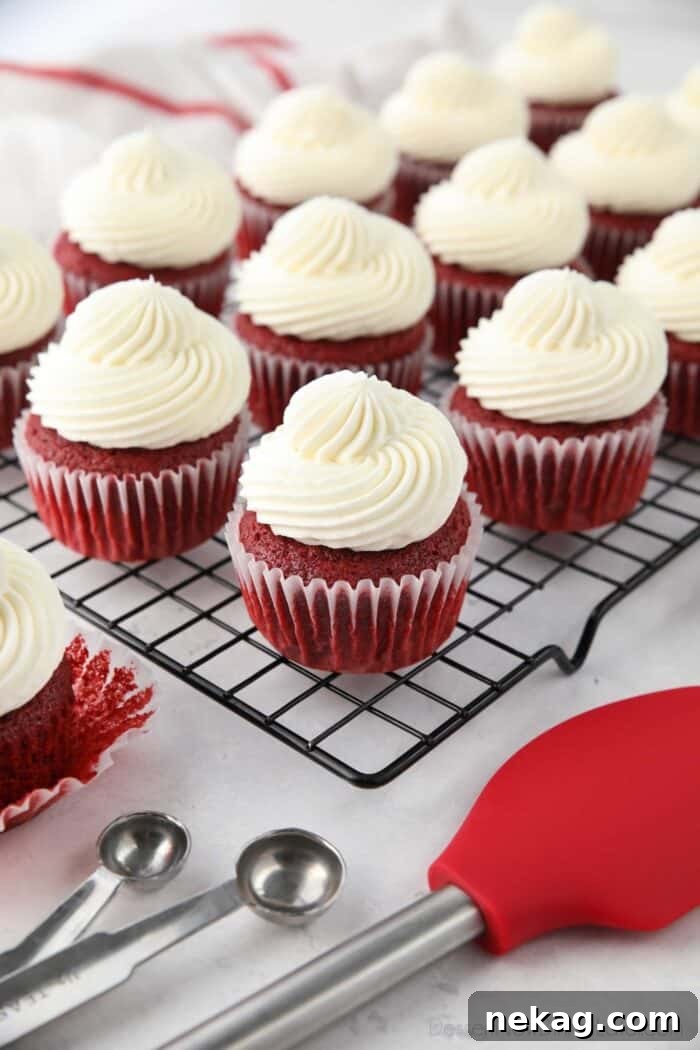
Unveiling the Magic of Red Velvet Cupcakes
There’s often a common misconception surrounding this beloved dessert: what exactly constitutes a red velvet cake? And perhaps more frequently asked, are red velvet cupcakes merely chocolate cupcakes dyed red? These are excellent questions, especially given the distinct and much-hyped flavor profile of red velvet.
Let’s set the record straight: Red Velvet Cupcakes are definitively not the same as chocolate cupcakes. While both may share cocoa powder as an ingredient, their flavor profiles, textures, and underlying chemical reactions are vastly different. Chocolate cupcakes are typically rich and intensely chocolatey, often relying on a significant amount of cocoa or melted chocolate. Red velvet, on the other hand, offers a more nuanced experience.
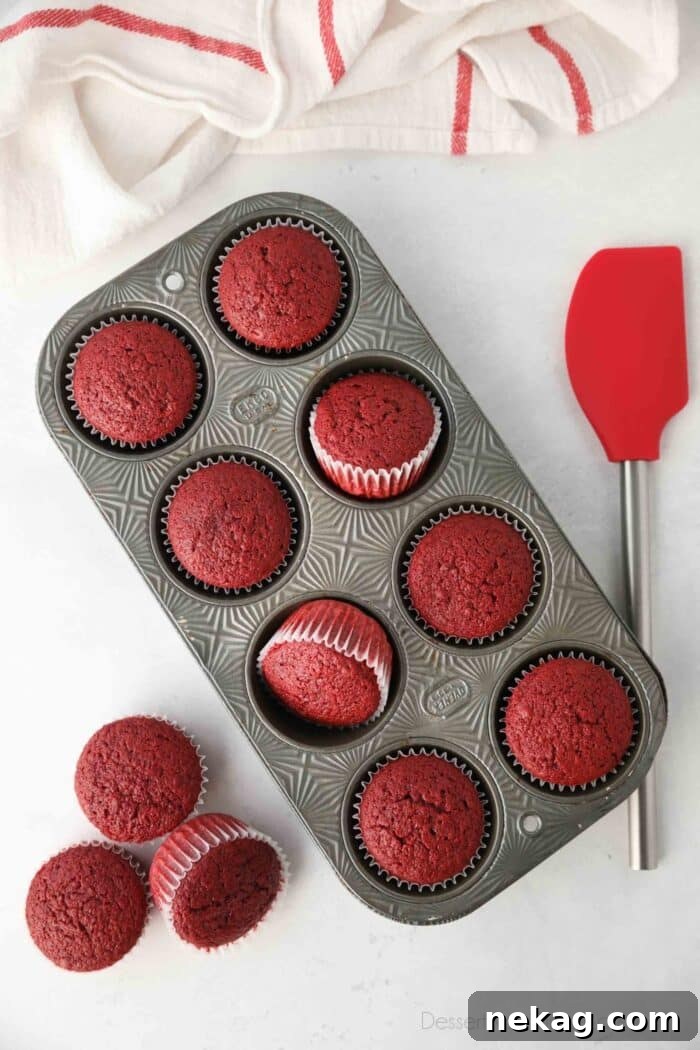
At its heart, a true Red Velvet Cupcake is a delightful variation of a vanilla cupcake, but with a few crucial additions that give it its iconic identity. It contains a subtle touch of cocoa powder, which contributes to a mild, rounded chocolate note rather than an overpowering one. The distinct tang and tender crumb come from the interaction of vinegar and buttermilk. Historically, the reaction between acidic ingredients and natural cocoa powder (which contains anthocyanin, a pH-sensitive antioxidant) would produce a reddish-brown hue. Today, red food coloring is consistently added to ensure that vibrant, unmistakable scarlet red color that we all associate with red velvet.
The name “velvet” isn’t just for show; it describes the cake’s exceptional texture. These cupcakes boast an incredibly fine crumb, making them feel incredibly smooth and luxurious on the palate, coupled with a rich buttery flavor. When perfectly paired with a lightly sweet, fluffy whipped cream cheese frosting, these red velvet cupcakes ascend to a league of their own. The tangy, creamy frosting provides the ideal counterpoint to the cake’s gentle sweetness and subtle cocoa notes, creating a harmonious and utterly delicious dessert experience that is a guaranteed winner for any occasion.
Essential Ingredients for Perfect Red Velvet Cupcakes
Crafting these exquisite red velvet cupcakes requires a handful of standard baking ingredients, most of which you likely already have in your pantry. However, understanding the specific role of each component and knowing how to make smart substitutions can elevate your baking game. Let’s delve into the details of what you’ll need and why each ingredient is important for achieving that signature red velvet magic.
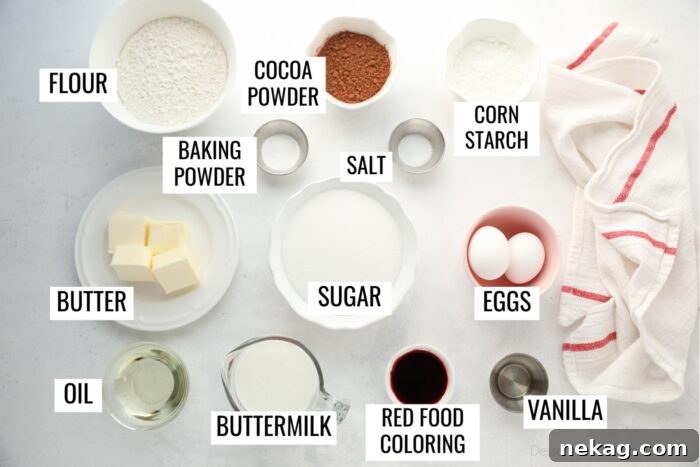
- All-Purpose Flour: While some recipes call for cake flour, you absolutely don’t need it to make these incredibly tender cupcakes. The key here is proper measurement and preparation. Always stir your flour to aerate it before gently spooning it into your measuring cup and leveling it off. This prevents over-packing, which can lead to a dense cupcake. We’ll also be sifting the dry ingredients together, a crucial step for achieving that desired velvety, fine crumb. Pro Tip: If you do have cake flour on hand, you can substitute it directly for the all-purpose flour and cornstarch in this recipe for an even more delicate texture.
- Cocoa Powder: This is the ingredient responsible for the distinctive, subtle chocolate flavor that underpins red velvet. You can use either standard unsweetened cocoa powder or Dutch-processed cocoa powder; both will yield delicious results, though Dutch-processed offers a slightly mellower flavor and darker color (which will still be masked by the red food coloring).
- Corn Starch: This is our secret weapon for mimicking cake flour when using all-purpose flour. Corn starch helps to inhibit the formation of some of the gluten in all-purpose flour, resulting in a more tender and fine crumb, characteristic of red velvet. If you don’t have corn starch, you can use an equal amount of additional all-purpose flour, but incorporating corn starch truly helps achieve that luxurious, velvety texture.
- Baking Powder: As a leavening agent, baking powder is essential for giving our cupcakes their beautiful rise and light texture. Most common varieties are double-acting, meaning they initiate a reaction when mixed with wet ingredients and again when exposed to the heat of the oven, ensuring maximum lift and airiness.
- Salt: A small but mighty ingredient, salt doesn’t just add flavor; it intensifies and balances all the other sweet and savory notes in the cake, preventing it from tasting flat.
- Unsalted Butter: For a truly rich and delicious cake, unsalted butter is paramount. Using unsalted butter allows you to precisely control the amount of salt in your recipe. Ensure your butter is at room temperature before mixing; this is critical for proper emulsification with the sugar, creating a light and airy batter.
- Granulated Sugar: Beyond sweetening, granulated sugar contributes to the cake’s tenderness and moisture. For an even finer crumb, a little trick is to pulse your granulated sugar in a food processor until it’s super fine, but not quite powdery. This essentially creates your own caster sugar, which dissolves more readily and helps achieve a smoother texture.
- Large Eggs: Eggs play multiple vital roles in baking: they help to leaven the cake, bind ingredients, and build structure. The size of the eggs matters, so stick to large eggs for consistent results. Like butter, eggs should also be at room temperature. Cold eggs can cause the butter in the batter to seize or curdle, resulting in a lumpy texture and affecting the overall consistency of your finished cupcakes.
- Oil (Canola/Vegetable): While butter provides unparalleled flavor, a touch of neutral-flavored oil (like canola or vegetable oil) is added to enhance the cake’s moisture. The combination of both butter and oil ensures a cake that is both flavorful and exceptionally moist, staying fresh longer.
- Buttermilk: This fermented milk is a cornerstone of red velvet cake. Thicker than regular milk but thinner than cream, buttermilk boasts a distinct tang that is signature to red velvet. Its acidity reacts with other ingredients, tenderizing the gluten in the flour and contributing to the cake’s light, fluffy texture. As with eggs, allow your buttermilk to come to room temperature before use for optimal mixing and batter consistency. (See below for how to make your own!)
- Red Food Coloring: To achieve the iconic, vivid scarlet red color, food coloring is essential. This recipe calls for 1 Tablespoon of liquid red food coloring (roughly half of a 1-oz bottle). You can use the entire bottle if you desire an even deeper, more dramatic hue. If using gel paste food coloring, which is much more concentrated, you’ll need significantly less—perhaps just two to three good drops or swipes with a toothpick—to achieve the same vibrant effect.
- Vanilla Extract: Pure vanilla extract is used to deepen and enhance all the other flavors in the cupcake. While I sometimes use clear vanilla to maintain the bright red color, it’s not strictly necessary; regular pure vanilla extract works perfectly and tastes just as wonderful.
No buttermilk on hand? No problem! You can effortlessly make a homemade substitute for your Red Velvet Cupcakes. Simply mix 1 cup of regular milk (whole or 2%) with 1 Tablespoon of distilled white vinegar or fresh lemon juice. Give it a gentle stir and let it sit undisturbed for 5-10 minutes. You’ll notice it will begin to curdle slightly, signaling it’s ready to be used in your recipe, providing the necessary acidity and tang.
The Science Behind Red Velvet: The Power of Vinegar!
While discussing the ingredients, you might have noticed a recurring theme of acidity, particularly from buttermilk. But let’s spotlight one of the most vital, yet often overlooked, ingredients that contributes to the unique character of red velvet cake: vinegar!
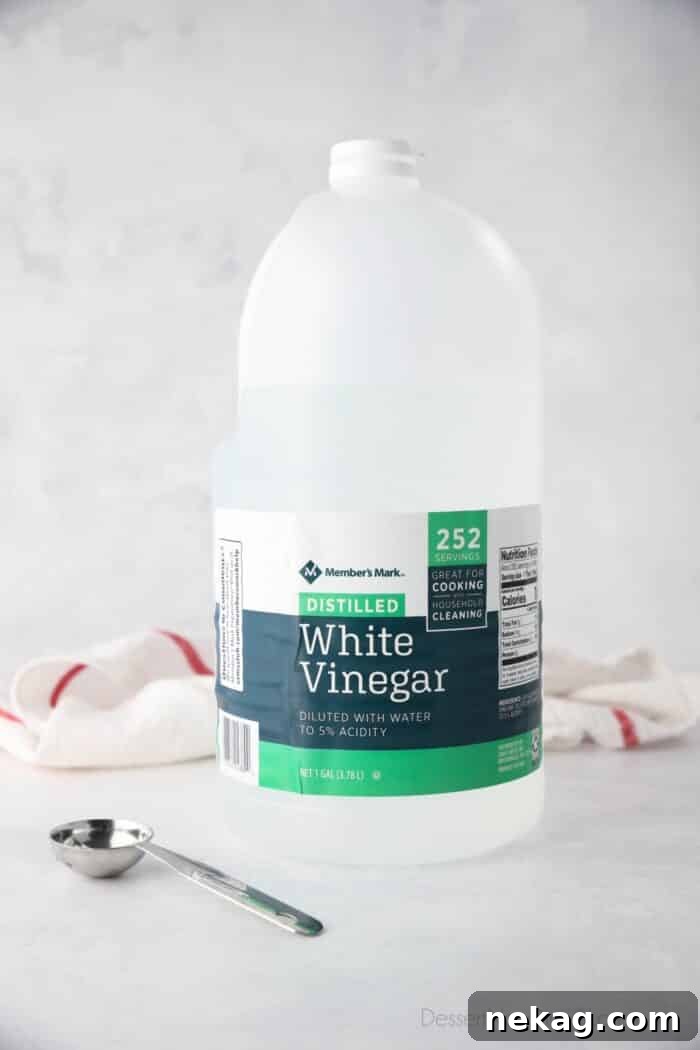
Red Velvet Cupcakes truly embrace acidity, featuring a powerful duo of acids from both buttermilk AND vinegar. Beyond simply contributing to the signature tangy flavor that distinguishes red velvet cake, these acids play a crucial role in a fascinating chemical reaction. They interact with the cocoa powder, which contains naturally occurring anthocyanin. Anthocyanin is a pH-sensitive antioxidant that reacts to acids, historically producing a reddish-brown hue in traditional red velvet cakes. This interaction is what originally gave red velvet its name and subtle color.
However, to achieve the truly gorgeous, bright red color that is now synonymous with modern red velvet cakes, you will still need to add red food coloring. The natural reaction alone often isn’t enough to create the vibrant scarlet we expect today.
It is this delicate and precise chemical reaction between the acid (buttermilk and vinegar) and the cocoa that truly defines “red velvet.” This interaction is what develops its unique flavor profile, tender texture, and even contributes to its color. Without the cocoa, it would simply be a white cake colored red. So, while food coloring provides the visual punch, the cocoa and acids provide the soul of a true red velvet cake.
The Secret to a Velvety Crumb: Sifting Your Dry Ingredients
Achieving the signature fine, velvety crumb of red velvet cupcakes isn’t just about the right ingredients; it’s also about meticulous preparation. One of the most critical steps to ensure your cupcakes are as light and smooth as possible is the proper sifting of your dry ingredients.
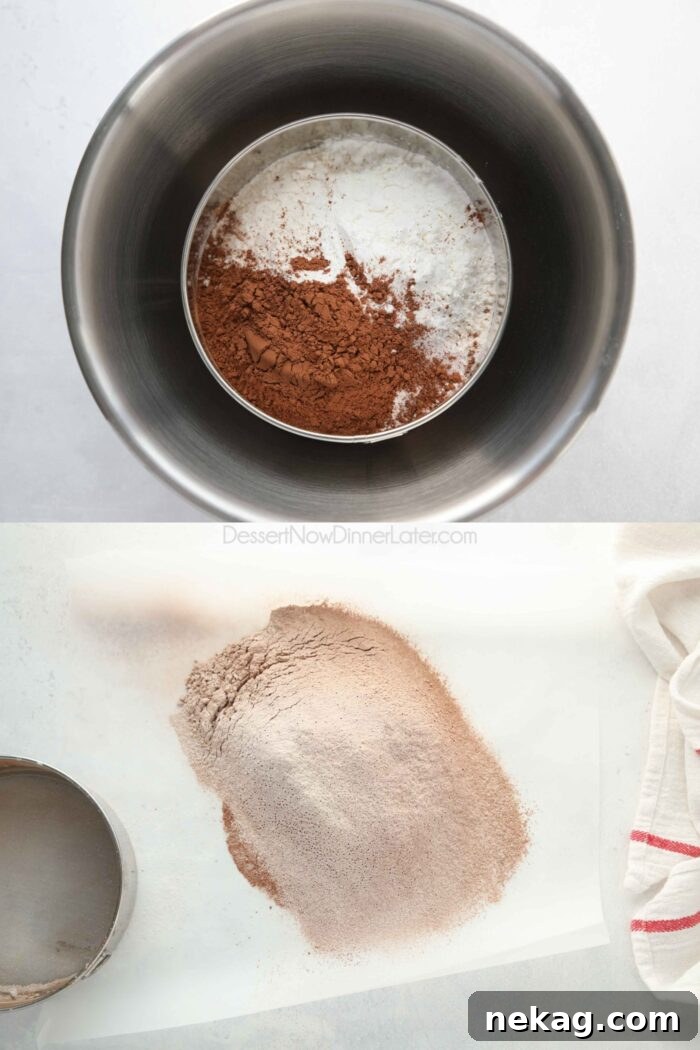
To cultivate that luxuriously fine and velvety texture, you must sift all your dry ingredients together. This includes the flour, cocoa powder, cornstarch, baking powder, and salt. Sifting helps to break up any lumps, ensure uniform distribution of the leavening agents and flavorings, and, most importantly, incorporate a significant amount of air into the mixture.
For truly superior results, I recommend sifting these dry ingredients not just once, but twice. This double sifting technique thoroughly blends everything, guaranteeing an even texture throughout your batter and introducing even more air, which contributes to a lighter, more tender cupcake. Don’t skip this step – it makes a noticeable difference!
PRO TIP: To make your baking process smoother and minimize mess, try sifting your dry ingredients directly onto a large piece of parchment paper. Once sifted, you can easily gather the parchment paper and use it as a funnel to pour the dry ingredients neatly into your mixer bowl. This simple trick saves time and makes cleanup a breeze!
Step-by-Step Guide: How to Make Red Velvet Cupcakes
Creating these exquisite red velvet cupcakes is surprisingly straightforward, especially when using either a stand mixer or an electric hand mixer with a large bowl. Follow these simple steps for perfectly moist and fluffy results every time.
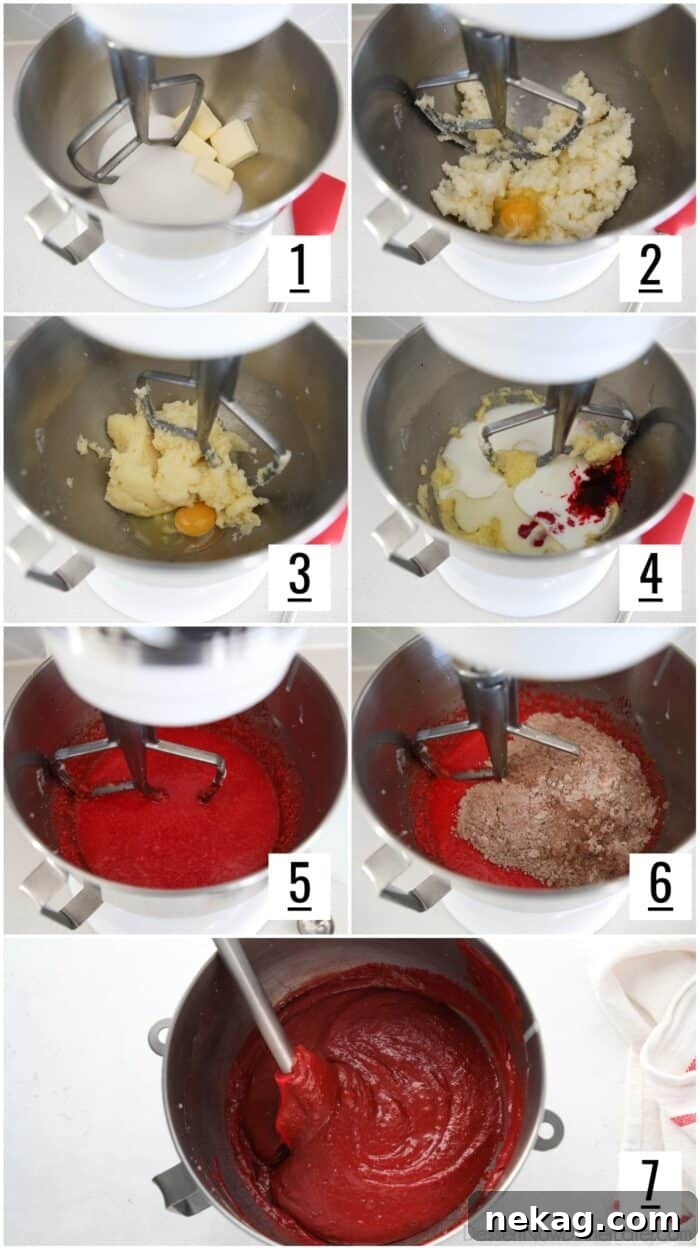
- Prepare Your Baking Environment: Begin by preheating your oven to 350 degrees Fahrenheit (175°C). Line a 12-cup muffin tin with paper cupcake liners. If you plan to bake more than 12, prepare additional tins. Set these aside while you prepare your batter.
- Sift Dry Ingredients: In a medium bowl, or onto a large piece of parchment paper, sift together the all-purpose flour, cocoa powder, corn starch, baking powder, and salt. Sift them not just once, but twice with a fine mesh sieve. This crucial step aerates the dry ingredients and ensures a lump-free, velvety crumb in your final cupcakes.
- Cream Butter and Sugar: In the bowl of your stand mixer (fitted with the paddle attachment) or a large mixing bowl (if using a hand mixer), combine the room temperature unsalted butter and granulated sugar. Beat on medium-high speed until the mixture becomes wonderfully fluffy and light in color, almost pale yellow or white. This creaming process incorporates air, essential for a light texture.
- Incorporate Eggs, One by One: Add the first room temperature large egg to the creamed butter and sugar mixture. Mix on medium speed until it is fully incorporated, scraping down the sides of the bowl as needed. Repeat this process with the second egg, ensuring each is thoroughly mixed in before adding the next. Mixing eggs separately helps them emulsify properly into the fat, preventing a curdled appearance.
- Add Wet Ingredients: Next, pour in the oil, room temperature buttermilk, red food coloring, distilled white vinegar, and vanilla extract.
- Combine Wet Ingredients: Mix the batter on low speed until all the added wet ingredients are just combined. Be careful not to overmix at this stage. Stop the mixer and use a rubber spatula to scrape down the sides and bottom of the bowl, ensuring everything is evenly incorporated.
- Add Dry Ingredients to Wet: With the mixer on its lowest speed, gradually add the sifted dry ingredients to the wet mixture. Mix only until the dry ingredients are *just* incorporated into the batter. This is a critical point: do not over-mix! Overmixing develops too much gluten, which can lead to tough, dense cupcakes. A few small streaks of flour are acceptable; they will disappear during baking.
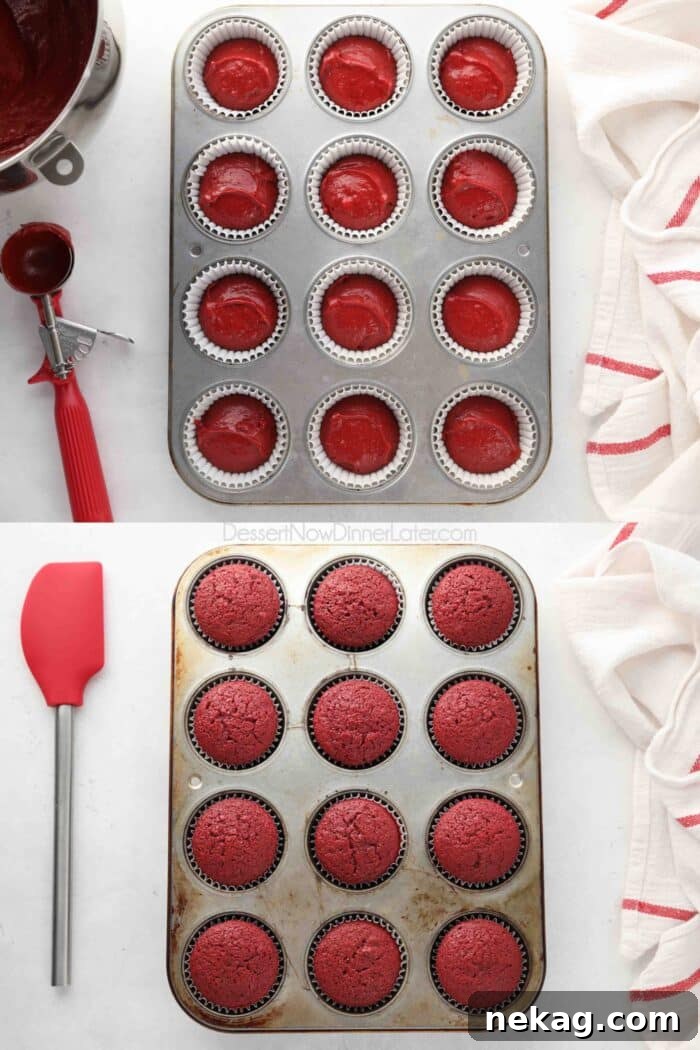
- Fill and Bake: Immediately spoon the perfectly prepared batter into your cupcake-lined muffin tins. Aim to fill each liner about two-thirds full. A #24 scoop is ideal for achieving consistently sized cupcakes. This recipe typically yields about 20 cupcakes.
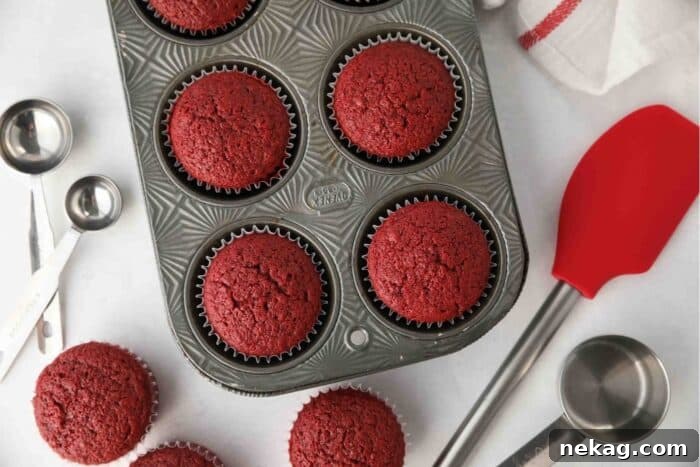
- Bake to Perfection: Place the muffin tins in your preheated oven and bake at 350˚F (175°C) for approximately 20 minutes. Baking time may vary slightly depending on your oven. The cupcakes are ready when a wooden toothpick inserted into the center comes out clean or with only a few moist crumbs attached, and the tops spring back gently when lightly touched.
- Cool Completely: Once baked, remove the cupcakes from the oven and let them cool in the muffin tins for a few minutes before transferring them to a wire rack to cool completely. It is absolutely essential that the cupcakes are entirely cool before you apply any frosting, as warm cupcakes will cause the frosting to melt.
The Perfect Pairing: Cream Cheese Frosting
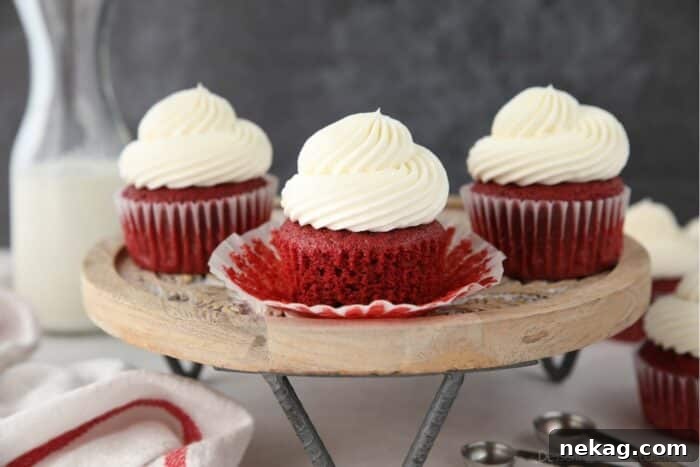
No Red Velvet Cupcake is truly complete without its signature companion: a rich, tangy, and utterly delightful cream cheese frosting. This iconic frosting isn’t just a topping; it’s an integral part of the red velvet experience, providing the perfect balance to the cake’s subtle sweetness and distinct notes.
You can find my highly-rated classic cream cheese frosting recipe available on my blog, offering a timeless and beloved option. Given that this cupcake recipe yields approximately 20 cupcakes, you will most likely need to scale the frosting recipe up by 1.5 to 2 times to ensure you have plenty of frosting to generously pile high on each cupcake, achieving that beautifully grand, pictured effect.
For these particular cupcakes, I personally chose to use my lighter and airier whipped cream cheese frosting. This version offers an abundance of frosting and delivers a taste that is just as delicious, if not even more so, than its classic counterpart. Its lighter texture provides a refreshing contrast, making each frosted red velvet cupcake an even more heavenly treat.
Expert Baking Tips and Storage Solutions
To ensure your Red Velvet Cupcakes turn out absolutely perfect every time, and to keep them fresh for as long as possible, here are some invaluable baking tips and storage guidelines:
- Always Sift Dry Ingredients: As mentioned previously, this step is paramount. Since we’re using all-purpose flour instead of cake flour in this red velvet cupcakes recipe, double sifting the dry ingredients is highly recommended. Use any fine mesh sieve; I find a 6-inch round sifter works wonderfully for this. Sifting helps distribute ingredients evenly, eliminates lumps, and most importantly, aerates the mixture, contributing to a lighter, fluffier cupcake. Remember to also properly measure your flour by stirring it, then spooning it into the measuring cup, and leveling it off, rather than packing it.
- Embrace Room Temperature Ingredients: For a smooth, emulsified batter and optimal texture, it’s crucial that all refrigerated ingredients—butter, eggs, and buttermilk—are at room temperature. Cold ingredients can cause the batter to curdle and prevent proper mixing. Plan ahead and pull them from the fridge 30-60 minutes before you begin baking.
- Uniformity with a Scoop: For professional-looking, consistently sized cupcakes that bake evenly, invest in a reliable cupcake scoop. I highly recommend using a #24 scoop to fill your cupcake liners approximately two-thirds full. This simple tool guarantees each cupcake bakes uniformly, preventing some from being over-baked while others are under-baked.
- Storage for Leftover Cupcakes: Once frosted, store any leftover red velvet cupcakes in an airtight container in the refrigerator for up to 3 days. The cream cheese frosting requires refrigeration. For the best flavor and texture, remove the cupcakes from the fridge about 20-30 minutes before serving. This allows the cake and frosting to come closer to room temperature, softening the cake and enhancing the creaminess of the frosting.
- Freezing Unfrosted Cupcakes: If you plan to bake ahead or have unfrosted cupcakes, they freeze beautifully. Wrap individual cupcakes (or in groups of up to 6) tightly in plastic wrap, then place them inside an airtight container or a freezer-safe bag. They can be frozen for up to 2 months. To defrost, simply place them at room temperature for a few hours.
- Freezing Frosted Cupcakes: Freezing frosted cupcakes requires a slightly different approach to protect the delicate frosting. First, partially freeze the cupcakes uncovered on a baking sheet until the frosting is firm enough to touch without smudging (about 1-2 hours). Once firm, wrap each cupcake individually in plastic wrap, then place them in an airtight container to freeze completely. To thaw, remove the plastic wrap and let them defrost overnight in the refrigerator, or at room temperature for 1-2 hours before serving.
Explore More Decadent Red Velvet Desserts
If your love for red velvet extends beyond cupcakes, you’re in luck! This iconic flavor profile lends itself beautifully to a variety of other delightful treats. Here are some more irresistible red velvet desserts you can try:
- Red Velvet Cake Roll: A stunning dessert featuring a tender red velvet sponge cake rolled with creamy filling.
- Red Velvet Brownies Recipe: Rich, fudgy brownies infused with that classic red velvet flavor and a hint of cocoa.
- Mini Red Velvet Cheesecakes: Bite-sized portions of creamy red velvet cheesecake, perfect for individual servings.
- Red Velvet Truffles: Decadent cake balls coated in chocolate, a delightful no-bake treat.
- Red Velvet White Chocolate Chip Cookies: Soft, chewy cookies with red velvet flavor and chunks of sweet white chocolate.
- Red Velvet Waffles: Start your day with a touch of indulgence – fluffy red velvet waffles drizzled with cream cheese icing.
- Red Velvet Skillet Cookie: A giant, warm red velvet cookie baked in a skillet, often topped with ice cream.
- Red Velvet Blossoms: Classic peanut butter blossom cookies reimagined with a vibrant red velvet base and a chocolate kiss center.
- Red Velvet Cheese Ball: A sweet and savory twist, perfect for dessert spreads or festive gatherings.
Red Velvet Cupcakes
Pin Recipe
Rate this Recipe
Save
Ingredients
- 1 ¾ cups (210 g) all-purpose flour
- ⅓ cup (27 g) cocoa powder
- ¼ cup (40 g) cornstarch
- 1 ½ tsp baking powder
- ½ tsp salt
- ½ cup (113 g) unsalted butter, (1 stick) room temperature
- 1 ½ cups (300 g) granulated sugar
- 2 large eggs, room temperature
- ¼ cup (59 ml) oil, (canola/vegetable)
- 1 cup (237 ml) buttermilk, room temperature
- 1 Tbsp red food coloring, (half of a 1-oz bottle)
- 1 Tbsp distilled white vinegar
- 1 tsp vanilla extract
Equipment
- 6-inch round sifter
- Wilton 12-cup Muffin or Cupcake Pan (Set of 2)
Instructions
- Preheat oven to 350 degrees Fahrenheit. Line muffin tins with paper cupcake liners. Set aside.
- Sift the flour, cocoa powder, corn starch, baking powder, and salt, TWICE, with a fine mesh sieve.
- In the bowl of a stand mixer with the paddle attachment, cream the butter and sugar until fluffy and pale.
- Add eggs one at a time, mixing completely between each addition.
- Add the oil, buttermilk, red food coloring, vinegar, and vanilla. Mix to combine. Scrape bowl.
- Add the dry ingredients to the wet ingredients in mixer. Mix until just combined. Do not over-mix!
- Use a #24 scoop to divide batter into cups. Will make 20 cupcakes.
- Bake at 350˚F for 20 minutes or until a toothpick inserted into the center comes out clean or with a few moist crumbs and the cake springs back when touched. Allow to cool completely before frosting. I used my Whipped Cream Cheese Frosting recipe.
Notes
- To make buttermilk: Stir together 1 cup of plain milk with 1 Tablespoon of white vinegar. Let sit for 5-10 minutes, until curdled. Use the entire mixture for the recipe.
- Store leftover red velvet cupcakes in an airtight container in the refrigerator up to 3 days. Remove leftover cupcakes from the fridge 20-30 minutes before consuming to take the chill off the cake.
- Freeze cupcakes wrapped in plastic wrap (in groups of up to 6, or individually) inside of an airtight container or freezer bag for up to 2 months. Defrost at room temperature.
- If freezing with the frosting on top, partially freeze cupcakes until firm enough to wrap individually. Then place in an airtight container to freeze completely. Remove plastic wrap and thaw in the fridge overnight or at room temperature for 1-2 hours.
Nutrition
Disclaimer: Nutritional values were calculated using a third-party tool and are provided as an estimation only.
Sharing this recipe with a link is both encouraged and appreciated. Copying/pasting and/or screenshots of full recipes to any social media is strictly prohibited. Content and photographs are copyright protected.
Recipe altered from allrecipes
*Originally published 12/7/11.