
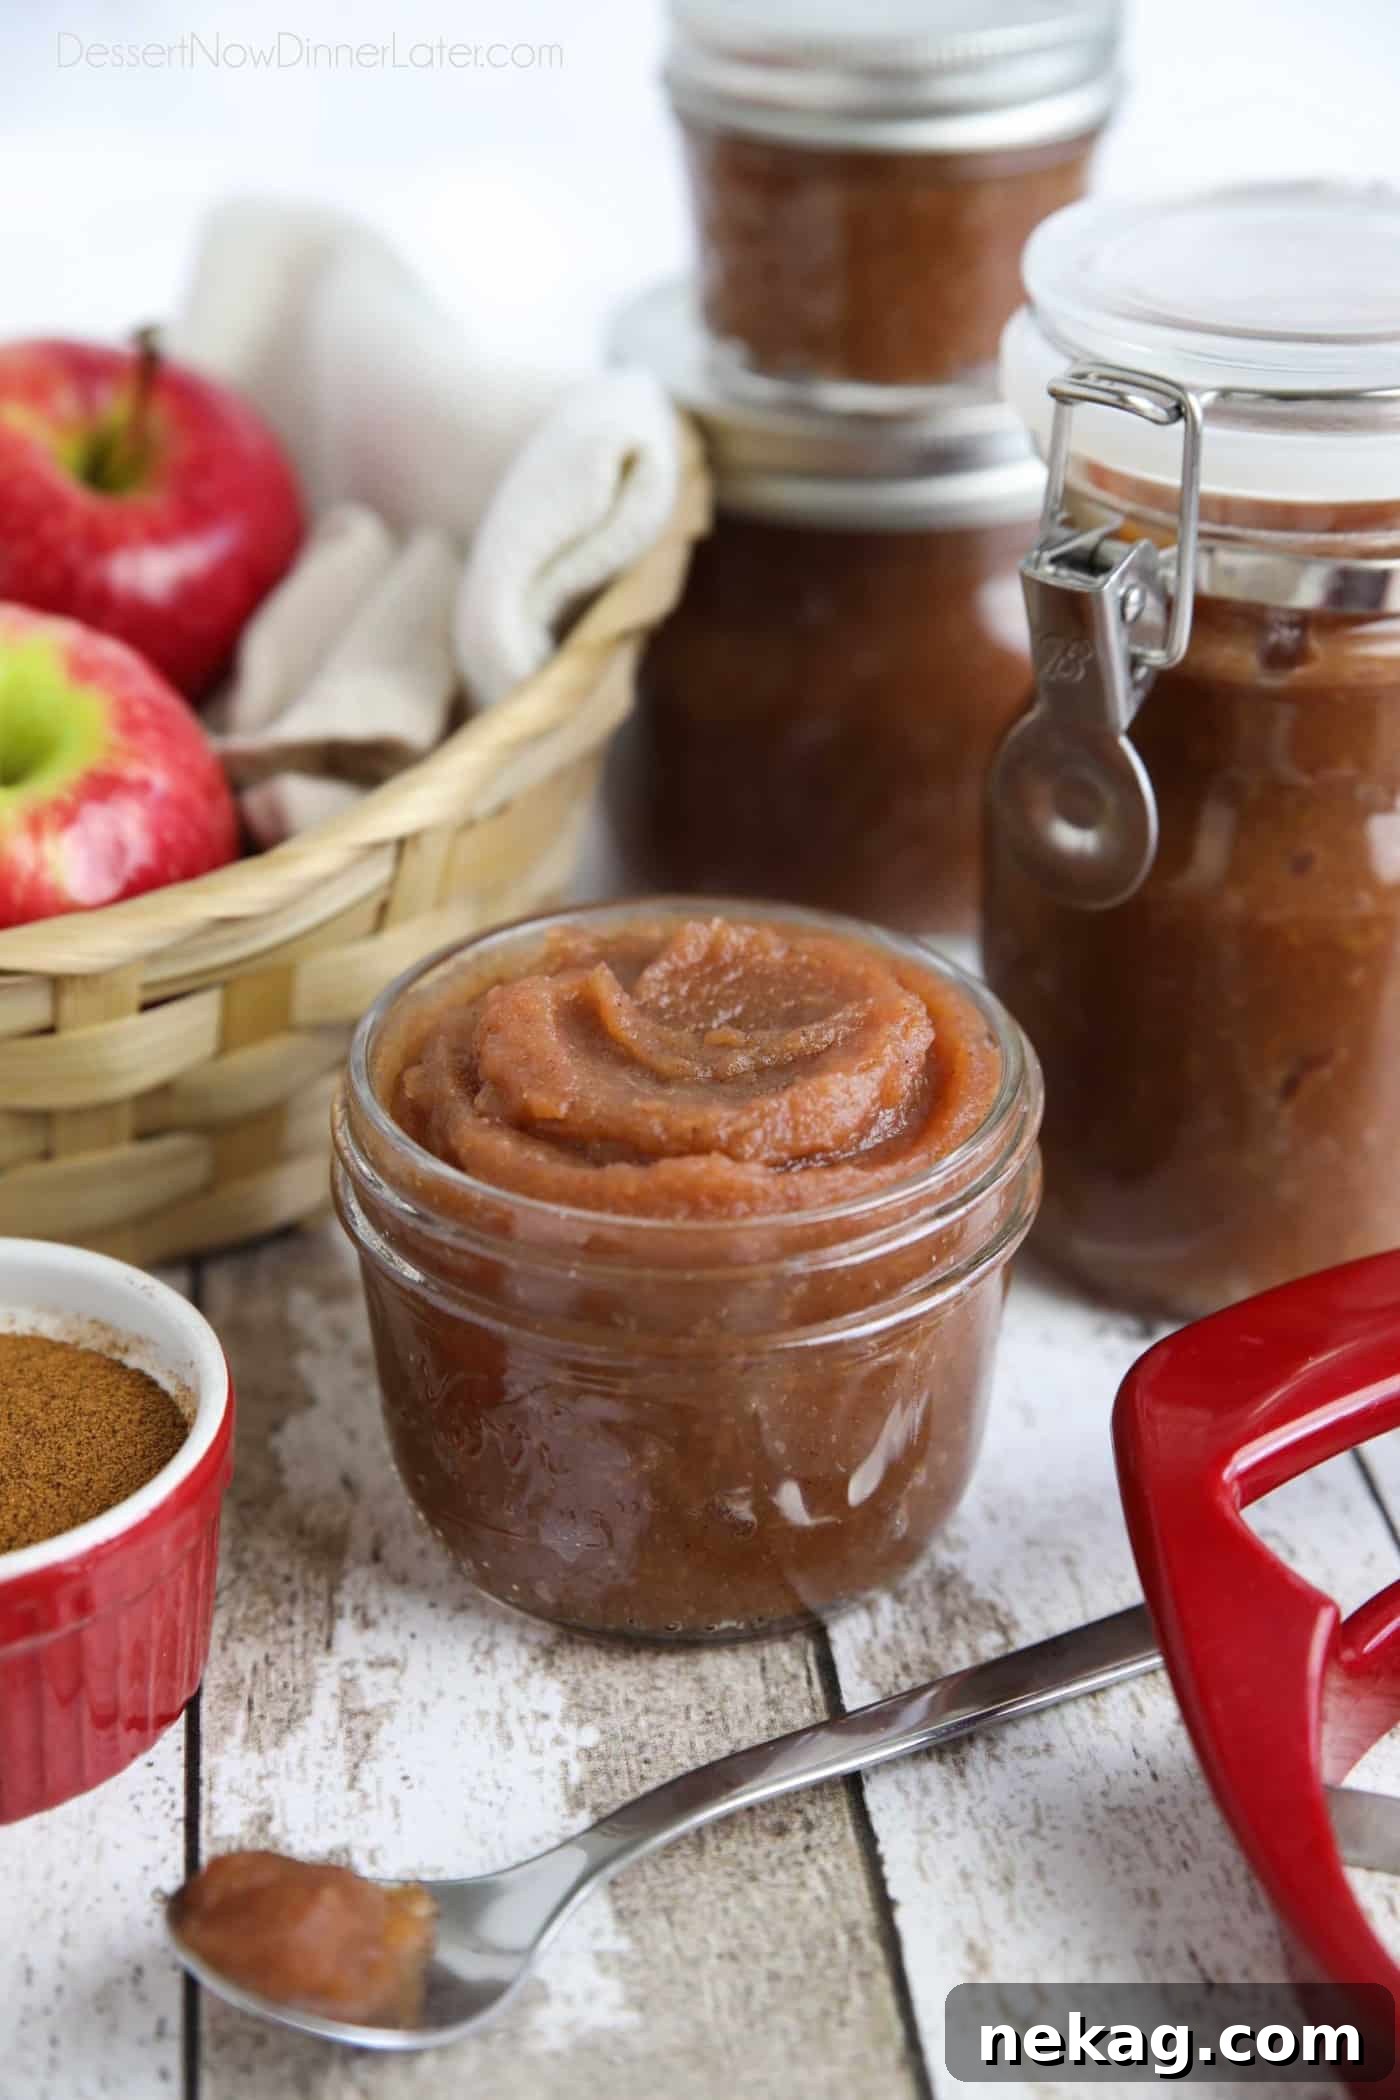
There’s a certain magic that fills the air when autumn arrives, bringing with it crisp breezes, colorful foliage, and the sweet scent of freshly picked apples. While apple pies and crumbles are beloved classics, there’s another seasonal delight that stands out for its rich flavor and incredible versatility: homemade apple butter. Thicker and more intensely flavored than applesauce, apple butter boasts a deep caramelized sweetness complemented by a symphony of warm, fragrant spices. It’s not just a spread; it’s a comforting hug in a jar, perfect as a topping, a snack, or a secret ingredient in your favorite recipes.
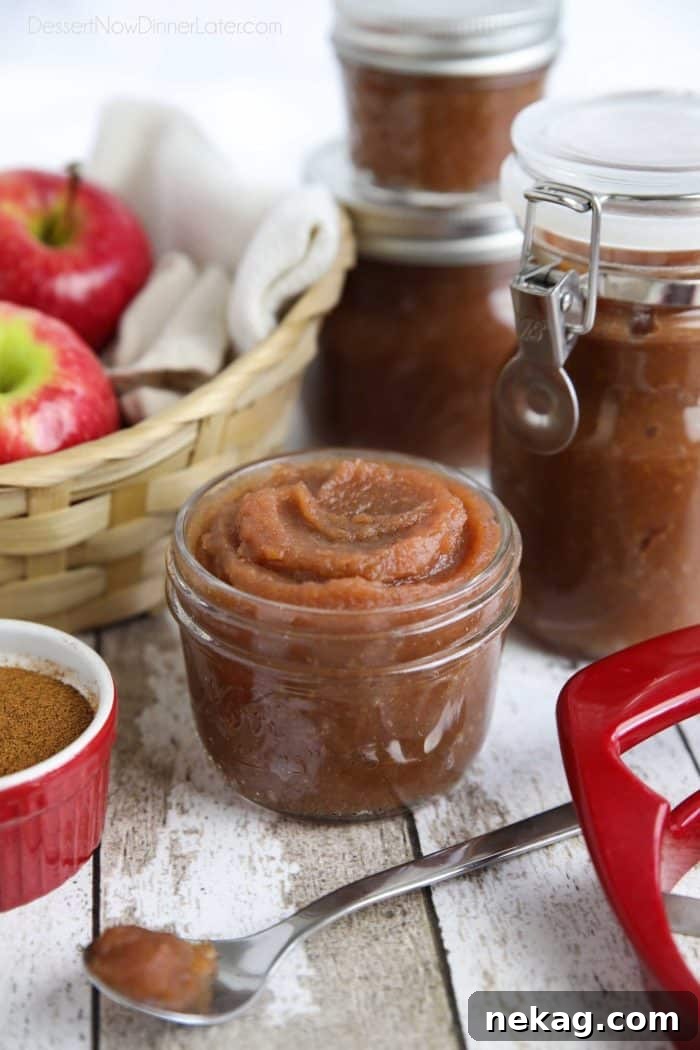
Fall is undoubtedly the prime season for apple picking, and with a bounty of fresh apples, the possibilities are endless. Beyond making and freezing batches of apple pie filling, dedicating some time to crafting your own batch of delicious homemade apple butter is a must. This timeless recipe transforms simple apples into a luxurious spread that captures the essence of autumn in every spoonful. Whether you prefer the quick satisfaction of the stovetop method or the hands-off convenience of a slow cooker, making apple butter from scratch is surprisingly easy. Plus, it can be stored in the refrigerator or freezer for enjoyment throughout the year, or preserved by canning for an even longer shelf life.
What Exactly is Apple Butter? Exploring this Autumnal Delicacy
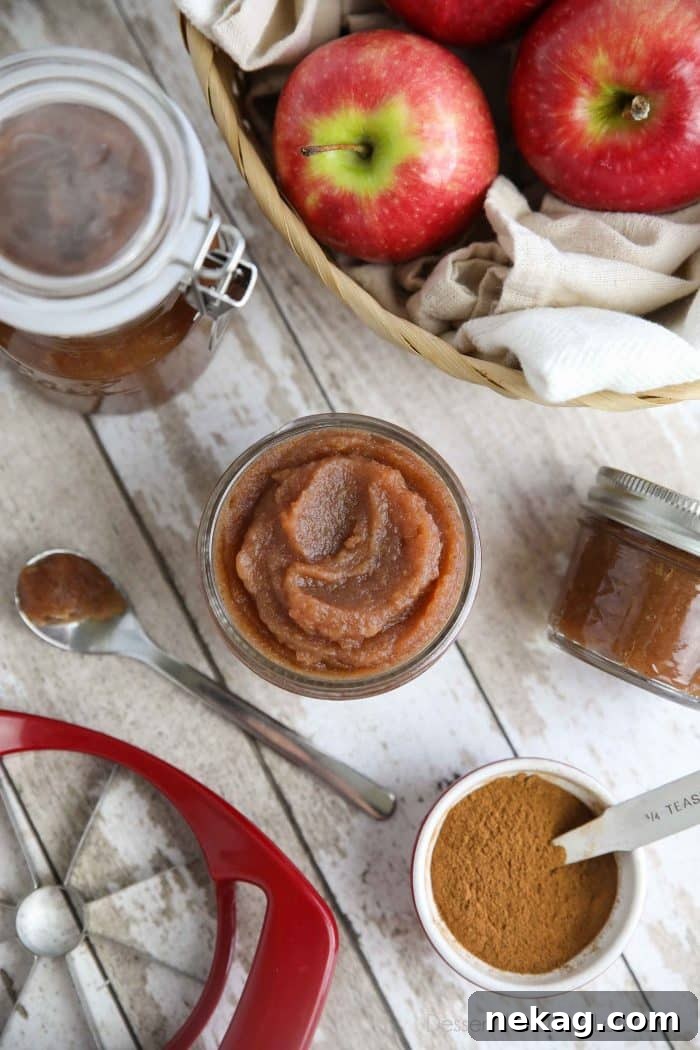
Despite its misleading name, apple butter contains no dairy butter whatsoever. The “butter” in its name refers to its incredibly smooth, thick, and spreadable consistency, much like a fruit spread or jam. At its core, apple butter is a highly concentrated form of applesauce, but the key difference lies in its preparation. While applesauce is typically cooked for a shorter period until the apples are soft, apple butter undergoes a much longer, slow cooking process. This extended cooking time allows the natural sugars in the apples to caramelize, intensifying their flavor and transforming them into a deep, rich brown color.
The result is a spread that is super concentrated in apple flavor, thick enough to be spread generously onto toast, biscuits, or pancakes, without running off. Infused with warm spices like cinnamon and cloves, apple butter offers a complex flavor profile that is both sweet and subtly tart, with hints of molasses from the caramelized sugars. It’s a truly unique condiment that offers a comforting warmth, making it an essential part of any fall pantry.
Choosing the Best Apples for Your Homemade Apple Butter
One of the beautiful aspects of making homemade apple butter is its flexibility when it comes to apple varieties. While nearly any kind of apple can be used, selecting the right varieties can significantly impact the flavor, texture, and cooking time of your final product.
Sweet vs. Tart: Finding the Perfect Balance
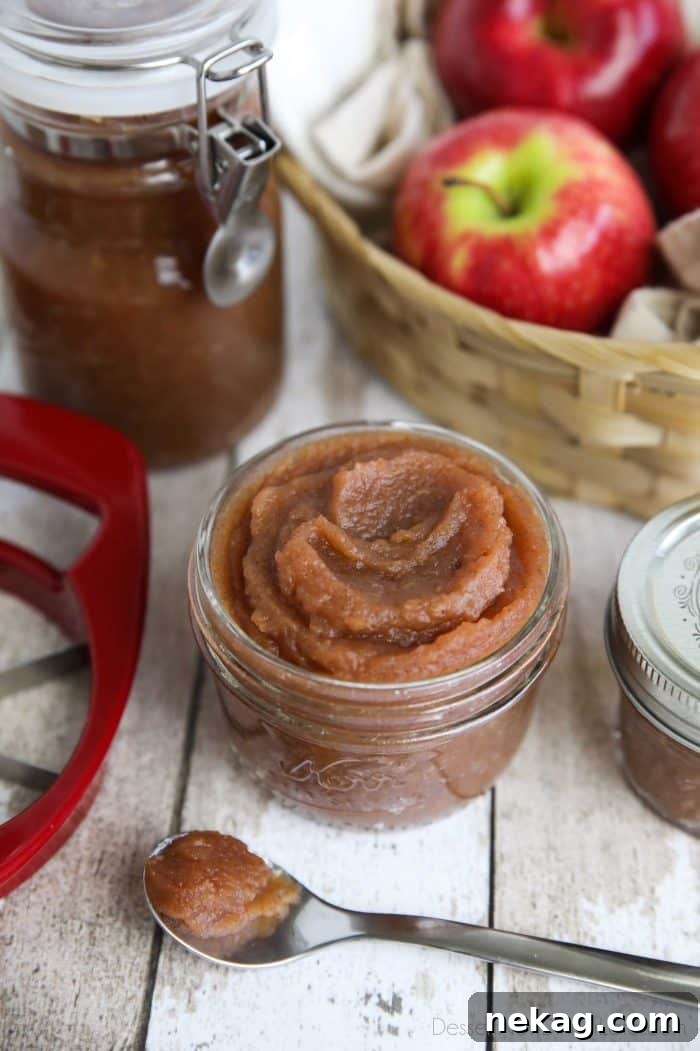
A combination of sweet and tart apples often yields the most balanced and flavorful apple butter. For instance, Pink Lady apples, known for their delightful sweet-tart profile, are an excellent choice. Other popular options include:
- Softer Varieties: Apples like Golden Delicious, McIntosh, or Jonagold break down quickly during cooking, making them ideal for a smooth apple butter and reducing overall cooking time. They tend to be sweeter, so you might adjust the added sugar accordingly.
- Crisper Varieties: Firmer apples such as Honeycrisp, Granny Smith, or Fuji can certainly be used, but they will generally require a longer cooking time to soften enough for pureeing. Granny Smith apples, with their distinct tartness, can add a wonderful zing that balances sweeter varieties beautifully.
Don’t hesitate to experiment with a blend of different apple varieties to create a more complex and nuanced flavor profile unique to your preferences. Remember that the natural sweetness of your chosen apples will directly influence the amount of sugar you need to add. Always taste your mixture before the final cooking stage and adjust the sugar to your desired level of sweetness.
Crafting Homemade Apple Butter from Scratch: A Step-by-Step Guide
Making apple butter from scratch is a rewarding process that begins with careful apple preparation and a thoughtful blend of ingredients. Here’s a breakdown of the key steps:
1. Preparing Your Apples
The first step is to prepare your apples. You have a choice here: the apples can be peeled or left with the skin on.
- Leaving Skins On: If you opt to leave the skins on, you’ll benefit from the additional flavor and nutrients concentrated in the peel. This approach often results in a slightly more rustic, textured apple butter. However, ensure your apples are thoroughly washed if you’re keeping the skins. A simple apple slicer and corer makes quick work of preparing them into large chunks.
- Peeling Apples: For an ultra-smooth, velvety apple butter, peeling the apples is recommended. Tools like an apple peeler, corer, and slicer can be incredibly efficient, speeding up the preparation process significantly.
Regardless of whether you peel or not, make sure to core the apples and chop them into uniform chunks to ensure even cooking.
2. Sweetening and Seasoning Your Apples
Once your apples are prepared, it’s time to infuse them with flavor. This homemade apple butter recipe calls for a blend of liquids and spices to achieve that signature taste:
- Apple Juice & Lemon Juice: Apple juice (or apple cider or even water) provides the initial liquid needed to help the apples break down and adds another layer of apple flavor. A splash of lemon juice brightens the flavors, adds a touch of necessary acidity, and acts as a natural preservative, maintaining the apples’ fresh taste.
- Brown Sugar: For a rich, deep, and slightly molasses-like sweetness, brown sugar is the perfect choice. It contributes to the apple butter’s beautiful caramelized color and robust flavor. Remember the note about apple sweetness earlier: you can always adjust the amount of sugar based on your apples’ natural sweetness and your personal preference.
- Spices: The soul of apple butter lies in its warm spices. This recipe traditionally uses cinnamon and cloves, which offer a comforting aroma and taste. A tiny pinch of salt helps to enhance all the other flavors, preventing the apple butter from tasting flat or overly sweet. Feel free to experiment with other autumn spices like nutmeg, allspice, or a touch of ginger for a personalized blend.
With all the ingredients combined, the final step is to cook the apples low and slow. This crucial phase transforms the apple chunks into the thick, flavorful spread we know and love. We’ll cover both stovetop and slow cooker instructions in detail below.
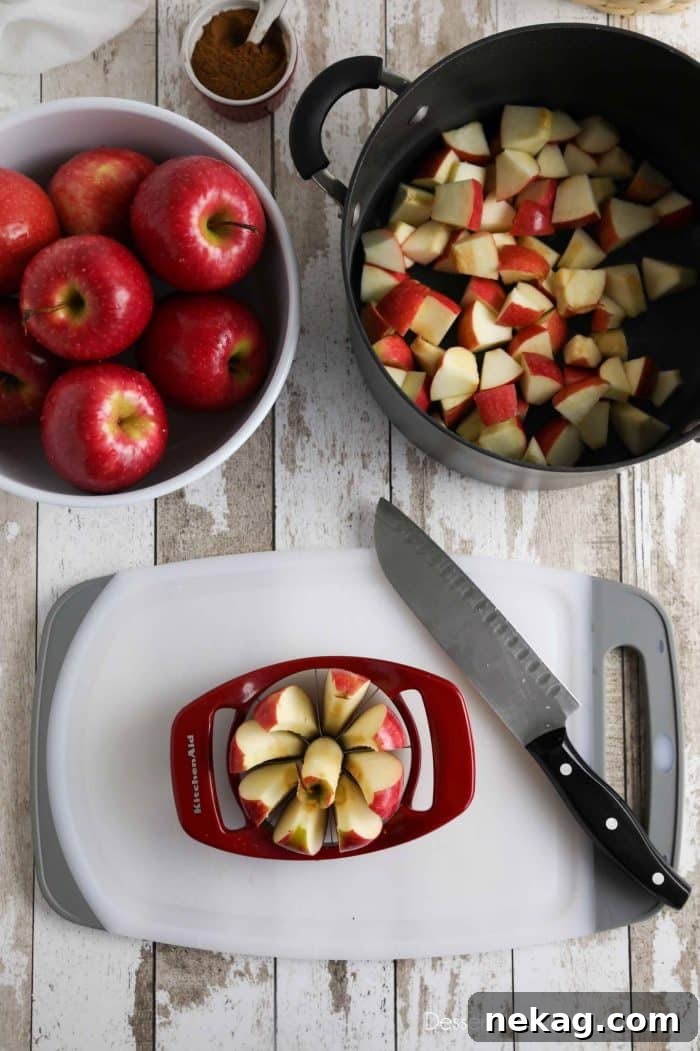
Making Apple Butter on the Stovetop: Quick and Flavorful
The stovetop method is a fantastic option for making homemade apple butter when you want a quicker turnaround and don’t mind a bit of active involvement. It typically takes less time than the slow cooker, making it perfect for a weekend project.
Initial Cooking Phase: Softening the Apples
Begin by placing your prepared apple chunks into a large, heavy-bottomed pot or Dutch oven. Add the apple juice (or cider/water), lemon juice, brown sugar, ground cinnamon, ground cloves, and salt. Stir all the ingredients together thoroughly, ensuring the apples are well coated with the spices and sugar.
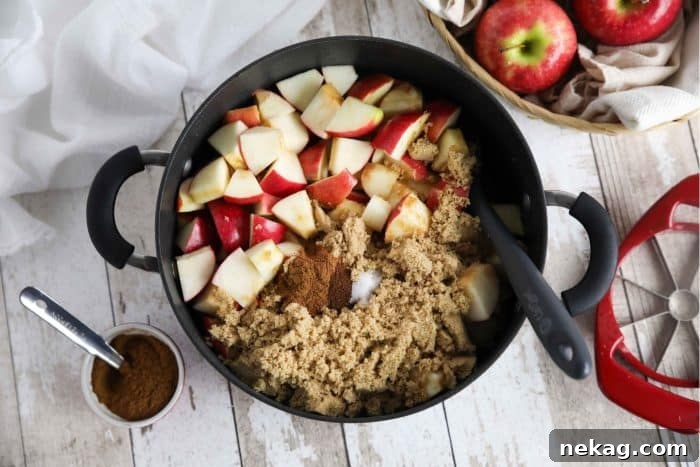
Cover the pot and cook over medium-low heat. The goal here is a gentle simmer, allowing the apples to soften thoroughly without scorching the bottom. Stir occasionally to prevent sticking and ensure even cooking. This stage typically takes 1 to 2 hours, depending on the variety and firmness of your apples. You’ll know the apples are ready when they are very tender and easily mashable with a spoon.
Pureeing for Smoothness
Once the apples have reached their softest point, it’s time to transform them into a smooth puree. You have a couple of convenient options for this:
- Immersion Blender: For minimal cleanup, an immersion blender is your best friend. Simply insert it directly into the pot and blend until the apples are smooth and lump-free.
- Regular Blender: Alternatively, carefully scoop the softened apples into a standard blender. Process them in batches until perfectly smooth. Be cautious when blending hot liquids; ensure the blender lid is vented and filled no more than halfway to prevent steam buildup.
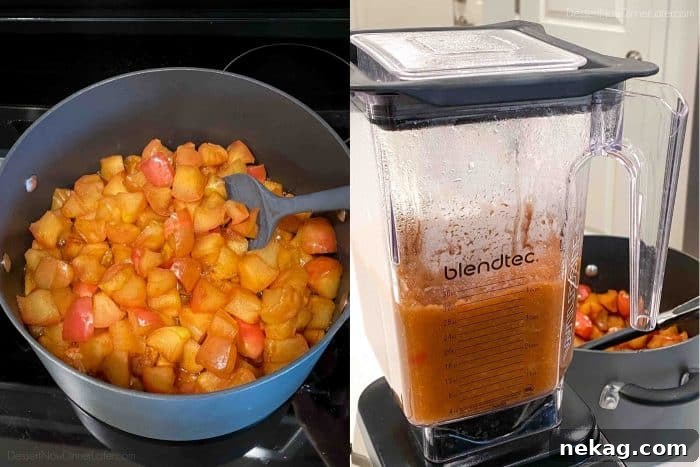
Final Reduction: Achieving Thickness and Deep Color
After pureeing, return the smooth apple mixture to the stovetop. This time, cook it uncovered over low heat for an additional 30 to 60 minutes. This is where the magic truly happens: the moisture will evaporate, the flavors will concentrate, and the sugars will continue to caramelize, deepening the color to a rich, glossy brown. Stir frequently during this stage to prevent sticking and ensure uniform thickening.
Pro Tip: How do you know when apple butter is perfectly done? The “plate test” is a classic and reliable method. Place a small spoonful of apple butter on a chilled plate and let it cool for a minute or two. Then, draw a line through the middle with your finger. If no watery liquid seeps back into the line, and the apple butter holds its shape, it’s ready! It should be thick, spreadable, and resemble a paste-like consistency.
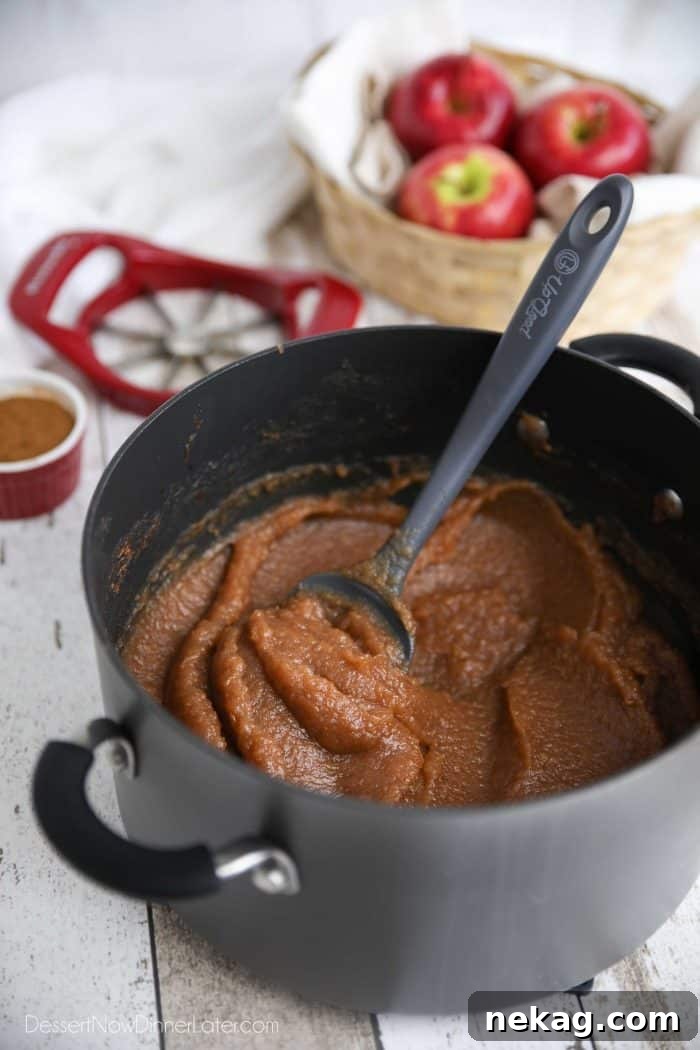
Effortless Apple Butter: The Slow Cooker Method
While stovetop apple butter is relatively quick, making it in the slow cooker is perfect for those who prefer a more hands-off approach. It requires minimal supervision, allowing you to go about your day while the enticing aroma of cooking apples fills your home.
Set It and Forget It (Mostly!)
To make this delicious spread in your crockpot, simply combine all the ingredients—prepared apples, apple juice, lemon juice, brown sugar, cinnamon, cloves, and salt—directly into the slow cooker basin. Give everything a good stir to combine.
Cover and cook on the low setting for approximately 10 hours. While this method is largely hands-off, it’s still a good idea to stir the mixture at least halfway through the cooking time. This helps to prevent any apples from sticking or burning on the bottom or edges of the slow cooker, ensuring even cooking and flavor distribution.
Puree and Final Thickening
After 10 hours, the apples should be incredibly soft and easily mashed. Carefully puree the apples directly in the slow cooker using an immersion blender, or transfer them in batches to a regular blender, as described in the stovetop method.
Once pureed smooth, return the apple butter to the slow cooker (if you used a separate blender) and cook uncovered for an additional 2 hours on low. This final uncovered stage allows excess moisture to evaporate, concentrating the flavors and achieving that signature thick, dark, and glossy apple butter texture. Stir occasionally during these last two hours to prevent sticking. The apple butter will be ready when it passes the plate test for doneness.
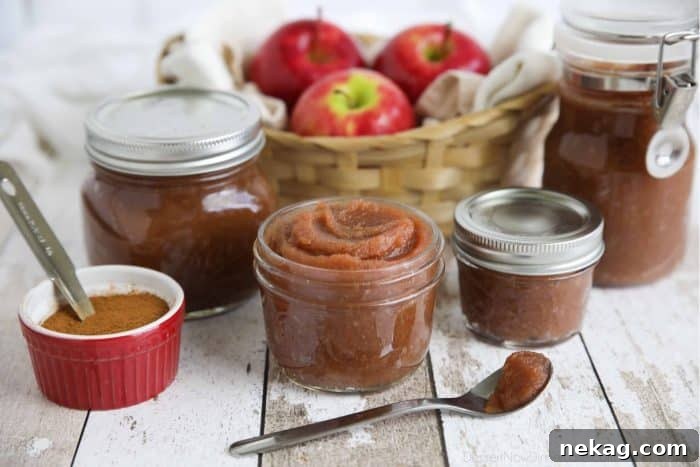
Storing Your Homemade Apple Butter: Freshness and Preservation
Once your delicious homemade apple butter is ready, proper storage is key to enjoying its rich flavor for as long as possible. You have several excellent options, depending on how quickly you plan to use it and for how long you wish to preserve it.
- Refrigeration: For immediate enjoyment or shorter-term storage, spoon the cooled apple butter into clean jars with tight-fitting lids. It will keep beautifully in the refrigerator for 3 weeks to up to 1 month. Ensure the jars are completely cool before refrigerating to prevent condensation.
- Freezing: Freezing is an excellent option for longer-term storage without the need for specialized canning equipment. Ladle the apple butter into small, freezer-safe containers, leaving a little headspace (about half an inch) to allow for expansion. It can be safely frozen for several months and up to 1 year. To use, simply thaw a container in the refrigerator overnight and then use as desired. Once thawed, keep it refrigerated.
-
Canning (Water Bath Method): For shelf-stable apple butter that can be stored at room temperature for extended periods, water bath canning is the way to go. This method requires a few extra steps but is well worth it for long-term preservation:
- Sterilize Jars: Begin by sterilizing your canning jars and lids according to manufacturer instructions. This often involves washing them thoroughly in hot soapy water, rinsing, and then submerging them in boiling water for at least 10 minutes.
- Fill Jars: Carefully ladle the hot apple butter into the sterilized jars, leaving about a ½-inch headspace at the top.
- Clean Rims: Wipe the rims of the jars clean with a damp cloth to ensure a proper seal.
- Seal and Process: Place new, sterile lids and bands on the jars, screwing them fingertip-tight. Submerge the filled jars in a boiling water canner, ensuring they are covered by at least 1-2 inches of water. Process the jars in boiling water for 10 minutes (adjusting for altitude if necessary).
- Cool and Store: Carefully remove the hot jars from the canner and place them on a clean towel or wire rack to cool completely for 12-24 hours. You should hear a “ping” sound as the lids seal. Once cool, check that the seals are concave and don’t flex when pressed. Processed jars of apple butter will keep at room temperature in a cool, dark place for several months, typically up to a year.
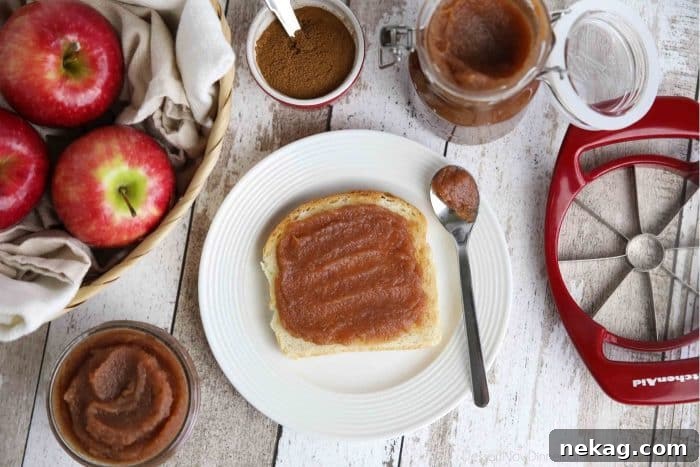
Delicious Ways to Enjoy Your Homemade Apple Butter
The versatility of homemade apple butter is truly one of its greatest assets. Its rich, spiced flavor and spreadable texture make it a fantastic addition to both sweet and savory dishes. While its most common use is as a spread, much like jam or jelly, here are some of our absolute favorite ways to incorporate this autumnal delight into your meals:
- Classic Spread: Slather it generously on warm toast, fluffy biscuits, English muffins, or fresh scones. The caramel notes pair perfectly with buttered bread.
- Breakfast Topping: Elevate your breakfast by spooning apple butter over stacks of pancakes or crispy waffles. It’s also incredible stirred into hot oatmeal, grits, or creamy yogurt for an instant flavor boost.
- Sweet Dessert Sauce: Gently warm a spoonful of apple butter and drizzle it over vanilla ice cream, plain cheesecake, or a simple pound cake for an easy yet elegant dessert.
- Baking Ingredient: Substitute apple butter for applesauce, oil, or even some of the sugar in baking recipes. It adds moisture and a wonderful spiced apple flavor to muffins, quick breads, cakes, and even cookies.
- Pastry Filling: Use it as a delightful filling for homemade cupcakes, thumbprint cookies, tarts, or Danish pastries. Its thick consistency makes it perfect for holding its shape.
- Savory Accompaniment: Don’t limit apple butter to sweet dishes! Its natural sweetness and spice make it an excellent complement to savory meats. Serve it alongside roasted chicken, pork chops, or even a holiday ham. It adds a delicious glaze and a touch of seasonal flavor.
- Simple Snack: Sometimes, the simplest way is the best. Enjoy a spoonful plain, just like you would applesauce, for a quick and satisfying snack.
- Cheese Board Addition: Pair apple butter with sharp cheddar, creamy brie, or a tangy goat cheese on a charcuterie board. Its sweetness provides a lovely contrast to savory cheeses.
Inspiring Recipes Using Apple Butter
Looking for specific ways to bake with your homemade apple butter? Try these delicious recipes that ingeniously incorporate this flavorful spread:
- Apple Crumb Bars: Replace the traditional apple filling with a generous layer of your rich apple butter for an even deeper, spiced flavor.
- Apple Cinnamon Muffins Recipe: Use apple butter in place of applesauce to add incredible moisture and an enhanced apple-cinnamon essence to your morning muffins.
Frequently Asked Questions About Apple Butter
Here are some common questions people ask about making and using apple butter:
- Can I make apple butter without added sugar?
- Yes, you can! If your apples are naturally very sweet (like Fuji or Honeycrisp) and you prefer a less sweet spread, you can significantly reduce or even omit the added brown sugar. The long cooking process will still caramelize the natural sugars in the apples, providing plenty of sweetness. Taste and adjust as you go.
- What if my apple butter isn’t thickening?
- If your apple butter seems too thin, simply continue cooking it uncovered over low heat, stirring frequently. The key is evaporation. The longer it cooks, the thicker it will become. Ensure your heat isn’t too high, as this can cause it to burn before sufficiently thickening.
- Can I use other spices?
- Absolutely! While cinnamon and cloves are traditional, feel free to experiment. Nutmeg, allspice, ginger, and even a tiny pinch of cardamom can add wonderful complexity. A pre-made “pumpkin pie spice” blend also works well.
- Do I have to peel the apples?
- As mentioned, peeling is optional. Leaving the skins on adds a slightly more textured consistency and retains more fiber and nutrients. If you prefer a completely smooth apple butter, peeling is recommended.
- How much apple butter does this recipe yield?
- This recipe typically yields around 5 ½ cups of rich homemade apple butter, which is approximately 44 servings (2 Tbsp each).
- Is apple butter healthy?
- Apple butter is a good source of fiber from the apples, and the spices like cinnamon offer anti-inflammatory benefits. While it contains sugar, homemade versions allow you to control the amount, often making it a healthier alternative to highly processed fruit spreads. It’s naturally fat-free and low in calories per serving.
FOLLOW ME on PINTEREST, FACEBOOK, OR INSTAGRAM for more great recipes!
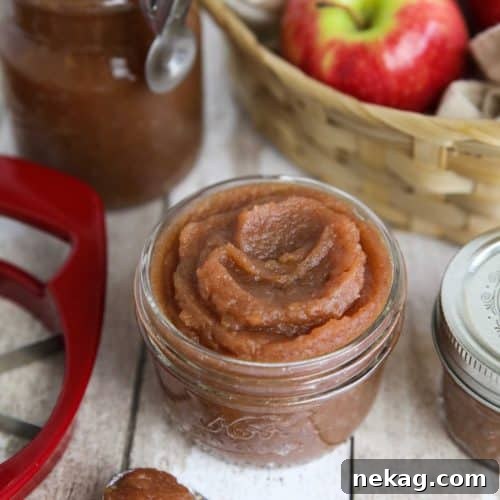
Homemade Apple Butter
Amber Brady
20 mins
2 hrs 30 mins
2 hrs 50 mins
Pin Recipe
44 servings
Ingredients
- 4 lbs (1.8 kg) apples, (roughly 10 small-medium apples)
- ½ cup (118 ml) apple juice, apple cider, or water
- 1 Tbsp lemon juice
- 1 cup (200 g) light brown sugar, gently packed*
- 2 tsp ground cinnamon
- ¼ tsp ground cloves
- ¼ tsp salt
Equipment
-
Apple Peeler, Corer, Slicer
-
Immersion Blender
-
Silicone Spatula Set
Instructions
-
Core and chop apples into chunks. Peeling is optional. Place apples into a large stock pot.
-
Add apple cider, lemon juice, brown sugar, cinnamon, cloves, and salt. Stir together until well combined.
-
Cover the pot and cook (maintaining a light simmer) over medium-low heat, stirring occasionally, until the apples have become very soft. This will take approximately 1-2 hours, depending on the apple variety.
-
Use an immersion blender to puree the apples directly in the pot, or carefully spoon them into a blender and puree in batches until smooth. Return the pureed apples to the stovetop. Cook uncovered for an additional 30-60 minutes, or until the apple butter is thick and has achieved a deep brown color. Check for doneness by placing a spoonful onto a cold plate and allowing it to cool. If there is no watery separation, your apple butter is ready.
-
Spoon the finished apple butter mixture into clean jars. Refrigerate for up to 3 weeks or 1 month. For longer storage, see notes below for freezing or canning instructions.
Notes
- YIELD: This recipe typically yields about 5 ½ cups of apple butter.
- SUGAR: The sweetness of your chosen apples will significantly impact how much sugar you need. Apple juice also adds natural sweetness. Always adjust the amount of added brown sugar according to your specific apples and personal taste preferences.
- TO FREEZE: For extended storage, spoon the cooled apple butter into small freezer-safe containers, leaving a little headspace. It can be frozen for several months, up to one year. Thaw in the refrigerator before use.
- FOR CANNING: To make the apple butter shelf-stable, ladle the hot mixture into sterilized canning jars, leaving ½-inch headspace. Wipe rims clean, screw on new lids and bands fingertip-tight. Process in a boiling water bath for 10 minutes (adjust for altitude). Remove jars and cool completely on a counter. Once sealed, jars will keep at room temperature for several months in a cool, dark pantry.
Nutrition
Disclaimer: Nutritional values were calculated using a third-party tool and are provided as an estimation only.
Sharing this recipe with a link is both encouraged and appreciated. Copying/pasting and/or screenshots of full recipes to any social media is strictly prohibited. Content and photographs are copyright protected.
Did you make this?
Don’t forget to leave a rating below and make sure to follow on Pinterest and Instagram for more!