
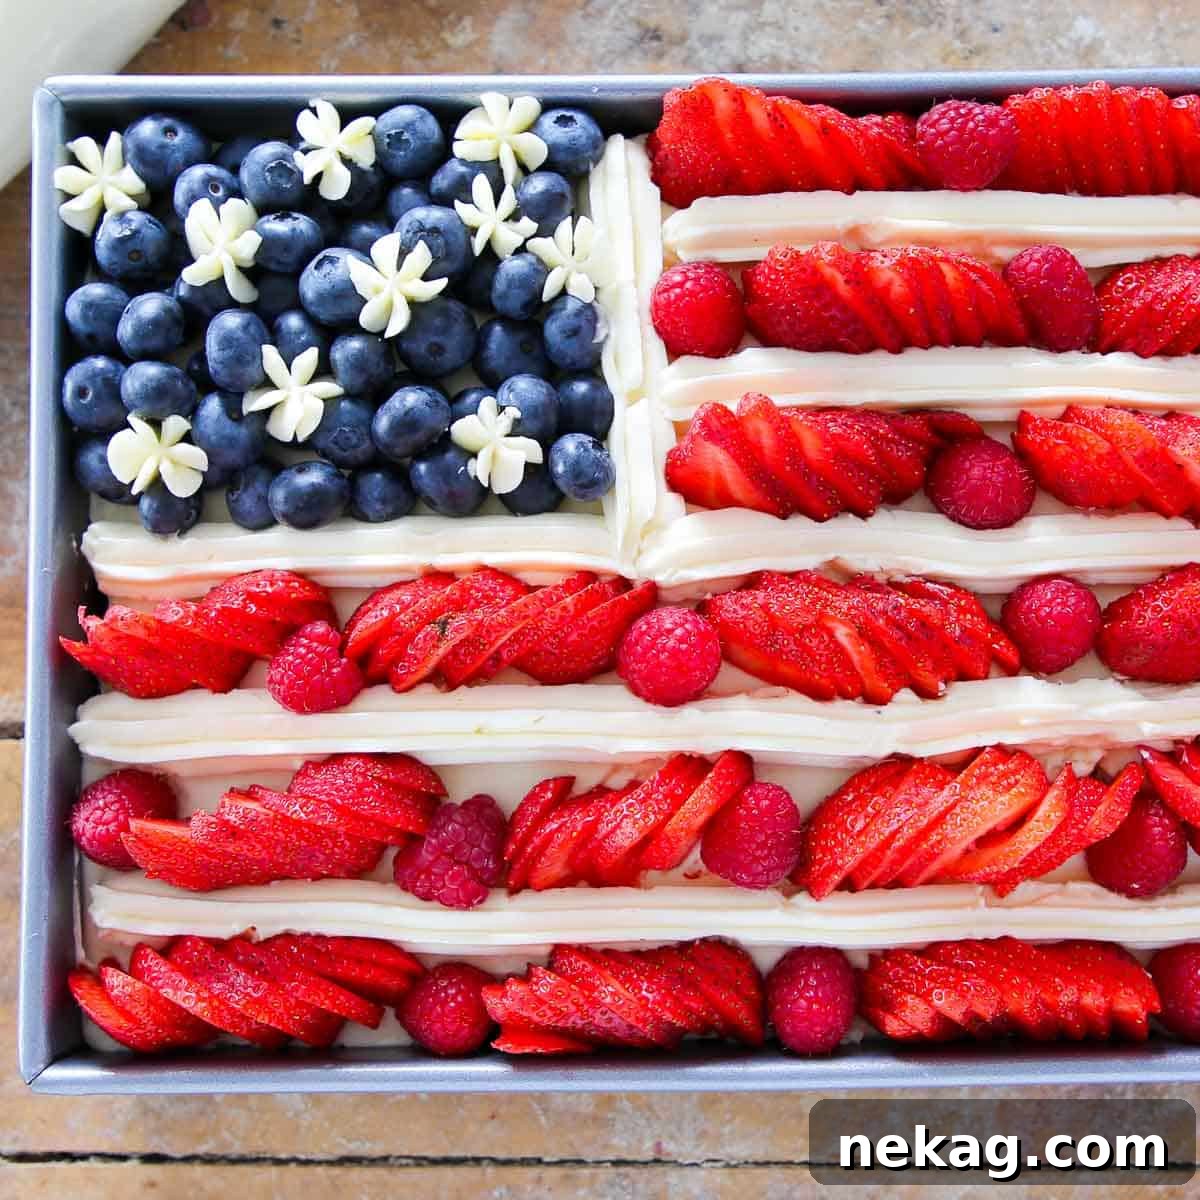
Celebrate with a flourish! This spectacular American Flag Cake is more than just a dessert; it’s a show-stopping centerpiece for any patriotic gathering. Featuring a supremely soft and tender vanilla cake, crowned with a bright, silky Lemon Swiss Meringue Buttercream, and artfully adorned with fresh, vibrant berries, it’s the ultimate culinary tribute to Independence Day. Its exquisite taste and stunning visual appeal make it absolutely perfect for your July 4th celebrations, bringing smiles and delight to every guest.
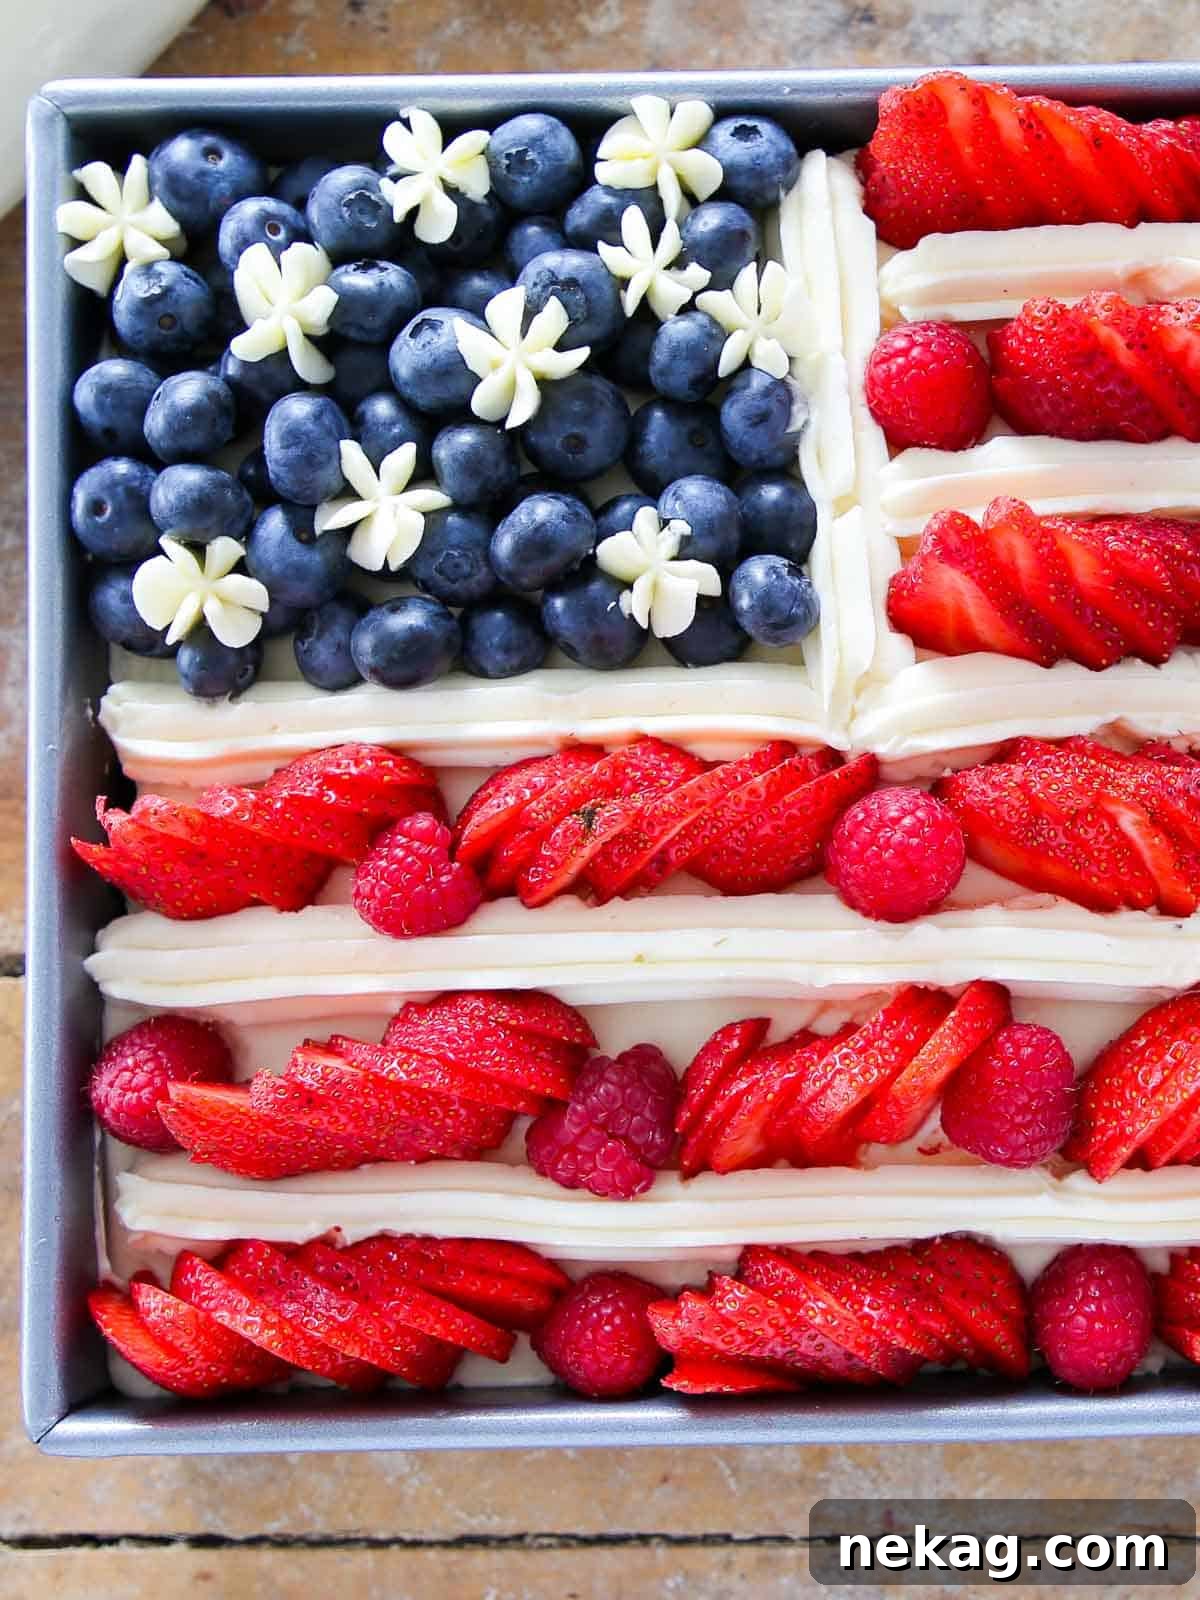
Just the thought of this cake brings a radiant smile to my face. Perhaps it’s the harmonious blend of cheerful colors, or maybe the refreshing burst of flavors that evokes such happiness! July 4th is a day when Americans wholeheartedly embrace their festive spirit, and there’s no Independence Day dessert that captures this exuberance quite like this magnificent American Flag Cake. It’s a true feast for both the eyes and the palate, designed to impress and satisfy.
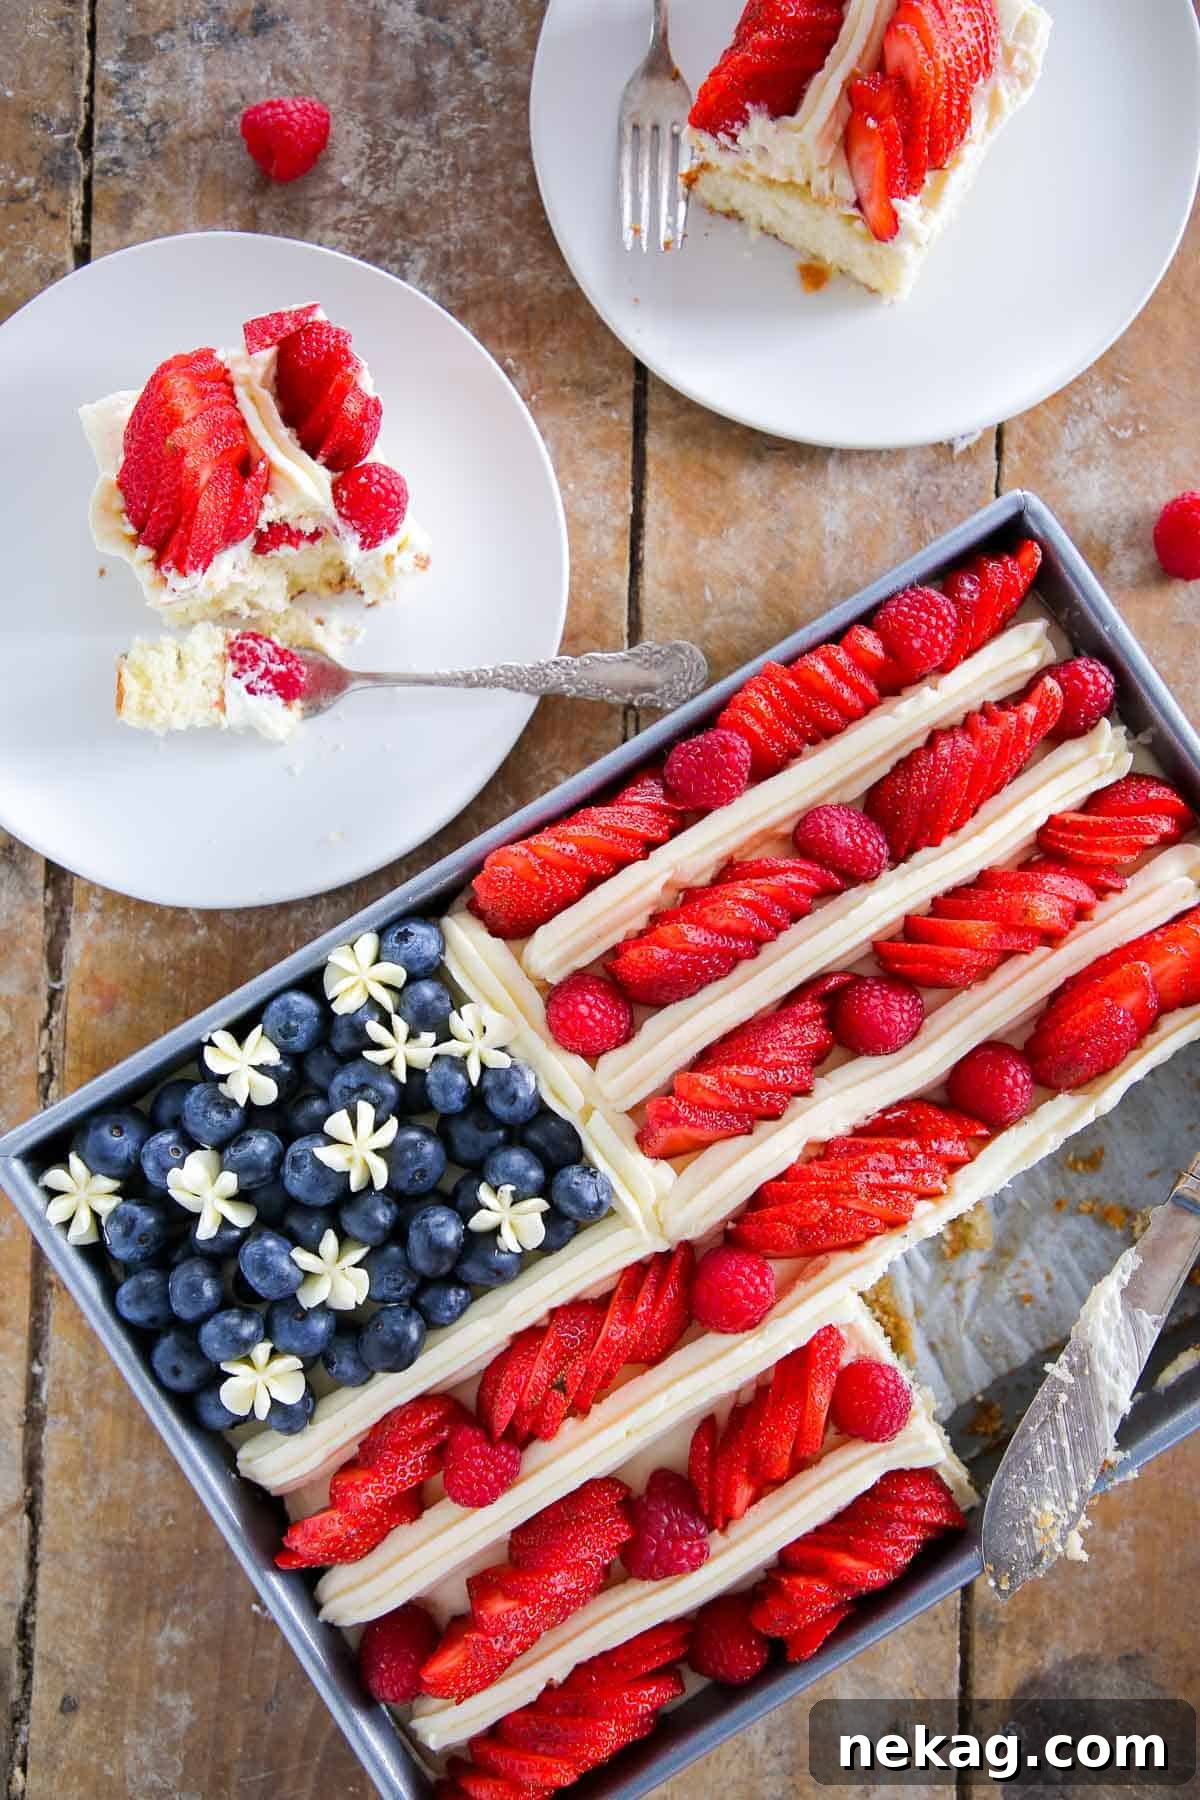
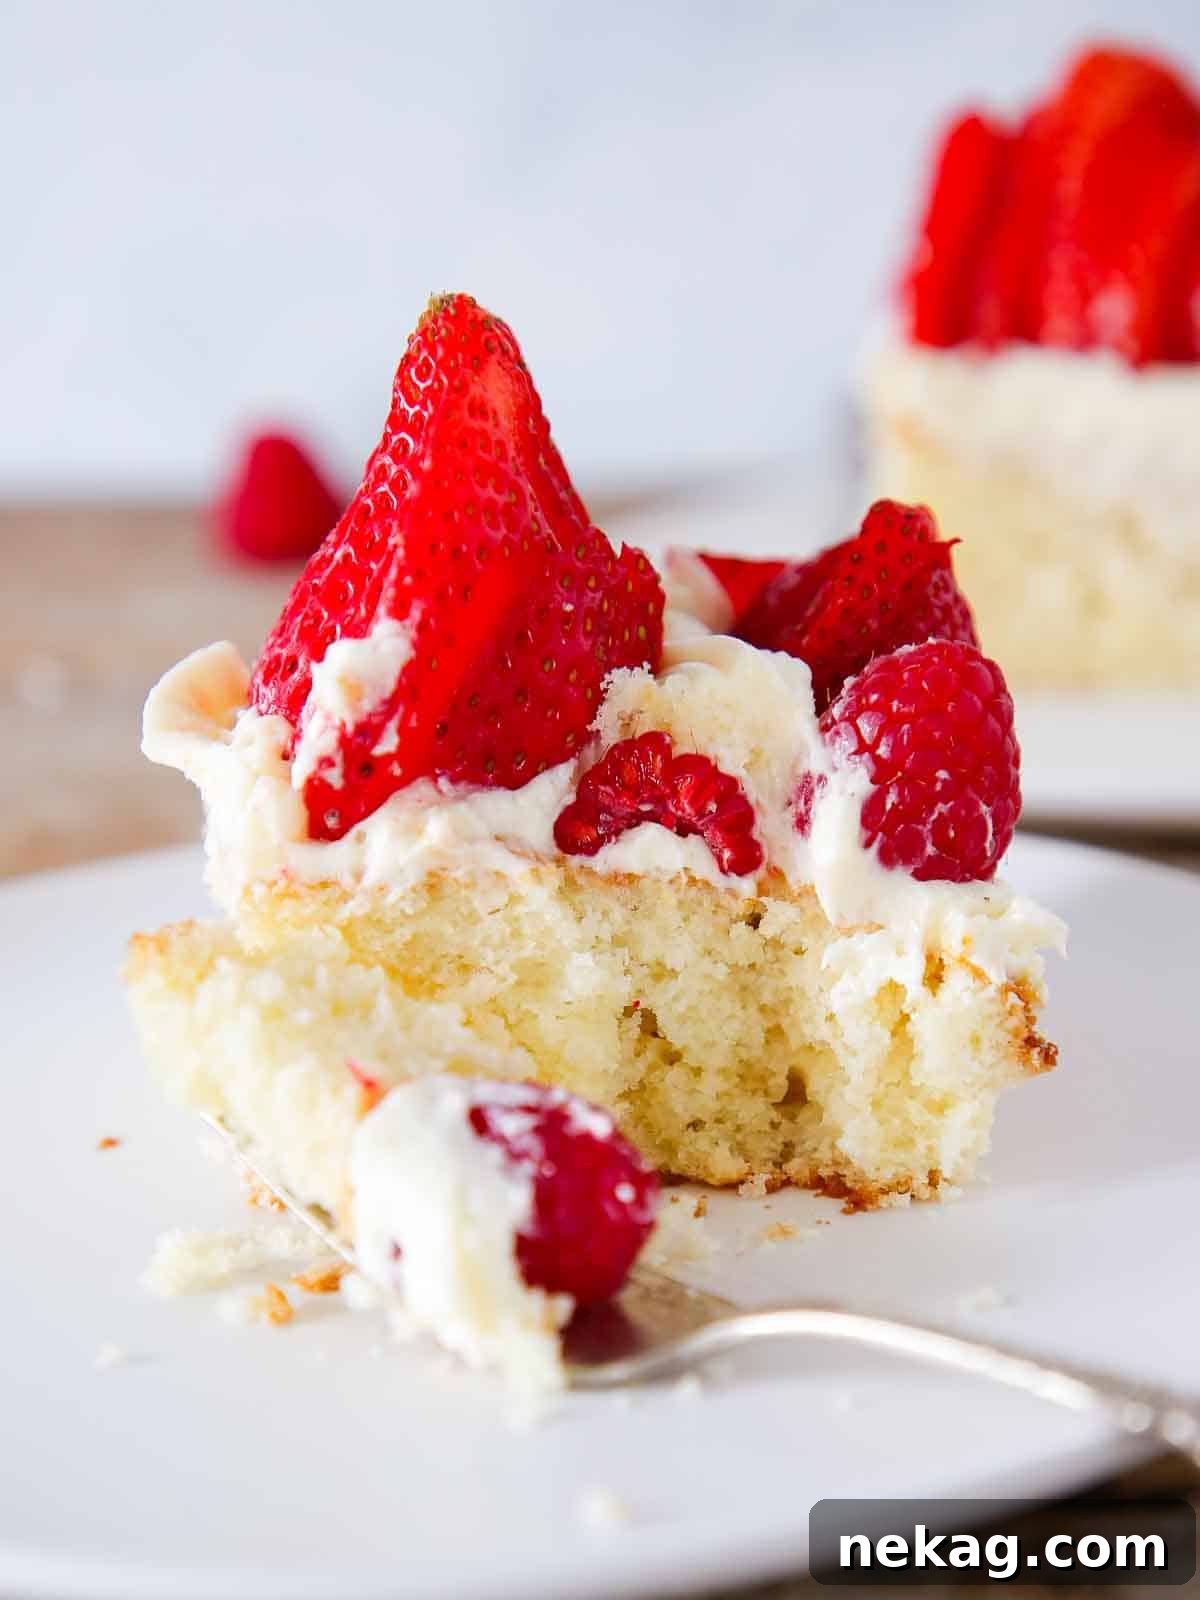
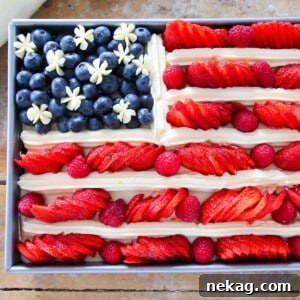
The foundation of this masterpiece is a wonderfully soft and moist vanilla cake, subtly infused with a delicate simple syrup soak for an extra layer of moisture and flavor. This tender canvas is then generously topped with a dreamy, silky smooth Lemon Swiss Meringue Buttercream, which provides the perfect tangy counterpoint to the sweet cake. To create the iconic flag design, the pristine white stripes are meticulously piped using this very same lemon buttercream, while the crimson gaps are filled with carefully sliced strawberries and luscious raspberries. For those who love visual guidance, I’ve even created a comprehensive video tutorial to ensure your baking journey is as smooth and enjoyable as possible!
Why This American Flag Cake Recipe Stands Out
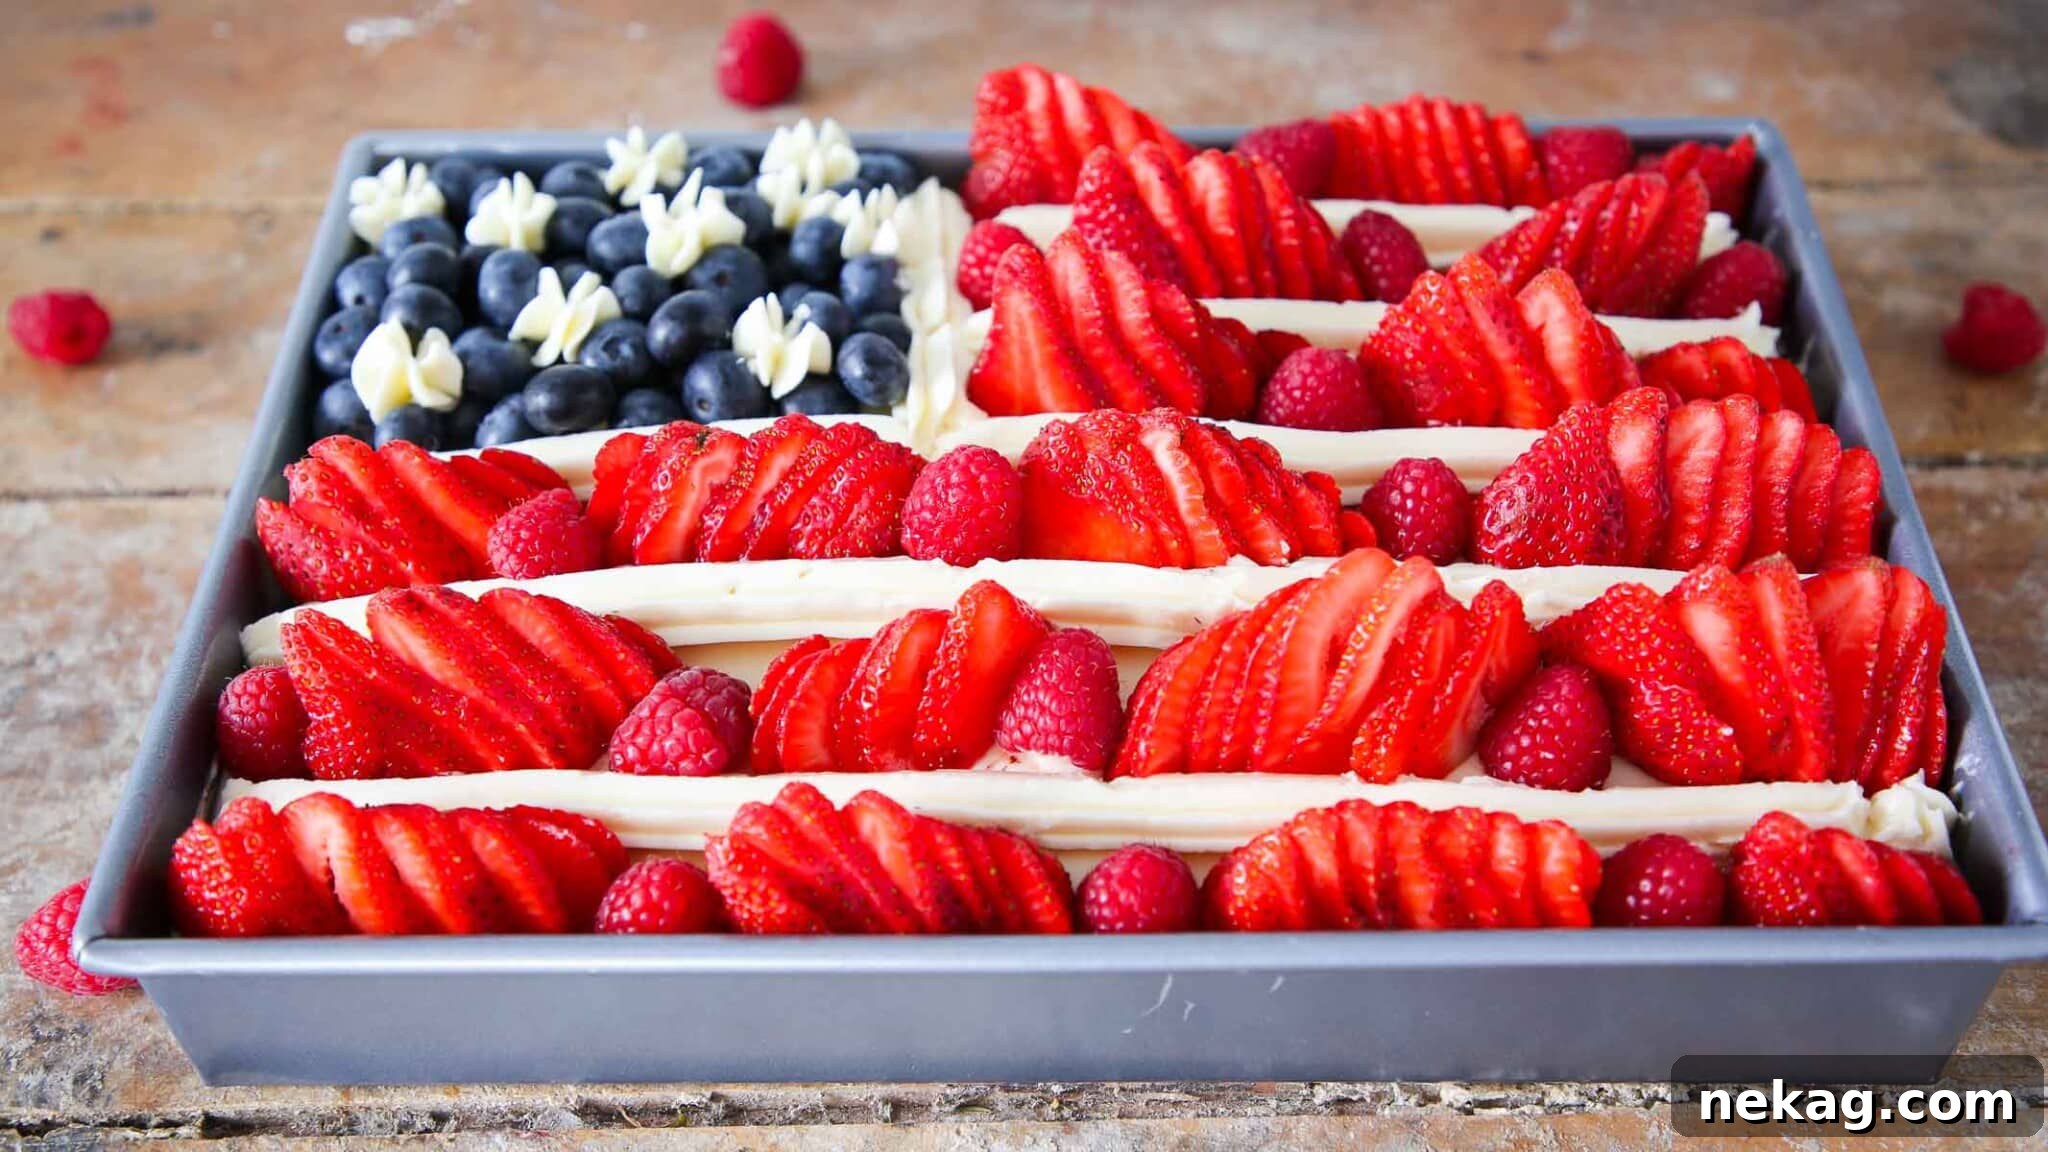
- An Exquisite Display of Sliced Berries and Creamy Buttercream Stripes: Unlike many other flag cakes that simply plunk down whole berries, my design focuses on dynamic movement. I meticulously slice and fan out the strawberries, interspersing them with raspberries to create a beautiful, flowing effect, reminiscent of a flag gently waving in the breeze. This thoughtful arrangement not only elevates the cake’s visual appeal, making it truly unique and sophisticated, but it also has a practical benefit: it makes the cake significantly easier to slice and serve, ensuring clean cuts and perfect portions every time. This attention to detail transforms a simple patriotic dessert into an artistic culinary statement.
- A Symphony of Flavors: Delicious Homemade Vanilla Cake Paired with Bright Lemon Buttercream: This isn’t just a pretty cake; it’s an incredibly flavorful one. We start with my tried-and-true recipe for a moist vanilla cake, renowned for its tender crumb and rich flavor. This perfect base is then complemented by a vibrant lemon Swiss meringue buttercream. The bright, zesty notes of the lemon buttercream cut through the sweetness of the vanilla cake, creating a refreshing and utterly delicious balance that is truly befitting of a celebratory occasion like Independence Day. Every bite offers a delightful contrast of textures and tastes, making this cake a memorable experience.
- Effortless Creation with Clear Instructions and a Video Tutorial: Crafting this stunning American Flag Cake from scratch is made incredibly simple thanks to my detailed, easy-to-follow instructions. To ensure your success and confidence in the kitchen, I’ve also provided a comprehensive video tutorial that walks you through each step of the process. Whether you’re a seasoned baker or new to cake decorating, you’ll find everything you need to create a professional-looking and tasting masterpiece.
Table of Contents
- Why This is the Best Recipe
- Essential Ingredients & Expert Substitutions for Your Flag Cake
- Creative Variations to Customize Your Patriotic Dessert
- How to Make the Perfect American Flag Cake from Scratch
- Chef Lindsey’s Expert Recipe Tip
- American Flag Cake Recipe FAQs
- Recommended Cake Recipes
- Full American Flag Cake Recipe Card
- Before You Go!
Essential Ingredients & Expert Substitutions for Your Flag Cake
Crafting the perfect cake begins with understanding the role each ingredient plays. Here’s a closer look at what you’ll need and how intelligent substitutions can make a difference in your American Flag Cake.
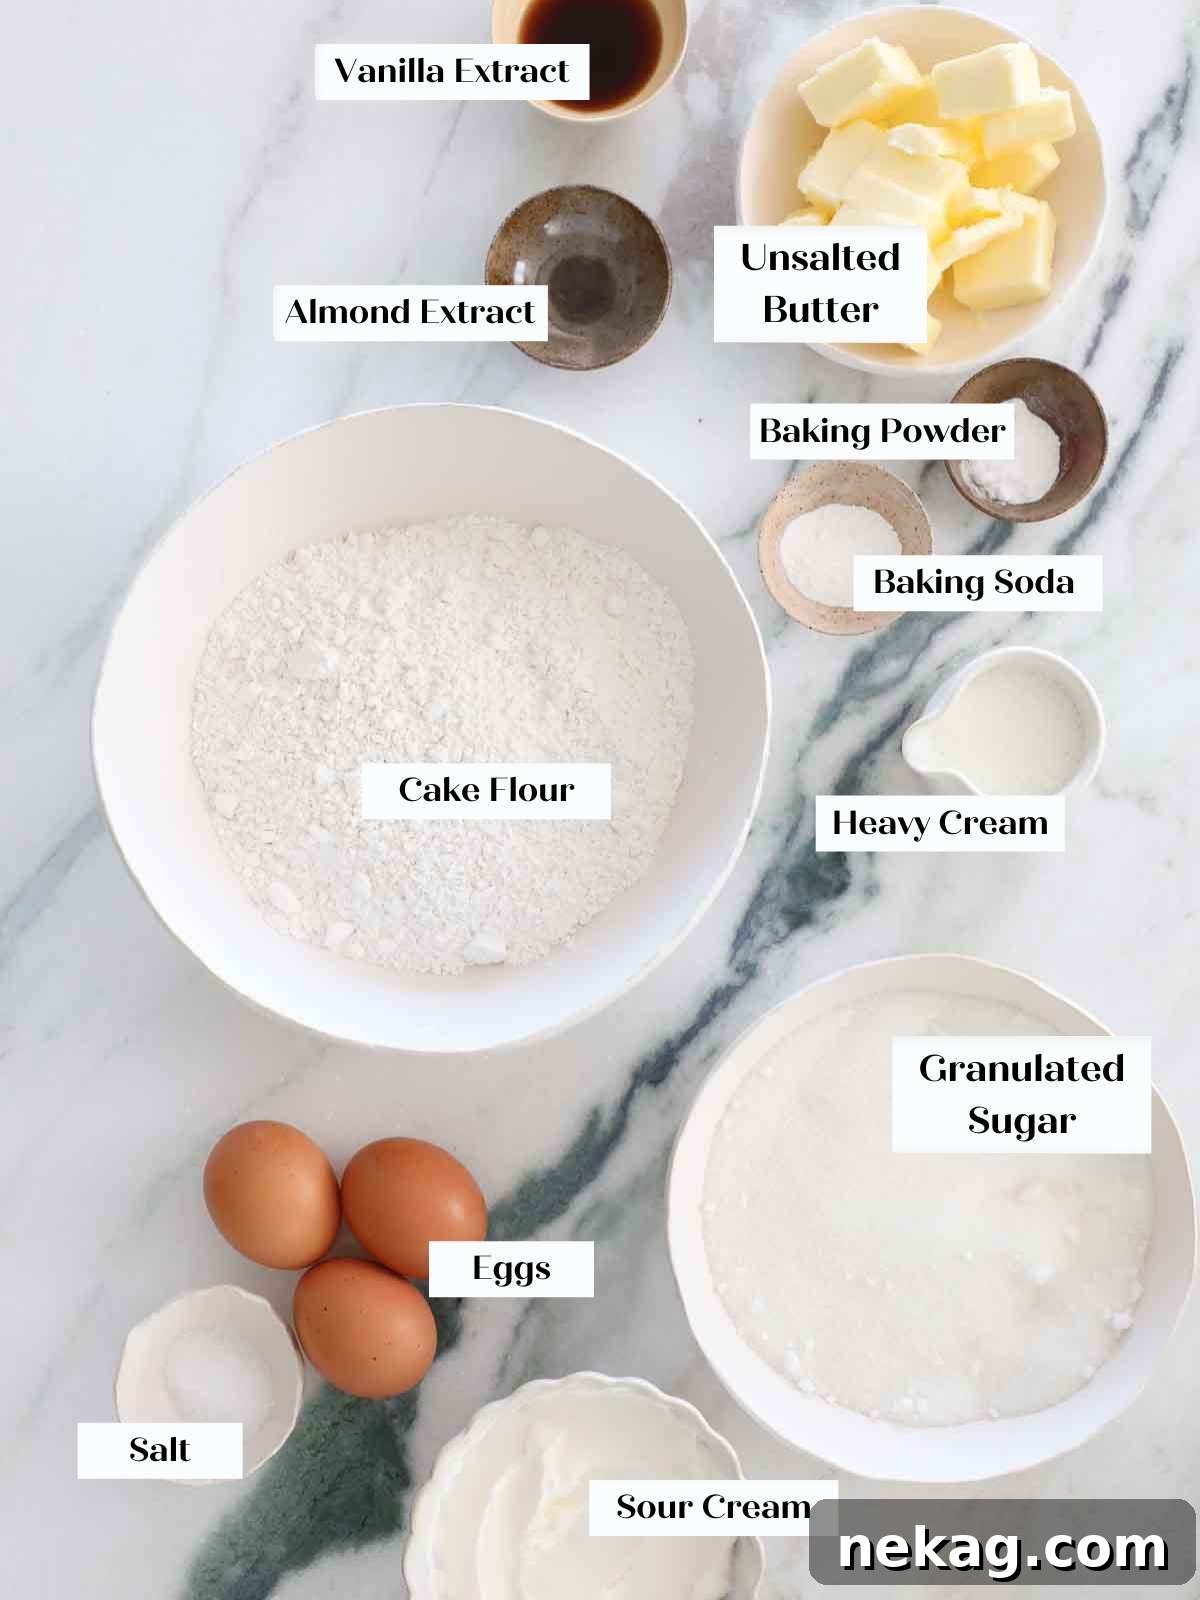
- Unsalted Butter: The cornerstone of a rich, tender cake and stable buttercream. Ensure your butter is cool but pliable – not melted or too warm – for optimal creaming. This temperature allows it to trap air effectively with sugar, creating volume and a wonderfully light texture in the cake batter, and a smooth, emulsified buttercream.
- Granulated Sugar: Beyond sweetness, sugar contributes to the cake’s structure and moisture. It works with butter to create a light, fluffy base.
- Large Eggs: These are crucial for binding the ingredients, adding richness, moisture, and contributing significantly to the cake’s leavening. In this butter-based cake, whole eggs provide ample fat and liquid without needing the extra lift from whipped egg whites, as might be used in a classic white cake.
- Vanilla Extract: The primary flavor in our vanilla cake, so investing in a high-quality extract makes a noticeable difference. I personally adore Nielsen-Massey’s vanilla extract for its depth and purity.
- Almond Extract: A mere hint of almond extract transforms this cake from “great” to “absolutely unforgettable.” It adds a subtle layer of sophistication to the vanilla. If you’re not a fan of almond, feel free to omit it.
- Sour Cream: This ingredient is my secret weapon for the softest, most consistently moist cake crumb. Its acidity tenderizes the cake, while its fat content keeps it incredibly lush. Full-fat sour cream is highly recommended. As an alternative, full-fat Greek yogurt works beautifully, offering a similar tang and richness. If neither is available, consider using a different recipe like my vanilla cupcakes, which uses only milk, or doubling that recipe for a thicker batter.
- Whole Milk: The fat content in whole milk is essential for enhancing flavor and contributing to the moist, tender texture of the cake. Do not substitute with skim milk, as it will impact the richness.
- Cake Flour: This is a non-negotiable for this Flag cake, just as it is for my lemon cupcakes. Cake flour has a lower protein content than all-purpose flour, resulting in a significantly more tender, delicate, and fluffy crumb. While you *can* use all-purpose flour in a pinch, expect a denser, less airy cake. For best results, stick to cake flour.
- Baking Powder & Baking Soda: This dynamic duo provides the perfect leavening system. Baking soda reacts quickly with acidic ingredients (like sour cream) to give an initial intense rise, while double-acting baking powder offers a slower, more sustained lift, ensuring an even and airy texture throughout the baking process.
- Kosher Salt: Salt is vital for balancing sweetness and enhancing all other flavors. It’s crucial to use kosher salt as specified, or reduce the quantity by half if using finer table salt or sea salt, as its larger granules make it less salty by volume.
- For precise quantities and full recipe details, please refer to the complete recipe card below.
Creative Variations to Customize Your Patriotic Dessert
While the classic American Flag Cake is stunning on its own, don’t hesitate to personalize it with these fun and flavorful variations!
- Embrace the Sparkle with Sprinkles! We’re all about that “extra” celebratory flair, so why not fold in ½ cup of vibrant red, white, and blue sprinkles into your cake batter? Much like my festive Funfetti cake, this instantly elevates the party spirit and adds a delightful textural surprise to every slice.
- Explore a Spectrum of Frostings: The luscious homemade lemon curd infused into our Swiss meringue buttercream is truly exceptional, offering a beautiful balance of tangy and sweet. However, if you’re looking for different profiles, you have options! For a quicker, equally zesty choice, try my easy lemon American buttercream frosting. If you prefer a less sweet, ethereally light topping, my ermine frosting (also known as boiled milk frosting), which is as airy as homemade whipped cream, would be a delightful surprise. For those accustomed to Italian meringue buttercream, simply incorporate lemon curd into that recipe for a similar tang. Or, go full American with a classic vanilla American buttercream frosting or a rich, slightly tangy cream cheese frosting.
- Get Creative with Your Fruit Toppings: The “stars and stripes” offer endless possibilities for fruit arrangements. Beyond blueberries for the stars, consider delicate slices of starfruit atop the blueberries for an extra thematic touch. For the stripes, feel free to mix and match! Explore blackberries, black raspberries, and blueberries for a darker, richer “blue” field. For the red stripes, any beloved red fruit works beautifully: think succulent raspberries, thinly sliced cherries, jewel-toned pomegranate arils, or even a sprinkling of tart currants for a gourmet touch. The goal is to make it visually stunning and utterly delicious to your preference.
- Introduce a Layer of Flavor with Jam: For an additional layer of moisture and an intense fruit flavor, spread a thin, even layer of your favorite jam between the cake and the buttercream. This not only enhances the taste but also helps keep the cake extra moist. My mixed berry jam or easy strawberry jam would be fantastic choices, or simply pick your favorite raspberry jam for a burst of fruitiness.
- Experiment with Different Cake Bases: While our vanilla cake is a perfect canvas, you can entirely transform the experience by choosing a different sheet cake base. Imagine a dramatic red cake using my rich red velvet cake recipe, or a fun blue cake achieved with a touch of food coloring. For a tangy twist, my lemon cake recipe from these lemon cupcakes or a decadent lemon olive oil cake would be divine. A comforting classic yellow cake always pleases, and I believe my lemon pound cake recipe would also be absolutely delightful, offering a denser, richer texture. For simplicity, a white cake mix can be used, or for a homemade touch, opt for my classic white cake recipe.
How to Make the Perfect American Flag Cake from Scratch
Follow these detailed instructions to create a truly professional-looking and tasting American Flag Cake that will be the highlight of your celebration! For more in-depth guidance on the Lemon Swiss Meringue Buttercream, consult my dedicated Swiss Meringue Buttercream tutorial post, and for making the zesty lemon curd from scratch, refer to my easy lemon curd post. Full details and precise measurements can also be found in the comprehensive recipe card below.
Part 1: Crafting the Tender Vanilla Cake
Step 1: Prepare Your Baking Environment
Begin by preheating your oven to 350°F (whether you’re using a convection or regular oven setting). Lightly spray a 9×13-inch baking pan with non-stick spray, then line it with parchment paper, leaving an overhang on the sides to easily lift the cake out later. This ensures a clean release and perfect cake edges.
Pro Tip for Best Results: Ensure all your ingredients, especially butter, eggs, sour cream, and milk, are at room temperature. This allows them to emulsify properly, creating a smooth, consistent batter and a tender, even-textured cake.
Step 2: Combine Dry and Wet Ingredients (Separately)
In a medium bowl, sift together the cake flour, baking powder, baking soda, and kosher salt. Sifting is crucial for an airy cake, preventing lumps and ensuring even distribution of leavening agents. In a separate bowl, whisk together the sour cream and whole milk until thoroughly combined. Set both mixtures aside.
Step 3: Cream Butter and Sugar
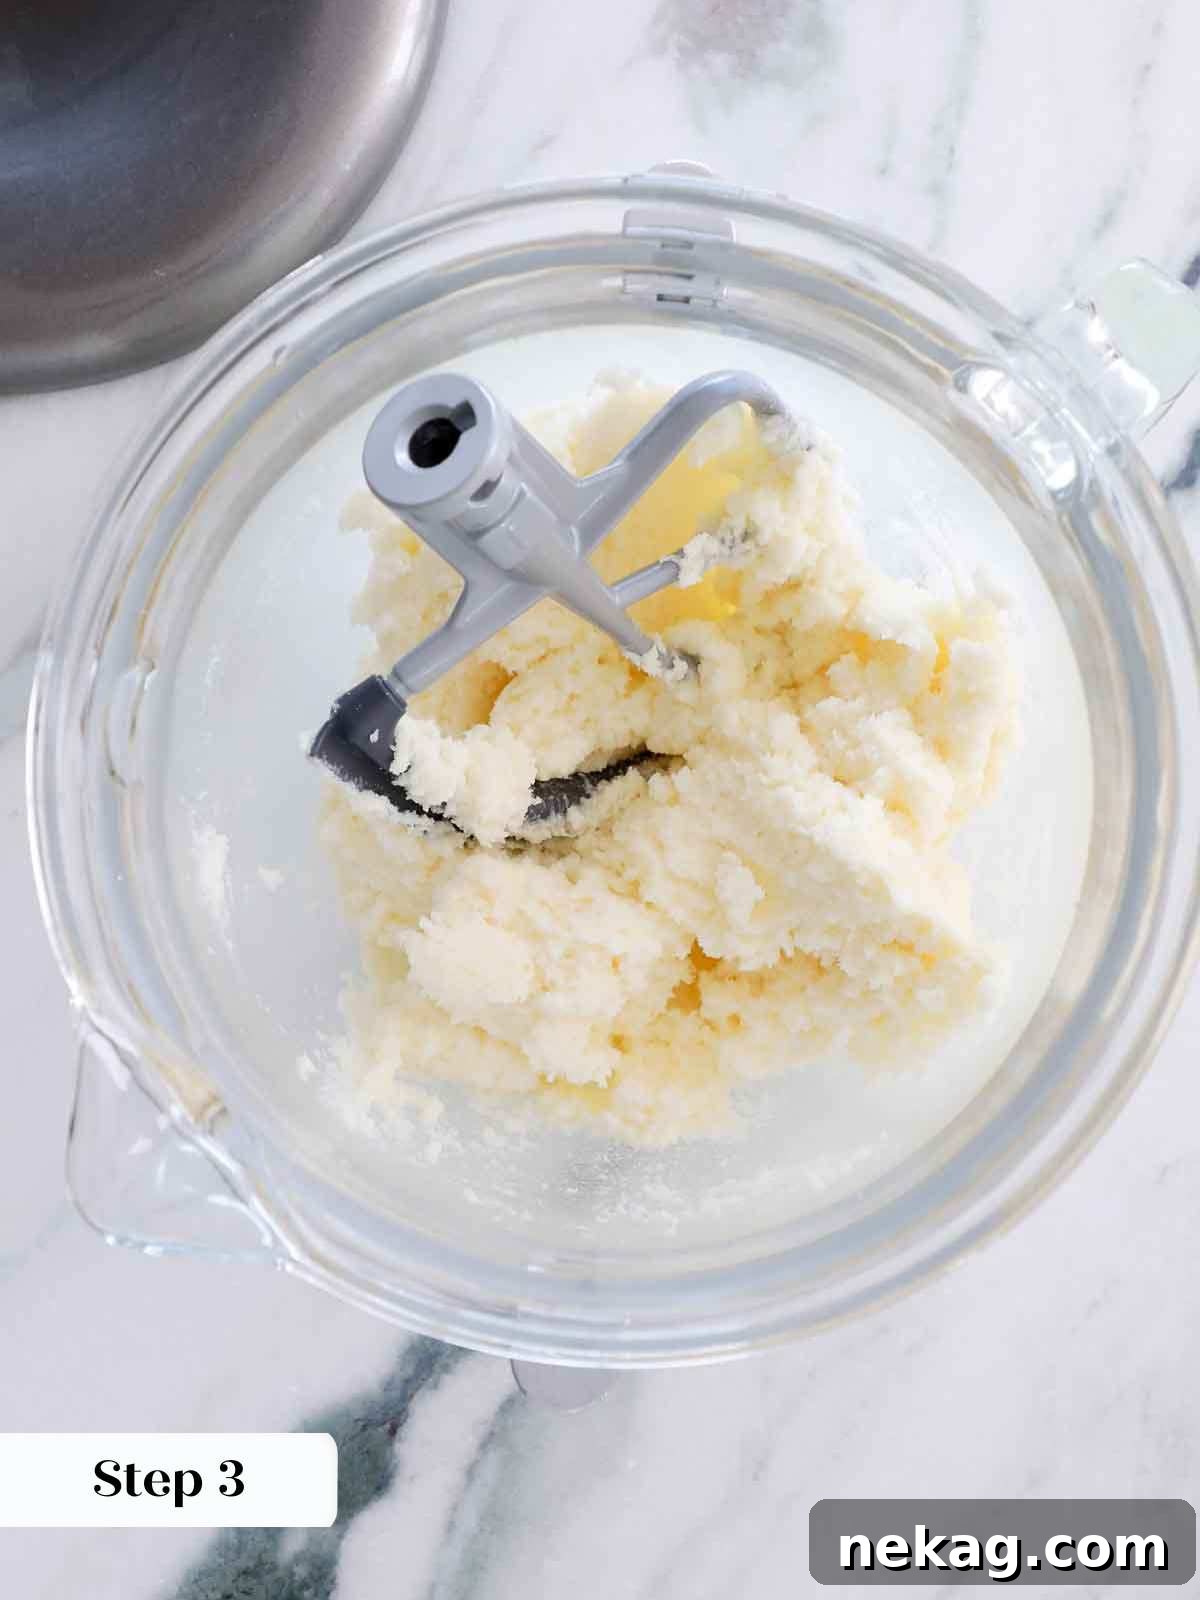
In the bowl of a stand mixer fitted with the paddle attachment (or using a hand mixer), cream together the softened unsalted butter and granulated sugar. Beat on medium-high speed for 3-5 minutes until the mixture is visibly lightened in color and fluffy in texture. This process incorporates air, which is vital for a light cake.
Step 4: Incorporate Eggs and Extracts
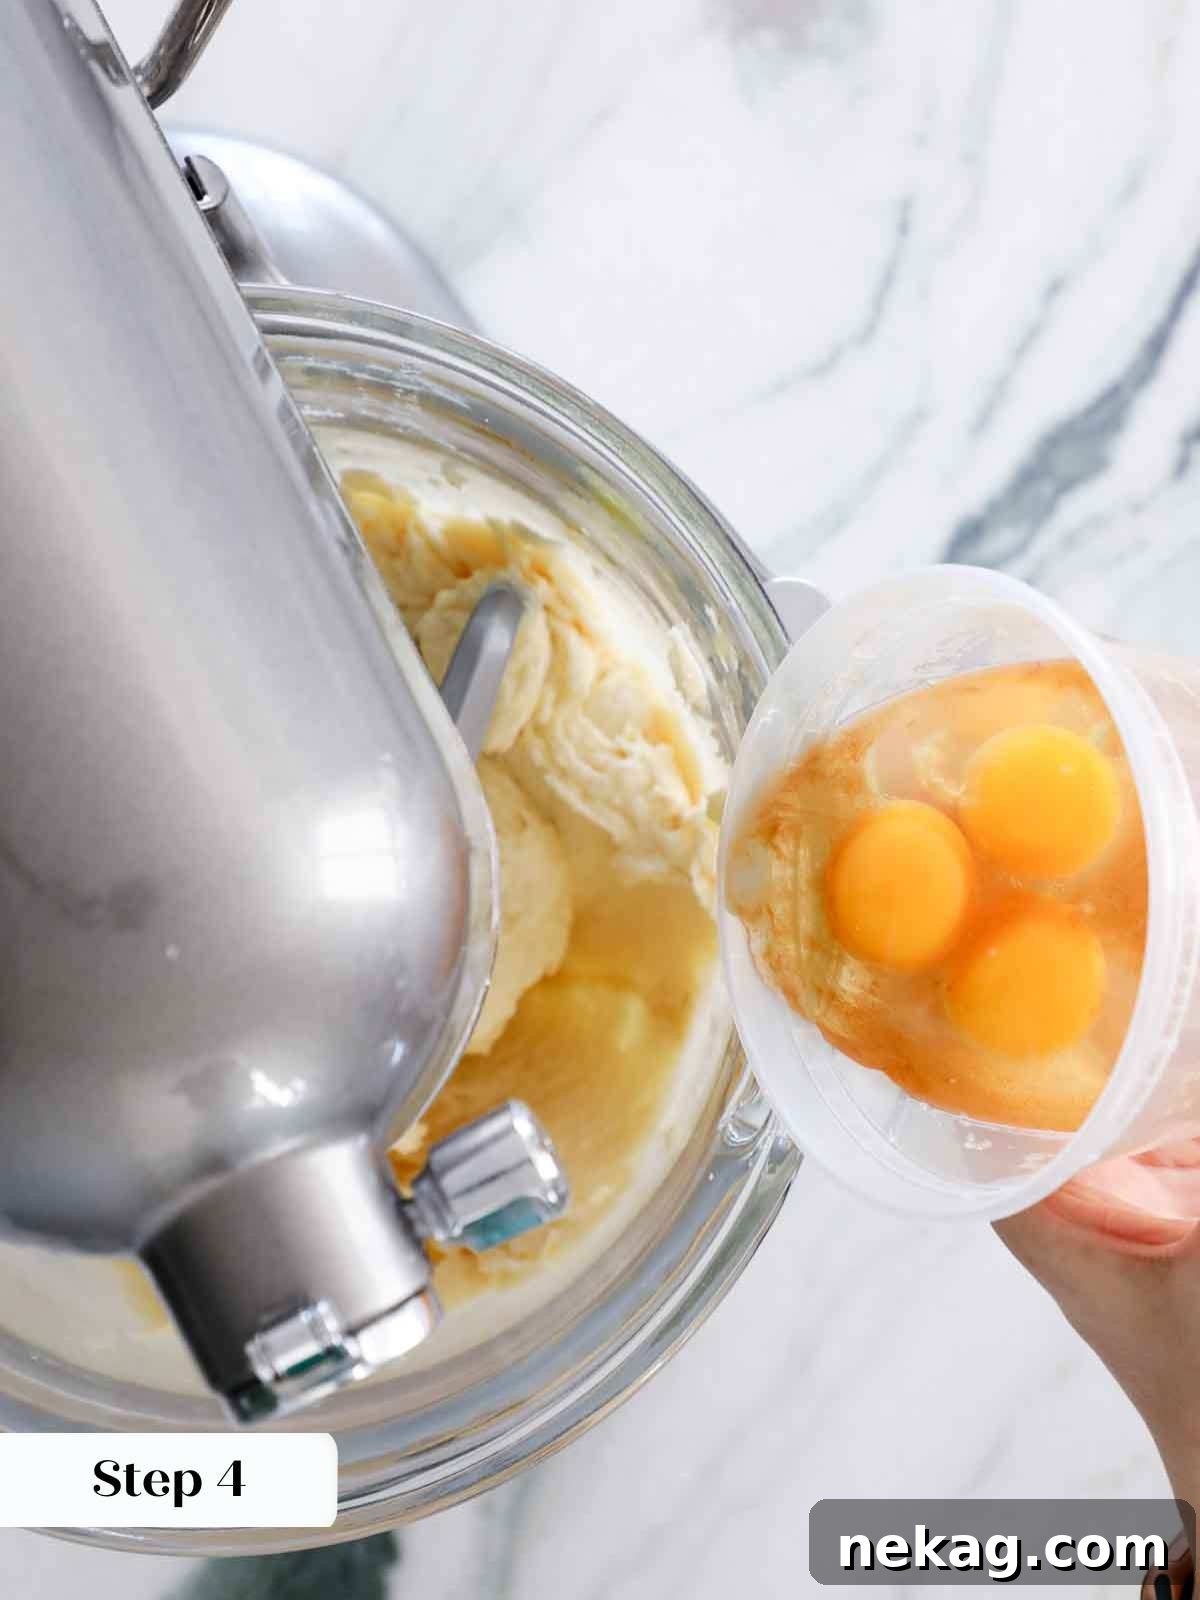
Add the large eggs to the creamed mixture one at a time, beating well after each addition until fully incorporated. Scrape down the sides of the bowl as needed to ensure everything is mixed evenly. With the final egg, add the vanilla extract and the hint of almond extract, mixing until just combined.
Step 5: Alternate Dry and Wet Additions
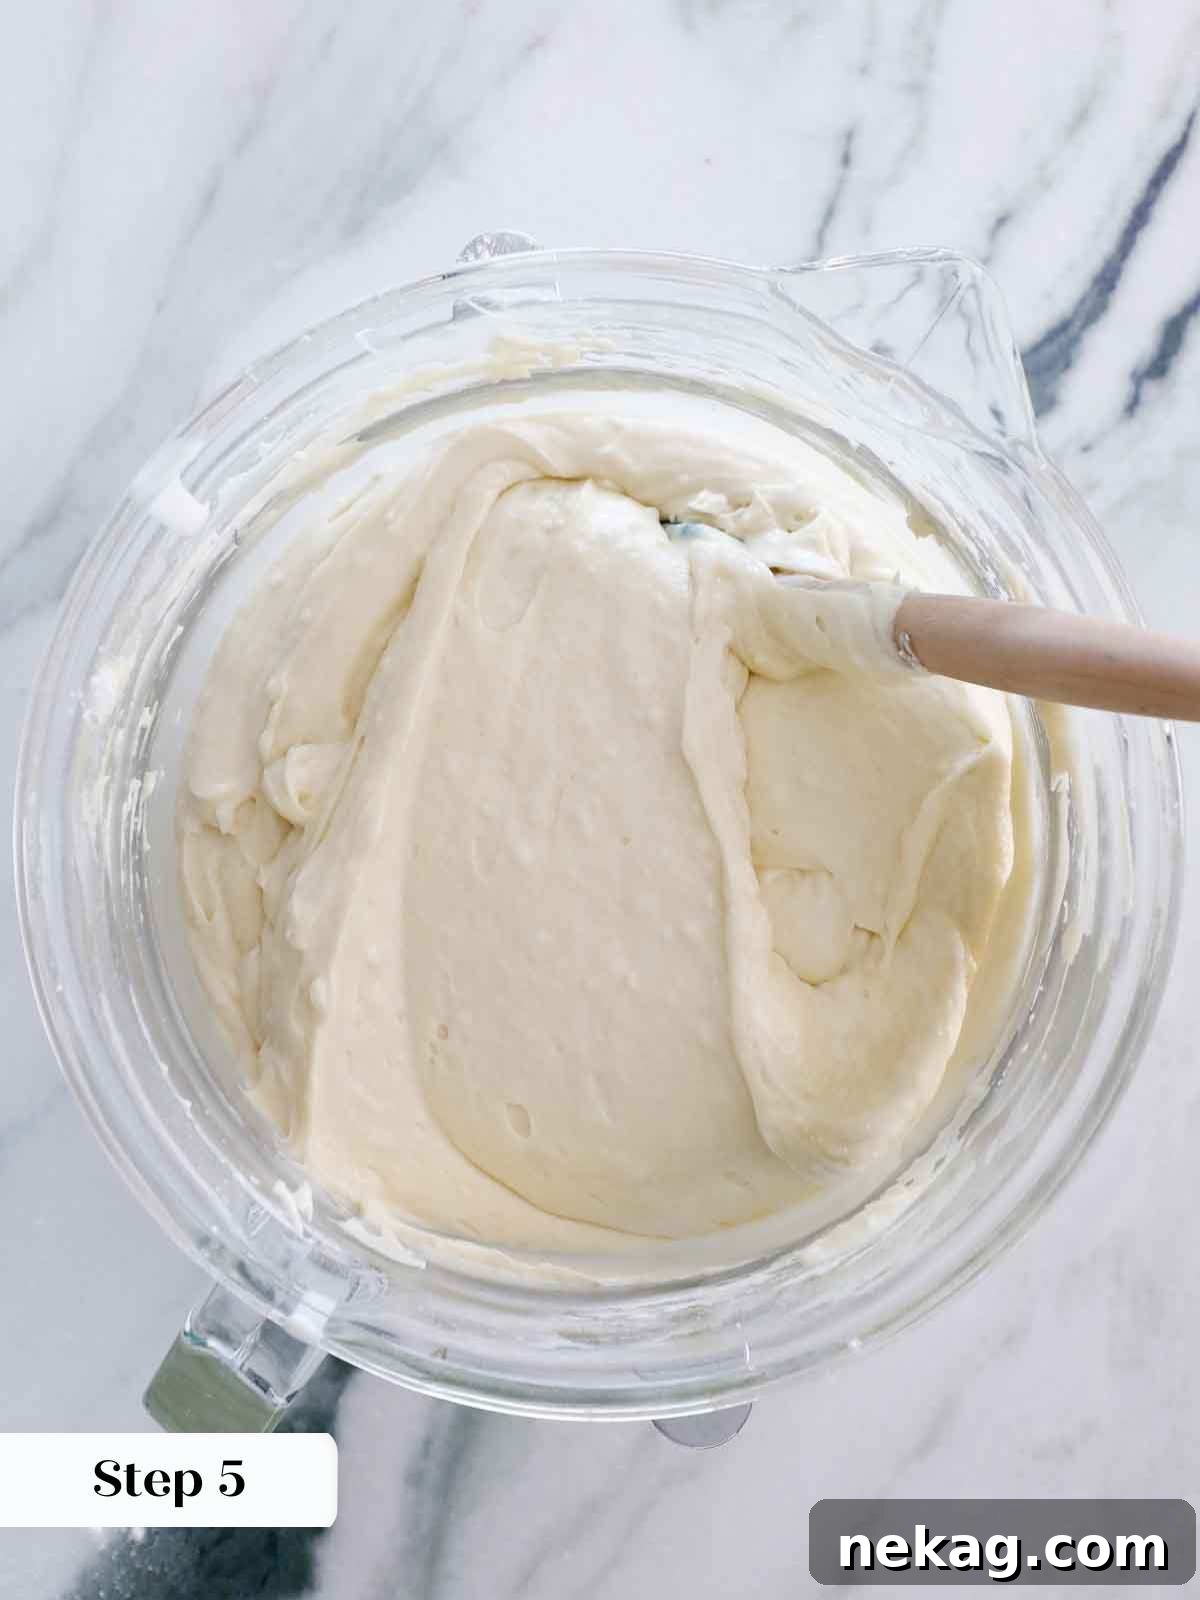
With the mixer on low speed, alternately add the sifted dry ingredients and the sour cream-milk mixture to the butter-sugar-egg mixture. Begin and end with the dry ingredients, adding them in three additions, and the liquid in two. Mix only until just combined after each addition. Be careful not to overmix, which can lead to a tough cake. I often finish the final folds gently by hand with a spatula to ensure no dry pockets remain without overdeveloping the gluten.
Step 6: Bake the Cake
Pour the prepared batter evenly into your lined 9×13-inch pan. Use an offset spatula to gently spread the batter to the edges, ensuring an even bake. Place immediately into the preheated oven.
Step 7: Check for Doneness
Bake for approximately 20-25 minutes. The cake is done when a cake tester or toothpick inserted into the center comes out with only a few moist crumbs clinging to it. Be vigilant not to overbake, as this will lead to a dry cake. A perfectly baked cake will be golden brown and spring back lightly when touched.
Step 8: Cool Completely
Once baked, remove the cake from the oven and allow it to cool completely in the pan on a wire rack. Cooling is essential before frosting to prevent the buttercream from melting.
Part 2: The Optional Simple Syrup Soak (Highly Recommended!)
While optional, a simple syrup soak adds incredible moisture and can infuse an extra layer of flavor into your cake. It’s a chef’s secret for keeping cakes tender for longer.
In a small saucepan, combine ½ cup water and ½ cup granulated sugar. Heat over high heat, stirring occasionally, just until the sugar dissolves and the mixture comes to a boil. Immediately remove from heat and allow the syrup to cool completely before using. You can enhance the flavor further by adding a teaspoon of lemon juice or vanilla extract to the cooled syrup. Once your cake is completely cool, gently brush the simple syrup over the top with a pastry brush, allowing it to soak in. Any leftover simple syrup is fantastic for cocktails!
Part 3: Assembling Your Stunning American Flag Cake
This is where the magic happens and your cake transforms into a patriotic masterpiece!
Step 1: Prepare Your Lemon Swiss Meringue Buttercream
While your cake cools, prepare your Swiss Meringue Buttercream from scratch, or take any pre-made buttercream out of the fridge to refresh it. If refreshing, beat it on medium-low speed until it becomes light, fluffy, and smooth again. Once the buttercream is perfectly whipped, gently fold in your lemon curd. If your lemon curd is very cold or stabilized (especially if it contains gelatin, like some lemon bar recipes), give it a quick whisk with a spatula in a small bowl to loosen it up. Adding cold, stiff curd directly to silky buttercream can cause lumps, so ensure it’s pliable.
Step 2: Ready Your Piping Bags and Tips
Prepare your piping bags with the chosen tips for decorating. For the distinctive stripes, I used an Ateco 885 tip, which creates a lovely ribbed effect. For the “stars” area, a Wilton 2D tip works wonderfully for star shapes. Ideally, I would have preferred an Ateco 842 or 843 closed star tip for even sharper points, but my preferred tips were unavailable. Use what you have and don’t be afraid to experiment!
Step 3: Prepare the Berries
Wash and thoroughly dry all your fresh berries. For the strawberries, carefully slice them. Aim for a thickness of about ⅛ inch. The thinner the slices, the more elegantly you’ll be able to fan them out, creating that beautiful “waving flag” movement that makes this cake so special.
Tip for Strawberry Slicing: Achieving thin, uniform slices for the strawberries is key to creating the graceful, fanned-out effect. Practice on a few berries first to get your rhythm.
Step 4: Crumb Coat and Establish the “Star” Section
Spread a thin, even layer of the lemon buttercream over the entire surface of the cooled cake using an offset spatula. This is your crumb coat, which locks in any loose crumbs and creates a smooth canvas for your final decoration. Next, pipe a clear border in the upper-left third of the cake. This designated area will be where your blueberries (representing the stars) will reside, so make sure it’s well-defined.
Step 5: Pipe the Buttercream Stripes
Using your chosen piping tip (e.g., Ateco 885), carefully pipe horizontal stripes of the white lemon buttercream across the remaining two-thirds of the cake. Consider how many rows of berries you intend to place when piping these stripes to ensure even spacing. If you’re nervous about placement, you can always pipe these buttercream stripes after the berry stripes for perfect alignment.
Step 6: Create the Berry Stripes and “Stars”
Now for the artistic part! Take your thinly sliced strawberries and carefully fan them out, slightly overlapping, to form elegant red stripes. Using a small offset spatula or a thin knife, gently transfer these fanned strawberry sections onto the cake, filling the gaps between your piped buttercream stripes. For a visually dynamic effect, I like to alternate one fanned strawberry section with a few raspberries, then repeat this pattern across the row. When starting a new berry stripe, begin with the opposite berry (e.g., if the previous row ended with raspberries, start this new row with strawberries) to prevent creating an unintentional line of a single berry type down your flag. These small details truly make a difference in the final presentation! Finally, meticulously place your fresh blueberries within the bordered upper-left third of the cake to form the “star” field. Arrange them in a way that suggests a cluster of stars, or even in a more structured grid if you prefer.
Step 7: Serve or Store
Your stunning American Flag Cake is now ready! Serve it immediately within 2 hours for the freshest taste and texture. If preparing in advance or storing leftovers, wrap the cake well with plastic wrap or place it in an airtight container and refrigerate. The buttercream’s flavor and texture are generally best enjoyed at room temperature, so if refrigerated, allow it to sit out for 20-30 minutes before serving, if preferred.
Chef Lindsey’s Expert Recipe Tip
For achieving the most professional and eye-catching stripes and stars on your American Flag Cake, the right piping tips make all the difference. I utilized an Ateco 885 tip for the buttercream stripes, which provides beautiful, sharp edges. For the star-like effect in the blue field, a Wilton 2D tip worked well, creating lovely open stars. If you have them available, I highly recommend using an Ateco 842 or 843 closed star tip; these deliver even more defined and intricate star shapes, adding an extra layer of finesse to your patriotic design.
American Flag Cake Recipe FAQs
For optimal freshness and to lock in moisture, I highly recommend frosting your cake on the day it is baked. Once frosted and decorated, store the cake in the refrigerator for up to one week, or freeze it for up to two months. Always ensure it’s kept in an airtight container or thoroughly wrapped in several layers of plastic wrap to prevent it from drying out or absorbing odors. Be aware that fresh berries can begin to “weep” or release their juices after about 12 hours in the refrigerator, which might affect the pristine appearance. If this is a concern, simply add the fresh berries to the cake on the day you plan to serve it for the best presentation.
This American Flag Cake is truly a complete dessert in itself, a delightful treat that stands proudly on its own. However, for those who love to enhance their dessert experience, a complementary sauce or a scoop of ice cream is always a welcome addition. Consider a spoonful of elegant crème anglaise, a generous scoop of classic vanilla bean ice cream, or for a refreshing contrast, some tangy raspberry sorbet. If you’re a chocolate lover, a scoop of rich chocolate ice cream can also create a surprisingly delicious pairing. Alternatively, a drizzle of my easy homemade blueberry sauce or a thinned-out strawberry jam (loosened with a touch of lemon juice) will add another layer of fruitiness to this patriotic treat.
Recommended Cake Recipes for Every Occasion
Cake Recipes
The Ultimate Moist Vanilla Cake Recipe
Cake Recipes
Delicious Lemon Pound Cake with Strawberry Icing
Cake Recipes
Easy & Festive Funfetti Sheet Cake
Cupcake Recipes
Bright & Zesty Lemon Cupcakes
If you tried this fantastic recipe and loved it, please take a moment to leave a 🌟 star rating and share your thoughts in the comments below. Your feedback truly brightens my day and helps other bakers discover this wonderful recipe!
American Flag Cake
Comment
Print Recipe
Ingredients
For the cake:
- ¾ cup unsalted butter soft and pliable (170g)
- 1 ½ cup granulated sugar (345g)
- 3 large eggs
- 1 tablespoon vanilla extract
- ½ teaspoon almond extract
- 1 cup sour cream (225g)
- ½ cup whole milk (130g)
- 2 ½ cups cake flour (300g, see note*)
- 1 teaspoon baking powder
- ½ teaspoon baking soda
- 1 ½ teaspoons kosher salt
- ¾ cup rainbow sprinkles (124g, optional)
Optional Simple Syrup Soak:
- ½ cup granulated sugar
- ½ cup water
For the buttercream:
- 5 large egg whites
- 1 ¼ cup granulated sugar
- ¼ teaspoon kosher salt
- 2 cups unsalted butter room temperature, 4 sticks, cool but still pliable
- 2 teaspoons vanilla extract
- ½ cup lemon curd
For the decorations:
- 2 quarts fresh strawberries
- 1 cup fresh raspberries
- 1 ½ cups fresh blueberries
Instructions
For the Cake:
-
Preheat oven to 350°F (either convection or regular).
-
Ensure all ingredients are at room temperature. Sift the cake flour, baking powder, baking soda, and salt into one bowl. In another bowl, whisk together the sour cream and milk. Set both aside.
-
Spray and line a 9×13-inch baking pan with parchment paper, leaving an overhang.
-
In the bowl of a stand mixer (or with a hand mixer), cream butter and sugar until light and fluffy. Add eggs one at a time, beating well after each. Add vanilla and almond extracts with the last egg.
-
Alternately add the milk mixture and dry ingredients, beginning and ending with dry ingredients. Mix until just combined.
-
Pour batter into the prepared pan and spread evenly. Bake immediately in the preheated oven for approximately 20-25 minutes, or until a cake tester comes out with a few moist crumbs. Do not overbake.
For the Optional Simple Syrup Soak:
-
In a small pot, mix water and sugar. Heat on high until it comes to a boil and sugar dissolves. Remove from heat and cool completely.
-
Optionally, add a little lemon juice or vanilla extract to the cooled syrup. Gently soak your cooled cake with a pastry brush. Reserve any leftover simple syrup for cocktails!
Prepare Remaining Ingredients:
-
While the cake cools, prepare the Swiss Meringue Buttercream or refresh pre-made buttercream. Once light and fluffy, fold in the lemon curd. If using cold, stabilized curd (e.g., from lemon bars), loosen it with a spatula before adding to prevent lumps.
-
Prepare a piping bag with your desired tip (e.g., Ateco 885 for stripes, Wilton 2D for stars).
-
Slice your strawberries approximately ⅛ inch thick for fanning.
Assembling the Cake:
-
Spread a thin layer of buttercream as a crumb coat. Pipe a border in the upper-left third for the blueberries (stars). Pipe the buttercream stripes for the flag.
-
Fan out strawberry slices for the red stripes and transfer them to the cake with a small offset spatula or knife. Alternate strawberries with raspberries for a dynamic effect, ensuring to vary the starting berry for each row. Fill the star border with blueberries.
-
Serve immediately or wrap well and refrigerate. The buttercream tastes best at room temperature, so allow it to sit out for a short period before serving if chilled.
Video
Notes
Yield – This recipe yields one impressive 9×13 inch sheet cake, perfect for sharing.
Variations – Feel free to get creative! Substitute the simple syrup soak with a thin layer of your favorite berry jam for added depth, explore different frosting types as suggested in the variations section, or mix up the assortment of fresh berries you use to perfectly suit your taste and design preference.
Storage – For maximum freshness, I recommend frosting the cake on the day it is baked to lock in all that wonderful moisture. The decorated cake can be stored refrigerated for up to a week, or wrapped tightly and frozen for up to 2 months. Always store it in an airtight container or ensure it’s well-wrapped in plastic wrap. Please note that fresh berries may begin to weep and soften after about 12 hours in the refrigerator. If you prefer a pristine berry display, simply add the fresh fruit decorations on the day you plan to serve the cake.
Nutrition
Before You Go! Discover More Delicious Chef-Tested Recipes
I sincerely hope you enjoyed creating and tasting this professional chef-tested American Flag Cake recipe. It’s truly a labor of love designed to bring joy to your table! Don’t stop your culinary journey here; explore our other meticulously developed cake recipes for more delicious inspiration. Or, if you’re keen to continue celebrating American culinary traditions, try our classic and irresistibly rich Gooey Butter Cake. Happy baking, and happy feasting!