
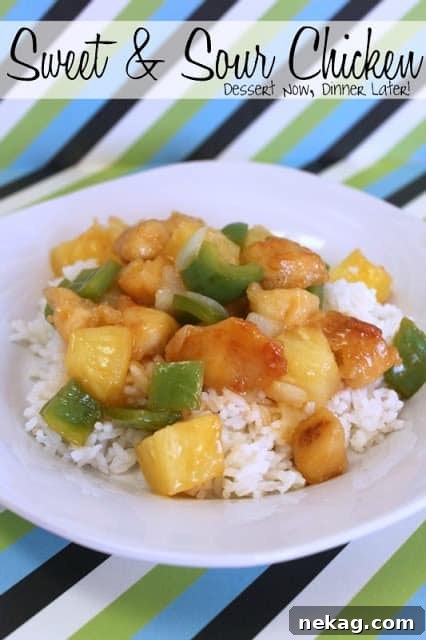
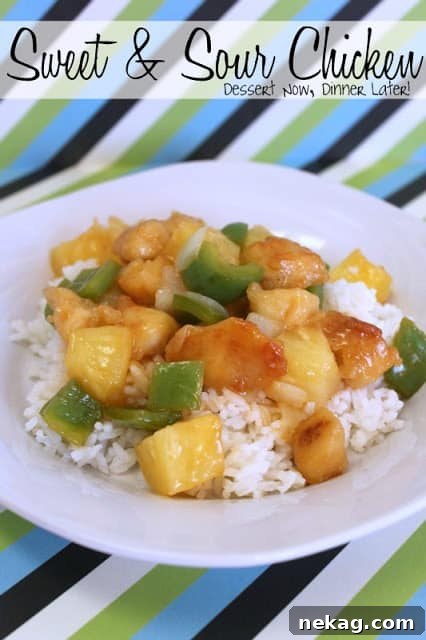
Authentic Sweet and Sour Chicken Recipe: Better Than Takeout
Are you craving the irresistible flavors of your favorite Chinese takeout but prefer the comfort and control of a homemade meal? Look no further! This Sweet and Sour Chicken recipe delivers all the crispy, saucy goodness you love, right in your own kitchen. Forget soggy chicken and overly sweet sauces; this recipe focuses on perfectly cooked, tender chicken coated in a light, crispy batter, drenched in a vibrant, balanced sweet and sour sauce that will have your family asking for seconds. It’s a truly satisfying dish that rivals any restaurant version, and it’s surprisingly easy to make!
While today’s culinary journey takes us straight to the heart of a beloved Chinese classic, it’s worth noting the versatility of cooking. Just as we’re about to explore the depths of sweet and sour perfection, consider exploring other vibrant flavors for different occasions. For those last-minute celebrations or simply a fresh, zesty treat, don’t forget delightful options like Key Lime Cupcakes, Tangy Lime Bars, or a refreshing Shamrock Slush. But for now, let’s dive into the savory world of homemade sweet and sour chicken!
Why Homemade Sweet and Sour Chicken is a Culinary Game Changer
While takeout offers undeniable convenience, crafting sweet and sour chicken at home provides numerous advantages. You gain complete control over the ingredients, allowing you to choose fresh, high-quality chicken and vegetables. This means you can significantly reduce unhealthy oils, excessive sugar, and artificial additives often found in restaurant versions, making it a healthier option for your family. Moreover, it’s incredibly cost-effective, transforming a beloved restaurant dish into an affordable family dinner that yields generous portions.
The satisfaction of creating this classic dish from scratch is unmatched, and the aromatic blend of ginger, garlic, and tangy sauce filling your kitchen is an added bonus. This particular recipe, a personal favorite, stands out for its simplicity and exceptional results. I was inspired to try it after seeing its mouth-watering appeal online, and it quickly became a staple in our home. What truly sets this recipe apart is its ingenious chicken batter, which creates an exceptionally light and crispy coating without the heavy, often messy, multi-step breading process. This innovation not only speeds up preparation but also ensures each piece of chicken is perfectly golden and deliciously tender.
This recipe is designed to be generous, easily feeding a family of four with potential leftovers, making it ideal for busy weeknights or a relaxed weekend feast. Furthermore, I’m thrilled to share that I’ve recently upgraded my photography equipment to a DSLR camera. While I’m still mastering its intricacies, I hope the improved visuals will start to make your mouths water even more. Your feedback is always appreciated!
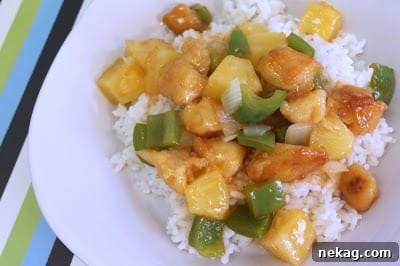
The Anatomy of Perfect Sweet and Sour Chicken
Achieving that quintessential sweet and sour chicken experience comes down to a harmonious balance between two main components: the incredibly crispy chicken and the irresistibly flavorful sauce. Each plays a crucial role in creating a dish that delights the taste buds with every bite.
Crispy Chicken: The Foundation of Flavor and Texture
The chicken in this recipe is truly outstanding and serves as the perfect canvas for the vibrant sauce. Instead of a traditional flour-egg-crumb breading, we utilize a simple yet highly effective batter that yields exceptionally light and crispy results. This batter is a carefully balanced blend of all-purpose flour, cornstarch, a touch of granulated sugar, salt, black pepper, and baking powder, combined with oil and water. The cornstarch is a crucial ingredient here, as it’s what gives the chicken its remarkable crispiness that remarkably holds up well, even when tossed in the tangy sauce. Preparing the chicken by cutting boneless, skinless chicken breasts into uniform 1-inch chunks ensures even cooking and perfect, bite-sized pieces that are easy to enjoy. Frying these golden nuggets until they are cooked through and beautifully browned is the first essential step to achieving restaurant-quality perfection at home.
The Irresistible Sweet and Sour Sauce: A Symphony of Flavors
A truly great sweet and sour sauce strikes a delicate and captivating balance between tangy and sweet, all underscored by a subtle savory depth. Our homemade sauce achieves this perfectly, starting with the bright, fruity juice drained from canned pineapple chunks, which imparts a natural sweetness and an essential tropical note. This foundation is then enhanced with white distilled vinegar for its distinctive tang, granulated sugar for additional sweetness, a dash of salt to balance the palate, and a touch of ketchup which adds both a beautiful reddish hue and a hint of umami complexity. The magic of the sauce’s texture comes from a cornstarch slurry – a simple mixture of cold water and cornstarch – which, when whisked into the boiling sauce, thickens it quickly to a glossy, pourable consistency. This luscious sauce beautifully coats every piece of chicken and vegetable, delivering a bright, tangy-sweet profile that is incredibly addictive and makes this dish a standout.
Fresh Vegetables for Color, Crunch, and Nutrition
No authentic sweet and sour chicken is complete without its signature array of fresh, colorful vegetables. Bell peppers, often a mix of red and green for a visually appealing contrast, and onions, all cut into complementary 1-inch chunks, are briefly sautéed. The goal is to soften them slightly while ensuring they retain a pleasant, crisp-tender crunch. These vegetables not only absorb the rich sauce beautifully but also add bursts of freshness, vibrant color, and essential texture to every bite. Beyond their aesthetic and textural contributions, these vegetables provide valuable nutrients and an aromatic foundation that completes the overall flavor profile of the dish.
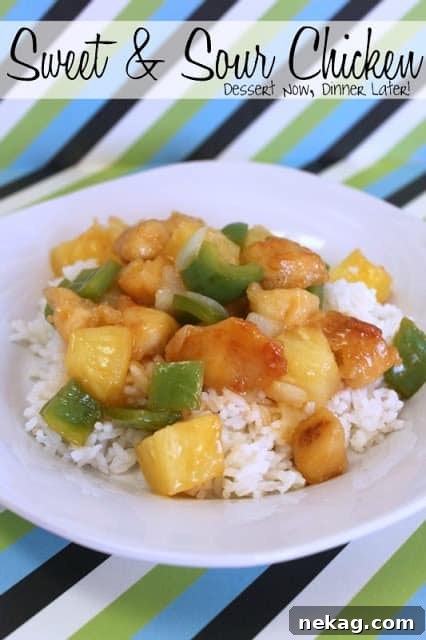
Sweet & Sour Chicken
Amber Brady
Pin Recipe
Rate this Recipe
Save Recipe
4
Servings
Ingredients
Chicken and Batter:
- 1 lb chicken breasts, (about 2 large breasts cut into 1-inch chunks)
- ⅓ cup all-purpose flour
- 1 ½ Tbsp cornstarch
- ½ Tbsp granulated sugar
- ½ tsp salt
- ⅛ tsp ground black pepper
- ⅛ tsp baking powder
- 1 Tbsp oil
- ⅓ cup water
- Canola Oil for frying (about ⅓-½ cup)
Sauce:
- 20 oz can pineapple chunks
- ½ cup water
- ¼ cup white distilled vinegar
- 6 Tbsp granulated sugar
- ¼ tsp salt
- ¼ cup ketchup
- 2 Tbsp COLD water
- 1 ½ Tbsp cornstarch
- 1 bell pepper, cut into 1-inch chunks
- ½ onion, cut into 1-inch chunks
Instructions
-
Make the batter by combining the flour, cornstarch, sugar, salt, pepper, & baking powder. Add oil & water & mix well until smooth. Set aside.
-
Drain the can of pineapple chunks, reserving all the juice. In a medium saucepan, combine the reserved pineapple juice, ½ cup water, vinegar, 6 Tbsp sugar, ¼ tsp salt, & ketchup. Bring the mixture to a boil over medium-high heat. In a separate small bowl, whisk together the COLD water & 1 ½ Tbsp cornstarch to form a smooth slurry. Gradually add this cornstarch mixture to the boiling sauce, whisking continuously until it thickens (this will happen quite quickly). Reduce heat to low and keep the sauce warm.
-
Heat ⅓ to ½ cup Canola oil in a large skillet or deep pan over medium-high heat (around 350-375°F or 175-190°C). Dip each chicken chunk into the prepared batter, ensuring it’s fully coated. Carefully drop the battered chicken pieces individually into the hot oil, ensuring not to overcrowd the pan. Fry the chicken in batches until each piece is golden brown and cooked through (about 5-7 minutes per batch). Remove cooked chicken with a slotted spoon and place on a paper towel-lined plate to drain excess oil.
-
Once all chicken is cooked, carefully discard all but 1 tablespoon of the oil leftover in the pan. If there is less than 1 tablespoon remaining, add just enough to reach 1 Tbsp and heat it up. Add the chopped bell pepper & onion to the pan. Sauté for 3-5 minutes, stirring occasionally, until the vegetables are tender-crisp but still slightly firm. Return the drained pineapple chunks and fried chicken to the pan. Pour the warm sweet and sour sauce over the chicken and vegetables. Stir gently to coat everything evenly and heat through for 1-2 minutes. Serve immediately over hot steamed rice.
Notes
For an extra kick, consider adding a pinch of red pepper flakes to the sauce when it’s simmering. You can also adjust the amount of sugar and vinegar in the sauce to perfectly suit your personal preference for sweetness or tanginess. Taste and tweak!
Disclaimer: Nutritional values were calculated using a third-party tool and are provided as an estimation only.
Sharing this recipe with a link is both encouraged and appreciated. Copying/pasting and/or screenshots of full recipes to any social media is strictly prohibited. Content and photographs are copyright protected.
Did you make this?
Don’t forget to leave a rating below and make sure to follow on Pinterest and Instagram for more delicious recipes and meal ideas!
Recipe credit: Adapted from Lil’ Luna
Expert Tips for Sweet & Sour Chicken Perfection
Mastering this dish is simple with a few key tips:
- Evenly Cut Chicken: Ensure your chicken pieces are cut into uniform 1-inch chunks. This is crucial for uniform cooking, preventing some pieces from being overcooked and dry while others are still undercooked.
- Maintain Oil Temperature: When frying, maintaining a consistent oil temperature (ideally around 350-375°F or 175-190°C) is vital. If the oil is too cool, the chicken will absorb too much oil and become greasy. If it’s too hot, the chicken will brown too quickly on the outside before cooking through on the inside.
- Don’t Overcrowd the Pan: Fry the chicken in batches. Overcrowding the pan dramatically drops the oil temperature, leading to soggy chicken instead of the desired crispiness. Give each piece enough space to cook properly.
- Smooth Sauce Consistency: The cornstarch slurry is essential for thickening the sauce to a glossy, desirable consistency. Always make sure to mix the cornstarch with *cold* water thoroughly before adding it to the hot sauce. This prevents lumps and ensures a smooth, even texture.
- Retain Vegetable Crunch: Sauté the bell peppers and onions just until they are tender-crisp. You want them to retain some bite and freshness, providing a pleasant textural contrast to the soft chicken and smooth sauce. Avoid overcooking them into mush.
- Taste and Adjust: Before combining the sauce with the chicken and vegetables, always taste it. This allows you to adjust the flavors to your preference. You can add a little more sugar for sweetness, vinegar for tang, or a pinch of salt to perfectly balance the overall flavor profile.
Serving Suggestions and Delicious Variations
Sweet and Sour Chicken is incredibly versatile and pairs wonderfully with a variety of sides, making it a flexible meal for any occasion. The classic and most popular choice, of course, is fluffy steamed white rice, which perfectly soaks up the rich, flavorful sauce. For those looking for a healthier alternative, consider serving it over steamed brown rice or even cauliflower rice.
To create a truly complete and authentic Asian-inspired meal, you could serve your sweet and sour chicken alongside:
- Lightly steamed fresh broccoli florets or crisp green beans.
- Homemade or store-bought egg rolls or spring rolls for an extra crunch.
- A refreshing, light cucumber salad or an Asian-inspired slaw.
- A sprinkle of toasted sesame seeds or finely chopped green onions as a garnish adds both an appealing visual element and an extra layer of flavor.
Customizing Your Dish: Unleash Your Culinary Creativity
Don’t be afraid to experiment and make this recipe your own:
- Protein Alternatives: While chicken is traditional, this versatile recipe works exceptionally well with other proteins. Consider using pork tenderloin cut into chunks, shrimp (adjust cooking times significantly as shrimp cooks much faster), or even firm tofu for a delicious vegetarian option.
- Add More Vegetables: Feel free to incorporate other nutrient-rich vegetables for added texture and vitamins. Broccoli florets, snap peas, sliced carrots, water chestnuts, or baby corn are all excellent additions. Simply add them to the pan with the bell peppers and onions during the sautéing step.
- Adjust the Spice Level: For those who enjoy a little heat, a pinch of red pepper flakes can be added to the sauce during simmering, or a dash of sriracha can be offered at the table for individual customization.
- Gluten-Free Option: To make this dish gluten-free, substitute the all-purpose flour in the batter with a gluten-free all-purpose flour blend and ensure all other ingredients (like ketchup and cornstarch) are certified gluten-free.
Storage and Reheating Best Practices
Leftover Sweet and Sour Chicken makes for a fantastic lunch or a quick dinner the next day. It can be stored safely in an airtight container in the refrigerator for up to 3-4 days. To reheat, gently warm it on the stovetop over medium-low heat, stirring occasionally, until thoroughly heated through. Alternatively, you can reheat it in the microwave. While the chicken may lose some of its initial crispiness upon reheating, the vibrant flavors of the sauce and the tender chicken will still be absolutely delicious and satisfying.
I hope you thoroughly enjoy making and savoring this homemade Sweet and Sour Chicken as much as I do. It’s a recipe that promises an explosion of flavors, a fun cooking experience, and a satisfying meal for any occasion. Don’t be shy – dive in and create your own culinary masterpiece tonight!