
Pâte Sucrée: The Ultimate Sweet Pastry Dough Recipe for Flawless Tarts and Pies
Discover the secret to perfectly tender, rich, and lightly sweetened pie and tart crusts with this essential Pâte Sucrée recipe. Often hailed as the backbone of French patisserie, this versatile sweet pastry dough, made with just five simple ingredients, bakes up like a dream and provides an exquisite foundation for all your favorite sweet fillings. Whether you’re a seasoned baker or just starting your culinary journey, this professional, easy-to-follow guide will help you master a fundamental technique used by pastry chefs worldwide, ensuring your homemade tarts, pies, mini tartlets, and individual pastries achieve an unparalleled level of deliciousness and aesthetic appeal.
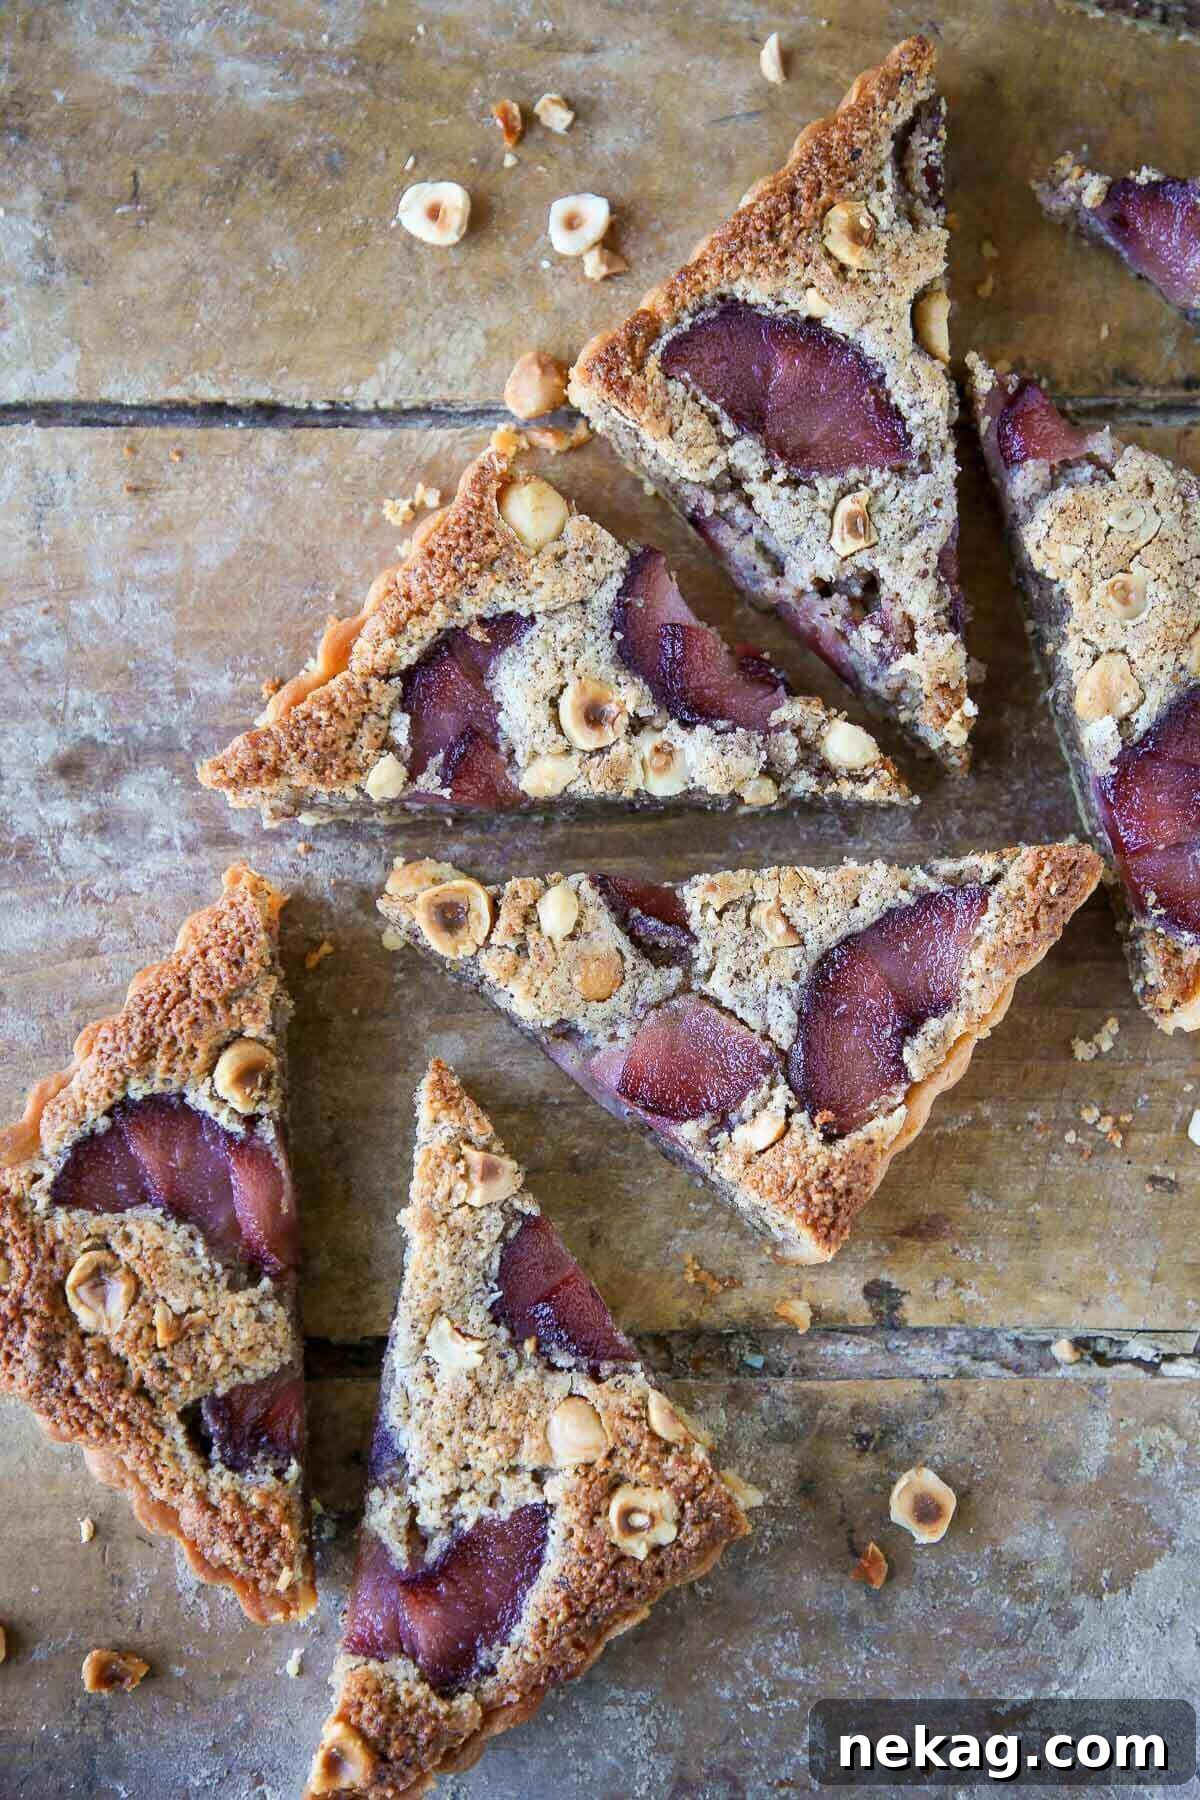
Pâte Sucrée, meaning “sweet pastry” in French, stands apart from traditional flaky pie crusts with its distinctive cookie-like texture – crumbly yet firm, buttery, and melt-in-your-mouth. It’s the ideal base for any sweet creation, from classic banana cream pie to elegant lemon meringue pie. Beyond pies, imagine it cradling luxurious fillings like rich almond cream, fragrant frangipane, or decadent hazelnut cream, often paired with seasonal fruits to create masterpieces such as a vibrant cherry almond tart or a comforting hazelnut pear tart. Its robust structure ensures a crisp bottom that won’t become soggy, even with moist fillings.
While similar in application to other pastry doughs like an all-butter pie crust (pâte brisée), a unique vodka pie crust, a reliable Crisco pie crust, or even an almond tart crust, Pâte Sucrée distinguishes itself by its method and resulting texture. This particular recipe focuses on a pure sweet pastry dough, deliberately excluding almond flour to maintain its classic, delicate crumb. If you’re seeking the added nutty flavor and slightly denser texture that almond flour provides, explore specialized options like our almond tart crust or almond flour pie crust. However, for a truly authentic and unadulterated sweet pastry experience, this Pâte Sucrée recipe is simply unmatched.
Table of Contents
- Why This is the Best Pâte Sucrée Recipe
- Professional Tips for Making Pâte Sucrée
- Essential Ingredients & Clever Substitutions
- Possible Flavor Variations
- How to Make Pâte Sucrée Step-by-Step
- How to Blind Bake Your Sweet Tart Crust Perfectly
- Chef Lindsey’s Pro Tip
- Frequently Asked Questions About Pâte Sucrée
- Pâte Sucrée Recipe Card
- Before You Bake On
Why This is the Best Pâte Sucrée Recipe You’ll Ever Make
There are countless recipes for sweet pastry dough, but this particular Pâte Sucrée stands out for several compelling reasons. It’s not just a recipe; it’s a tried-and-true method honed over years in professional pastry kitchens, designed to give you consistent, spectacular results every time. Here’s why this is the only sweet crust recipe you’ll ever need:
- Achieves a Tender, Delicate, and Perfectly Sweet Crumb: Unlike tougher pie crusts, this Pâte Sucrée delivers a remarkable texture that’s crisp, delicate, and literally melts in your mouth. The subtle sweetness perfectly complements any filling without being overpowering, creating a harmonious balance in your finished dessert. It provides just enough structure to hold its form while being incredibly pleasant to eat.
- Mixed Like a Cookie Dough for Ease and Consistency: Forget the tedious, often frustrating process of cutting cold butter into flour. This recipe utilizes the creaming method, just like making cookies. This not only makes the dough incredibly easy and enjoyable to prepare, even for beginners, but also ensures a uniform distribution of butter and sugar, leading to that signature rich flavor and tender texture without the risk of overworking the gluten.
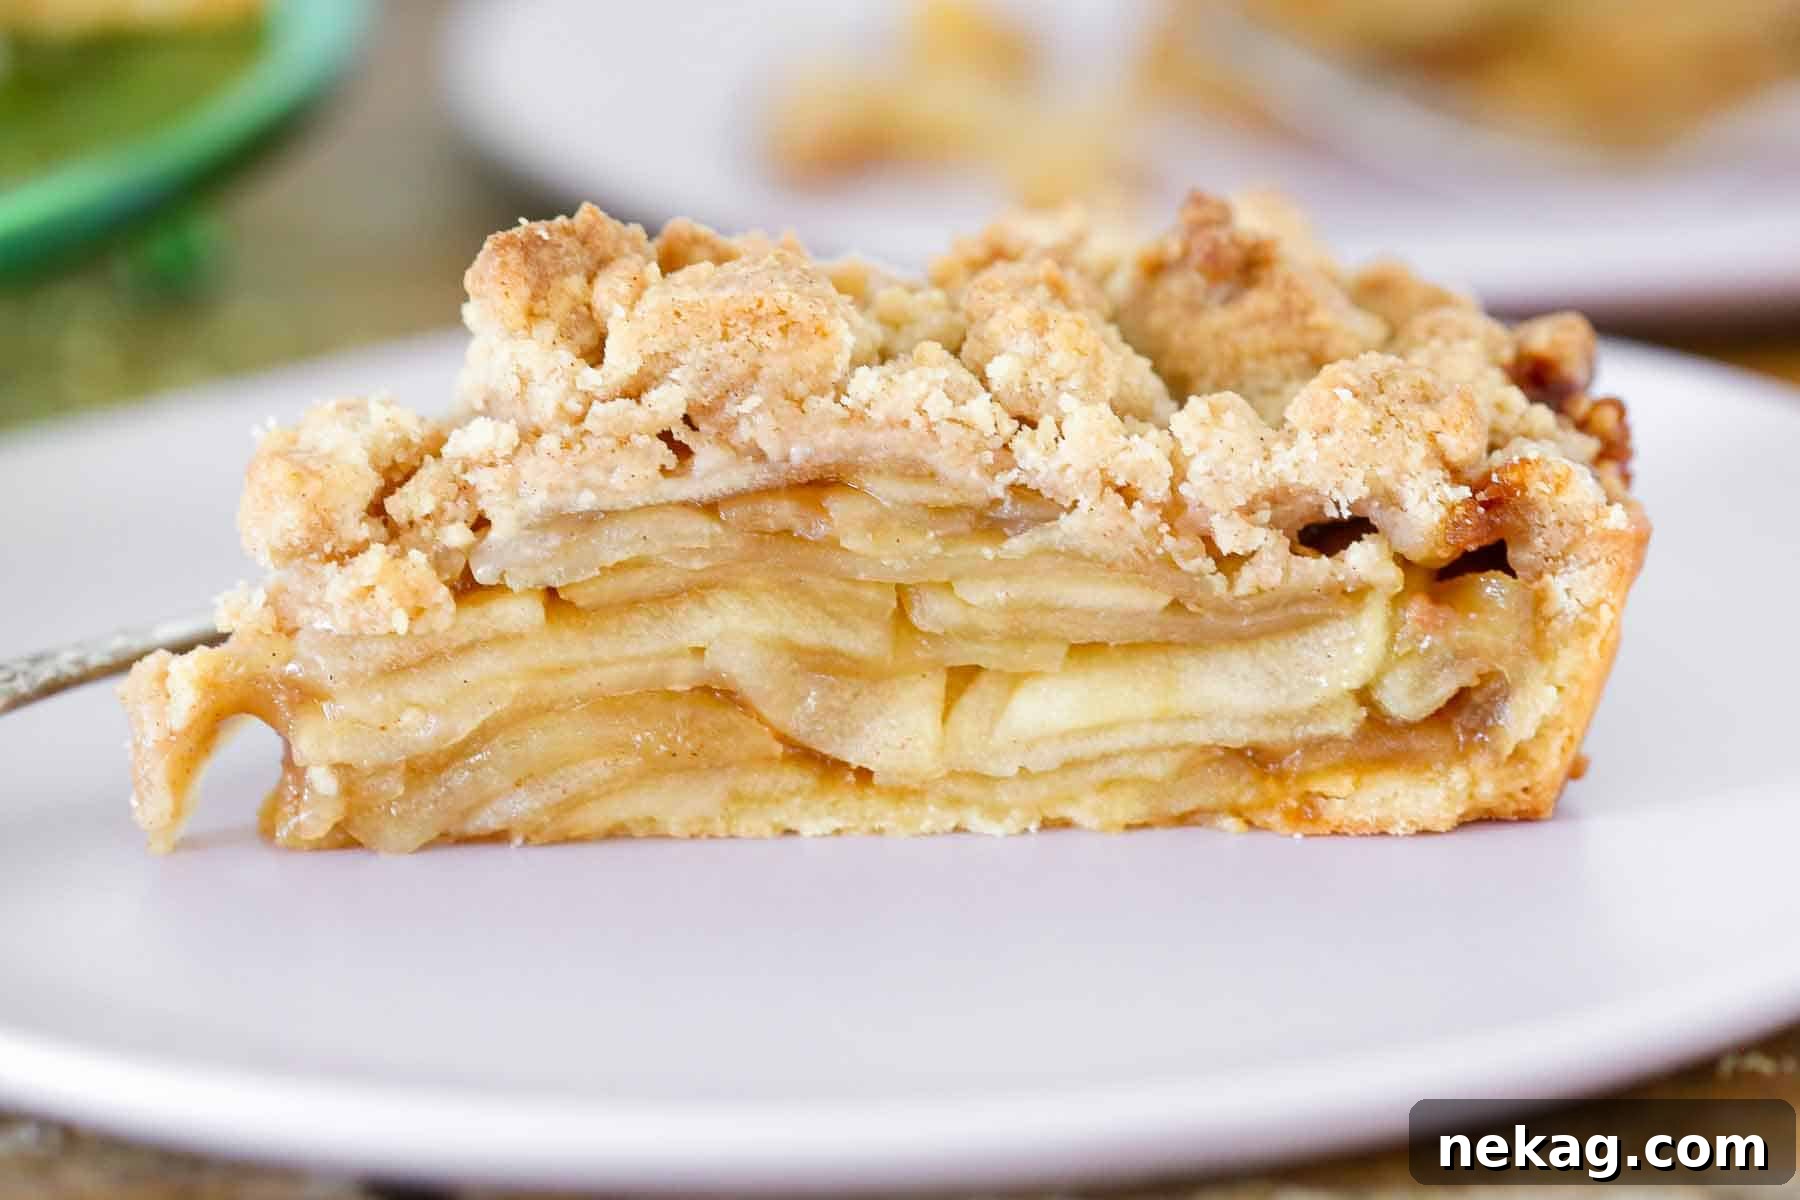
- Unmatched Versatility for All Your Baking Endeavors: This dough is a true workhorse in the pastry kitchen. Its sturdy yet delicate nature makes it suitable for a wide array of applications. From elegant mini chocolate tarts filled with luscious chocolate ganache to grand, show-stopping desserts like a sophisticated caramel apple tart with cinnamon streusel, this dough performs flawlessly. It’s equally delicious for individual tartlets, full-sized pies, or even decorative cookie cut-outs.
- A Time-Tested Recipe by a Professional Pastry Chef: This isn’t just a home baker’s experiment; this Pâte Sucrée recipe has been used countless times throughout my career in demanding restaurant and bakery environments. It’s been proven to deliver consistent, high-quality results under pressure, making it a reliable choice for your own kitchen. You’re getting professional-grade insights and techniques condensed into an accessible recipe.
Professional Tips for Making Perfect Pâte Sucrée
Achieving a truly exceptional sweet pastry dough requires attention to a few key details. These professional tips will elevate your Pâte Sucrée from good to absolutely outstanding, ensuring a tender, flavorful, and easy-to-handle crust every time.
- Ensure Butter & Eggs are at Room Temperature: This is perhaps the most critical tip. Softened butter creams beautifully with powdered sugar, creating a smooth, emulsified base. Cold butter will resist blending, leading to a lumpy mixture. Similarly, room temperature eggs incorporate effortlessly into the butter mixture, preventing the butter from seizing and ensuring a homogenous, smooth dough. If eggs are cold, they can firm up the butter, making emulsification nearly impossible and leading to a greasy or clumpy dough. Plan ahead and take them out of the fridge at least an hour before baking.
- Always Sift the Powdered Sugar: While it might seem like an extra step, sifting powdered sugar is non-negotiable for Pâte Sucrée. Powdered sugar is prone to clumping, and the creaming method alone, even with vigorous mixing, will not break down all these lumps. Sifting ensures a consistently smooth dough, free of gritty sugar pockets, and contributes to the dough’s delicate texture.
- Mix Just Until a Cohesive Dough Forms: Overmixing is the enemy of tender pastry. As soon as the dry ingredients are added, stay vigilant at your mixer. The dough will appear crumbly and seem like it won’t come together, but then, quite suddenly, it will form a cohesive mass. Stop mixing immediately at this point. Continued mixing develops gluten in the flour, resulting in a tough, chewy crust rather than the desired delicate and crumbly texture. A few seconds can make all the difference!
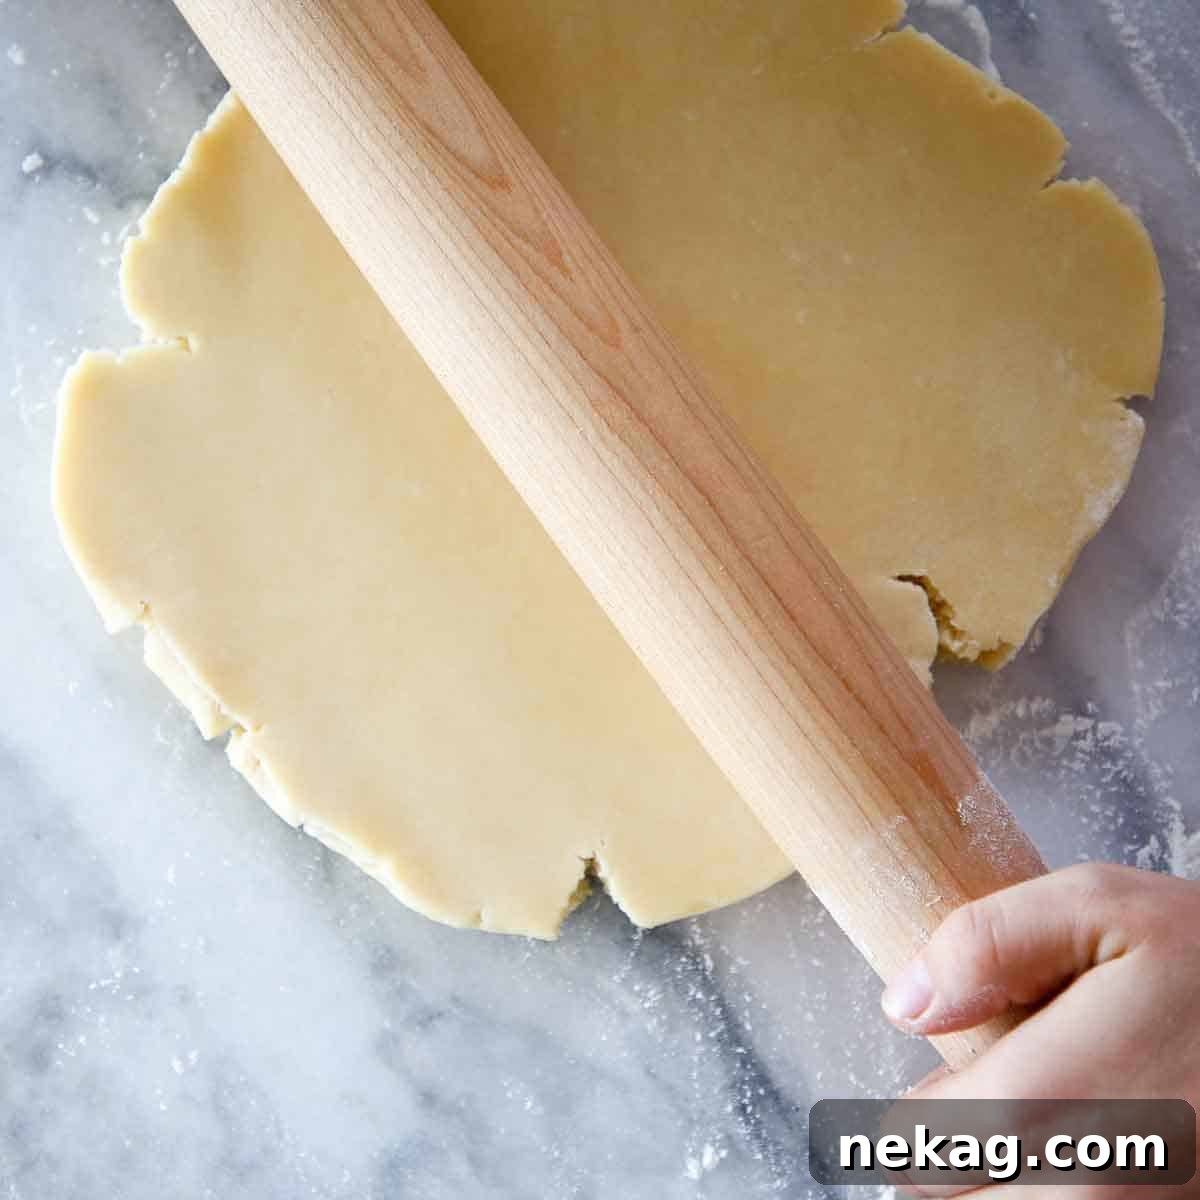
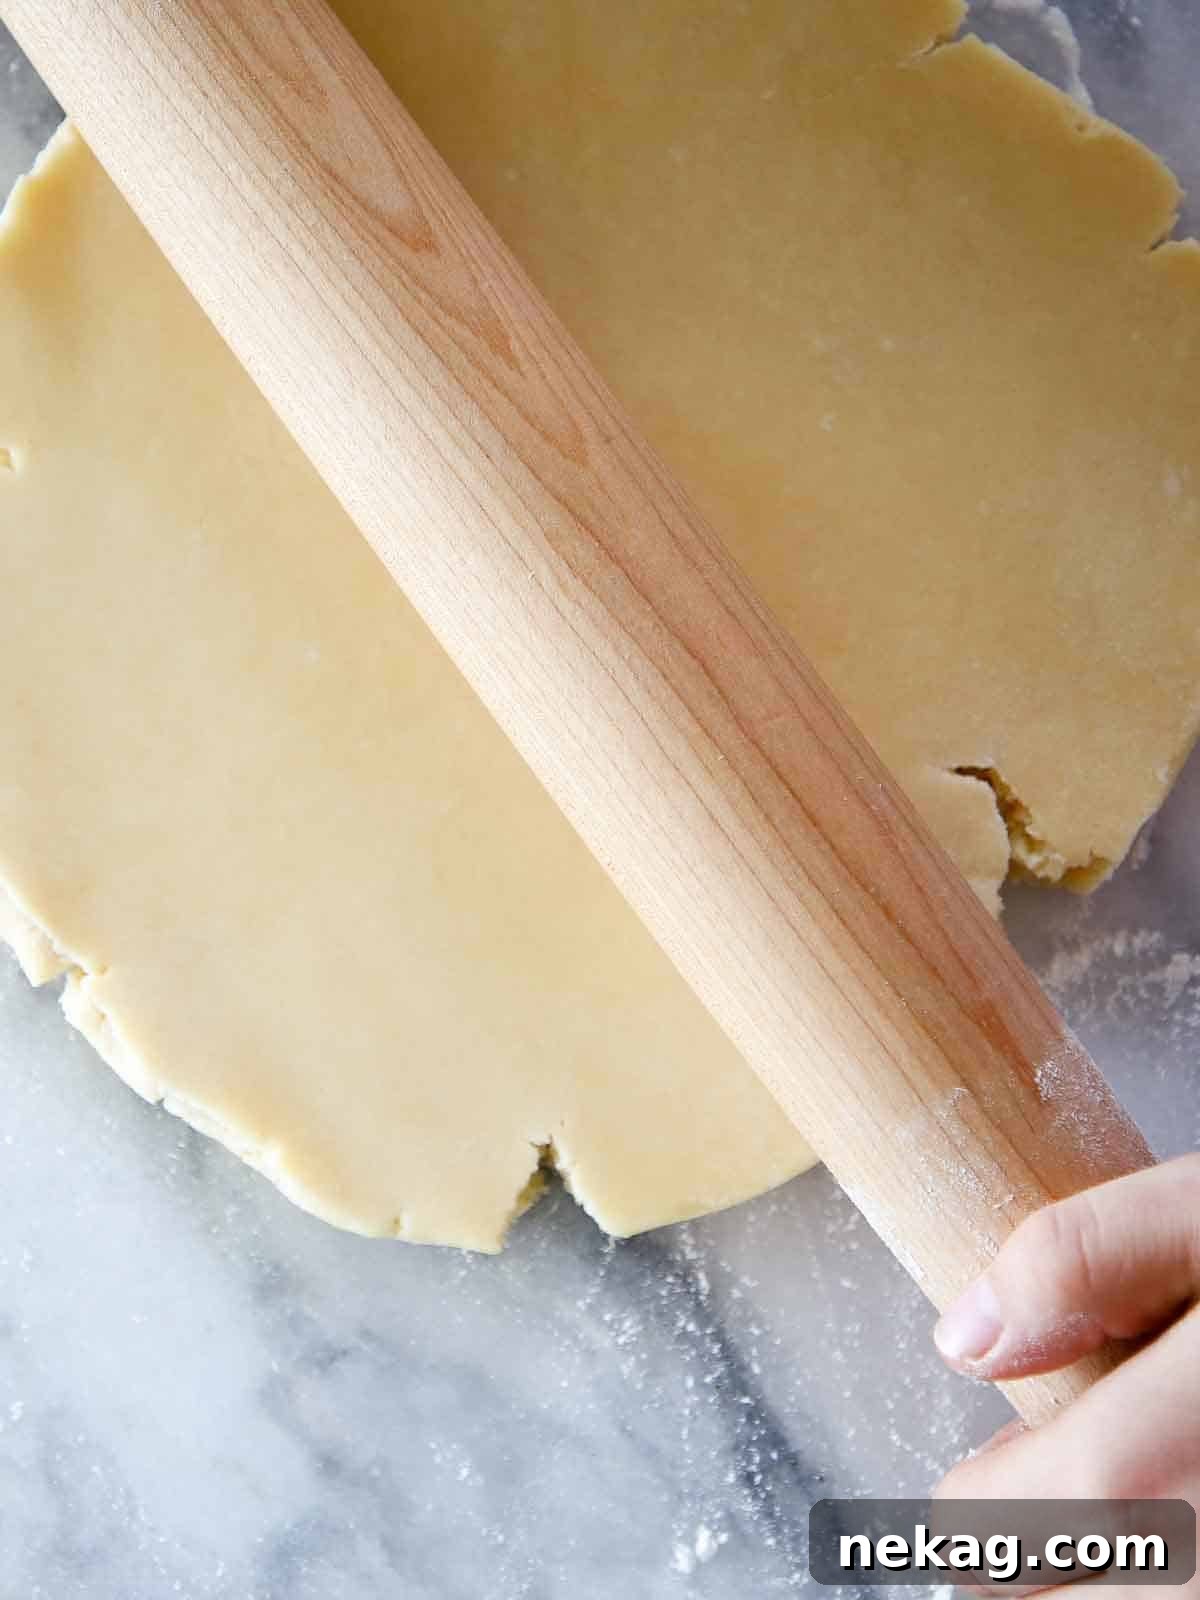
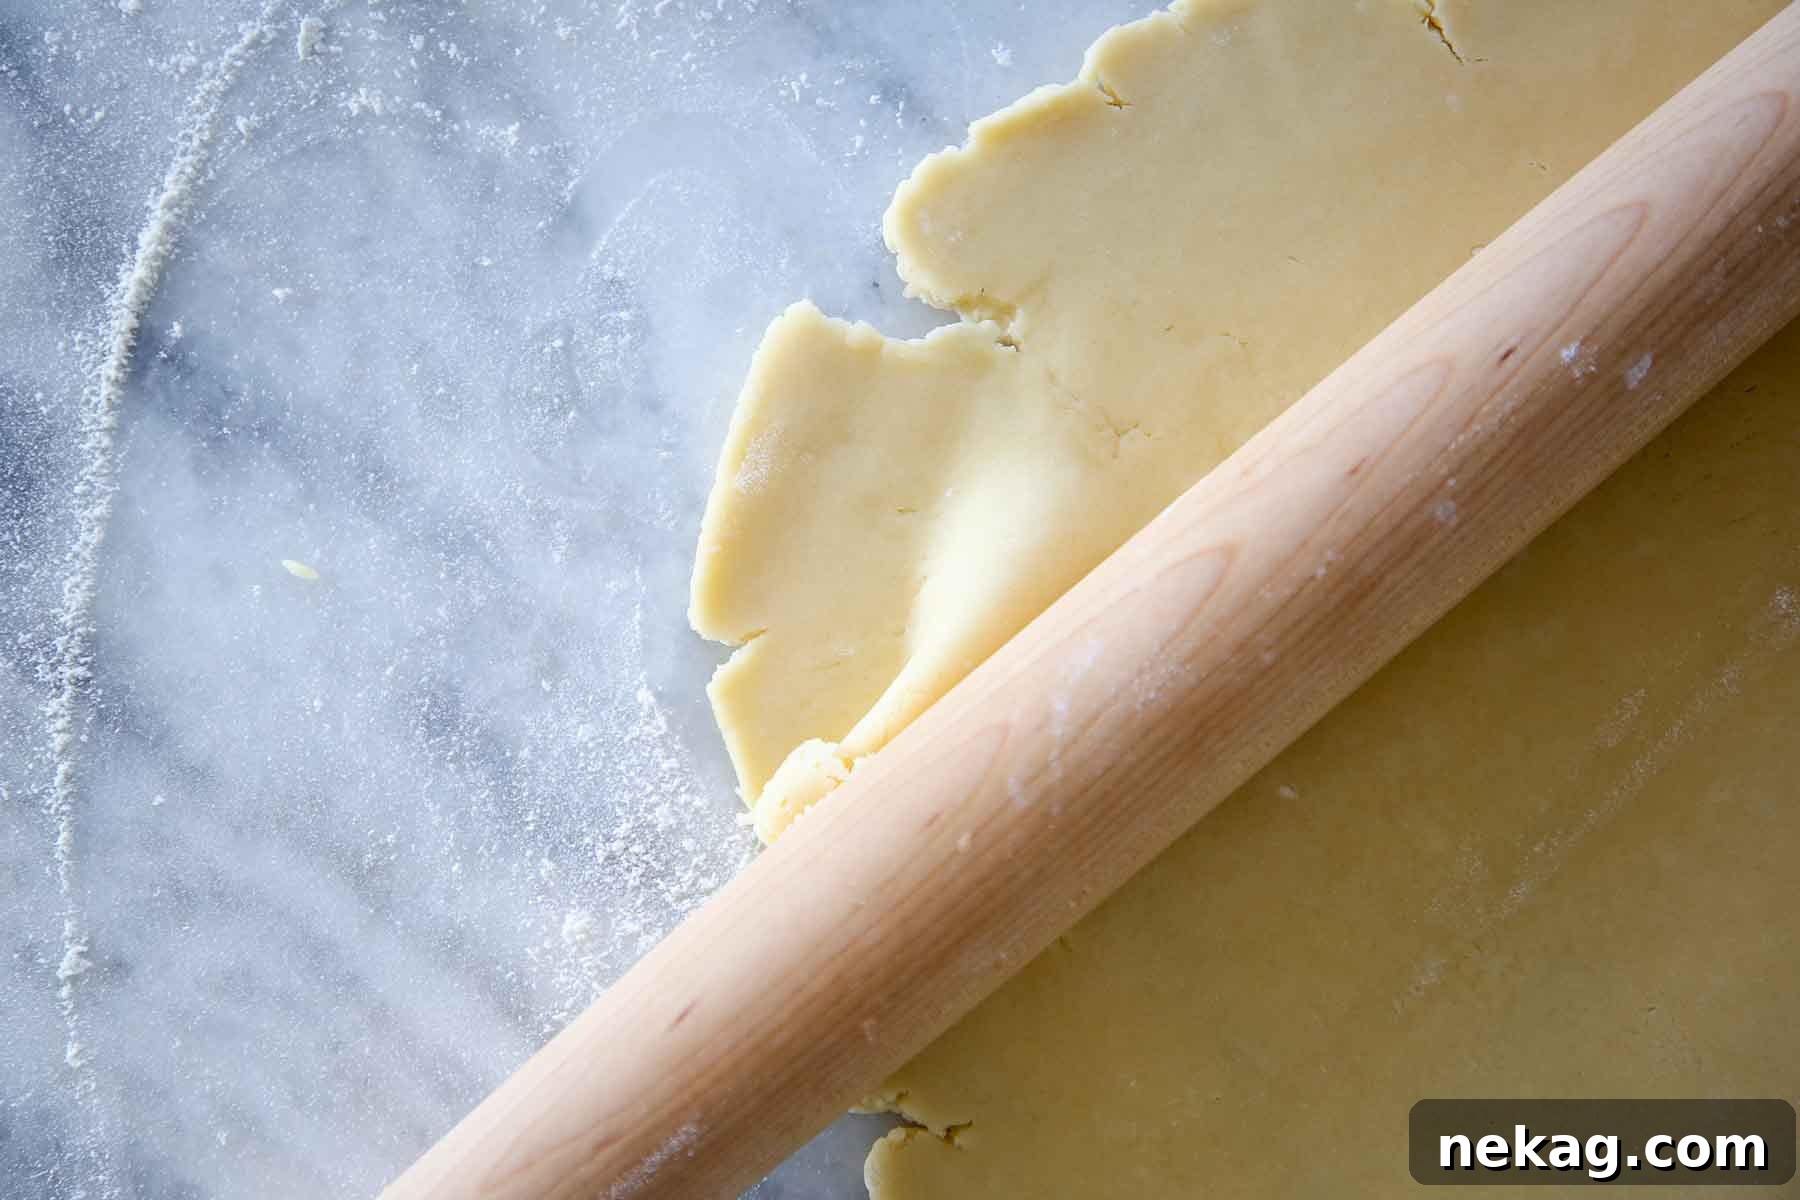
- Roll Between Two Pieces of Parchment Paper While Dough is Room Temperature: This ingenious technique, favored by professional bakers, simplifies the rolling process immensely. Instead of wrestling with sticky dough or adding excessive flour that can toughen the crust, roll the slightly softened dough between two sheets of parchment paper. This allows for even rolling, prevents sticking, and makes transferring the dough to your tart pan effortless. While the dough is rolled at room temperature, ensure it is thoroughly chilled afterward before shaping or baking. This firming process is crucial for maintaining its tender crumb and preventing shrinkage during baking.
Essential Ingredients & Clever Substitutions for Pâte Sucrée
The beauty of Pâte Sucrée lies in its simplicity, requiring only a handful of common pantry staples. Each ingredient plays a vital role in creating the perfect balance of flavor and texture. Understanding their function also opens the door to intelligent substitutions should you need them.
- Powdered Sugar (Confectioners’ Sugar): This is key to Pâte Sucrée’s tender texture. Unlike granulated sugar, powdered sugar dissolves more readily into the butter, resulting in a smoother dough and a finer crumb in the baked crust. It also contributes to the dough’s delicate sweetness. Ensure it’s sifted to avoid lumps.
- Unsalted Butter: The star of the show, butter provides richness, flavor, and contributes significantly to the tender texture. Using unsalted butter gives you complete control over the salt content in your recipe. Always use high-quality butter for the best flavor. Make sure it’s properly softened to room temperature for optimal creaming.
- Large Eggs: In this recipe, we use whole large eggs (rather than just yolks) for their crucial role in providing moisture and acting as a binding agent. The additional moisture from the egg whites helps bring the dough together into a cohesive mass, making it easier to handle and contributing to a slightly more pliable dough compared to yolk-only recipes. Remember to use them at room temperature for smooth incorporation.
- Pastry Flour or All-Purpose Flour: The choice of flour impacts the final texture. Pastry flour, with its lower protein content, yields an exceptionally tender and delicate crust. However, readily available all-purpose flour works wonderfully too. If using all-purpose flour, opt for a brand with a slightly lower protein content if possible, such as White Lilly, to mimic pastry flour’s characteristics and avoid a tough crust.
- Kosher Salt: A pinch of salt is essential for balancing the sweetness and enhancing all the other flavors in the dough. It brightens the overall taste profile. If you prefer, you can omit the added kosher salt if you are using salted butter, but be mindful of the butter’s salt content to avoid an overly salty crust.
For precise measurements and detailed instructions, refer to the full recipe card below.
Possible Flavor Variations for Your Pâte Sucrée
While classic Pâte Sucrée is exquisite on its own, its simple flavor profile makes it a perfect canvas for creative additions. Infusing your dough with different spices, zests, or extracts can elevate your tarts and pies to new thematic heights, matching the season or your desired dessert experience. Here are some delightful ways to customize your sweet pastry dough:
- Add Some Spice for Warmth: Introduce warm, aromatic spices to your dough to complement fruity or creamy fillings. Try incorporating half a teaspoon of ground cinnamon, a specialized apple pie spice mix, a cozy pumpkin spice blend, or even exotic chai spice for a truly unique and seasonal twist. Add these dry spices directly with the flour in step 4.
- Infuse with Citrus Zest for Brightness: For a vibrant and refreshing crust, add finely grated zest from citrus fruits. Zest of one orange or two lemons, mixed into the powdered sugar before creaming, will release its fragrant oils and permeate the dough with a delightful aroma and subtle tangy note. This citrus-infused crust would be exceptional when filled with light pastry cream and fresh berries, offering an easier, yet equally stunning, alternative to a puff pastry fruit tart.
- Incorporate Extracts for Depth: Extracts offer a concentrated burst of flavor. Add one teaspoon of classic vanilla extract along with the eggs in step 3 for an enhanced, universally loved flavor. Alternatively, explore more adventurous options:
- For a sophisticated, nutty undertone, use ½ teaspoon of almond extract (especially lovely with fruit fillings).
- Orange or lemon extract can amplify citrus notes if you’re not using fresh zest, or combine them for an intense citrus experience.
- For a festive holiday treat, a hint of peppermint extract can transform your Pâte Sucrée, perfect for chocolate or cream fillings during the colder months.
How to Make Pâte Sucrée: A Professional Guide for Home Bakers
Creating this tender, professional-grade Pâte Sucrée is a straightforward process, akin to making cookie dough. Follow these detailed instructions to achieve perfect results every time. Further details, precise measurements, and a full ingredient list can be found in the comprehensive recipe card at the bottom of this article.
Step 1: Prepare Your Butter
Begin by ensuring your unsalted butter is properly softened. You can achieve this by leaving it at room temperature for at least an hour, or if you’re short on time, gently soften it in your stand mixer on low speed with the paddle attachment until it’s pliable but not melted. Softened butter is crucial for the creaming process.
Step 2: Cream Butter and Sugar
Place the softened butter and the sifted powdered sugar into the bowl of your stand mixer. Attach the paddle attachment. Start mixing on very low speed to avoid a cloud of powdered sugar, then gradually increase the speed to medium-high. Cream the mixture until it is exceptionally light, fluffy, and silky smooth, with no visible sugar granules. This step incorporates air and creates the foundation for a tender crust.
Step 3: Incorporate the Eggs
With the mixer on medium speed, add the room temperature large eggs one at a time. Allow each egg to fully incorporate before adding the next. The mixture might appear a little curdled or “scary” at first, but don’t worry – this is normal. Continue mixing until the eggs are completely emulsified and the mixture is smooth again. Patience is key here; the eggs will come together with the butter mixture at their own pace.
Pro Tip: Using pre-beaten room temperature eggs can make this step even smoother, as they incorporate more easily into the butter mixture.
Step 4: Add Dry Ingredients
Reduce the mixer speed to low. Add the pastry flour (or all-purpose flour) and kosher salt to the bowl. Mix on low speed just until the dry ingredients are barely incorporated and a cohesive dough begins to form. Do not overmix! It will transform from a shaggy mixture to a smooth dough quite suddenly. Stop the mixer as soon as no streaks of dry flour remain; overworking the dough will develop gluten, leading to a tough crust.
Step 5: Chill the Dough
Using a silicone spatula or bowl scraper, carefully scrape the Pâte Sucrée dough out of the mixer bowl onto a clean surface. Divide the dough into the desired number of portions for your crusts (e.g., two for 8 or 9-inch tarts). Shape each portion into a flat disk, wrap tightly in plastic wrap, and refrigerate for at least two hours. Chilling is crucial; it firms the butter, allows the gluten to relax, and makes the dough much easier to roll out without sticking or tearing.
Rolling & Freezing Tip: For the easiest rolling, take the dough out of the fridge and let it sit for a few minutes until it’s pliable but still cool. I highly recommend rolling the dough out while it is still slightly cool, between two pieces of parchment paper, using a rolling pin. This technique prevents sticking and ensures a uniform thickness. This method is particularly helpful when making delicate mini tarts or small individual pies. At this stage, you can also freeze the wrapped dough disks for later use. Once rolled, you can cut out your desired shapes using a ring cutter, biscuit cutter, cookie cutter, or even trace around your pan with a paring knife for custom sizes.
How to Blind Bake Your Sweet Tart Crust Perfectly
Blind baking is a crucial step for many tart and pie recipes, ensuring a crisp crust that holds its shape and doesn’t get soggy from wet fillings. While the general process is similar to blind baking a standard pie dough, Pâte Sucrée is often easier to handle, less prone to shrinking, and bakes slightly faster than a traditional all-butter pastry. Follow these steps for a beautifully blind-baked sweet tart shell:
Step 1: Preheat Your Oven
Preheat your oven to 325°F (160°C) if using a convection oven (with fan) or 350°F (175°C) if using a conventional oven (no fan). A slightly lower temperature helps prevent excessive shrinkage and promotes even baking.
Step 2: Prepare and Line Your Tart Pan
Retrieve one of your chilled, rolled, and cut Pâte Sucrée crusts. Carefully lift and drape it over your tart pan or pie plate. Gently press the dough into the corners and up the sides of the pan, ensuring it fits snugly without stretching. For pies, roll the edges under to create a neat, tight spiral around the rim, then crimp, pinch, or use a fork to create a decorative finish. For tarts, use a rolling pin to roll directly over the edges of the tart tin, allowing the excess dough to cleanly cut away, resulting in those perfectly sharp edges seen in French patisserie.
Step 3: Chill and Dock the Dough
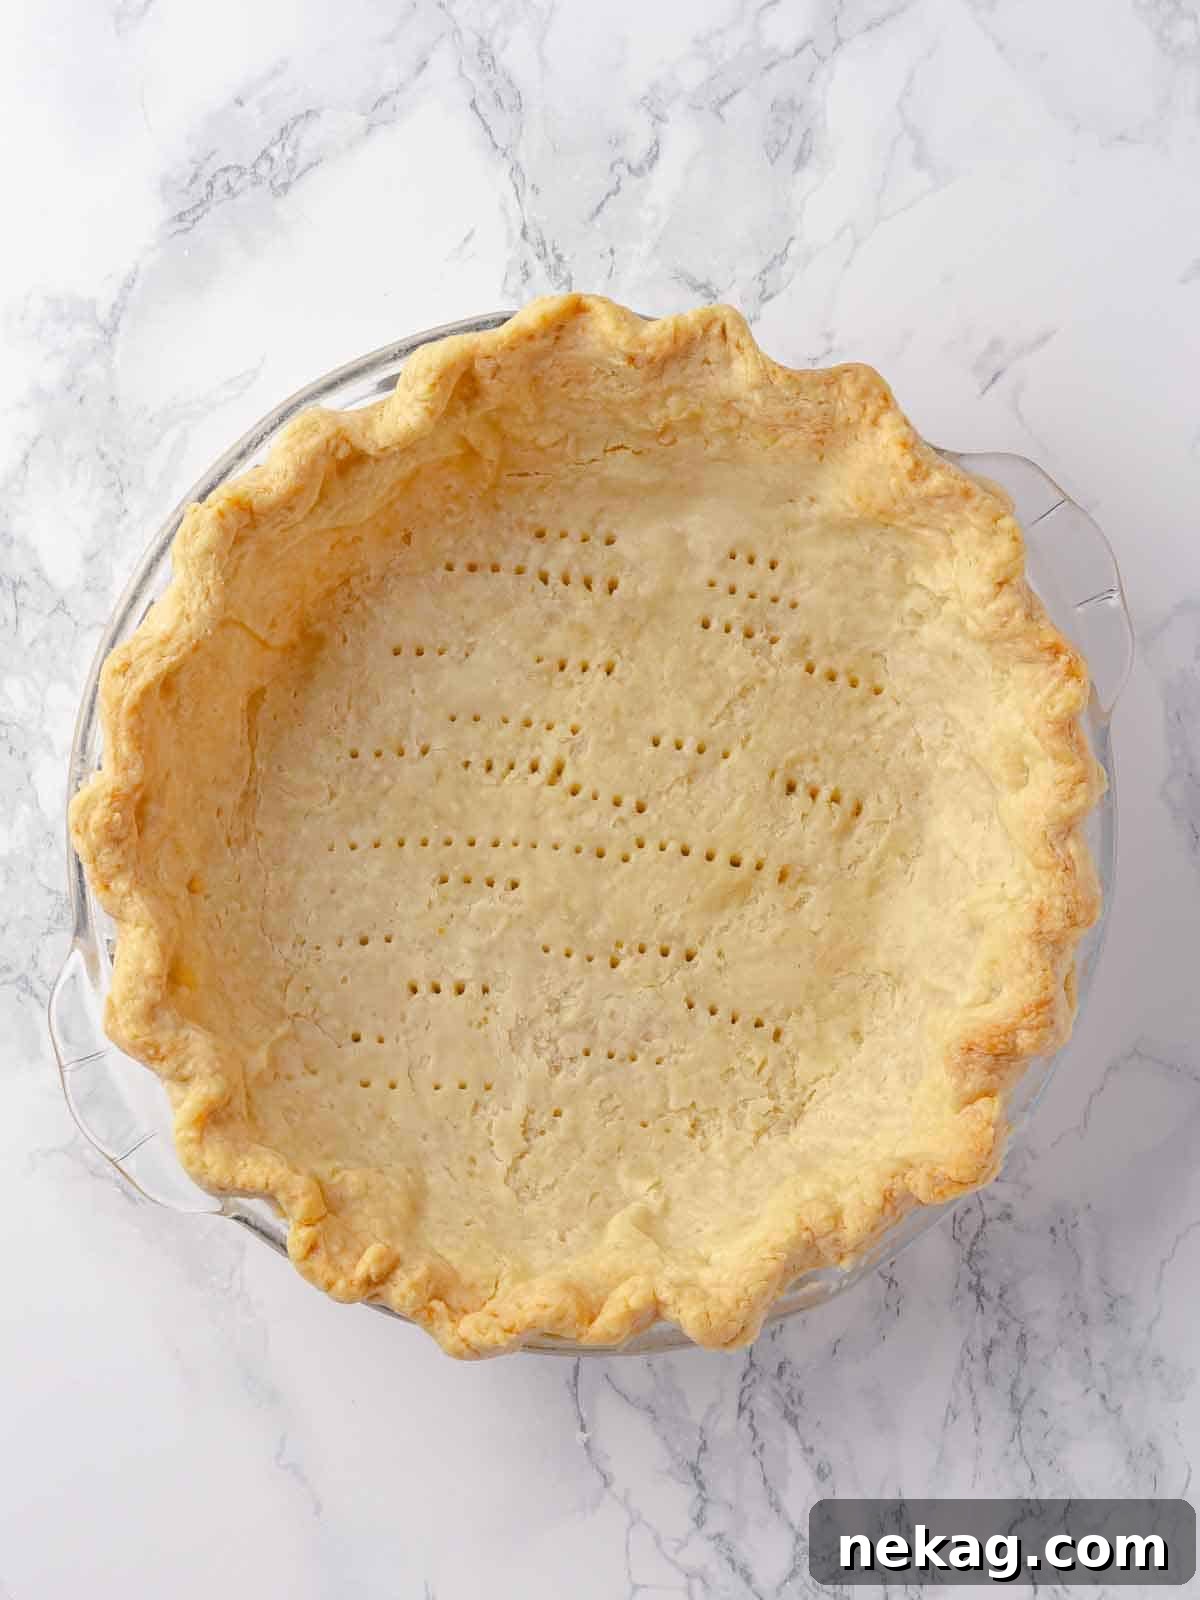
Once lined, place the dough-filled tin back into the refrigerator for at least 30 minutes. This final chill is vital to prevent the dough from shrinking during baking. Just before baking, gently prick a few holes in the bottom of the crust with a fork (this is called “docking”). This allows steam to escape, preventing the crust from puffing up. For more detailed insights on this technique, refer to our guide on when to dock a pie crust.
Step 4: Bake with Weights
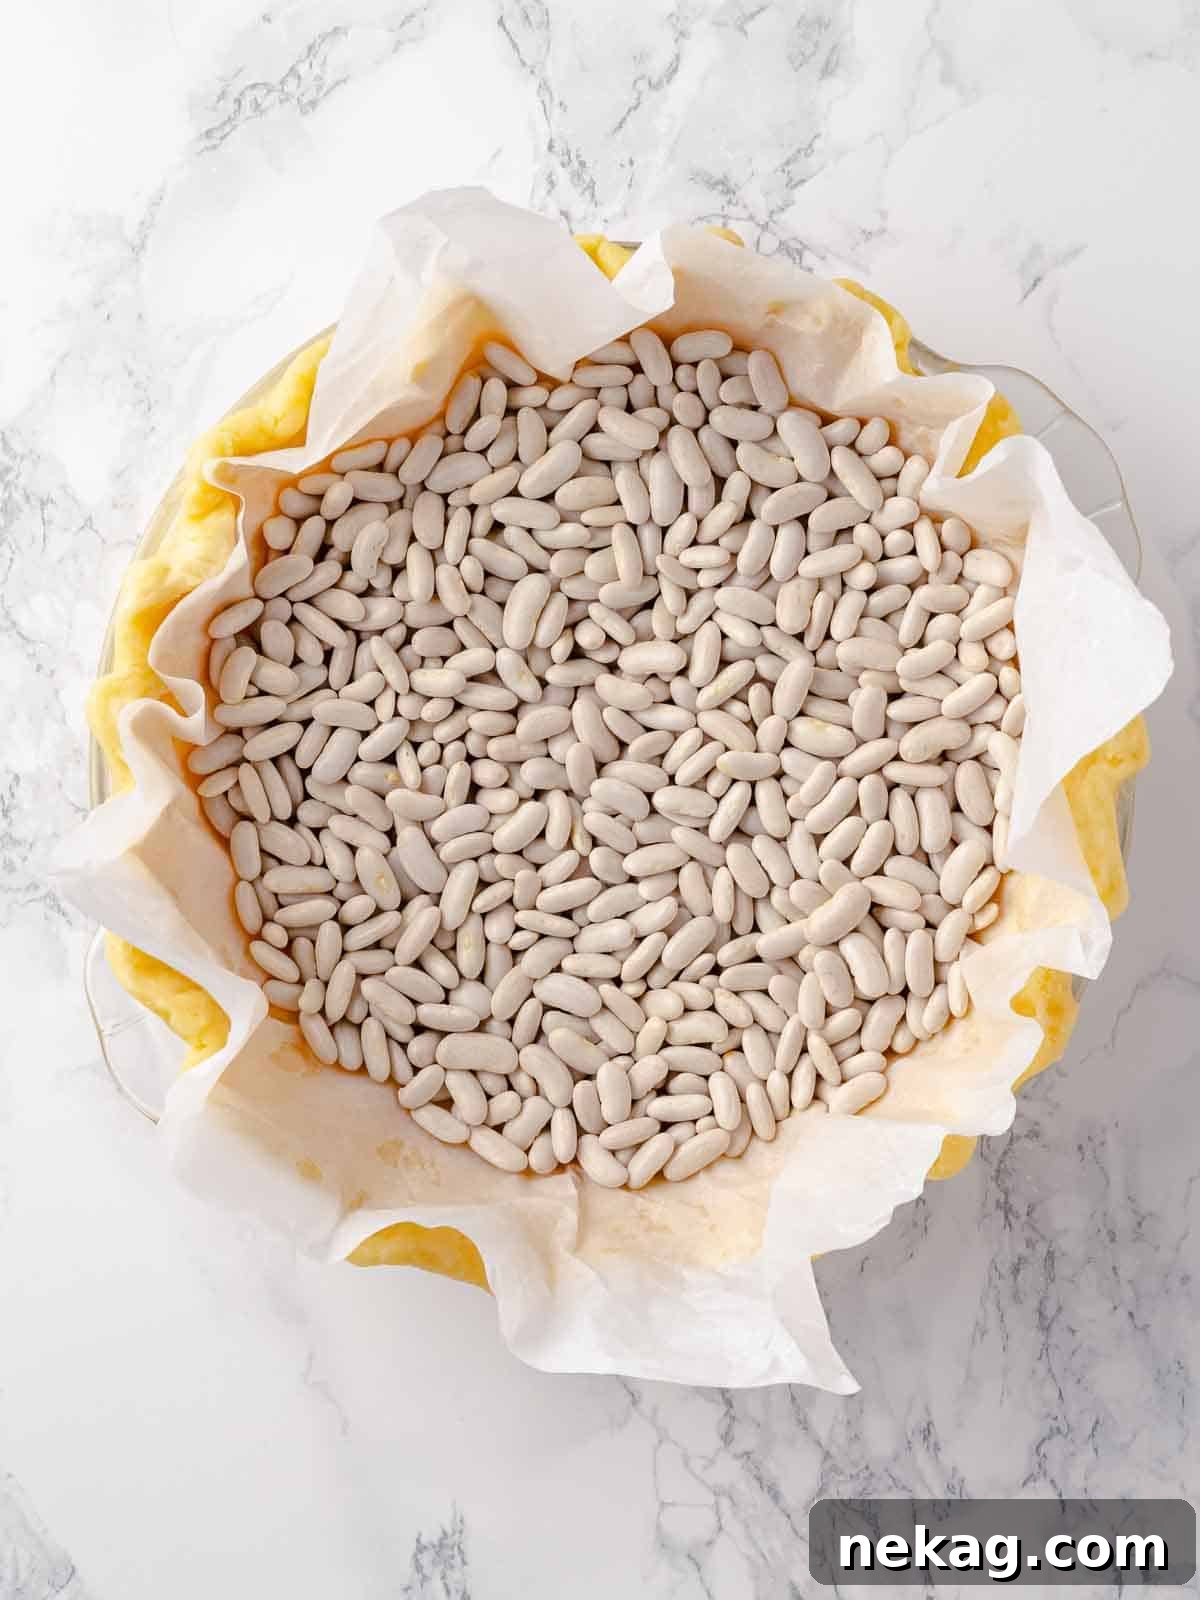
Line the chilled, docked crust with a piece of parchment paper or aluminum foil, making sure it extends up the sides. Fill the lined crust with baking weights, dried beans, or rice. These weights prevent the dough from bubbling up and shrinking. Bake in the preheated oven for 15-20 minutes, or until the edges of the crust begin to turn a light golden brown.
Step 5: Finish Baking to Desired Doneness
Carefully remove the parchment paper and baking weights. Return the crust to the oven and continue baking. For a partially baked crust (suitable for pies or tarts that will undergo further baking with a filling), bake until a uniform light golden brown, usually another 5-10 minutes. For a fully blind-baked crust (perfect for cold fillings), bake until it achieves a deeper, rich golden brown all over, typically an additional 10-15 minutes. This ensures maximum crispness and prevents sogginess.
Quick Answer: When to Partially vs. Fully Blind Bake?
Partially bake a pie or tart crust when your dessert will be baked again with a filling, such as this rich bourbon chocolate pecan tart or a comforting sweet potato pie. This prevents a soggy bottom without over-baking the final product. Fully blind bake a pie crust or tart shell when you intend to fill it with a cold, uncooked filling, like a silky French silk pie or a vibrant fresh fruit tart. A fully baked crust provides the necessary structure and crispness for these no-bake fillings.
Chef Lindsey’s Pro Tip for Working with Pâte Sucrée
Don’t be intimidated by working with pastry dough! One of the most endearing qualities of Pâte Sucrée is its incredible forgiving nature. If, while lining your tart pan, you notice a small crack, misjudge the size of your rolled circle, or end up with a gap, there’s no need to stress or start over. This dough is very cooperative! Simply take a small piece of extra dough, press it gently over the crack or into the empty space, and smooth it with your fingers. The butter-rich composition of Pâte Sucrée allows for seamless repairs, and once baked, these patches will be completely invisible, ensuring a beautiful, uniform crust every single time. This flexibility makes it a joy to work with, even for those new to pastry.
Frequently Asked Questions About Pâte Sucrée
Here are answers to some common questions about making, storing, and using Pâte Sucrée to help you achieve perfect results every time.
Proper storage ensures your Pâte Sucrée remains fresh and workable.
- Unbaked Dough (Refrigerated): Well-wrapped in plastic wrap, unbaked dough (whether a ball, disk, or already lined in a shell) can be stored in the refrigerator for up to 3 days. This allows ample time for planning your baking projects.
- Unbaked Dough (Frozen): For longer storage, freeze the tightly wrapped unbaked dough for up to 2 months. Thaw overnight in the refrigerator before rolling or baking.
- Baked Crusts (Room Temperature): Fully baked tart or pie shells can be kept at room temperature in an airtight container for up to 3 days. Ensure they are completely cooled before storing.
- Baked Crusts (Refrigerated): For extended freshness, refrigerate baked shells for up to 5 days.
- Baked Crusts (Frozen): You can freeze fully baked shells for up to 3 months. Wrap them thoroughly to prevent freezer burn, then thaw at room temperature before filling.
Pâte Sucrée is specifically designed for sweet applications, offering a sturdy, tender, and subtly sweet base. It is not the ideal choice for savory pies or free-form galettes, where a flaky, less sweet dough like pâte brisée would be more appropriate.
- Perfect for Cold Fillings: Its ability to be fully blind-baked without losing its tender texture makes it exceptional for cold, creamy fillings. Try it with our luscious French silk pie, a rich bourbon pecan tart, or a refreshing coconut mango tart.
- Ideal for Pastry Creams & Curds: Fill pre-baked shells with vibrant lemon curd, silky caramel pastry cream, decadent chocolate pudding, or nostalgic butterscotch pudding for an array of exquisite desserts.
- Excellent for Fruit Tarts: Its crispness holds up beautifully to fresh fruit and glazes.
While both Pâte Sucrée and Pâte Sablée are rich, sweet pastry doughs used for tarts and similar desserts, they differ significantly in their composition and mixing methods, leading to subtle variations in texture:
- Pâte Sucrée (Sweet Pastry): This dough typically contains more whole eggs and sugar. The key distinction is its mixing method – the creaming method. Butter and sugar are creamed together first (like cookie dough), then eggs are added, and finally flour. This technique results in a tender, crisp, and somewhat sturdy crust with a fine, almost cookie-like crumb. It’s less prone to shrinking during baking.
- Pâte Sablée (Sandy Pastry): This dough, often richer in butter and sometimes containing a higher ratio of egg yolks, is characterized by its “sandy” texture, as its name suggests. It is mixed using the sabler method, which is similar to the cut-in method for pie crusts. The butter is cut into the flour until crumbly, and then eggs (usually yolks) are added. The eggs are typically added *after* the flour. This method minimizes gluten development and produces a very short, crumbly, and often more fragile crust.
In essence, Pâte Sucrée is known for its delicate crispness and ease of handling, while Pâte Sablée offers a distinctly “sandy” melt-in-your-mouth crumb that can be more delicate to work with. Both are delicious, but Pâte Sucrée offers a bit more robustness for handling and blind baking.
If you tried this recipe and loved it, please leave a 🌟 star rating and let me know how it goes in the comments below. I love hearing from you; your comments make my day!
Pâte Sucrée
Pin Recipe
Comment
Print Recipe
Ingredients
- ¾ cup powdered sugar
- ¾ cup unsalted butter softened
- 2 large eggs room temperature
- 2 ¾ cups pastry flour or all-purpose flour
- ½ teaspoon kosher salt
Instructions
-
Soften the butter in a stand mixer or let it sit out at room temperature for an hour or so. It is important that it is softened.
-
Put sifted powdered sugar and softened butter in stand mixer with the paddle attachment, and cream them (starting on low speed working up to medium-high speed, so the powdered sugar doesn’t fly everywhere). This will get silky smooth.
-
Add the eggs one at a time (it helps if the eggs are room temperature), it might look a little scary in the bowl, but don’t worry, the eggs will incorporate at their own pace. Pre-beating the eggs does make this step easier.
-
Add flour and salt to the bowl of the stand mixer and start mixer on low speed to cut the dry ingredients into the butter mixture, be patient and trust the process.
-
Take the dough out of the mixer using a silicone spatula or bowl scraper. Divide it into the number of crusts you want, wrap them in plastic wrap and chill them for at least two hours.
-
I recommend rolling the dough out while still at room temperature between two pieces of parchment paper. This is especially useful if making tartlets or tiny pies. You can also freeze the dough at this stage.
Video
Notes
Variations – Customize your Pâte Sucrée by adding citrus zest (orange or lemon), ground spices (cinnamon, apple pie spice, pumpkin spice, chai), or extracts (vanilla, almond, orange, lemon, peppermint) along with the wet ingredients or flour.
Storage – Unbaked dough, whether shaped into a disk or already lining a tart shell, can be stored tightly wrapped in plastic in the refrigerator for up to 3 days, or frozen for up to 2 months. Baked tart shells can be stored at room temperature for up to 3 days, refrigerated for up to 5 days, or frozen for up to 3 months.
Nutrition
Before You Bake On: Explore More Delicious Creations!
Thank you for exploring this professional chef-created recipe for Pâte Sucrée! Mastering this sweet pastry dough is a foundational skill that will unlock a world of delicious possibilities in your kitchen. Whether you’re crafting an elaborate tart or a simple fruit pie, this versatile crust provides the perfect base.
Don’t stop here! Continue your baking adventure by checking out our other delectable pies and tart recipes for more inspiration and culinary fun. From classic comforts to modern delights, there’s always something new to create. To truly elevate your finished desserts, why not peruse our collection of dessert toppings and sauces? A drizzle of homemade caramel, a dollop of fresh whipped cream, or a vibrant fruit coulis can transform any pastry into an unforgettable treat. Happy baking!