
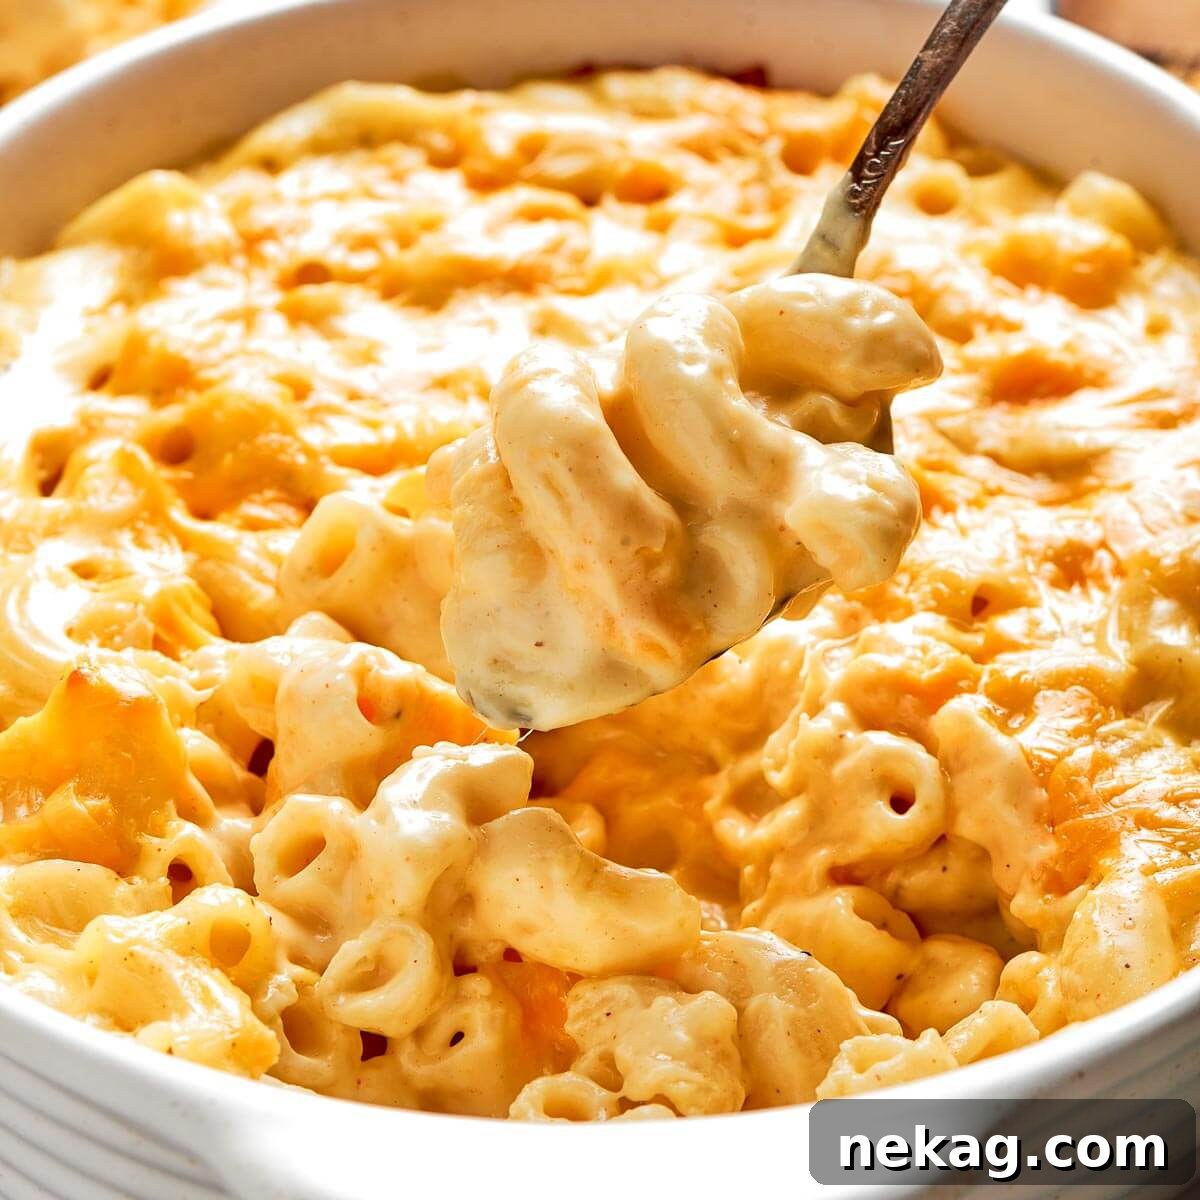
Dad’s Secret Recipe: The Ultimate Creamy Baked Mac and Cheese
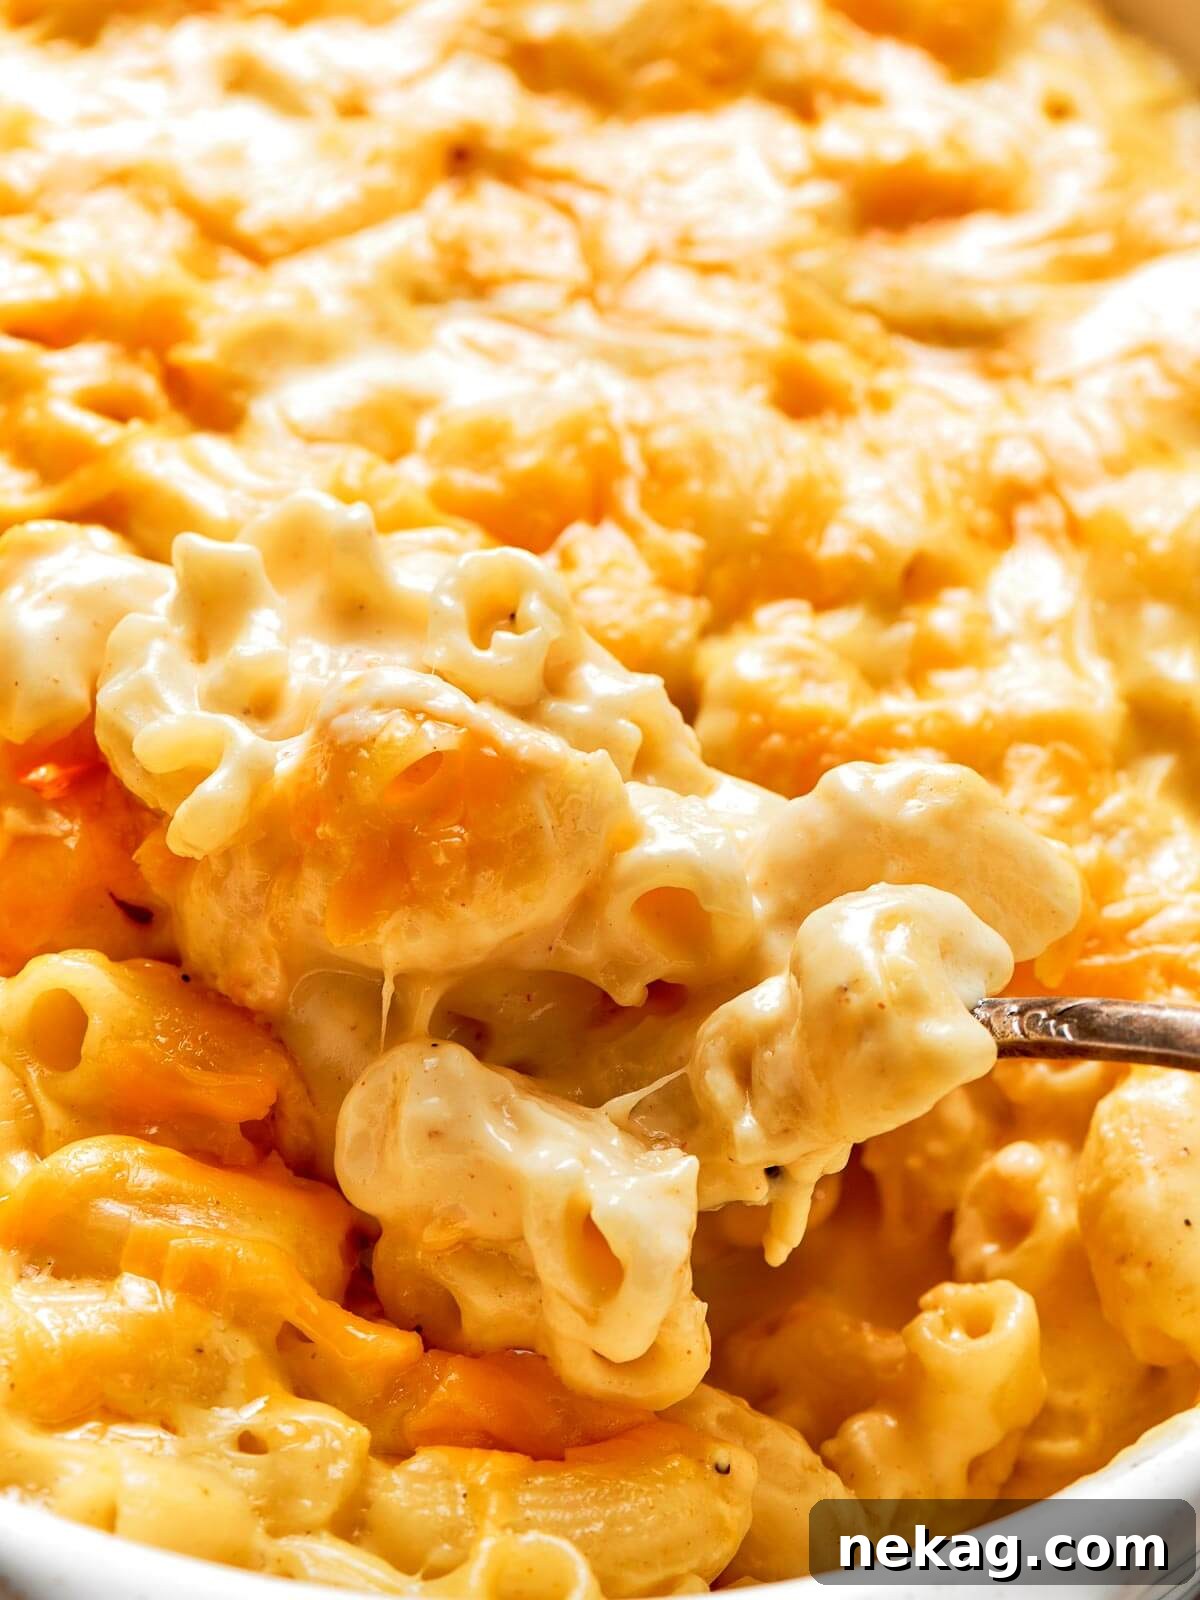
Prepare yourself for the most incredibly smooth, rich, and cheesy baked mac and cheese you’ve ever tasted! This isn’t just any recipe; it’s a cherished family heirloom, passed down through generations, elevated with a professional chef’s touch, and now finally revealing Dad’s secret ingredient after 25 years. Get ready to create a comforting classic that will become your family’s favorite, just like it is ours.
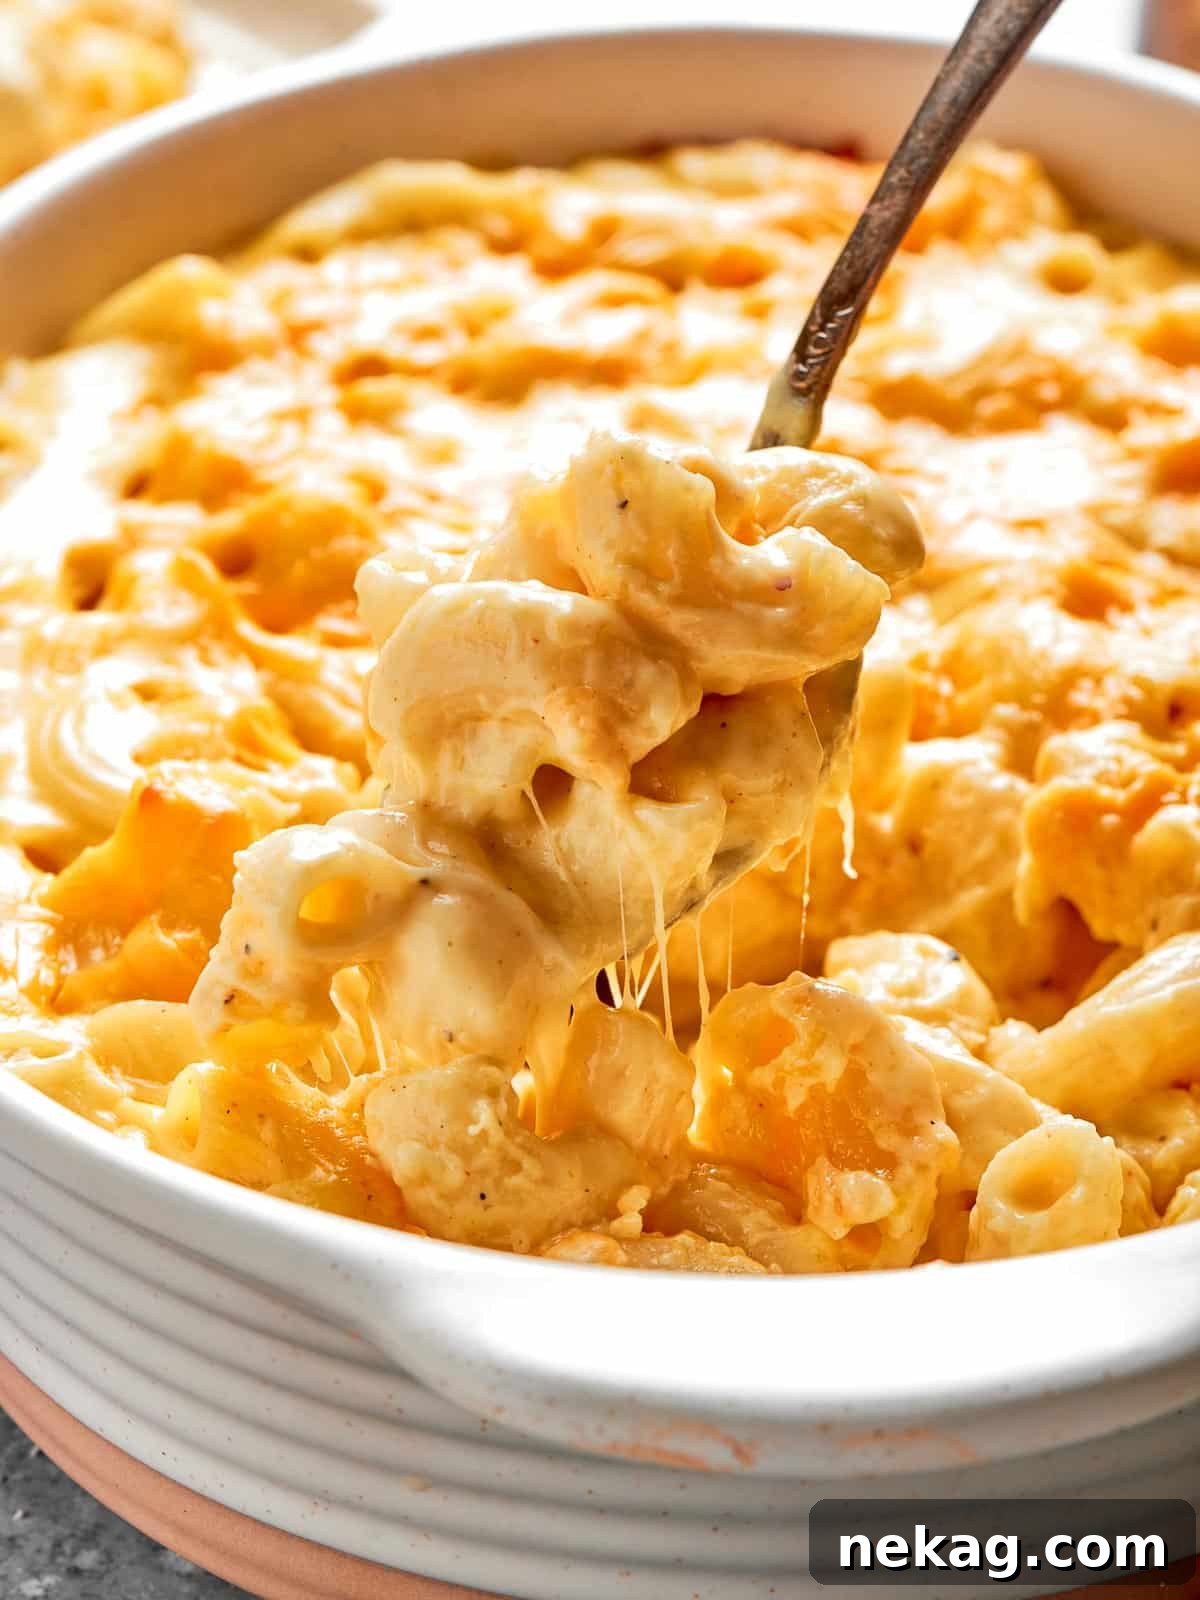
Growing up, one tradition stood above all others: the birthday person, whether child or adult, got to choose their celebratory dinner. Without fail, Dad’s Macaroni and Cheese was the number one pick. He inherited this beloved recipe from his mother, and over the years, I’ve refined it with some chef-inspired flair, making it even creamier, richer, and more unforgettable. This epic mac and cheese promises a delightful experience that is both easy to prepare and profoundly comforting. And yes, Dad’s secret ingredient is truly what makes it taste extra cheesy and utterly addictive.
Macaroni and cheese holds a special place in the heart as the quintessential comfort food. While it’s hearty enough to be a complete meal on its own, it also pairs wonderfully with a variety of sides to round out your dining experience. For an extra layer of comfort, imagine serving it alongside the best buttermilk biscuits, whose flaky texture and buttery flavor perfectly complement the creamy pasta. To balance the richness, consider vibrant vegetable sides like roasted Brussels sprouts with leeks or aromatic rosemary lemon roasted cauliflower. No matter how you serve it, this baked mac and cheese is destined to be a showstopper.
Table of Contents
- Why You’ll Love This Irresistible Baked Mac and Cheese Recipe
- Professional Chef Tips for Perfect Baked Macaroni and Cheese
- Key Ingredients for the Ultimate Creamy Mac and Cheese
- Delicious Variations to Customize Your Mac and Cheese
- What to Serve with Baked Mac and Cheese
- Step-by-Step Guide: How to Make Dad’s Secret Baked Mac and Cheese
- Chef Lindsey’s Pro Tip for a Flavorful Roux
- Frequently Asked Questions About Baked Mac and Cheese
- Easy Baked Mac and Cheese Recipe Card
- Don’t Miss Out! More Chef-Tested Recipes
Why You’ll Love This Irresistible Baked Mac and Cheese Recipe:
- Dad’s Secret Ingredient, Finally Revealed! For a quarter-century, the mysterious depth of flavor in my Dad’s mac and cheese was a family secret. The revelation? Dry mustard! This unassuming spice is a game-changer, subtly enhancing the rich, tangy notes of cheddar without imparting a mustardy taste. It’s the secret weapon for an unbelievably cheesy flavor profile.
- Silky Smooth and Exceptionally Creamy Roux. Say goodbye to grainy, separated cheese sauces! Our step-by-step method for creating a perfect roux ensures a velvety smooth foundation for your cheese sauce. This classic French technique guarantees the richest, most luxurious texture that coats every noodle beautifully, resulting in a consistently creamy and cohesive mac and cheese.
- Generous Sauce for Stretch and Satisfaction. This recipe is designed with an abundant, luscious cheese sauce, making it incredibly versatile. If you find yourself with an unexpected guest or simply desire more servings, you can easily add an extra ½ cup of pasta (shells or macaroni) to the base without compromising on cheesy goodness or creamy texture. Alternatively, halving the recipe yields a perfect portion for four, making it adaptable for any occasion, from intimate dinners to larger gatherings.
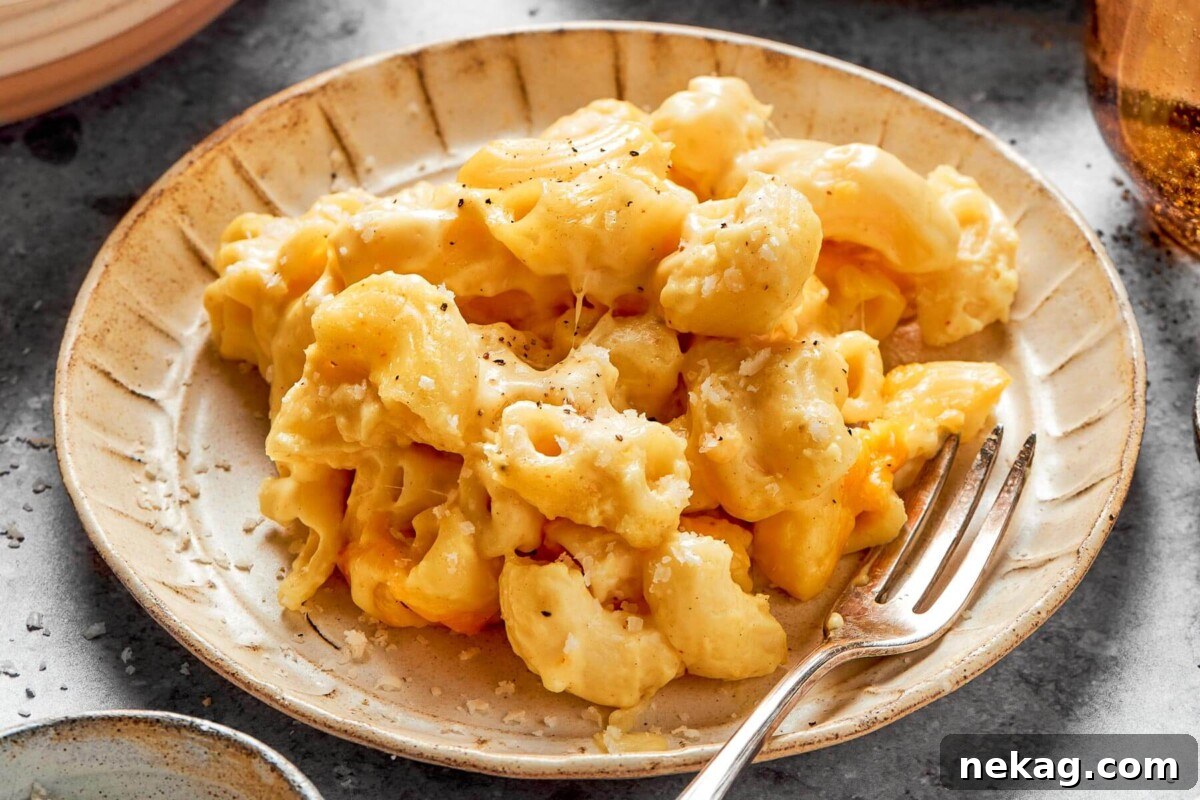
Professional Chef Tips for Perfect Baked Macaroni and Cheese:
- Begin with Premium Sharp Cheddar. The quality of your cheese directly impacts the flavor of your final dish. Invest in a block of high-quality sharp cheddar that you genuinely enjoy eating on its own. If you don’t love the taste of the cheese straight from the block, you won’t love your mac and cheese. For the ultimate melt and creamy texture, always opt for grating your cheese fresh rather than using pre-shredded varieties, which often contain anti-caking agents that hinder smooth melting.
- Master the Art of Al Dente Noodles. The secret to perfect baked mac and cheese texture lies in cooking your pasta to a firm “al dente” bite, and no further. Since the noodles will continue to cook slightly when combined with the hot cheese sauce and during their brief stint in the oven, starting with al dente pasta prevents them from becoming mushy or soggy – a common pitfall in baked pasta dishes.
- Guard Against Overbaking for Gooey Perfection. It’s a common misconception that more baking equals better results, but with mac and cheese, overbaking can be its downfall. Too much time in the oven causes excessive moisture evaporation, leading to a dry, crumbly texture rather than the coveted gooey, stretchy cheese pull. Bake just until the center is bubbling and the top is golden brown, usually 15-20 minutes, to preserve that irresistible creamy consistency.
- Season Your Pasta Water Generously. Don’t underestimate the power of properly salted pasta water. It’s your first opportunity to infuse flavor directly into the noodles. Aim for water that tastes as salty as the ocean. This foundational seasoning will ensure your pasta isn’t bland and contributes to the overall deliciousness of the dish, making later seasoning adjustments easier.
- Whisk Constantly for a Lump-Free Roux. A smooth roux is the cornerstone of a creamy cheese sauce. When cooking the butter and flour, whisk continuously to prevent lumps and ensure even cooking. Similarly, when gradually adding milk to the roux, consistent whisking is crucial for creating a velvety, homogenous sauce free from any unwanted texture. Patience and a steady hand here will be richly rewarded.
Key Ingredients for the Ultimate Creamy Mac and Cheese
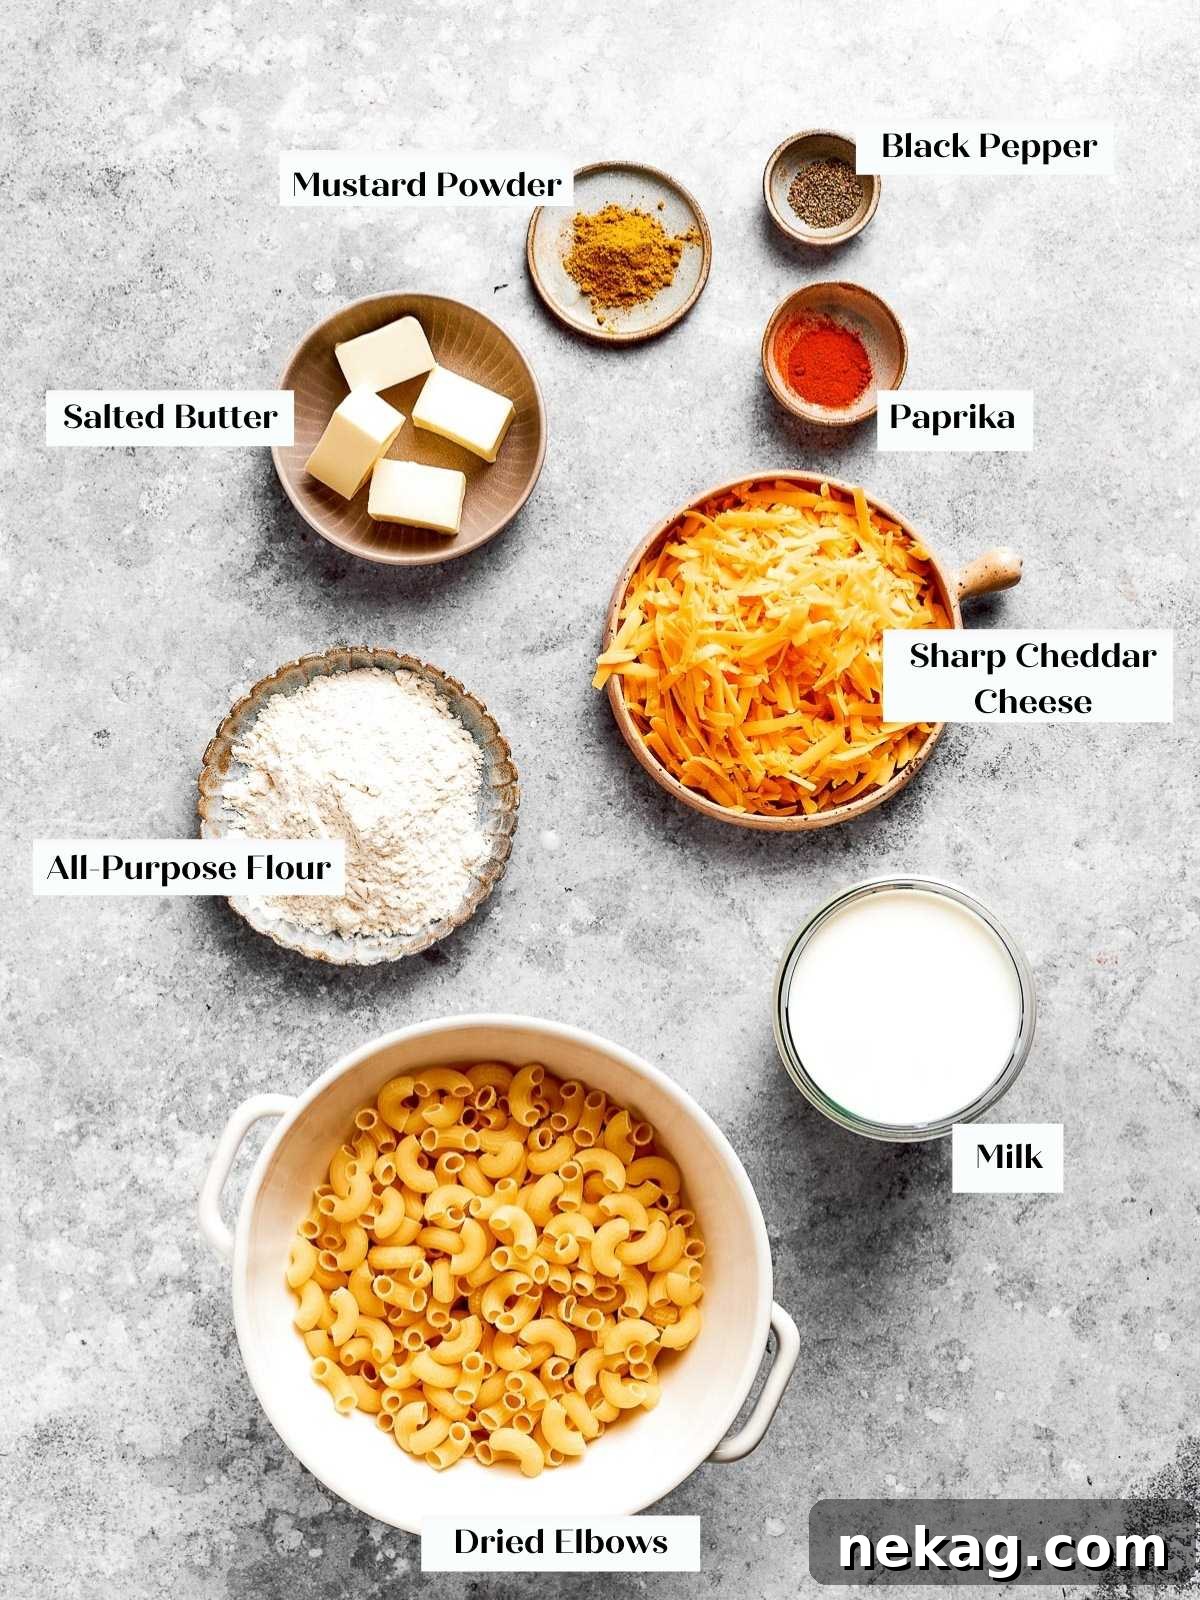
- Elbow Macaroni or Shells: For this recipe, the choice between classic elbow macaroni or pasta shells is yours. Both are excellent for catching and holding the rich cheese sauce. Remember to measure your pasta dry to ensure the most accurate quantity for the perfect noodle-to-sauce ratio.
- Butter: I typically use salted butter, which adds a lovely depth of flavor. If you opt for unsalted butter, simply add an additional ½ teaspoon of salt when you create the roux to achieve the desired seasoning balance.
- Flour: Standard all-purpose flour is ideal for creating the roux, acting as the perfect thickener for our luxurious cheese sauce. In a pinch, bread flour can be used, but be aware it tends to thicken a bit faster, so adjust your whisking accordingly.
- Smoked or Unsmoked Paprika: A touch of paprika adds a beautiful subtle warmth and color to the cheese sauce. You can choose unsmoked paprika for a classic flavor or smoked paprika for an extra layer of savory depth.
- Black Pepper: Freshly ground black pepper is essential for its aromatic bite, complementing the richness of the cheese. Add to taste, adjusting for your preference.
- Whole Milk: For unparalleled creaminess and richness, whole milk is highly recommended. It contributes significantly to the decadent texture of the cheese sauce. While 2% milk can be substituted, anticipate a slightly less rich and creamy final product. For an ultimate indulgence, try a blend of 3 cups whole milk and 1 cup heavy cream – pure decadence!
- Dry Mustard: Dad’s Secret Weapon! Wondering what makes this mac and cheese truly exceptional? It’s dry mustard powder. Don’t worry, it won’t make your dish taste like mustard. Instead, it magically amplifies the savory, tangy notes of the cheddar cheese, making the entire dish taste profoundly cheesier and more complex. You’ll find it in the spice aisle of most grocery stores.
- Sharp Cheddar Cheese (Freshly Grated): Start with 1 ½ pounds of high-quality sharp cheddar cheese before shredding. This is a critical step! Pre-shredded cheeses often contain anti-caking agents like cellulose, which prevent them from melting smoothly and can lead to a grainy sauce. For the creamiest, most cohesive cheese sauce, always grate your cheddar cheese fresh from the block. The difference in melt and texture is truly transformative.
- Kosher Salt: Used for seasoning the roux and pasta water. If using salted butter, you may adjust the amount in the roux. Remember, the goal is to enhance the flavors, not overwhelm them.
Please refer to the recipe card below for precise quantities and additional details on these ingredients.
Delicious Variations to Customize Your Mac and Cheese
- Quick Stovetop Mac and Cheese: For those times when you crave instant gratification, simply skip the baking step! After combining the pasta and cheese sauce, serve it immediately from the stovetop. There’s no need to reserve cheese for a topping in this stovetop version; just mix all the cheese in for a wonderfully gooey, ready-to-eat meal.
- Vary Your Cheeses for Complex Flavors: While sharp cheddar is the star, don’t hesitate to experiment with a blend of cheeses to create a more sophisticated flavor profile. A sprinkle of freshly grated Parmesan cheese after baking adds a salty, nutty finish. For a truly gourmet experience, consider mixing in other excellent melting cheeses such as Gruyère, Comté, Fontina, Colby, Monterey Jack, or even a smoked Gouda for an intriguing smoky mac and cheese. Always taste your cheeses before combining them to ensure they complement each other.
- Make it Meaty and Hearty: Transform your mac and cheese into a robust main course by adding your favorite proteins. Shredded chicken or pork, especially barbecue-flavored, melds beautifully with the creamy cheese. For a fun, kid-friendly option (or a nostalgic adult treat!), sliced hot dogs baked right into the casserole are surprisingly delicious and always a hit. If bacon is your vice, crumble crispy bacon over the top just before serving for a delightful textural and smoky contrast.
- Go a Little Healthier (But Still Delicious!): For a more balanced meal, this recipe adapts wonderfully to healthier tweaks. Substitute regular pasta with protein pasta for an added nutritional boost. Incorporate a generous amount of roasted vegetables – think broccoli, spinach, or bell peppers – stirred directly into the mac and cheese. It’s a fantastic way to add fiber, vitamins, and extra substance without sacrificing flavor.
- Add a Crunchy Breadcrumb Topping: For those who love a textural contrast, a golden, crispy breadcrumb topping is an excellent addition. Melt 2 tablespoons of butter, mix it with ½ cup of plain or panko breadcrumbs, and spread this mixture evenly over the mac and cheese before baking. It adds a delightful crunch that perfectly complements the creamy interior. Legend has it, this was Mom’s touch!
What to Serve with Baked Mac and Cheese
Baked mac and cheese, with its comforting richness, can easily serve as a satisfying meatless main dish when paired with substantial vegetable sides like roasted acorn squash slices. The sharp cheddar in this recipe creates a fantastic flavor synergy with barbecue elements. Consider serving it alongside a classic BBQ chicken recipe, luscious slow cooker barbecue pulled chicken sandwiches, or even hearty smoky BBQ veggie burgers. Alternatively, complement the richness with a crisp, filling salad recipe, and your meal is perfectly complete!
Step-by-Step Guide: How to Make Dad’s Secret Baked Mac and Cheese
Follow these detailed instructions to create the perfect creamy macaroni and cheese every single time. For precise measurements and a comprehensive overview, please refer to the complete recipe card found further below.
Step 1: Prepare Your Baking Dish. Begin by preheating your oven to 375°F (without the fan setting, if applicable, to prevent uneven cooking). Lightly butter a 2.5-liter glass or Pyrex baking dish or casserole dish. While buttering adds a nice flavor and helps prevent sticking, don’t fret if you skip it – the dish will still turn out wonderfully!
Step 2: Salt the Water and Bring to a Boil. In a large saucepan, bring 2 quarts of water to a rolling boil. Crucially, add a generous amount of salt to the water. A good rule of thumb is for the water to taste salty, like the ocean. This seasons the pasta from within, building a flavorful foundation for your mac and cheese.
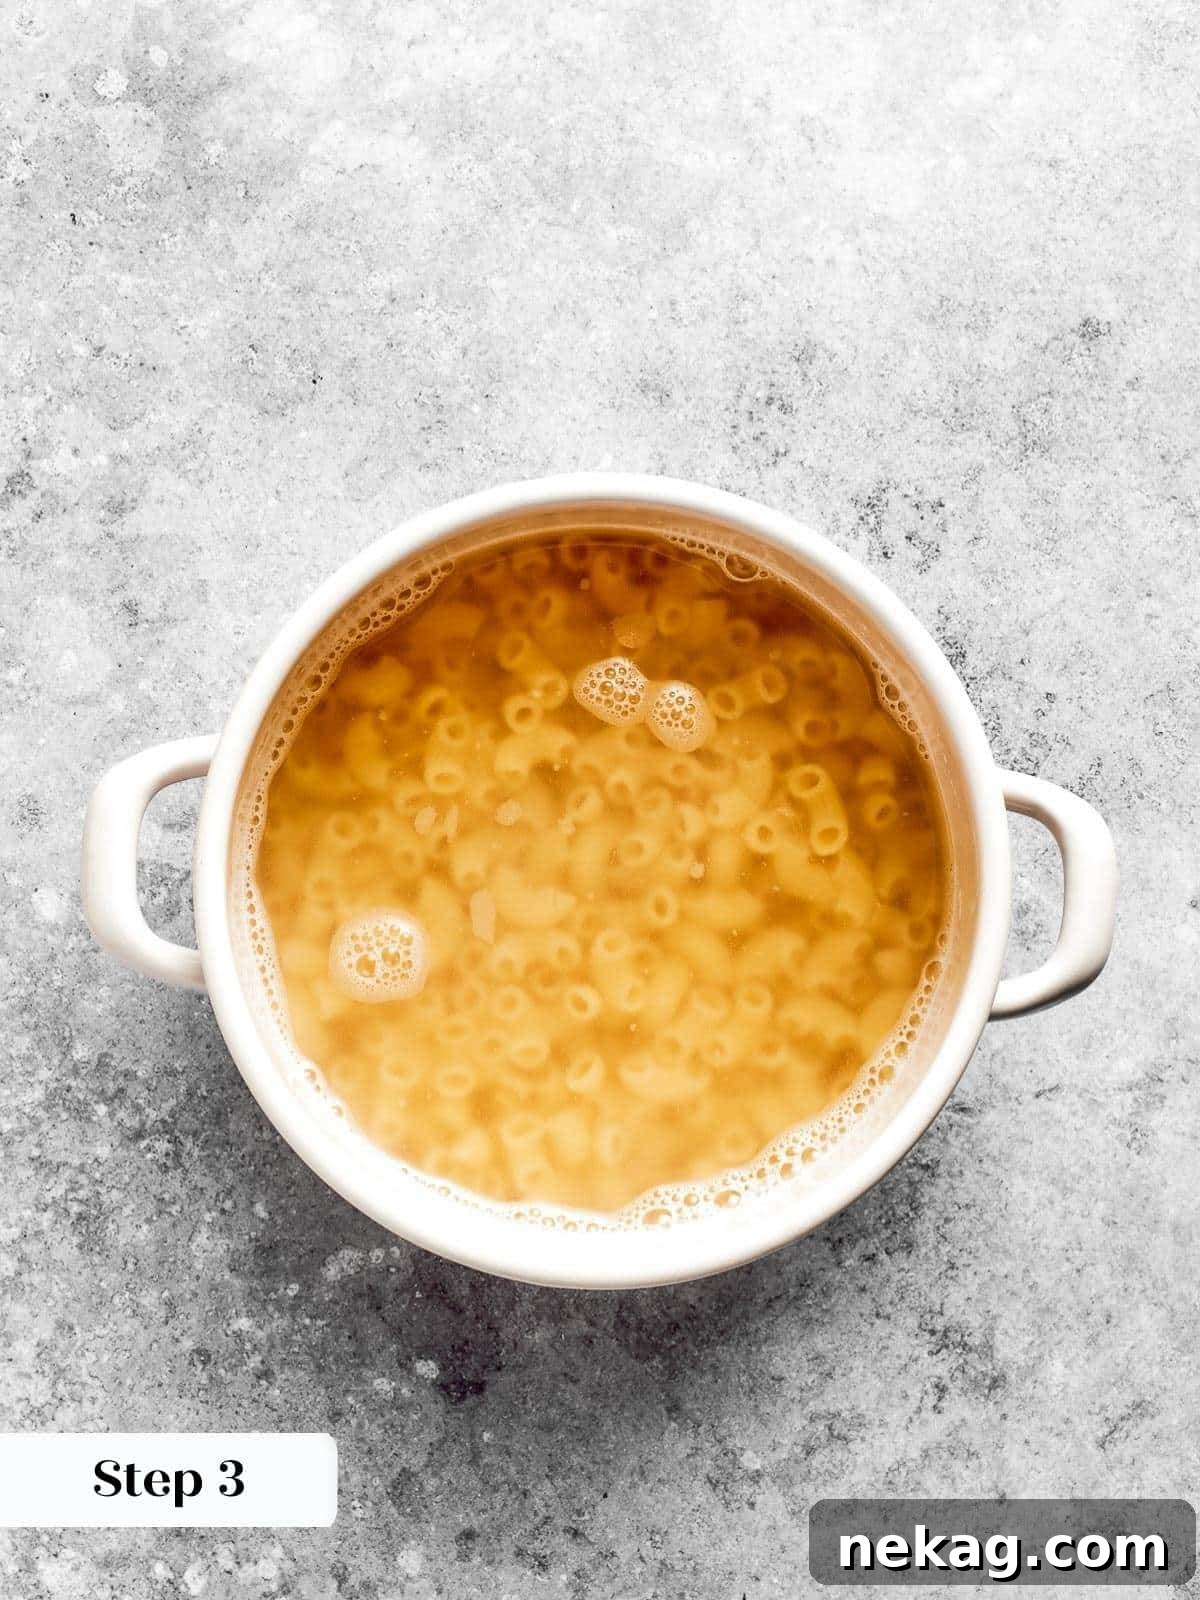
Step 3: Cook the Pasta to Perfection. Add the elbow macaroni or shells to the boiling salted water, stirring immediately to prevent sticking. Cook over medium heat until the pasta is “al dente,” or firm to the bite. For baked mac and cheese, I prefer to cook the pasta completely, as the additional 15-20 minutes in the oven isn’t long enough to fully cook undercooked pasta, and nobody enjoys hard noodles. Once cooked, drain the pasta thoroughly through a colander or strainer and set it aside.
Pro Tip for Efficiency: If you’re comfortable multitasking in the kitchen, you can prepare the pasta and the cheese sauce simultaneously. Just remember, the only time you absolutely cannot stop to drain the pasta is when you are actively incorporating the milk into your roux. Plan to drain your pasta either just before or immediately after that crucial milk addition stage.
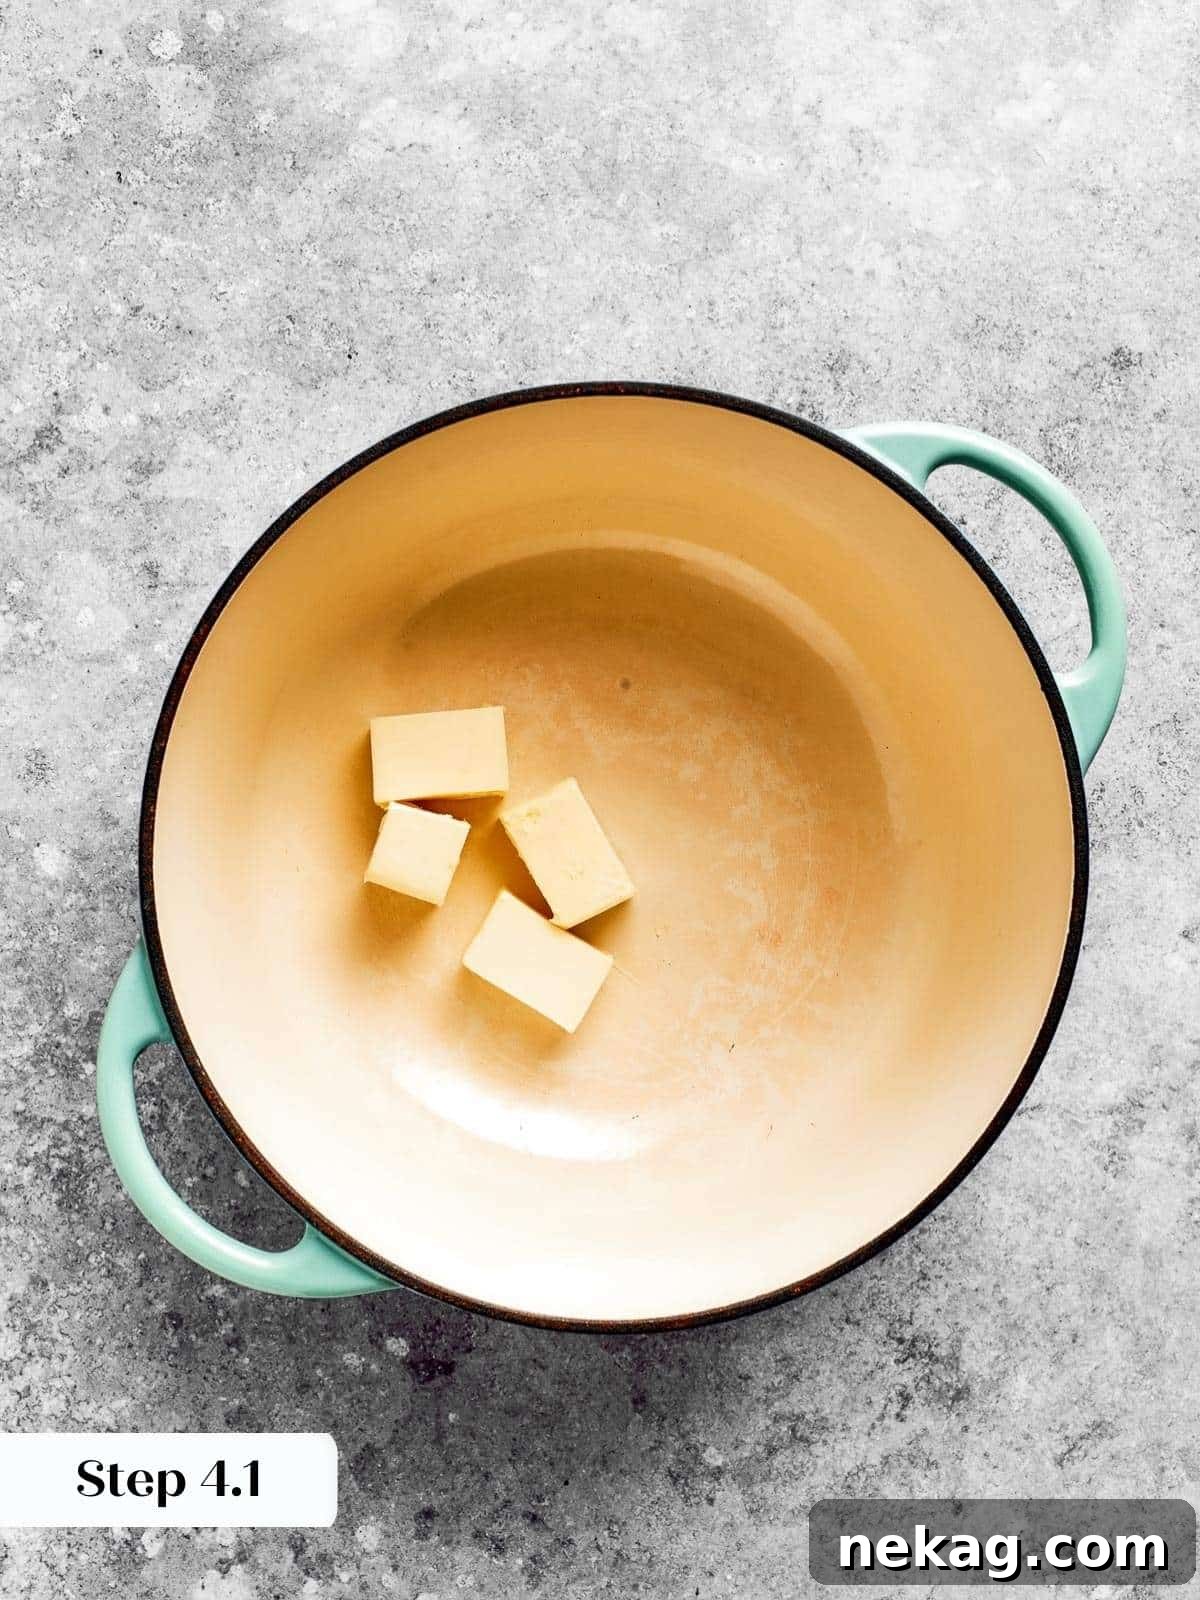
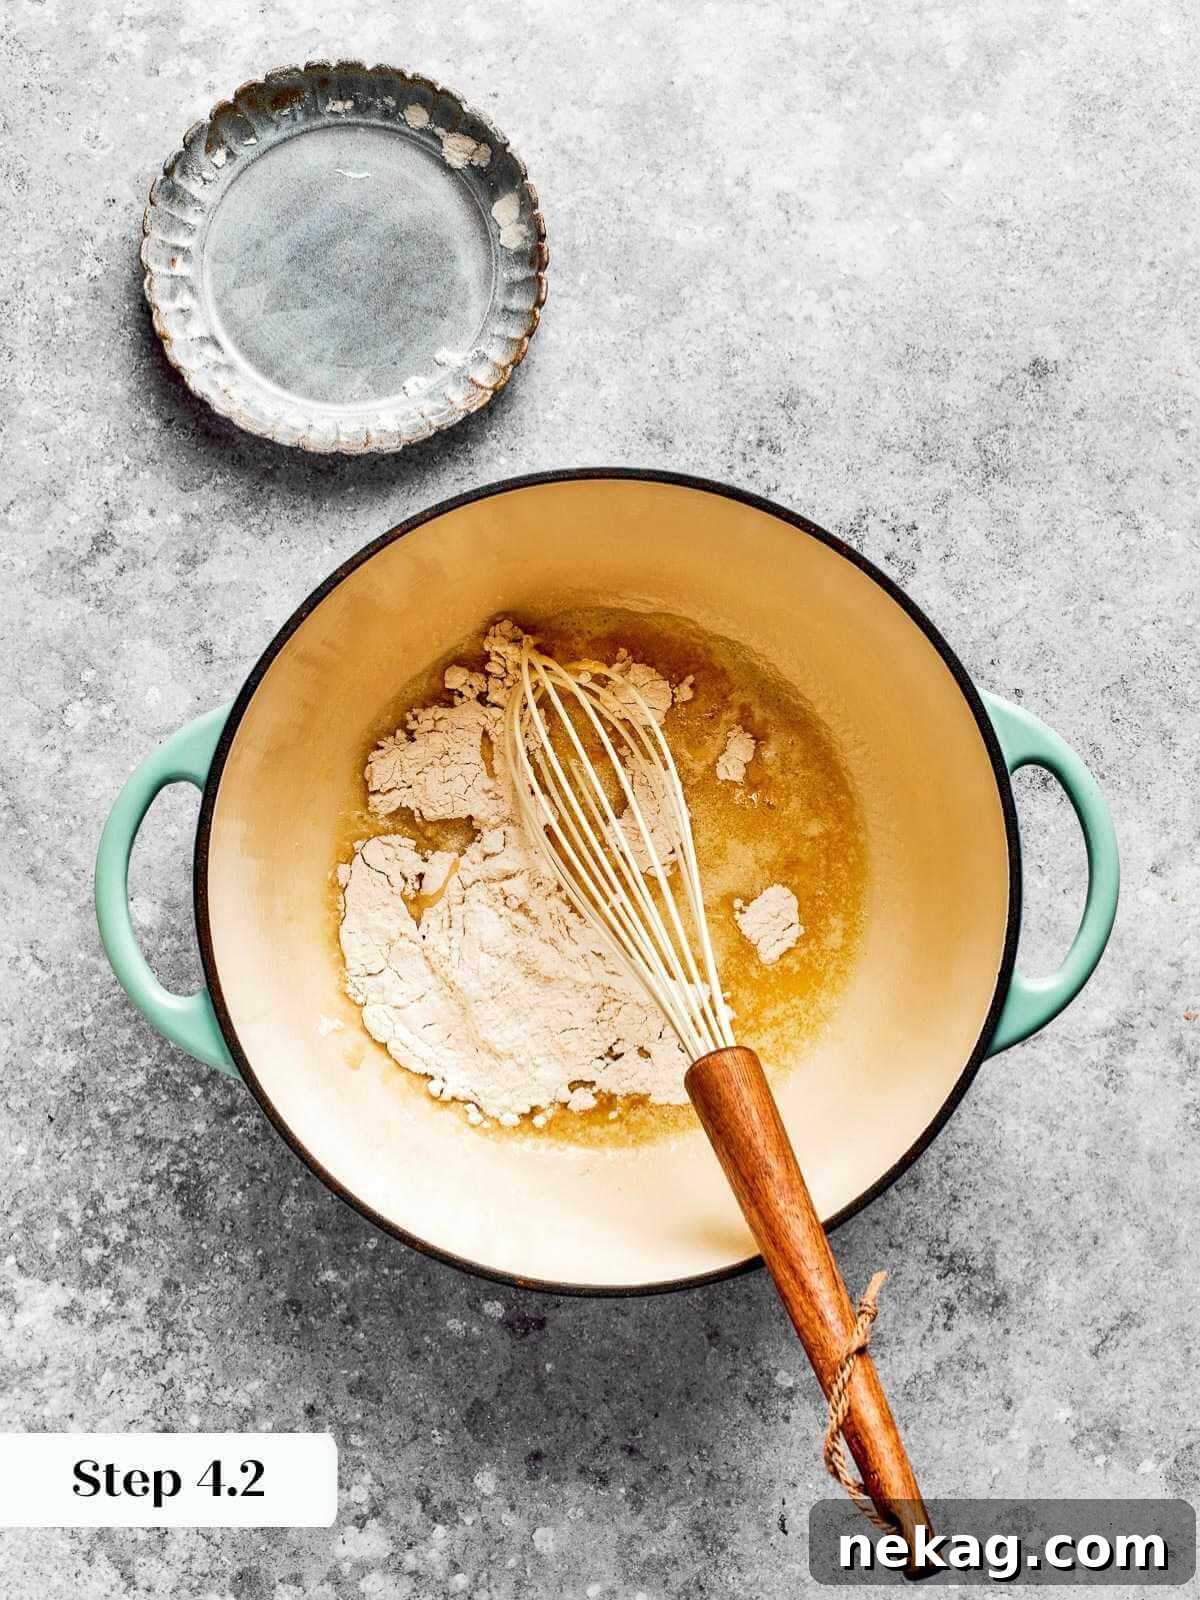
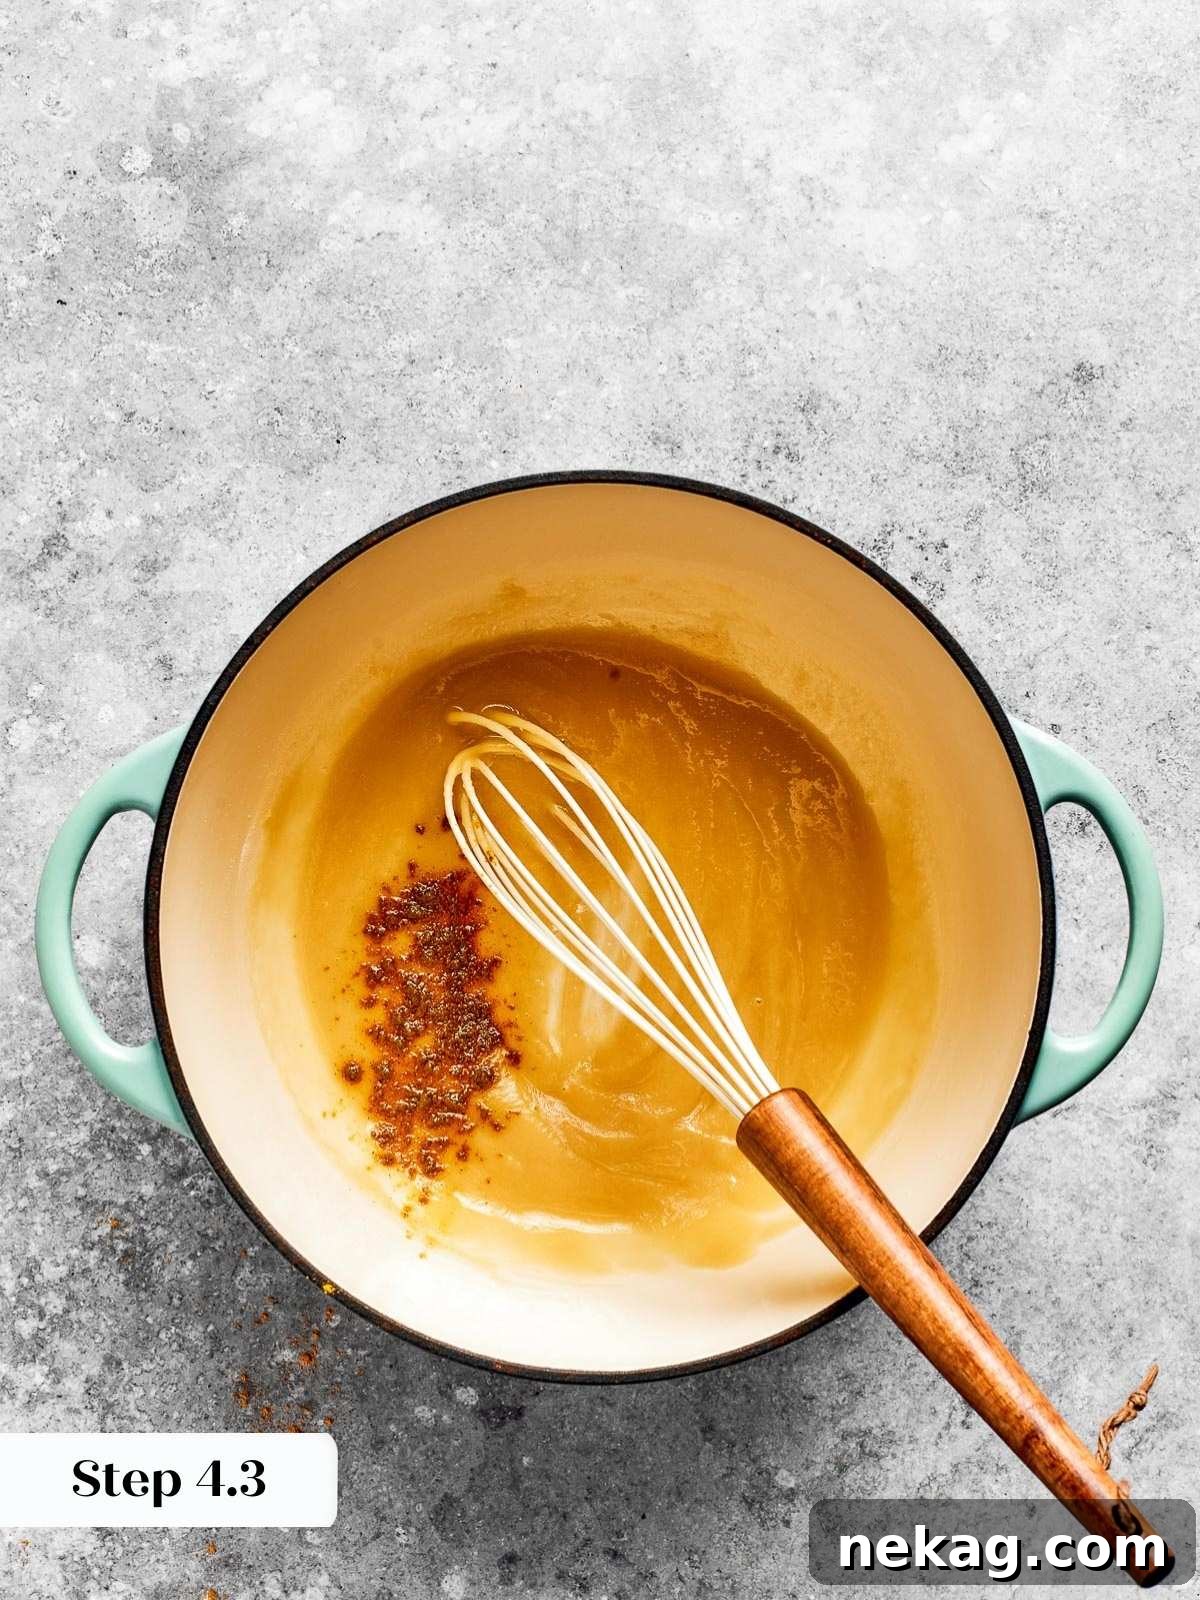
Step 4: Create the Roux Base. In a separate 3-4 quart saucepan, melt the butter over medium heat. Once melted, add the flour, ½ teaspoon of kosher salt (if using unsalted butter), and Dad’s secret ingredient: dry mustard powder. Whisk these ingredients constantly until the mixture is smooth. Bring the roux to a boil and continue whisking constantly for a full minute over medium heat. This step is vital for cooking out the raw flour taste and ensuring the sauce thickens properly. Don’t worry if it browns slightly; just keep whisking!
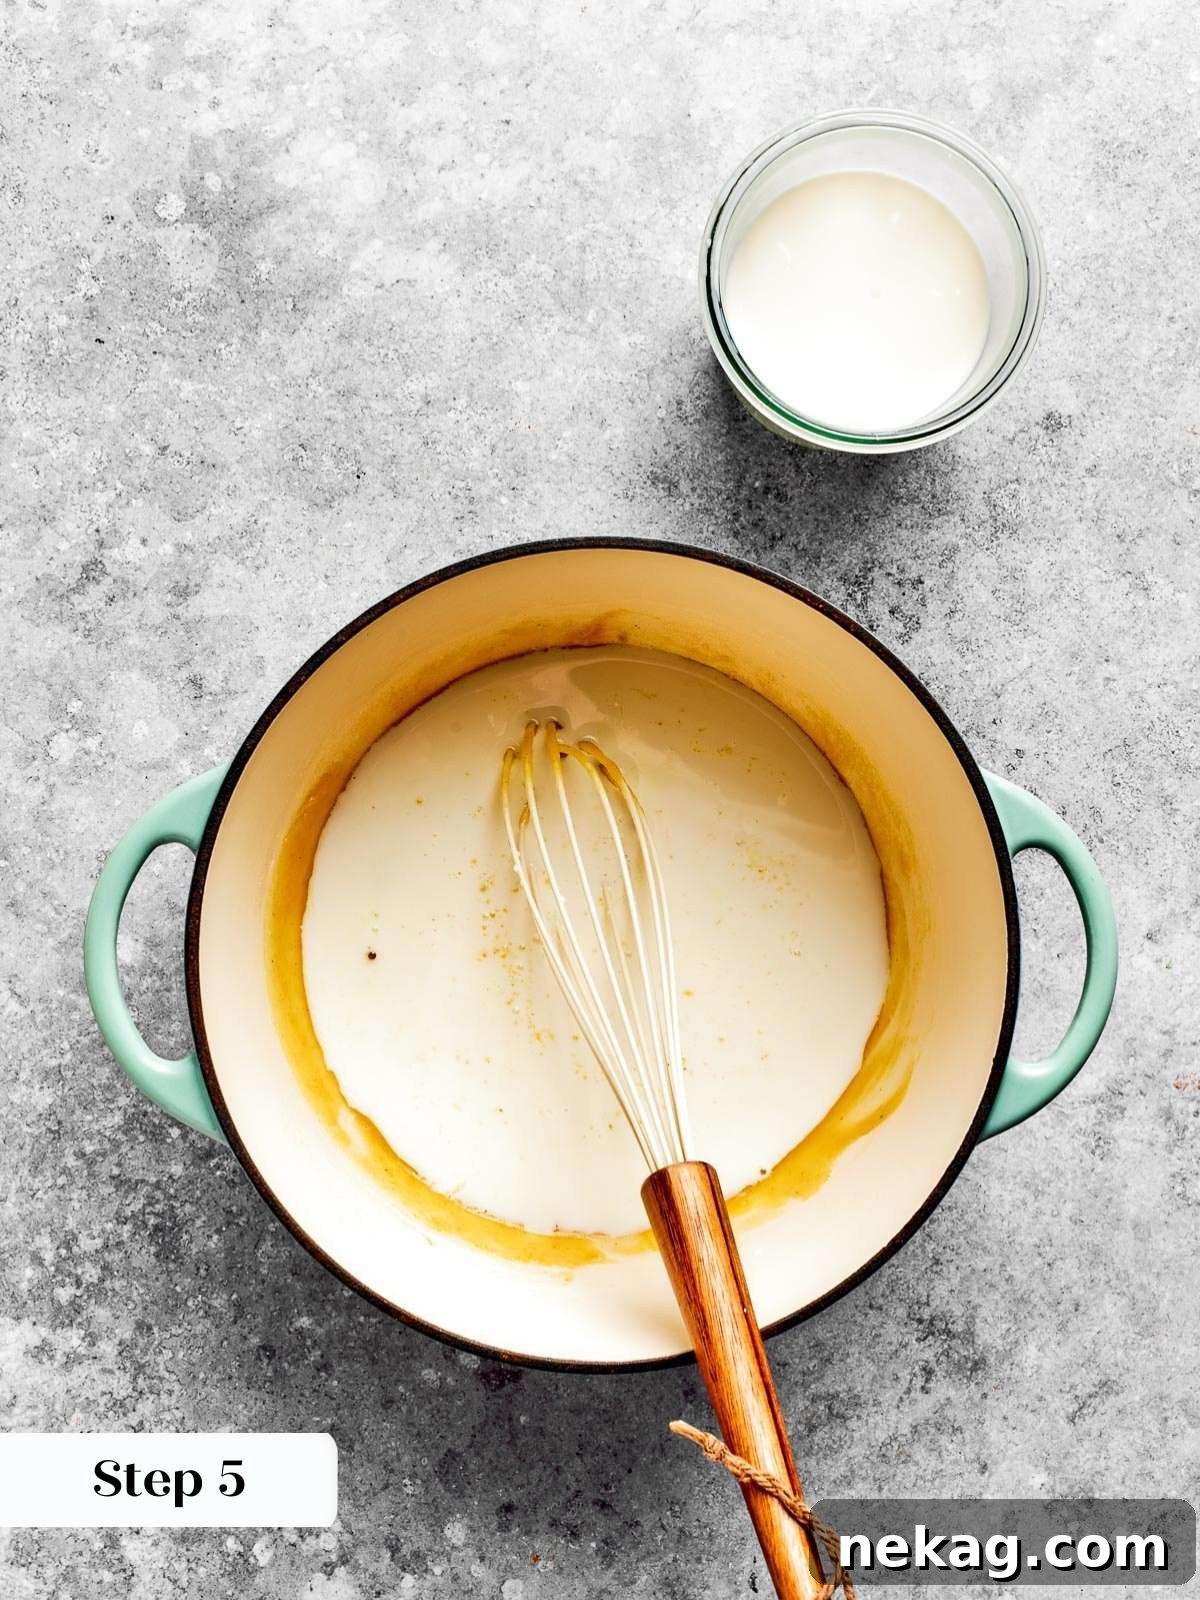
Step 5: Gradually Add the Milk. Begin slowly adding the whole milk to the roux, a little at a time, while vigorously whisking constantly. Continue this process until all the milk has been incorporated. Initially, the mixture will appear loose and liquidy, but this is perfectly normal – do not stress. Patience here is key to a smooth sauce.
Important Technique: For a flawlessly smooth and lump-free cheese sauce, ensure that each addition of milk is fully absorbed and begins to thicken slightly before you add the next batch. This gradual integration helps maintain the smooth consistency of the roux.
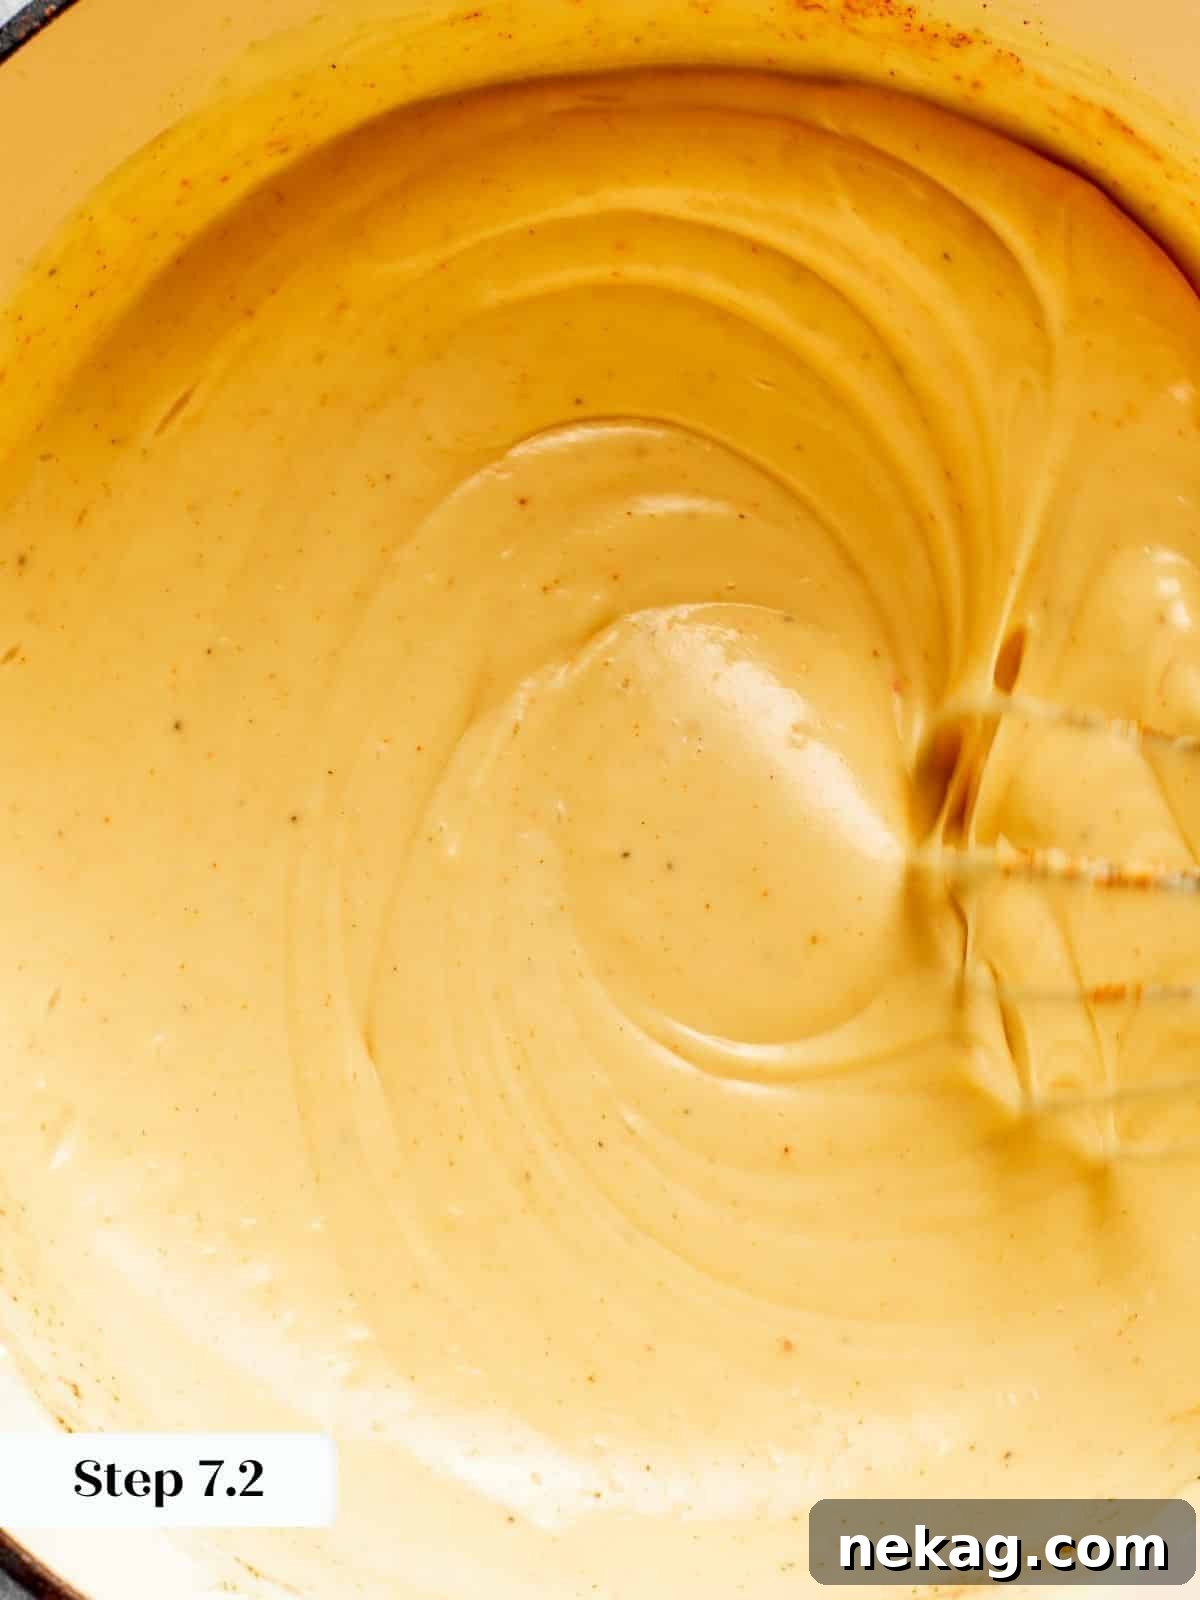
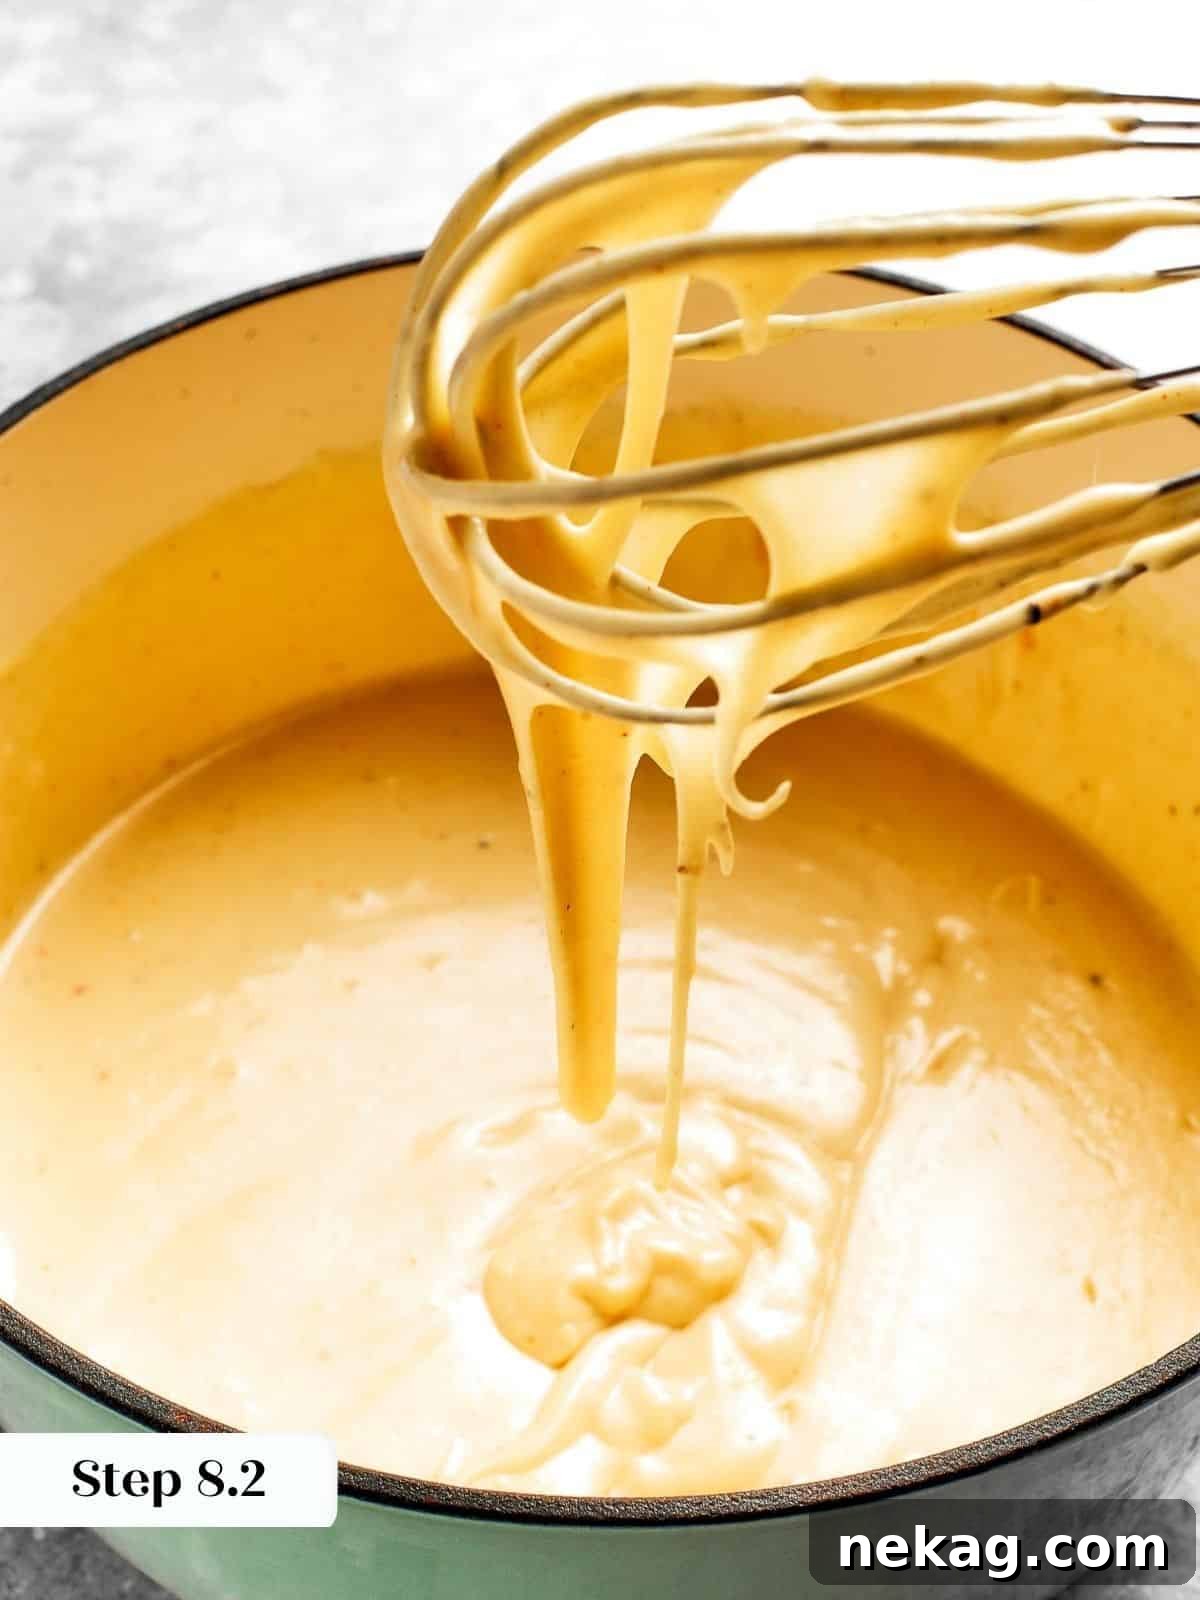
Step 6: Thicken the Sauce. Reduce the heat to medium-low and continue to cook the roux, stirring frequently with your whisk. The sauce will gradually thicken, transforming into a rich, creamy consistency that is similar to heavy cream and will beautifully coat the back of a spoon.
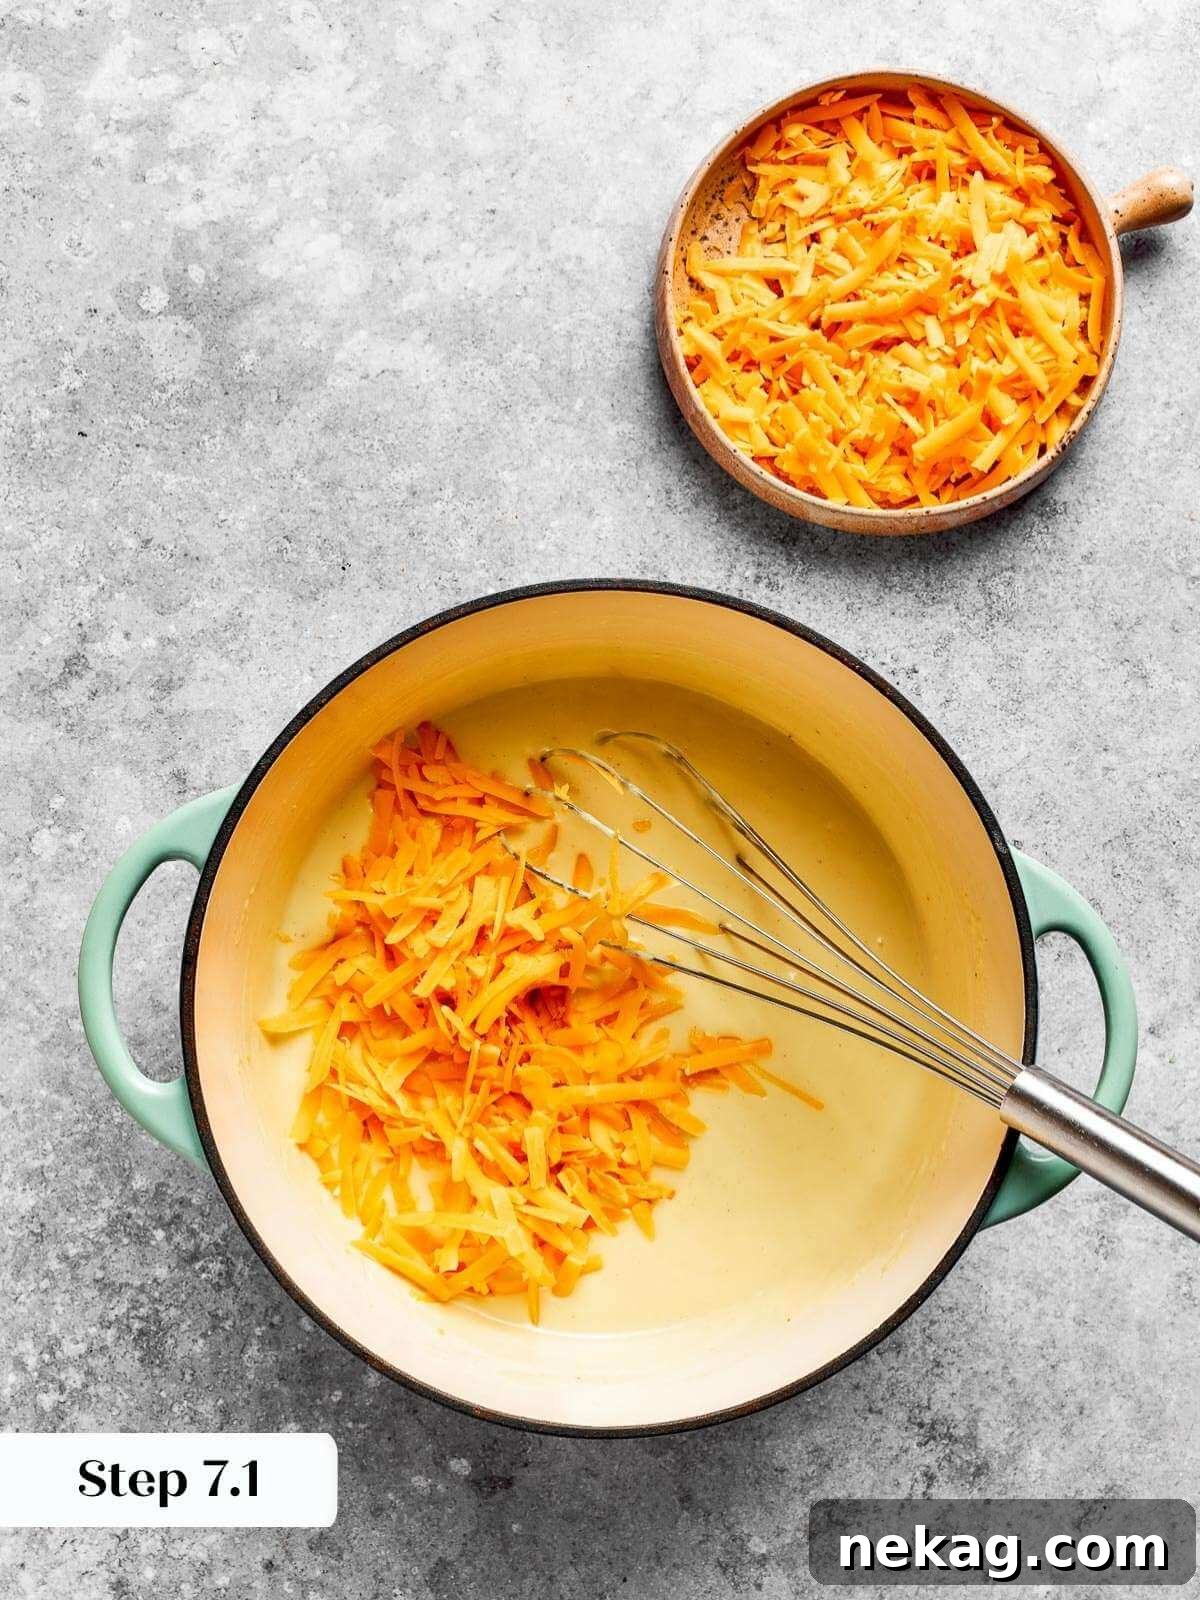
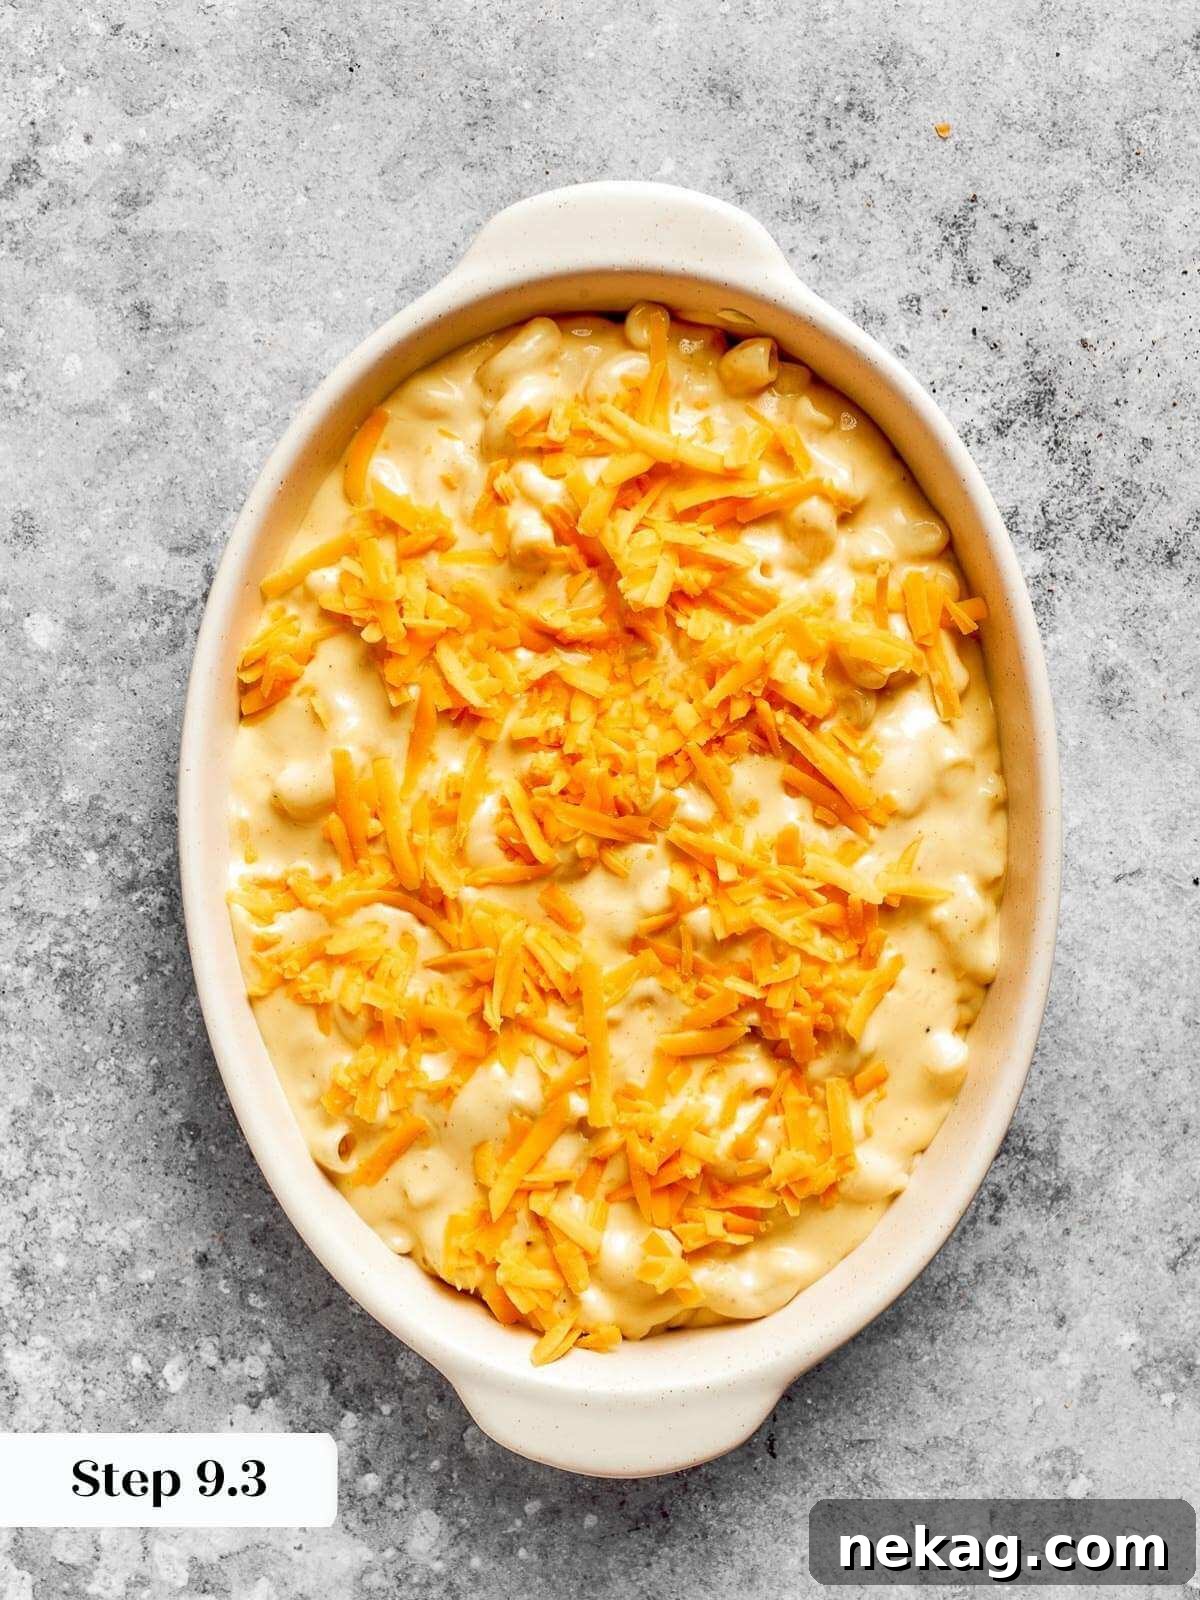
Step 7: Incorporate the Cheese. Once the sauce has thickened, remove the saucepan from the heat. Now, stir in the freshly grated sharp cheddar cheese. The residual heat from the roux will gently melt the cheese into a luscious, smooth sauce. Reserve about a handful (approximately 1 cup, depending on your hand size!) of shredded cheese to sprinkle over the top before baking for an extra golden crust.
Chef’s Note: I typically reserve about one cup of shredded cheese for the top. My hands are quite large, so adjust accordingly! It creates a fantastic cheesy crust.
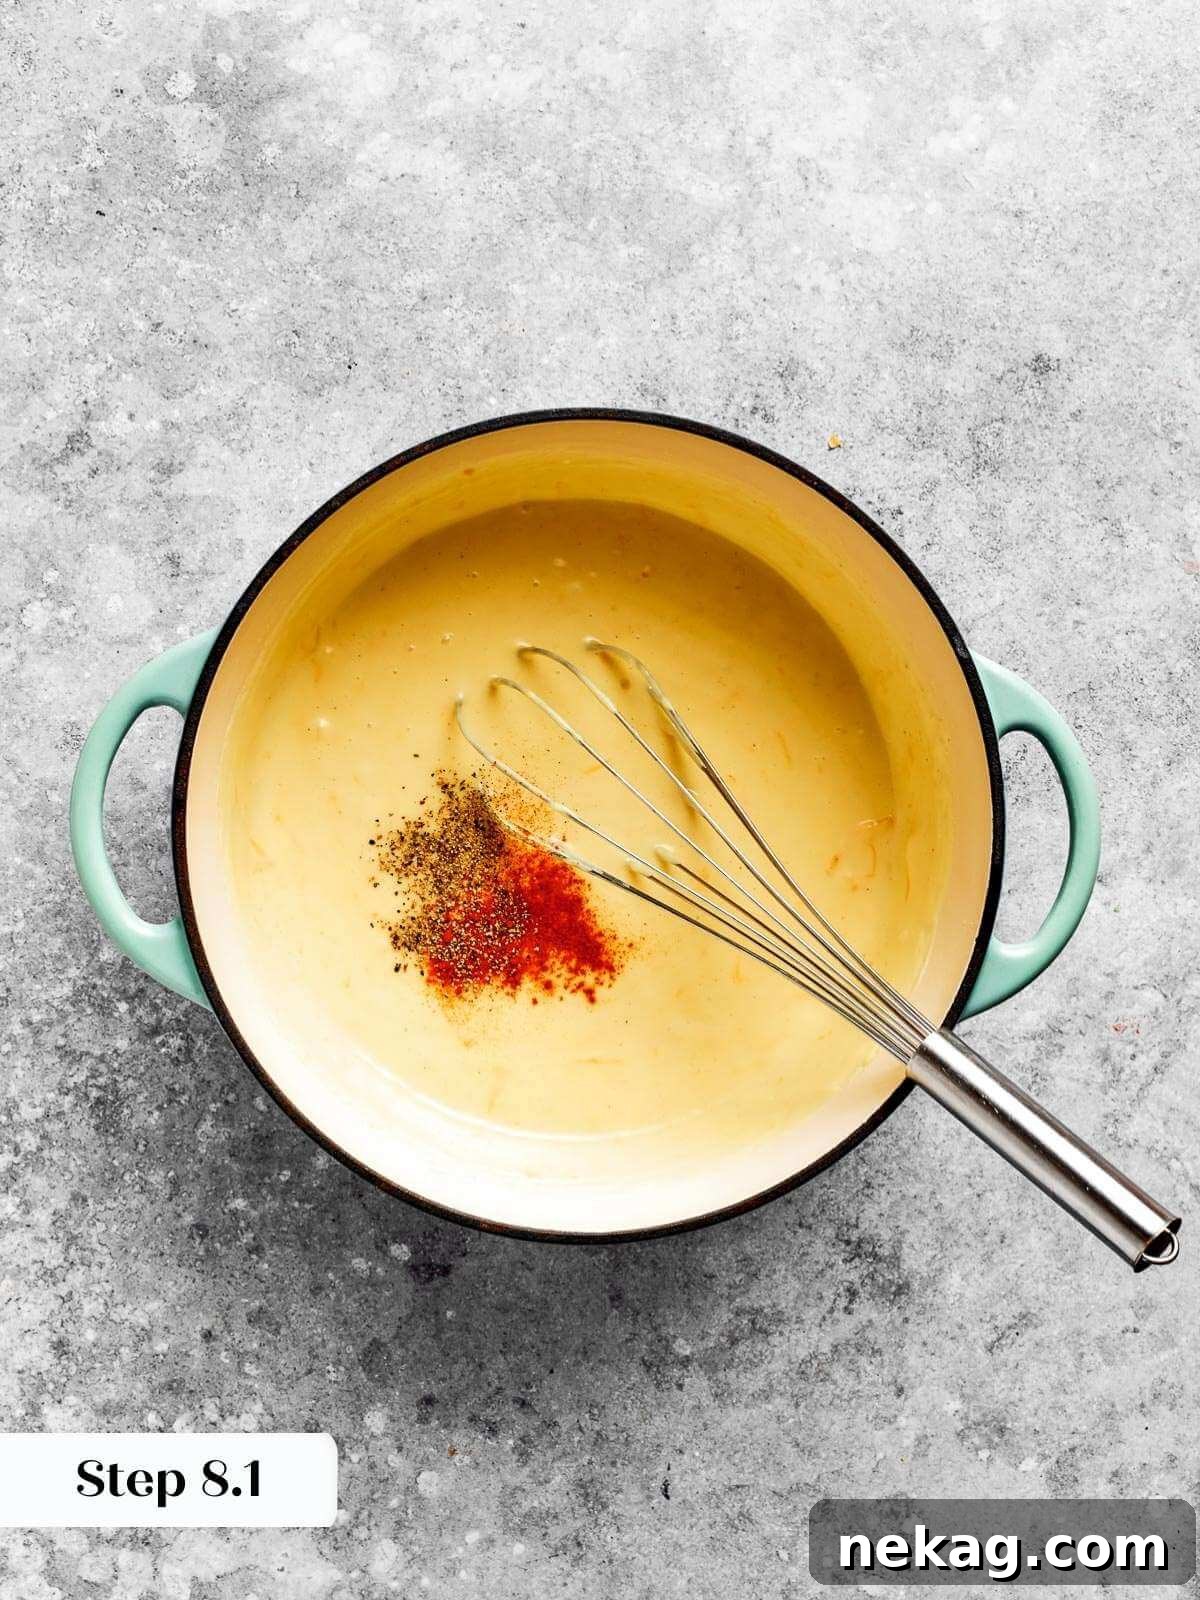
Step 8: Season and Combine. Add the black pepper and paprika to the cheese sauce, stirring them in thoroughly. Taste the sauce and adjust salt if desired. If you adequately salted your pasta water earlier, additional salt might not be necessary, ensuring a perfectly balanced flavor profile.
Mixing Bowl Strategy: A 3-4 quart saucepan is generally too small to comfortably mix in the cooked noodles. I find it easiest to transfer the thickened cheese mixture (roux) to a large mixing bowl, often the same one that held my shredded cheese. Then, add the cooked pasta to this bowl and combine everything thoroughly, ensuring every noodle is coated in that glorious cheese sauce.
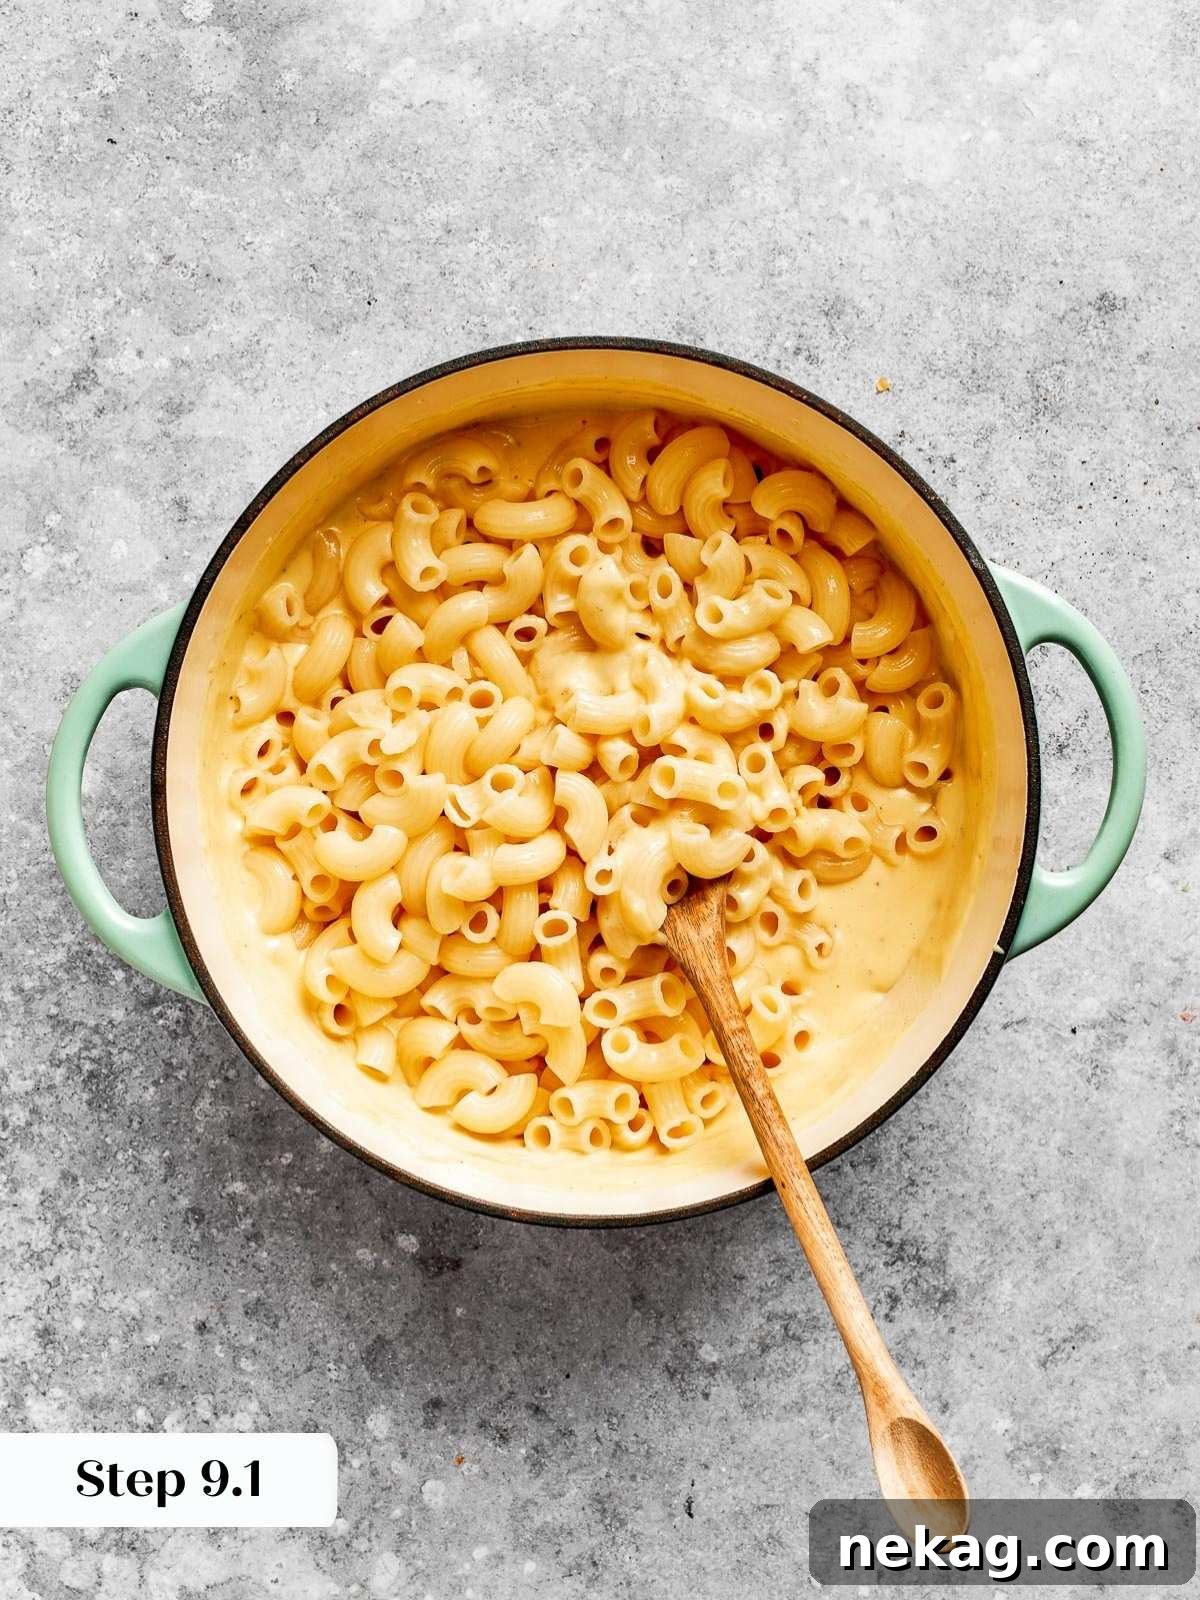
Step 9: Bake to Golden Perfection. Stir the cooked pasta into the prepared cheese sauce, ensuring every noodle is generously coated. Pour this magnificent mixture into your buttered baking dish. Sprinkle the reserved cheese evenly over the top for a beautiful golden crust. Bake uncovered in the preheated 375°F oven until the center is bubbling vigorously and the top has achieved a delicious golden-brown hue, typically requiring 15-20 minutes. For an extra crispy, deeply golden top, you can broil it for the final 2-3 minutes, keeping a close eye to prevent burning.
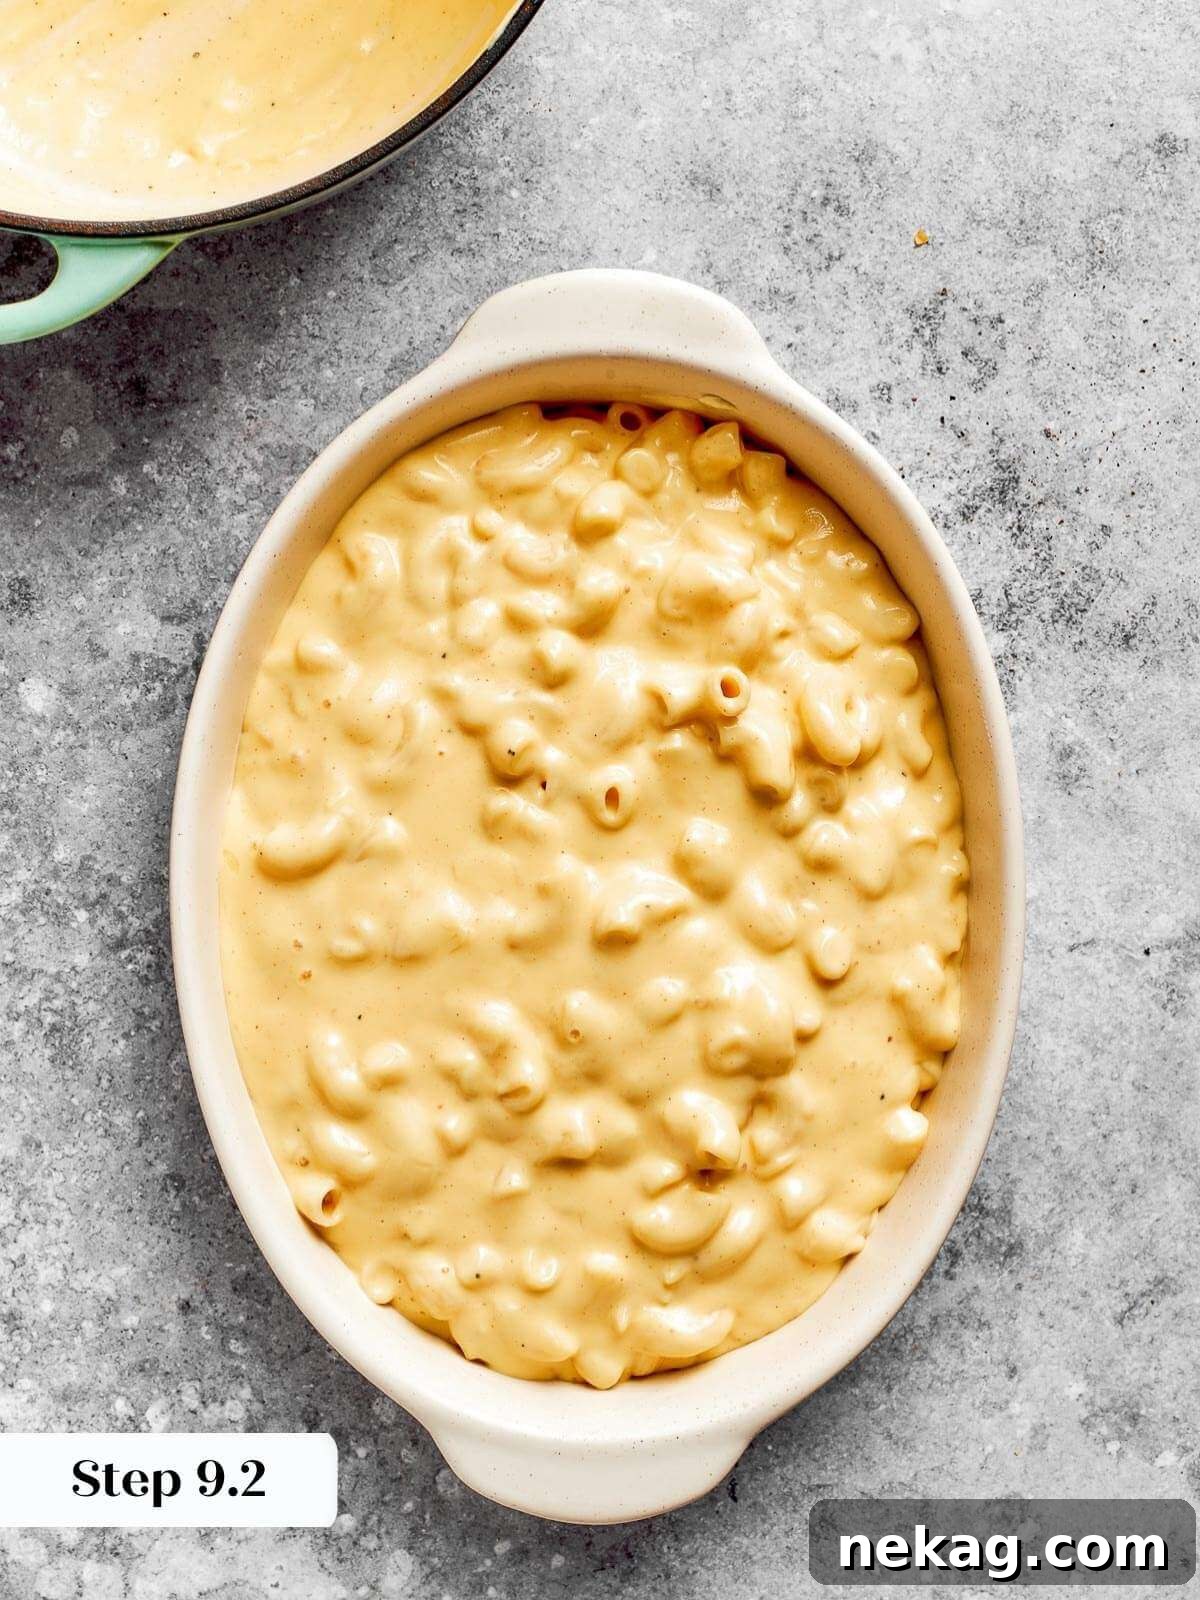
To Cover or Not to Cover? A common question is whether to cover macaroni and cheese during baking. For this recipe, it’s not necessary! We pre-cook the pasta to perfection, and the baking time is relatively short. You would typically cover a baked dish if you were worried about the top or edges cooking too quickly and burning before the inside is fully heated or cooked. Since our pasta is already cooked and the baking is mainly for warming through and browning the top, leaving it uncovered allows for that desirable golden crust to form beautifully.
Chef Lindsey’s Pro Tip for a Flavorful Roux
A crucial step often overlooked in roux-making is ensuring the starch (flour) is cooked long enough. You must allow the butter and flour mixture to boil gently for at least one minute while whisking constantly. This isn’t just for thickening; it’s essential for eliminating that raw flour taste that can otherwise subtly detract from your final dish. Cooking the flour properly unlocks its full thickening potential and ensures a clean, pure flavor in your rich, creamy sauce.
Frequently Asked Questions About Baked Mac and Cheese
To maintain its freshness and quality, store any leftover mac and cheese in an airtight container in the refrigerator. It will keep beautifully for 3 to 4 days. However, I highly advise against freezing mac and cheese. The delicate texture of the cheese sauce and pasta tends to break down upon thawing and reheating, resulting in a less desirable, often grainy, consistency.
While personal preference plays a huge role, for a truly exceptional mac and cheese, I adore a blend of Gruyère, extra-sharp cheddar, and Comté. Gruyère offers a nutty, complex flavor, sharp cheddar provides that classic, robust tang, and Comté brings a sweet, fruity depth with a smooth melt. Always taste your cheeses individually before combining them to ensure they create a harmonious blend. Swiss cheese can also be a delightful addition if you appreciate its distinct, mild flavor profile.
While you technically can use pre-shredded cheese for convenience, I strongly recommend grating your cheese fresh from the block. Pre-shredded varieties often contain anti-caking agents, such as cellulose or potato starch, designed to prevent the cheese strands from clumping together. These additives inhibit the cheese from melting into a perfectly smooth, cohesive sauce, often leading to a slightly grainy or less creamy result. Freshly grated cheese melts much more beautifully, creating the rich, velvety texture that defines truly great mac and cheese.
The secret to a consistently creamy mac and cheese lies in two main techniques: first, starting with a properly made roux, and second, adding the milk slowly and patiently. A roux, a classic French thickening agent made by cooking butter and flour together until it’s thick and slightly nutty, forms the stable base for your sauce. Once the roux is ready, slowly whisking in the milk allows for maximum absorption and ensures a rich, thickened, lump-free foundation. Adding the milk too quickly can result in lumps and a thinner, less luxurious sauce. Finally, avoid overbaking; bake just until golden and bubbling to preserve that perfect, gooey creaminess.
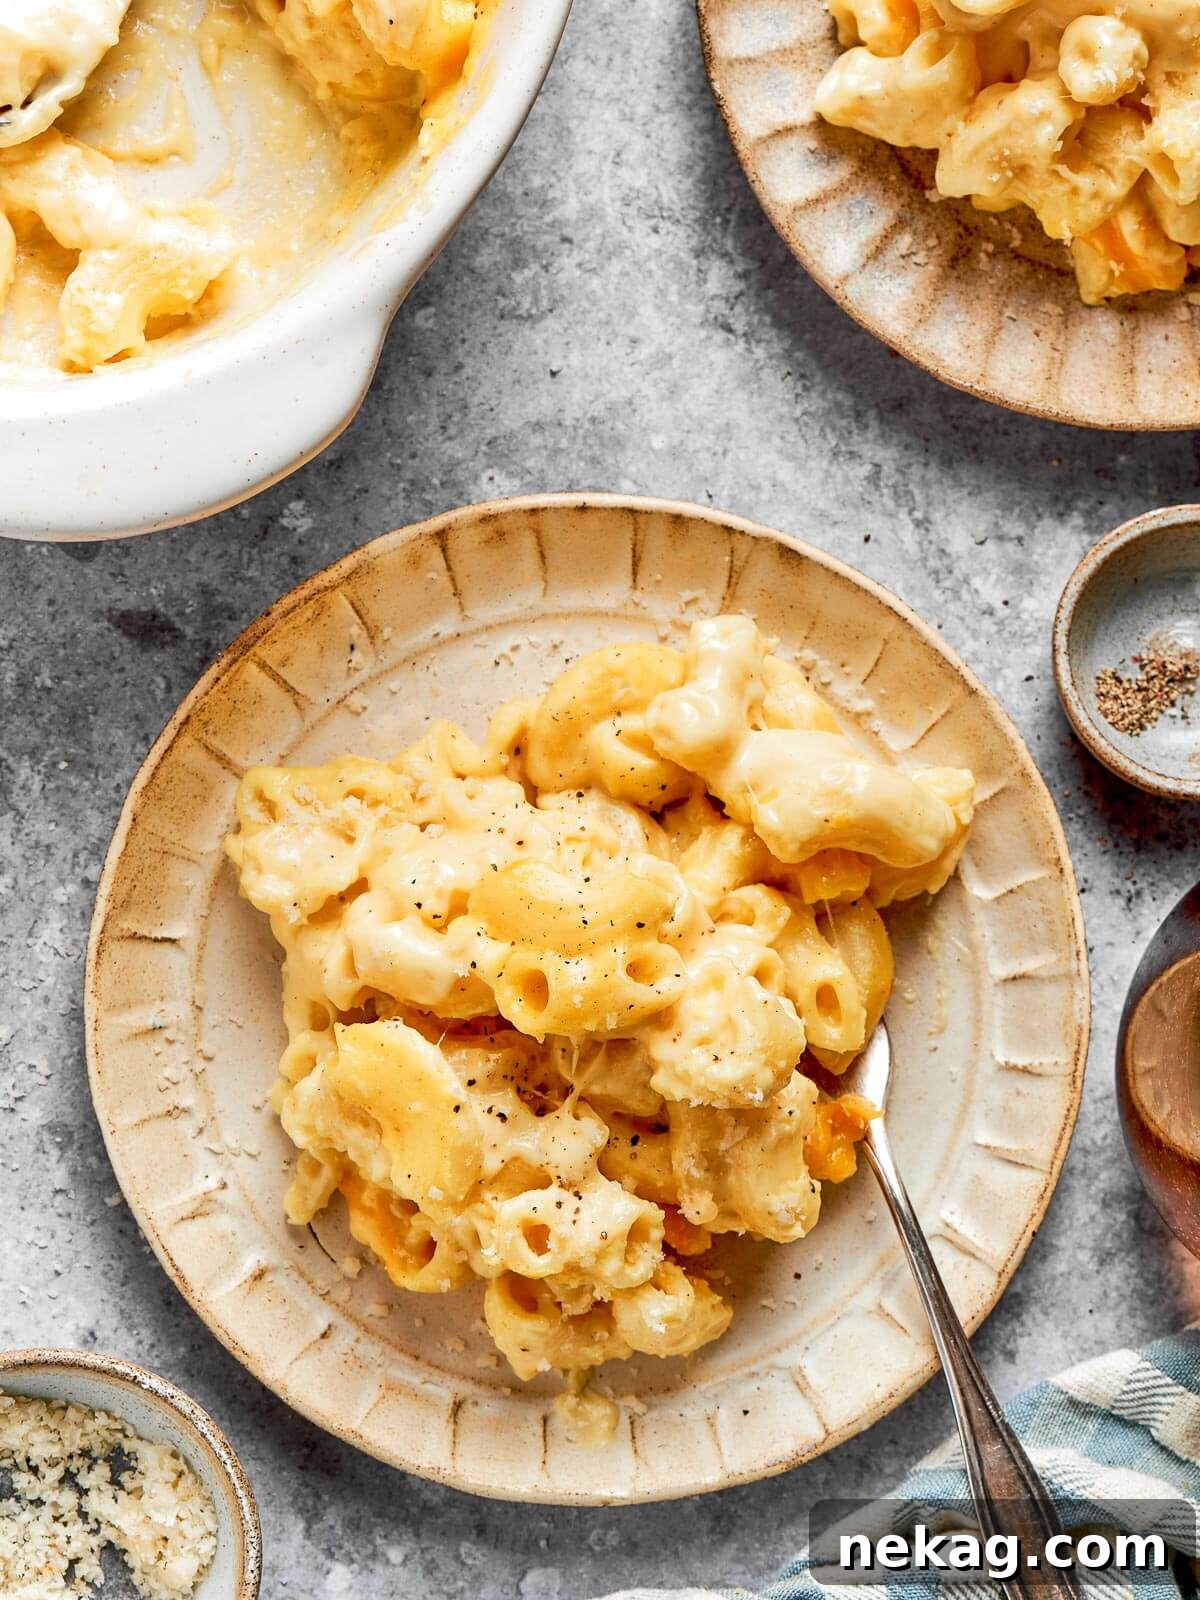
If you’ve tried and loved this professional chef-tested recipe, please take a moment to leave a 🌟 star rating and share your thoughts in the comments section below. Your feedback makes my day and helps others discover this delightful dish!
Easy Baked Mac and Cheese
Chef Lindsey
25
15
40
8
cups
Comment
Print Recipe
Ingredients
- 1 pound dried elbows (4 cups, cooked)
- 6 tablespoons salted butter (or unsalted)
- 6 tablespoons all-purpose flour
- 1/4 teaspoon black pepper (to taste)
- 1/4 teaspoon smoked paprika (or unsmoked)
- 1 tablespoon dry mustard (Dad’s secret ingredient)
- 4 cups whole milk (or 3 cups milk, 1 cup heavy cream – holy decadence)
- 6 cups sharp cheddar cheese (freshly grated)
- 1/2 teaspoon kosher salt (1 ½ lbs before shredding)
Instructions
-
Preheat the oven to 375°F (no fan). Butter a 2.5-liter glass or Pyrex baking dish or casserole dish, or leave it unbuttered. Casserole dishes also work.
-
Bring 2 quarts of water to a boil in a large saucepan and add a generous amount of salt (it should taste salty like the ocean).
-
Add the elbows to the large pot of salted water and stir to distribute and keep from sticking. Boil over medium heat until they are al dente or completely cooked. Drain pasta through a colander or strainer and set aside.
-
Melt butter in a 3-4 quart saucepan. Add flour, ½ teaspoon kosher salt (if using unsalted butter), and mustard powder, whisking until smooth. Bring to a boil and boil for 1 min on medium heat, while whisking constantly. Try not to let it brown.
-
Slowly add milk a little at a time, whisking constantly until all the milk has been added. It will be loose and liquidy; do not stress.
-
Reduce the heat to medium-low and continue to cook the roux, stirring frequently until thickened. It will be thick like cream and will coat the back of a spoon.
-
Remove from heat and stir in the cheese.
-
Add pepper and paprika, stirring well. Taste and add salt if desired. If you salted your pasta water, this shouldn’t be necessary.
-
Stir in the cooked pasta and pour into the baking dish. Sprinkle with reserved cheese. Bake the dish uncovered at 375°F until the center is bubbling and the top is golden brown (15-20 minutes). Can broil the last 3 minutes to get a nice golden top.
Video
Notes
Variations – If you want to add breadcrumbs, melt 2 tablespoons of butter and mix with ½ cup breadcrumbs. Spread evenly over the top before baking.
Storage – Store leftover mac and cheese in an airtight container in the fridge for 3 to 4 days in the refrigerator. Do not freeze.
Nutrition
Serving:
1
cup
|
Calories:
730
kcal
|
Carbohydrates:
55
g
|
Protein:
32
g
|
Fat:
42
g
|
Saturated Fat:
24
g
|
Polyunsaturated Fat:
2
g
|
Monounsaturated Fat:
10
g
|
Trans Fat:
0.3
g
|
Cholesterol:
122
mg
|
Sodium:
817
mg
|
Potassium:
392
mg
|
Fiber:
2
g
|
Sugar:
8
g
|
Vitamin A:
1341
IU
|
Vitamin C:
0.1
mg
|
Calcium:
767
mg
|
Iron:
1
mg
Side Dish
American
730
Like this? Leave a comment below!
Don’t Miss Out! More Chef-Tested Recipes
We hope you thoroughly enjoyed preparing and tasting this cherished family recipe, meticulously crafted and tested by a professional chef. If you’re eager to explore more culinary delights, be sure to browse our collection of other delicious, chef-developed side dish recipes. Happy cooking!