
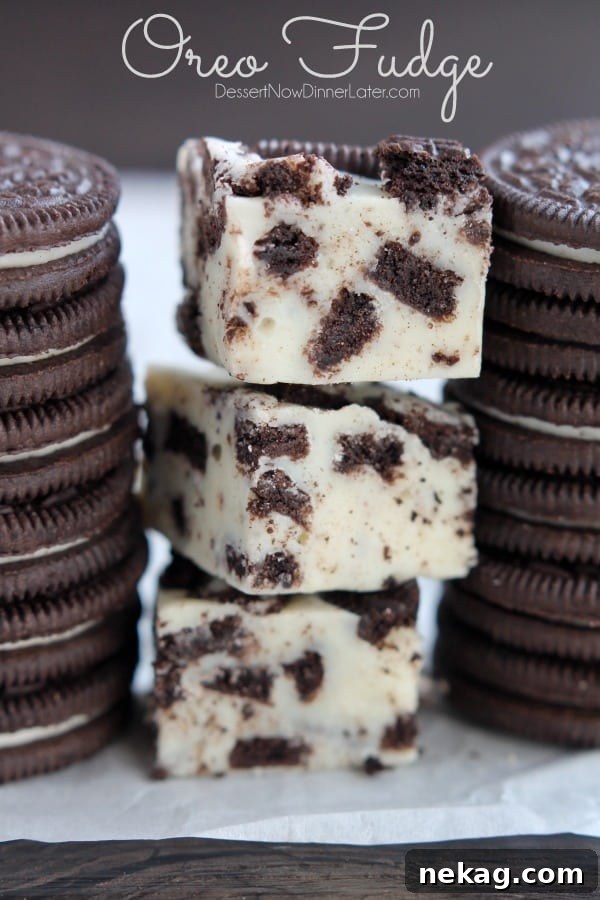
The Ultimate 3-Ingredient Oreo Fudge: A Quick & Easy Dessert Masterpiece
Prepare to be amazed by the sheer simplicity and incredible deliciousness of this **Oreo Fudge**! Crafted with just three essential ingredients, this delightful treat whips up in a flash, making it the perfect last-minute dessert, a charming addition to holiday neighbor plates, or a sweet indulgence for any occasion. Forget complicated candy thermometers and lengthy prep times; this recipe is designed for maximum flavor with minimal effort.
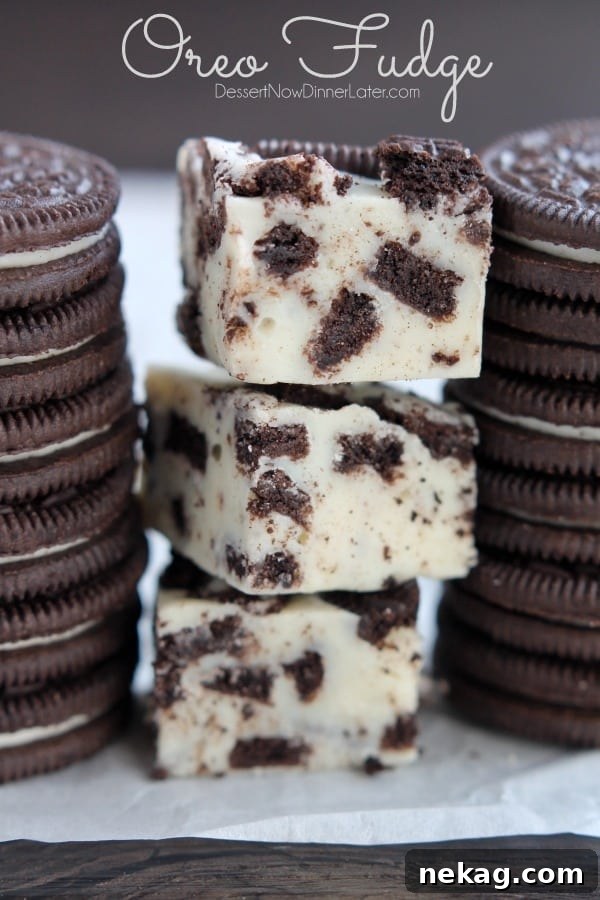
The holiday season often calls for an array of delightful fudges and candies, but who has hours to spend in the kitchen? This Oreo Fudge recipe is your answer to stress-free holiday baking. Its straightforward method ensures a foolproof outcome every time, allowing you to focus on enjoying the festivities rather than wrestling with complex confectionary techniques. Whether you’re a seasoned baker or a complete novice, you’ll find this recipe incredibly accessible and rewarding.
Why This 3-Ingredient Oreo Fudge Will Become Your New Favorite
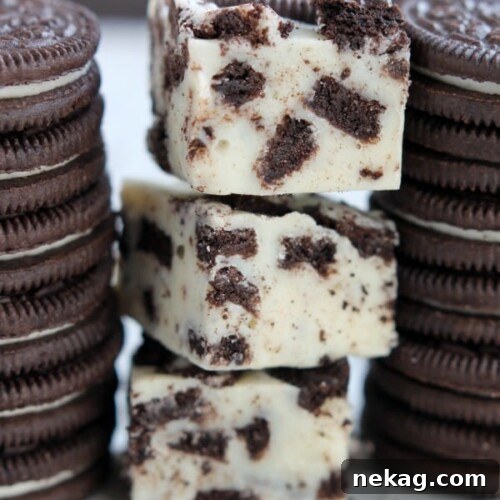
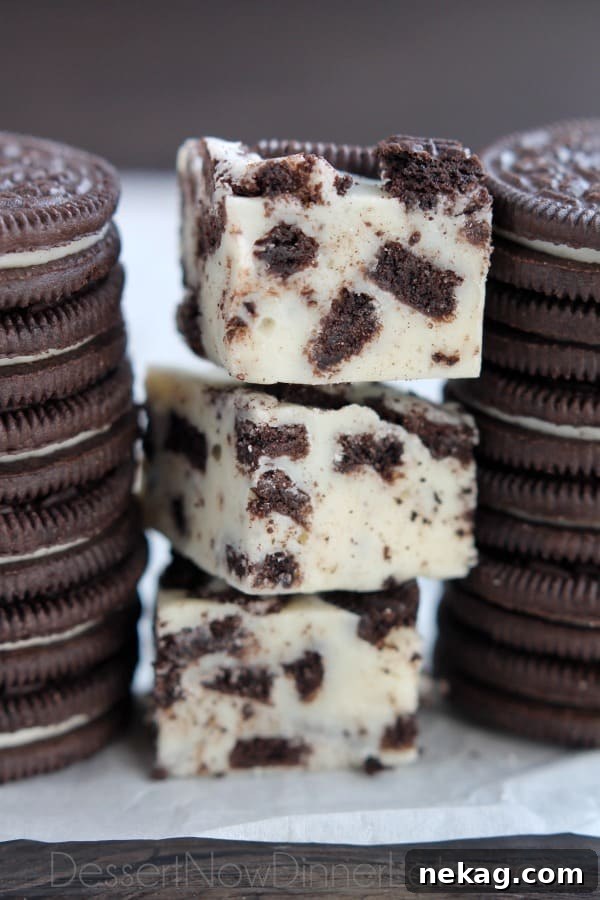
There’s something truly magical about a tiny square of fudge – it’s a concentrated burst of sweet, creamy goodness that perfectly satisfies any chocolate craving. But what makes this particular fudge stand out? It’s the delightful inclusion of beloved Oreo cookies throughout! Each bite delivers a harmonious blend of smooth, rich white chocolate fudge contrasted by the satisfying crunch and distinct flavor of America’s favorite cookie. This combination creates a texture and taste experience that is utterly irresistible.
Beyond its incredible taste, the sheer ease of preparation is a major draw. Many people find candy making intimidating, often requiring precise temperatures and specialized equipment like candy thermometers. This Oreo fudge completely bypasses those complexities. It’s a genuine “no-brainer” recipe: melt, mix, spread, and chill. That’s it! In less than 15 minutes of active prep time, you can have a batch of exquisite fudge ready to set.
The Magic of Three: Essential Ingredients for Flawless Fudge
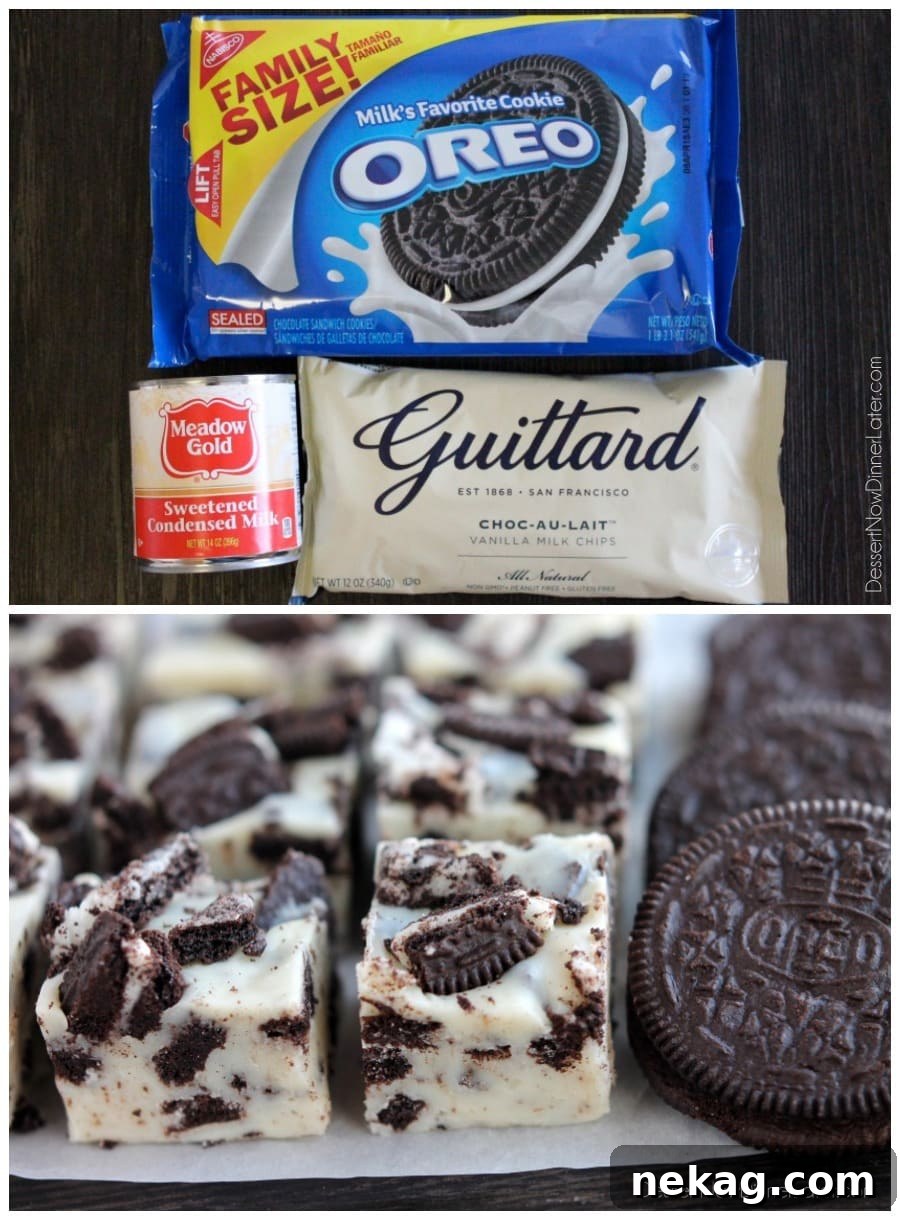
As promised, this remarkable recipe relies on just three core ingredients to achieve its decadent flavor and texture. Choosing high-quality components is key, especially for the white chocolate, to ensure the smoothest, most luxurious fudge imaginable.
-
Sweetened Condensed Milk
This is the backbone of our easy fudge recipe. Sweetened condensed milk isn’t just a sweetener; it’s a thick, creamy dairy product that has been slowly simmered to remove much of its water content, resulting in a rich, viscous liquid. When combined with melted chocolate, it provides the perfect amount of moisture and sweetness, helping the fudge to set beautifully while maintaining a wonderfully smooth, melt-in-your-mouth consistency. There’s no substitute for this essential ingredient in this particular fudge style.
-
High-Quality White Chocolate Chips
This is where quality truly matters. While many brands of white chocolate chips are available, not all are created equal. We highly recommend Guittard chocolate because it is known for its purity and lack of waxy fillers often found in other brands. This makes a significant difference in how the chocolate melts and, consequently, the final texture of your fudge. Guittard chips melt beautifully and smoothly, creating a truly luxurious base for your fudge. If Guittard isn’t available, look for another premium brand of white chocolate chips or baking bars that specify “real white chocolate” and have a high cocoa butter content. Avoid “white confectionery coating” or “white bark,” as these often contain hydrogenated oils and will result in a grainy or waxy fudge.
-
Oreo Cookies
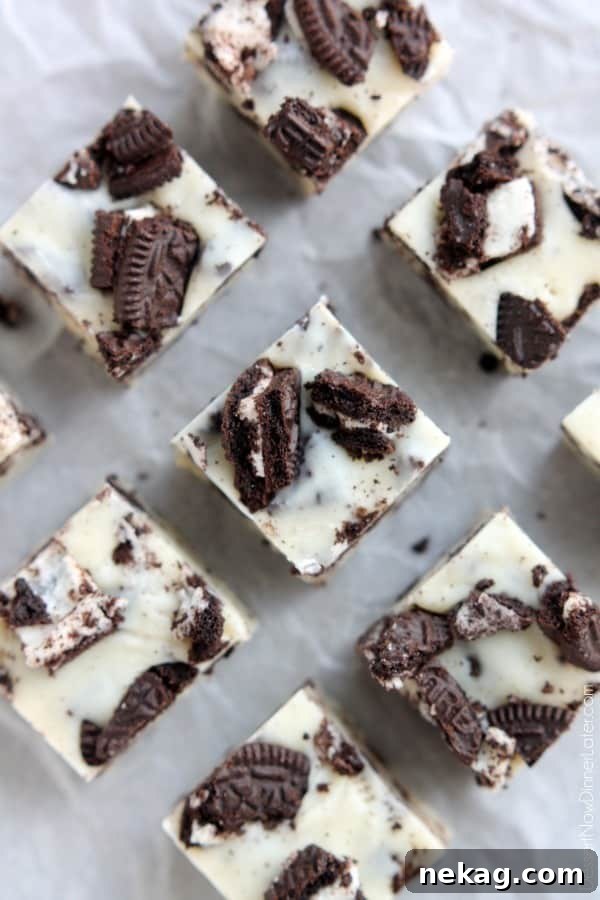
The star of the show! Oreo cookies bring their iconic chocolatey crunch and creamy filling to this fudge, creating a fantastic contrast to the sweet white chocolate. For this recipe, you’ll want to chop your Oreos into pieces. You can achieve this by placing them in a Ziploc bag and crushing them with a rolling pin for a more rustic texture, or pulsing them briefly in a food processor for finer crumbs. The choice is yours, depending on how chunky you like your fudge. Don’t forget to save a few extra pieces to press onto the top for a visually appealing finish.
-
Optional: A Pinch of Salt
While often overlooked in sweet recipes, a tiny pinch of salt (about ⅛ teaspoon) can do wonders to enhance and balance the flavors. It subtly cuts through the sweetness of the fudge and brightens the overall taste, making it even more addictive.
Crafting Your Delicious Oreo Fudge: A Simple Step-by-Step Guide
This recipe truly is a no-brainer, perfect for anyone who might feel intimidated by traditional candy making. The process is incredibly straightforward, ensuring perfect results every time.
Oreo Fudge
Created by Amber Brady
This incredibly easy 3-ingredient Oreo fudge is a perfect no-bake treat for any occasion. Creamy white chocolate meets crunchy Oreo pieces in this delightful confection, ideal for gifting or satisfying your sweet tooth.
Pin Recipe
Yields: 36 squares
Ingredients
- 14 oz (396 g) can sweetened condensed milk
- 18 oz (510 g) high quality white chocolate chips (approximately 1 ⅓ bags or 3 cups)
- 3 cups Oreos, chopped (approximately 20 regular Oreo cookies)
- Optional: ⅛ tsp salt
Instructions
-
Prepare an 8×8-inch pan by lining it with wax or parchment paper. Ensure the paper extends up the sides of the pan; this will create “handles” that allow you to easily lift out the entire slab of fudge once it has set. This step is crucial for clean removal and cutting.
-
In a medium saucepan, combine the high-quality white chocolate chips, sweetened condensed milk, and the optional pinch of salt. Place the saucepan over medium-low heat. Stir constantly with a silicone spatula or wooden spoon. The key here is to melt the chocolate slowly and gently to prevent scorching. Continue stirring until the chocolate chips are completely melted and the mixture is smooth and well combined, with no lumps remaining.
-
Once the chocolate mixture is smooth, remove the saucepan from the heat. Carefully fold in the majority of your chopped Oreo cookies. Stir gently until the cookie pieces are evenly distributed throughout the fudge mixture. Reserve a small handful of chopped Oreos for topping.
-
Pour the warm fudge mixture into your prepared 8×8-inch pan. Working quickly, use your spatula to spread the fudge evenly into all corners of the pan. While the fudge is still soft, sprinkle and gently press the reserved chopped Oreo cookies onto the top surface. Allow the fudge to rest at room temperature until it is completely set. This can take several hours. For a quicker set, you can refrigerate the fudge for about 1-2 hours.
-
Once firm, use the parchment paper overhang to lift the entire slab of fudge from the pan onto a clean cutting board. For neat, clean squares, use a warm, dry knife. Run your knife under hot water, wipe it completely dry, then make your cuts. Re-warm and dry the knife between cuts as needed. Store the cut fudge squares in an airtight container at room temperature for up to 5 to 7 days, or in the refrigerator for extended freshness.
Notes
*I HIGHLY recommend Guittard vanilla milk chips – there are no waxes in them, which ensures a smoother melt and better texture for your fudge.
** This recipe has been updated due to reader feedback to further improve clarity and results.
Nutrition Information
Serving: 1 square | Calories: 168kcal | Carbohydrates: 22g | Protein: 2g | Fat: 8g | Saturated Fat: 4g | Polyunsaturated Fat: 4g | Cholesterol: 3mg | Sodium: 95mg | Fiber: 1g | Sugar: 17g
Disclaimer: Nutritional values were calculated using a third-party tool and are provided as an estimation only.
Sharing this recipe with a link is both encouraged and appreciated. Copying/pasting and/or screenshots of full recipes to any social media is strictly prohibited. Content and photographs are copyright protected.
Tips for Achieving Perfect Oreo Fudge Every Time
- Don’t Overheat the Chocolate: Low and slow is the mantra when melting the chocolate and condensed milk. High heat can cause the white chocolate to seize or become grainy, ruining the smooth texture of your fudge. Gentle heat and constant stirring are essential.
- Quality Matters for White Chocolate: As mentioned, investing in good quality white chocolate chips (like Guittard) without waxy additives makes a significant difference in the final product’s texture and taste.
- Proper Pan Preparation: Lining your pan with parchment or wax paper is non-negotiable. This prevents sticking and makes lifting the fudge out for clean cutting incredibly easy.
- Patience During Setting: While refrigerating speeds up the setting process, allowing your fudge to set at room temperature often yields a creamier, softer texture. If you’re in a hurry, the fridge is fine, but don’t rush the cooling entirely.
- Warm Knife for Clean Cuts: For perfectly neat squares, dip your knife in hot water and wipe it dry before each cut. This prevents the fudge from sticking and dragging, resulting in clean, professional-looking pieces.
Creative Variations and Serving Suggestions
While this 3-ingredient Oreo Fudge is fantastic as is, it’s also a wonderful canvas for creativity. Here are a few ideas to customize your next batch:
- Different Oreo Flavors: Experiment with various Oreo cookie flavors! Mint Oreos make a refreshing holiday treat, Peanut Butter Oreos add a nutty twist, and Golden Oreos offer a vanilla-on-vanilla delight.
- Add-ins: Boost the texture and flavor with additional mix-ins. Consider mini chocolate chips (dark, milk, or white), chopped nuts (walnuts, pecans, almonds), colorful sprinkles for festive occasions, or even crushed candy canes during Christmas for a peppermint kick.
- Drizzles and Toppings: Once the fudge is set, you can elevate it with a simple drizzle. Melt some dark chocolate or caramel sauce and artfully swirl it over the top for an extra layer of flavor and visual appeal.
- Serving Suggestions: This fudge is perfect on its own, with a cup of coffee or hot cocoa. For holiday gatherings, arrange it on a dessert platter with other treats. It also makes a fantastic homemade gift!
Gifting Homemade Oreo Fudge for the Holidays
The holidays are a time for sharing, and what better way to show appreciation than with a plate of homemade treats? This easy Oreo Fudge is an absolute winner for neighbor plates, teacher gifts, or hostess presents. Its quick preparation means you won’t be stuck in the kitchen all day, allowing you to create a variety plate with ease.
Imagine presenting a beautifully arranged platter featuring these delightful fudge squares alongside other seasonal goodies. Your friends and family will be impressed by your thoughtfulness and the incredible taste, without ever knowing how little effort it truly took. This recipe embodies the spirit of giving deliciousness with love and simplicity.
Frequently Asked Questions About Oreo Fudge
- Can I use regular milk chocolate or dark chocolate chips instead of white chocolate?
- While this specific recipe is designed for white chocolate, you can certainly make fudge with milk or dark chocolate chips using a similar method. However, the taste and consistency might vary slightly as different chocolates have different fat and sugar contents. For this 3-ingredient version, sticking to white chocolate is recommended for the intended result.
- How should I store Oreo Fudge?
- Store your Oreo fudge in an airtight container at room temperature for up to 5-7 days for optimal freshness and texture. If you prefer it firmer or want to extend its shelf life, you can store it in the refrigerator for up to 2 weeks. Just be aware that refrigeration can make the fudge a bit harder.
- Can I freeze Oreo Fudge?
- Absolutely! Fudge freezes very well. Once the fudge has fully set and been cut into squares, place them in an airtight, freezer-safe container, separating layers with parchment paper to prevent sticking. It can be frozen for up to 2-3 months. Thaw at room temperature before serving.
- Why is my fudge grainy?
- Grainy fudge is often a result of either overheating the chocolate or not dissolving the sugar properly (though with sweetened condensed milk, sugar dissolution is less of an issue). Ensure you melt the white chocolate and condensed milk over low heat, stirring constantly, until completely smooth. Using a high-quality chocolate also helps prevent a grainy texture.
- Do I need a candy thermometer for this recipe?
- No, that’s one of the best parts of this recipe! This easy Oreo fudge doesn’t require any special equipment like a candy thermometer, making it perfect for beginners and busy bakers alike. The sweetened condensed milk helps create the perfect consistency without precise temperature control.
Conclusion: Your New Go-To Easy Dessert
This 3-ingredient Oreo Fudge recipe is more than just a dessert; it’s a celebration of simplicity, speed, and undeniable deliciousness. Whether you’re whipping it up for a quick family treat, preparing a generous batch for holiday gifting, or simply satisfying a sudden sweet craving, this fudge delivers every single time. Its creamy texture, rich white chocolate flavor, and delightful Oreo crunch make it a universal crowd-pleaser.
So go ahead, gather your three ingredients, and get ready to create a truly memorable sweet treat that will have everyone asking for the recipe. Enjoy the process, and most importantly, enjoy every irresistible bite!
Did you make this?
Don’t forget to leave a rating below and make sure to follow on Pinterest and Instagram for more!