
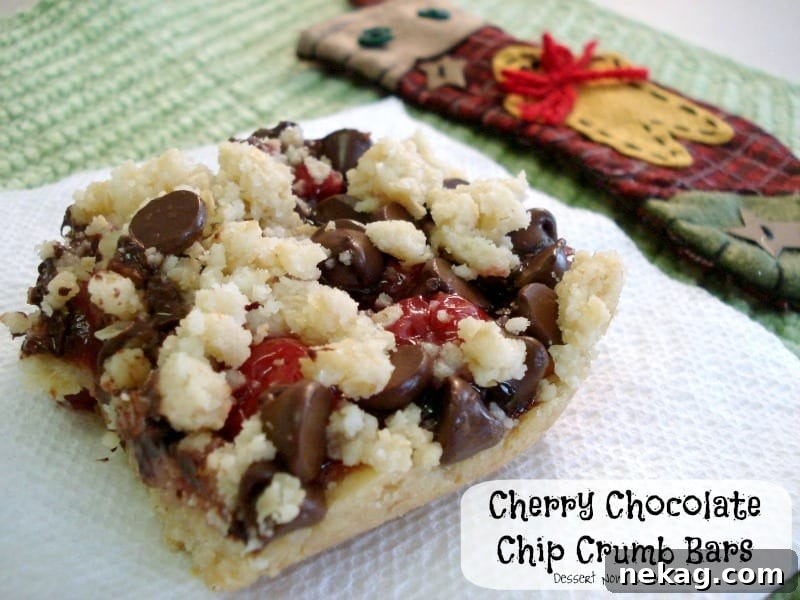
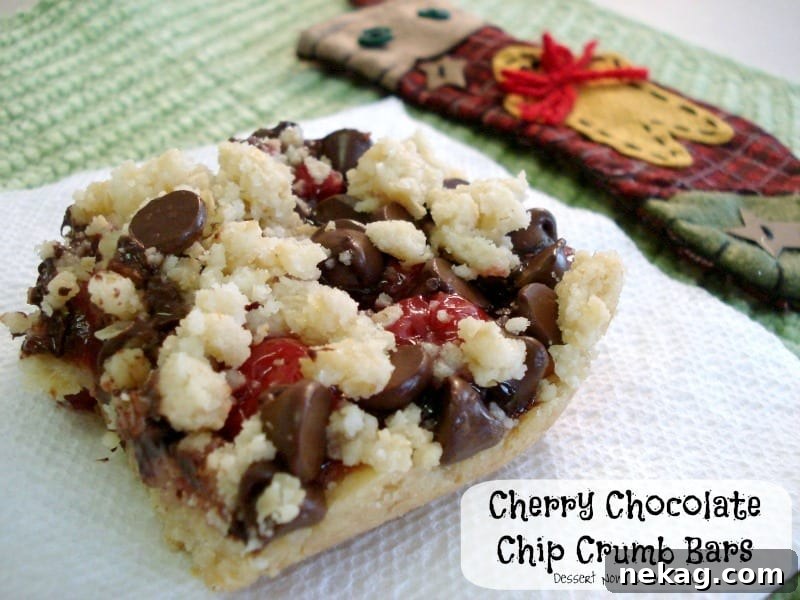
Inspired by a chocolate cherry pie once made in a bakery I worked at, these Cherry Chocolate Chip Crumb Bars capture the same sweet combination of tart cherries and semi-sweet chocolate with a crunchy, buttery crumb. The pie we made had cherry pieces and chocolate chips peeking through a sugar-crusted lattice; this recipe translates that flavor into easy-to-serve bars that are perfect for gatherings and holidays.
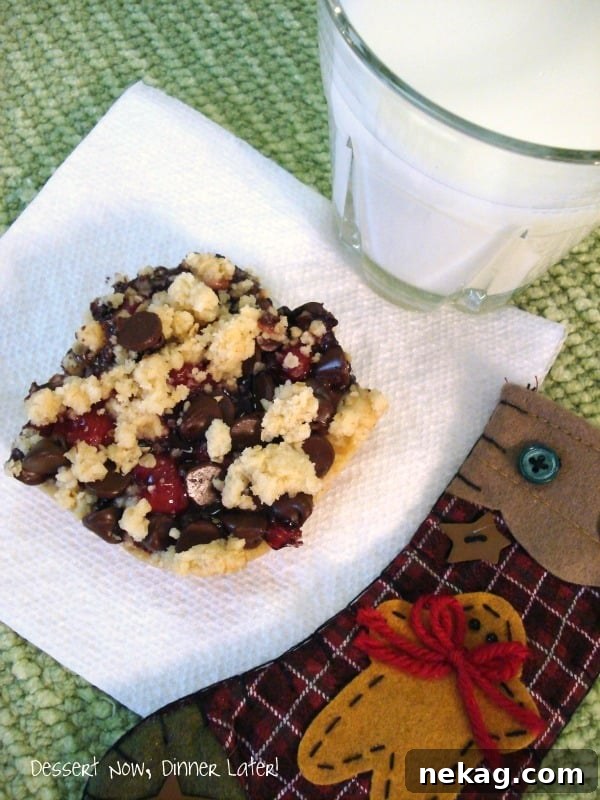
These bars are crowd-friendly and simple to prepare with pantry staples. They bake up with a crisp oat-and-flour crust, a glossy layer of cherry pie filling, and pockets of chocolate chips scattered through the top. If you haven’t tried cherries and chocolate together, this is an approachable way to taste the match—rich chocolate counterbalanced by bright cherry filling.
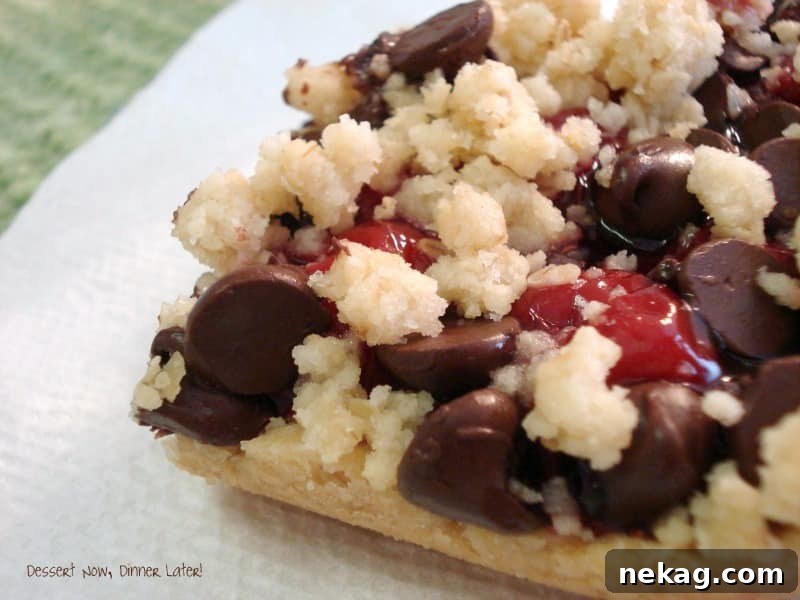
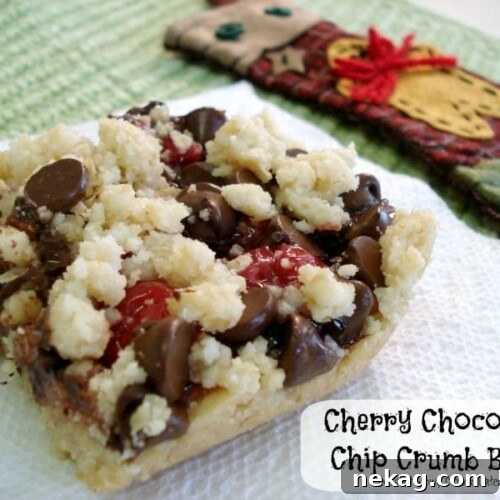
Cherry Chocolate Chip Crumb Bars
Pin
Rate
Save
Ingredients
- 2 cups (240 g) all-purpose flour, (stir, spoon & level)
- 2 cups (160 g) quick-cooking oats
- 1 ½ cups (300 g) granulated sugar
- 1 tsp salt
- 1 ¼ cups (283 g) butter, (2 ½ sticks) softened
- 21 oz (595 g) can cherry pie filling
- 1 tsp almond extract, optional
- 1 cup (170 g) semi-sweet chocolate chips
Instructions
-
Preheat the oven to 350°F (175°C). In a stand mixer bowl or with a pastry cutter, combine the flour, quick-cooking oats, granulated sugar, salt, and softened butter until the mixture is crumbly. Reserve about 1½ cups of the crumb mixture for the topping. Press the remaining crumbs evenly into an ungreased 13×9″ baking pan to form the crust.
-
Bake the crust for 15–18 minutes, or until the edges begin to turn golden brown. Remove from the oven.
-
In a small bowl, stir the cherry pie filling with the almond extract if using. Spread the cherry filling carefully and evenly over the hot crust. Sprinkle the reserved crumb mixture over the filling, then sprinkle the chocolate chips on top, leaving small gaps so bits of cherry show through.
-
Return the pan to the oven and bake another 20–25 minutes, until the topping and edges are lightly browned and the filling is bubbling. Allow the bars to cool completely in the pan before cutting into squares.
Notes
Sharing this recipe with a link is both encouraged and appreciated. Copying/pasting and/or screenshots of full recipes to any social media is strictly prohibited. Content and photographs are copyright protected.
Did you make this?
Don’t forget to leave a rating below and follow for more!