
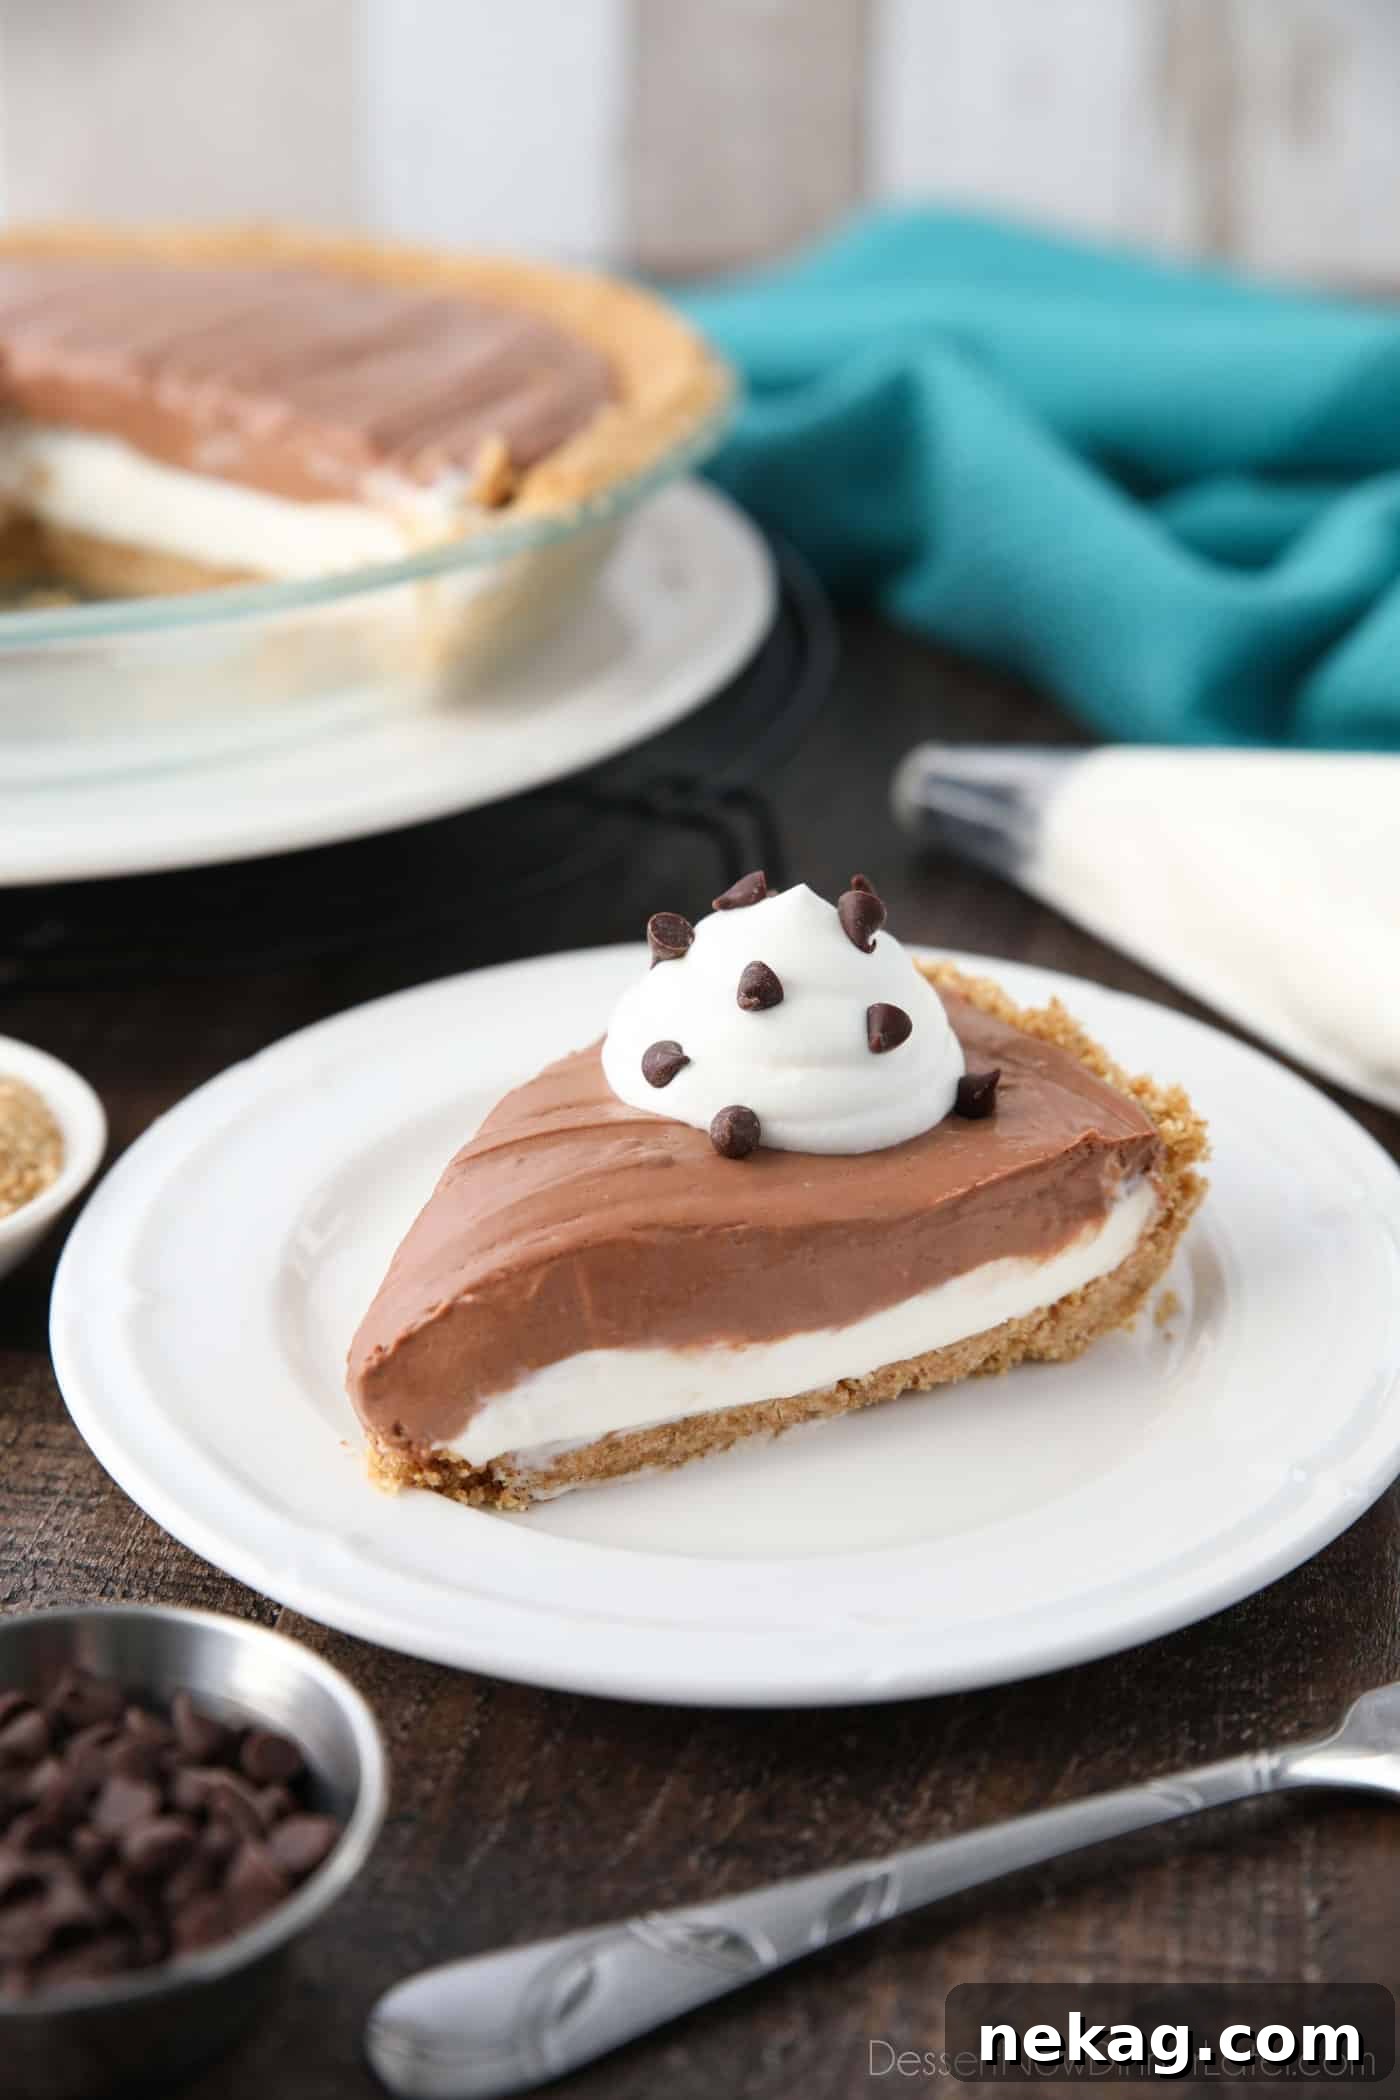
This No-Bake Chocolate Cream Cheese Pie is an absolute dream for any dessert lover. Featuring a buttery graham cracker crust and luxuriously creamy layers of both vanilla and chocolate cheesecake, it’s a remarkably easy and impressively delicious treat. Perfect for any occasion, this pie comes together with minimal effort and no oven time required!

Indulge in the Ultimate No-Bake Chocolate Cream Cheese Pie
There’s something truly magical about no-bake desserts, and this Chocolate Cream Cheese Pie takes the cake – or, in this case, the pie! It’s a game-changer, especially during those warm months when turning on the oven feels like a monumental task. No-bake recipes are celebrated for their simplicity and the incredible convenience they offer, making them a must-have in every home cook’s repertoire.
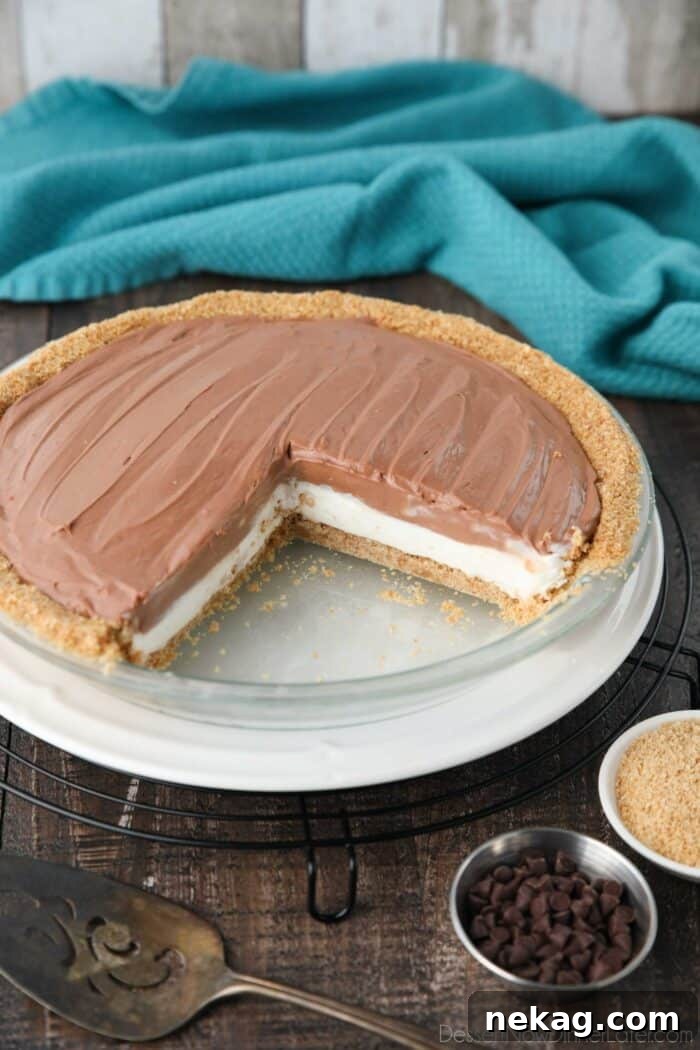
What sets this particular dessert apart is its irresistible combination of flavors and textures. We’re talking about a rich, crumbly graham cracker crust that cradles not one, but two distinct layers of velvety smooth cheesecake filling. Imagine a sweet, creamy vanilla layer perfectly complemented by a decadent, luscious chocolate layer. This striking contrast in color and taste creates a dessert that is not only profoundly satisfying but also visually stunning. It’s an instant crowd-pleaser; my mom couldn’t get enough and immediately requested the recipe!
Beyond its deliciousness, the true beauty of this no-bake chocolate cheesecake pie lies in its versatility and make-ahead potential. Like most no-bake treats, it requires ample chilling time to fully set, making it an ideal candidate for preparing a day or two in advance of your gathering. This allows you to focus on other preparations while your dessert perfectly chills to perfection, reducing stress and ensuring a flawless presentation.
If you’re a fan of layered desserts, you might find this recipe reminiscent of my popular layered no-bake cheesecake, which uses sour cream, whipped topping, and an Oreo crust for a slightly different, yet equally delightful, twist. But for those times when you simply can’t decide between vanilla and chocolate, this pie offers the best of both worlds, all from a single, easy-to-prepare batter.
Effortless or Homemade: Tailor Your Pie to Your Schedule
One of the many reasons this no-bake chocolate cream cheese pie is so beloved is its adaptability. Whether you’re short on time or prefer the satisfaction of creating everything from scratch, this recipe offers convenient options to suit your needs. You can easily streamline the process without sacrificing flavor or quality.
For those bustling days, consider taking a few shortcuts. Opting for a pre-made graham cracker crust can save you valuable minutes in the kitchen. Similarly, using a tubs of whipped topping (often known as Cool Whip) instead of whipping fresh heavy cream is another fantastic time-saver. These alternatives make the pie incredibly quick to assemble, perfect for unexpected guests or spontaneous dessert cravings.
However, if you have a bit more time and enjoy the process of baking, I’ll guide you through making every component of this chocolate pie with graham cracker crust entirely from scratch. The homemade crust offers a superior buttery depth, and fresh whipped cream provides an unparalleled light and airy texture. Ultimately, the choice is yours – both approaches yield a deliciously creamy, unforgettable dessert. Feel free to mix and match; perhaps a homemade crust with store-bought whipped topping, or vice versa! This flexibility ensures that anyone can enjoy this delightful treat, regardless of their baking experience or available time.
Crafting the Perfect Homemade Graham Cracker Crust
A truly exceptional no-bake pie starts with an outstanding crust. While store-bought options are convenient, a homemade graham cracker crust elevates this dessert to another level. It’s incredibly simple to make and requires just three fundamental ingredients, providing a fresh, buttery, and perfectly crunchy base for our creamy filling.
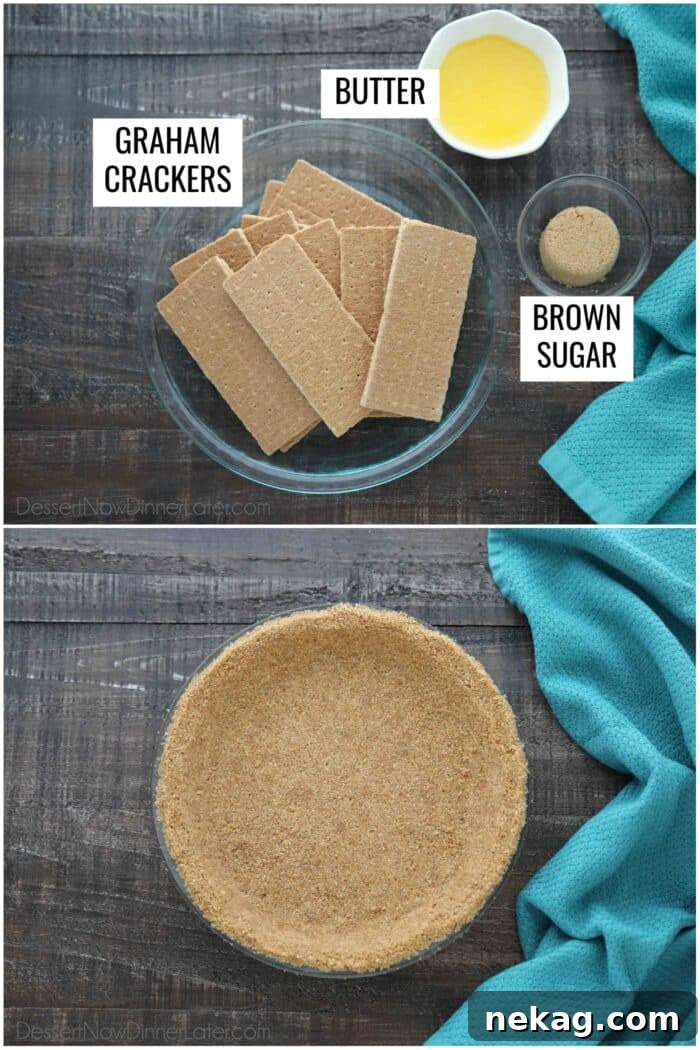
To embark on creating your homemade crust, you will need:
- Graham Crackers: These form the backbone of your crust. You’ll need about 10 full sheets, which typically yield around 1 ½ cups of fine crumbs. Their subtly sweet and spiced flavor is classic for a reason.
- Brown Sugar: A touch of light brown sugar adds a delicate caramel note and helps to bind the crumbs together, ensuring a firm yet tender crust.
- Melted Butter: Unsalted butter, once melted, acts as the crucial binder, coating the graham cracker crumbs and allowing them to press together into a cohesive crust. It also contributes significantly to the rich, buttery flavor.
The process is straightforward: Begin by transforming your graham crackers into fine crumbs. A food processor is ideal for this, quickly pulverizing the crackers into a uniform, fine texture. If you don’t have a food processor, a blender works just as well, or you can place the crackers in a zip-top bag and crush them with a rolling pin for a more rustic approach. The key is consistency – finely crushed crumbs ensure a solid, even crust.
Once you have your crumbs, transfer them to a medium bowl and stir in the brown sugar until evenly distributed. Next, pour in the melted butter and mix thoroughly until all the crumbs are moistened and resemble wet sand. This ensures that every bit of the crust mixture will hold together beautifully.
Now, it’s time to form the crust. Pour the buttered crumb mixture into a standard 9-inch pie dish. Using the bottom of a flat glass or your fingers, firmly press the mixture evenly onto the bottom and up the sides of the dish. Apply good, consistent pressure to create a compact crust that won’t crumble when sliced. The firmer you press, the better it will hold together.
After forming the crust, place the pie dish in the freezer to chill while you prepare the filling. This crucial step helps the butter solidify, locking the crumbs in place and preventing the crust from becoming soggy once the creamy filling is added. A well-chilled crust is the foundation for a perfect no-bake pie.
Essential Ingredients for the Double-Layered Filling
The magic of this Chocolate Cream Cheese Pie truly unfolds with its luscious, two-toned filling. Crafting these creamy layers is simpler than you might imagine, and the ingredients are readily available. To help you visualize the process, I’ve broken down the components based on how they’ll be integrated into the final dessert.
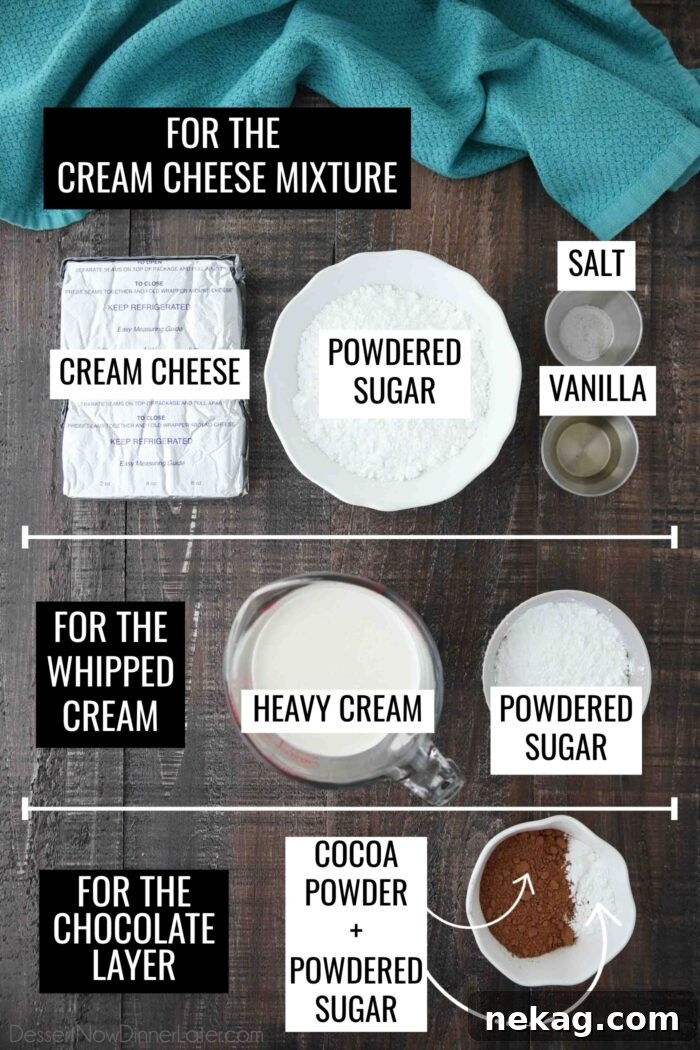
Here’s a breakdown of what you’ll need for the rich, creamy fillings:
- First, you’ll create the foundational cream cheese mixture. This core component is made with:
- Cream Cheese: Use full-fat, block cream cheese softened to room temperature for the smoothest, richest filling.
- Powdered Sugar: Also known as confectioners’ sugar, this fine sugar dissolves easily, ensuring a silky-smooth texture without graininess.
- Salt: A tiny pinch of salt is essential to balance the sweetness and enhance all the other flavors, making the pie taste even better.
- Vanilla Extract: High-quality vanilla extract adds a warm, inviting aroma and classic flavor to the base filling.
- Next, you’ll prepare the light and airy whipped cream, which provides body and a delicate texture to the cheesecake layers:
- Heavy Cream: Cold heavy whipping cream is key to achieving stiff peaks.
- Powdered Sugar: Added to the cream for sweetness and to help stabilize the whipped cream.
- Finally, to transform a portion of the vanilla filling into our decadent chocolate layer, you will incorporate:
- Cocoa Powder: Unsweetened cocoa powder gives the pie its rich chocolate flavor and beautiful dark color. Sifting it is crucial to prevent lumps.
- Additional Powdered Sugar: A little extra powdered sugar ensures the chocolate layer is perfectly sweet and balanced.
Having these ingredients prepped and at the right temperature (especially the softened cream cheese and cold heavy cream) will make the assembly process incredibly smooth and ensure the best possible results for your delicious, layered pie.
Mastering the Art of the Creamy Double-Layer Filling
Creating the signature dual-layered filling for this no-bake chocolate cream cheese pie is a highlight of the recipe. Each step is designed to build a perfectly smooth, rich, and airy texture that sets beautifully. Follow these detailed instructions to achieve a flawless filling that will impress everyone.
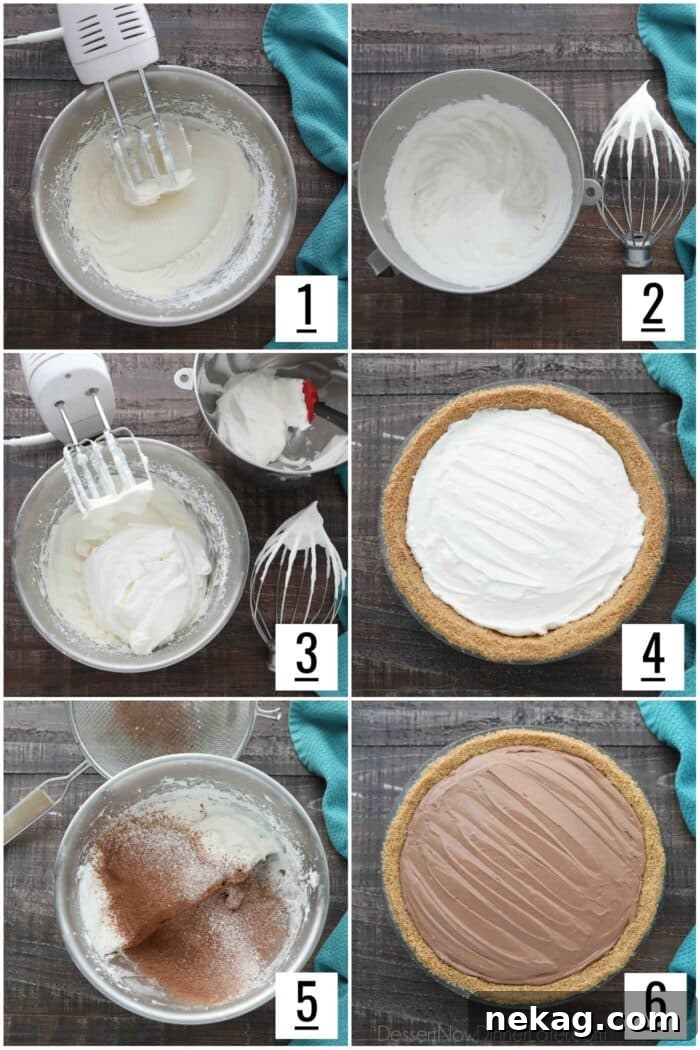
- **Prepare the Cream Cheese Base:** In a large mixing bowl, use an electric hand mixer to beat the softened cream cheese until it is light, fluffy, and completely smooth. This step is crucial for preventing a lumpy filling. Once fluffy, add the powdered sugar, salt, and vanilla extract. Continue to beat until all ingredients are thoroughly combined and the mixture is silky smooth. Set this creamy base aside.
- **Whip the Heavy Cream:** In the bowl of a stand mixer fitted with the whisk attachment (or using your electric hand mixer and a clean bowl), pour in the cold heavy cream and powdered sugar. Whip on medium-high speed until stiff peaks form. Stiff peaks mean that when you lift the whisk, the cream holds its shape firmly. Be careful not to over-whip, or it may become grainy.
- **Combine for the Vanilla Layer:** Gently fold or beat 2/3 of the freshly whipped cream into the cream cheese mixture. Mix until just combined and no streaks of whipped cream remain. The goal is to keep the mixture light and airy, so avoid overmixing.
- **First Layer Application:** Take half of this creamy, vanilla-infused cheesecake filling and spread it evenly into your prepared and chilled graham cracker crust. Use an offset spatula or the back of a spoon to create a smooth, level layer.
- **Prepare the Chocolate Layer:** To the remaining cream cheese mixture (which is still vanilla-flavored at this point), sift in the cocoa powder and the additional powdered sugar. Sifting is important here to prevent any cocoa lumps from forming in your final chocolate layer.
- **Final Chocolate Layer:** Beat the chocolate mixture again with your electric hand mixer until the cocoa powder is fully incorporated, and the filling is uniformly chocolatey and smooth. Then, carefully spread this decadent chocolate cheesecake filling over the top of the vanilla layer in the pie crust. Create a smooth finish for an appealing presentation.
**Note on Whipped Cream:** You can reserve the leftover 1/3 of the whipped cream to use as a beautiful topping for individual slices of the pie later. Alternatively, if you prefer a lighter, airier filling throughout, you can incorporate all of the whipped cream into the initial cream cheese mixture in step 3.
Chilling, Serving, and Storage for Maximum Enjoyment
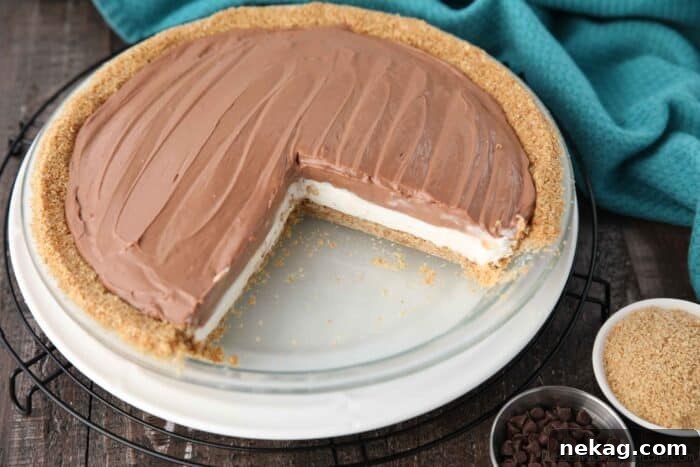
Once your exquisite No-Bake Chocolate Cream Cheese Pie is assembled with its beautiful layers, the final, most crucial step is chilling. This allows the filling to firm up completely, ensuring perfect slices and a truly satisfying creamy texture. Patience is key at this stage!
Carefully cover the entire pie dish with plastic wrap, making sure the plastic doesn’t touch the surface of the filling if possible to prevent sticking. Then, refrigerate the pie for a minimum of 4 to 6 hours. For the absolute best results and a completely set, stable pie, I highly recommend chilling it overnight. This extended refrigeration allows all the flavors to meld together and the cream cheese mixture to achieve its ideal firm yet luscious consistency.
**Pro Tip for Faster Chilling:** If you’re pressed for time and need to serve the pie sooner, you can speed up the setting process by placing the pie in the freezer for 1 to 2 hours. Just be sure not to leave it in for too long, as it can freeze solid and affect the creamy texture.
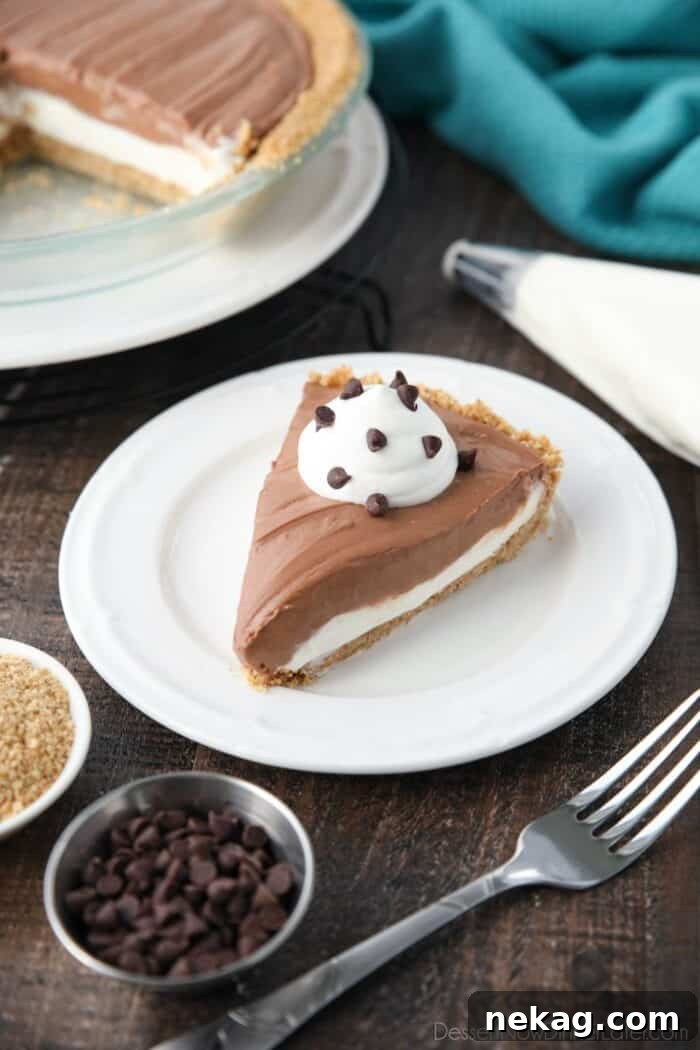
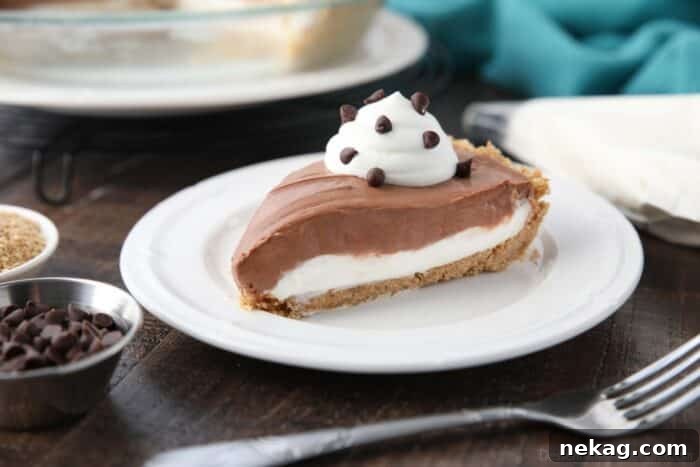
When you’re ready to serve, remove the pie from the refrigerator. For the cleanest slices, use a sharp knife that has been run under hot water and wiped dry between each cut. This will help you achieve those beautiful, distinct layers without dragging the filling. Enhance each serving with a dollop of the reserved fresh whipped cream, a sprinkle of mini chocolate chips, or even some chocolate shavings, if desired. A few fresh raspberries or strawberries can also add a delightful pop of color and freshness.
Any leftover pie should be stored promptly in the refrigerator. Gently cover it with plastic wrap to prevent it from absorbing other odors and to maintain its freshness. When properly stored, this delectable pie will remain fresh and delicious for up to 5 days, making it a fantastic make-ahead dessert for entertaining or simply enjoying throughout the week.
Explore More Cream Cheese Pie Delights
If you’ve fallen in love with the ease and deliciousness of this no-bake chocolate cream cheese pie, you’re in luck! The world of cream cheese pies is vast and wonderfully varied, offering endless opportunities for creamy, dreamy desserts. Here are a few more recipes that are sure to tantalize your taste buds and expand your no-bake repertoire:
- Strawberry Cream Pie Recipe: A vibrant and fresh option, bursting with the sweet flavor of strawberries.
- Raspberry Cream Pie: Tangy raspberries perfectly complement the rich cream cheese base in this delightful pie.
- Blueberry Cream Cheese Pie: A classic combination of sweet blueberries and creamy cheesecake, perfect for summer gatherings.
- Lemon Cream Cheese Pie: Bright, zesty, and incredibly refreshing, this pie is a sunny treat for any time of year.
Each of these recipes offers a unique flavor profile, but all share the comforting, luxurious creaminess that makes cream cheese pies so irresistible. Don’t hesitate to try them all and find your new favorite!
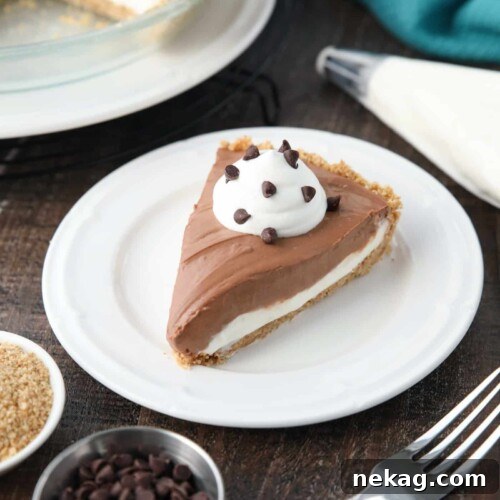
Chocolate Cream Cheese Pie
Pin
Rate
SaveSaved!
Ingredients
Graham Cracker Crust:
- 1 ½ cups (156 g) graham cracker crumbs, (about 10 graham crackers, crushed)
- ¼ cup (50 g) light brown sugar, packed
- 6 Tbsp (85 g) butter, melted
Cream Cheese Mixture:
- 16 oz (452 g) block cream cheese, (two 8-oz blocks)
- 1 cup (120 g) powdered sugar
- ⅛ tsp salt
- 2 tsp vanilla extract
Whipped Cream:
- 1 ½ cups (355 ml) heavy whipping cream
- ½ cup (60 g) powdered sugar
For the Chocolate Layer:
- ¼ cup (20 g) cocoa powder
- 2 Tbsp powdered sugar
Equipment
-
Food Processor
-
Silicone Spatula Set
-
Electric Hand Mixer
-
6-Quart Steel Mixing Bowl
-
KitchenAid 5-Qt. Stand Mixer
-
9-inch Standard Glass Pie Dish
Instructions
-
GRAHAM CRACKER CRUST: Pulse the graham crackers into fine crumbs using a food processor or blender. Mix in the brown sugar. Coat the crumbs with melted butter and press the mixture evenly onto the bottom and up the sides of a standard 9-inch pie dish. Place the graham cracker crust in the freezer to set up while you prepare the filling.
-
FILLING: Using an electric hand mixer, beat the cream cheese in a large bowl until light and fluffy. Then add the powdered sugar, salt, and vanilla. Mix until smooth and combined. Set aside.
-
In a stand mixer with the whisk attachment, whip the heavy cream and powdered sugar until stiff peaks form.
-
Add 2/3 of the whipped cream to the cream cheese mixture. Beat together until combined. (NOTE: Save leftover whipped cream for topping the pie with. Alternately use all of the whipped cream in the filling.)
-
Spread half of the cheesecake filling into the prepared graham cracker crust.
-
Then sift the cocoa powder and powdered sugar into the remaining cream cheese mixture.
-
Beat together until combined. Then spread the chocolate cheesecake filling over the top of the pie.
-
Gently cover the chocolate cream cheese pie with plastic wrap and REFRIGERATE for 4 to 6 hours or overnight to set the filling completely. Cut slices and top with leftover whipped cream and mini chocolate chips, if desired.
Notes
- Store any leftover pie in the refrigerator gently covered with plastic wrap for up to 5 days.
- To speed up the chilling process, freeze the pie for 1-2 hours.
Nutrition
Disclaimer: Nutritional values were calculated using a third-party tool and are provided as an estimation only.
Sharing this recipe with a link is both encouraged and appreciated. Copying/pasting and/or screenshots of full recipes to any social media is strictly prohibited. Content and photographs are copyright protected.
Did you make this?
Don’t forget to leave a rating below and make sure to follow on Pinterest and Instagram for more!