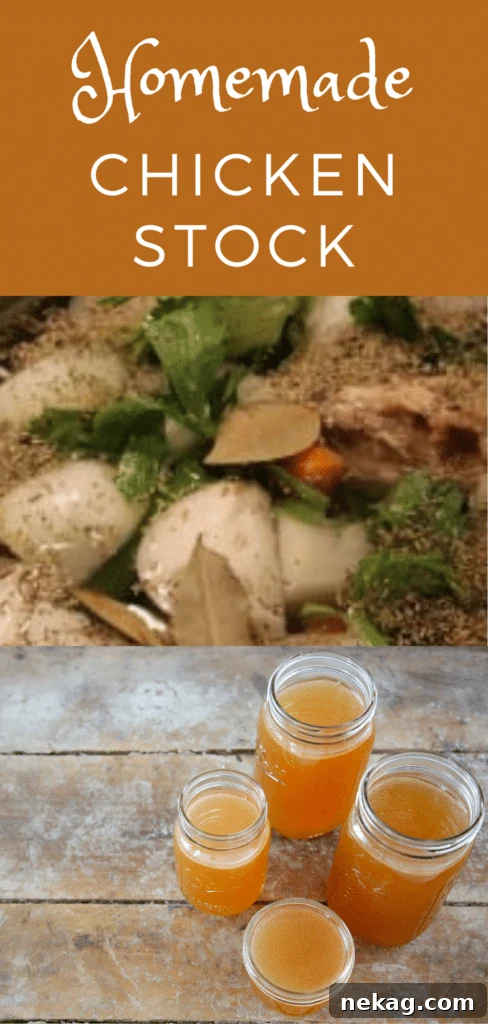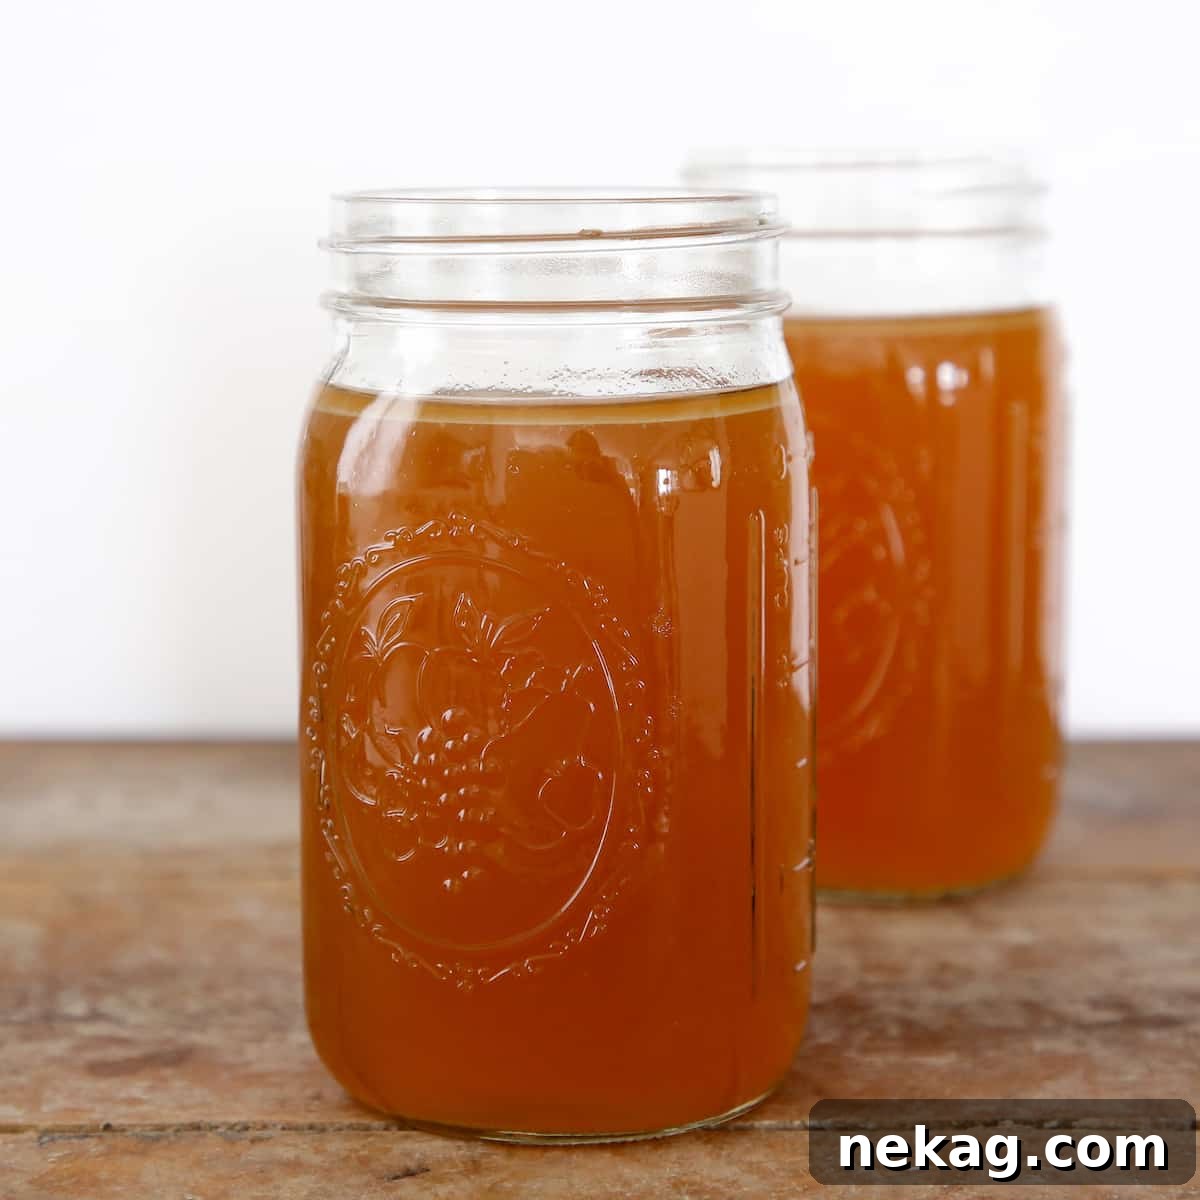
There’s simply nothing quite like the unparalleled richness and depth of flavor that homemade chicken broth brings to your culinary creations. Forget bland, overly salted store-bought versions; this recipe will elevate your soups, sauces, and countless other dishes to an extraordinary level. In this comprehensive guide, we’ll walk you through the process of crafting the perfect chicken broth, ensuring a golden, savory liquid that forms the foundation of truly exceptional meals.
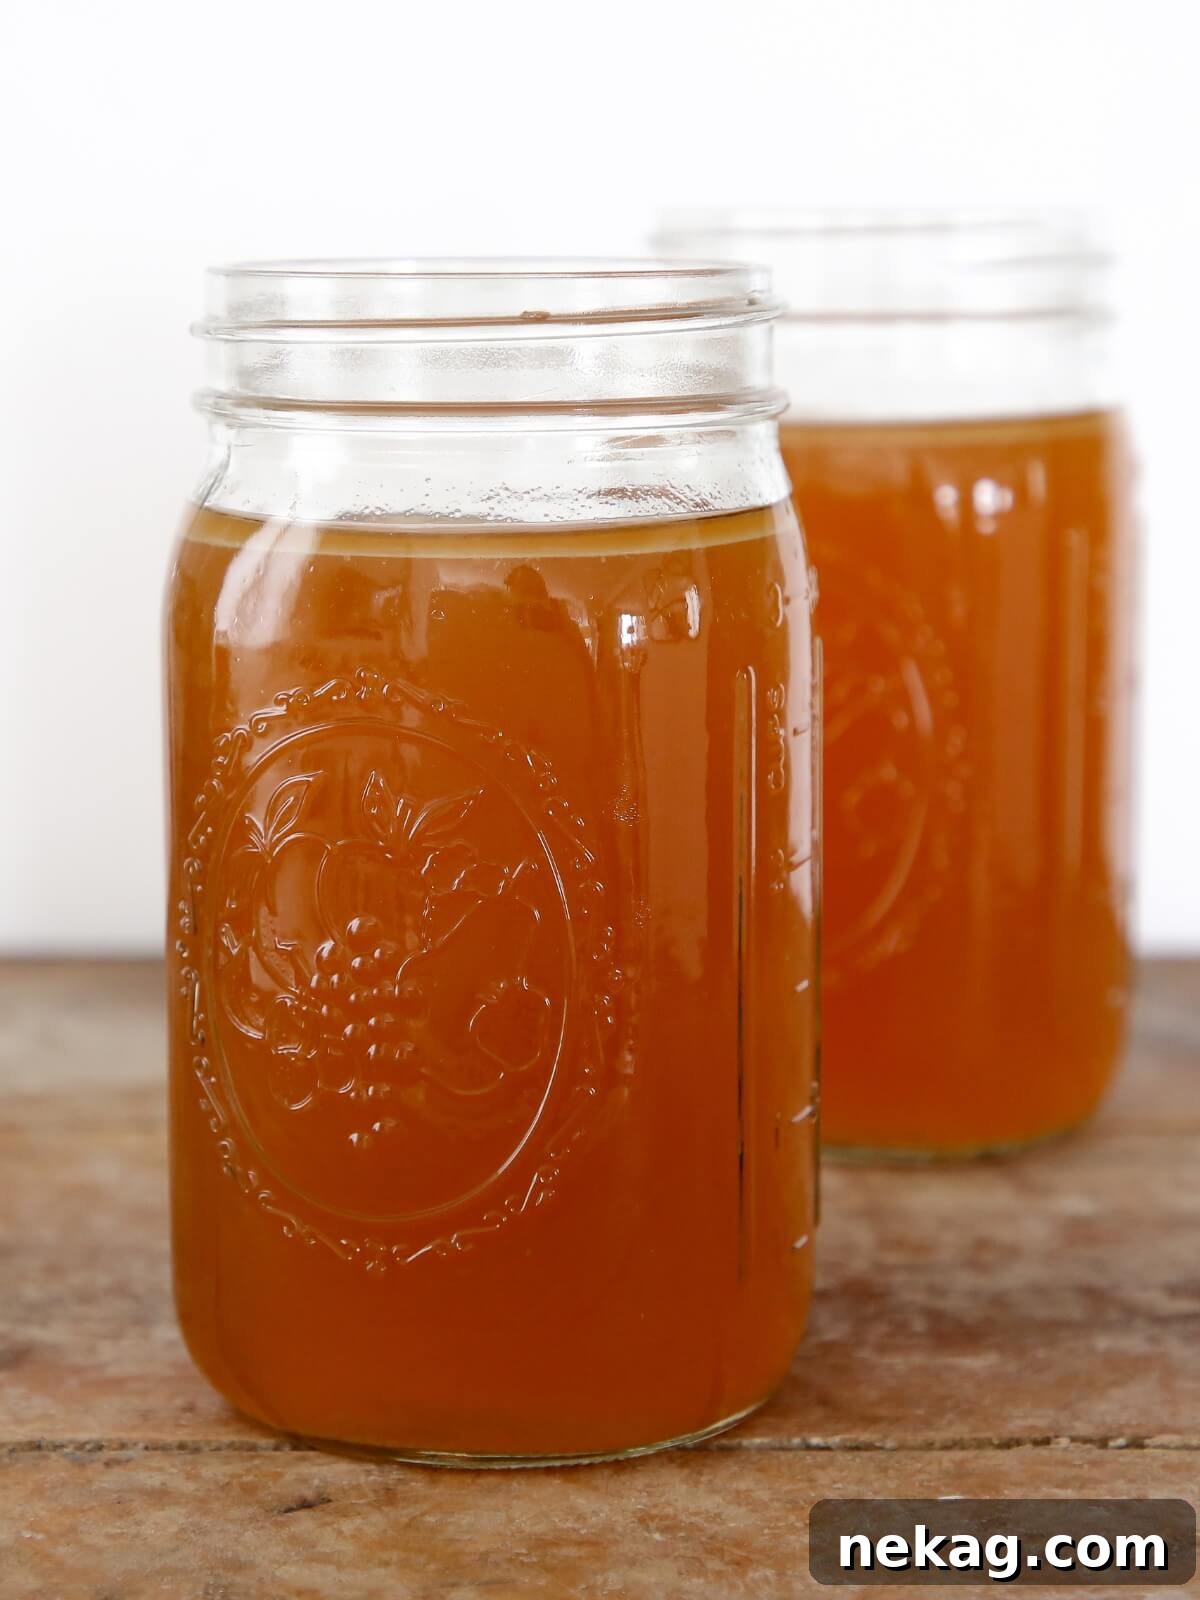
This isn’t just a recipe; it’s a culinary revelation. We’re talking about that soul-soothing, cold-curing, profoundly flavorful broth that only time and quality ingredients can achieve at home. Once you experience the difference, you’ll never go back to mass-produced alternatives. Use your glorious homemade chicken broth to create comforting homemade chicken noodle soup, add richness to a tomato pasta sauce, enhance a one-dish roasted chicken and vegetables dinner, deepen the taste of my ground turkey soup recipe, or even whip up a quick and decadent pan sauce for seared meats.
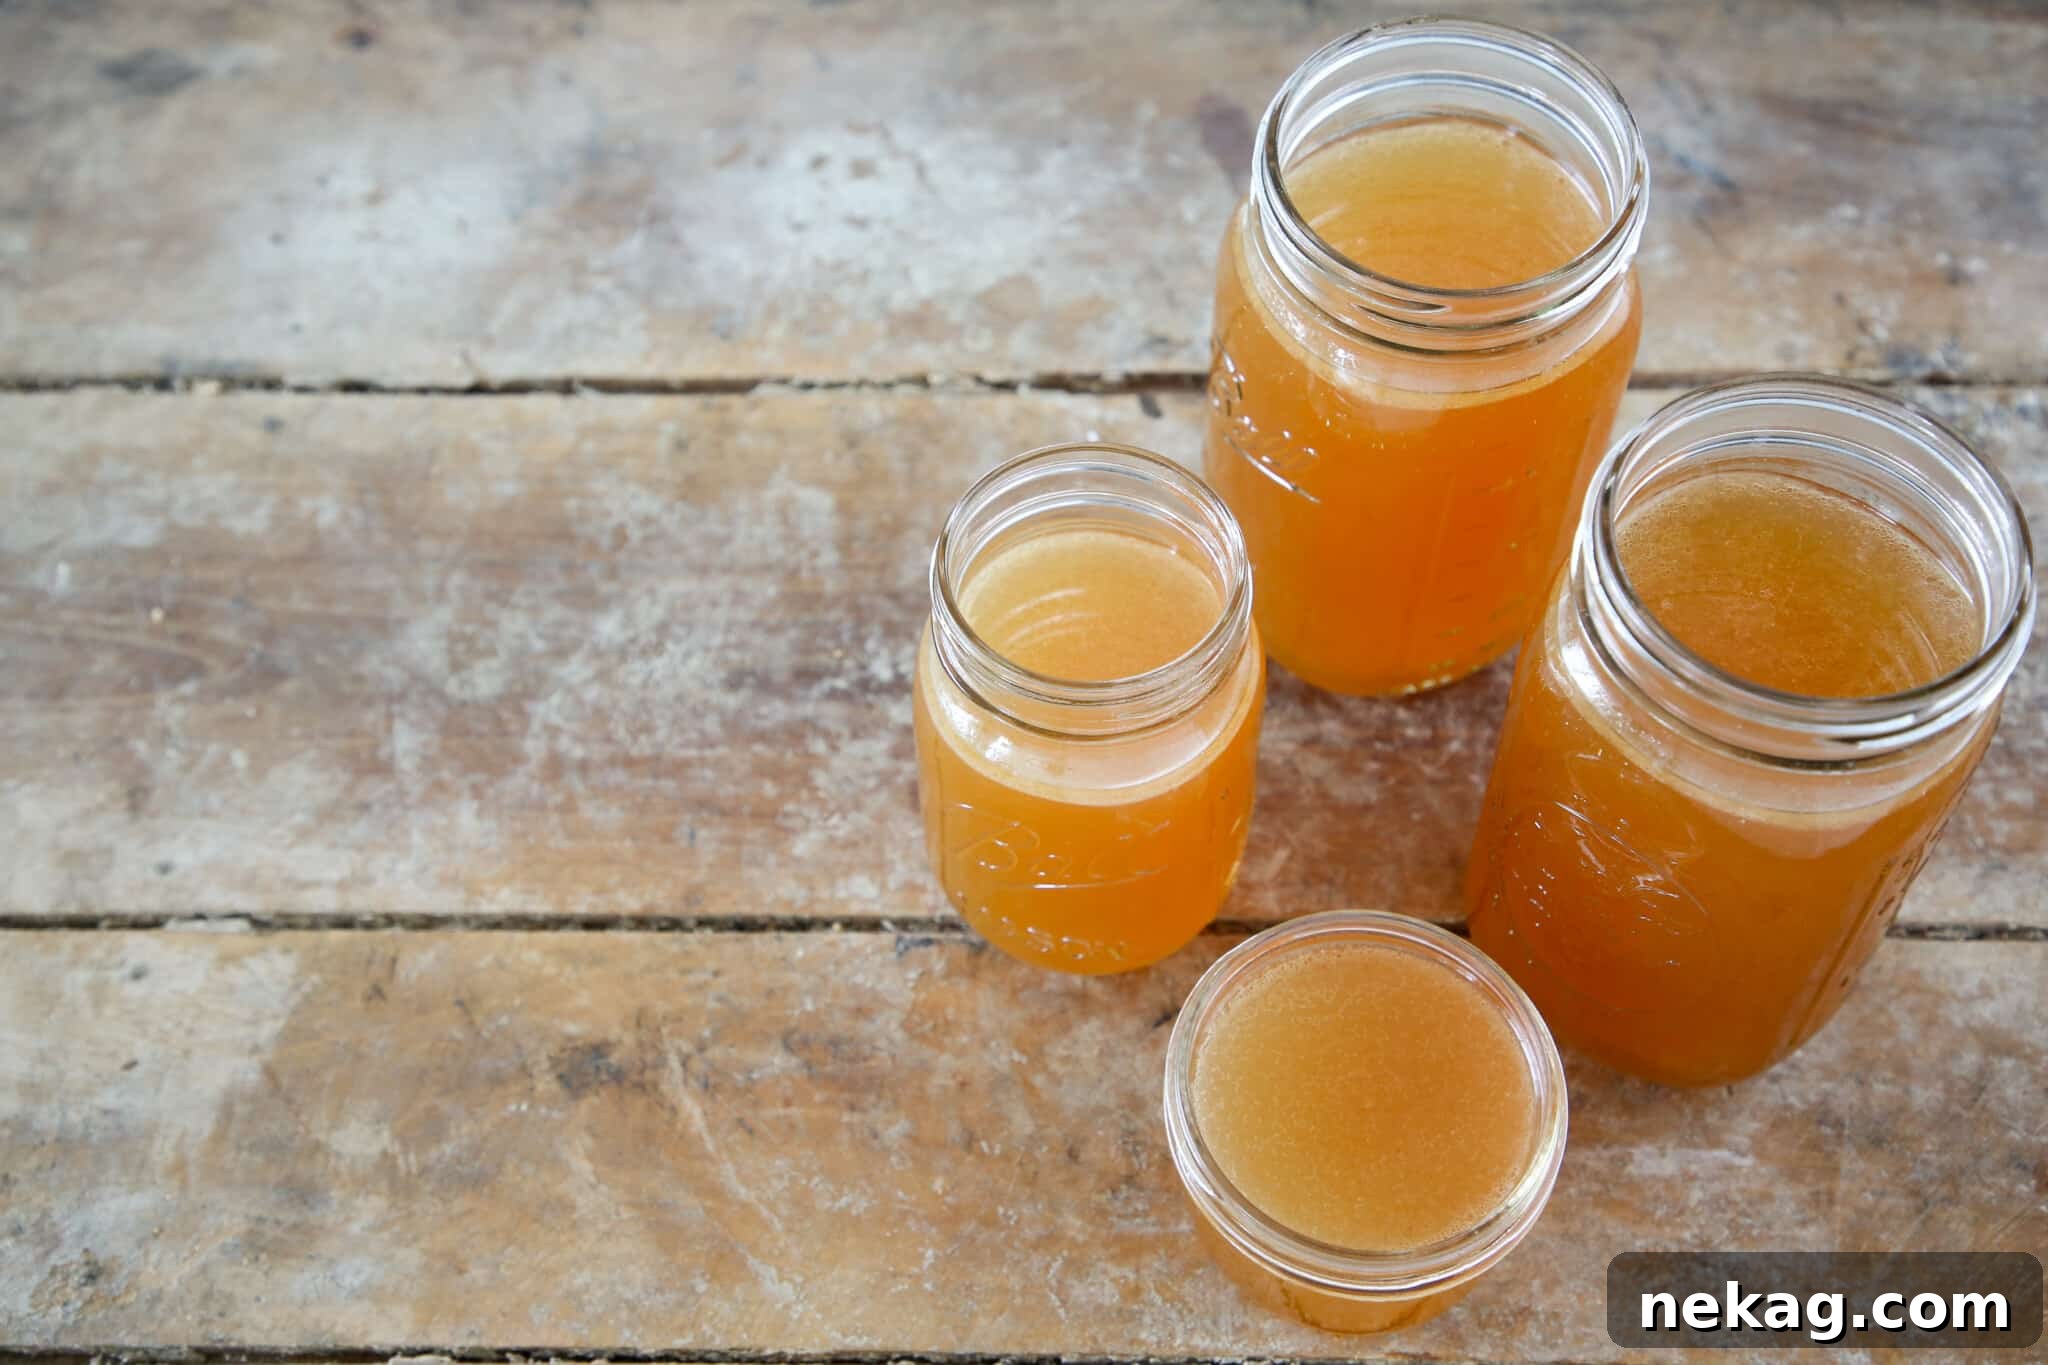
Beyond its incredible flavor, homemade chicken broth offers a practical advantage: easy portioning for freezing. I’ve devised a brilliant method using silicone ice cube trays. This allows you to freeze that beautiful, rich broth into perfect, single-serving portions, ensuring you always have the exact amount needed for any recipe without waste.
Table of Contents: Your Guide to Perfect Broth
- Why Homemade Chicken Broth is a Game-Changer
- Expert Tips for Crafting Superior Chicken Broth
- The Essential Ingredients for Your Broth
- Delicious Variations and Enhancements
- Step-by-Step: How to Make Chicken Broth
- Freezing and Storing Your Homemade Broth
- Frequently Asked Questions About Chicken Broth
- Full Homemade Chicken Broth Recipe Card
- Beyond the Broth: More Culinary Adventures
Why Homemade Chicken Broth is a Game-Changer: Unlocking Flavor and Health
Switching to homemade chicken broth is more than just a preference; it’s an upgrade for your entire kitchen. Here’s why this recipe will become a staple:
- Unrivaled Flavor Control: Unlike commercial broths, which are often excessively salted, this easy homemade recipe champions the natural flavors of chicken, fresh vegetables, and aromatic spices. You dictate the seasoning, ensuring a perfectly balanced taste every time. The slow simmering process allows all these ingredients to meld and deepen, creating a profound umami experience.
- Incredible Depth of Flavor: Hours of gentle simmering coax out every ounce of savory goodness from the chicken bones and vegetables. The longer you cook, the more intensely flavorful and rich your broth becomes, transforming it into a luxurious liquid gold that store-bought cartons can only dream of.
- Simplicity in Process: Despite its gourmet results, this recipe is surprisingly straightforward. It primarily involves combining ingredients in a pot, allowing them to simmer patiently, and then straining. The majority of the work is hands-off, leaving you free to attend to other tasks while your kitchen fills with an enticing aroma.
- Nutritional Powerhouse: Homemade broth is rich in collagen (especially when made with bones and cartilage), amino acids, and minerals extracted from the ingredients. It’s known for its potential to support gut health, boost immunity, and provide essential nutrients, making it a truly wholesome addition to your diet.
- Cost-Effective and Waste-Reducing: This recipe makes excellent use of leftover chicken bones and vegetable scraps that might otherwise be discarded, transforming them into a valuable and delicious ingredient. It’s an economical way to elevate your cooking without buying expensive specialty broths.
Expert Tips for Crafting Superior Chicken Broth
Achieving the perfect homemade chicken broth is an art refined by experience. Here are some professional insights to help you get the most flavorful, aromatic, and nutrient-dense broth every time:
- Double the Recipe – A Time-Saving Strategy: This process, while mostly hands-off, does take time. To maximize your efforts and ensure you always have a supply of this liquid gold, I highly recommend doubling the recipe. This way, you’ll produce a generous quantity of broth that can be frozen and easily accessed for future culinary endeavors, like enriching a Chicken Paprikas with Homemade Spaetzle or any other dish requiring a robust base.
- Embrace Patience for Peak Flavor: The secret to a deeply flavorful broth lies in a low and slow simmer. There’s no need to constantly monitor the pot; simply let it gently bubble for the recommended time (or even longer, up to 8-12 hours for an even richer bone broth). This extended cooking period allows the flavors to fully extract from the bones and vegetables, resulting in an incomparably complex and savory liquid.
- Smart Storage: Freeze Your Chicken Scraps: Don’t discard those valuable chicken bones, wingtips, or even leftover roasted chicken carcasses. Instead, collect them in a freezer-safe bag. Once you have enough, these frozen components are perfect for initiating your next batch of homemade broth, reducing food waste and making future preparations even easier.
- Adequate Water Coverage is Key: When adding water to your pot, ensure it fully covers all the chicken bones and vegetables by at least an inch or two. As the broth simmers, some liquid will evaporate, concentrating the flavors. Starting with sufficient water ensures that all ingredients are submerged throughout the cooking process, allowing for maximum flavor extraction.
- Consider Roasting Your Bones (Optional but Recommended): For an even deeper, more complex flavor profile and a beautiful golden-brown color, consider roasting your chicken bones and any attached meat in the oven at 400°F (200°C) for 20-30 minutes before adding them to the pot. This caramelization adds an extra layer of savory richness to your finished broth.
- Skim for Clarity: During the initial stages of simmering, you may notice foam or scum rising to the surface. While not strictly necessary for flavor, gently skimming this off with a ladle or spoon can help create a clearer, more visually appealing broth.
The Essential Ingredients for Your Ultimate Chicken Broth
Crafting exceptional chicken broth begins with quality ingredients. Each component plays a vital role in building the layered, savory profile of this culinary staple:
- Chicken Bones and Meat: The backbone of your broth. Utilize bones and any leftover meat from a medium roast chicken – whether it’s a convenient store-bought rotisserie chicken or a succulent home-cooked roasted chicken. Alternatively, use bones from a raw chicken you’ve deboned yourself. For a visual guide, check out my YouTube tutorial on how to debone a whole chicken. The combination of bones for collagen and meat for savory depth is ideal.
- Celery: About 3 celery ribs are perfect for this recipe, though using the whole celery stalk (including leaves) adds even more subtle herbaceous notes. The green tops of celery are particularly rich in flavor and should not be discarded.
- Carrots: Classic, vibrant orange carrots are my preferred choice. While beautiful purple carrots are often available, they can impart an undesirable grayish hue to your broth, making it less visually appetizing. Carrots add a natural sweetness that balances the savory elements.
- Onions: Yellow or sweet onions are excellent choices, offering a foundational sweetness and aromatic depth without overpowering the chicken flavor. These are also my go-to onions for crafting the rich base of the Best French Onion Soup! No need to peel them perfectly; the skins add color to the broth.
- Bay Leaves: Essential for their subtle herbal, earthy, and slightly floral notes, dried bay leaves infuse the broth with hints reminiscent of thyme and oregano. Fresh bay leaves can sometimes introduce a bitter undertone, so dried is recommended here.
- Rosemary: I find that crushing dried rosemary before adding it to the pot helps release its piney, aromatic oils, imparting a wonderful fragrance and depth to the broth. Fresh rosemary can be used, but dried works equally well and is often more convenient.
- Thyme: Similar to rosemary, dried thyme is highly effective for infusing classic herbaceous notes. Its earthy, slightly minty flavor complements chicken beautifully. Fresh sprigs of thyme can also be used if available.
- Peppercorns: Whole black peppercorns, such as Malabar, provide a gentle, nuanced warmth and subtle spice without making the broth overtly peppery. Avoid green or pink peppercorns, which have different flavor profiles that may not be suitable for a classic chicken broth.
- Salt: While flavor control is paramount, a touch of salt is necessary to bring out the best in all the other ingredients. I prefer kosher salt due to its larger flake size, which makes it less dense by volume compared to table salt, allowing for easier seasoning adjustments. Remember, you can always add more salt later, but you can’t take it away!
Delicious Variations and Enhancements for Your Broth
While the classic recipe is fantastic, feel free to experiment and customize your homemade chicken broth to suit your taste or specific culinary needs:
- Boost Collagen with Chicken Feet: For an exceptionally rich, gelatinous, and thicker broth – often referred to as bone broth – consider adding chicken feet to your pot. Their high collagen content breaks down during the long simmer, creating a luxurious mouthfeel and enhanced nutritional benefits.
- Explore Different Seasoning Profiles: The world of herbs and spices is vast! Don’t hesitate to experiment with different dried herbs to discover new flavor dimensions. Oregano can add a Mediterranean twist, parsley provides fresh herbaceousness, and savory offers a peppery, slightly minty note. Adjust quantities to your preference.
- Speed It Up with an Electric Pressure Cooker (Instant Pot): If time is a constraint, your electric pressure cooker or Instant Pot is a fantastic tool for making chicken broth. Simply combine all ingredients in the pot, secure the lid, bring it up to high pressure, and cook for approximately 45-60 minutes. Allow for natural release to ensure maximum flavor and safety. This method significantly cuts down on simmering time without sacrificing much flavor.
- Add Vegetable Scraps: Keep a bag in your freezer for vegetable ends and pieces – onion skins, carrot peels, leek greens, mushroom stems. These can be added to your broth for extra depth and to reduce food waste. Just avoid cruciferous vegetable scraps (like broccoli or cabbage) as they can make the broth bitter.
- For a Deeper Color: A small amount of tomato paste (about a tablespoon) added at the beginning can contribute to a richer, darker color in your broth, as well as a subtle umami boost.
Step-by-Step: How to Make the Best Homemade Chicken Broth
Follow these detailed instructions to craft a flawless batch of chicken broth every single time. Specific measurements are available in the comprehensive recipe card below.
- Combine Ingredients and Initiate Simmer: Place all your chosen chicken bones, meat, vegetables, herbs, and spices into a large stockpot or a sturdy Dutch oven. Add enough cold water to fully submerge all ingredients by at least one to two inches. Bring the pot to a gentle boil over medium-low heat. Once boiling, reduce the heat to a very low simmer, cover the pot, and let it cook for a minimum of 3 hours, and ideally up to 6 hours for maximum flavor extraction.
- Initial Coarse Strain: Once the simmering is complete, it’s time to separate the liquid from the solids. Begin by using a large slotted spoon to carefully scoop out all the substantial pieces of chicken and vegetables. Place these solids into a large colander positioned over a separate large bowl. Then, carefully pour the remaining broth from the pot through the same colander. This first strain removes the bulk of the solids. Set the colander, with its contents, aside over another bowl to continue draining any lingering liquid.
- Fine Strain for Clarity (Optional but Recommended): For a perfectly clear and refined broth, a second, finer straining step is highly recommended. Drape several layers of clean cheesecloth over the original pot (or a fresh clean pot) and secure it tightly with a rubber band around the rim. Slowly and carefully pour the broth that has collected in the bowls through the cheesecloth. This meticulous process removes any smaller particles and impurities, resulting in a beautifully clear stock.
While there might seem to be quicker ways to strain, this two-step method ensures you capture every precious drop of your homemade liquid gold. As my grandmother wisely advised, “Waste not, want not!” Every bit of that rich flavor is worth saving.
- Extract Residual Liquid: Once the broth has drained through the cheesecloth, carefully gather the edges of the cheesecloth, forming a pouch around the strained solids. Gently squeeze any remaining liquid from the cooked vegetables and herbs into the main pot of broth. Discard the spent solids.
- Chill and Skim Fat: Allow the broth to cool completely at room temperature before transferring it to the refrigerator. Chilling the broth overnight is crucial, as it allows any rendered fat to solidify on the surface. The next day, easily skim off and discard this solidified fat layer. This step helps create a lighter, healthier broth and prevents it from going rancid quickly.
- Serve or Preserve: Your rich, golden homemade chicken broth is now ready! Heat and serve it as a nourishing beverage, or use it immediately in your favorite recipes. For future use, proceed to the freezing instructions below.
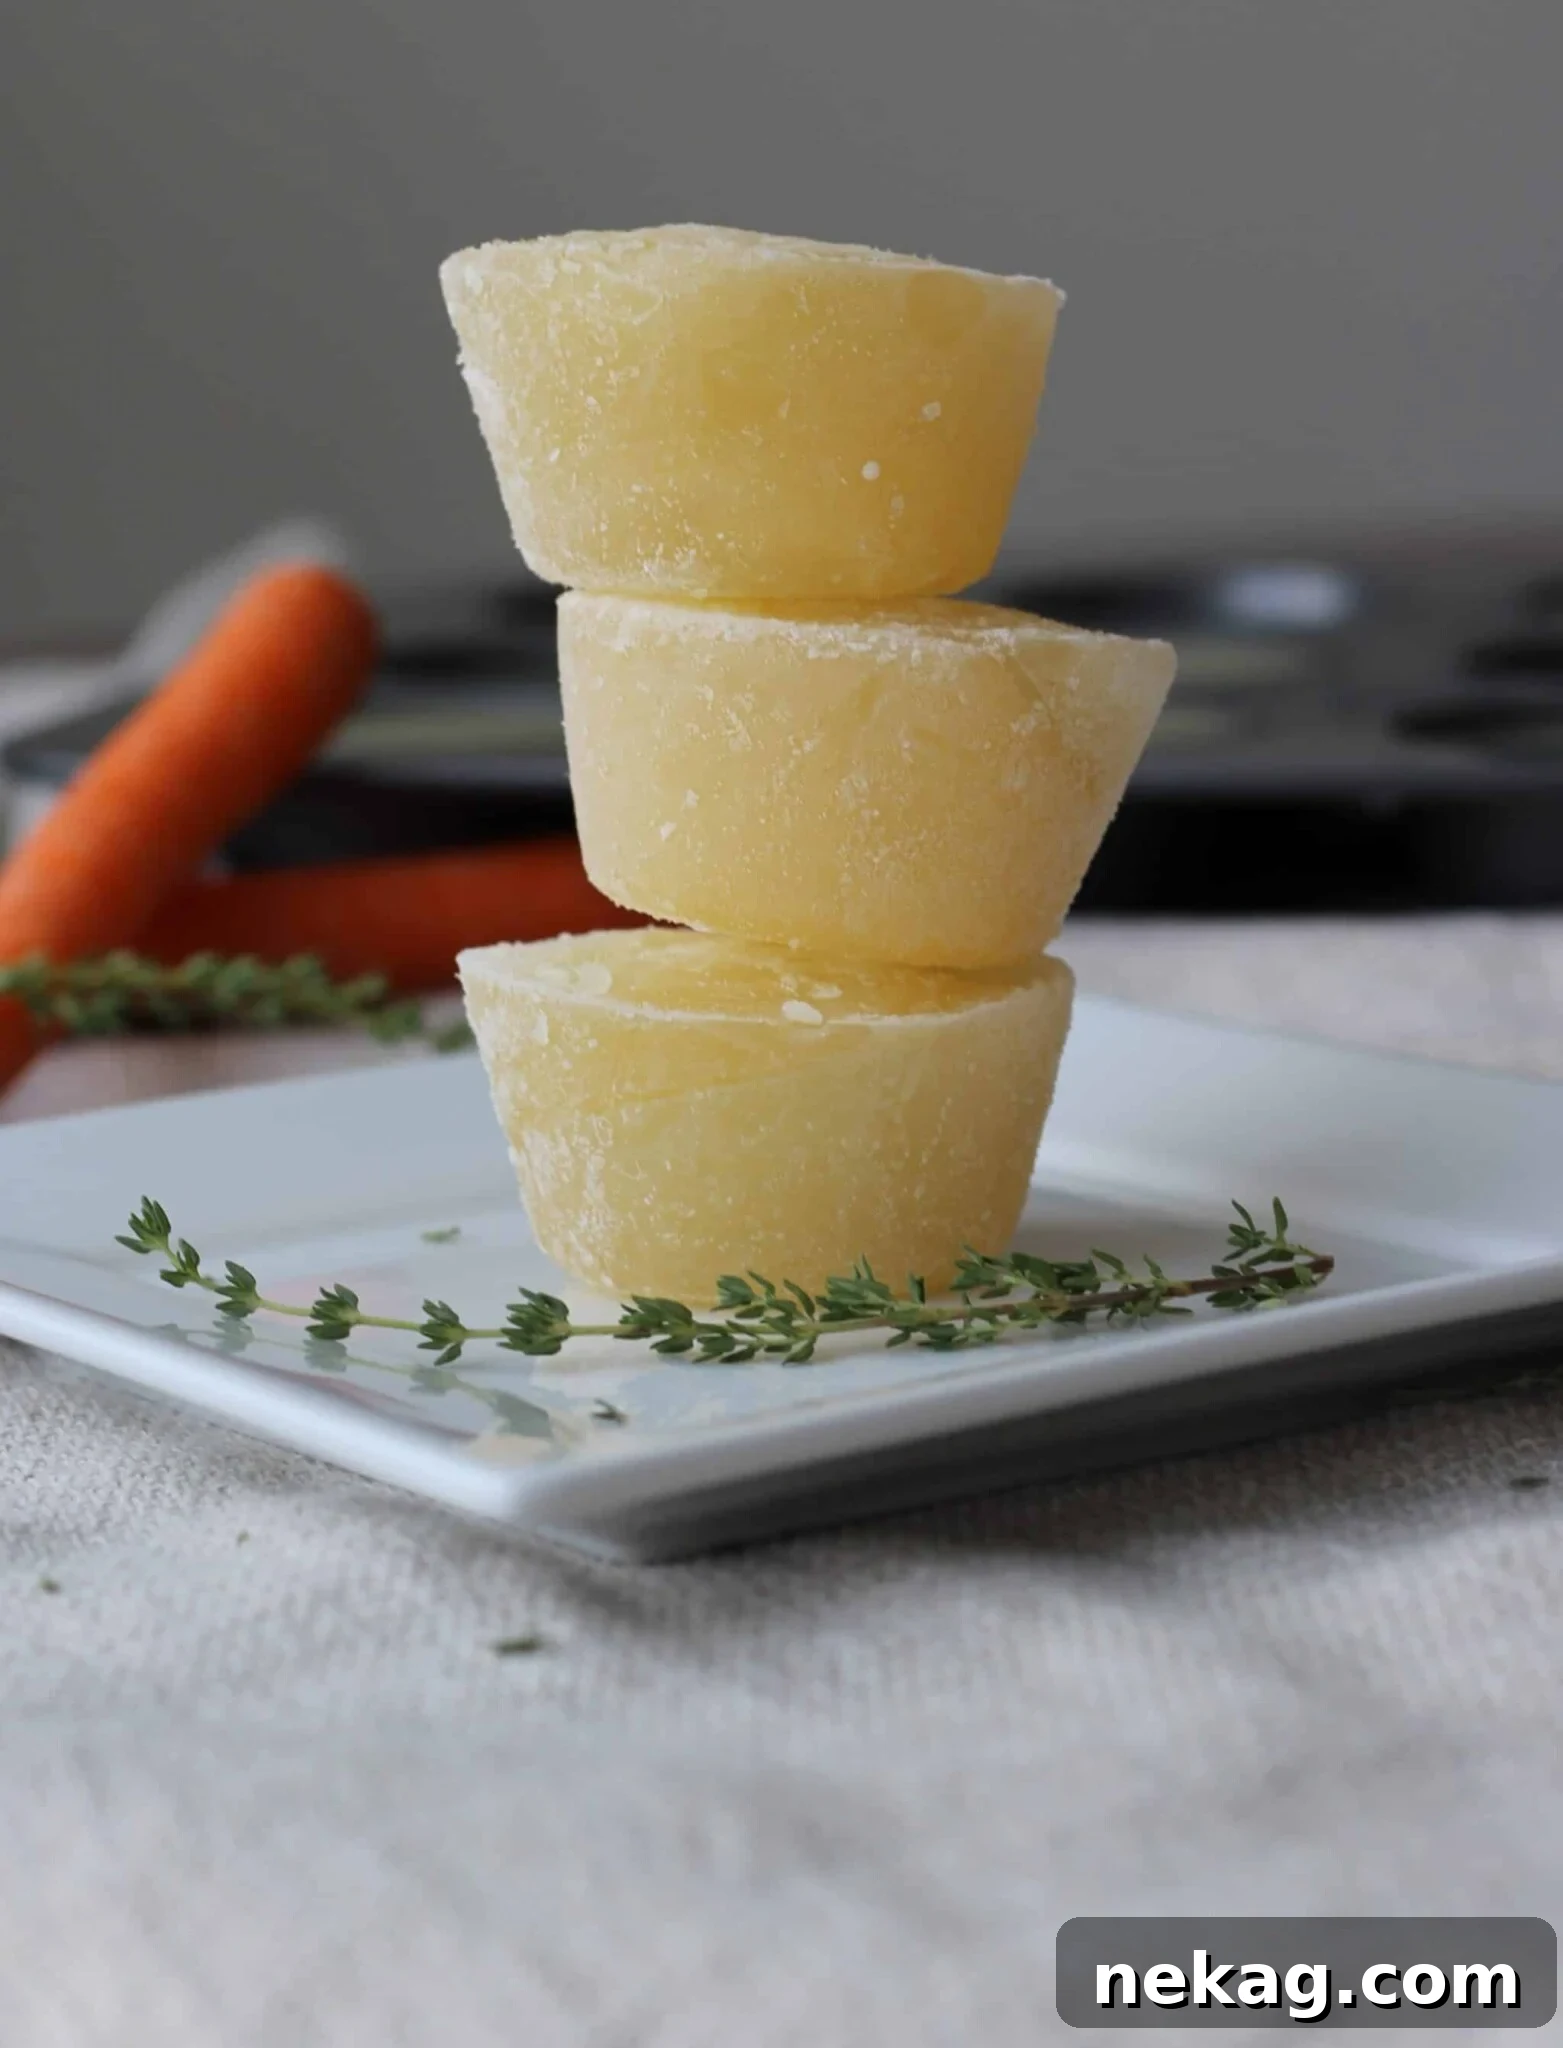
Freezing and Storing Your Homemade Broth: Chef Lindsey’s Pro Tip
Efficiently storing your homemade chicken broth ensures you always have this versatile ingredient on hand. Here’s my go-to method for perfect freezing:
- Portion into Silicone Trays: Once your broth has cooled completely, fill silicone ice cube trays (or muffin tins) with the liquid. I use a variety of sizes – some trays that hold 2 tablespoons, others that hold ½ cup – to suit different recipe needs. The flexibility of silicone makes removal effortless.
- Freeze Solid: Place the filled trays into the freezer. Depending on the size of your portions, they typically take about 2-4 hours to freeze solid. Don’t worry about freezer burn at this stage; they are well-protected.
- Transfer to Storage Bags: Once frozen, pop the solid broth cubes or pucks out of the silicone trays. Immediately transfer them into freezer-safe bags. Label the bags with the date and quantity (e.g., “Chicken Broth – 1/2 cup portions – [Date]”). This prevents them from sticking together and allows for easy access.
- Alternative Thawing Method: To thaw, simply place the required number of frozen broth portions into a Pyrex measuring cup or microwave-safe bowl. Thaw them in the microwave on half power until just melted, or gently warm on the stovetop.
Storage Guidelines: Store your fresh chicken broth in an airtight container in the refrigerator for up to 5 days. For longer preservation, frozen chicken broth will maintain its quality for up to 6 months.
Frequently Asked Questions About Homemade Chicken Broth
Store your freshly made broth in a jar or any other airtight container in the refrigerator for up to 5 days. For extended storage, chicken broth can be frozen. Ensure the broth is completely cool before transferring it to a freezer-safe container. Frozen chicken broth will keep its quality for up to 6 months.
While often used interchangeably, chicken stock and chicken broth have subtle distinctions. Traditionally, chicken stock is made primarily from bones, often roasted, leading to a richer gelatinous texture due to collagen extraction. Chicken broth typically incorporates both meat and bones, resulting in a lighter flavor and texture. Stock is more commonly used as a base ingredient in cooking, whereas broth is often enjoyed on its own as a finished product.
To reheat chicken broth, simply pour the desired amount into a stock pot or saucepan. Bring it to a boil over medium heat, then immediately reduce the heat to a gentle simmer for a few minutes before serving. This ensures it’s thoroughly heated without overcooking.
Absolutely, without a doubt! The unparalleled depth of flavor, superior nutritional profile, and absence of excessive sodium found in slowly simmered homemade chicken broth make it incredibly worthwhile. While it requires some time for simmering, the active preparation is minimal, making it an easy and rewarding culinary endeavor.
Cloudy broth often results from boiling too vigorously or agitating the broth too much during simmering. To achieve a crystal-clear broth, always maintain a gentle simmer, never a rolling boil. Also, avoid stirring the broth once it starts cooking. The two-step straining process with cheesecloth, as detailed in this recipe, is also key to removing fine particles that cause cloudiness.
Yes, absolutely! Raw chicken carcasses, backs, necks, and wing tips are excellent for making broth. For an even richer flavor and color, you can roast these raw chicken parts in the oven until golden brown before simmering them for broth. This adds a delicious layer of caramelized flavor.
If you tried this recipe and loved it, please consider leaving a 🌟 star rating and sharing your experience in the comments section below. Your feedback truly brightens my day!
The Best Homemade Chicken Broth Recipe
Chef Lindsey
10
3-6
3-6 10
Approx. 2 quarts
Comment
Print Recipe
Ingredients
- 1 lb chicken bones (from 1 medium roasted chicken, or raw parts)
- 3 celery ribs with leaves, cut into 2” pieces
- 2 carrots, cut into 2” pieces
- 2 onions, quartered (no need to peel fully, skins add color)
- 2 dried bay leaves
- ½ teaspoon dried rosemary, crushed
- ½ teaspoon dried thyme, heaping
- 8 whole black peppercorns
- 2 quarts cold water (or enough to cover ingredients plus 1-2 inches)
- Pinch kosher salt, to taste (add more later if needed)
Instructions
- Place all ingredients (chicken bones, vegetables, herbs, peppercorns, salt, and cold water) into a large stockpot or Dutch oven. Ensure the water covers all ingredients by at least 1-2 inches. Bring to a gentle boil over medium-low heat. Once boiling, reduce heat to a very low simmer, cover, and cook for at least 3 hours, or up to 6 hours for maximum flavor.
- Begin the two-step straining process. First, use a large slotted spoon to remove all the large pieces of chicken and vegetables. Place them into a large colander set over a bowl. Carefully pour the remaining broth from the pot through the colander to catch any larger remaining solids. Set the colander aside over another bowl to continue draining.
- For a clearer broth, perform a fine strain using cheesecloth. Drape several layers of clean cheesecloth over the original pot (or a clean pot) and secure it with a rubber band. Slowly pour all the previously strained broth through the cheesecloth. Also, pour any broth that has drained from the colander through the cheesecloth. This step is optional but significantly enhances clarity.
- Carefully gather the cheesecloth and squeeze out any last drops of liquid from the cooked solids into your pot of broth. Discard the spent solids from the cheesecloth and colander.
- Allow the broth to cool completely to room temperature. Then, refrigerate it overnight. This cooling process allows the fat to solidify on the surface, making it easy to skim off and discard the next day for a cleaner broth.
- Your homemade chicken broth is now ready to be used. Heat and serve as a nourishing drink, or store for later use in various recipes.
Instructions for Freezing Perfect Portions
- Once your broth is completely cooled, pour approximately ½ cup of broth into each cup of a standard muffin tin. A typical muffin cup holds close to ½ cup. For smaller portions, silicone ice cube trays (2 tablespoons capacity) work wonderfully. Place the muffin tin (or ice cube trays) in the freezer. Freezing usually takes about 2 hours to solidify completely.
- To release the frozen broth portions, invert the muffin tin over a clean sink. Briefly pour or spray warm water over the back of the tin. The frozen broth cups should quickly release. Immediately pick them up and transfer them to a freezer-safe bag to prevent excessive melting.
- Place the bag of frozen broth portions back into the freezer. Repeat this process until all your homemade broth has been frozen. For smaller freezers, you might need to make space!
- To thaw: Place the desired number of frozen broth cups or cubes into a Pyrex measuring cup or microwave-safe bowl. Thaw them in the microwave on half power until just melted, or gently warm in a saucepan on the stove.
Video Tutorial: Making Easy Chicken Stock
Chef’s Notes & Pro-Tips
Flavor Intensification: If, after 3-4 hours, your chicken broth isn’t as flavorful as you’d like, don’t stop cooking! Patience is key. Continue to simmer it for 5-6 hours, or even longer, then let it cool slowly on the stovetop for several more hours. Extended simmering time directly translates to a more concentrated and profound flavor.
Instant Pot / Electric Pressure Cooker Method: For a faster approach, you can easily make this broth in your Instant Pot or electric pressure cooker. Simply add all ingredients to the pot, seal the lid, and cook on high pressure for about 45-60 minutes. Allow the pressure to release naturally for the best results, as this continues to extract flavor.
Storage Best Practices: Store any leftover cooled chicken broth in an airtight container in the refrigerator for up to 5 days. For longer-term storage, freeze the broth. Ensure it’s completely cooled before freezing in freezer-safe containers or portioned cubes. Frozen chicken broth will maintain its quality for up to 6 months.
Nutrition Facts (per serving)
- Calories:
- 40 kcal
- Carbohydrates:
- 9g
- Protein:
- 1g
- Fat:
- 1g
- Saturated Fat:
- 1g
- Polyunsaturated Fat:
- 1g
- Monounsaturated Fat:
- 1g
- Sodium:
- 71mg
- Potassium:
- 260mg
- Fiber:
- 2g
- Sugar:
- 4g
- Vitamin A:
- 5240 IU
- Vitamin C:
- 7mg
- Calcium:
- 53mg
- Iron:
- 1mg
Soup base
French-inspired, Global
40
Enjoyed this recipe? Leave a comment below!
Beyond the Broth: More Culinary Adventures Await
I genuinely hope you enjoyed mastering this professional chef-tested recipe for homemade chicken broth. It’s a foundational skill that will profoundly impact your cooking. Don’t stop here – explore our other delicious, chef-developed soup recipes and expand your culinary repertoire!