
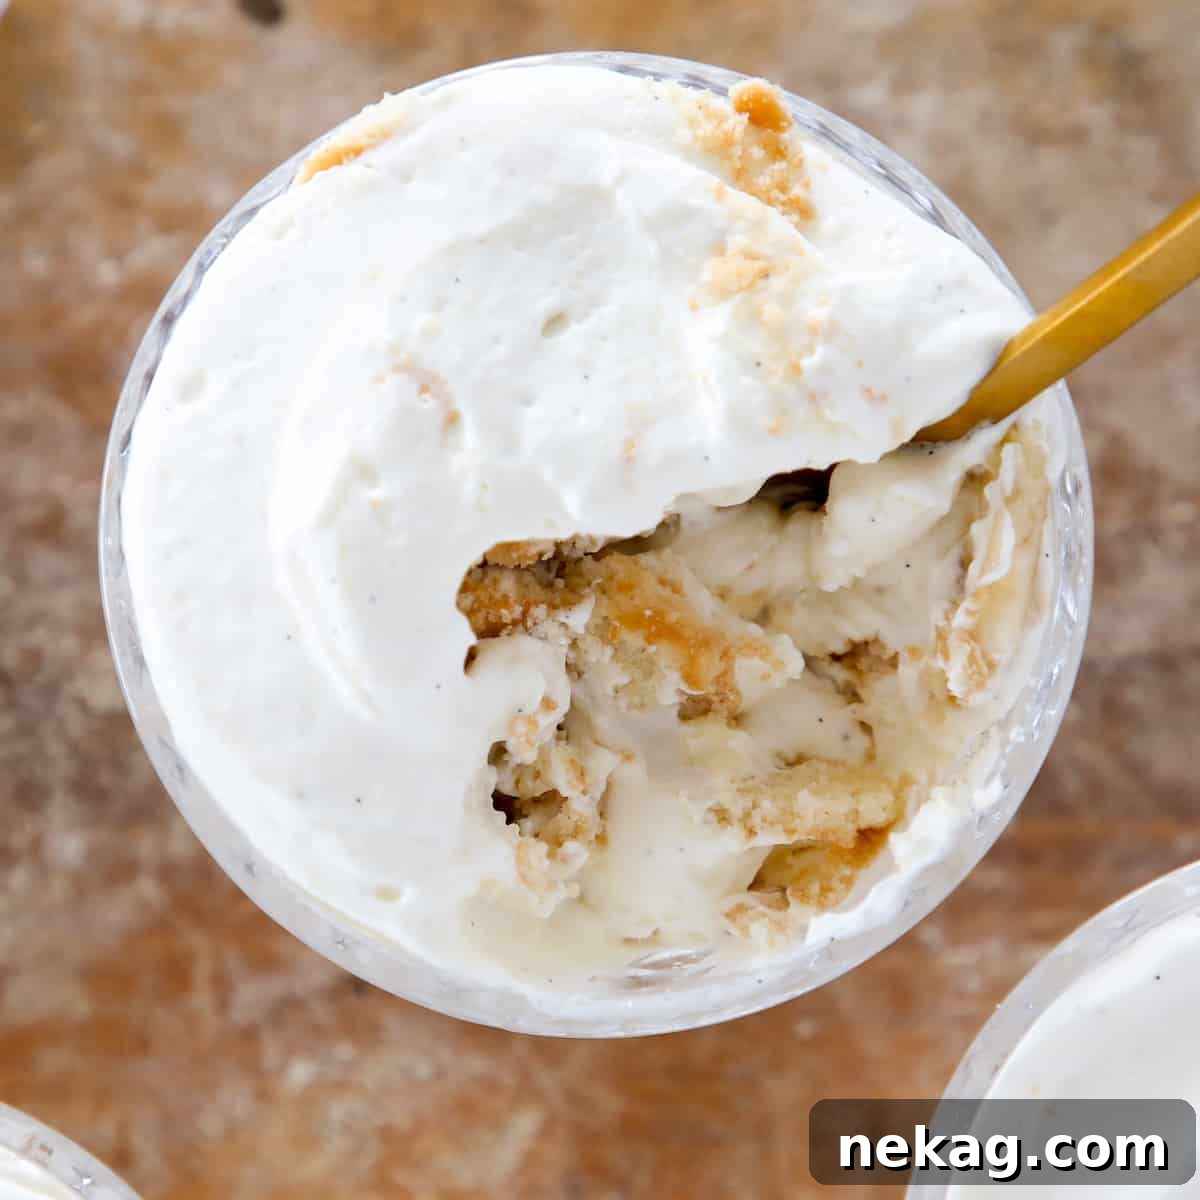
Prepare to experience the ultimate comfort dessert with this incredible homemade Banana Pudding recipe. Far surpassing the widely acclaimed versions, including that of Magnolia Bakery, this recipe crafts an unforgettable dessert through carefully constructed layers. Imagine a velvety, lightened vanilla pudding, made entirely from scratch, seamlessly integrated with crisp ‘Nilla wafers and perfectly ripe banana slices. Each spoonful is a harmonious blend of textures and flavors, promising a truly sublime experience that will become your new go-to indulgence.
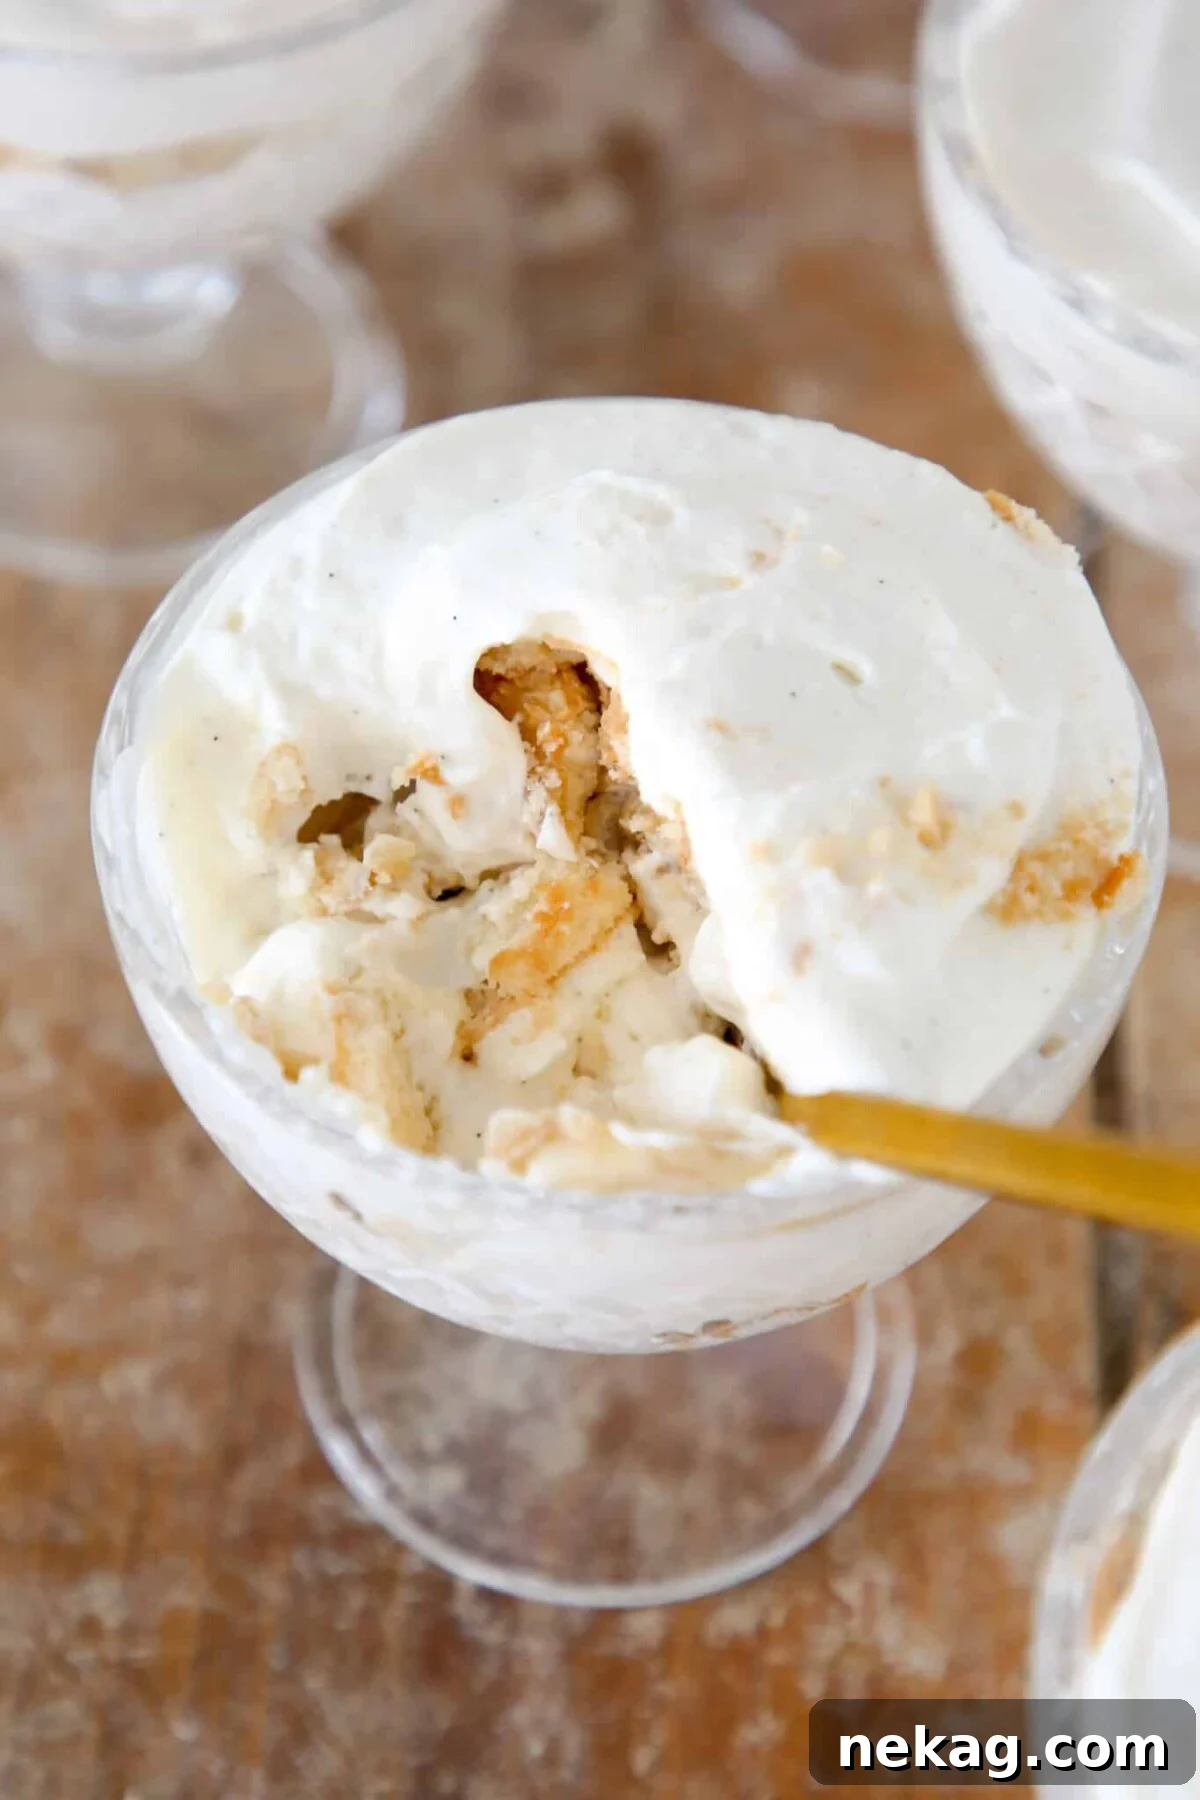
The inspiration for this exquisite dessert undeniably draws from the legendary banana pudding that has captivated hearts in establishments like NYC’s Magnolia Bakery. However, this recipe takes that inspiration and elevates it, delivering a homemade rendition that truly stands out. The secret lies in crafting the vanilla pudding from scratch. While instant pudding offers a quick solution, and can certainly be delicious in other applications like our Banana Pudding Ice Box Cake, nothing compares to the depth of flavor and luxurious texture achieved with a homemade custard. The silky, smooth homemade vanilla pudding base is what transforms this banana pudding from good to truly exceptional.
This phenomenal vanilla pudding is a star in its own right, perfect for enjoying simply chilled. Yet, its versatility extends far beyond. It forms the foundation for our classic Banana Cream Pie, offering a rich, creamy filling that elevates every slice. For a creative twist, try layering it with pieces of chocolate pound cake and crunchy Oreo cookie crumbles to create a stunning black-and-white trifle. The possibilities are endless when you start with such a superior base, but for this recipe, we focus on its original, comforting glory: the ultimate banana pudding.
Why This is the Best Banana Pudding!
- Vanilla Pudding Made from Scratch Makes All the Difference. Unlike many recipes that rely on instant mixes, our banana pudding features a rich, velvety vanilla pudding prepared entirely from basic ingredients. This painstaking approach allows us to control the sweetness and achieve a superior texture. By incorporating sweetened condensed milk and butter, the pudding develops an unparalleled silkiness and depth, ensuring it’s not overly sweet but perfectly balanced. The pure, authentic flavor comes from real vanilla bean, offering a nuanced aroma and taste that instant vanilla pudding simply cannot replicate. This homemade foundation is the cornerstone of its exceptional quality.
- Easy to Pull Together with Showstopping Results. Despite its gourmet taste and appearance, this banana pudding recipe is surprisingly straightforward to assemble. Designed with clear, easy-to-follow instructions, it guides you through each step to ensure a successful outcome every time. The magic happens when perfectly ripened bananas, lightened pudding (achieved by folding in freshly whipped cream for an airy texture), and classic Nilla wafers come together. The balance of creamy, crunchy, and fruity elements creates a dessert that is not only classically comforting but also visually stunning, making it ideal for any gathering or special occasion.
- Created by a Professional Pastry Chef. This isn’t just another recipe; it’s a meticulously developed creation by a professional pastry chef. Born from years of experience in high-volume restaurant kitchens, this banana pudding was so popular that it consistently sold out within an hour of being offered. The demand was overwhelming because it was crafted to perfection. Countless hours were dedicated to perfecting the ratios and techniques, ensuring that every component contributes to a harmonious and irresistible whole. This expert-approved recipe guarantees a dessert that will impress even the most discerning palates and quickly become your household’s new favorite.
Table of Contents
- Why This is the Best Banana Pudding!
- Essential Ingredients for Perfect Pudding
- Creative Variations to Try
- Professional Tips for Success
- How to Make the Best Banana Pudding Recipe
- Chef Lindsey’s Recipe Tip: Bruleed Bananas
- Recipe FAQs
- Recommended Pudding Recipes
- Detailed Banana Pudding Recipe Card
- Explore More Delicious Desserts
Essential Ingredients for Perfect Pudding
Crafting the perfect banana pudding begins with selecting the right ingredients, each playing a crucial role in achieving that rich flavor and luxurious texture. Here’s a breakdown of what you’ll need and why each component is essential:
- Granulated Sugar: Beyond merely adding sweetness, sugar performs several vital functions in this recipe. It helps prevent the milk from scorching during cooking, ensuring a smooth, evenly cooked pudding. Additionally, it protects the eggs from curdling when tempered with hot milk, contributing to a silky custard consistency. Its precise balance is key to a perfectly sweet, never cloying, dessert.
- Cornstarch: This unassuming ingredient is critical for thickening the pudding, giving it a stable, creamy body. Cornstarch acts as a binding agent, preventing the custard from separating and ensuring a consistently smooth and unified texture that holds its shape beautifully in layers.
- Kosher Salt: A pinch of kosher salt is a flavor enhancer, not just a seasoning. It brightens the other ingredients, balances the sweetness, and brings out the nuanced vanilla and banana flavors, making the entire pudding taste more vibrant and well-rounded.
- Whole Eggs: Eggs are integral to the thickening process of this stirred custard. The proteins in the egg yolks coagulate when heated, creating a rich, creamy consistency. Whisking them thoroughly with sugar before adding hot milk ensures they temper properly, preventing scrambling and contributing to a smooth, luscious custard base.
- Milk: Whole milk serves as the primary liquid base for our pudding. While its fat content undoubtedly enriches the flavor and texture, this recipe is forgiving. You can confidently use your favorite alternative milk or a lower-fat dairy option without compromising the overall deliciousness, though a slight difference in richness may be noted.
- Sweetened Condensed Milk: This ingredient is a game-changer, adding an unparalleled richness and sweetness without introducing excess moisture. It significantly aids in thickening the custard, imparting a luxurious, dense quality to the final filling that sets it apart. If you prefer not to use it or don’t have it on hand, our foundational vanilla pudding recipe makes an excellent alternative base.
- Vanilla Bean: Often considered one of the most precious spices globally, a real vanilla bean infuses the pudding with an unmistakable, complex, and aromatic flavor that vanilla extract alone cannot achieve. Scrape out the tiny seeds for immediate use, then save the fragrant pods! They can be steeped in sugar to make vanilla sugar, or used to infuse milk or cream for other delectable treats like vanilla bean ice cream, crème anglaise, or vanilla pastry cream.
- Vanilla Extract: Used in conjunction with vanilla bean, the extract provides an additional layer of robust vanilla flavor, ensuring that the warm, sweet notes permeate every bite of the pudding. It complements the subtle complexity of the bean, creating a truly rich vanilla profile.
- Unsalted Butter: Softened unsalted butter is whisked into the warm pudding at the end, adding a velvety smoothness and a luxurious sheen. It enhances the richness and contributes to the pudding’s decadent mouthfeel, making it even more irresistible.
- Heavy Cream: This is whipped and then folded into the cooled pudding to create a “crème légère” – a lightened, airy pudding that’s incredibly tender and less dense. Using unsweetened heavy cream ensures the final dessert remains perfectly balanced in sweetness. While Cool Whip can be a substitute, be aware it will make the pudding considerably sweeter.
- Nilla Wafers: These classic vanilla-flavored cookies are absolutely integral to traditional banana pudding. Their delicate crunch and sweet vanilla notes provide a perfect counterpoint to the creamy pudding and soft bananas. They absorb moisture from the pudding, softening slightly to create a delightful cake-like texture within the layers. They are also available in mini sizes, perfect for creating individual dessert cups!
- Bananas: The star of the show! The quality and ripeness of your bananas are paramount for the freshest, brightest banana flavor. Opt for yellow bananas with only a few, if any, brown spots. These provide the ideal balance of sweetness and firmness. Overly ripe bananas, while excellent for moist banana bread or peanut butter banana muffins, can make the pudding too mushy and overly sweet. Timing is key: slice them just before layering to maintain their vibrant appearance and texture.
For precise measurements and detailed quantities, please refer to the complete recipe card provided below.
Creative Variations to Try
While the classic banana pudding is undeniably perfect, its fundamental structure allows for delightful creative variations. Don’t hesitate to experiment and make this recipe truly your own:
- Experiment with Different Pudding Bases. Why stop at vanilla? Imagine the possibilities with a different flavored pudding! A rich chocolate pudding would create a decadent banana split-inspired dessert. For a sophisticated twist, try a luscious caramel pudding or a comforting butterscotch pudding. To elevate these, pair each with a complementary sauce: a warm fudge sauce for chocolate, a rich salted caramel sauce for caramel, or a silky butterscotch sauce for an extra layer of indulgence.
- Adjust Serving Sizes: Mini Puddings or a Large Trifle. This recipe is incredibly adaptable to your serving needs. For individual portions perfect for parties or a thoughtful single-serving treat, assemble the layers in small glass jars, ramekins, or individual cups. Alternatively, for a grand presentation and easy sharing at gatherings, choose your favorite elegant trifle dish. Building a large banana pudding trifle creates a stunning centerpiece that encourages communal enjoyment and conversation.
- Alternate with Ladyfingers or Sponge Cake. If Nilla Wafers aren’t your preference, or you simply want to try something new, many delicious alternatives exist for the cookie layer. Delicate ladyfingers will lend an elegant, tiramisu-like texture. A light sponge cake, sliced thinly, offers a more substantial, cake-like experience. For a fun, homemade crunch, consider using chocolate chip shortbread cookies. You could even bake a batch of peanut butter chocolate chip cookies and crumble them over the top for an irresistible flavor and texture contrast.
- Explore Different Fruits. While it would no longer be a “banana” pudding, the layered dessert concept is versatile enough to embrace other fruits. Step outside the box and imagine the vibrant flavors you could introduce! Try layers of succulent roasted peaches for a late-summer treat, sweet macerated berries for a tart contrast, or even a spiced apple pie filling for an autumnal twist. Each fruit will bring its unique character and charm to this beloved dessert structure.
- Chunky Monkey Twist! For those who love the classic ice cream flavor, transform your banana pudding into a “Chunky Monkey” masterpiece. Simply add generous layers of chopped walnuts and rich dark chocolate pieces between the pudding and banana layers. The nuts provide a satisfying crunch, while the chocolate offers a delightful bitterness to complement the sweet bananas and creamy pudding. This concept would also be fantastic as an addition to my banana cake with cream cheese frosting, adding an extra dimension of flavor and texture!
Professional Tips for Success
Achieving a truly outstanding banana pudding, just like a professional chef, involves attention to a few key techniques. These tips will ensure your pudding is smooth, perfectly textured, and visually appealing:
- Whisk Dry Ingredients Thoroughly Until No Clumps Remain. Before introducing any liquids, combine your granulated sugar, cornstarch, and salt in the saucepan. Whisk them together vigorously and persistently until you are absolutely certain there are no visible lumps of cornstarch. This crucial initial step is much easier to accomplish with dry ingredients and ensures the cornstarch is perfectly dispersed throughout the sugar, preventing the formation of stubborn lumps once the eggs and milk are added. Proper distribution guarantees a smooth, consistent pudding texture without any starchy surprises.
- Avoid Over-Conditioning the Pudding or Over-Whipping the Heavy Cream. When you’re ready to lighten the pudding, gently “condition” it by beating it a few times with a spatula or whisk to loosen its set texture. However, be cautious not to overbeat, as this can break down the cornstarch bonds, resulting in a runny or “unruly” filling that lacks its desired body. Similarly, when whipping the heavy cream, aim for firm, but not overly stiff, peaks. Over-whipped cream will begin to separate and become grainy, making it difficult to smoothly fold into the pudding and compromising the final airy texture.
- Slice the Bananas Immediately Before Layering. Bananas oxidize quickly when exposed to air, causing them to turn brown and less appealing. To maintain their fresh, vibrant yellow color and optimal texture, it is imperative to slice your bananas at the very last moment, just before you begin to layer them into your dessert. For an extra layer of protection and to further slow down oxidation, you can lightly toss the banana slices in a tiny amount of lemon juice. The acidity will act as a natural preservative without significantly altering the flavor of your delicious pudding.
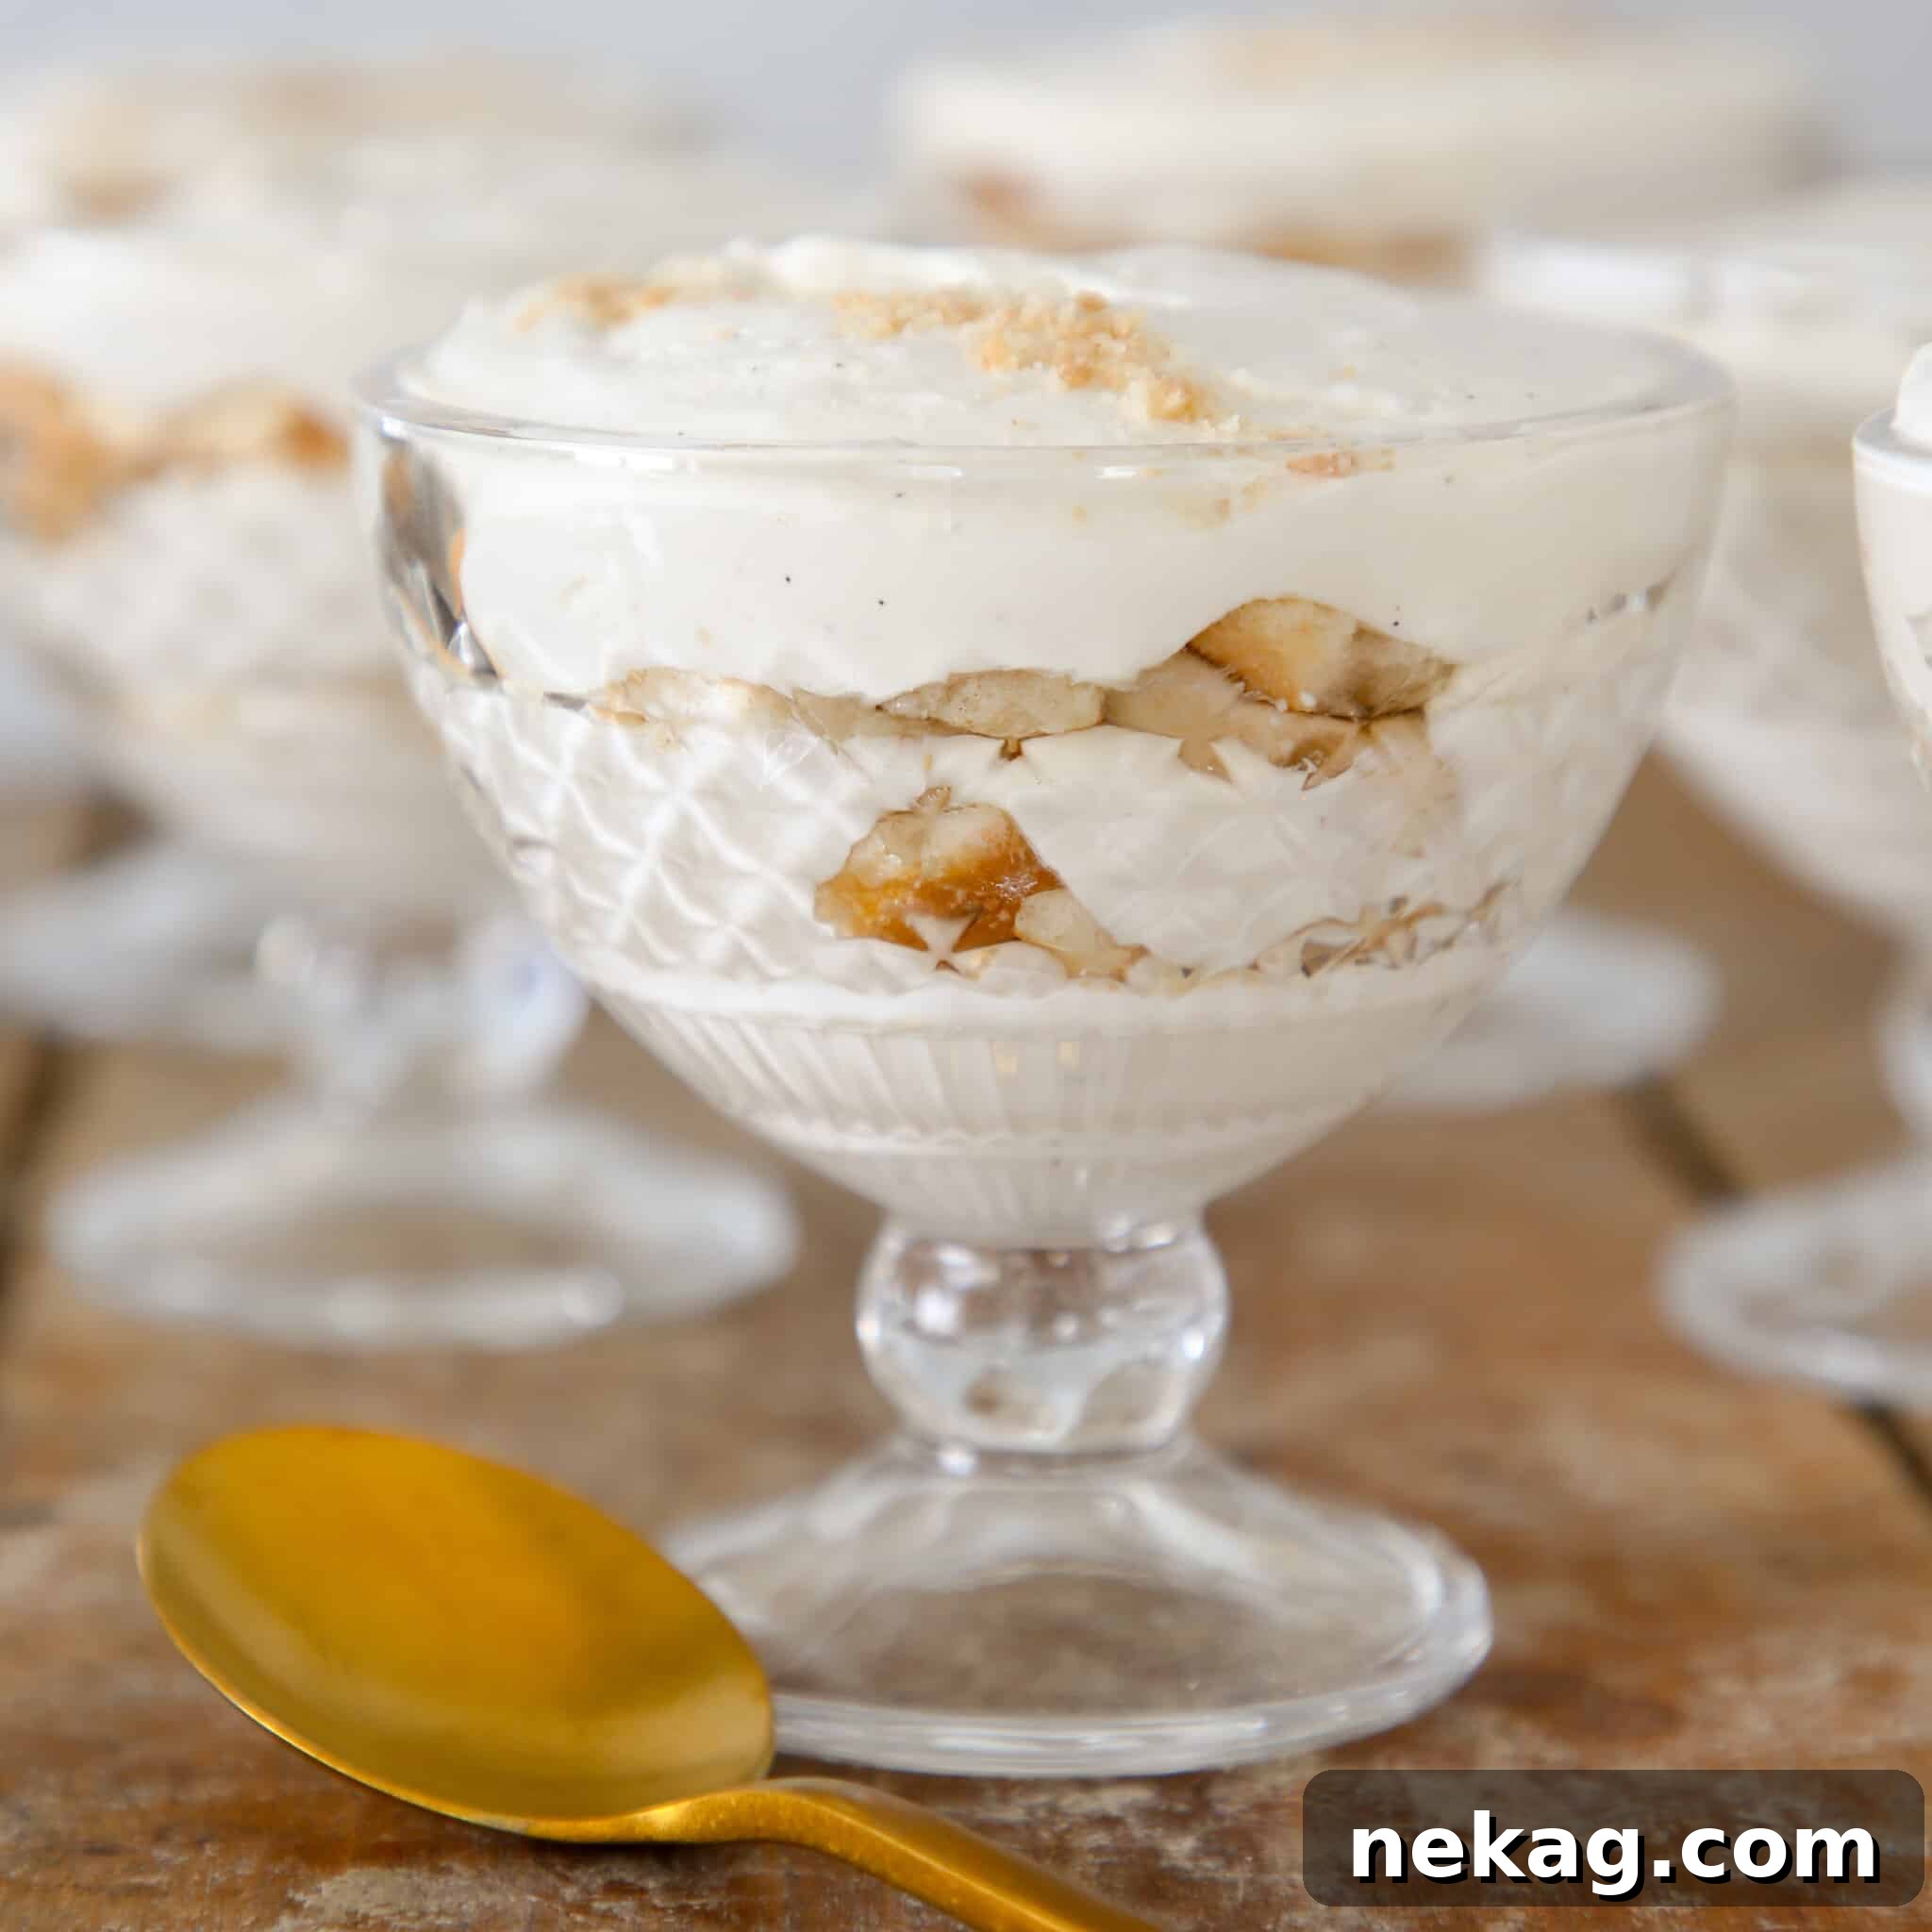
How to Make the Best Banana Pudding Recipe
Follow these detailed instructions to create a flawless, luscious banana pudding every single time. For precise measurements and quantities, please refer to the complete recipe card below.
Make Vanilla Pudding:
Step 1: In a medium saucepan, combine the granulated sugar, cornstarch, and kosher salt. Whisk these dry ingredients together thoroughly until absolutely no clumps of cornstarch remain. This ensures a perfectly smooth pudding.
Step 2: Add the whole eggs to the dry mixture in the saucepan and whisk vigorously until the mixture is completely homogenous and smooth. Then, gradually whisk in the sweetened condensed milk until fully incorporated. Finally, add the whole milk and the scraped seeds from the vanilla bean, whisking until everything is well combined.
Step 3: Place the saucepan over medium heat, continuously whisking the mixture. Pay special attention to scraping the corners and bottom of the pot to prevent the milk and sugars from scorching and sticking. Continue to cook, whisking constantly, until the custard visibly thickens and begins to boil. Once it reaches a boil, continue to cook and whisk for precisely one minute to fully activate the cornstarch, ensuring maximum thickening power.
Troubleshooting Tip: If, despite your best efforts, the pudding starts to develop small clumps, immediately remove the pot from the heat. Continue whisking vigorously until all the lumps are smoothly incorporated. This quick action can often save your pudding.
Step 4: Once the pudding has cooked and thickened, remove the saucepan from the heat. Immediately whisk in the softened unsalted butter until it has completely melted and incorporated, leaving no visible pieces. Then, add the vanilla extract and whisk until no streaks of vanilla remain, ensuring it’s evenly distributed for maximum flavor.
Step 5: To cool the pudding quickly and prevent a skin from forming, pour the hot pudding onto a baking sheet that has been lined with plastic wrap. Cover the surface of the pudding directly with another sheet of plastic wrap, pressing it down firmly to create an airtight seal. Poke a few small holes in the plastic wrap to allow steam to escape. Refrigerate the pudding until it is fully set and chilled, typically for several hours.
Refinement Tip: If your pudding, even after whisking, retains any stubborn lumps, you can achieve an ultra-smooth texture by straining it through a fine-mesh sieve or chinoise directly onto the plastic-lined baking sheet before chilling.
Assemble the Banana Pudding:
Step 6: Transfer the chilled, set pudding to the bowl of a stand mixer fitted with a paddle attachment. Beat the pudding on low speed just until it has loosened slightly and become creamy again. This “conditioning” step won’t remove any lumps if they’re present, but it will make it much easier to smoothly fold in the whipped cream. This step can also be done manually using a sturdy spatula.
Step 7: In a separate, clean bowl, whip the cold heavy cream until it forms stiff peaks. You’ll know it’s ready when you lift the whisk, and the cream holds its shape perfectly without collapsing or drooping. It should be firm but still smooth.
Whipping Cream Caution: Be extremely careful not to over-whip the heavy cream. If whipped too far, it will start to separate and become grainy, making it very difficult to fold smoothly into the pudding. If you accidentally over-whip it slightly, try gently folding in a small amount of cold, unwhipped heavy cream; this can sometimes salvage it if it hasn’t gone too far.
Step 8: Take a small amount of the whipped cream (about a quarter of the total) and fold it aggressively into the conditioned pudding mixture. This process, often called “sacrificing” the air in that small portion of cream, helps to further loosen the pudding’s consistency, making it much easier to incorporate the remaining, more delicate whipped cream without deflating it.
Step 9: Gently fold in the remaining whipped cream into the pudding mixture using a spatula. Use a light, lifting motion until the mixture is completely smooth, airy, and uniformly combined. Be careful not to overmix, as this can deflate the cream.
Step 10: Slice the ripe bananas to your desired thickness and shape. Many prefer banana “coins” for their even distribution. Now, begin layering your dessert in your chosen serving vessel – whether it’s a large baking dish, an elegant trifle dish, or individual serving cups. Start with a layer of the lightened vanilla pudding, followed by an even layer of freshly sliced bananas. Then, add a generous layer of Nilla wafer cookies. Repeat these layers until you reach the very top of your serving dish, ensuring the final layer is pudding or a decorative arrangement of wafers and bananas.
Step 11: Once assembled, cover the banana pudding lightly with plastic wrap and refrigerate for a minimum of 6 hours, or ideally, overnight. This crucial chilling period allows all the flavors to meld beautifully, the pudding to firm up, and the Nilla wafers to soften just enough to create that iconic, melt-in-your-mouth texture. The longer it chills, the more harmonious and delicious the dessert will become!
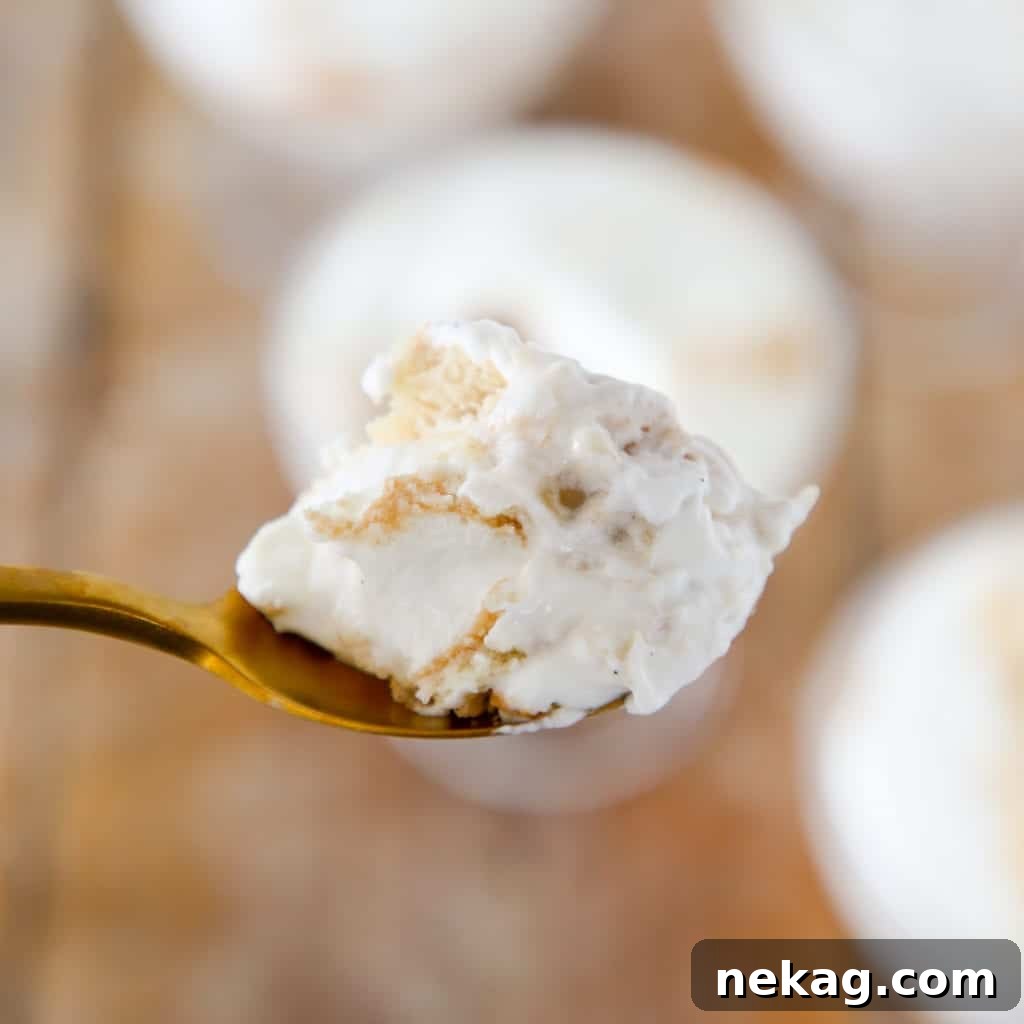
Chef Lindsey’s Recipe Tip: Bruleed Bananas
For an absolutely show-stopping and unexpectedly delicious topping, consider making bruleed banana coins. Slice your bananas about ¼ inch thick and arrange them on a heatproof surface. Sprinkle them generously with granulated sugar. Using a kitchen torch, carefully brulee the sugar until it caramelizes into a beautiful, glassy, golden crust. Place these warm, caramelized banana coins immediately on top of your chilled banana pudding. Serve this unique creation without delay, as the caramel will begin to liquefy over time, losing its satisfying crunch. This technique adds an incredible depth of flavor and a professional flourish to your dessert!
Recipe FAQs
To maintain its freshness and delightful texture, store your homemade banana pudding in the refrigerator. If it’s in a container with a lid, ensure it’s tightly sealed. Otherwise, lightly cover it with plastic wrap, pressing it gently onto the surface of the pudding to prevent a skin from forming. Stored properly, it will remain delicious for 3-4 days.
While traditional banana pudding is best enjoyed fresh or chilled, it is technically possible to freeze it. If you’re familiar with our Banana Pudding Icebox Cake, you know that some pudding-based desserts can handle freezing. For best results, allow the pudding to sit in the refrigerator for at least a day to fully set before transferring it to a freezer-safe container. Ensure the container is airtight and one from which you can easily remove the frozen pudding. Note that the texture of the bananas may change slightly upon thawing, becoming softer.
Making a big batch of this banana pudding is entirely feasible and highly recommended for gatherings! The process remains the same, but you will need a sufficiently large, heavy-bottomed pot to accommodate the increased volume of ingredients. Additionally, prepare for a workout – you’ll need a strong whisking arm to ensure the pudding cooks evenly without scorching. The key is consistent stirring to prevent lumps and sticking. If your pot is large enough and your arm is ready, you can scale this recipe up to your heart’s desire!
This homemade banana pudding is a triumph on its own, needing no embellishment. Its layers of creamy pudding, soft bananas, and tender wafers are a delight. However, if you’re looking to add an extra layer of texture or visual appeal, consider a few simple toppings. A sprinkle of candied walnuts provides a satisfying crunch and nutty flavor. A luxurious drizzle of chocolate fudge can elevate it to an even more decadent experience. Or, for the ultimate indulgence, combine both! Serve it in individual glass dishes to showcase its beautiful layers, or from a large trifle bowl for a family-style presentation.
Recommended Pudding Recipes
Custard Recipes
Banana Pudding Ice Box Cake
Date Night
Butterscotch Pudding
Date Night
Homemade Vanilla Pudding Recipe
Date Night
Caramel Pudding
If you tried this recipe and absolutely loved it, please take a moment to leave a 🌟 star rating and share your experience in the comments section below. Your feedback makes our day and helps others discover this delightful dessert!
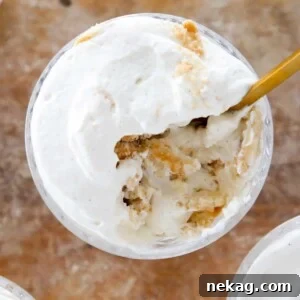
Homemade Banana Pudding
Comment
Print Recipe
Ingredients
For the Vanilla Bean Pudding:
- 2 tablespoons granulated sugar
- 1 ½ oz cornstarch
- ½ teaspoon kosher salt
- 2 large eggs
- 2 ⅔ cups whole milk
- 7 oz sweetened condensed milk
- 1 vanilla bean split and scraped
- 1 teaspoon vanilla extract
- 2 ½ tablespoons unsalted butter softened
For Assembly:
- 3 cups heavy cream
- 11 oz Nilla wafers 1 box, slightly crushed
- 5 ripe bananas sliced thin
Instructions
Make Vanilla Pudding:
-
Combine the cornstarch, granulated sugar, and salt in a medium saucepan. Whisk to combine until no clumps of cornstarch remain.
-
Whisk in the eggs, followed by the sweetened condensed milk, until completely homogenous. Then whisk in the whole milk and vanilla bean.
-
Cook over medium heat, whisking constantly. Make sure to whisk in the corners and the bottom of the pot to keep the milk and sugars from scorching. Continue to cook until the custard thickens and starts to boil. Once it boils, continue to cook for 1 minute to activate the cornstarch.
-
Remove the cooked pudding from the heat and whisk in the butter and the vanilla extract until there are no visible pieces of butter or streaks of vanilla.
-
Pour onto a plastic-lined baking sheet and cover with plastic wrap poking a few holes. Refrigerate until set.
Assemble the Banana Pudding:
-
Place the pudding in a bowl of a stand mixer fitted with a paddle attachment. Condition the pudding until loosened slightly. This will not get rid of any lumps, but it will make it easier to fold in the cream. This can also be done by hand with a spatula.
-
Whip the heavy cream to stiff peaks. You will know it’s done when the whisk is pulled out and held straight up. The whipped cream will hold a peak without falling over.
-
Fold a small amount of whipped cream into the pudding mixture. This small amount of cream will further loosen the pudding, making it easier to fold in the remaining cream. This is called “sacrificing” because you sacrifice the air in a small amount of the whipped cream by folding it in aggressively.
-
Fold in the remaining cream until smooth.
-
Slice the bananas to the desired size. I prefer banana coins. Start layering the dessert in a baking dish, trifle dish or individual cups. Start layering with some of the pudding, followed by several slices of bananas in an even layer and a layer of the vanilla wafer cookies. Repeat until you reach the top of the serving dish.
-
Let the pudding chill in the refrigerator for 6 hours to overnight. We want all the flavors to meld together. The longer the better!
Video
Notes
Presentation – For optimal flavor and texture, allow the pudding to sit for at least 6 hours in the refrigerator. Overnight chilling is highly recommended as it gives the bananas, Nilla wafers, and the pudding ample time to meld together into a harmonious dessert.
Flavor Tips – Using a real vanilla bean will infuse your dessert with an extraordinary depth of flavor. However, if you don’t have one on hand, high-quality vanilla bean paste or even just pure vanilla extract will still produce a beautiful and delicious pudding.
Variations: For a delightful twist, create a Chocolate Banana Pudding by using our rich chocolate pudding, layering it with Oreo cookies, and fresh bananas for a treat that will be loved by all ages.
Storage – Store the banana pudding in the refrigerator, lightly covered with plastic wrap, for 3-4 days to maintain its freshness and quality.
Nutrition Information
Explore More Delicious Desserts
We truly hope you’ve savored every moment of creating and enjoying this professional chef-tested banana pudding recipe. Its rich flavors and comforting layers are a testament to homemade goodness. Before you leave, we invite you to explore more of our delightful, chef-developed dessert creations. Whether you’re seeking refreshing summer dessert recipes, creamy custard recipes, or wish to dive into something unique like our decadent flourless chocolate decadence cake or the light, tangy lemon posset, there’s always a perfect sweet ending waiting for you to discover and master in your own kitchen. Happy baking!