
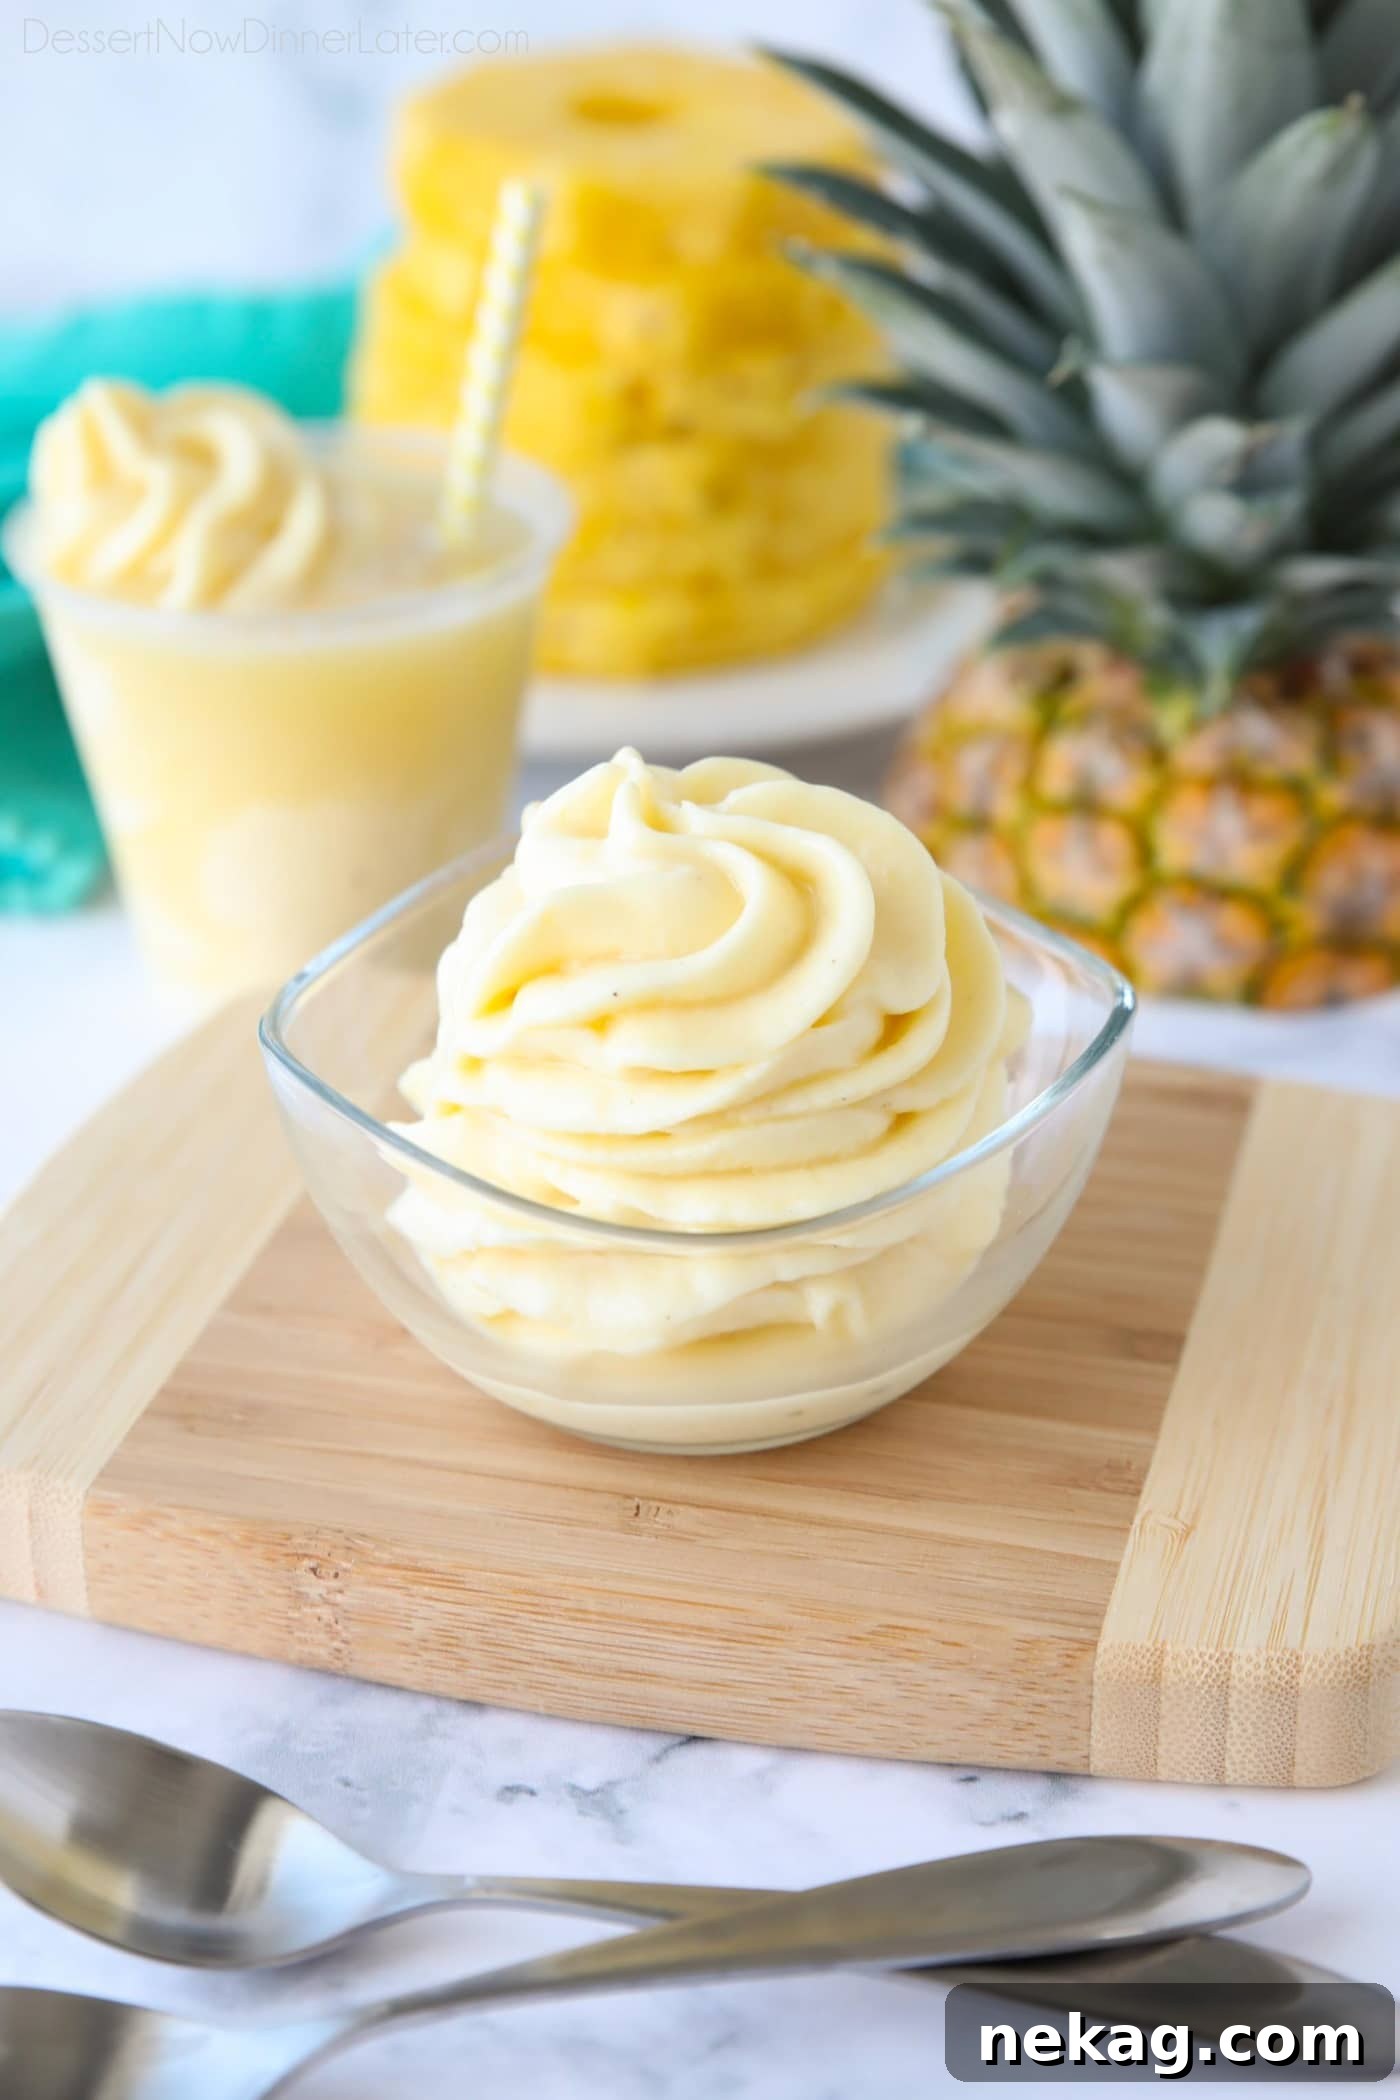
This Pineapple Whip (a Dole Whip copycat) recreates the classic Disney treat at home. With four simple ingredients and a blender, you can make a silky pineapple soft-serve any time.
Want more park-style snacks? Try the Disneyland corn dog or an easy churros recipe for other beloved favorites.
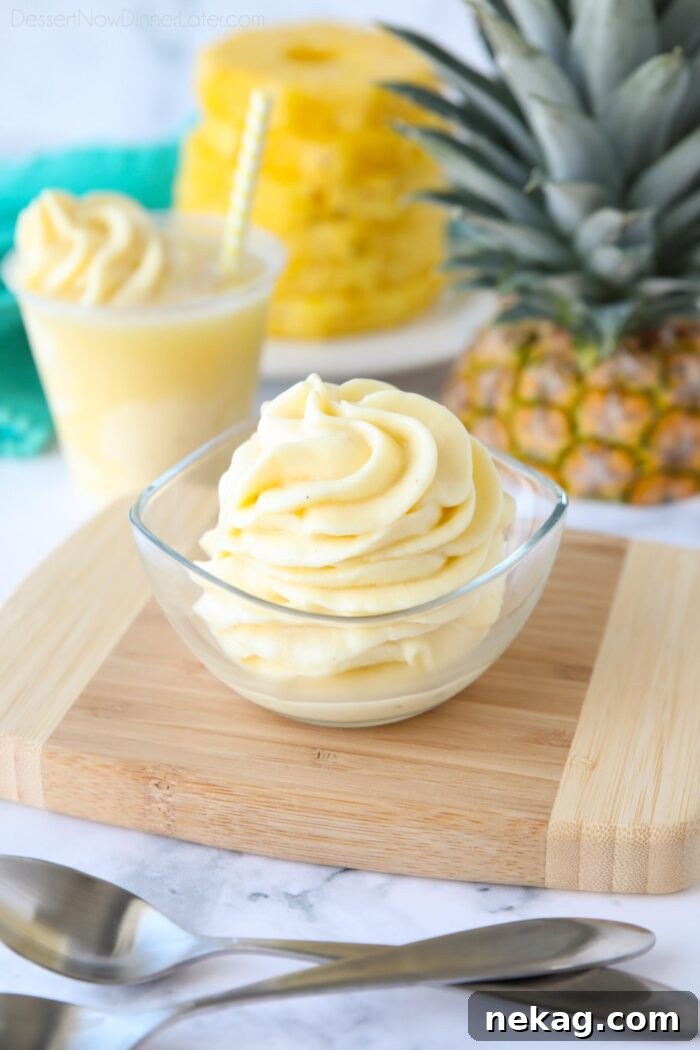
Iconic Disney Dole Whip
If you’ve visited Disneyland, you’ve likely seen the Dole Whip stand near the Enchanted Tiki Room. The queues are often long, but the payoff is a refreshingly smooth pineapple soft-serve that’s perfect on warm days.
We love visiting the parks, but it’s not always possible to go whenever a pineapple whip craving hits. The good news: this version is easy to prepare at home so you can enjoy it whenever you like.
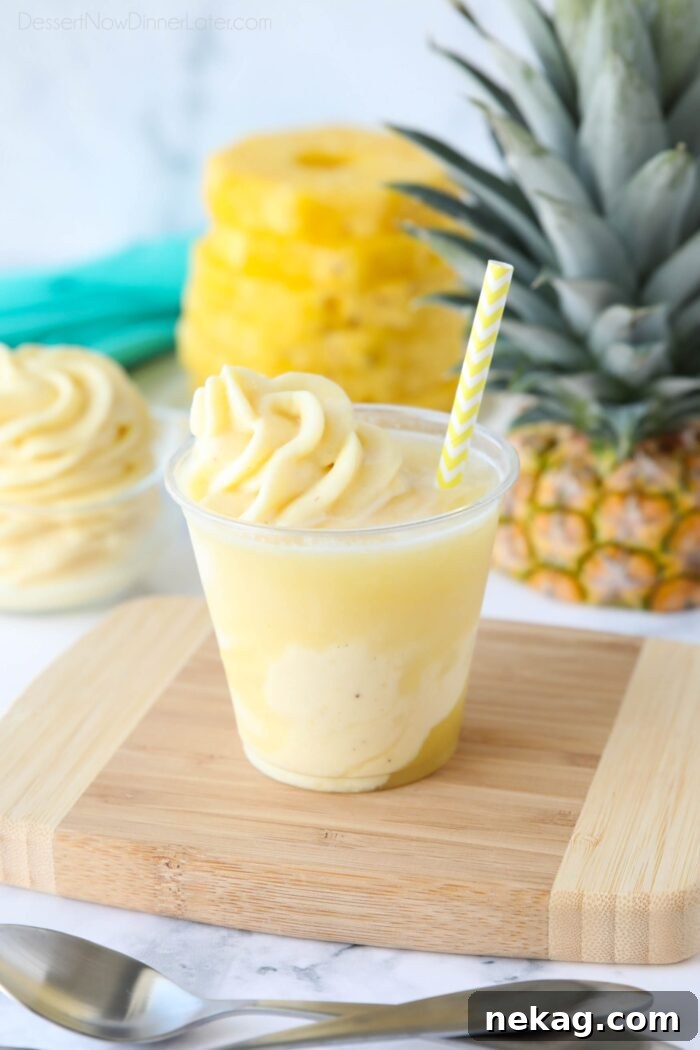
Pineapple Whip vs Pineapple Float
At Disneyland you can order two versions: a plain pineapple soft-serve (Dole Whip) or a Dole Whip Float, which pairs the soft-serve with pineapple juice.
- Dole Whip – Pineapple soft-serve on its own.
- Dole Whip Float – Pineapple soft-serve served over pineapple juice.
On my last trip I tried the float and was hooked—it might be my favorite. We’ve enjoyed both versions at the park and at the Dole Plantation in Hawaii, and they’re surprisingly simple to replicate at home.
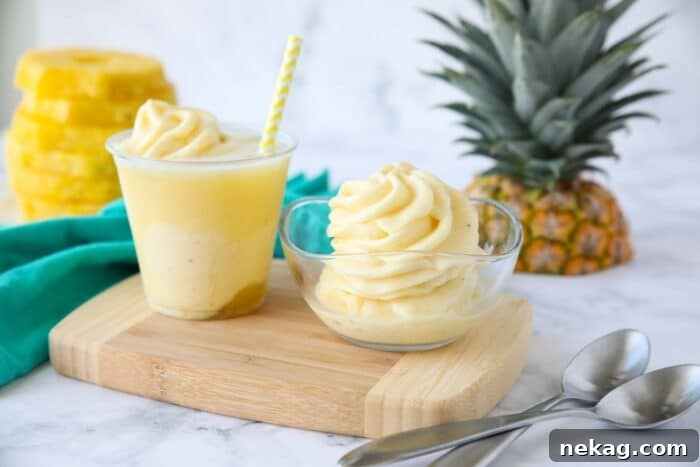
Dole Whip Ingredients
What you’ll need: This copycat Dole Whip uses four basic ingredients:
- Pineapple juice
- Vanilla ice cream
- Frozen pineapple chunks
- Granulated sugar – optional but recommended for brightness and sweetness balance
Note: Disney’s original Dole Whip is dairy-free. If you need a dairy-free option, substitute a nondairy vanilla ice cream.
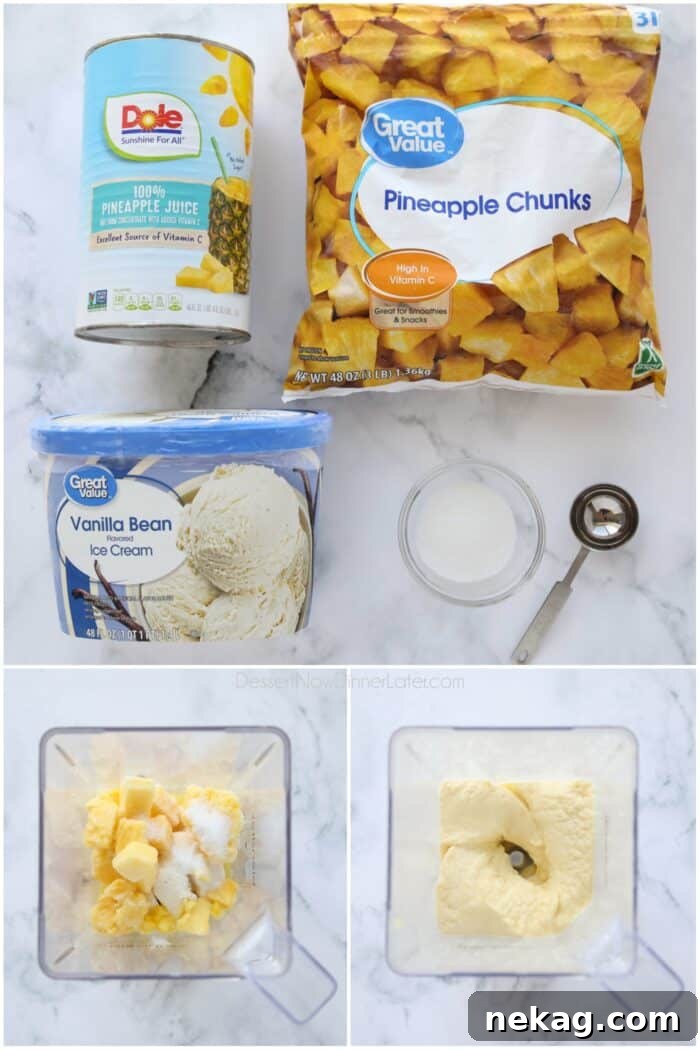
How to Make It
- Add the ingredients to the blender in order: pineapple juice first, then vanilla ice cream, frozen pineapple chunks, and sugar. Blend until the mixture is smooth and creamy, about 2–3 minutes. Pause to scrape the sides and push ingredients toward the blade as needed.
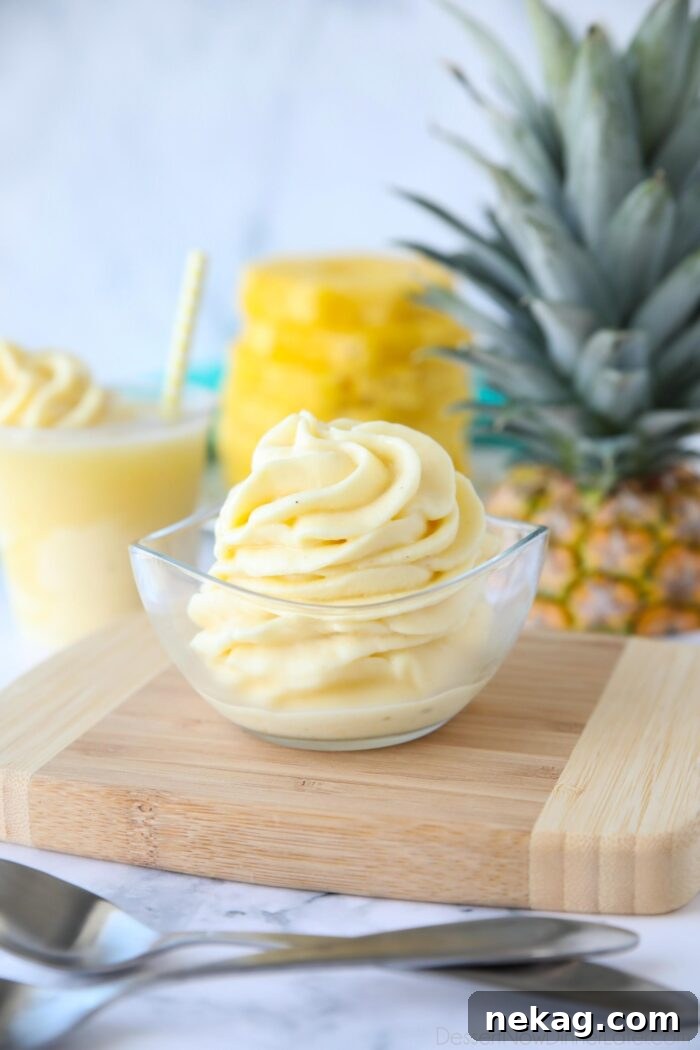
- Serve immediately for a soft, spoonable texture. If you want to pipe the whip into dishes, place the blended mixture in the freezer for 30–40 minutes to firm slightly—this makes it easier to pipe with a star tip.
- To make floats: Pour pineapple juice to about 1/4–1/3 of a 9 oz clear cup, then scoop or pipe the pineapple whip on top until the cup is full.
Tips and Recommendations
- Add liquids first: Pouring pineapple juice into the blender before solids helps the blades work more efficiently.
- Use a powerful blender: A high-quality blender will produce the creamiest texture and handle frozen fruit with ease.
- Freeze fresh pineapple yourself: Store-bought frozen pineapple chunks can be large. If your blender struggles, cut fresh pineapple into small pieces, freeze in a single layer on a tray, then transfer to a freezer bag once frozen. Frozen pineapple keeps well for several months.
If you try this recipe, please leave a rating and a short review in the comments—thanks!
Pineapple Whip Recipe
Pin
Rate
Save
Ingredients
- 4 oz pineapple juice, plus extra for floats
- ¾ cup vanilla ice cream, about 1½ scoops
- 2 cups frozen pineapple chunks
- 2 Tbsp granulated sugar
Equipment
-
Ice cream scoop
-
Blender
-
Piping tips and bags (optional)
Instructions
-
Add pineapple juice, vanilla ice cream, frozen pineapple chunks, and sugar to the blender in that order. Blend until smooth and creamy, about 2–3 minutes, scraping down the sides as needed.
-
Serve right away for the best texture. For piping, freeze the blended mixture for 30–40 minutes so it firms up slightly, then pipe into bowls or cups.
-
To make floats: Fill a 9 oz clear cup with pineapple juice to about 1/4–1/3 full, then top with the pineapple whip until the cup is full.
Notes
- Pineapple whip is best enjoyed immediately or only briefly frozen. If frozen too long it can become hard and icy.
Nutrition
Disclaimer: Nutritional values are estimates calculated using a third-party tool.
Sharing this recipe with a link is encouraged. Copying full recipes or photographs to social media without permission is prohibited. Content and images are copyright protected.
Did you make this?
Leave a rating below and follow for more recipes and inspiration.
*Originally published 7/16/13. Post updated May 2023.