
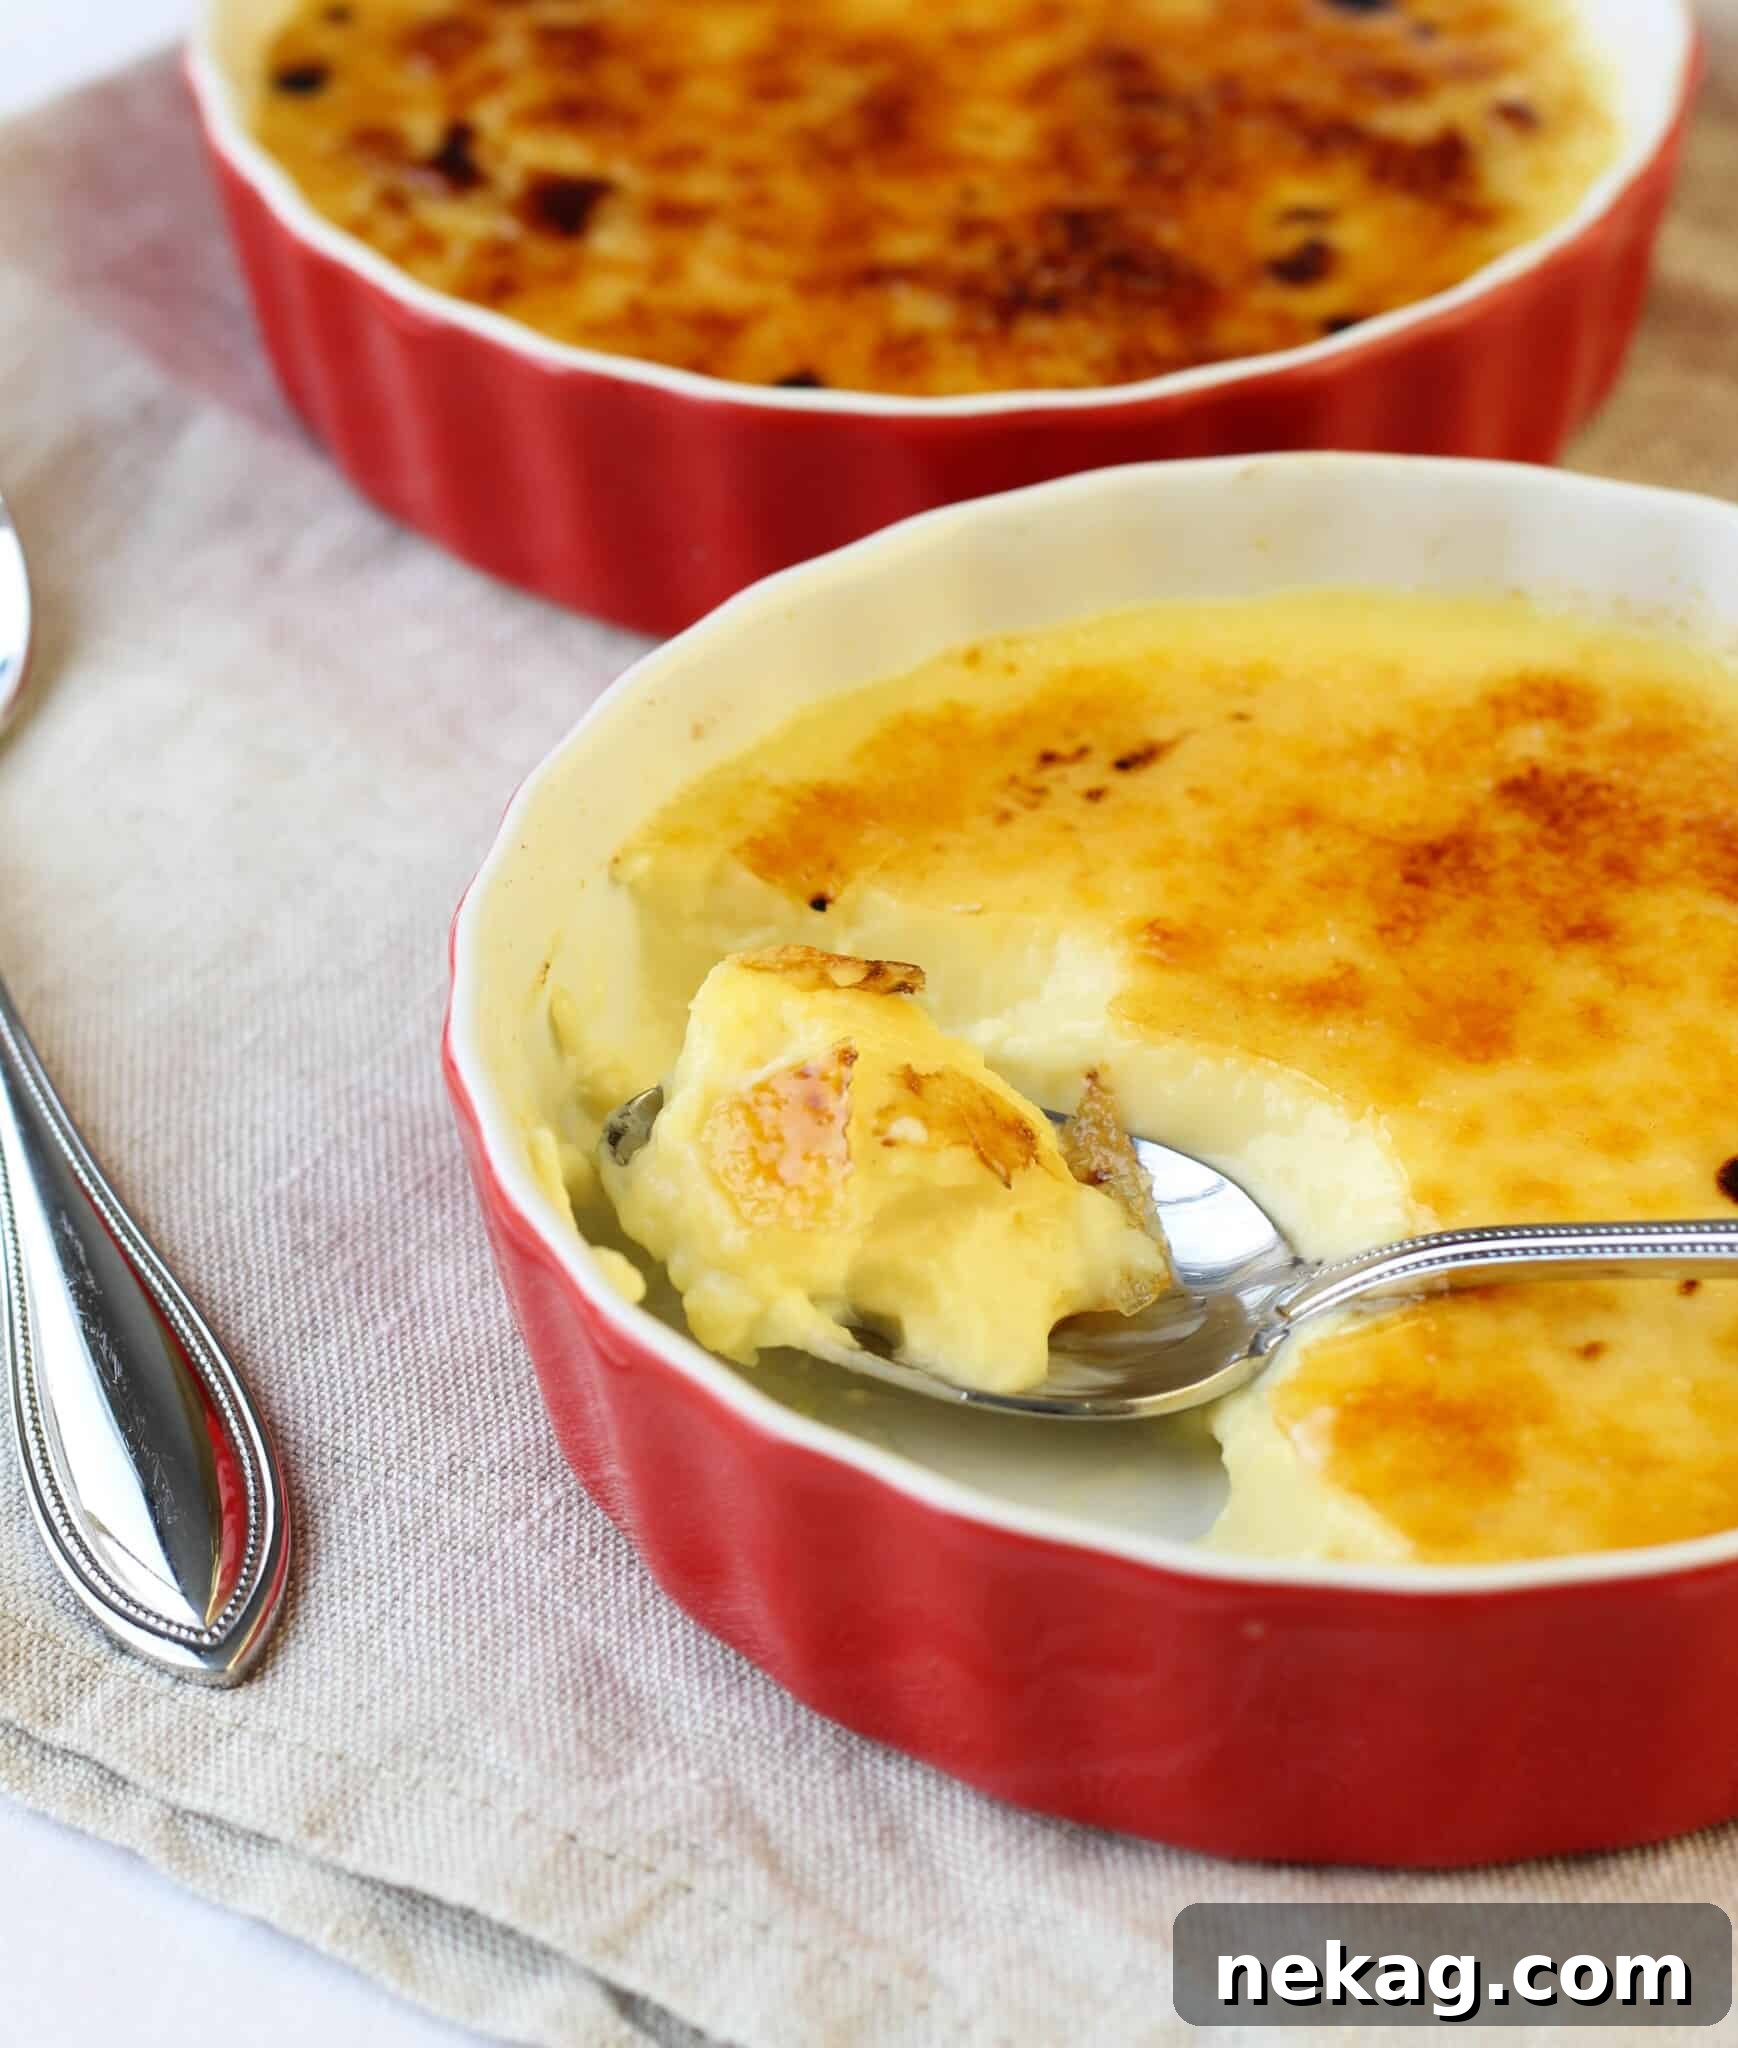
This Crème Brûlée recipe promises an unparalleled dessert experience: a perfectly creamy, silky vanilla custard crowned with a crunchy, intensely caramelized sugar topping. Even better, it’s thoughtfully portioned for two, making it the ideal treat for a romantic evening, a special celebration, or simply to elevate an ordinary Tuesday night. Prepare to dazzle your taste buds and impress your guests with this seemingly elaborate yet surprisingly simple classic French dessert.
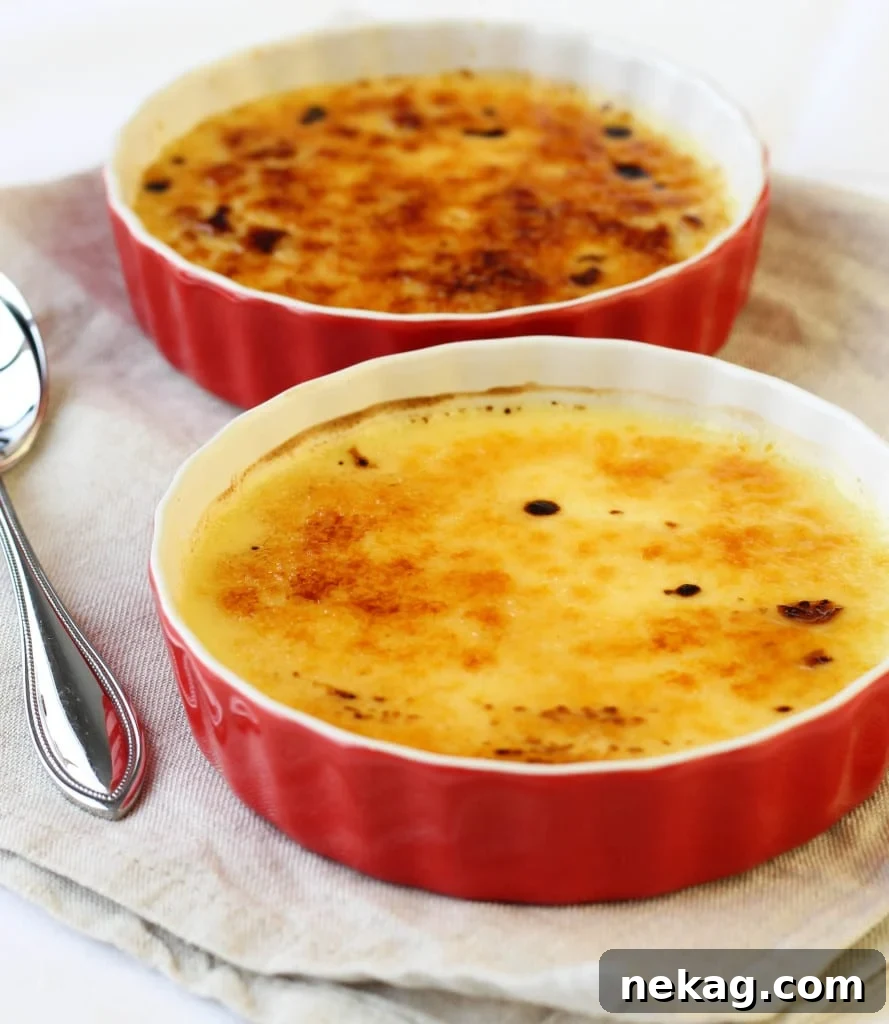
Mastering the Art of Crème Brûlée: Your Perfect Recipe for Two
Ahh, Crème Brûlée. That delightful symphony of textures and flavors – the satisfying crack of the caramelized sugar giving way to a rich, smooth, and cool vanilla custard. For years, I, like many others, might have overlooked this exquisite dessert, often opting for more overtly chocolatey indulgences. But let me tell you, Crème Brûlée is a dessert revelation that truly stands on its own. And the best part? It’s astonishingly easy to prepare from scratch, proving that gourmet delights don’t always require hours of toil or professional culinary training.
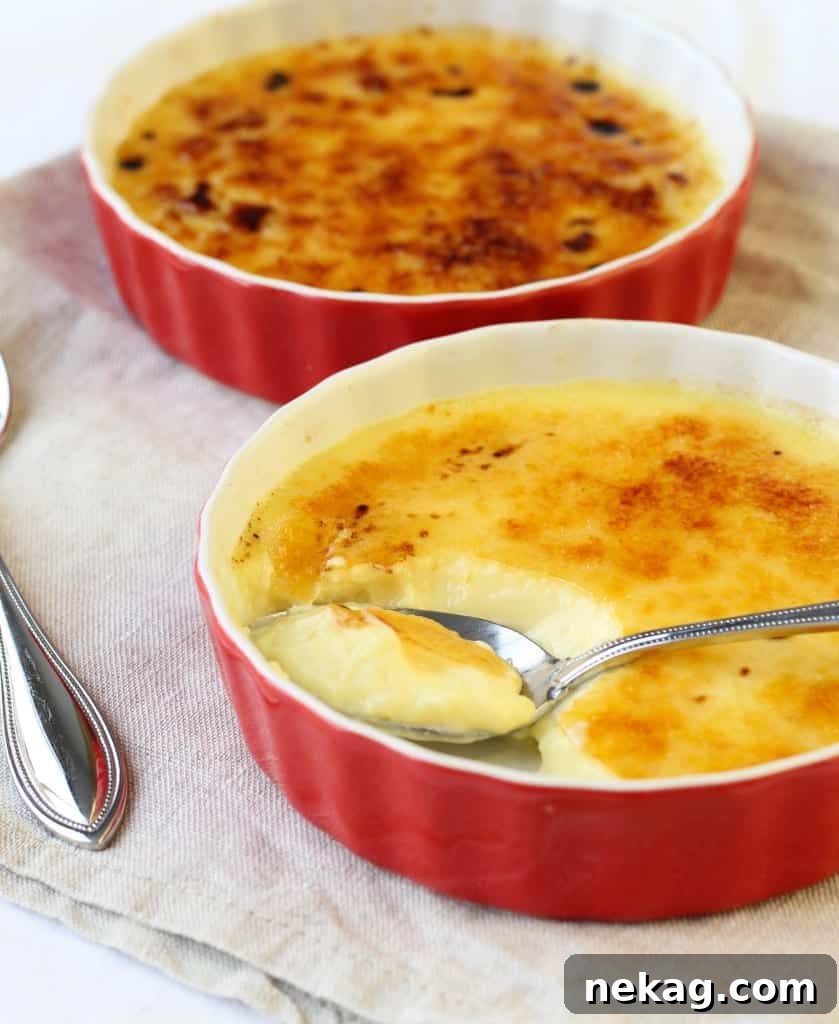
The Irresistible Allure of Homemade Crème Brûlée
Once I finally ventured into making Crème Brûlée at home, there was no turning back. The sheer elegance, combined with the profound simplicity of its ingredients, quickly made it a cherished staple in my dessert repertoire. This recipe is designed to demystify the process, ensuring that even a novice baker can achieve a dessert that tastes like it came straight from a Parisian bistro. From the initial pour of rich cream to the final torching of the sugar, each step is a joy, culminating in a dessert that is both visually stunning and utterly delicious.
Baking with Confidence: The Water Bath Method
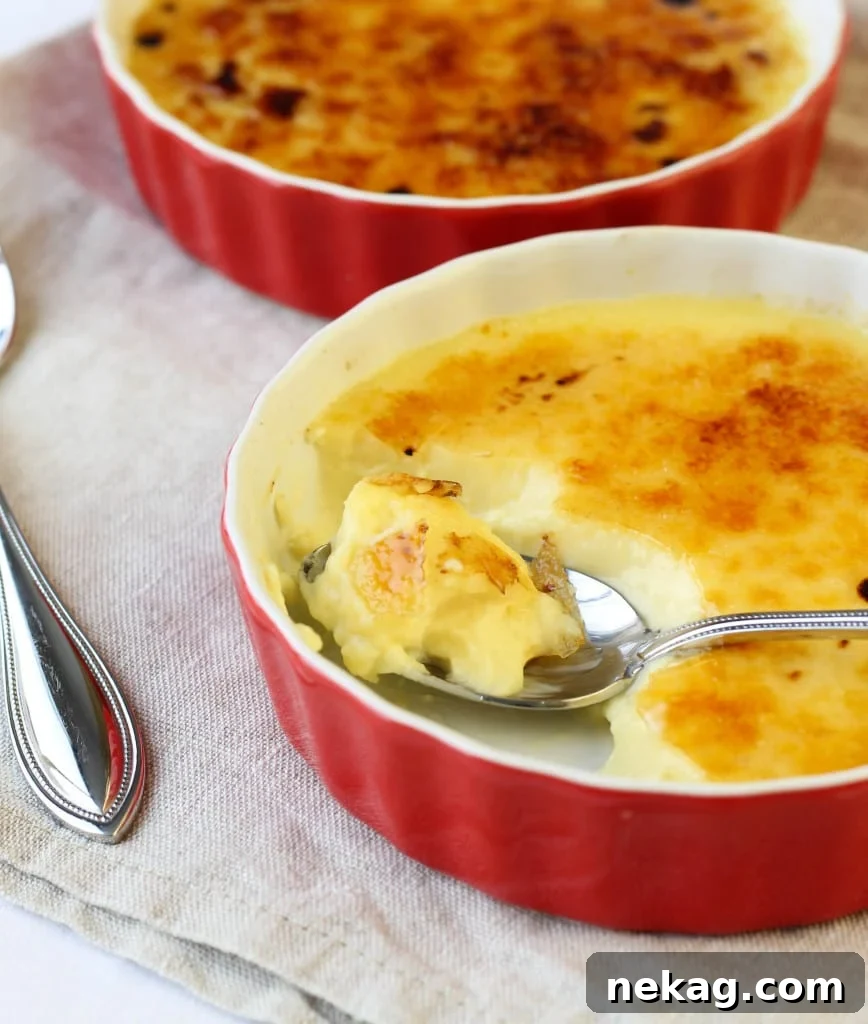
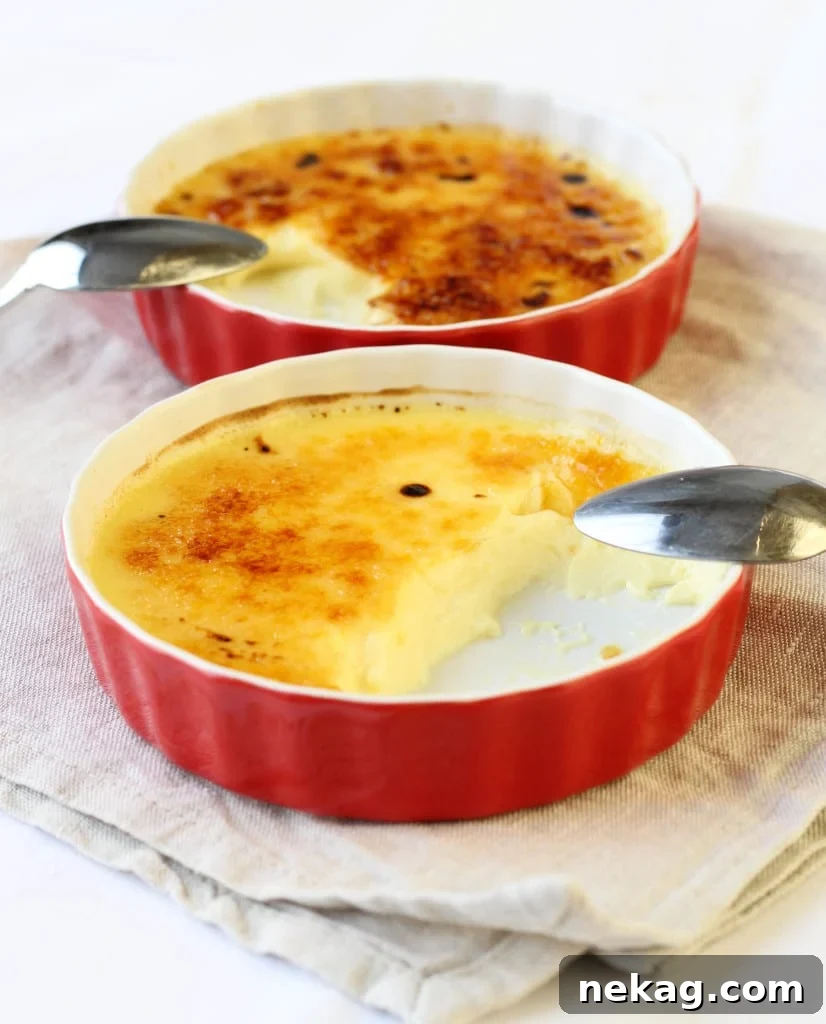
One common concern when baking custards is the water bath, or “bain-marie.” It might sound intimidating, but it’s a simple technique that creates the perfect gentle cooking environment, preventing the custard from curdling or cracking. In my own kitchen, I’ve even had a slight mishap where some water splashed into a custard dish during baking. Guess what? It came out totally fine! This goes to show that while precision helps, a little imperfection doesn’t spell disaster for a truly delicious result. The water bath ensures an even, slow cook, resulting in that signature silky smooth texture.
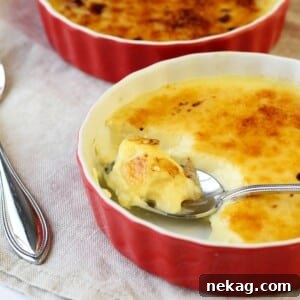
Observe the flawless finish, even with a minor hiccup along the way:
The Ultimate Make-Ahead Dessert
One of the most appealing aspects of Crème Brûlée is its fantastic make-ahead potential. The custards can be prepared and chilled for up to four days in the refrigerator (without the brûléed sugar topping, of course). This makes it an absolute dream for entertaining! Imagine whipping these beauties out of the fridge with a flourish just as your dinner guests finish their main course. A quick torch of the superfine sugar, and voilà – you’ve presented a stunning, restaurant-quality dessert that highlights your culinary finesse with minimal last-minute effort. It’s perfect for dazzling a loved one on Valentine’s Day, creating a memorable date night at home, or simply adding a touch of gourmet sparkle to an otherwise ordinary Tuesday.
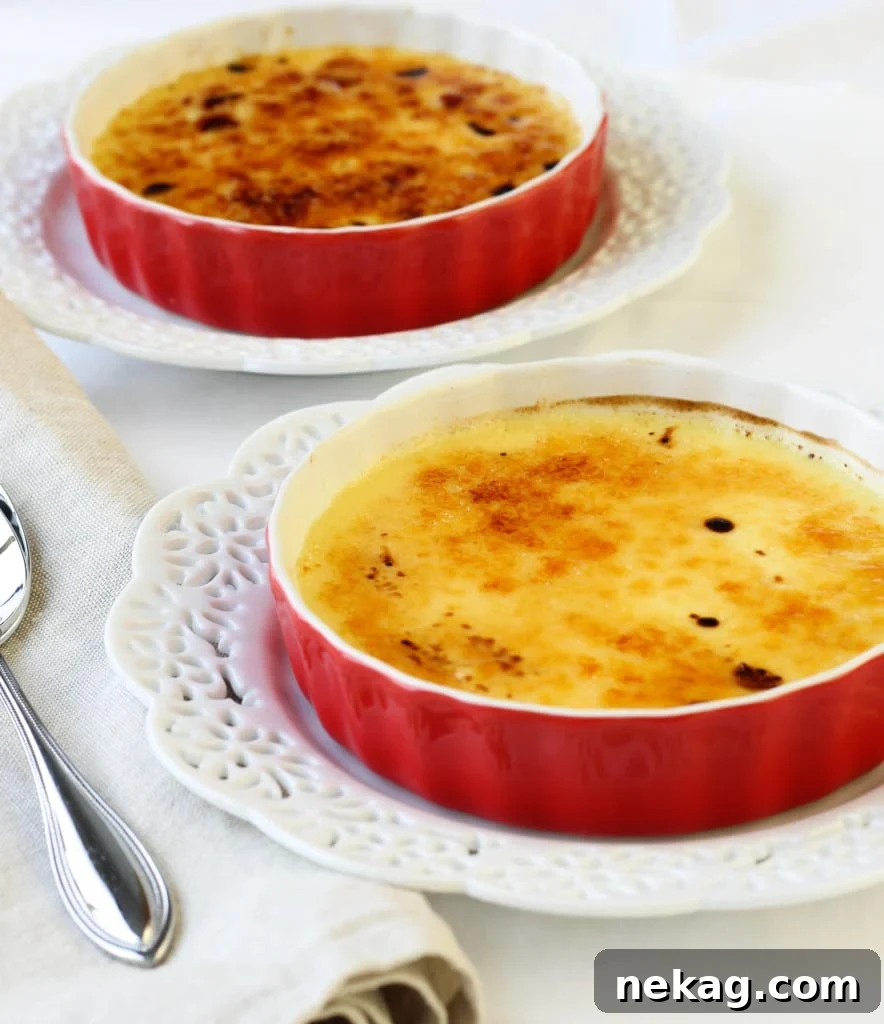
Et Voilà! Dessert is served, effortlessly and deliciously.
The Secret to the Perfect Caramelized Topping: Choosing Your Sugar Wisely
Achieving that iconic, shatteringly crisp sugar crust is paramount to an authentic Crème Brûlée experience. During a recent “Test Kitchen” experiment, I compared two types of sugar for the topping: turbinado sugar (as often suggested in traditional recipes) and superfine granulated sugar. The results were quite telling. The turbinado sugar, with its larger crystals, began to burn in spots before all the sugar had fully melted and caramelized, making the process feel rushed and a bit chaotic. Like Cher Horowitz in Clueless, I really hate that feeling of being out of control, especially when aiming for perfection in the kitchen.
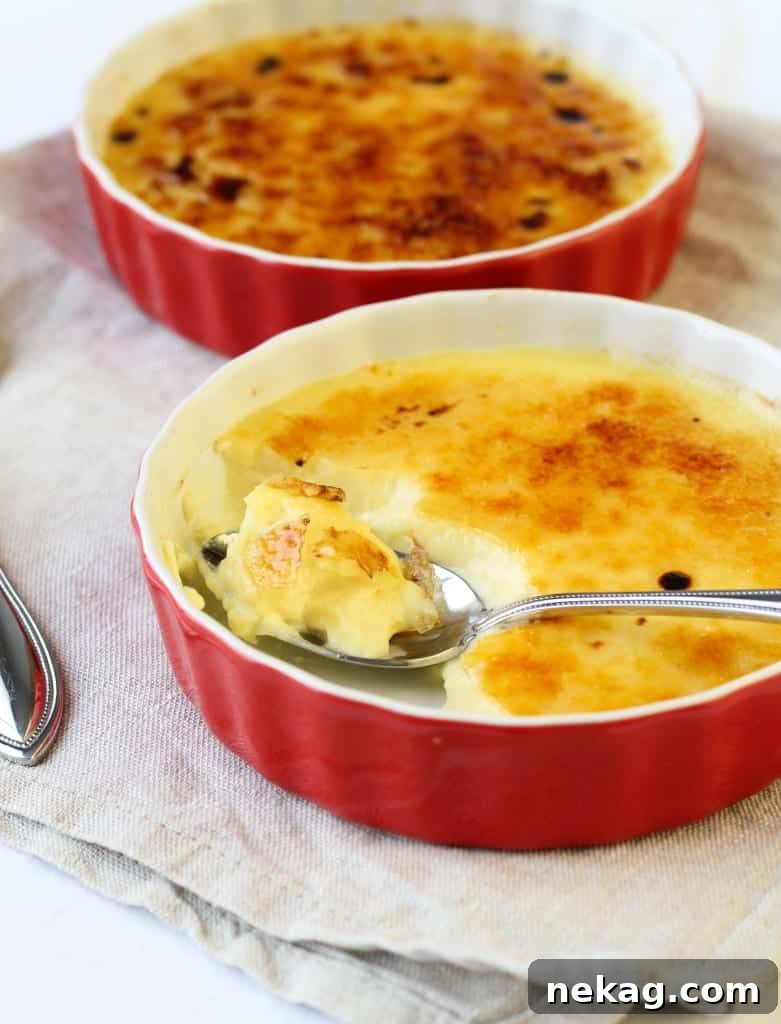
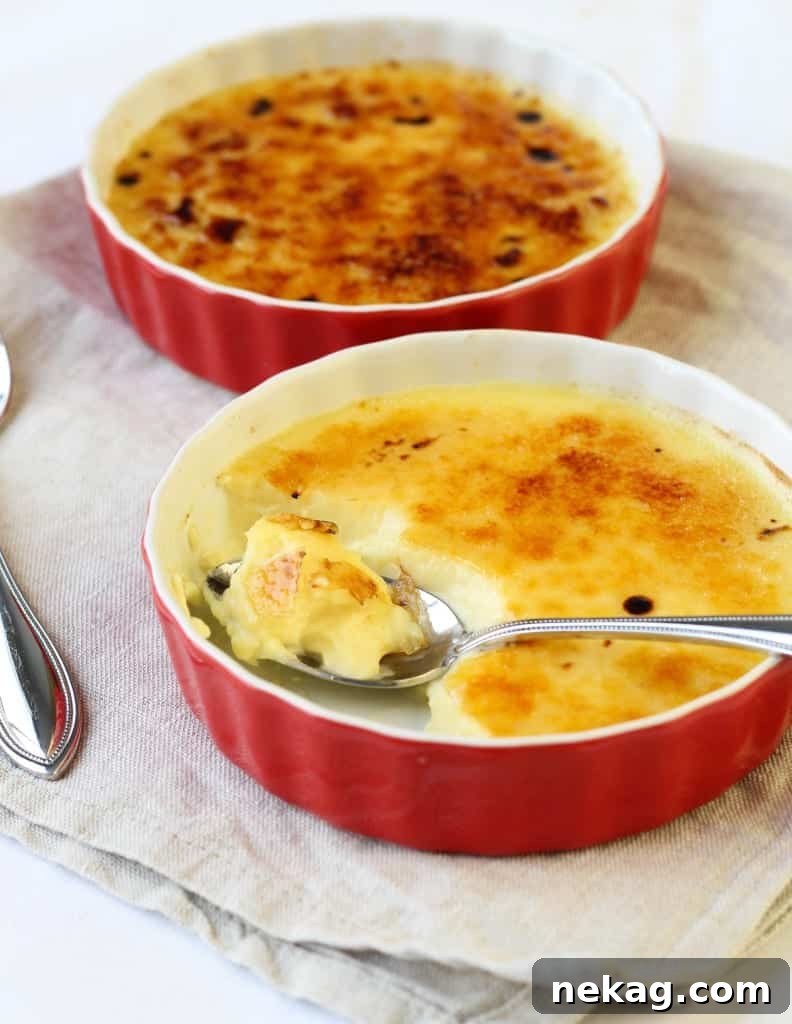
In contrast, the superfine granulated sugar melted much faster and created a remarkably more even, glass-like crust. Its fine texture allows for uniform caramelization, giving you precise control over the depth of the golden-amber color and the resulting crispness. This small detail makes a significant difference in both the process and the final outcome, ensuring every bite delivers that satisfying crunch alongside the dreamy vanilla custard. The custard itself, with a noticeable vanilla flavor, was heavenly, and the crust was beautifully crisp—just like my beloved crème caramel recipe, this one is truly to-die-for!
★
★
★
★
Crème Brûlée – Perfect Portions For Two!
Comment
Print Recipe
Ingredients
- 1 cup heavy whipping cream cold
- 2 tablespoons sugar
- pinch kosher salt
- 3 egg yolks save the whites for Angel Food Cake!
- ½ teaspoon vanilla extract
- 2 teaspoons superfine sugar for brûlée
Instructions
-
Prepare Oven and Water Bath: Preheat your oven to 300°F (150°C), ensuring the oven rack is positioned in the lower third. Begin heating a pot of water on the stove until it comes to a boil. This boiling water will be used for your water bath. Carefully place two 4-5 oz ramekins into a roasting pan or a baking dish with high sides, which will hold the water bath.
-
Heat Cream Mixture: In a small saucepan, combine ½ cup of the heavy cream, 2 tablespoons of granulated sugar, and a pinch of kosher salt. Heat this mixture gently over medium heat, stirring frequently with a whisk, until it just begins to simmer or reaches a gentle boil. Remove it from the heat immediately to prevent scorching.
-
Cool Cream Mixture: Allow the heated cream mixture to cool for approximately 5 minutes. To further bring down its temperature and prevent the egg yolks from scrambling, stir in the remaining ½ cup of cold heavy cream. This tempering step is crucial for a smooth custard.
-
Temper Egg Yolks: In a separate medium, heatproof bowl, whisk the three egg yolks until they are smooth and thoroughly combined. Add the ½ teaspoon of vanilla extract. Gradually add ¼ cup of the slightly cooled cream mixture into the whisked egg yolks, continuously whisking to slowly bring the temperature of the yolks up without cooking them.
-
Combine Custard: Continue to slowly add the remaining heavy cream mixture to the egg yolk mixture, about ¼ cup at a time, whisking constantly until all ingredients are fully incorporated. The custard should be smooth and have a uniform pale yellow color.
-
Strain the Custard: For the silkiest texture, strain the entire custard mixture through a fine-mesh sieve into a 2-cup liquid measuring cup. This step removes any tiny lumps or bits of cooked egg, ensuring a flawlessly smooth final product. Discard any solids caught by the strainer.
-
Assemble Water Bath: Carefully pour the boiling water into the roasting pan around the ramekins until the water level reaches about halfway up the sides of the ramekins. Then, evenly divide the strained custard mixture between the two prepared ramekins.
-
Bake the Custards: Gently place the roasting pan, containing the ramekins and water bath, into the preheated oven. Exercise extreme caution to avoid splashing any water into the custards. (As noted, a small splash won’t ruin them, but it’s best to be careful!)
-
Check for Doneness: Bake for 20-40 minutes. The exact baking time will depend on the depth of your ramekins and your oven’s specific calibration. For my 4-5 oz dishes, baking typically takes about 28 minutes. The custards are ready when the edges are set firm, but the center still retains a slight, gentle wobble when the pan is carefully shaken.
-
Cool the Custards: Once baked, remove the roasting pan from the oven. Using a turkey baster or a large spoon, carefully siphon or scoop out most of the hot water from the roasting pan. This makes it much safer and easier to handle the ramekins. Then, using a large, sturdy spatula, carefully transfer the individual custard dishes to a wire cooling rack to cool completely.
-
Chill Thoroughly: Allow the custards to cool at room temperature for at least 1 hour, or until they have reached room temperature. Once cooled, cover each ramekin tightly with plastic wrap (try to avoid the plastic touching the custard surface) and place them in the refrigerator for a minimum of 2 hours, and up to 4 days. This chilling period is crucial for the custard to set properly and for flavors to fully develop.
-
To Finish the Crème Brûlée (Just Before Serving):
-
Prepare for Torching: Approximately 30 minutes before you plan to serve, remove the chilled custards from the refrigerator and let them sit at room temperature. Carefully remove the plastic wrap and gently blot any condensation from the surface of the custard using a clean paper towel. A dry surface is essential for proper caramelization.
-
Add Sugar Topping: Evenly sprinkle about 2 teaspoons of superfine sugar over the entire surface of each custard. If you’re using deeper ramekins, you may need to slightly reduce the amount of sugar to prevent an overly thick or hard crust.
-
Caramelize with Torch: Using a kitchen blowtorch, move the flame steadily and continuously across the sugar surface in small, circular motions. The key is to keep the flame moving; never hold it stationary in one spot for too long, as this will burn the sugar. Continue this process until the sugar has completely melted and caramelized into a beautiful, golden-amber, brittle crust.
-
Serve Immediately: Serve your perfectly brûléed custards immediately. It is crucial NOT to place the caramelized custards back into the refrigerator, as the cold will cause the sugar crust to soften and lose its delightful crunch – truly a culinary “travesty”! Enjoy the magical contrast of warm, crisp sugar and cold, silky custard.
Notes
Recipe adapted from Tracey’s Culinary Adventures.
Nutrition
Per Serving (Approximate):
- Calories: 556 kcal
- Carbohydrates: 20 g
- Protein: 8 g
- Fat: 50 g
- Saturated Fat: 30 g
- Polyunsaturated Fat: 3 g
- Monounsaturated Fat: 14 g
- Cholesterol: 426 mg
- Sodium: 45 mg
- Potassium: 144 mg
- Sugar: 20 g
- Vitamin A: 2139 IU
- Vitamin C: 1 mg
- Calcium: 114 mg
- Iron: 1 mg
(Nutritional information is an estimate and may vary based on ingredients and preparation methods.)
Tips for Crème Brûlée Perfection
- Quality Ingredients Matter: Use high-quality heavy cream and fresh, large egg yolks for the best flavor and texture. Good vanilla extract or, even better, a scraped vanilla bean will elevate the custard significantly.
- Tempering is Key: Slowly incorporating the hot cream into the egg yolks (tempering) prevents them from scrambling, ensuring a silky-smooth custard. Take your time with this step.
- Don’t Skip Straining: Straining the custard through a fine-mesh sieve removes any potential lumps or cooked egg bits, guaranteeing that coveted smooth consistency.
- The Water Bath is Your Friend: The bain-marie provides gentle, even heat, preventing the custard from overcooking, cracking, or developing a rubbery texture. Ensure the water is hot (but not rapidly boiling) when you place the pan in the oven.
- Chill Thoroughly: Adequate chilling time is essential for the custard to fully set and for the flavors to meld beautifully. Resist the urge to rush this step.
- Superfine Sugar for the Win: As tested, superfine granulated sugar creates the most even and consistent caramelized crust. It melts quickly and uniformly under the torch.
- Torch Technique: Keep the kitchen torch flame moving in small circles over the sugar. Never hold it in one spot to avoid burning the sugar, which can impart a bitter taste. Aim for a beautiful golden-amber color.
Common Crème Brûlée Mistakes & How to Avoid Them
Even seasoned chefs can encounter challenges with Crème Brûlée. Here are a few common pitfalls and how to steer clear of them:
- Grainy or Curdled Custard: This usually happens if the egg yolks are not properly tempered or if the custard is overcooked. Make sure to slowly whisk the warm cream into the yolks and strain the mixture before baking.
- Cracked Custard Surface: Overbaking or a water bath that isn’t hot enough can cause the custard to crack. The custard should still have a slight wobble in the center when removed from the oven.
- Soggy or Burnt Sugar Crust: Using coarse sugar (like turbinado) can lead to uneven melting and burning. Always use superfine sugar. Also, not blotting condensation from the chilled custard surface can make the sugar melt unevenly, leading to a less crisp crust. Remember to keep the torch moving!
- Weak Vanilla Flavor: Skimping on quality vanilla or not using enough can result in a bland custard. Opt for pure vanilla extract or, if possible, a vanilla bean for an authentic, rich flavor.
- Sugar Crust Softens: The biggest “travesty” is putting brûléed custards back in the fridge! The moisture in the refrigerator will soften the crisp sugar topping. Always serve immediately after torching.
Crème Brûlée Variations to Explore
While the classic vanilla Crème Brûlée is divine, this recipe serves as an excellent base for various flavor explorations:
- Coffee Crème Brûlée: Infuse the cream with espresso powder or coffee beans during the heating stage for a rich coffee flavor.
- Chocolate Crème Brûlée: Melt in some high-quality dark chocolate chips or cocoa powder with the cream.
- Lavender Crème Brûlée: Steep a small amount of food-grade dried lavender in the hot cream before straining.
- Citrus Crème Brûlée: Add orange, lemon, or lime zest to the cream for a bright, refreshing twist.
- Spiced Crème Brûlée: Infuse the cream with cinnamon sticks, cardamom pods, or star anise for a warm, aromatic profile.
- Matcha Crème Brûlée: Whisk ceremonial grade matcha powder into the egg yolks for an earthy, vibrant dessert.
Serving Suggestions
The beauty of Crème Brûlée is that it’s a complete dessert on its own. However, a few simple garnishes can elevate the experience:
- Fresh Berries: A scattering of fresh raspberries, blueberries, or sliced strawberries adds a burst of freshness and color.
- Mint Sprig: A delicate mint sprig provides a touch of elegance and a subtle aromatic contrast.
- Chocolate Shavings: A few curls of dark chocolate can enhance the richness and visual appeal.
Like this recipe? Leave a comment below!
Beyond Crème Brûlée: More Culinary Adventures Await
I genuinely hope you enjoyed mastering this professional chef-tested recipe for Crème Brûlée. There’s immense satisfaction in creating such an iconic dessert from scratch, especially one that’s perfect for two. If you’re eager to explore more delightful custards, be sure to check out our other delicious, chef-developed stirred custard recipes, or perhaps try out this decadent vanilla bean pastry cream recipe next! And while you’re embracing the elegance of French cuisine, why not whip up my fantastic crepes recipe for another simple yet sophisticated treat?