
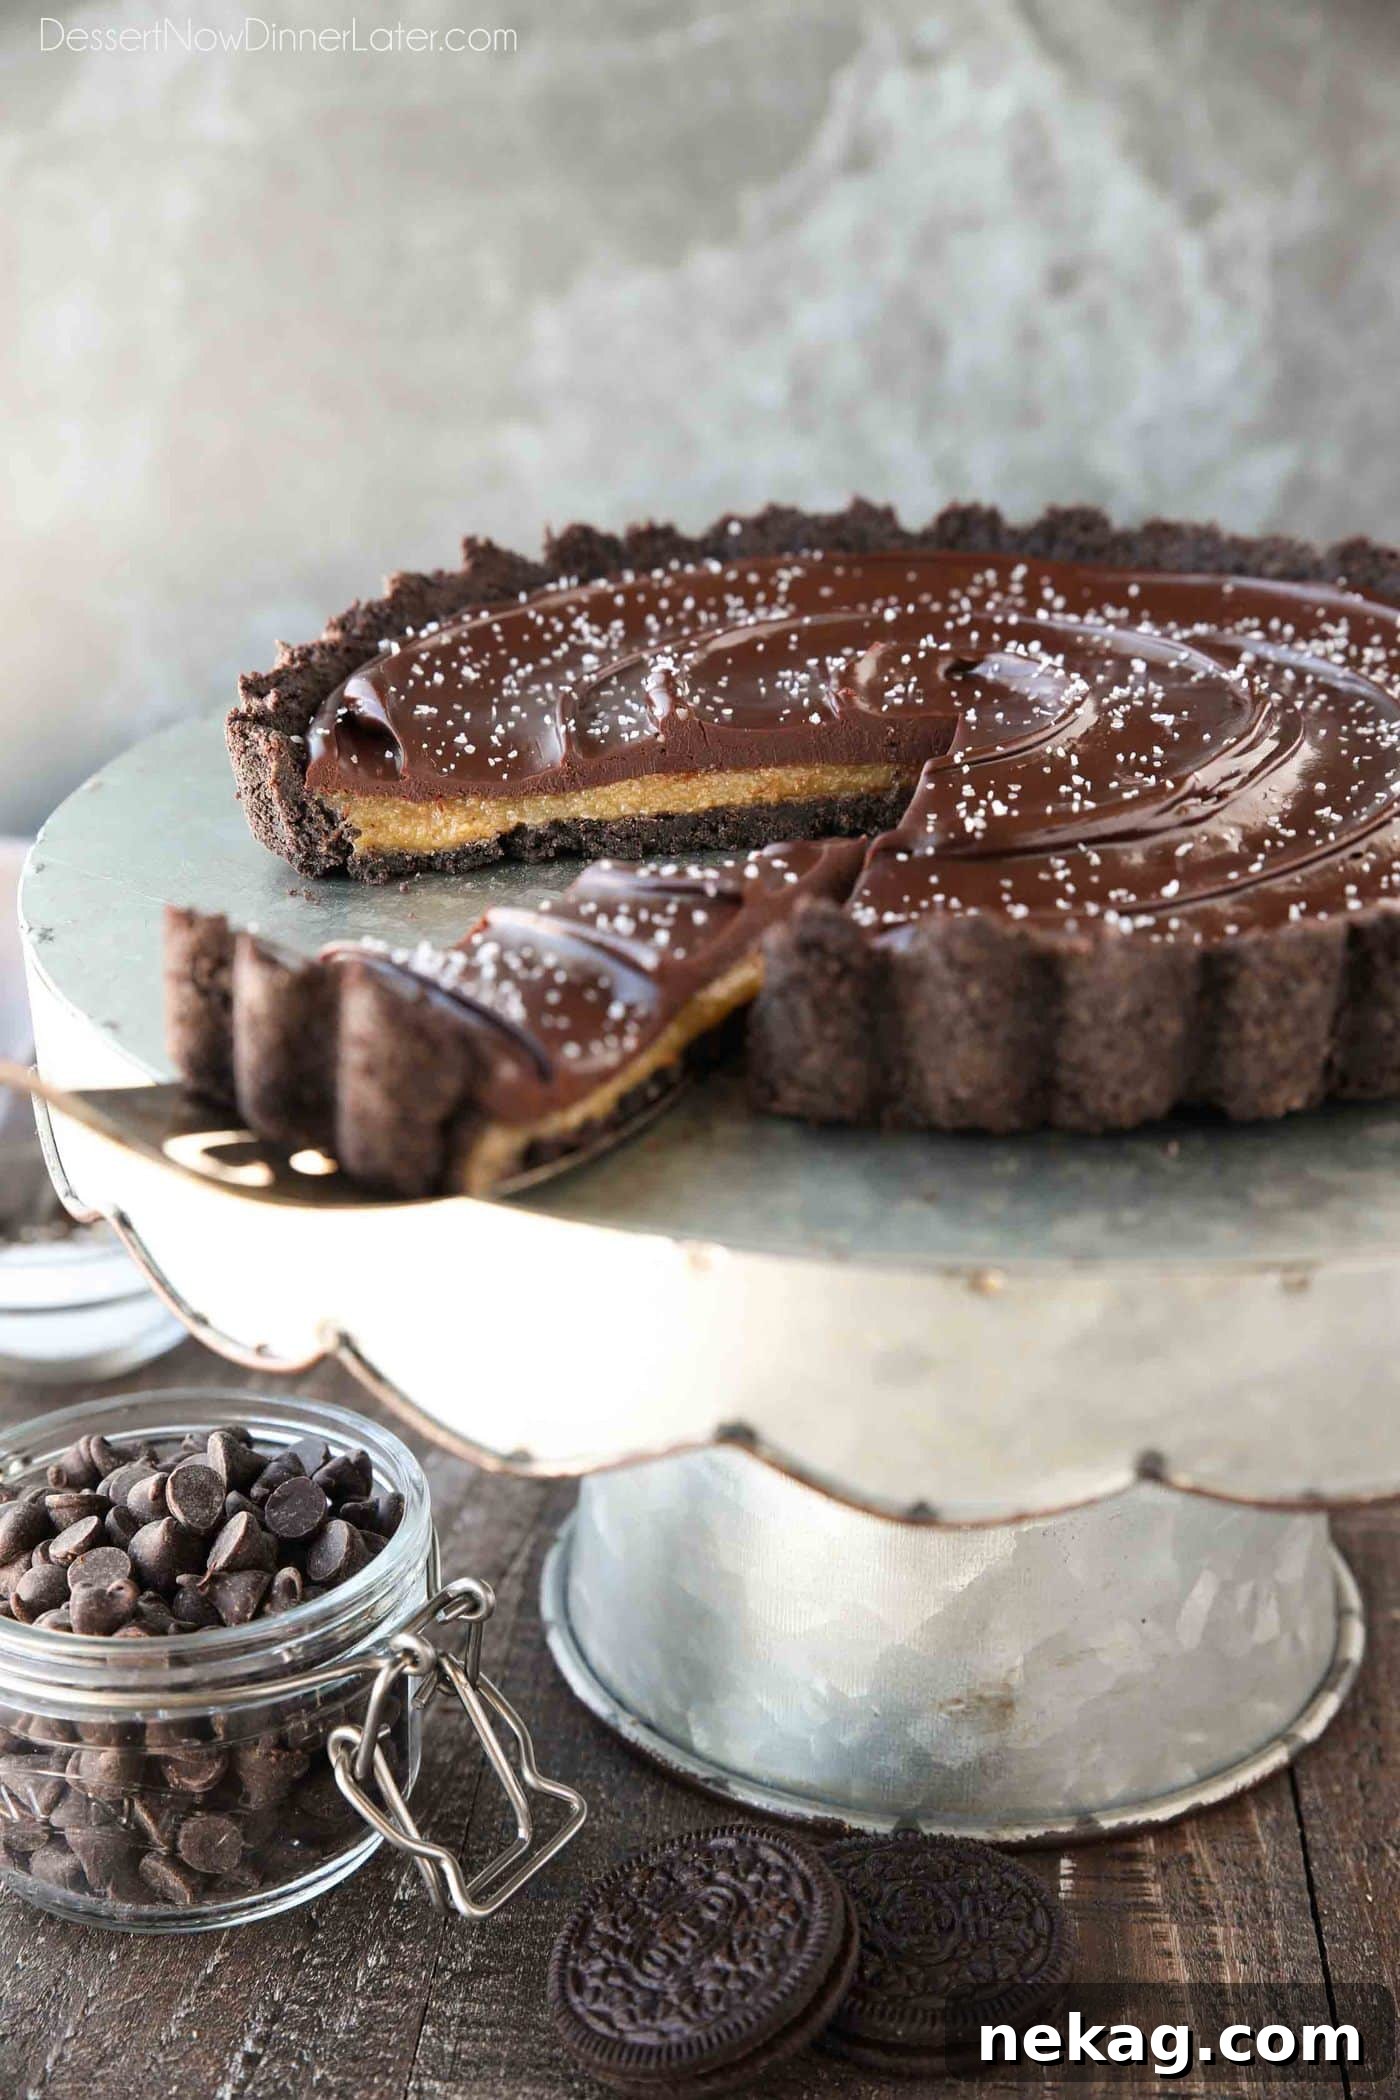
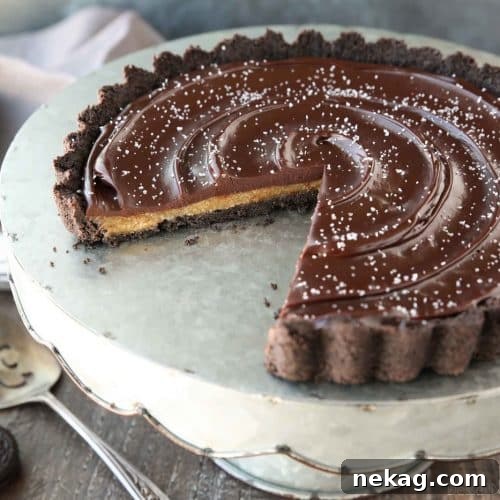
Indulge in the ultimate dessert experience with this utterly delightful Chocolate Caramel Tart. Featuring a rich, crunchy Oreo cookie crust, a luxuriously soft and buttery caramel filling, and a velvety smooth chocolate ganache topping, this decadent treat is perfectly finished with a sprinkle of flaky kosher salt. It’s a show-stopping dessert that looks incredibly sophisticated but is surprisingly simple to create, making it ideal for both special occasions and comforting weeknight cravings.
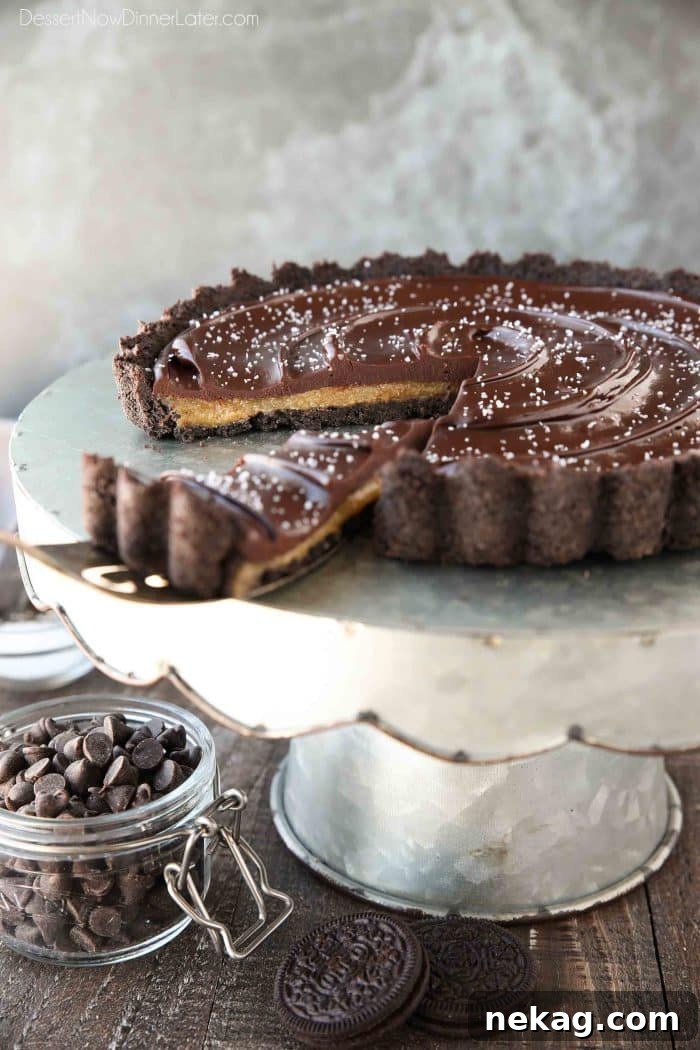
Prepare to fall in love with a dessert crafted for true chocoholics and caramel aficionados alike! This extraordinary Chocolate Caramel Tart layers a robust chocolate cookie crust, an incredibly buttery caramel heart, and a silky-smooth ganache crown. The final touch of flaky sea salt isn’t just an afterthought; it’s the crucial element that elevates every bite, perfectly balancing the sweetness and intensifying the deep chocolate and caramel flavors. This tart is more than just a dessert; it’s an irresistible symphony of textures and tastes.
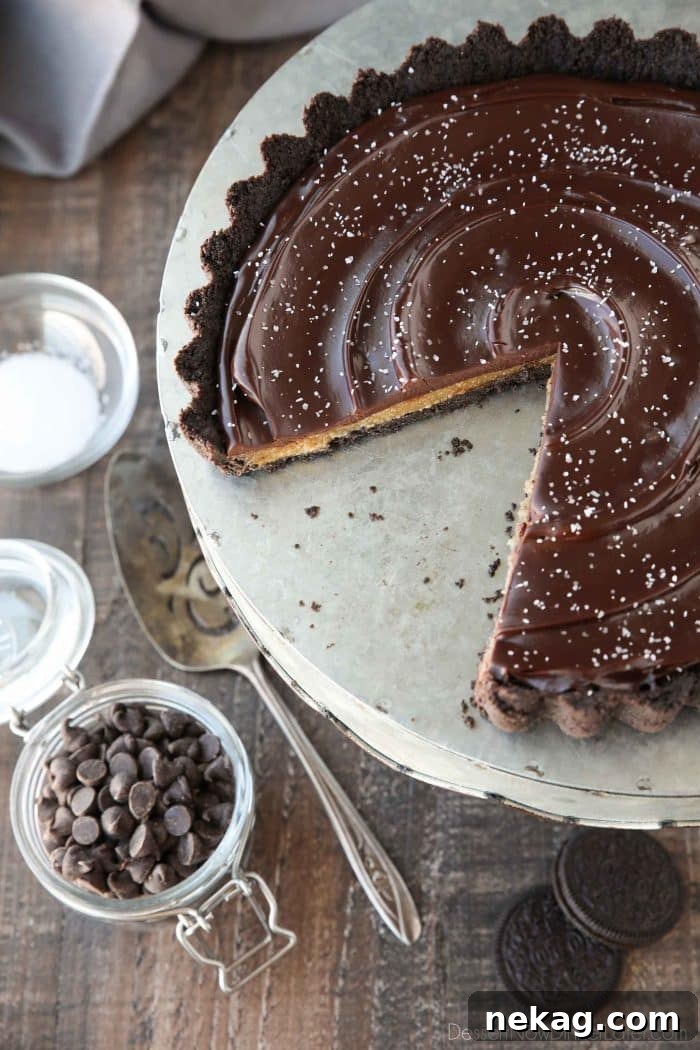
Why You Will Adore This Chocolate Caramel Tart
This Chocolate Caramel Tart isn’t just another dessert; it’s a testament to simple elegance and profound flavor. Here’s why it’s destined to become a staple in your recipe collection:
- Effortless Elegance: While it presents beautifully, giving the impression of hours spent in the kitchen, this tart is remarkably straightforward to assemble. Perfect for impressing guests without the stress.
- Unbeatable Flavor Combination: Chocolate and caramel are a classic pairing for a reason. The deep cocoa notes of the crust and ganache perfectly complement the rich, buttery sweetness of the caramel, creating a harmonious blend that tantalizes the taste buds.
- Perfect Balance of Sweet and Salty: The sprinkle of flaky sea salt is a game-changer. It cuts through the sweetness, highlighting the complex flavors of the chocolate and caramel, and leaves you craving just one more slice.
- Delightful Textural Contrast: From the satisfying crunch of the Oreo crust to the gooey chewiness of the caramel and the creamy smoothness of the ganache, every layer offers a unique and pleasing texture that makes each bite an experience.
- Customizable and Versatile: Whether you prefer dark, milk, or semi-sweet chocolate, or want to explore a no-bake crust option, this recipe is flexible. It can be adapted to various preferences, making it a crowd-pleaser for any occasion.
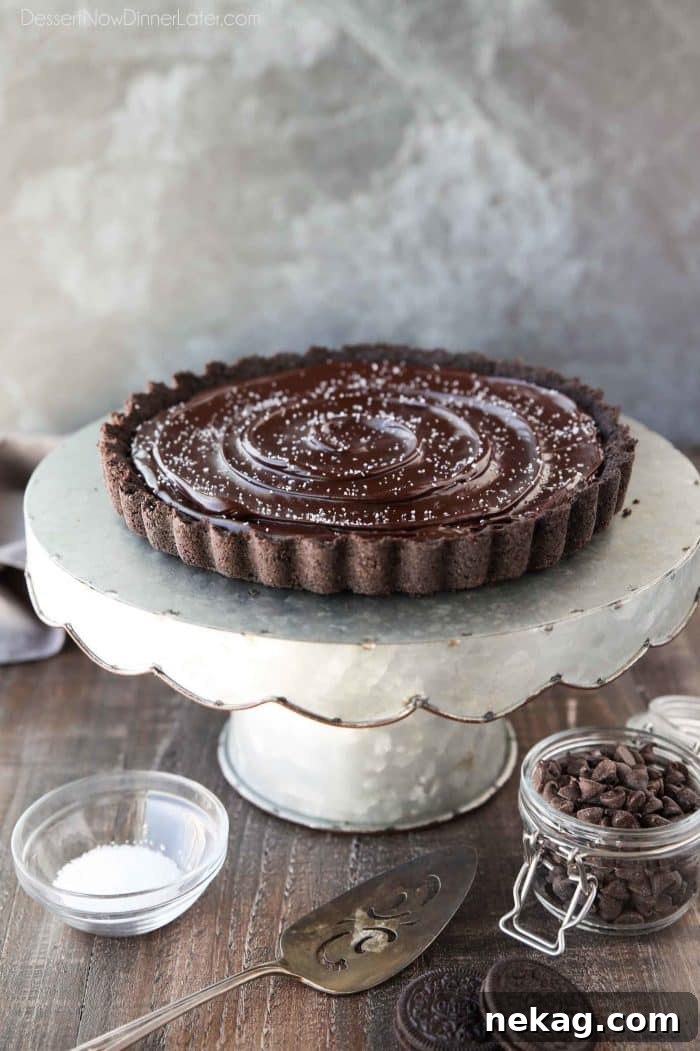
The Irresistible Oreo Crust
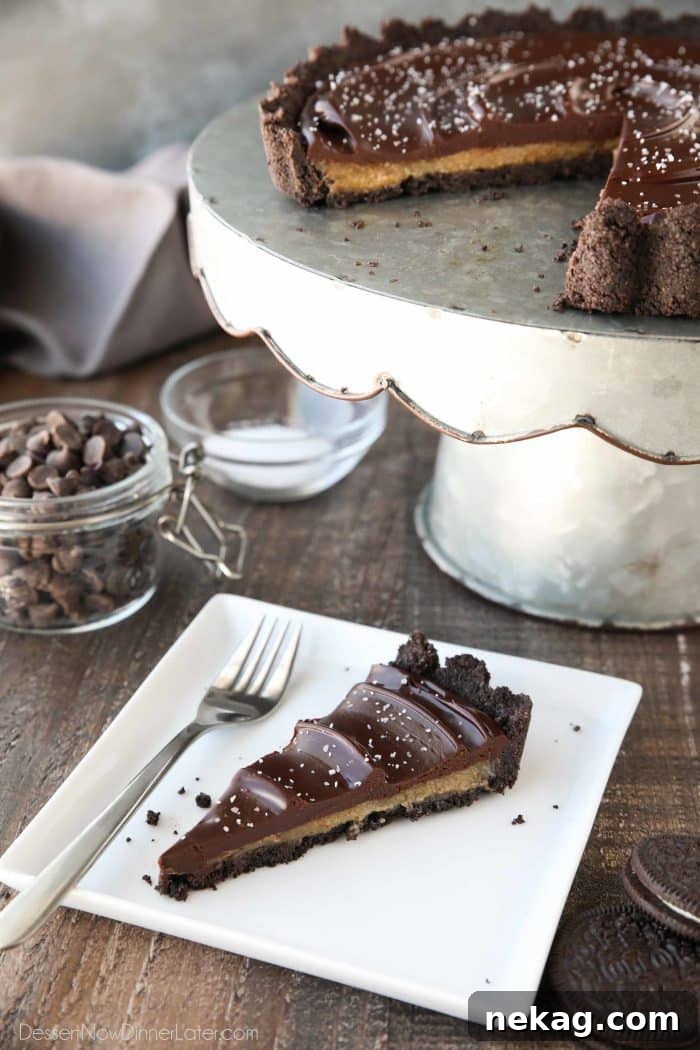
Forget the standard shortbread; this tart elevates its foundation with a delectable Oreo cookie crust. Crushed Oreo cookies, including their creamy filling, are blended with melted butter to form a fragrant, dark chocolate base that perfectly cradles the rich fillings. The beauty of an Oreo crust lies not only in its intense chocolate flavor but also in its versatility and ease of preparation.
While the recipe suggests a brief bake to set the crust and create a sturdier shell, it’s entirely optional. For those who prefer a completely no-bake dessert, simply press the mixture into your tart pan and chill it thoroughly in the refrigerator or freezer until firm. This method is fantastic for warmer days or when you want to minimize oven time. The baking step, however, adds a slightly crispier texture and helps the crust hold its shape exceptionally well, especially if you plan to transport the tart or keep it for a few days.
If you’re as big a fan of Oreo crusts as we are, you’ll love exploring these other delightful recipes:
- Chocolate Pudding Pie
- Frozen Peanut Butter Cup Pie
- Oreo Ice Cream Dessert
- Layered No Bake Cheesecake
The Luscious Caramel Filling
The caramel layer in this tart is where simplicity meets sheer indulgence. Forget intimidating candy thermometers and tricky temperature controls; this recipe delivers a soft, buttery, and utterly irresistible caramel filling with remarkable ease. It’s a testament to how effortlessly you can create gourmet flavors in your own kitchen.
The process involves gently melting butter with brown sugar, allowing it to bubble and deepen in flavor for just one minute. This brief cooking period is enough to develop that rich, unmistakable caramel taste. Once off the heat, warm heavy cream and a splash of vanilla extract are whisked in, transforming the mixture into a smooth, glossy, and perfectly pourable caramel. Be mindful as you add the warm cream – the mixture will bubble up delightfully, a sign that the magic is happening!
This easy caramel recipe became a personal obsession after experimenting with homemade caramels last year. Since then, I’ve made it a mission to incorporate this golden delight into more desserts. Caramel, often overshadowed by other holiday flavors, truly shines as the perfect middle layer in this tart, providing a gooey, sweet counterpoint to the chocolate layers. Its soft consistency ensures a beautiful slice every time, contrasting wonderfully with the crisp crust and firm ganache.
If you find yourself captivated by the sweet and salty allure of caramel, these additional recipes are an absolute must-try:
- Salted Caramel Cookies
- Caramel Pretzel Chocolate Chip Cookies
The Velvety Chocolate Ganache
Crowning this spectacular tart is a layer of decadent chocolate ganache – a luxurious finishing touch that’s surprisingly easy to master. If you’ve ever delighted in the rich, melt-in-your-mouth experience of chocolate truffles, then you’re already familiar with the magic of ganache. At its core, ganache is a simple yet transformative emulsion of chocolate and heavy cream, yielding a texture that is both silky smooth and remarkably glossy.
For this tart, we recommend using dark or semi-sweet chocolate chips, as their robust flavor provides a wonderful balance to the sweetness of the caramel. However, feel free to experiment with other types of chocolate, including milk chocolate for a sweeter profile or even white chocolate for a different aesthetic and flavor. The heavy cream is key to achieving that signature smooth texture and beautiful sheen, ensuring the ganache remains semi-soft even after it has fully set, making for an effortless slice and a delightful mouthfeel.
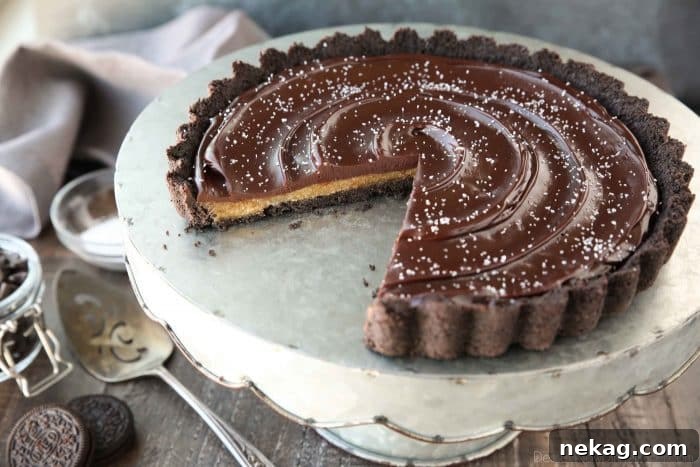
The consistency of ganache is remarkably versatile and changes with temperature. When the hot cream is first poured over the chocolate chips and whisked, it creates a thin, pourable liquid, perfect for an even, smooth coating. As it cools to room temperature, it gradually thickens, allowing for artistic flourishes. For instance, on the day I made this particular tart, my kitchen was quite cool, which allowed the ganache to thicken just enough for me to create a lovely swirled pattern on top of the caramel layer before it set completely. This subtle detail adds an extra touch of gourmet appeal to an already stunning dessert.
The Magic of Flaky Sea Salt
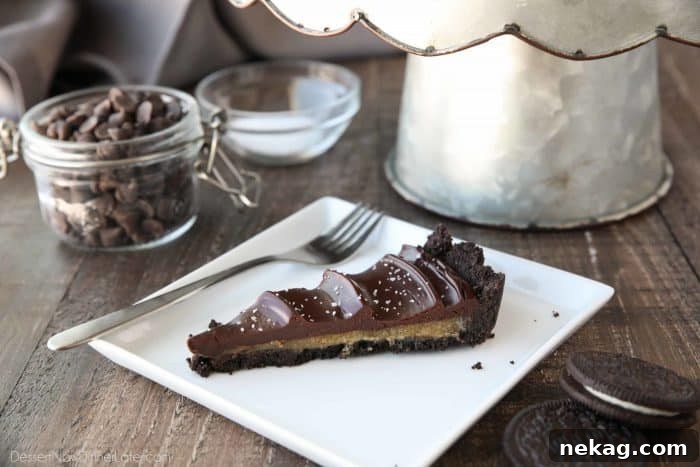
While often overlooked, the sprinkle of flaky salt on top of this Chocolate Caramel Tart is not merely a garnish—it’s an essential flavor enhancer. A generous dusting of salt does wonders to elevate the dessert, creating a sophisticated taste profile that is both complex and incredibly satisfying. The salt acts as a counterpoint, bringing out the deeper notes of the chocolate and expertly tempering the intense sweetness of the caramel. This creates a harmonious sweet-and-salty dynamic that is utterly addictive.
For the best results, we highly recommend using a coarse, flaky salt. Options like kosher salt, sea salt, or the delicate fleur de sel are perfect choices. Their irregular crystals provide a pleasant crunch and burst of salinity that enhances every bite. Do not be tempted to skip this step; it truly transforms a delicious tart into an extraordinary one. The interplay of flavors will leave a lasting impression, making this dessert memorable long after the last piece is gone. Enjoy this simple yet powerful addition!
How to Make This Chocolate Caramel Tart: A Step-by-Step Guide
Crafting this elegant Chocolate Caramel Tart is a straightforward process when broken down into its delicious layers. Here’s a detailed look at how each component comes together to create a masterpiece:
Step 1: Preparing the Oreo Crust
The foundation of our tart begins with a simple yet incredibly flavorful Oreo crust. First, preheat your oven to 350°F (175°C) if you plan to bake the crust. In a food processor, pulse entire Oreo cookies (filling included) until they transform into fine, even crumbs. Transfer these crumbs to a bowl, then thoroughly mix in melted butter until the mixture resembles wet sand. This butter acts as the binder, holding the crumbs together. Press this mixture firmly into the bottom and up the sides of an 8-inch tart shell. A 9-inch pie dish can also be used as an alternative. If baking, place it in the preheated oven for 8 minutes to set, then remove and allow it to cool slightly while you prepare the next layer. For a no-bake option, simply freeze the crust for about 10 minutes until firm.
Step 2: Crafting the Silky Caramel Filling
The star of the show, our soft caramel filling, is surprisingly easy and requires no special equipment like a candy thermometer. In a small saucepan over medium heat, melt the butter with the brown sugar. Stir this mixture frequently with a spatula to prevent sticking and ensure even melting. Continue cooking and stirring for about 1 minute after it begins to bubble vigorously – this develops a deeper caramel flavor. Simultaneously, warm the heavy cream in a microwave for 30-60 seconds until it’s simmering, but not boiling over. Remove the saucepan from the heat, and carefully, but quickly, whisk in the warm heavy cream and vanilla extract. Be prepared for it to bubble up enthusiastically – this is normal! Once smooth, immediately pour this warm, luscious caramel into your prepared Oreo crust. Place the tart into the freezer for approximately 30 minutes to chill and set the caramel layer, ensuring it’s firm but not fully frozen.
Step 3: Whipping Up the Velvety Chocolate Ganache
The final, glossy layer is our rich chocolate ganache. Place your dark or semi-sweet chocolate chips in a heatproof glass bowl. In a separate small saucepan, or in the microwave for 30-60 seconds, heat the heavy cream until it just simmers. Once simmering, immediately pour the hot cream over the chocolate chips. Let it sit undisturbed for 1 minute – this allows the chocolate to melt gently. After 1 minute, whisk the mixture gently but consistently until it becomes completely smooth, glossy, and uniform. The result should be a beautiful, pourable ganache. If you desire a slightly thicker ganache for swirling, allow it to cool for a few minutes at room temperature before proceeding.
Step 4: Assembling and Finishing the Tart
Once the caramel layer is sufficiently chilled and set, pour the freshly made chocolate ganache evenly over the caramel. You can simply smooth it out with an offset spatula for a sleek finish, or gently swirl it to create an appealing pattern, especially if your kitchen is cool enough for the ganache to begin thickening slightly. Allow the chocolate ganache to set at room temperature for an hour or two, or expedite the process by freezing it for 15-30 minutes until firm. Just before serving, sprinkle generously with flaky salt – whether it’s kosher salt, sea salt, or fleur de sel. This final touch is crucial for balancing the sweetness and enhancing the flavors. Slice the tart into thin, elegant portions, typically around 14 servings. Lightly cover any leftover tart with plastic wrap and store at room temperature for optimal texture, or refrigerate if your crust was not baked.
Tips for a Perfect Chocolate Caramel Tart
Achieving a bakery-worthy Chocolate Caramel Tart is simpler than you think with a few key tips:
- Quality Ingredients Matter: Since this tart has only a few core ingredients, using high-quality chocolate, fresh butter, and heavy cream will significantly impact the final flavor and texture. Opt for your favorite brand of semi-sweet or dark chocolate chips.
- Don’t Overcook the Caramel: When making the caramel, stick to the 1-minute boiling time after it begins to bubble. Overcooking can lead to a hard, brittle caramel instead of the soft, luscious consistency desired for this tart.
- Warm Cream for Caramel: Ensure your heavy cream is warm before adding it to the cooked butter and brown sugar mixture. This prevents the caramel from seizing and creates a smoother final product.
- Gentle Ganache Whisking: When making the ganache, pour hot cream over chocolate chips and let it sit before whisking. This allows the heat to melt the chocolate evenly. Whisk gently from the center outwards to create a smooth, emulsified ganache without incorporating too much air, which can make it appear dull.
- Chilling is Key: Don’t rush the chilling times for both the crust and the caramel layer. Adequate chilling ensures each layer sets properly, preventing them from mixing and allowing for clean, beautiful slices.
- Room Temperature for Serving: While the tart needs to chill to set, serving it at room temperature allows the caramel to soften slightly and the ganache to become wonderfully creamy, enhancing the overall flavor and texture experience.
- Even Salt Distribution: For the best sweet-and-salty balance, sprinkle the flaky salt evenly over the ganache just before serving. This ensures every bite gets that delightful pop of flavor.
Storage and Make-Ahead Instructions
This Chocolate Caramel Tart is an excellent dessert for making ahead, which is perfect for entertaining or when you want to enjoy a gourmet treat without last-minute fuss.
- Storage: Once the tart has fully set, lightly cover it with plastic wrap. Store it at room temperature for up to 2-3 days for optimal texture, especially if the crust was baked. If you opted for a no-bake crust, or if your kitchen is particularly warm, it’s best to store the tart in the refrigerator. In the fridge, it will last up to 4-5 days. Note that refrigeration might make the caramel and ganache slightly firmer, so allow it to sit at room temperature for 15-30 minutes before serving for the best consistency.
- Make-Ahead: You can prepare the entire tart a day or two in advance. Assemble all the layers, let it set, then cover and store as directed above. This allows the flavors to meld beautifully.
- Freezing: For longer storage, you can freeze the assembled tart. Wrap it tightly in plastic wrap, then an additional layer of aluminum foil. It can be frozen for up to 1 month. To thaw, transfer the frozen tart to the refrigerator overnight, then bring it to room temperature for about 30-60 minutes before serving.
Variations and Customizations
While this Chocolate Caramel Tart is perfect as is, it’s also wonderfully adaptable! Here are a few ideas to customize it to your taste:
- Different Crusts: Instead of Oreos, consider a traditional graham cracker crust, a shortbread crust, or even a pretzel crust for an extra salty crunch.
- Chocolate Choices: Experiment with different types of chocolate for the ganache. Milk chocolate will yield a sweeter, creamier ganache, while a higher percentage dark chocolate will offer a more intense, less sweet experience.
- Nutty Additions: Sprinkle chopped toasted pecans, walnuts, or almonds over the caramel layer before adding the ganache for added texture and flavor.
- Spiced Caramel: Infuse your caramel with a pinch of cinnamon, nutmeg, or a dash of chili powder for an unexpected warmth.
- Boozy Twist: Add a tablespoon of your favorite liqueur (like Kahlua, rum, or Grand Marnier) to the ganache or caramel for an adult-friendly version.
- Decorative Toppings: Beyond flaky salt, consider adding chocolate shavings, mini chocolate chips, a drizzle of white chocolate, or even edible gold flakes for an extra fancy presentation.
Frequently Asked Questions (FAQs)
Here are some common questions about making this Chocolate Caramel Tart:
- What kind of tart pan should I use?
- An 8-inch tart pan with a removable bottom is ideal for this recipe, as it makes serving and slicing much easier. You can also use a 9-inch pie dish, though the slices might be slightly less uniform when removed.
- Can I make this tart gluten-free?
- Absolutely! Simply substitute regular Oreo cookies with gluten-free chocolate sandwich cookies. The rest of the ingredients are naturally gluten-free, but always check labels for any hidden gluten.
- My caramel is too thin/thick. What went wrong?
- If your caramel is too thin, it might not have cooked long enough. If it’s too thick or hard, it was likely overcooked. Ensure you cook it for exactly 1 minute after it begins to bubble vigorously, stirring consistently, and using warm cream helps prevent it from seizing.
- How do I get a perfectly smooth ganache?
- The key is patience! Pour the hot cream over the chocolate and let it sit for a full minute to allow the chocolate to melt thoroughly. Then, whisk gently from the center outwards until completely smooth. Avoid over-whisking, which can incorporate air and make the ganache grainy.
- Can I use milk chocolate for the ganache?
- Yes, you can use milk chocolate, but be aware that it will result in a sweeter ganache. You might also need to adjust the cream quantity slightly, as milk chocolate has a different fat content. Start with slightly less cream and add more if needed to reach the desired consistency.
Chocolate Caramel Tart
Pin
Rate
SaveSaved!
Ingredients
Crust:
- 25 Oreo cookies
- 5 Tbsp (71 g) butter, melted
Caramel:
- 8 Tbsp (113 g) butter, (1 stick)
- ⅔ cup (134 g) brown sugar, packed
- ¼ cup (59 ml) heavy cream
- 1 tsp vanilla extract
Chocolate Ganache:
- 6 oz (170 g) dark or semi-sweet chocolate chips
- ½ cup (118 ml) heavy cream
- kosher salt, sea salt, or fleur de sel
Instructions
-
Preheat oven to 350 degrees Fahrenheit.
-
CRUST: In a food processor, pulse Oreos until fine crumbs. Add melted butter. Mix thoroughly. Press into the bottom and up the sides of an 8-inch tart shell. (May also use 9-inch pie dish.) Bake at 350˚F for 8 minutes. Remove and cool slightly.
-
CARAMEL: Melt butter with the brown sugar in a small saucepan over medium heat, stirring frequently with a spatula until the mixture begins to bubble. Continue cooking and stirring for 1 minute. Simultaneously nuke heavy cream for 30-60 seconds in microwave, until simmering. Remove caramel from the heat and stir in the warm heavy cream and vanilla. *Careful it will bubble up. Pour caramel into the prepared Oreo crust. Then place in freezer for about 30 minutes until chilled and set, but not frozen.
-
CHOCOLATE GANACHE: Place chocolate chips in a glass bowl. Bring heavy cream to a simmer in a saucepan or for 30-60 seconds in the microwave. Pour hot cream over the chocolate chips, let sit for 1 minute, then whisk until completely smooth.
-
Pour ganache over caramel, and smooth or swirl with an offset spatula. Allow chocolate to set at room temperature or freeze for 15-30 minutes. Sprinkle with salt (kosher, sea salt, or fleur de sel) before serving. Cut into thin slices — about 14. Lightly cover tart with plastic wrap and store at room temperature.
Notes
Sharing this recipe with a link is both encouraged and appreciated. Copying/pasting and/or screenshots of full recipes to any social media is strictly prohibited. Content and photographs are copyright protected.
Did you make this?
Don’t forget to leave a rating below and make sure to follow on Pinterest and Instagram for more!