
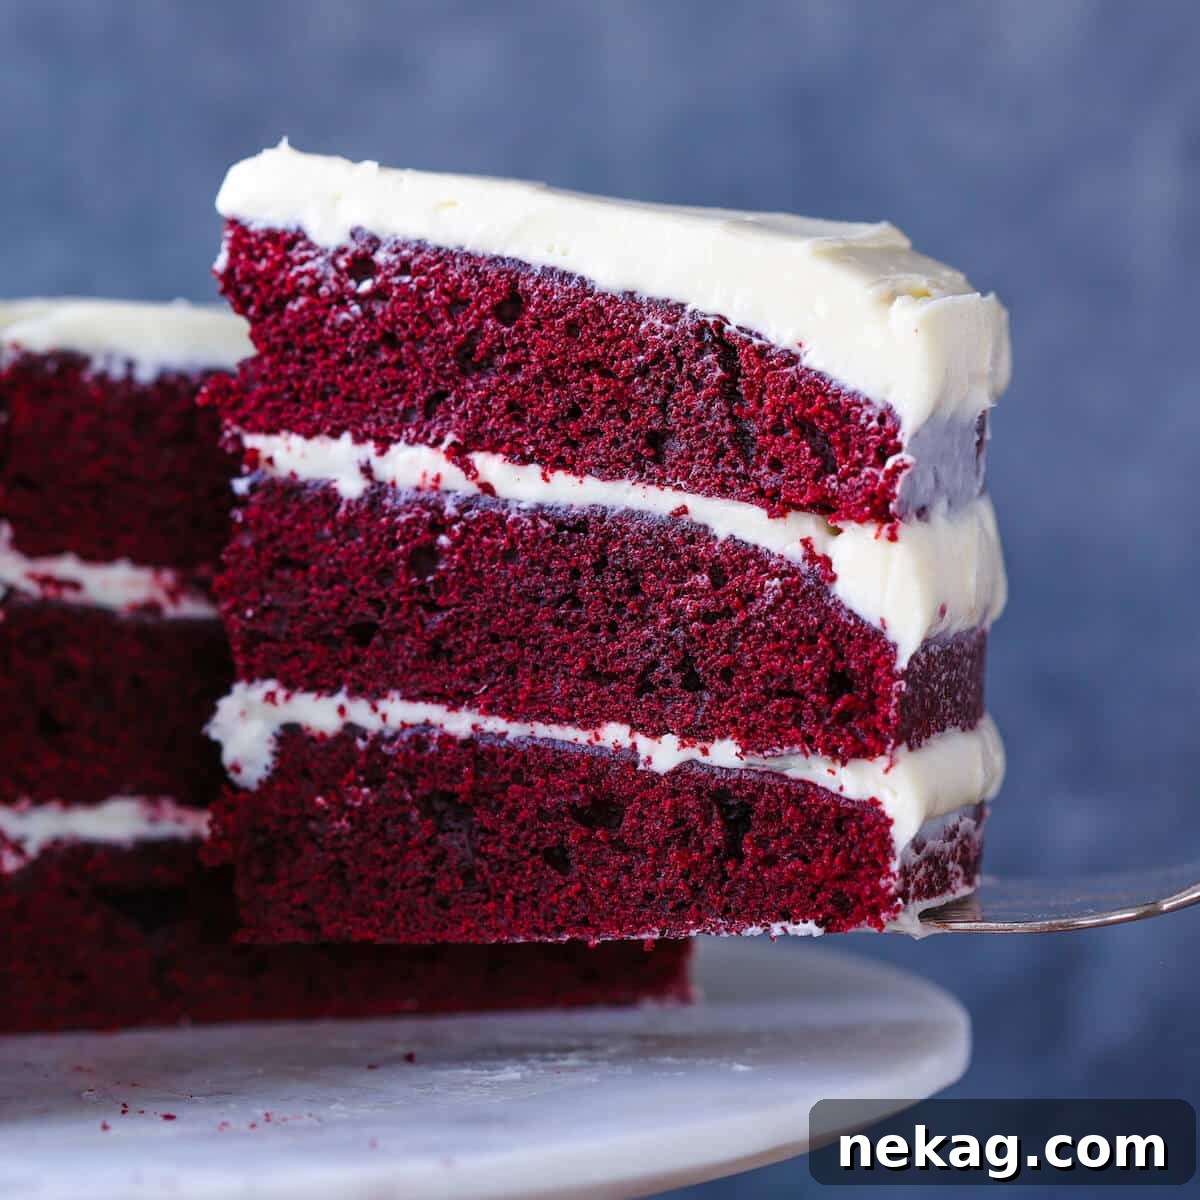
The Ultimate Guide to Baking the Best Red Velvet Cake with Cream Cheese Buttercream
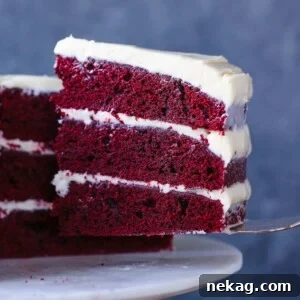
Welcome to the definitive guide for creating the Best Red Velvet Cake Recipe you’ll ever encounter! This isn’t just any cake; it’s a masterpiece of baking, featuring exceptionally tender, moist layers with a subtle yet distinct chocolatey crumb. What truly elevates this classic is its pairing with a luxurious, silky-smooth whiskey cream cheese buttercream frosting. Combining classic richness with a delightful tang, this elegant yet easy-to-follow recipe promises a dessert so irresistible, you’ll be reaching for a second slice before you know it.
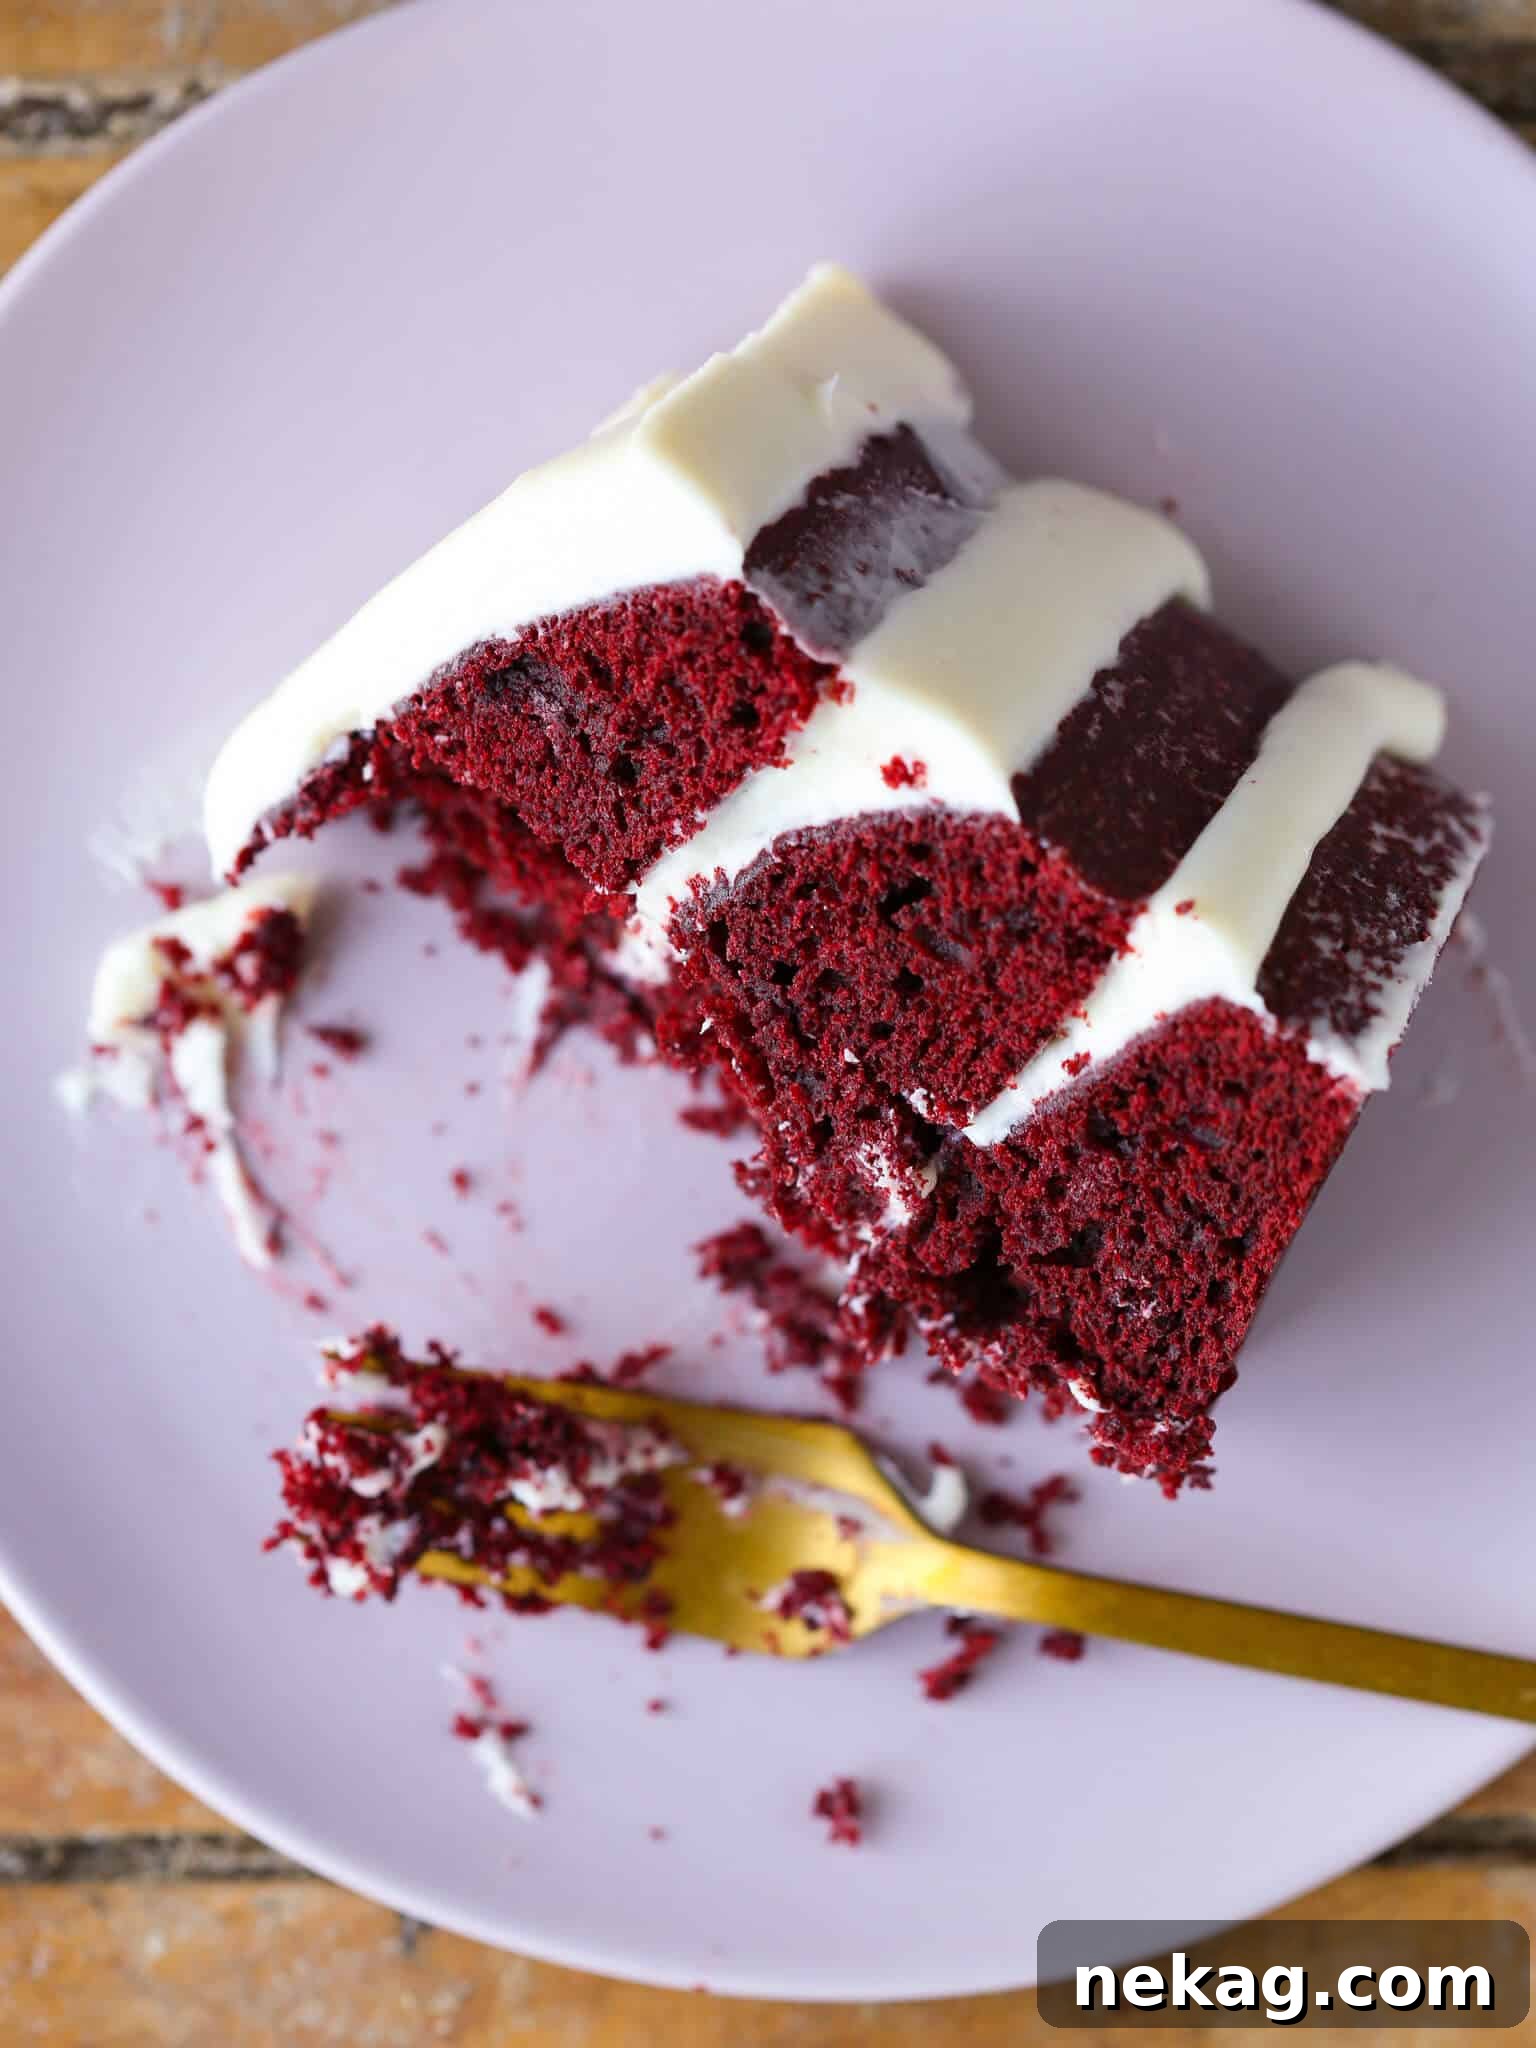
Imagine the sublime experience of savoring bites of the lightest, most exquisitely moist three-tier cake. Each mouthful begins with a delicate cocoa flavor, evolving into rich vanilla and subtle caramel notes, and culminating in a tiny, satisfying tangy finish. This isn’t just a dream; it’s the reality of this phenomenal red velvet cake. Beyond its traditional charm, the unique addition of bourbon to the cream cheese buttercream elevates it to an unparalleled level of sophistication, creating a dessert that truly stands out.
This cake is a true flavor powerhouse, making it my go-to choice for special occasions throughout the year. It holds a cherished spot alongside my celebrated Angel Food Cake and decadent Devil’s Food Cake when I aim to serve something truly glamorous. Yet, despite its show-stopping appearance, it’s remarkably straightforward to prepare, almost as easy as my one-bowl Pumpkin Cake or effortless Carrot Cake. Get ready to impress with minimal fuss!
Table of Contents
- Why This Red Velvet Recipe is a Must-Try
- Essential Professional Baking Tips
- Decoding the Red Velvet Flavor: What Makes It Unique?
- Key Ingredients for Your Red Velvet Masterpiece
- Creative Variations for Your Red Velvet Cake
- Step-by-Step Guide: How to Make Red Velvet Cake
- Chef Lindsey’s Pro Baking Secrets
- Frequently Asked Questions About Red Velvet Cake
- The Ultimate Red Velvet Cake Recipe Card
- Beyond the Red Velvet: Explore More Desserts
Why This Red Velvet Recipe is a Must-Try
Embark on a culinary journey to create the best homemade Red Velvet Cake with this meticulously crafted recipe. Here’s why this version will become your new favorite:
- Unrivaled Moisture and Tenderness: This recipe achieves a perfectly moist and tender crumb thanks to the strategic inclusion of sour cream, finely milled cake flour, and the nuanced sweetness of light brown sugar. These ingredients work in harmony to create a cake that is dense enough to hold its structure, yet incredibly soft and melt-in-your-mouth delightful. It’s the ideal dessert for any celebration – be it birthdays, Valentine’s Day, Christmas, or anniversaries.
- Authentic Signature Red Velvet Flavor Profile: Experience the true essence of red velvet. Our recipe uses sour cream not only for moisture but also for its crucial role in creating the cake’s distinctive tang. Dutch-processed cocoa powder provides a superior, richer chocolate flavor that complements the tanginess without overpowering it. A carefully measured drop of red food dye ensures that iconic, vibrant red hue, making for an unforgettable presentation that truly captures the spirit of classic red velvet.
- Perfected by a Professional Pastry Chef: Bake with complete confidence, knowing this recipe has been meticulously developed and tested by a professional pastry chef. We provide a transparent, step-by-step process with precise ingredient ratios, measured both by weight and by volume, guaranteeing consistent, perfect results every time. I’ve even scaled this recipe to create a stunning four-tiered wedding cake, demonstrating its robustness and reliability. You’re getting a master baker’s secrets for flawless execution!
Essential Professional Baking Tips for a Flawless Red Velvet Cake
Achieving a truly magnificent moist Red Velvet Cake requires a few professional insights. Incorporating these simple tips will elevate your baking from good to extraordinary:
- Sift Your Dry Ingredients Diligently: When working with delicate ingredients like cake flour and cocoa powder, sifting is not merely a suggestion – it’s absolutely essential. Both are finely milled and prone to clumping, which can lead to an uneven texture in your final cake. Sifting ensures that these ingredients are thoroughly aerated and evenly distributed, resulting in a lighter, more uniform crumb. This step prevents pockets of unmixed flour and ensures a silky-smooth batter.
- Achieve Room Temperature for Wet Ingredients: The temperature of your eggs, butter, sour cream, and cream cheese plays a critical role in the emulsification process. Bringing these wet ingredients to a consistent room temperature before use allows them to combine much more easily and thoroughly with the other ingredients. This creates a cohesive, smooth batter for the cake, ensuring a delicate crumb. For the buttercream, room temperature ingredients are key to a truly lump-free, velvety frosting that spreads beautifully.
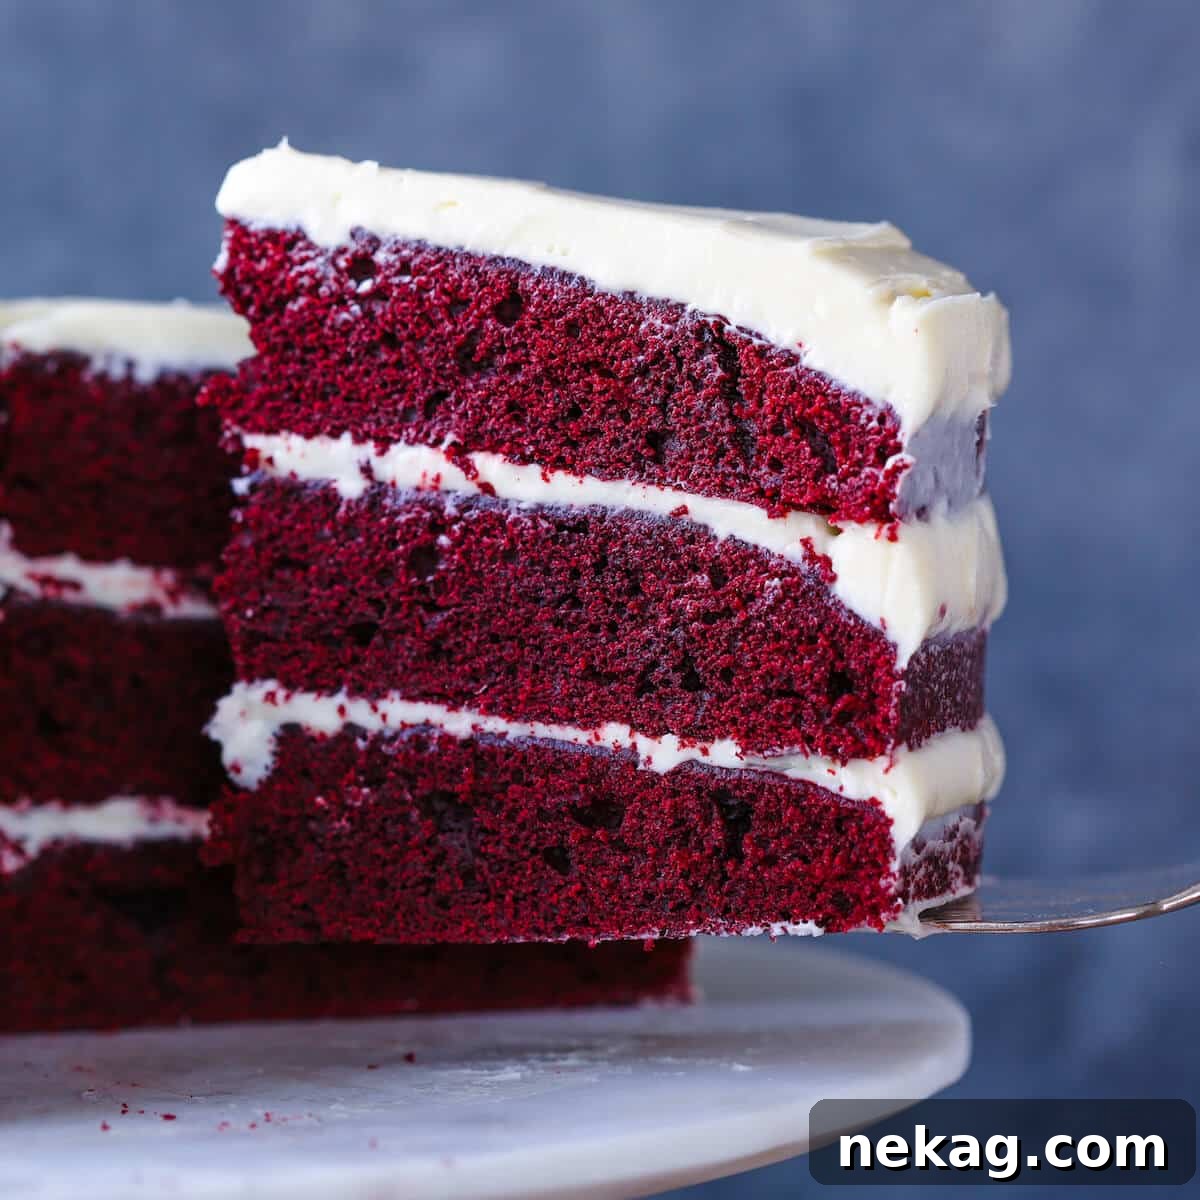
- Embrace a Bench Scraper for a Polished Finish: For that effortlessly chic, rustic “naked cake” aesthetic seen in my photos, a bench scraper is your best friend. After applying your initial layer of frosting, use a bench scraper to gently smooth the sides, revealing subtle glimpses of the cake layers beneath. While “naked cakes” may cycle in and out of trend, they consistently offer a perfect balance of buttercream to cake ratio, allowing both components to shine. It’s a simple tool that delivers professional-looking results with minimal effort.
Decoding the Red Velvet Flavor: What Makes It Unique?
Many wonder, what does red velvet taste like? The classic red velvet flavor is a sophisticated symphony of tastes, recognized by a harmonious blend of notes. It starts with a subtle, delicate chocolate presence, followed by a gentle sweetness, and a distinct hint of vanilla. What truly sets it apart, however, is a characteristic, slight tangy flavor. This tang is typically introduced by an acidic ingredient such as buttermilk, vinegar, or, in this recipe, sour cream. These acidic components not only contribute to the flavor but also famously interact with the cocoa powder to create the distinctive reddish hue that is the hallmark of red velvet.
Because none of the individual flavors are overly dominant, the most prominent taste often comes from the accompanying frosting. Cream cheese buttercream is, without a doubt, the quintessential choice for red velvet cake. This beloved buttercream offers a perfect counterpoint: it’s delightfully sweet, yet simultaneously features a pleasant tanginess derived from the cream cheese itself. This balance creates a dynamic flavor profile that is both comforting and exciting, making each bite of red velvet cake a memorable experience.
Key Ingredients for Your Red Velvet Masterpiece
Crafting the best Red Velvet Cake starts with understanding the role of each high-quality ingredient. Here’s what you’ll need for both the cake layers and the decadent cream cheese frosting:
- Unsalted Butter: Essential for richness and flavor in both the cake and the buttercream. Using unsalted butter allows you to control the overall salt content in your recipe.
- Granulated Sugar: Beyond sweetness, granulated sugar plays a crucial role in the cake’s structure, aiding in leavening, ensuring moisture retention, improving texture, and contributing to overall stability.
- Light Brown Sugar: The inclusion of light brown sugar provides an additional layer of sweetness along with a subtle molasses flavor and extra moisture, which enhances the cake’s tenderness.
- Eggs: Whole eggs are vital emulsifiers, binding the batter together and resulting in an incredibly moist and tender cake. The richness of egg yolks is also a secret weapon in many of my other recipes, like my luscious French Hot Chocolate. Ensure they are at room temperature for best results.
- Cake Flour: I swear by cake flour because its lower gluten content and finer texture produce a significantly lighter and airier cake crumb. If you don’t have cake flour, you can substitute it with all-purpose flour, though the texture may be slightly different.
- Dutch-Processed Cocoa Powder: The choice of cocoa powder is key to red velvet’s characteristic flavor. I use Dutch-processed cocoa powder, which has been treated with an alkaline solution to neutralize its acidity. This means it won’t react with baking soda or baking powder to create the traditional red hue, necessitating food coloring, but it provides a superior, smoother chocolate flavor without bitterness. Always choose the best quality cocoa you can find for optimal taste.
- Sour Cream: This ingredient is a triple threat! The extra fat and lower liquid content in sour cream significantly enhance flavor, lock in moisture, and help to reduce gluten development, contributing to that desired tender crumb. It also provides the signature tanginess.
- Baking Soda & Kosher Salt: Baking soda works as the primary leavening agent, creating the cake’s lift, while kosher salt balances the sweetness and enhances all the flavors.
- Vanilla Extract: A generous amount of vanilla extract provides a warm, aromatic base that complements the chocolate and tangy notes beautifully.
- Liquid Red Food Coloring: As with my Red Velvet Pound Cake, while you could technically replace the red food dye with water, the resulting cake would lack that stunning, vibrant red color. And let’s be honest, that gorgeous red is essential, especially for festive occasions like Valentine’s Day Desserts!
- Confectioners’ Sugar (Powdered Sugar): The foundation of our smooth and creamy buttercream, ensuring a fine, dissolving sweetness.
- Whiskey: Adding whiskey (or another alcohol of your choice) to the buttercream isn’t just for an adult kick; it adds a wonderful depth of flavor and contributes to a silky texture. I even use it to moisten my carrot cake roll. Don’t be shy – a good tablespoon or two makes all the difference!
- Water: Used in conjunction with sour cream to achieve the perfect batter consistency.
- Cream Cheese: For all my baked goods, I exclusively use original Philadelphia Cream Cheese, and my best cream cheese frosting is no exception. Its distinctive tanginess offers a surprisingly perfect balance to chocolate flavors, much like in my chocolate chip cookies with cream cheese.
For precise measurements and quantities, please refer to the comprehensive recipe card below.
Creative Variations for Your Red Velvet Cake
While our classic Red Velvet Cake Recipe is perfect as is, it’s also incredibly versatile! Get creative with these delightful variations:
- Delightful Bite-Sized Treats: Transform this beloved cake into adorable, individual portions. Bake the same homemade red velvet batter into especially charming cookies using my Red Velvet Cookie Recipe, complete with cream cheese frosting dollops. Alternatively, venture into the world of cupcakes with the Best Red Velvet Cupcake Recipe. If you choose cupcakes, you’ll have the perfect excuse to fill them with a luscious salted caramel sauce for an extra surprise!
- Buttercream Alternatives: If a boozy cake isn’t quite your style, no worries! This cake would be equally epic with a velvety vanilla Swiss meringue buttercream, known for its light, smooth texture. Or, for a bolder twist, go rogue and use the Best Chocolate Buttercream, or even a sophisticated Salted Caramel Swiss Meringue Buttercream. The possibilities are endless for customizing your perfect frosting.
- Stunning Decorations: Elevate your cake’s visual appeal with creative decorations. Generously cover it in colorful sprinkles for a playful look, or adorn it with elegant chocolate curls for a touch of sophistication. For those truly aspiring to fancy, utilize this comprehensive tutorial on how to temper dark chocolate using the ice bath method to create intricate chocolate garnishes that will surely impress.
Step-by-Step Guide: How to Make the Best Red Velvet Cake
Follow these detailed instructions to bake your masterpiece. Further details and precise measurements can be found in the recipe card below.
Making the Perfect Red Velvet Cake Layers:
- Prepare Your Oven and Pans: Preheat your oven to 350°F (175°C) for standard ovens, or 325°F (160°C) for convection ovens. Grease three 8-inch or 9-inch round cake pans thoroughly, then line the bottoms with parchment paper to prevent sticking. This ensures easy release of your beautifully baked layers.
- Whisk and Sift Dry Ingredients: In a medium-sized bowl, combine the cake flour, cocoa powder, baking soda, and salt. It is absolutely crucial to sift these dry ingredients together. This step breaks up any clumps in the cake flour and cocoa powder, ensuring a light, even texture in your final cake. Set the sifted mixture aside.
Chef’s Tip: If you’re using all-purpose flour instead of cake flour, you can usually skip the sifting step, as all-purpose flour is less prone to clumping.
- Combine Wet Ingredients (Sour Cream & Water): In a separate small bowl, whisk together the sour cream and water until the mixture is smooth and completely free of any lumps. This ensures a uniform consistency when added to the batter.
- Cream Butter and Sugars: In the bowl of a stand mixer fitted with the paddle attachment, cream together the softened unsalted butter, granulated sugar, and light brown sugar. Beat on medium-high speed until the mixture becomes noticeably light in color and fluffy. This process incorporates air, which is vital for a tender cake.
- Incorporate Eggs, Vanilla, and Food Dye: Add the eggs one at a time, beating well after each addition until fully incorporated. With the final egg, add the vanilla extract and the red food dye. Continue to beat until the vibrant red color is evenly distributed throughout the mixture.
- Alternately Add Dry and Wet Mixtures: Reduce the mixer speed to low. Begin by adding about one-third of the sifted flour mixture, mixing just until combined. Then, add half of the sour cream and water mixture, mixing until smooth. Repeat this process, ending with the final one-third of the flour mixture. Scrape down the sides of the bowl as needed to ensure everything is thoroughly incorporated. Stop mixing as soon as the last of the flour streaks disappear to avoid overdeveloping the gluten.
- Portion and Bake the Cake Layers: Evenly divide the rich red velvet cake batter among the three prepared cake pans. Bake in the preheated oven for 18-20 minutes. To test for doneness, insert a cake tester or toothpick into the center of a cake; it should come out with a few moist crumbs clinging to it. The center of the cake should also spring back gently when lightly touched, and the edges will appear set and slightly pulled away from the pan.
Important Baking Note: Keep a close eye on your cakes! Overbaking is the enemy of moisture and will result in a dry cake. Begin checking for doneness at the 18-minute mark.
- Cool the Cake Layers: Once baked, remove the pans from the oven and let the cake layers cool in their pans on a wire rack for precisely 10 minutes. After this initial cooling, carefully invert the cakes onto the cooling rack and allow them to cool completely. This crucial step prevents the layers from sticking and ensures they are firm enough for frosting.
Crafting the Whiskey Cream Cheese Buttercream & Assembly:
Chef’s Recommendation: For an extra-thick and luxurious layer of buttercream, consider making 1.5 times this recipe quantity.
- Prepare the Cream Cheese Buttercream: In the bowl of a stand mixer fitted with the paddle attachment (or using an electric hand mixer), cream together the softened cream cheese, unsalted butter, and powdered sugar until the mixture is wonderfully smooth and lump-free. Add the whiskey and vanilla extract, mixing until fully incorporated. The whiskey adds a fantastic depth of flavor that perfectly complements the red velvet.
Buttercream Troubleshooting: If your buttercream becomes too warm and loses its structure, simply chill it! Pop the entire mixer bowl with its attachments into the fridge for about an hour. To refresh it, beat it with the paddle attachment until it regains its smooth consistency. Remember, it’s just buttercream – don’t panic!
- Assemble and Frost Your Cake: Place the first cooled cake layer onto your favorite cake stand or serving plate. Mound approximately ½ cup of the whiskey cream cheese buttercream on top, then use an offset spatula to spread it smoothly and evenly to the edges. Repeat this process with the second cake layer. For perfectly even layers and easier handling, I highly recommend refrigerating the cake for 15-20 minutes before proceeding with the final layer. Once chilled, place the final cake layer on top, then apply the remaining buttercream, spreading it evenly over the top and down the sides of the cake.
Achieving a Naked Cake Look: If you desire a “naked cake” finish, like the ones pictured, gently run a bench scraper around the outside of the frosted cake. This technique removes excess frosting, elegantly revealing the beautiful red layers underneath while maintaining a delicate coating of buttercream.
Chef Lindsey’s Pro Baking Secrets
For pristine cake layers that release beautifully, always allow your cakes to cool for at least 10 minutes in their pans before attempting to turn them out onto a cooling rack. Rushing this step, even with properly prepared pans, can result in layers breaking apart. A trick I often employ is to cool my layers upside down from the way they were baked; this helps flatten any slight domes, resulting in perfectly level cakes for stacking.
Frequently Asked Questions About Red Velvet Cake
To ensure maximum freshness, store unfrosted red velvet cake layers well-wrapped in plastic film at room temperature for up to 3 days, or in the freezer for up to two months. Unused frosting, stored in airtight containers, will keep in the refrigerator for up to 2 weeks. Once assembled and frosted, the complete cake can be kept at room temperature for up to three days, though refrigeration is advisable in very warm climates or for longer storage.
While red velvet cake does contain cocoa powder, it is distinctly different from a traditional chocolate cake. It has significantly less cocoa powder, giving it only a light, delicate chocolate flavor, rather than a rich, intense one. Historically, the cocoa powder, when combined with non-alkalized (natural) cocoa powder and acidic ingredients like buttermilk or vinegar, would react to create a natural reddish-brown hue. With modern Dutch-processed cocoa, the red color is primarily achieved through food coloring, but the subtle chocolate, vanilla, and characteristic tang remain its defining features, setting it apart from a full-blown chocolate cake.
The best method for thawing a frozen red velvet layer cake is to let it covered, either at room temperature or slowly in the refrigerator overnight. Thawing it gradually helps maintain its moisture and texture. I strongly advise against thawing it in the oven, as this will invariably dry out the cake layers, compromising their tender consistency. Always ensure the cake is fully thawed before you proceed with frosting and serving.
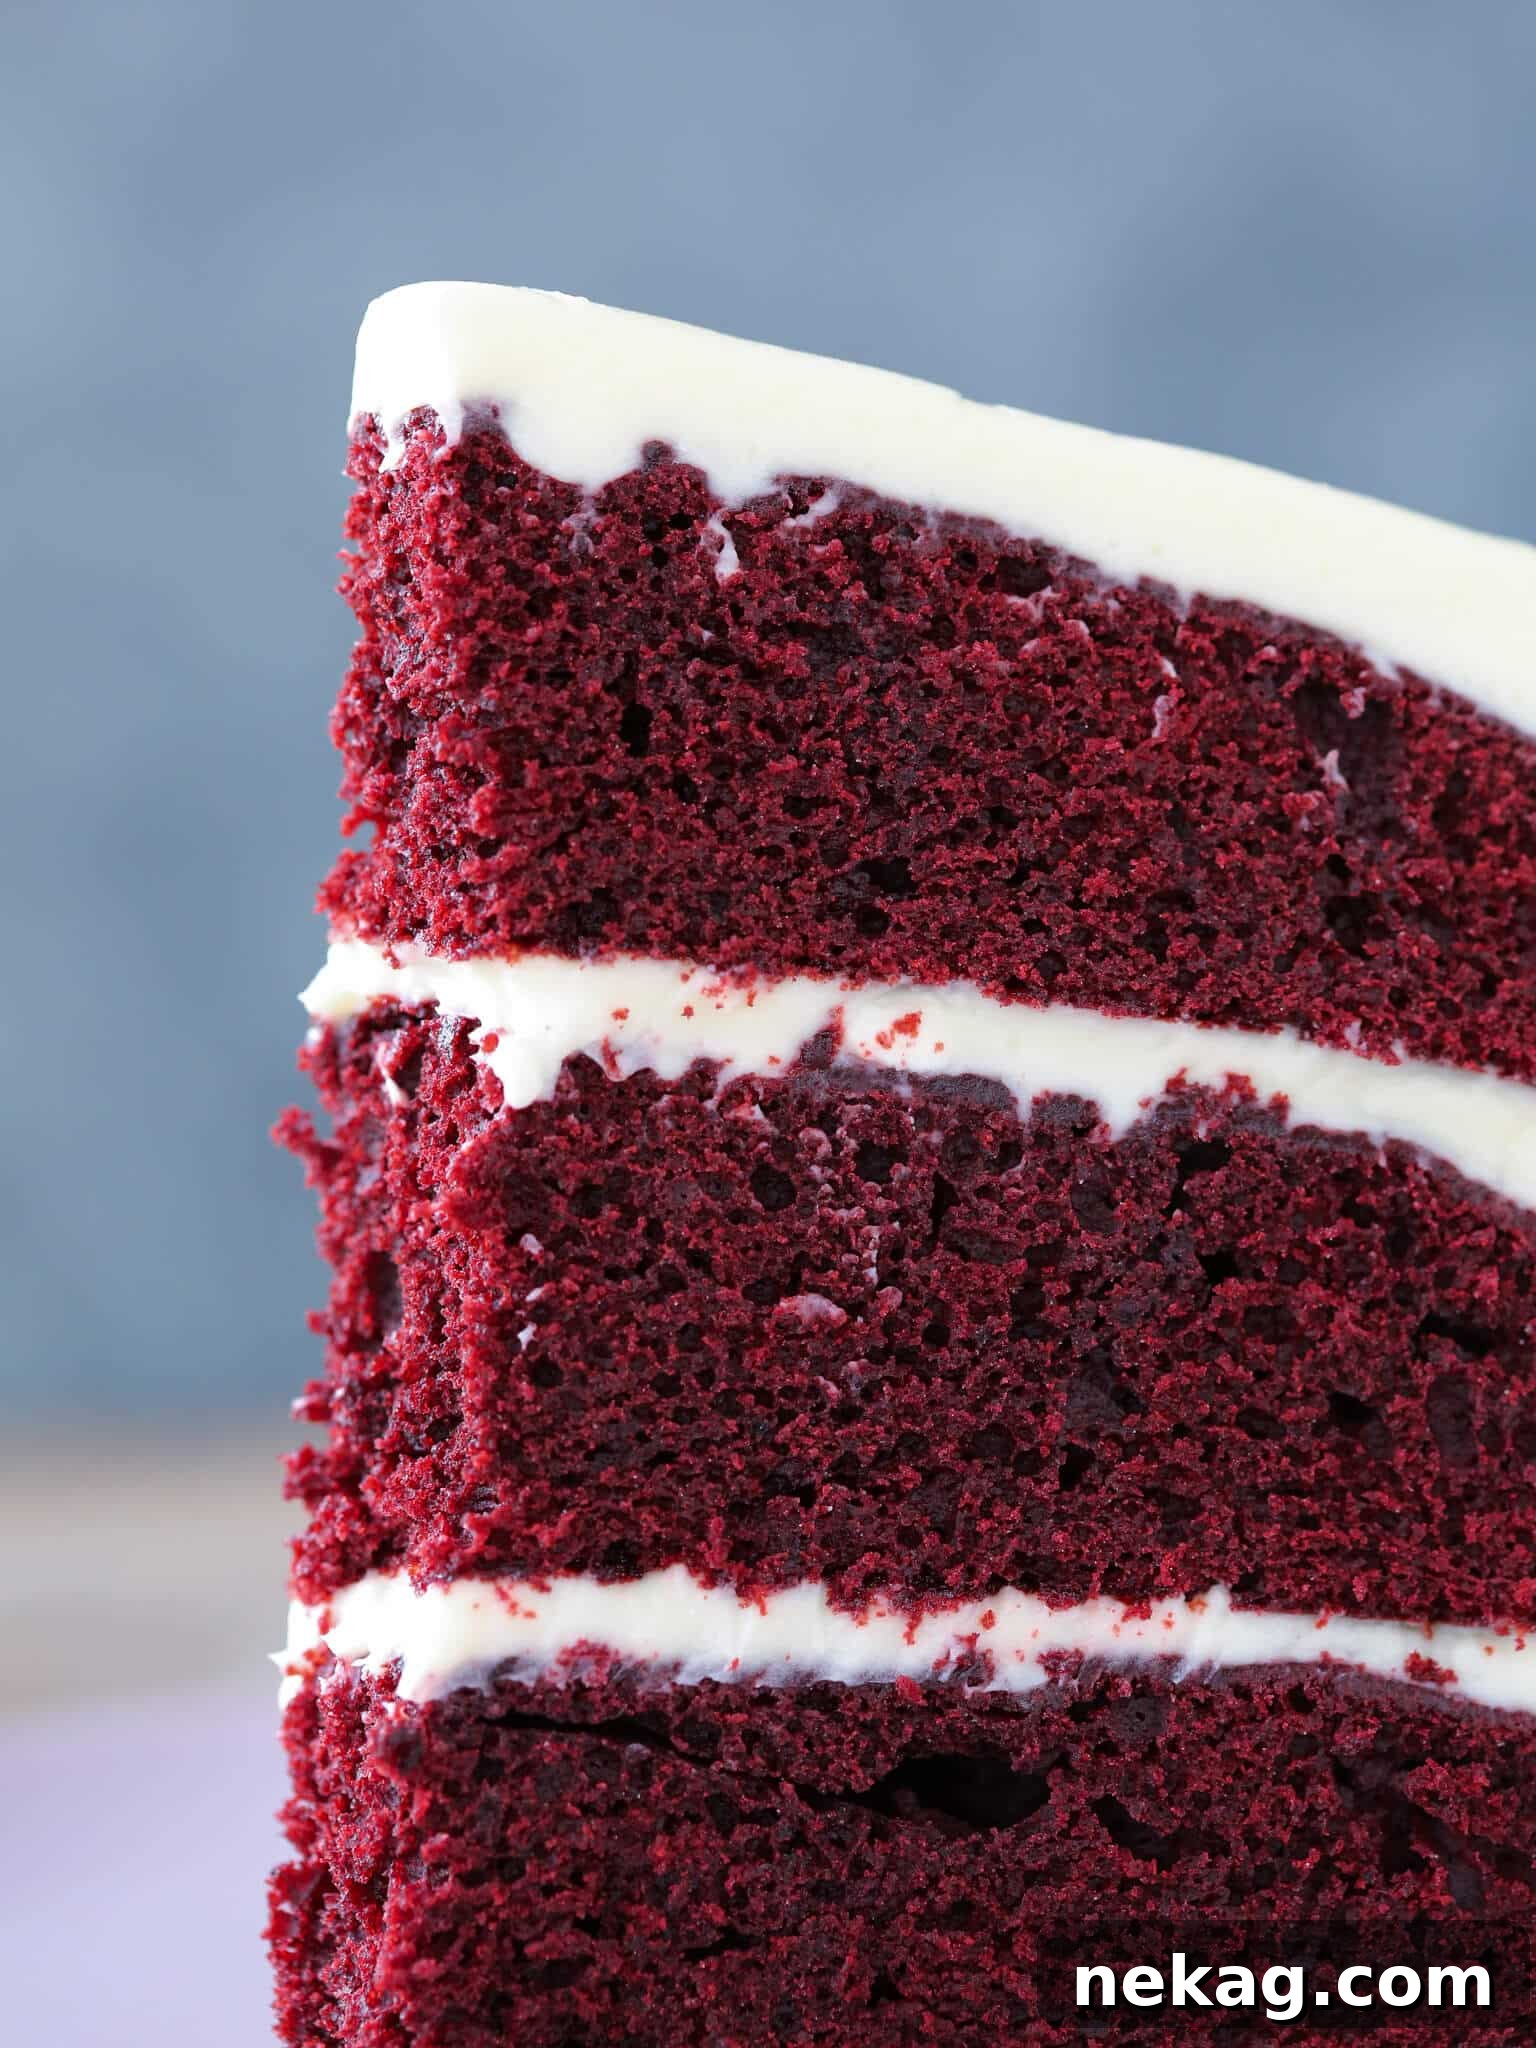
If you tried this Best Red Velvet Cake Recipe and absolutely loved it, please take a moment to leave a 🌟 star rating and share your experience in the comments below. I genuinely love hearing from you; your feedback and comments truly make my day!
The Ultimate Red Velvet Cake Recipe Card
Best Red Velvet Cake
by Chef Lindsey
Discover the ultimate Red Velvet Cake Recipe! This tender, moist layer cake features a delicate chocolatey crumb perfectly complemented by a smooth whiskey Cream Cheese Buttercream. This classic, rich, and tangy recipe is elegant yet easy to make, ensuring you’ll enjoy a second slice in no time!
Prep Time: 30 mins
Cook Time: 18 mins
Total Time: 1 hr 20 mins
Servings: 16 people
Comment
Print Recipe
Ingredients
For the Cake:
- 2 ½ cups cake flour
- 1 teaspoon baking soda
- ½ cup cocoa powder
- 1 teaspoon kosher salt
- 8 oz sour cream
- ½ cup water
- 1 cup unsalted butter, room temperature
- 1 ½ cups granulated sugar
- ½ cup light brown sugar, firmly packed
- 4 eggs, room temperature
- 2 tablespoons red food dye
- 1 tablespoon vanilla extract
For the Whiskey Cream Cheese Buttercream:
- 2 ¾ cups cream cheese, room temperature
- 1 cup unsalted butter, room temperature
- 2 cups powdered sugar (confectioners’ sugar)
- 2 tablespoons whiskey
- 1 teaspoon vanilla extract
Makes: 9-inch round, 3-layer cake
Instructions
Make the cake:
- Preheat the oven to 350°F (standard) or 325°F (convection). Grease three 8 or 9-inch cake pans and line with parchment paper.
- In a medium bowl, whisk together dry ingredients: cake flour, cocoa powder, baking soda, and salt. Sift & set aside.
- In a small bowl, whisk together the sour cream and water until no lumps remain.
- In the bowl of a stand mixer fitted with the paddle attachment, beat the butter and sugars together until the mixture is light in color and fluffy.
- Add the eggs one at a time, beating well after each addition. Add the vanilla and food dye in with the last egg.
- Reduce the mixer to low speed, and alternately add the flour mixture and sour cream mixture. Begin and end with the flour mixture. Scrape down the sides of the bowl as needed. Stop mixing as soon as the last of the flour has incorporated.
- Portion the cake batter between the three prepared pans. Bake in the preheated oven for 18-20 minutes, or until a cake tester or toothpick comes out with a few clinging crumbs. The center of the cake should spring back to the touch, and the edges will look set.
- After 10 minutes in the pans, remove to a cooling rack and let cool completely before frosting.
Make the buttercream & assemble:
- Using a stand mixer or an electric mixer, cream together cream cheese, butter and powdered sugar until smooth. Add whiskey and vanilla extract. Mix to incorporate.
- Place the first layer of the cake on your favorite cake stand. Mound about ½ cup of buttercream on top, spread smoothly with an offset spatula. Repeat with the second layer. Refrigerate before proceeding so your layers stay even. Place the remaining buttercream on top and spread evenly over the top and down the sides.
Video
Notes
- Yield: This recipe makes one 8 or 9 inch, 3-layer cake.
- Originally Adapted From: Southern Living.
- Presentation Tip: For a thicker, more lavish layer of frosting (and thus more room for decorative flair), consider making 1.5 times this buttercream recipe. For the ‘naked cake’ finish seen in the pictures, I used the standard 1x buttercream recipe.
- Technique Tip: Always allow your cake layers to cool for at least 10 minutes in their pans before turning them out to cool completely on a wire rack. This critical step prevents breakage, even with properly prepared pans. For perfectly level layers, I often cool my cakes upside down.
- Storage: Unfrosted red velvet cake layers can be well-wrapped and stored at room temperature for up to 3 days, in the fridge for a week, or frozen for up to two months. Unused buttercream should be stored in an airtight container in the refrigerator for up to 2 weeks. Once frosted, the assembled cake will stay fresh at room temperature for up to three days.
Nutrition Facts (per serving)
Calories: 636 kcal | Carbohydrates: 61g | Protein: 7g | Fat: 42g | Saturated Fat: 25g | Polyunsaturated Fat: 2g | Monounsaturated Fat: 11g | Trans Fat: 1g | Cholesterol: 151mg | Sodium: 359mg | Potassium: 174mg | Fiber: 2g | Sugar: 44g | Vitamin A: 1397IU | Vitamin C: 0.1mg | Calcium: 79mg | Iron: 1mg
Course: Dessert
Cuisine: American
Calories: 636
Enjoyed this recipe? Leave a comment below!
Your feedback is greatly appreciated.
Beyond the Red Velvet: Explore More Delicious Desserts
We trust you thoroughly enjoyed this professional chef-tested recipe for the best red velvet cake. But the culinary adventure doesn’t stop here! Be sure to explore our other delicious, chef-developed Cake Recipes, including fan favorites like the best carrot cake recipe. Or, if you’re keen to keep that enticing cocoa-bourbon flavor combination going, don’t miss out on these exquisite Chocolate Bourbon Truffles!