
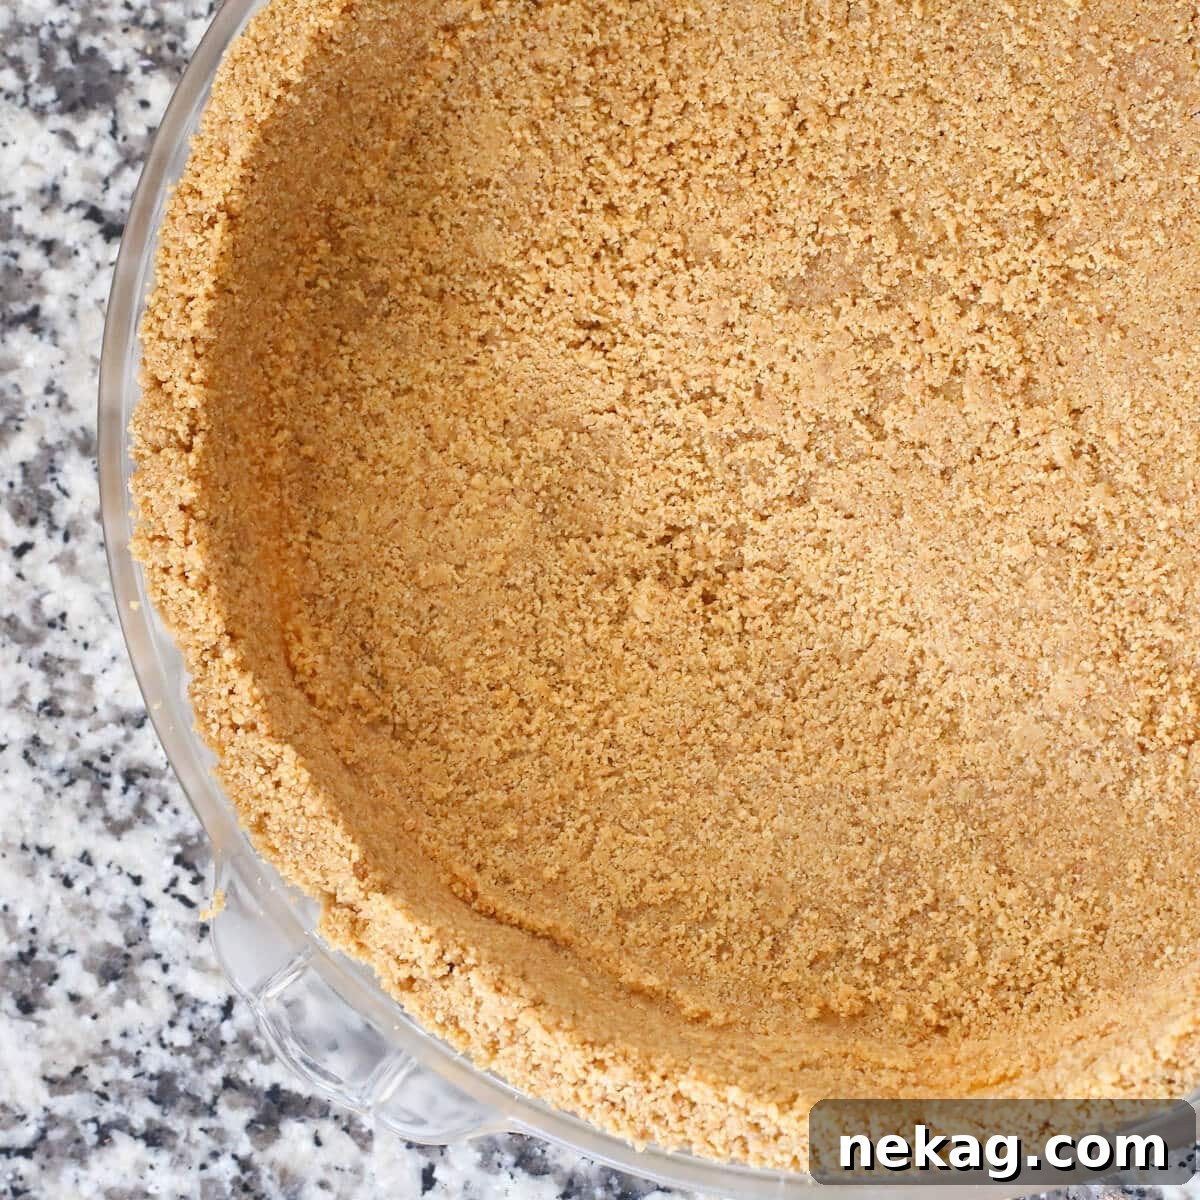
Unlock the secret to effortless dessert preparation with this incredibly easy, three-ingredient No-Bake Graham Cracker Crust. Perfect for anyone who loves homemade treats but wants to skip the oven, this recipe delivers a beautifully crisp and flavorful base for virtually any pie or dessert. Whether you’re crafting a classic Key Lime Pie, a rich chocolate creation, or an innovative no-bake cheesecake, this versatile crust promises simplicity and delicious results every time.
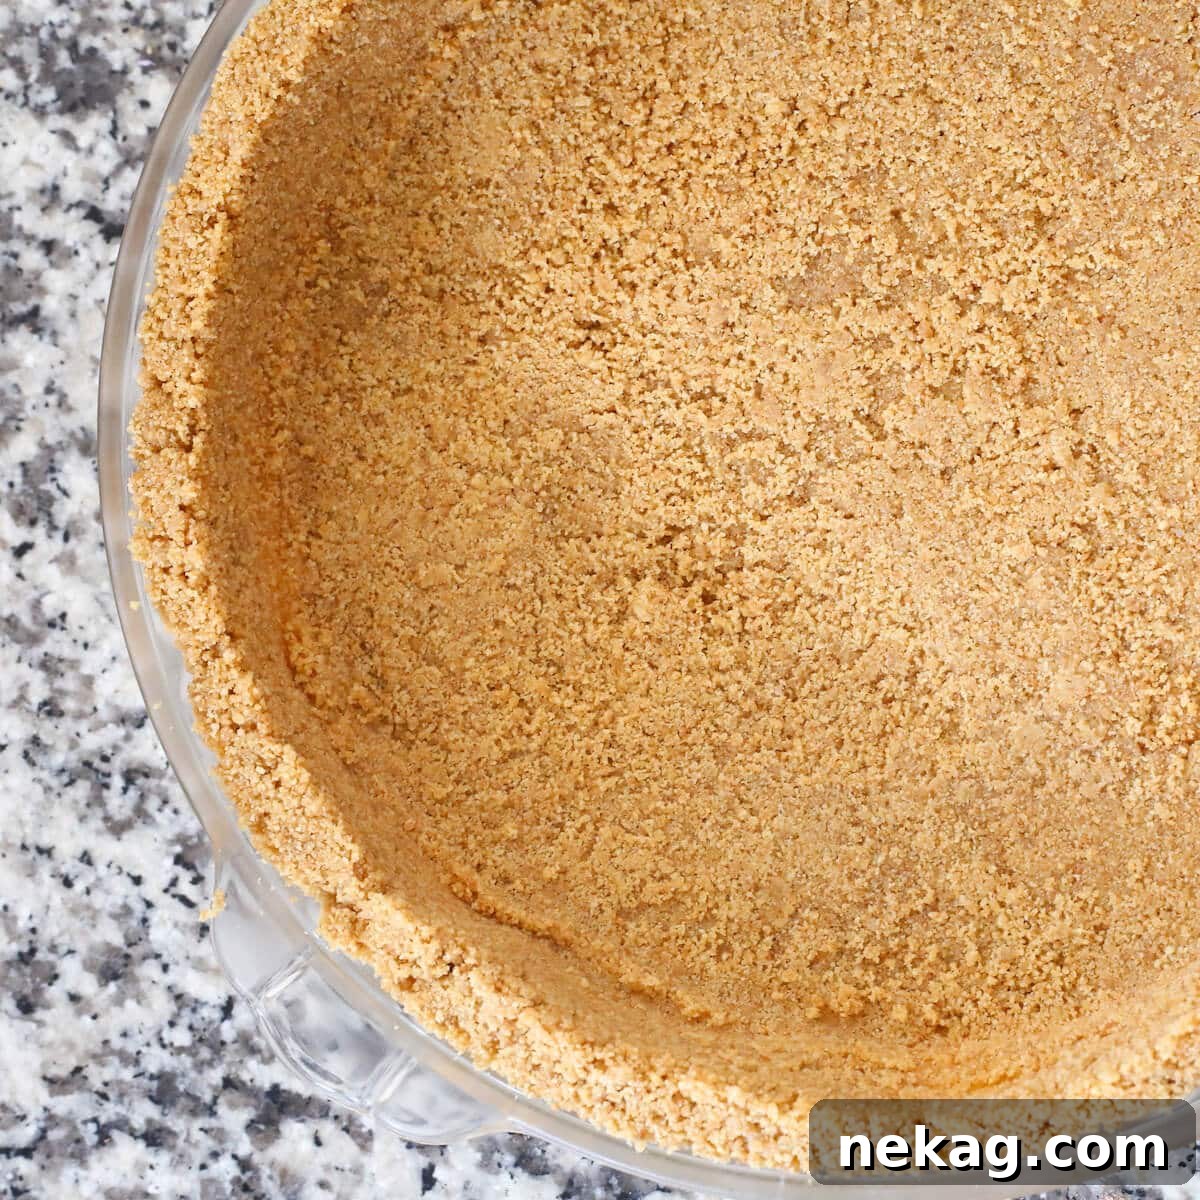
Why Choose a No-Bake Graham Cracker Crust?
The allure of a no-bake crust extends far beyond just avoiding oven heat, especially during warm weather. It’s a game-changer for beginner bakers, busy home cooks, and anyone seeking a shortcut without sacrificing taste or quality. This recipe eliminates the guesswork of traditional pie crusts, which often involve precise measurements, chilling dough, and blind baking. Instead, you get a consistently perfect crust that’s ready in minutes, making it an indispensable tool in your dessert repertoire. Imagine whipping up a stunning dessert for guests without breaking a sweat, or enjoying a quick, satisfying treat on a whim. This no-bake marvel makes it all possible.
What makes this specific graham cracker crust truly exceptional is its minimalist approach. With just three fundamental ingredients – graham crackers, butter, and a touch of salt – you achieve a harmony of textures and flavors. The crushed graham crackers provide a sweet, earthy foundation, while melted butter binds everything together, creating a firm yet tender crust. A pinch of salt elevates the overall taste, balancing the sweetness and adding depth that will complement any filling you choose. This simplicity ensures that the natural flavor of the graham crackers shines through, offering a comforting and familiar taste that everyone loves.
Store-Bought Crumbs vs. Homemade: The Convenience Factor
One of the biggest advantages of this recipe is its flexibility when it comes to graham cracker crumbs. While purists might opt for grinding whole crackers, the modern convenience of pre-ground graham cracker crumbs is truly a blessing. I often find myself reaching for the store-bought variety, and honestly, it’s a decision I never regret. The time saved from crushing crackers and the minimal clean-up involved make it an incredibly appealing option, especially when you’re short on time or energy. It’s a small shortcut that delivers a huge impact on your overall baking experience, allowing you to focus on the fun part: assembling your delicious pie!
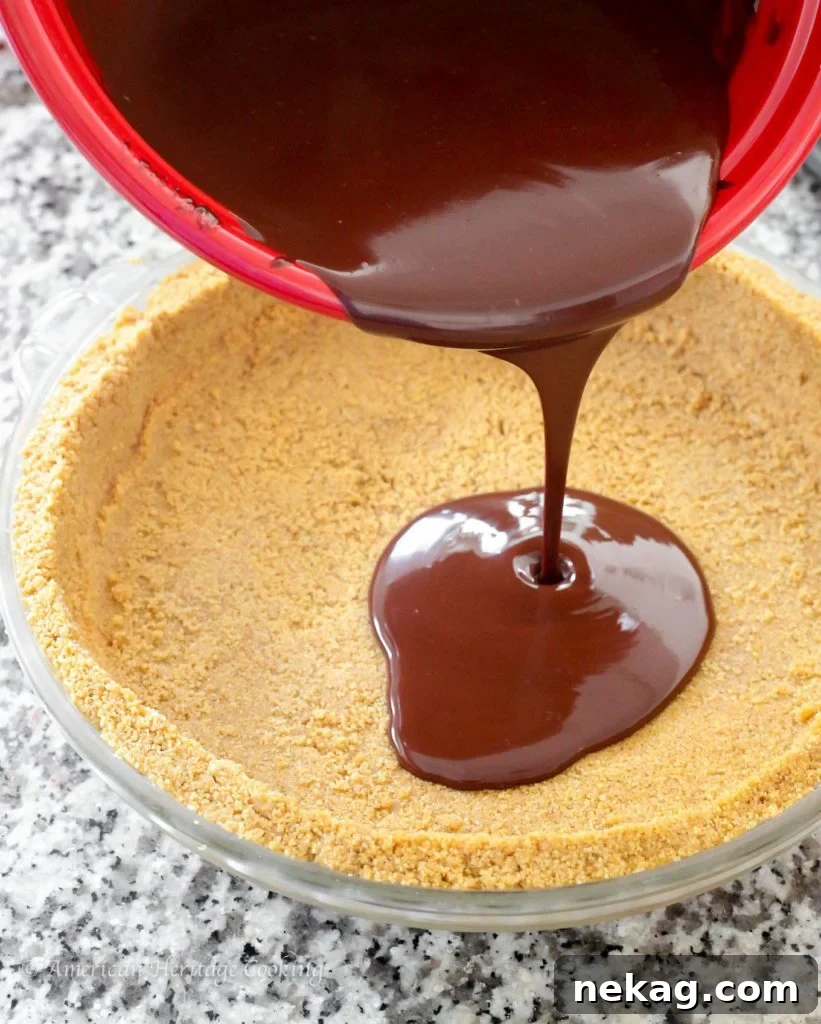
However, if you prefer to make your own crumbs or can’t find the pre-ground option, don’t fret! Crushing graham crackers can be quite a therapeutic process. For a truly fine crumb, a food processor is your best friend. Simply pulse whole graham crackers until they resemble a fine meal. Alternatively, for a more hands-on approach, place the crackers in a sturdy plastic bag and use a rolling pin to crush them. This method not only gets the job done but can also be surprisingly cathartic! You’ll need approximately 12 full graham crackers to yield the 1 ¾ cups of crumbs required for this recipe, ensuring you have enough for a perfect 9-10 inch pie crust.
Effortless No-Bake Graham Cracker Crust
By Chef Lindsey
An incredibly easy, three-ingredient No-Bake Graham Cracker Crust that forms the perfect foundation for any pie or dessert!
Prep Time: 10 minutes | Total Time: 10 minutes | Yields: 1 (9-10 inch) pie crust (12 servings)
Average Rating: 5 from 2 ratings
Comment
Print Recipe
Ingredients
- 1 ¾ cups graham cracker crumbs (approx. 12 full graham crackers)
- ¼ teaspoon kosher salt
- ½ cup melted unsalted butter (1 stick)
Instructions
- In a food processor, finely grind whole graham crackers until no discernable pieces remain (or use pre-ground crumbs). Pour the crumbs into a medium mixing bowl.
- Add the kosher salt and the melted butter to the crumbs. Mix thoroughly until all crumbs are evenly moistened and a homogeneous mixture is formed.
- Press the mixture firmly into your desired 9-10 inch pie dish. Use a tart tamper or the back of a ½ cup measuring cup to create an even, compact crust, extending up the sides of the dish to form neat edges.
- Refrigerate the pressed crust for at least 30 minutes to an hour, or until firm, before adding your desired filling. This chilling step is crucial for stability.
Video Guide
Nutrition Information (per serving)
Course: Dessert | Cuisine: American
The Versatility of Your No-Bake Canvas
This simple no-bake graham cracker crust isn’t just easy to make; it’s incredibly versatile, serving as the perfect foundation for a vast array of desserts. Its subtly sweet and earthy flavor profile complements almost any filling, making it a go-to for countless recipes. Beyond traditional pies, consider it for parfaits, bars, or even individual dessert cups.
- Classic Pies: This crust is ideal for beloved no-bake pies like Key Lime Pie (my absolute favorite for its tangy contrast!), lemon meringue pie (though you’d bake the meringue separately), or rich chocolate cream pie. The coolness of the filling combined with the crispness of the crust creates a delightful textural experience.
- No-Bake Cheesecakes: For those who adore cheesecake but dread the water bath, this crust is your best friend. It provides a sturdy and flavorful base for creamy, dreamy no-bake cheesecakes, whether you prefer classic vanilla, strawberry swirl, or even this chocolate chip cheesecake (for which I still highly recommend a baked crust, but this works in a pinch!).
- Layered Desserts: Think outside the pie dish! Use this crust mixture as a layer in trifles, parfaits, or dessert cups. Crushed and sprinkled over ice cream or yogurt, it adds a delightful crunch.
- Seasonal Creations: Adapt the fillings to the season. Fresh berry fillings in summer, pumpkin mousse for autumn, or peppermint cream during the holidays all pair wonderfully with this adaptable crust.
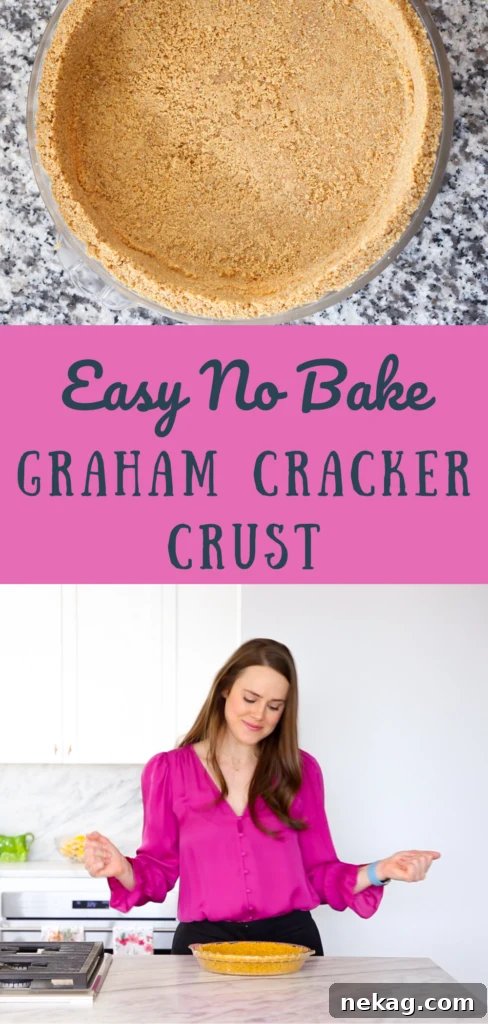
Tips for a Perfectly Pressed Crust
Achieving a perfectly pressed, firm, and attractive crust is key to a successful no-bake pie. While the process is simple, a few techniques can ensure your crust holds its shape beautifully and provides the ideal texture for your dessert:
- Evenly Moistened Crumbs: Ensure all graham cracker crumbs are thoroughly coated with melted butter. This is crucial for proper binding. If the mixture seems too dry, add a tiny bit more melted butter, a teaspoon at a time, until it clumps together when squeezed. If it feels too wet, it might become greasy; add a few more crumbs.
- Choosing Your Tool: While a dedicated tart tamper works wonders, a common household item like the bottom of a flat-bottomed measuring cup (a ½ cup or ¼ cup works well) or even a sturdy glass can be used effectively.
- Start in the Center: Begin by pressing the majority of the mixture into the bottom of the pie dish, creating an even layer. Then, gradually work your way up the sides, using firm and consistent pressure.
- Forming the Edges: For neat edges, use your fingers to shape the crumbs against the rim of the pie dish. You can create a simple, straight edge or use a fork to press a decorative pattern. The key is to pack the crumbs tightly.
- Firm Pressure is Key: Don’t be shy! Apply firm, even pressure to compact the crumbs. This prevents your crust from crumbling when sliced. The more tightly packed, the sturdier your crust will be.
- Chilling is Non-Negotiable: After pressing, refrigerate the crust for at least 30 minutes, or up to an hour, before adding any filling. This allows the butter to solidify, setting the crust and making it much more stable.
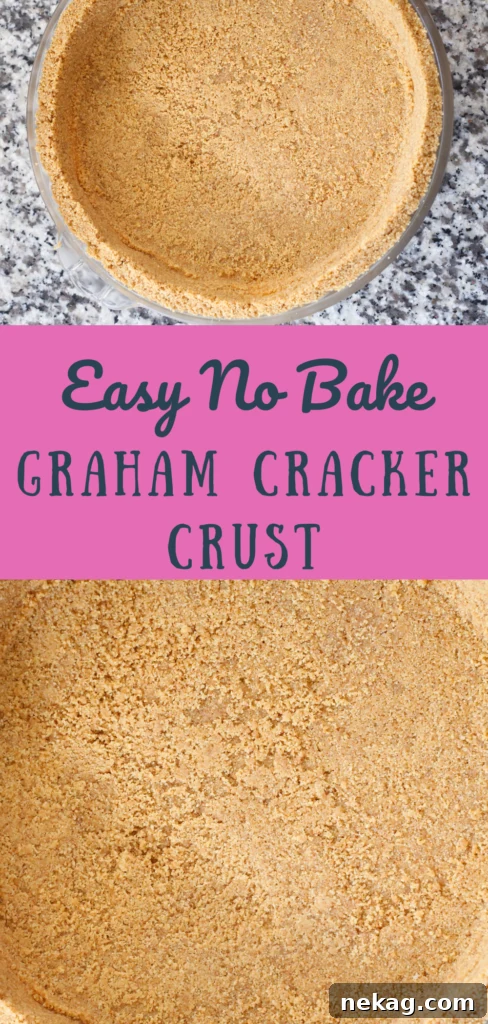
Flavor Variations and Substitutions
While the classic graham cracker crust is delightful, don’t hesitate to experiment with flavor variations to suit your specific dessert or personal preference:
- Chocolate Twist: For a decadent chocolate crust, substitute some or all of the graham cracker crumbs with chocolate wafer crumbs (like Oreos, with or without cream filling, crushed finely). Adjust butter slightly if using Oreo crumbs due to their higher fat content.
- Nutty Notes: Add finely chopped toasted nuts (pecans, walnuts, almonds) to the graham cracker mixture for extra crunch and flavor. About ¼ to ½ cup should do the trick.
- Spiced Up: Incorporate a pinch of cinnamon, nutmeg, or pumpkin pie spice into the crumbs, especially for autumn-themed desserts.
- Gluten-Free Option: Easily make this recipe gluten-free by using gluten-free graham crackers. The method remains exactly the same.
- Alternative Crackers: If you don’t have graham crackers, digestive biscuits, vanilla wafers, or even shortbread cookies can be crushed and used as a substitute, offering different flavor profiles.
Make-Ahead and Storage
This no-bake graham cracker crust is perfect for make-ahead convenience. You can press the crust into your pie dish and refrigerate it for up to 3-4 days before filling. Just cover it loosely with plastic wrap to prevent it from absorbing any refrigerator odors. If you want to prepare it even further in advance, you can freeze the unbaked crust. Wrap it tightly in plastic wrap and then foil, and it will keep in the freezer for up to 1 month. Thaw it in the refrigerator for a few hours before filling.
Frequently Asked Questions
- Can I use salted butter?
- While unsalted butter is generally preferred for baking to control the salt content, you can use salted butter. If you do, omit the ¼ teaspoon of kosher salt from the recipe.
- My crust is too crumbly. What went wrong?
- A crumbly crust usually means there wasn’t enough melted butter to bind all the crumbs. Add melted butter a tablespoon at a time, mixing well, until the mixture holds together when squeezed in your hand. Also, ensure you’re pressing firmly enough into the pie dish.
- My crust is too greasy. How can I fix it?
- This typically happens if there’s too much butter. If you notice a pool of butter at the bottom after chilling, you can carefully blot it with a paper towel. For future attempts, measure your butter accurately, and if using very fine crumbs, you might need slightly less butter as finer crumbs absorb liquid differently.
- Can I make this crust in a springform pan?
- Absolutely! This crust works wonderfully in a springform pan, especially for cheesecakes. Ensure you press the crumbs firmly both on the bottom and up the sides.
- How long does the filled pie last?
- Once filled, the longevity of your pie depends on the filling. Most no-bake pies with dairy or fruit fillings should be refrigerated and consumed within 3-5 days.
Loved this simple recipe? Share your thoughts! Leave a comment below!