
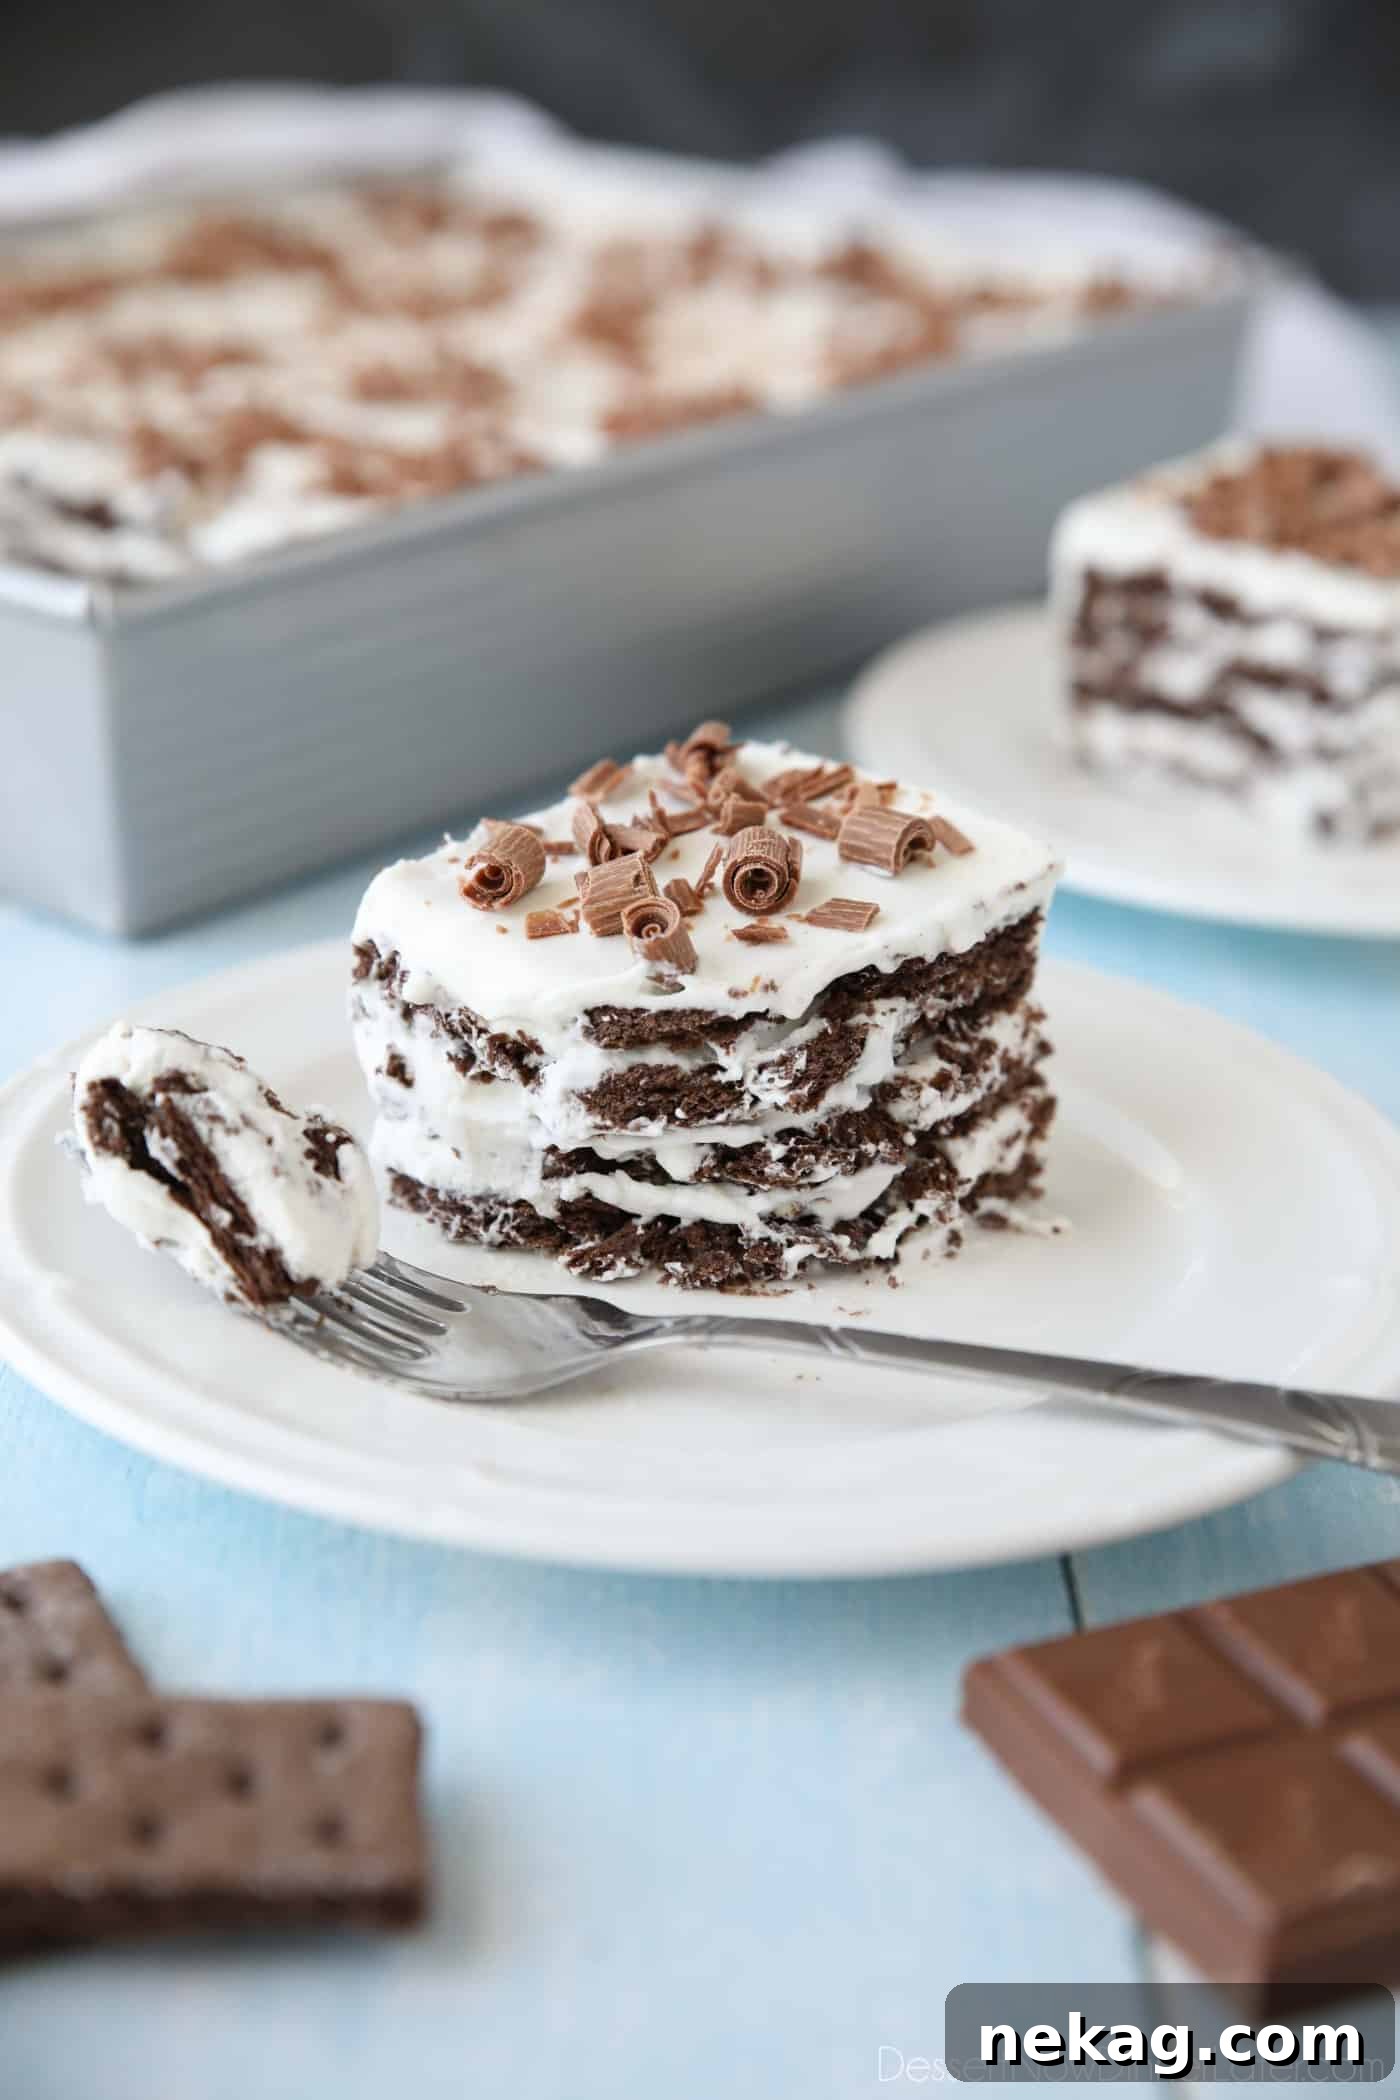
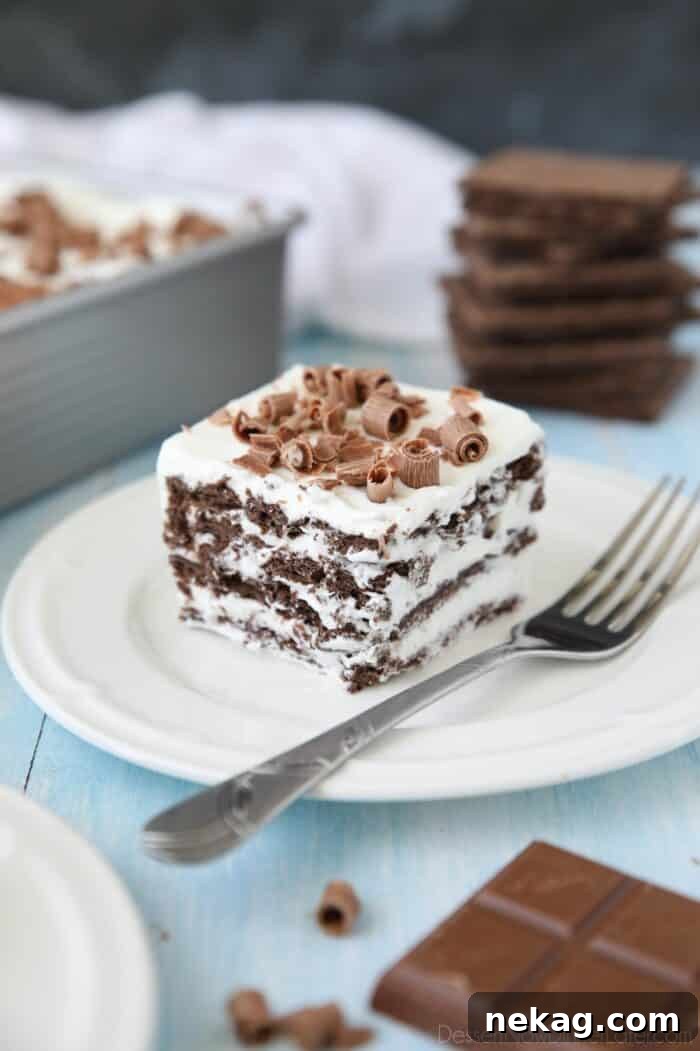
Welcome to the delightful world of no-bake desserts! This incredible Icebox Cake recipe, crafted from rich chocolate graham crackers and a cloud of sweetened whipped cream, promises pure bliss with minimal effort. It’s the quintessential old-fashioned treat, perfect for cooling down on a warm summer day or simply indulging your sweet tooth without ever turning on the oven. Prepare to discover a simple yet elegant dessert that effortlessly combines convenience with irresistible flavor.
The Enduring Charm of Traditional Icebox Cake
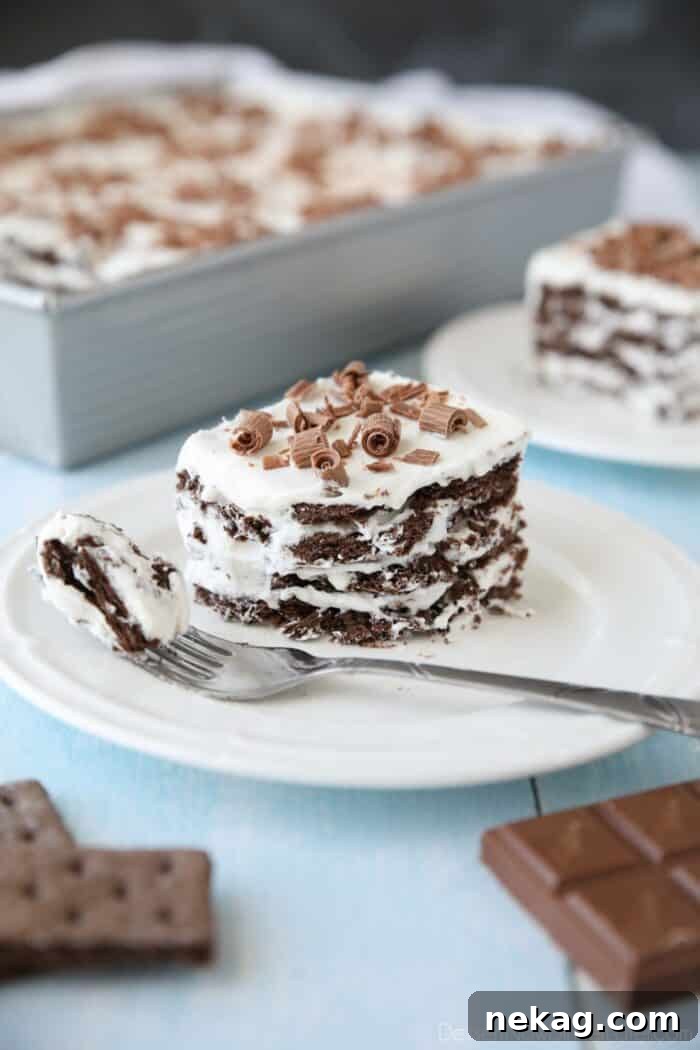
The concept of the icebox cake, a truly ingenious no-bake dessert, has graced American kitchens for generations. While its precise origins are a bit nebulous, it was famously popularized by companies like Nabisco, particularly with their iconic chocolate wafers. The original, much-loved recipe was delightfully straightforward: thin chocolate wafers layered with generous amounts of freshly whipped cream, subtly sweetened with sugar. This simplicity is a huge part of its enduring appeal, making it a staple for home cooks seeking deliciousness without the fuss of baking.
You might wonder, how exactly does an icebox cake work its magic? The secret lies in the chilling process. As the cake rests in the refrigerator, the crisp cookies gradually absorb the moisture and fat from the whipped cream. This transformation is key, turning the initially crunchy wafers or graham crackers into a wonderfully soft, moist, and cake-like texture. It’s a fascinating culinary alchemy that requires patience but rewards with a delightful melt-in-your-mouth experience.
Historically, the icebox cake was a revelation for housewives. It was cleverly marketed as a way to create a rich, homemade-tasting chocolate cake without the need to heat up the kitchen, especially during scorching summer months. This innovative approach to dessert preparation offered a welcome respite from traditional baking, proving that truly satisfying sweets didn’t always require an oven.
Unpacking the Name: Why “Icebox Cake”?
The charmingly old-fashioned name “icebox cake” is a direct nod to its historical roots. The traditional icebox cake earned its moniker from the icebox, a common non-mechanical form of refrigeration prevalent in homes during the early 1920s, long before electric refrigerators became widespread. Essentially, an icebox was a well-insulated cabinet that housed a block of ice to keep perishable foods cool.
As iceboxes gained popularity, food manufacturers astutely recognized an opportunity. They began printing “icebox recipes” directly onto the packaging of their cookies and wafers. This brilliant marketing strategy encouraged consumers to use their new kitchen appliances to create simple, chilled desserts, further cementing the icebox cake’s place in culinary history as a convenient and innovative treat.
Endless Possibilities: Delicious Icebox Cake Variations
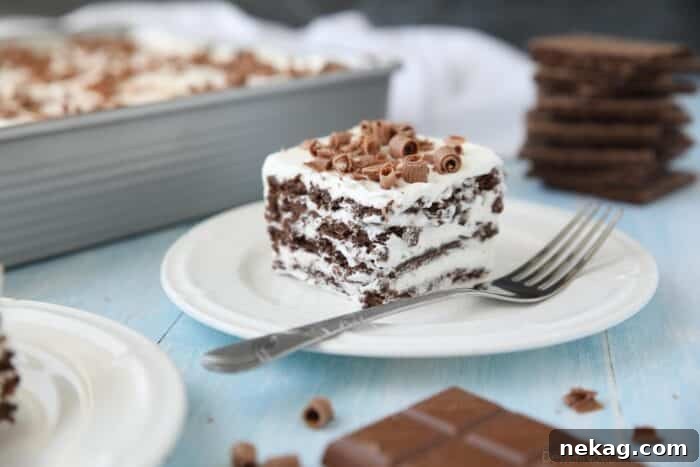
Icebox cakes are incredibly versatile and utterly delicious! What truly makes them fantastic is their inherent simplicity and adaptability. At their core, these desserts can be crafted with as few primary ingredients as cookies and cream. However, their true beauty shines when you begin to explore the myriad of additions and variations. By incorporating elements like fresh fruit, crunchy nuts, rich pudding, or tangy cream cheese, you can transform a basic icebox cake into a completely different, yet equally delightful, dessert experience.
Consider the possibilities: a vibrant lemon icebox cake with vanilla wafers, a decadent peanut butter version with chocolate cookies, or a summery strawberry delight made with shortbread. You can swap out chocolate graham crackers for vanilla ones, use different flavored puddings (think banana cream or butterscotch!), or layer in fresh berries like raspberries or blueberries for a burst of flavor and color. Some popular variations include:
- **Fruit-infused:** Layers of sliced bananas, strawberries, or peaches between vanilla wafers and whipped cream.
- **Pudding Perfection:** Adding layers of chocolate, vanilla, or butterscotch pudding for extra richness and different textures.
- **Cheesecake Inspired:** Incorporating cream cheese into the whipped cream mixture for a tangy, cheesecake-like flavor profile.
- **Nutty Crunch:** Sprinkling chopped nuts like pecans or walnuts between layers for added texture.
- **Coffee or Mocha:** Dipping ladyfingers in coffee before layering with a coffee-flavored whipped cream.
Even the most stunning and complex-looking icebox cakes typically boast just a handful of readily available ingredients and demand minimal preparation time, most notably requiring no oven at all. This ease of creation, combined with their crowd-pleasing appeal, makes them a go-to choice for family gatherings, potlucks, and special celebrations, always leaving a lasting impression without causing a fuss in the kitchen.
Our Signature Chocolate Icebox Cake Recipe: A Decadent Delight
For this particular chocolate icebox cake recipe, we’ve made a deliberate choice to use chocolate graham crackers instead of the traditional chocolate wafers. Our reasoning is purely practical and aesthetic: graham crackers fit perfectly into a standard 9×13-inch pan. This ensures even layers and a beautifully structured cake, much like our popular eclair icebox cake. The slightly thicker texture of the graham crackers also provides a satisfying contrast to the creamy filling, offering a wonderful mouthfeel as they soften into a cake-like consistency.
This recipe transforms humble ingredients into a show-stopping dessert. The rich chocolate notes from the graham crackers perfectly complement the light, airy sweetness of the whipped cream, creating a harmonious balance that is both comforting and sophisticated. It’s a recipe designed for success, delivering maximum flavor with minimum effort, making it ideal for both novice and experienced dessert makers.
Essential Ingredients for Your Perfect Icebox Cake
Creating this delicious chocolate icebox cake is surprisingly simple, requiring just a few staple ingredients that come together to form an unforgettable dessert. Quality ingredients are key here to achieve the best flavor and texture. Here’s what you’ll need to gather:
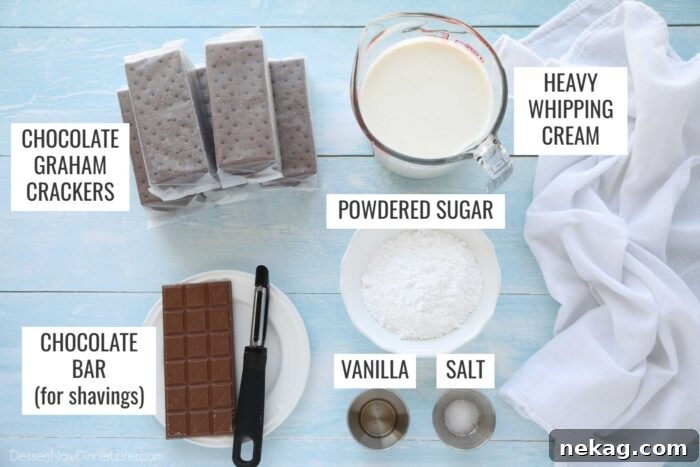
- Heavy Whipping Cream: This is the foundation of our creamy filling. Ensure it’s very cold for optimal whipping and volume, creating that irresistible light and airy texture.
- Powdered Sugar: Also known as confectioners’ sugar, it sweetens the cream while dissolving smoothly, leaving no grainy texture behind.
- Vanilla Extract: A touch of pure vanilla extract enhances all the other flavors, adding a warm, aromatic depth to the whipped cream.
- Salt: Just a tiny pinch of salt is crucial. It doesn’t make the cream taste salty but rather balances the sweetness and brings out the chocolate flavors, elevating the overall taste profile.
- Chocolate Graham Crackers: These form the “cake” layers, offering a sturdy base and a delightful chocolatey foundation that softens beautifully as it chills. You’ll need enough to create multiple layers in your pan.
- Chocolate Bar (Optional): For an elegant finishing touch, a good quality chocolate bar can be shaved or grated over the top, adding visual appeal and an extra hint of chocolate decadence.
Step-by-Step Guide: How To Make This Easy Icebox Cake
Making this icebox cake is a testament to how effortlessly impressive a dessert can be. Follow these simple steps to assemble your chocolatey masterpiece:
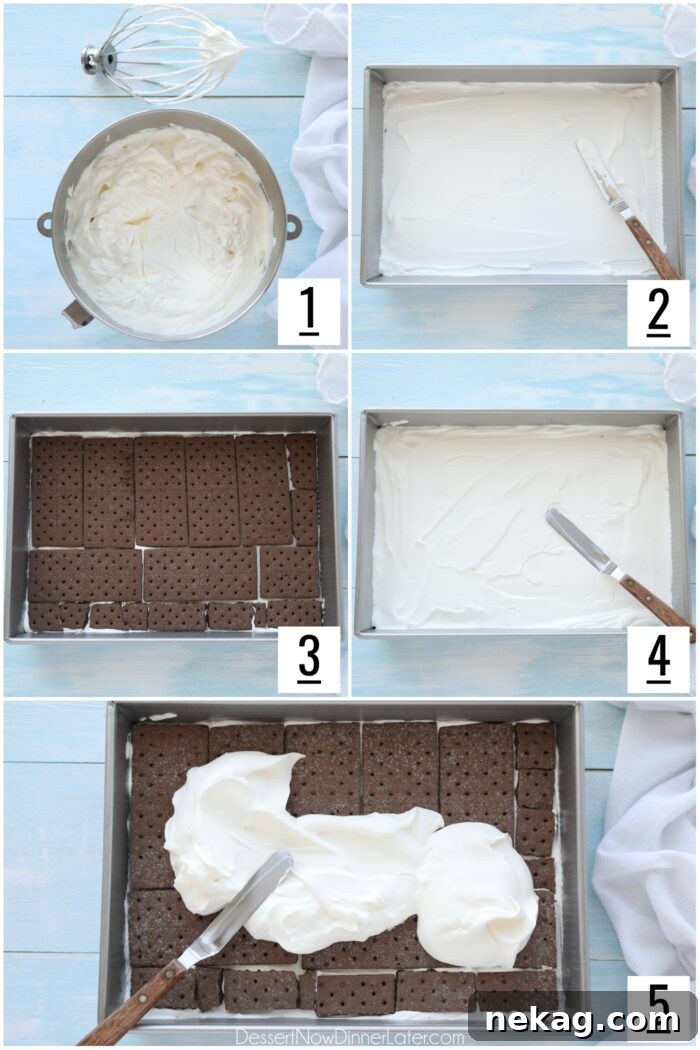
- Prepare the Whipped Cream: In the clean, chilled bowl of a stand mixer (or using a hand mixer) fitted with the whisk attachment, combine the very cold heavy cream, powdered sugar, vanilla extract, and salt. Beat on medium-high speed until stiff peaks form. The cream should be thick enough to hold its shape when the whisk is lifted.
- Create the Base Layer: Spread a thin, even layer of the freshly whipped cream onto the bottom of a 9×13-inch baking pan. This prevents the crackers from sticking and provides a creamy foundation.
- Lay the First Cracker Layer: Carefully arrange a single layer of chocolate graham crackers over the whipped cream base. Break the crackers as needed to fill any gaps and ensure the entire bottom surface is covered.
- Add a Cream Layer: Dollop approximately one-quarter of your prepared whipped cream mixture over the layer of graham crackers. Use an offset spatula or the back of a spoon to spread it evenly from edge to edge.
- Repeat and Build Layers: Continue this layering process, alternating between graham crackers and whipped cream. You should aim to create four distinct layers of crackers, with each cracker layer topped by a quarter of the whipped cream. Ensure the final layer is a generous spread of whipped cream.
The Art of Chilling and Serving Your Icebox Cake
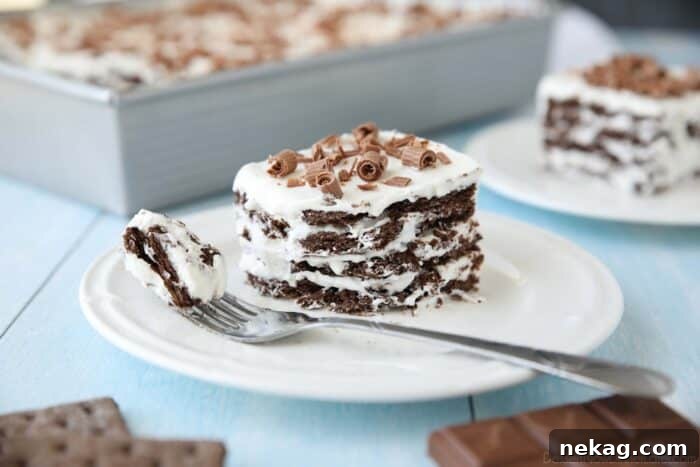
The most critical step in perfecting an icebox cake is adequate refrigeration. This isn’t just about keeping it cold; it’s the magical phase where the cookies transform. As the cake chills, the graham crackers slowly absorb the fat and moisture from the rich whipped cream. This process is what softens the crisp crackers, melding them into a cohesive, tender, and truly “cake-like” texture. Rushing this step will result in crunchy crackers and a less harmonious dessert.
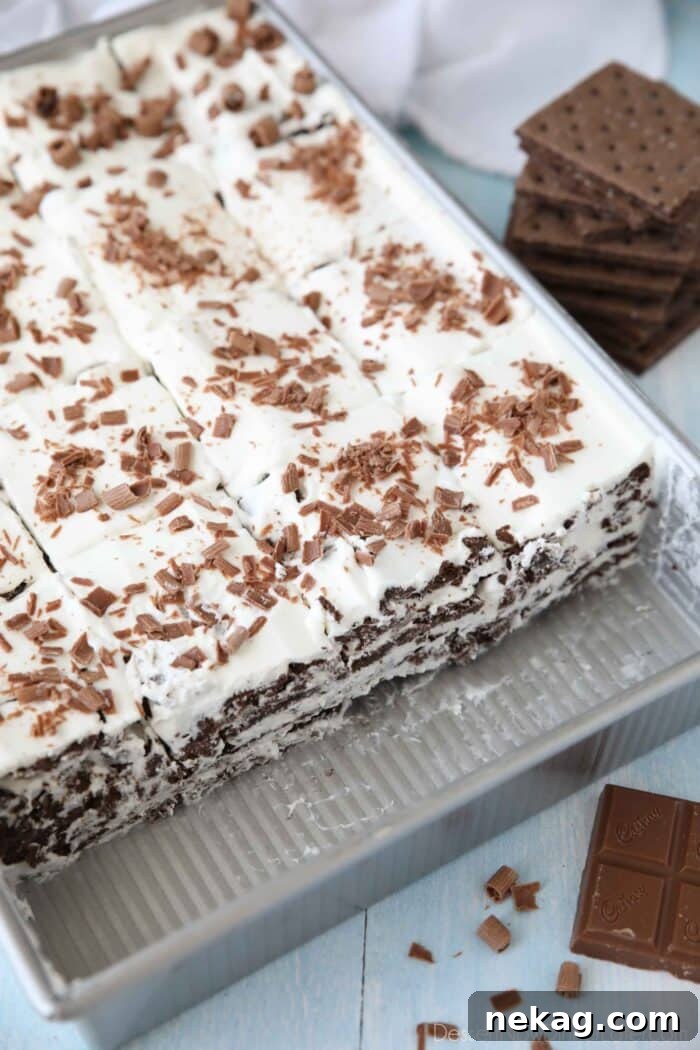
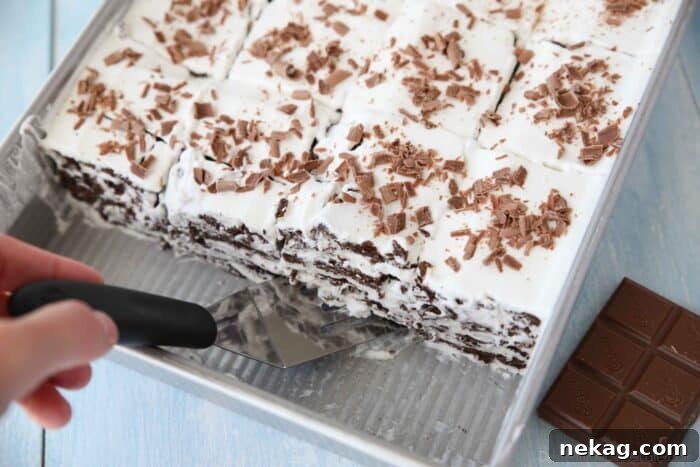
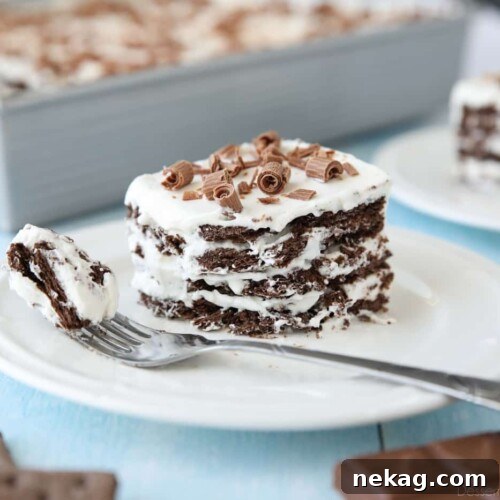
Once assembled, cover the pan loosely with plastic wrap or aluminum foil and refrigerate the icebox cake for a minimum of 4 hours, or ideally, overnight. The longer it chills, the more pronounced the transformation and the softer the layers will become. For serving, simply use a sharp knife to cut neat slices. Enhance each piece with a flourish of elegant chocolate shavings, a dusting of cocoa powder, fresh berries, or any other garnish you desire. The appearance of this simple dessert can be elevated with minimal effort.
To ensure freshness and flavor, store this delightful chocolate icebox cake covered tightly in the refrigerator for up to 4 days. It often tastes even better the second day as the flavors have had more time to meld and the crackers have fully softened.
Expert Tips for Your Best Icebox Cake Ever
Achieving a truly exceptional icebox cake is all about a few key details. Keep these tips in mind to ensure your dessert turns out perfectly every time:
- Embrace Cold for Whipped Cream: This is a game-changer! To help your heavy cream achieve those beautiful, stiff peaks more efficiently and prevent it from weeping, chill your mixing bowl and whisk attachment in the refrigerator for 15-20 minutes before you begin. And of course, ensure your heavy cream is straight from the fridge, icy cold. This simple step makes a world of difference in the cream’s texture and stability.
- Whipped Cream vs. Cool Whip: While you can opt for thawed Cool Whip as a shortcut to make this recipe even easier, it’s worth noting that nothing quite compares to the rich, fresh taste and texture of homemade whipped cream, lightly sweetened with sugar and flavored with pure vanilla. If using Cool Whip, you’ll need approximately two 8-ounce tubs or one 16-ounce tub, thawed according to package directions. Keep in mind, homemade offers a superior flavor experience.
- Scaling Down for a Smaller Cake: If you’re serving a smaller crowd or simply prefer a more modest dessert, this recipe is easily adaptable. You can confidently cut all the ingredient quantities in half and assemble your icebox cake in an 8×8-inch dish. The chilling time will remain similar, but the smaller size allows for more personal enjoyment.
- Patience is Key: Allow Cake to Chill Completely: It’s incredibly tempting to dig into this delicious icebox cake as soon as it’s assembled, but resist the urge! The transformation from crunchy crackers to soft, cake-like layers only happens during the chilling period. The longer the cake chills, the softer and more cohesive the layers will become, resulting in that perfectly tender texture we’re after. A minimum of 4 hours is necessary, but an overnight chill truly yields the best results.
- Creative Garnishes: Don’t limit yourself to just chocolate shavings! Consider a sprinkle of cocoa powder, a drizzle of chocolate syrup, a few fresh raspberries, or a dusting of powdered sugar to make your icebox cake truly presentation-worthy.
- Make-Ahead Marvel: This dessert is a fantastic make-ahead option. Since it requires extended chilling, you can easily prepare it a day in advance, freeing up your time on the day you plan to serve it. This makes it ideal for entertaining.
Explore More No-Bake Desserts
If you’ve fallen in love with the ease and deliciousness of this icebox cake recipe, you’ll be thrilled to discover a world of other fantastic no-bake desserts. Perfect for any season, these recipes offer incredible flavor without the need for an oven. Expand your repertoire with these delightful options:
- Decadent Chocolate Cream Cheese Pie
- Irresistible No Bake Peanut Butter Bars
- Elegant Layered No Bake Cheesecake
- Creamy No Bake Peanut Butter Pie
- Rich No Bake Nutella Cheesecake
- Refreshing Strawberry Graham Cracker Icebox Cake
Chocolate Icebox Cake Recipe
Amber Brady
15 mins
4+ hrs (or overnight)
20 servings
Ingredients
- 3 ½ cups (828 ml) heavy whipping cream, cold
- 1 cup (120 g) powdered sugar
- 1 tsp vanilla extract
- ¼ tsp salt
- 37 chocolate graham crackers (more or less, to fit your dish)
- Chocolate shavings, optional (for garnish)
Equipment
-
KitchenAid 5-Qt. Stand Mixer
-
9×13-inch Pan
-
Wilton 3-Piece Icing Spatula Set
Instructions
-
Make whipped cream. In the bowl of a stand mixer with the whisk attachment, beat the heavy cream, powdered sugar, vanilla, and salt until stiff peaks form.
-
Spread a thin layer of whipped cream onto the bottom of a 9×13-inch pan.
-
Place a layer of chocolate graham crackers in the bottom of the dish, breaking them as needed to fit the pan.
-
Dollop 1/4 of the whipped cream on top of the crackers. Spread evenly.
-
Repeat layers of graham crackers and cream, creating four layers of crackers, and ending with the final layer of whipped cream on top.
-
Cover the pan loosely and refrigerate the icebox cake for 4 hours to overnight. To serve, cut slices with a knife and top each piece with chocolate shavings, or other garnish as desired.
Notes
- TIP: Use cold equipment for the whipped cream. Chill the bowl and whisk for 15-20 minutes in the fridge before you whip the cream. This will help the cream achieve stiff peaks more efficiently.
- Cool Whip instead of Whipped Cream – You can use Cool Whip to make this recipe even easier, but the taste of freshly whipped cream sweetened with sugar is superior. You will need about two 8-oz tubs or one 16-oz tub of thawed Cool Whip for this recipe.
- Smaller Cake – You can cut this recipe in half and make it in an 8×8-inch dish.
- Storage: Store this chocolate icebox cake covered in the fridge for up to 4 days.
Nutrition Information
Serving: 1 slice | Calories: 290kcal | Carbohydrates: 28g | Protein: 3g | Fat: 19g | Saturated Fat: 11g | Polyunsaturated Fat: 7g | Trans Fat: 1g | Cholesterol: 48mg | Sodium: 207mg | Fiber: 1g | Sugar: 18g
Disclaimer: Nutritional values were calculated using a third-party tool and are provided as an estimation only.
Sharing this recipe with a link is both encouraged and appreciated. Copying/pasting and/or screenshots of full recipes to any social media is strictly prohibited. Content and photographs are copyright protected.
Did you make this recipe?
We’d love to hear from you! Don’t forget to leave a rating below and make sure to follow us on Pinterest and Instagram for more delicious inspiration!