
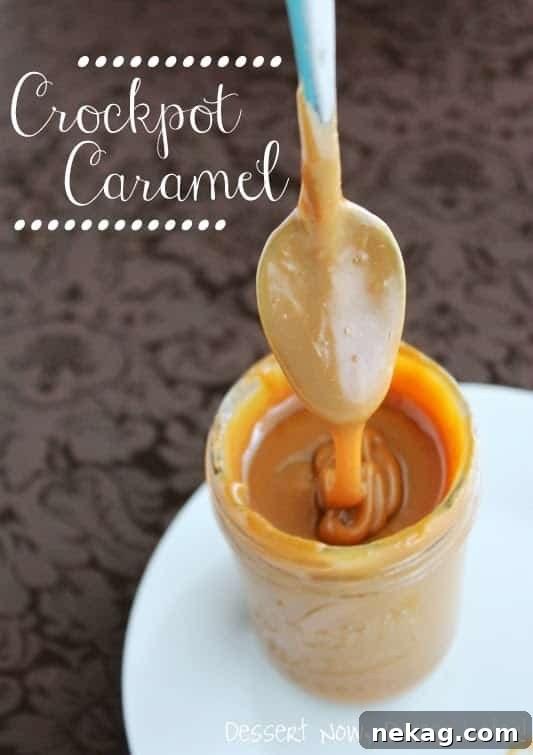
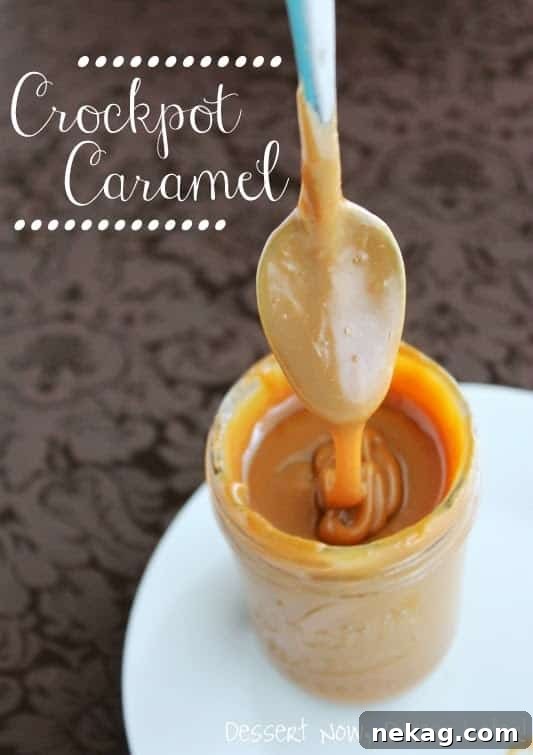
Crockpot Caramel: The Easiest Way to Indulge in Golden Sweetness
Prepare to be amazed by the sheer simplicity and incredible results of making caramel in your slow cooker! This ingenious method, often referred to as the “crockpot caramel trick,” has been circulating for good reason. It transforms a humble can of sweetened condensed milk into a luscious, golden caramel sauce with minimal effort and maximum satisfaction. Forget the constant stirring, the risk of burning, or the need for a candy thermometer associated with traditional stovetop caramel. This hands-off approach makes homemade caramel accessible to everyone, from novice cooks to seasoned dessert enthusiasts.
My journey into the world of slow cooker caramel began with a desire to try it using my own homemade sweetened condensed milk. If you haven’t yet explored the delights of making your own SCM, I highly recommend it – it’s incredibly easy and adds a wonderful fresh dimension to your caramel. The perfect occasion presented itself when I hosted an ice cream party for a group of friends. I knew a rich, homemade caramel would be the ultimate topping, and the slow cooker provided the perfect stress-free solution. The anticipation was palpable, and the results, as you’ll soon discover, were utterly delightful.
Why the Slow Cooker is Your Secret Weapon for Perfect Caramel
The slow cooker, often relegated to savory stews and roasts, proves itself an unexpected hero in the world of confectionery. Its ability to maintain a consistent, gentle heat over an extended period is precisely what makes it ideal for caramelizing sweetened condensed milk. Unlike direct heat methods, which can easily scorch the sugar if not meticulously monitored, the slow cooker creates a low-and-slow environment that encourages the milk sugars to gradually brown and develop complex flavors without the risk of burning. This “set it and forget it” advantage means you can simply place your sealed can or jar into the crockpot, fill it with water, and let the appliance do all the hard work while you go about your day.
The process is incredibly forgiving. There’s no need for specialized equipment beyond your trusty slow cooker, and the ingredients list couldn’t be simpler: just sweetened condensed milk and water. This method yields a caramel that is consistently smooth, thick, and wonderfully rich, far surpassing the taste and texture of many store-bought varieties. It’s a testament to how simple techniques can produce truly gourmet results, making homemade treats more accessible and enjoyable for everyone.
The Magic Ingredient: Sweetened Condensed Milk (Homemade vs. Store-Bought)
At the heart of this caramel transformation lies sweetened condensed milk. This shelf-stable product is essentially cow’s milk from which water has been removed, and a significant amount of sugar has been added. The high sugar content and reduced water activity are key to its magical conversion into caramel. When subjected to prolonged gentle heat, the sugars caramelize, and the milk solids brown, resulting in that distinctive golden color and complex flavor we all adore.
While a standard store-bought can of sweetened condensed milk works perfectly for this recipe, I highly recommend trying it with homemade sweetened condensed milk if you have the time. Making it from scratch is surprisingly straightforward and allows you to control the quality of ingredients, often resulting in a richer, purer flavor profile. Plus, there’s an undeniable satisfaction in crafting every component of your dessert from the ground up. Whether you opt for homemade or a trusted brand from the grocery store, the slow cooker will work its magic to deliver a delicious caramel every time.
From Nervous Anticipation to Golden Perfection: My Crockpot Caramel Journey
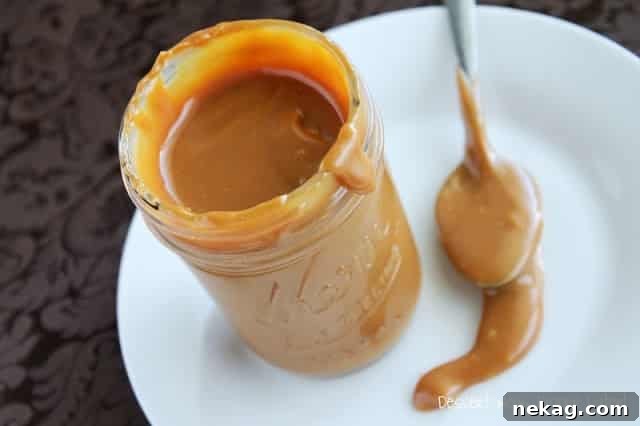
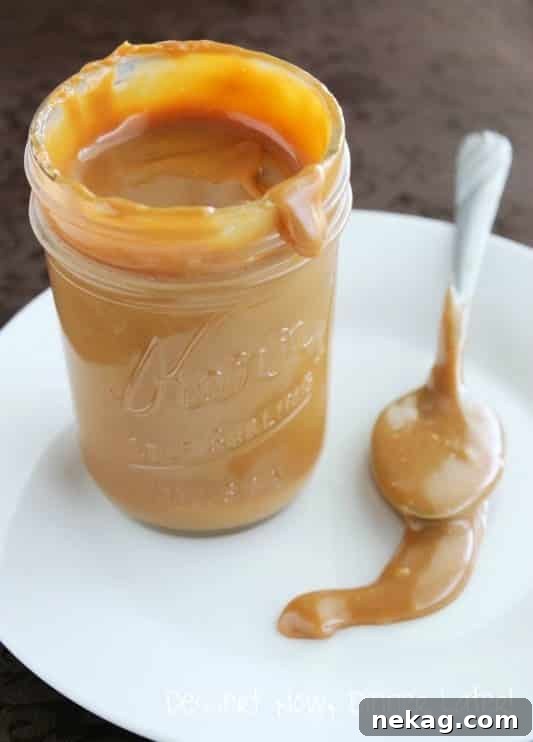
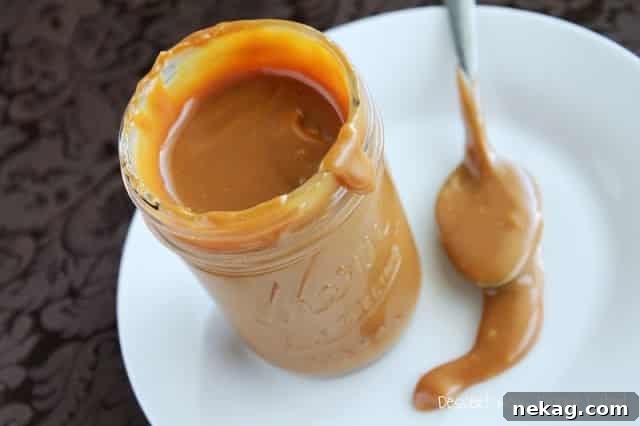
Even with all the glowing reviews, I admit I felt a pang of nervousness during the first seven hours of cooking. It’s hard to imagine something remaining white and milky for so long and then suddenly transforming. However, as the eighth hour approached, the magic truly began. What emerged from the crockpot was a revelation: a perfectly golden, incredibly thick, and wonderfully smooth caramel. The texture was absolutely divine – rich, velvety, and irresistibly decadent. It was everything I had hoped for and more!
The caramel was so wonderfully thick, in fact, that I needed to thin it slightly to achieve that perfect drizzle consistency for ice cream. A small amount of heavy cream, added gradually, did the trick beautifully, making it flow smoothly and elegantly over any dessert. The depth of flavor was exceptional, a testament to the slow, gentle cooking process that allowed the sugars to caramelize evenly and deeply. This wasn’t just good; it was spectacular, making every moment of anticipation worth it.
Versatility Unleashed: Endless Ways to Enjoy Your Homemade Caramel Sauce
Once you’ve made this crockpot caramel, you’ll find yourself looking for every excuse to use it. Its rich, buttery flavor and smooth texture make it an incredibly versatile topping and ingredient. It’s far more than just an ice cream sauce, though it excels in that role, elevating a simple scoop of vanilla to a gourmet dessert. Imagine drizzling it over warm brownies or a slice of cheesecake for an instant upgrade. It pairs beautifully with fruit, especially crisp apple slices, offering a healthier (and still delicious) way to enjoy this sweet treat.
Beyond the obvious, consider incorporating your homemade caramel into other culinary creations. Stir a spoonful into your morning coffee or hot chocolate for a luxurious twist. Use it as a filling for tarts or cakes, or swirl it into a milkshake for an extra layer of indulgence. For a touch of sophistication, sprinkle a pinch of sea salt flakes over the warm caramel to create a delightful salted caramel sauce that balances sweet and savory notes perfectly. This homemade caramel also makes an exquisite edible gift. Pour it into decorative jars, tie with a ribbon, and share the golden goodness with friends and family. Just be sure to include a refrigeration reminder for their safety and enjoyment.
Important Safety Notes: Understanding the Difference Between Cooking and Canning
A crucial distinction needs to be made regarding the jars used in this recipe. While this crockpot caramel is prepared in canning jars, this process is NOT traditional home canning. It’s essential to understand that caramel and chocolate sauces are low-acid foods, making them unsafe for water bath canning at home. Home canning methods are suitable only for high-acid foods (like most fruits, pickles, and tomatoes with added acid) because the acidity prevents the growth of harmful bacteria, particularly Clostridium botulinum, which produces the dangerous botulinum toxin.
Attempting to “can” low-acid foods like caramel in a hot water bath without subsequent refrigeration could put you at a severe risk of botulism once consumed. These types of products can only be safely canned in professional processing facilities that utilize specialized equipment, such as pressure canners, and often incorporate preservatives to ensure stability and safety. Therefore, after your delicious crockpot caramel has cooled, it must be refrigerated promptly. It will maintain its freshness and quality for up to two weeks in the refrigerator. If you’re giving it as a gift, it’s a thoughtful and responsible gesture to attach a label with a clear “consume by” date and a prominent reminder to “keep refrigerated.” Enjoy your homemade caramel, but always prioritize food safety!
Get Ready to Make Your Own Crockpot Caramel: The Simple Recipe
Now that you understand the magic and safety guidelines, it’s time to whip up your own batch of this unbelievably easy and delicious crockpot caramel. Gather your simple ingredients and get ready to transform them into a golden, gooey delight that will impress everyone.
5 from 1 rating
Crockpot Caramel
📍Pin
💬Rate
❤Save
❤Saved!
Ingredients
- 14 oz (396 g) can Sweetened Condensed Milk
Supplies
- A towel (if using store-bought aluminum cans of sweetened condensed milk, to prevent rust stains)
- Half Pint Mason Jars (if using Homemade Sweetened Condensed Milk; you can also pour canned milk into jars. Tip: The shorter the jar, the easier it is to cover completely in your crock pot.)
- Heavy Cream (for thinning, if desired)
Instructions
-
If you are cooking in the can, remove the label completely and place a towel underneath the can(s) in your slow cooker to prevent rust stains. Do NOT open the can until after it’s cooked.
-
If using mason jars, pour the sweetened condensed milk into the jar(s). Securely place the lid(s) and tightly close with canning ring(s).
-
Carefully place the can(s) or jar(s) into your crock pot. Fill the crock pot completely with water, ensuring it fully covers the top of the can(s) or jar(s) by at least an inch.
-
Cover the crock pot with its lid and cook on the LOW setting for 8 hours, or until your preferred level of caramelization is achieved. Don’t be alarmed if it remains white for a significant portion of the cooking time; mine truly transformed into caramel right at the end of the 8th hour.
-
Once cooked, carefully remove the hot can or jar from the water. If you are using Homemade Sweetened Condensed Milk, you might notice a foamy layer on top after opening the lid; this is completely normal. Stir it thoroughly while it’s hot, and it will smooth out into a luscious caramel. If the caramel is too thick for your liking or for drizzling purposes, you can thin it by gradually adding heavy cream, 1 tablespoon at a time, stirring well after each addition until desired consistency is reached.
-
Allow the caramel to cool completely, then refrigerate in an airtight container for up to two weeks.
Notes
For an extra touch, consider adding a pinch of sea salt to your finished caramel for a delightful salted caramel sauce.
Disclaimer: Nutritional values were calculated using a third-party tool and are provided as an estimation only.
Sharing this recipe with a link is both encouraged and appreciated. Copying/pasting and/or screenshots of full recipes to any social media is strictly prohibited. Content and photographs are copyright protected.
Did you make this?
Don’t forget to leave a rating below and make sure to follow on Pinterest and Instagram for more!