
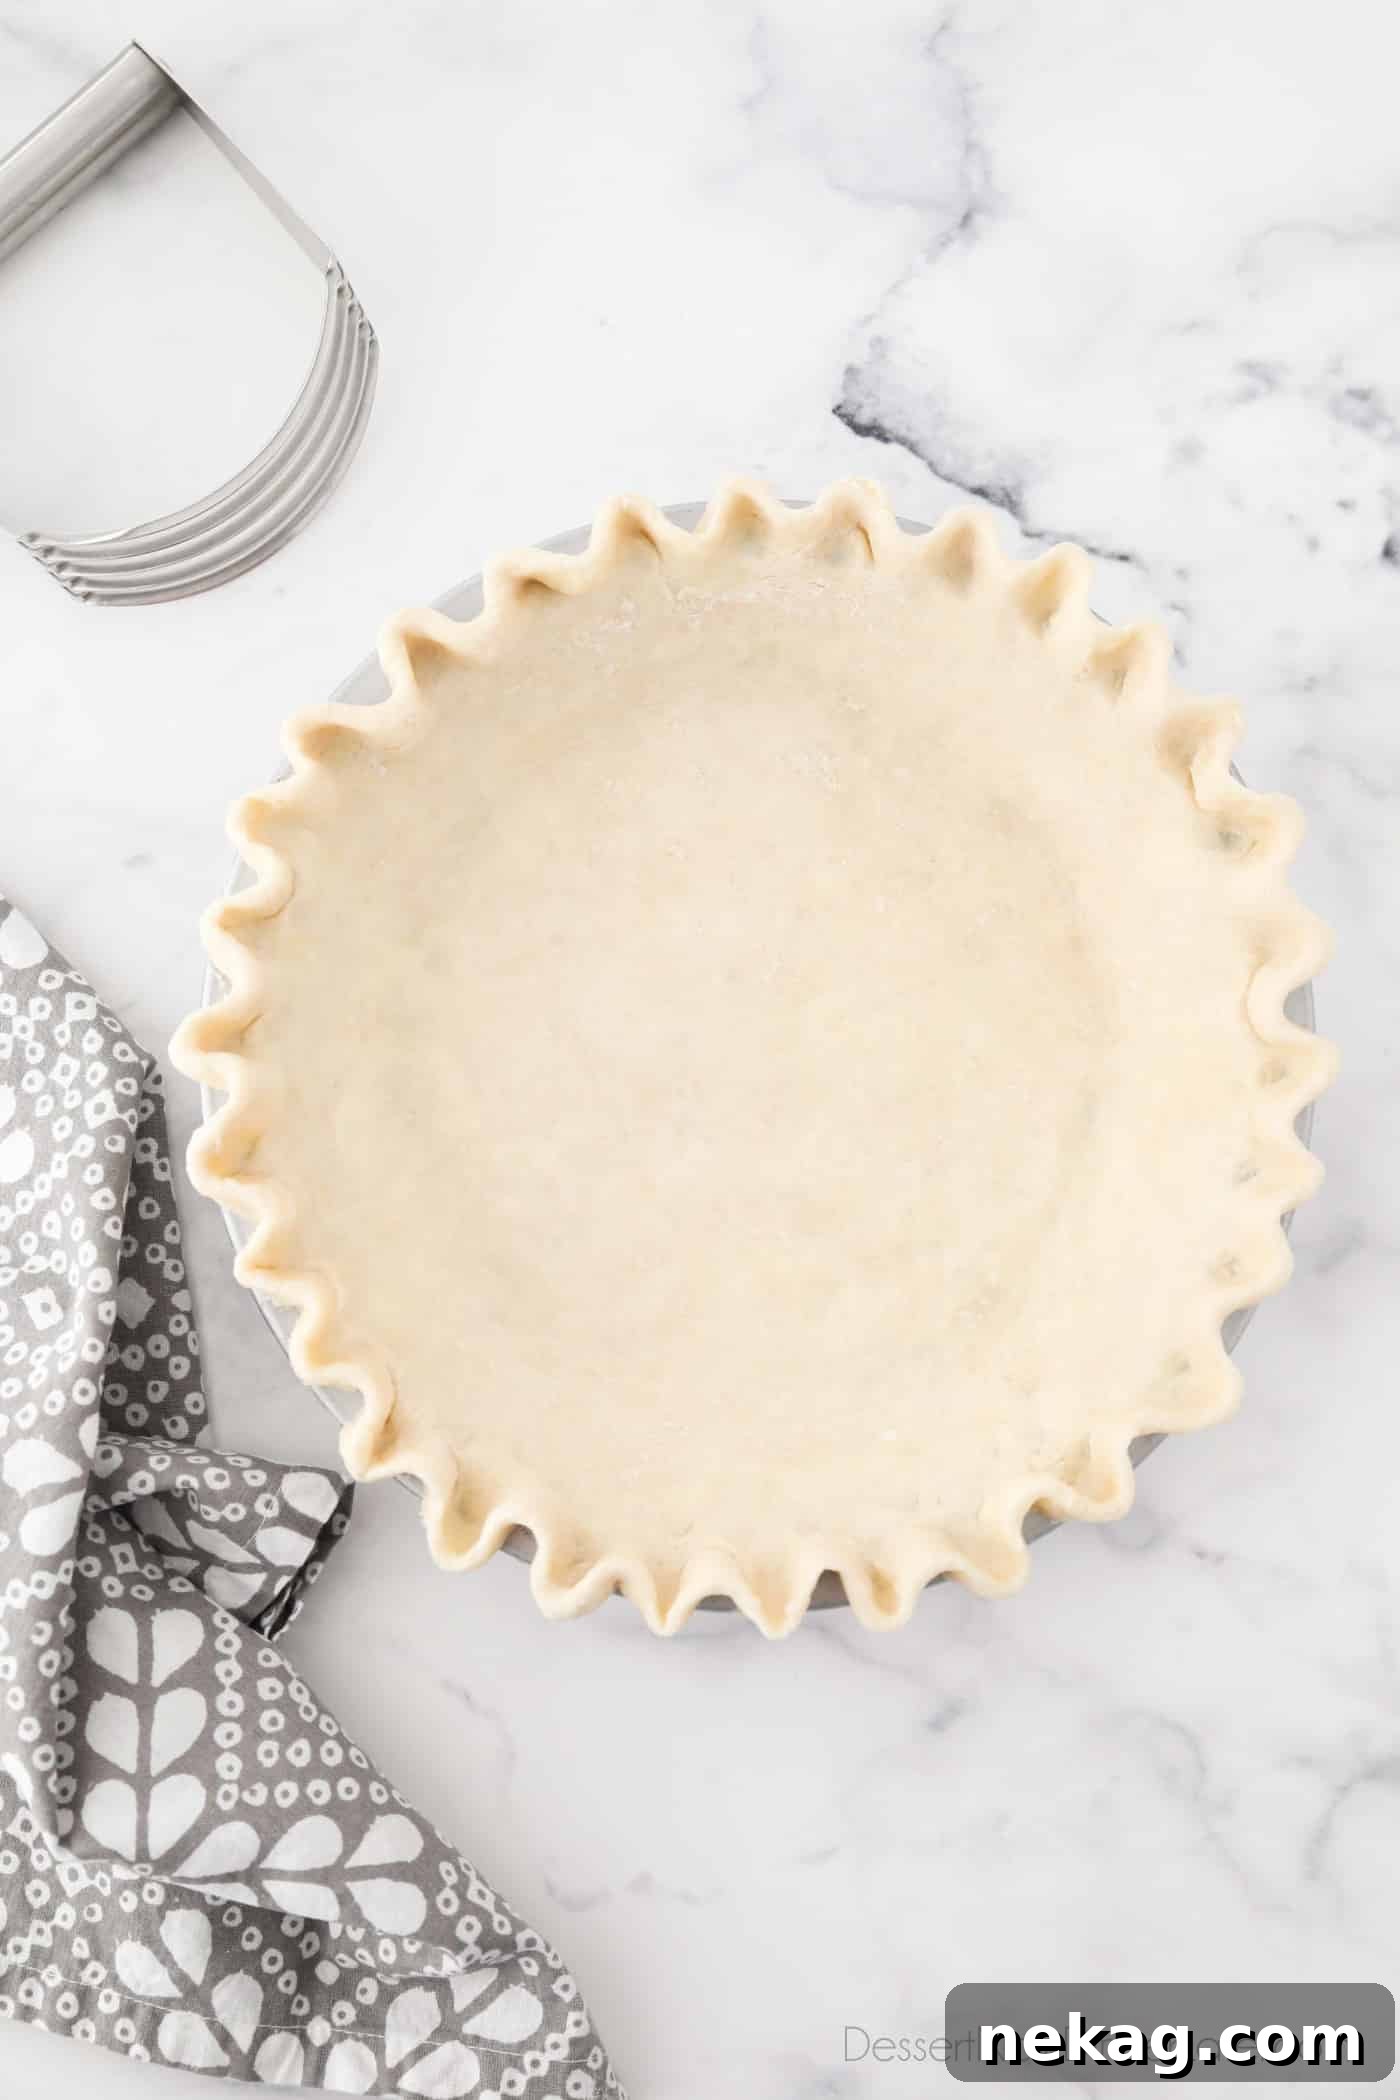
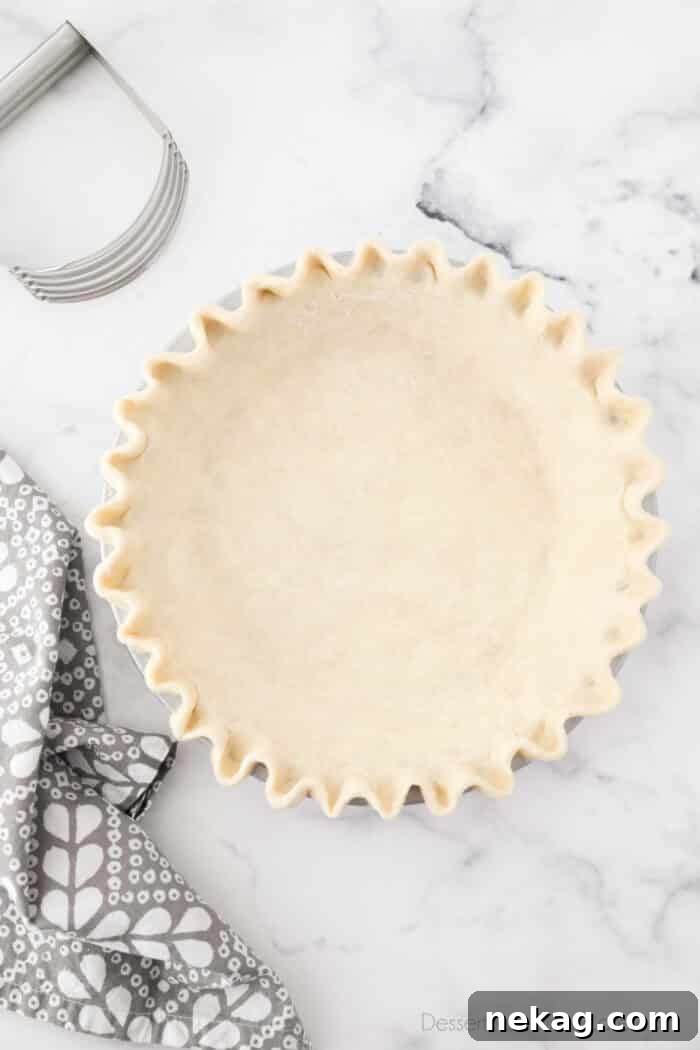
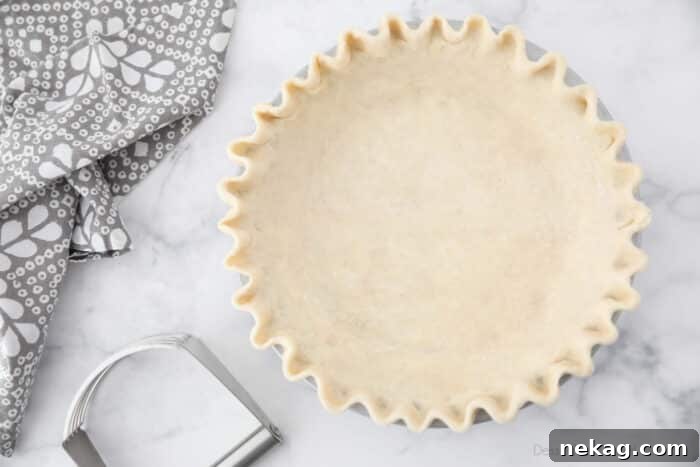
Unlock the secret to baking extraordinary pies with this ultimate guide to crafting the perfect flaky all-butter pie crust. Whether you’re dreaming of a sweet fruit pie, a luscious cream pie, or a hearty savory pot pie, this classic pastry dough, also known as Pâte Brisée, provides an unparalleled foundation. Follow our step-by-step instructions and expert tips to create a tender, buttery, and beautifully layered pie crust that will impress every time. Say goodbye to store-bought crusts and embrace the joy of homemade baking!
The Art of Bakery-Style Pie Crust at Home
My journey into perfecting pie crust began in a bustling bakery, where we meticulously prepared up to 100 pie crusts by hand each day. Imagine the sheer volume of pastry dough, each one contributing to a delicious creation! While we used commercial tools like a bench scraper for efficient butter cutting and a sheeter machine for rolling out vast quantities, the core principles of pie making remained the same as those cherished moments of baking with my mom every Thanksgiving. This cherished memory fueled my passion for mastering the craft, and I’m excited to share the fundamental techniques for achieving exceptional results in your home kitchen.
Why an All-Butter Pie Crust is Superior
At the bakery, we exclusively crafted butter pie crust, or Pâte Brisée, for a simple reason: it offers the most authentic, rich, and flavorful experience. Its classic appeal and melt-in-your-mouth texture are unmatched. The method I’ll guide you through today is precisely how I learned to make this exquisite pastry in culinary school, a technique that scales beautifully from a home kitchen to a professional bakery. This approach guarantees a genuinely flaky and tender result, perfect for any pie.
While an all-butter crust is my top choice for flavor, it’s worth noting the versatility of other fats. For intricate designs like a lattice pie crust or complex decorative work, I sometimes lean towards a shortening-based pie crust. Shortening boasts a higher melting point than butter, making the dough easier to work with for longer periods without the fat melting into your hands prematurely. This characteristic also allows shortening crusts to hold their intricate shapes more distinctly. However, our shortening pie crust recipe incorporates an egg for added richness, ensuring it remains incredibly tasty despite the fat difference. For pure flavor and that quintessential flaky texture, butter remains king.
Hand Mixing vs. Food Processor: Choosing Your Method
When it comes to preparing pie dough, you essentially have two primary equipment choices:
Option 1: The Traditional Hand Method – This involves a large bowl, a pastry blender (or even just your fingertips), and a bit of elbow grease. The butter is cut into the flour mixture manually.
Option 2: The Modern Food Processor – This method uses a food processor to quickly combine the ingredients, reducing manual effort and time.
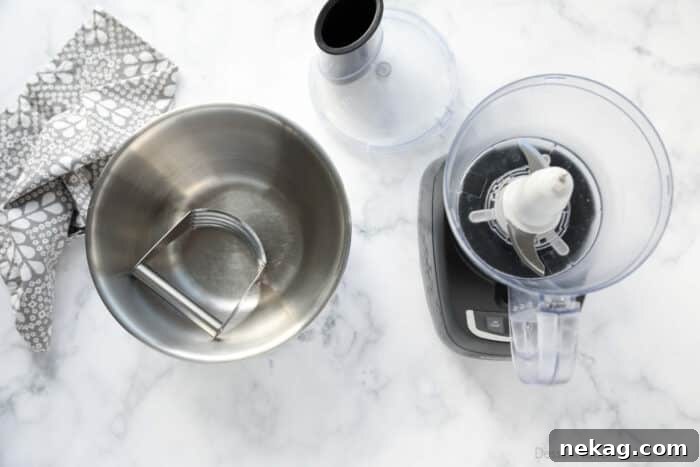
While the food processor offers speed, I will always advocate for the hand method as the superior approach for achieving truly exceptional pie crust. Why? Because working by hand allows you to genuinely see, feel, and understand the dough’s consistency at every stage. This tactile connection is crucial for preventing overworking the dough, a common pitfall that can lead to a less-than-perfect crust.
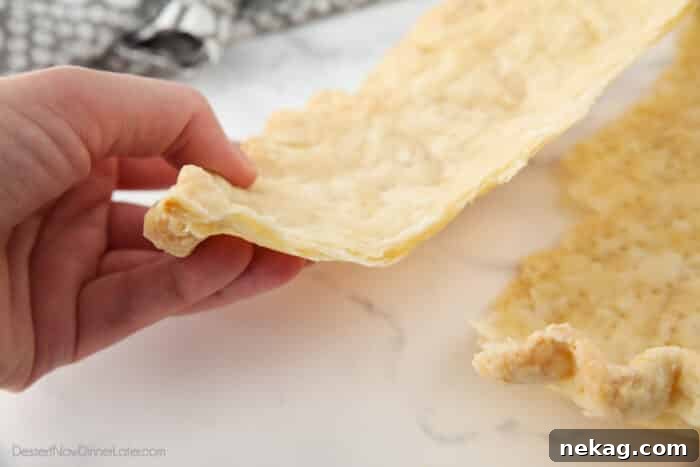
The risk with a food processor is that it can cut the butter too finely and run for too long, generating heat and developing gluten excessively. This often results in a crumbly, tough, or even hard pastry dough, rather than the tender, flaky layers we strive for. You want distinct pockets of butter visible in your dough, which will create those beautiful flaky layers you can see when the crust is baked. The hand method gives you precise control over the butter incorporation, ensuring it remains in pea-sized pieces crucial for flakiness.
Some bakers also recommend a third option: grating the butter with a box grater. While this can create very small pieces of butter, I find it requires significant physical effort. More importantly, the butter tends to soften considerably from the heat of your hands during the grating process. If you choose this method, you’ll need to incorporate an additional chilling step immediately after grating the butter (before adding any water) to ensure it re-firms and doesn’t melt completely into the dough before baking. While it can yield results, it’s generally not my preferred method due to the extra steps and potential for butter softening.
Essential Ingredients for a Flaky Pie Crust
Once you’ve decided on your equipment, gathering the right ingredients is key. For this flaky pie crust recipe, you’ll need just a few simple components, each playing a vital role in the final texture and flavor:
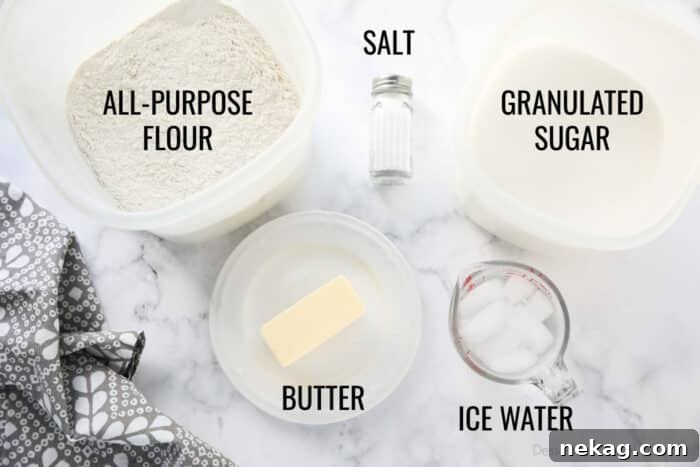
- All-Purpose Flour: This forms the foundational structure of your pie crust. Its protein content provides the necessary elasticity, allowing the dough to be rolled without tearing, while still being tender when baked.
- Salt: A crucial flavor enhancer, salt balances the richness of the butter and prevents the crust from tasting bland. Standard table salt works perfectly.
- Granulated Sugar: While pie crust isn’t meant to be overly sweet, a small amount of sugar contributes to a beautiful golden-brown color during baking and adds a subtle depth of flavor. You can omit it entirely or adjust the quantity slightly to your preference.
- Unsalted Butter: The star ingredient, butter is responsible for the incredible flavor and those coveted flaky layers. Using unsalted butter allows you to control the exact salt content in your recipe. If you opt for salted butter, reduce or omit the added salt in the recipe, as salt levels vary significantly by brand. The butter MUST be very cold, used straight from the refrigerator, to achieve the best flakiness.
- Why is cold butter essential for flaky pie crust? Butter contains a significant amount of water. As the pie bakes, this water transforms into steam, which pushes apart the layers of flour and fat, creating air pockets and a beautifully flaky texture. If the butter melts before it hits the hot oven, these distinct layers won’t form, resulting in a hard, crunchy, and potentially greasy crust. Keeping the butter cold ensures it remains solid until the crucial baking stage.
- Ice Cold Water: This is what binds the dough together. Like butter, the water must be extremely cold to help maintain the firmness of the butter, preventing it from melting prematurely and ensuring proper gluten development without overworking.
PRO TIP: For an extra layer of protection against warm kitchen temperatures, chill all your ingredients and even your equipment (like the mixing bowl and pastry blender) in the fridge or freezer for 15-30 minutes before you begin mixing the pie dough. This simple step significantly enhances your chances of achieving perfectly flaky results.
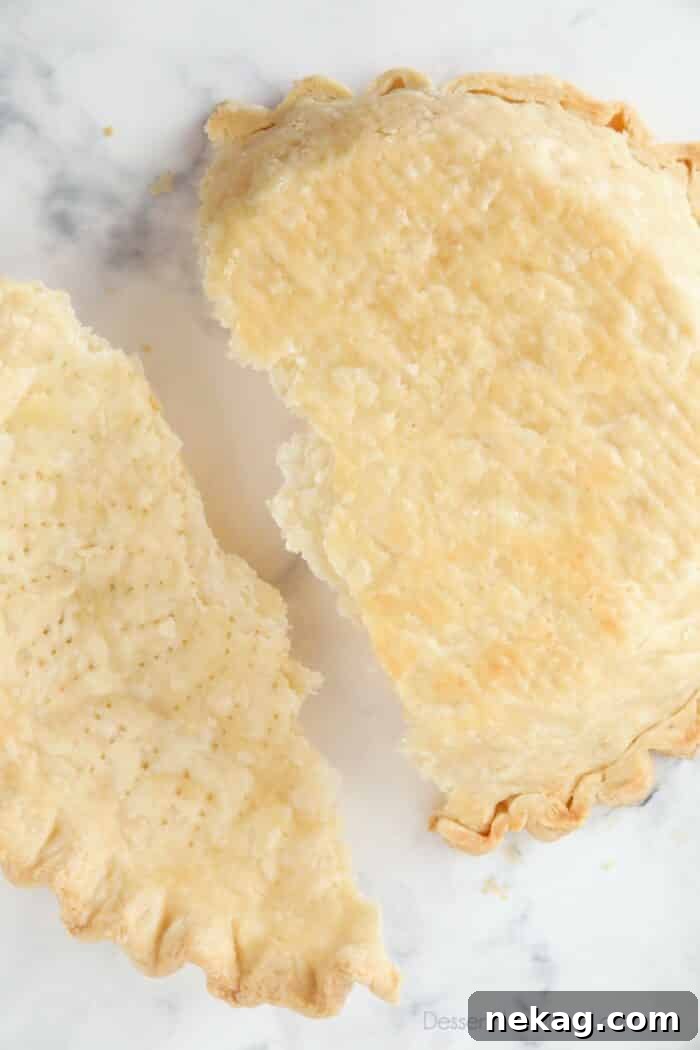
How to Make the Perfect Butter Pie Crust (Pâte Brisée)
Creating homemade pie crust is a rewarding process. Follow these detailed steps to achieve a perfectly flaky and tender Pâte Brisée:
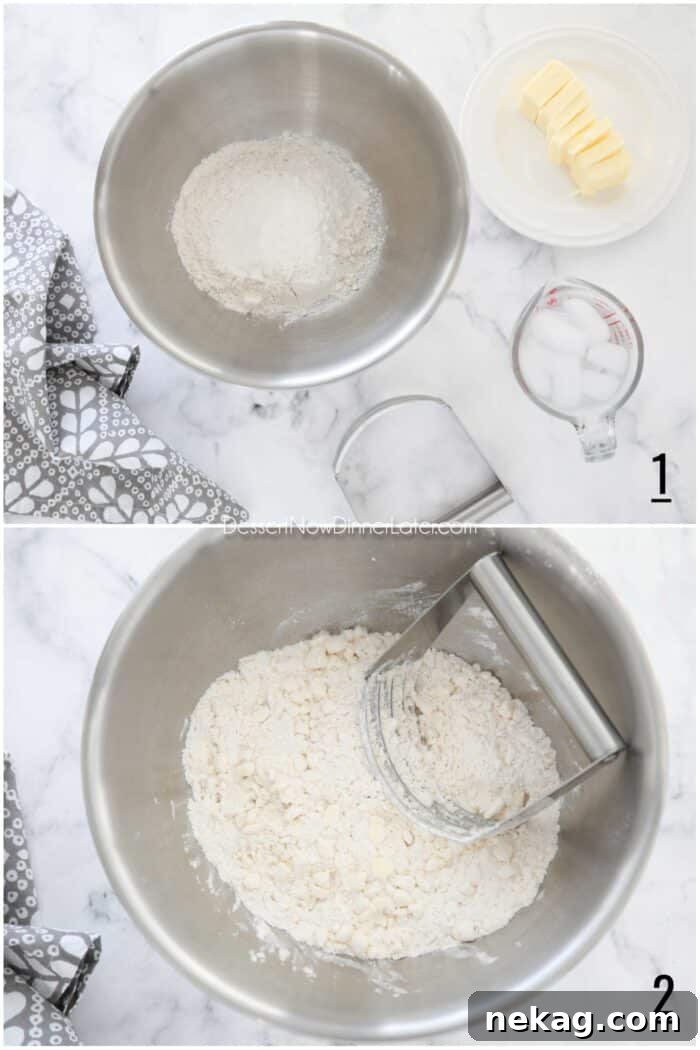
- Combine Dry Ingredients: In a large mixing bowl, whisk together the all-purpose flour, salt, and granulated sugar until thoroughly combined. Cut your very cold unsalted butter into tablespoon-sized pieces and add them to the flour mixture.
- Incorporate the Butter: Using a pastry blender (or your fingertips, working quickly), cut the butter into the flour mixture. Continue until the butter pieces resemble small peas, with some coarse crumbs throughout. It’s crucial not to over-process the butter into fine crumbs, as larger pea-sized pieces are key to creating those signature flaky layers. If the butter is too fine, your crust will be crumbly rather than flaky.
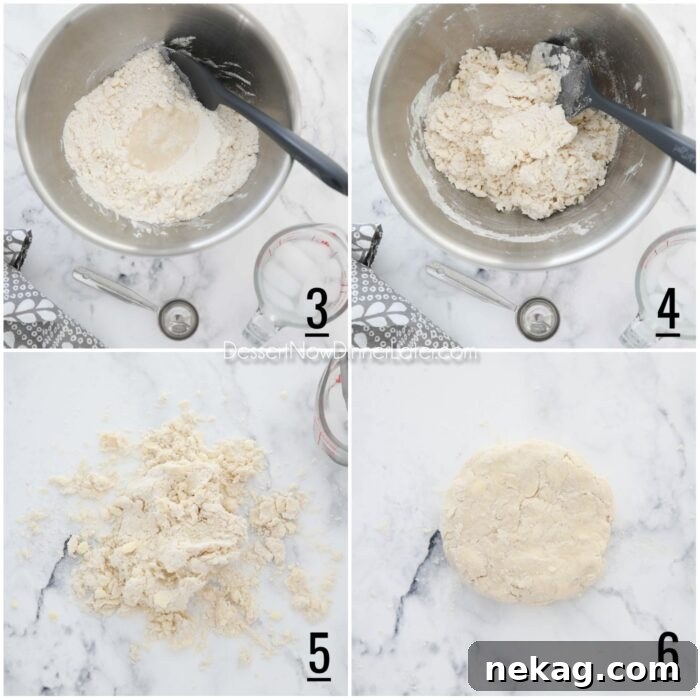
- Add Ice Water Gradually: Sprinkle 2 to 3 tablespoons of ice-cold water over the butter-flour mixture. Using ice water helps keep the butter firm and prevents premature gluten development.
- Gentle Mixing: Use a silicone spatula to gently stir the mixture until it just starts to come together. Avoid vigorous mixing.
- Form the Dough: Turn the mixture out onto a clean countertop. Gently press and squeeze the dough together with your hands. This low-manipulation method helps the dough come together without overworking the gluten.
- Adjust Water & Chill: Add additional ice-cold water, 1 tablespoon at a time (you’ll typically need only 1-2 more tablespoons), continuing to press and squeeze until the dough just forms a cohesive ball. Be cautious not to add too much water, which can lead to a tough crust, and avoid over-mixing. Once the dough comes together, flatten it into a round disk. Wrap it tightly in plastic wrap and refrigerate for a minimum of 1 hour before using. Chilling is a critical step that allows the gluten to relax and the butter to firm up, preventing cracks during rolling and ensuring a tender, flaky final product.
NOTE: The temptation to add too much water or to knead the dough extensively can be strong, but resist it! Over-hydration and excessive handling promote gluten development, resulting in a tough, leathery crust instead of a delicate, flaky one. Aim for a dough that just barely holds together.
The Importance of Chilling and Freezing Pie Crust
Chilling your pie dough is not merely a suggestion; it’s an essential step for success. Refrigeration achieves several critical goals:
- Gluten Relaxation: It allows the gluten, developed during mixing, to relax, making the dough more pliable and less prone to shrinking or tearing when rolled out.
- Hydration: The liquid has time to fully absorb into the flour, resulting in a more cohesive and workable dough.
- Butter Firming: The cold temperature re-firms the butter, ensuring those distinct fat pockets remain solid, ready to create steam and flaky layers in the oven.
For best results, chill your pie dough for a minimum of 30 minutes. You can conveniently store prepared pie dough in the refrigerator for up to 3 days. Beyond this, it’s best to bake or discard it.
PRO TIP: If your pie crust has been chilled for longer than an hour or is very firm, allow it to sit at room temperature for about 10 minutes before rolling it out. This slight softening will make the dough more manageable and significantly help prevent frustrating cracks as you work.
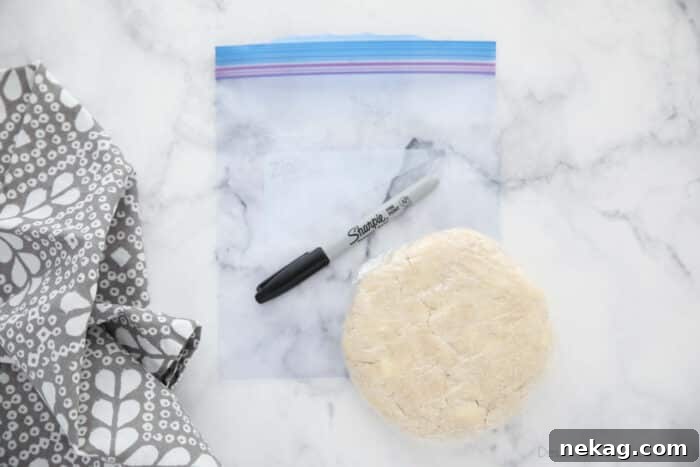
Pie crust is also an excellent candidate for make-ahead preparation and freezing. To freeze, shape the dough into a flat disk, then double-wrap it tightly in plastic wrap. For added protection against freezer burn, place the wrapped disk in a freezer bag. Always label your dough with the date. Frozen pie crust can be stored for up to 3 months. When ready to use, transfer the frozen dough to the refrigerator and allow it to thaw overnight.
Mastering the Roll: How to Roll Pie Crust
Once your pie crust has sufficiently chilled, it’s time to roll it out into a perfect circle. Precision and technique here will ensure a smooth, even crust:
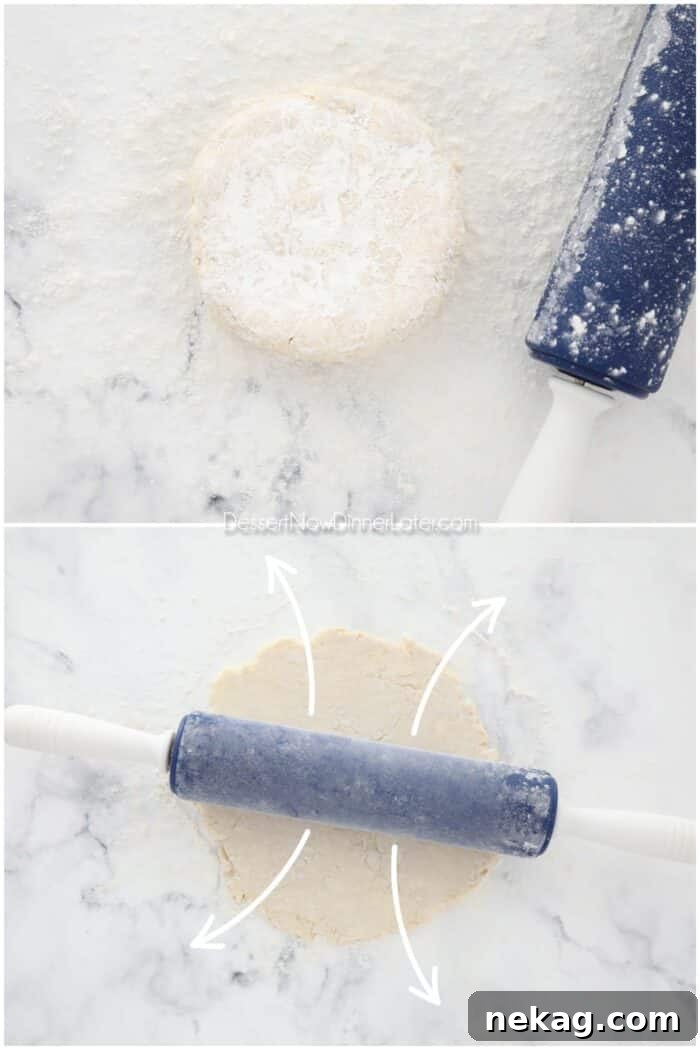
- Prepare Your Surface: Liberally sprinkle flour over your clean countertop, your rolling pin, and the disk of pie crust. This prevents sticking, which can be a major source of frustration.
- Pre-Press Edges: Before you start rolling, use your knuckles to gently press and flatten the edges of the dough disk. This small step helps prevent the edges from cracking and splitting as you begin to roll outwards.
- Roll from the Center: Place your rolling pin in the center of the dough and roll outwards in all directions. After every few rolls, gently rotate the crust a quarter turn. This ensures an even thickness and helps prevent the dough from sticking to your surface. Add additional flour underneath and on top of the dough as needed to maintain a non-stick surface.
- Achieve Desired Thickness: Continue rolling and rotating until the dough is about 1/8-inch thick and approximately 14 inches in diameter – large enough to fit your standard 9-inch pie pan with some overhang for crimping.
PRO TIP: If your dough starts to develop small cracks, especially as it gets larger, flip it over periodically. Rolling on both sides can help smooth out minor imperfections and maintain an even texture.
FYI: As you roll, you should still be able to discern tiny flecks of butter throughout the dough, giving it a somewhat marbled appearance. These precious pockets of butter are exactly what will transform into steam-filled air pockets during baking, creating the exquisite flaky layers that define a truly great pie crust.
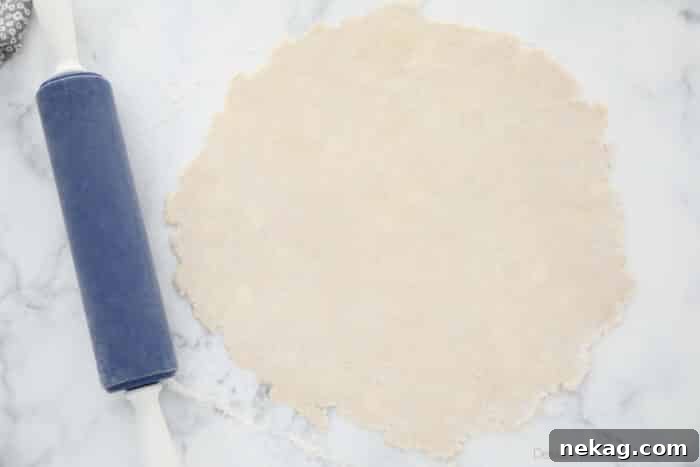
Transferring Pie Dough to the Pan with Ease
Once your beautifully rolled pie crust is ready, transferring it to the pie pan can feel like a delicate operation. Here are two reliable methods to ensure a smooth, tear-free transfer:
- The Rolling Pin Method: Gently roll the pie dough loosely around your rolling pin. Position the rolling pin over one edge of your pie pan, then slowly unroll the dough, letting it gracefully settle into the pan. This method provides excellent control.
- The Folding Method: Carefully fold the pie dough into quarters. First, fold it in half, then fold it in half again. Gently lift the folded dough, place it centrally into your pie pan, and then carefully unfold it, easing it into the pan’s contours. This minimizes handling and reduces the risk of stretching.
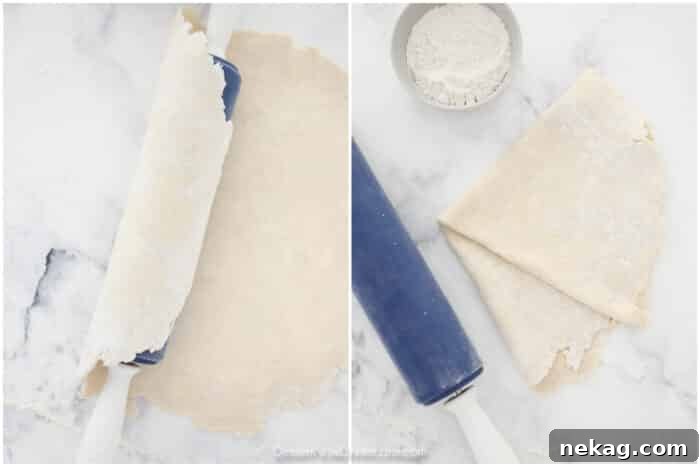
Shaping and Crimping for a Beautiful Finish
After successfully transferring the dough, it’s time to fit it snugly into the pan and create those elegant, crimped edges that elevate a homemade pie:
- Fit the Crust: With one hand gently lifting the edge of the crust, use the knuckles of your other hand to press the dough down along the inner sides of the pie plate, ensuring it fits perfectly into the crevice where the sides meet the bottom. This prevents air pockets and ensures an even crust.
- Trim Excess: Using kitchen shears or a knife, carefully cut off any excess crust, leaving about a 1-inch overhang around the rim of the pie pan.
- Form the Rim: Fold the overhanging dough underneath itself, pressing it gently to create a sturdy, even rim around the edge of the pie pan.
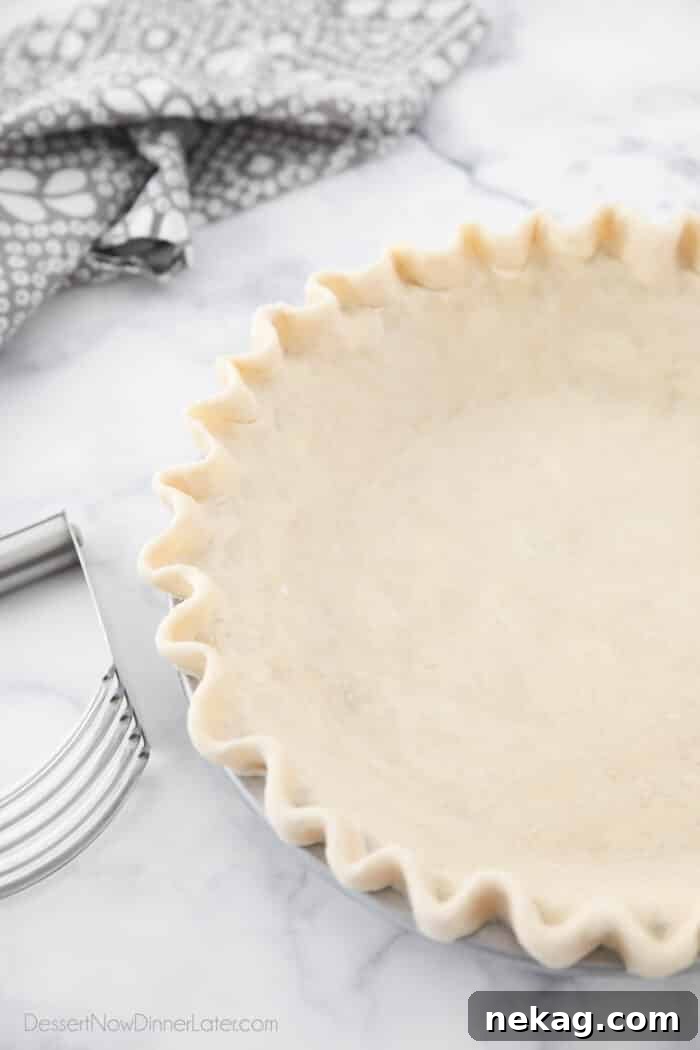
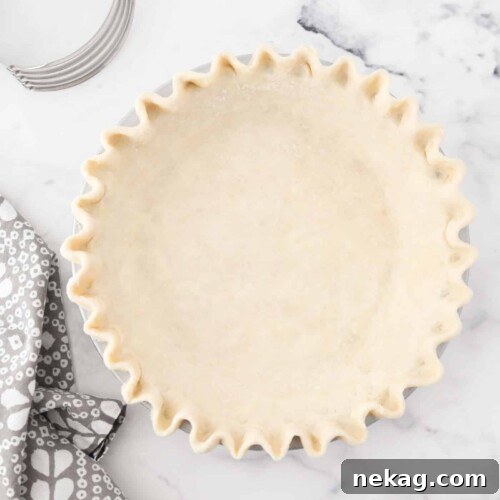
- Crimp the Edges: To create a classic wavy ruffle, use the pointer finger and thumb of both hands. Pinch the dough between your thumb and pointer finger, while pushing out from the inside with your other pointer finger. Repeat this motion around the entire perimeter, creating a beautiful fluted edge.
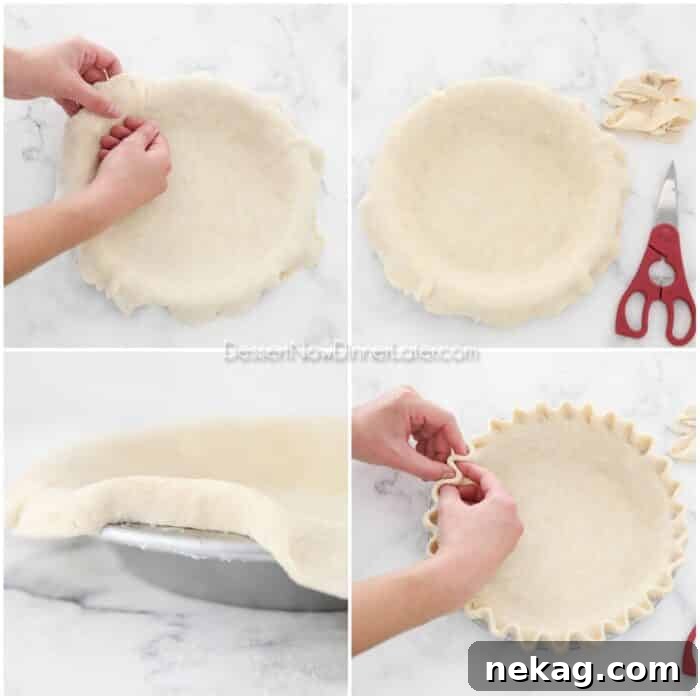
NOTE: If, at any point during shaping, your pie crust starts to feel noticeably warm or soft, don’t hesitate to pop it into the freezer for 5-8 minutes. This quick chill will re-firm the butter, making it easier to work with and ensuring a flakier crust, especially before blind baking the crust or filling it for a quiche.
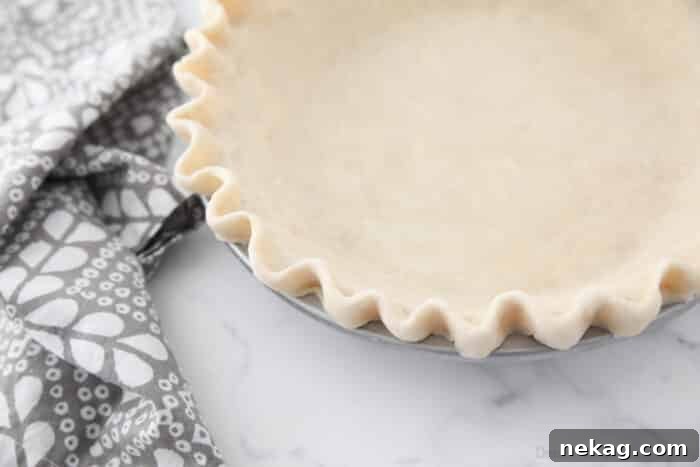
Single Crust Pie Recipes to Showcase Your Skills
Now that you’ve mastered the art of this delicious all-butter pie crust, it’s time to put it to good use! This versatile crust is perfect for a wide array of sweet and savory fillings. Here are some fantastic single-crust recipes to inspire your baking:
- Decadent Chocolate Cream Pie with Instant Pudding
- Creamy Blueberry Cream Cheese Pie
- Classic Cherry Pie with a Sweet Crumb Topping
- Hearty Traditional Dutch Apple Pie Recipe
- Sweet and Juicy Fresh Peach Pie Recipe
- Effortless Jello Coconut Cream Pie Recipe
- Rich Blueberry Cream Cheese Crumble Pie
NOTE: For a delightful double-crust pie (such as a classic apple or berry pie), simply double this recipe. You’ll prepare two separate disks of dough. Ensure both disks have ample time to chill properly before rolling and assembling your pie.
All Butter Pie Crust
Amber Brady
10 mins
1 hr
1 hr 10 mins
1 single pie crust
Ingredients
- 1 ¼ cups (150 g) all-purpose flour
- ½ tsp salt
- ½ tsp granulated sugar
- ½ cup (113 g) unsalted butter, (1 stick), very cold and cut into tablespoon pieces
- 4 Tbsp (+/-) ICE COLD water
Equipment
-
Rolling Pin
-
Pastry Blender
-
Large Mixing Bowl
-
Measuring Cups and Spoons
-
Glass Measuring Cup Set
-
Silicone Spatula Set
Instructions
To Make the Pie Crust:
- Mix flour, salt, and sugar together in a large bowl. Cut cold butter into Tablespoons and add to flour.
- Cut butter into flour using a pastry blender until mixture resembles petite pea-size pieces with some coarse crumbs. (Ensure butter is not cut into all crumbs to achieve a flaky crust.)
- Add 2-3 Tablespoons of ice cold water.
- Stir together with a spatula until just combined.
- Empty mixture onto the countertop and gently press/squeeze dough together.
- Add extra ice cold water 1 Tablespoon at a time (typically 1-2 Tablespoons more) pressing and squeezing until dough just comes together into a cohesive mass. Avoid adding too much water or over-mixing. Flatten dough into a round disk. Wrap tightly in plastic wrap and refrigerate for 1 hour before using.
To Roll and Shape the Pie Crust:
- Sprinkle flour generously over countertop, rolling pin, and pie crust.
- Use your knuckles to gently press the edges of the dough to prevent cracking when you roll it out.
- Begin rolling the crust from the center outwards in all directions. Rotate the crust after every few rolls to prevent sticking. Add extra flour as needed.
- Continue rolling and rotating the crust until the dough is about 1/8-inch thick and approximately 14-inches round. (For smoother results, flip the dough over before it gets too big, and roll on both sides to help smooth any cracks.)
- Carefully roll the pie dough around the rolling pin, then slowly unroll it into a 9-inch standard pie pan.
- Shape the crust to the pan: Use one hand to lift the edge of the crust up as the other hand’s knuckles press the crust down the inner sides of the pie plate to the crevice where the sides meet the bottom.
- Cut off any excess crust, leaving about a 1-inch overhang.
- Fold the overhanging dough underneath and pinch it together to form a sturdy rim.
- Use the pointer finger and thumb of both hands to crimp/flute the edges into a decorative wavy ruffle.
- If the pie crust feels warm or soft at this stage, chill it for 5-8 minutes in the freezer before baking or filling. Refer to instructions for how to blind bake pie crust.
Notes
- MAKE AHEAD OPTION (Short-Term): Prepare the crust and fit it into the pie pan. Wrap the pie pan tightly with plastic wrap and freeze for several hours to overnight. Before baking, remove the crust from the freezer 10-20 minutes in advance; it should still be very cold but slightly pliable to the touch. Do not thaw completely.
- TO FREEZE LONG TERM: Shape the pie dough into a flat disk, then double wrap it with plastic wrap. Label with the date and freeze for up to 3 months. For extra protection, place the wrapped dough in a freezer bag. THAW in the refrigerator overnight before use.
- FOR A DOUBLE CRUST PIE: Double the recipe and divide the dough into two equal disks. Ensure both portions of dough have sufficient time to chill completely before rolling out.
- If you are baking a pie with a double crust, remember to cut several slits into the top layer to allow steam to escape. Bake the pie at 350˚F (175˚C) for a minimum of 1 hour, or until the filling is bubbling visibly through the slits and the crust achieves a golden-brown hue. If the crust begins to brown too quickly, loosely tent it with aluminum foil. In my experience, a double-crust pie typically requires 1 hour and an additional 10 to 15 minutes for the filling to bubble and the crust to be thoroughly baked.
Nutrition
Disclaimer: Nutritional values were calculated using a third-party tool and are provided as an estimation only.
Sharing this recipe with a link is both encouraged and appreciated. Copying/pasting and/or screenshots of full recipes to any social media is strictly prohibited. Content and photographs are copyright protected.
Did you make this?
Don’t forget to leave a rating below and make sure to follow on Pinterest and Instagram for more!