Irresistible Apple Butterscotch Pie: A Decadent Twist on a Classic Dessert
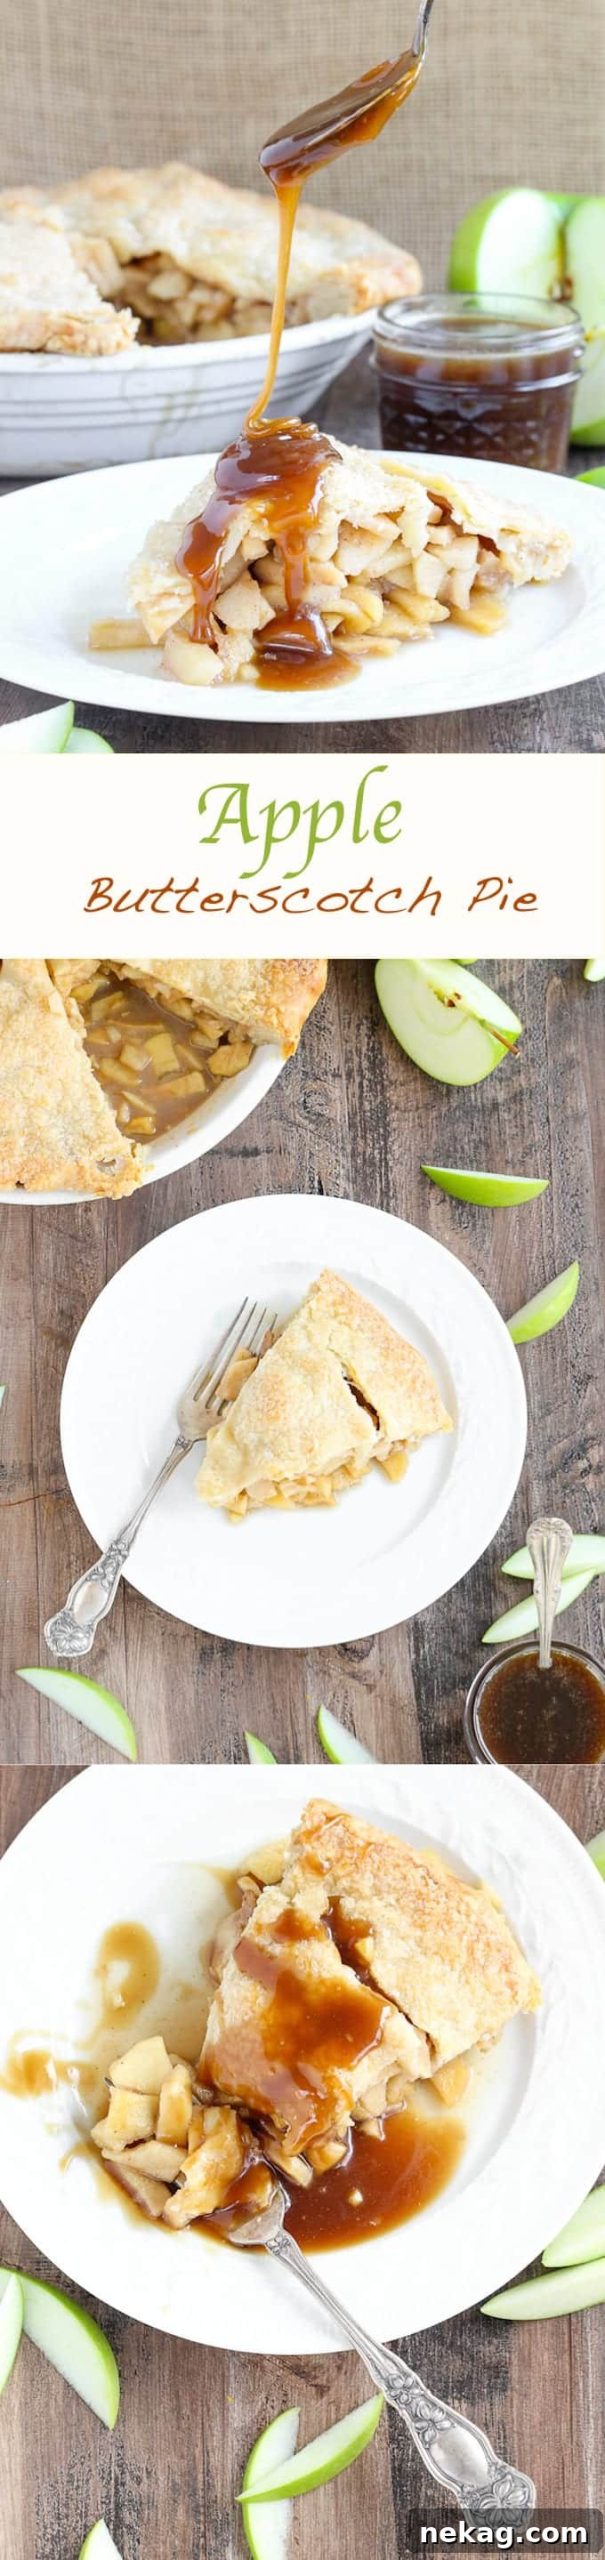
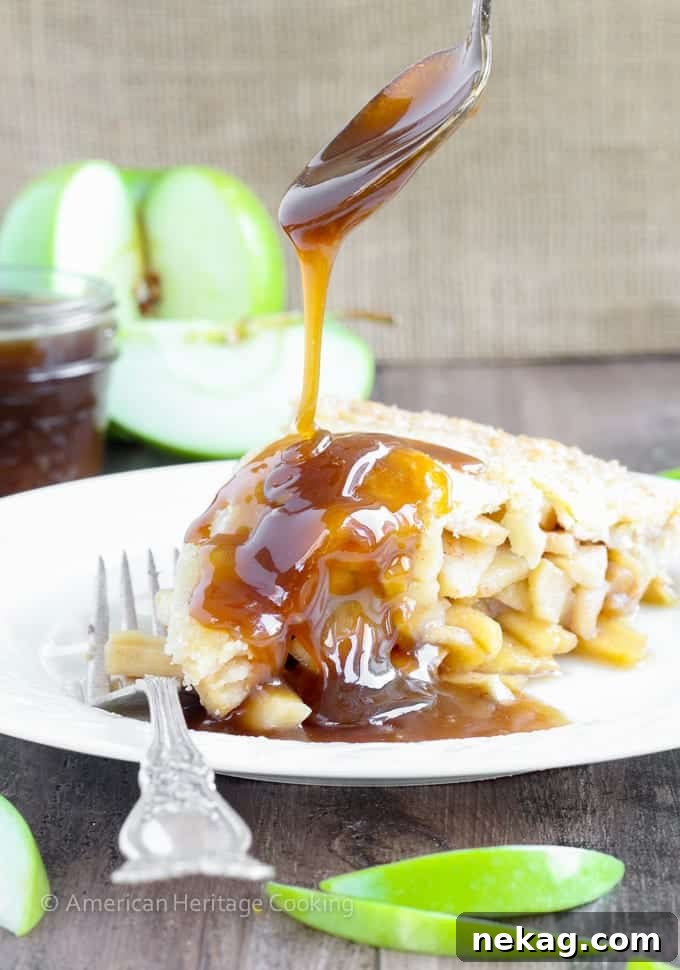
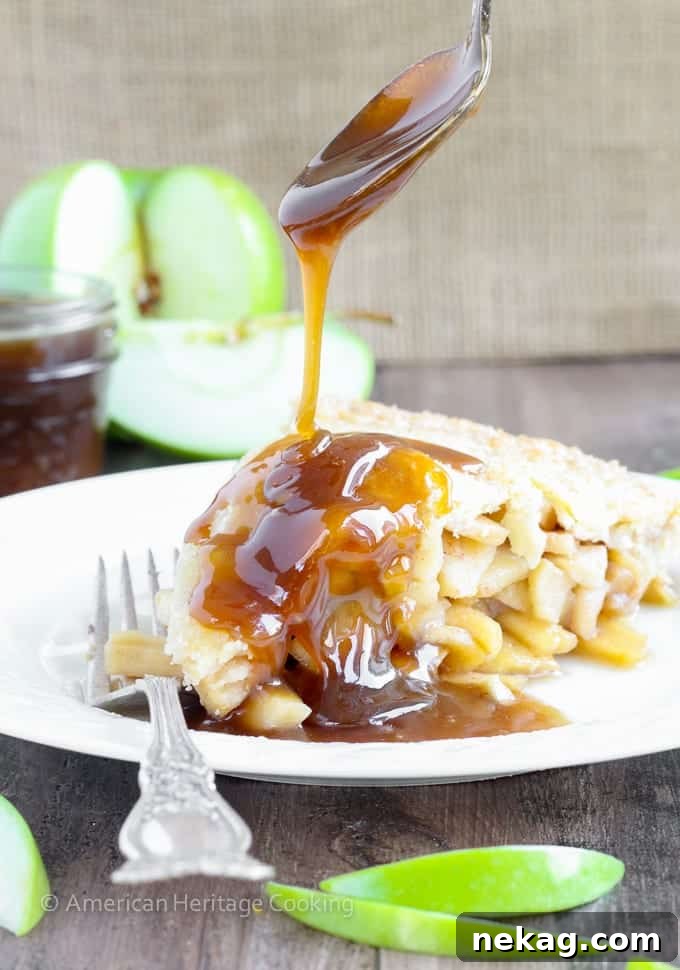
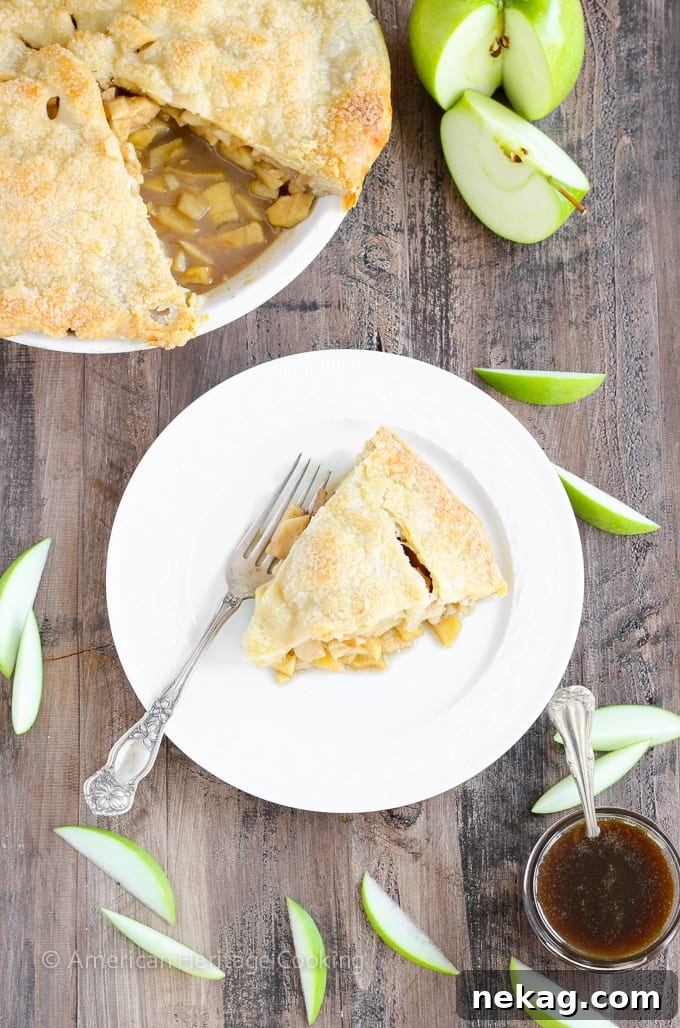
Prepare your senses for an unforgettable baking adventure! This Apple Butterscotch Pie is truly a slice of heaven. Imagine tender, lightly spiced apples perfectly baked within a golden, flakey all-butter pie crust, generously enrobed in a luscious, homemade brown sugar butterscotch sauce. It’s a symphony of textures and flavors that promises to become a new family favorite.
If enjoying more pie was among your New Year’s resolutions, then you’re in for a treat! After a respectable ten-day hiatus from holiday sweets, I’ve dived headfirst into pie baking with an enthusiasm that borders on obsession. I believe a brief recovery period from festive indulgences is socially acceptable before embarking on new culinary delights. Wouldn’t you agree?
Regardless of your resolution status, it’s time to gather your ingredients because this apple butterscotch pie is beyond divine. It’s more than just a dessert; it’s an experience, a warm embrace of flavors that will leave you yearning for another slice. The combination of sweet and tart apples, baked to perfection, infused with our signature butterscotch sauce, all nestled within a perfectly flakey pastry, creates an unparalleled taste sensation.
Why This Apple Butterscotch Pie is Your New Favorite Fall Dessert
This isn’t just another apple pie; it’s an elevated version that brings a sophisticated sweetness and depth thanks to the butterscotch. The traditional charm of apple pie meets the irresistible allure of brown sugar caramel. Imagine biting into a slice where the familiar comfort of spiced apples is perfectly complemented by a rich, buttery, and slightly salty butterscotch. This unique blend takes a beloved classic and transforms it into something truly extraordinary.
Beyond its incredible flavor, this pie offers versatility. While a full-sized pie is perfect for gatherings, you could also adapt this recipe to create delightful mini versions, like our apple hand pies, simply by adding a spoonful of butterscotch sauce to the filling. The possibilities are endless when you have such a delicious foundation.
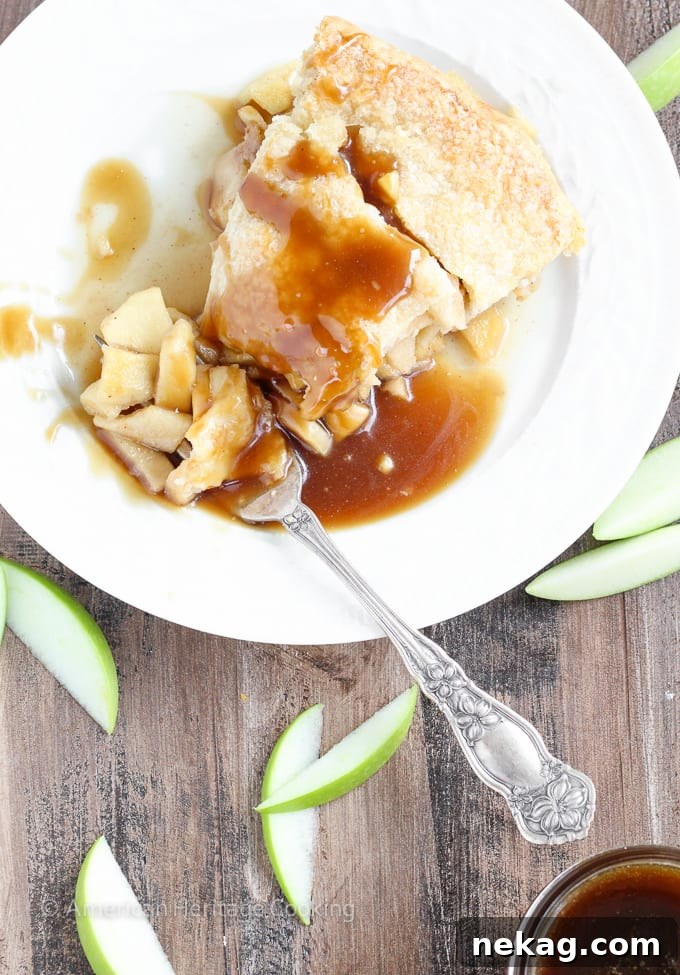
The Art of Apple Pie Filling: Achieving Perfect Texture and Flavor
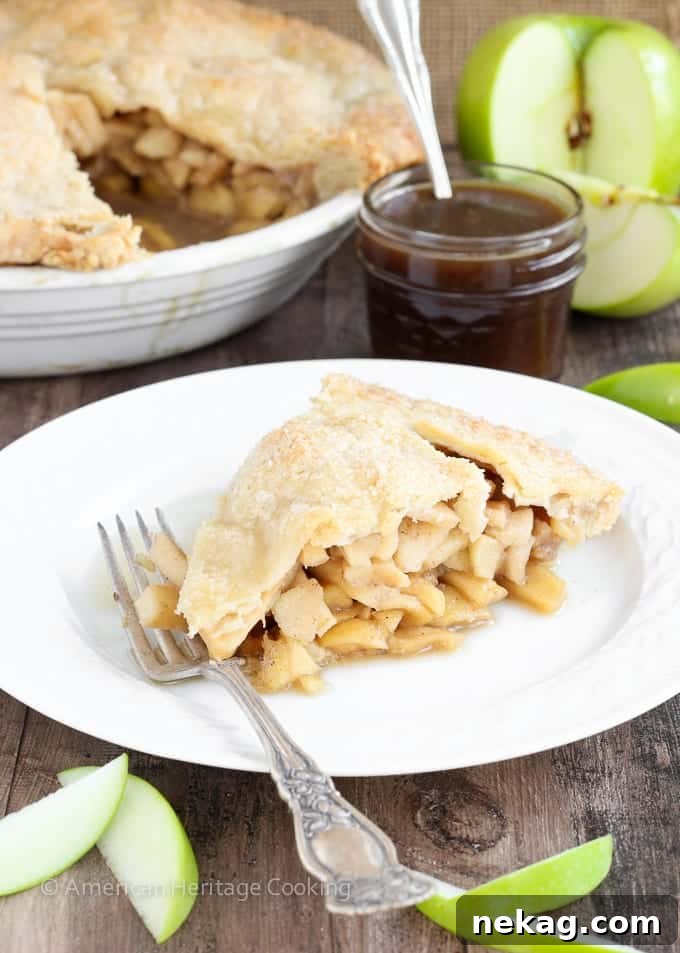
One of the most crucial elements of a truly great apple pie is the filling’s texture. We’ve all experienced a soggy, mushy apple pie, or one where the apples are still too firm. Our secret lies in dicing the apples into smaller, uniform pieces. This simple technique ensures that the apple filling cooks evenly and thoroughly at the same rate as the crust, eliminating the need for pre-cooking the apples.
The result? Apples that are mostly soft and yielding, yet some pieces retain just a hint of their original bite. This creates a delightful textural contrast that prevents the pie from becoming a monotonous ‘applesauce pie.’ If I wanted applesauce, I’d simply pour it into a crust and bake it! We aim for the fruit to maintain its integrity, offering a pleasant chewiness amidst its tender softness.
The flavor profile of this pie is equally thoughtful. The sweetness of the apples and butterscotch is expertly balanced with a touch of lemon juice. This brightens the overall taste and prevents the pie from being overly saccharine. You’re welcome! Beyond the standard cinnamon, a subtle hint of cardamom introduces an unexpected depth and warmth, creating a sophisticated spice blend that truly elevates the pie. Each bite delivers a harmonious blend of butterscotch, apples, cinnamon, and that intriguing whisper of cardamom.
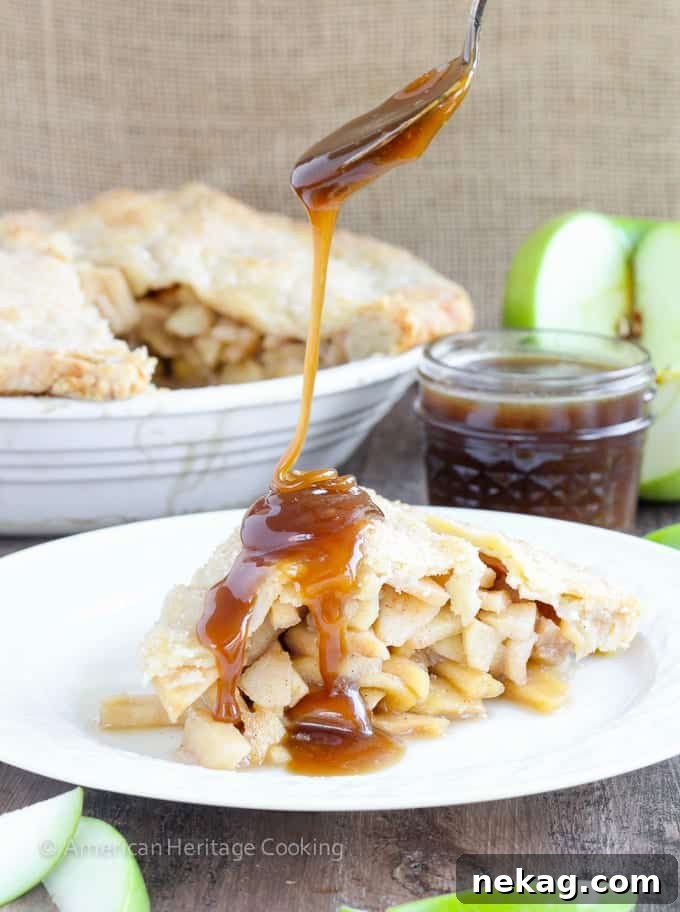
The Magic of Butterscotch: A Culinary Deep Dive
What exactly is butterscotch, and why does it pair so exquisitely with apples? Butterscotch is a rich, caramel-like sauce primarily made with brown sugar instead of white sugar, along with butter and cream. This simple substitution of brown sugar gives butterscotch its distinctive deep, molasses-rich flavor profile, which is inherently warmer and more complex than traditional caramel. When this robust sweetness meets the crisp, sometimes tart notes of baked apples, magic happens.
The brown sugar in the butterscotch harmonizes beautifully with the natural sweetness of apples, while the butter adds a luxurious creaminess that coats every morsel. This creates a filling that is incredibly rich, satisfying, and utterly addictive. Once you open the door to the delightful world of butterscotch, you might just find yourself with a new baking obsession. For scientific research (of course!), I might suggest exploring other butterscotch delights next, such as these butterscotch brownies, butterscotch pudding, or even butterscotch cookies.
And remember, all I ask is that you reserve a little extra of that glorious brown sugar butterscotch sauce to lavishly drizzle (or pour!) over each warm slice. Oh, the blissful swoon!
Now, let’s stop thinking about resolutions and start making this pie!
Apple Butterscotch Pie Recipe
Author: Chef Lindsey
This Apple Butterscotch Pie is an absolute delight! Featuring lightly spiced apples baked inside a flakey all-butter pie crust, generously complemented by a rich homemade brown sugar butterscotch sauce.
Prep Time: 45 mins
Cook Time: 1 hr
Total Time: 1 hr 45 mins
Servings: 12 people
Yields: One 9-inch round pie
Comment
Print Recipe
Ingredients
For the All-Butter Pie Crust (yields 2 crusts for a double-crust pie, or use 2 store-bought crusts):
- 2 ¼ cups pastry flour, measured by fluffing the flour then spooning it into a measuring cup
- 1 teaspoon kosher salt
- 1 teaspoon sugar
- 9 tablespoons unsalted butter, cold and cubed into ½ inch pieces
- 2 ¼ oz cold water, or as much or as little as needed
For the Pie Filling:
- 14 cups apples, peeled, cored, and diced. (A mixture of Gala, Granny Smith, and Braeburn works wonderfully)
- 2 lemons, juiced
- ⅛ teaspoon ground cardamom
- ½ teaspoon ground cinnamon
- ¼ teaspoon kosher salt
- ½ cup light brown sugar, not packed
- 1 tablespoon cornstarch
- 3 cups homemade butterscotch sauce
Optional Toppings for Crust:
- Heavy cream (for brushing)
- Turbinado or sanding sugar (for sprinkling)
Instructions
Prepare Pie Crusts:
- In a large bowl, whisk together the pastry flour, salt, and sugar. Using a stand mixer with a paddle attachment (or a pastry blender by hand), cut in the cold, cubed butter until the mixture resembles coarse meal with some pea-sized pieces of butter still visible.
- Slowly begin to add the ice water, one tablespoon at a time. Be very cautious with the amount of water you add; the dough often needs only a few teaspoons more than the initial measurement.
- When your dough is shaggy, meaning it looks like shards or strands of pastry with some loose flour remaining, turn it out from the mixer onto a clean work surface. Work the dough together by gathering it and pressing away from you with the heel of your hand. Do this just until it comes together. If it crumbles, dip your hand in a little ice water and lightly pat it onto the pastry dough. Remember to handle it minimally to avoid developing gluten, which can make the crust tough.
- Divide the dough in half and gently press each half into a flat disk. Wrap each disk tightly in plastic wrap and chill for at least 2 hours, or preferably overnight. If you chill your dough overnight, allow it to rest at room temperature for 10-15 minutes before rolling, or it will be too cold and may crack.
- On a lightly floured surface, roll out one half of the pie dough into a 12-inch circle. Carefully transfer it to a 9 or 10-inch deep-dish pie plate, gently pressing it into the contours. Trim any excess dough, leaving about a 1-inch overhang. Refrigerate the pie shell.
- Roll out the second half of the pie dough for the top crust (you can cut this into strips for a lattice design if desired). Place it on a parchment-lined baking sheet and refrigerate.
Prepare Filling:
- In a very large bowl, combine the peeled, cored, and diced apples with the lemon juice, cardamom, cinnamon, kosher salt, light brown sugar, and cornstarch. Toss gently until all the apple pieces are evenly coated. Allow the filling to sit for at least 30 minutes; this helps to draw out some of the moisture from the apples, preventing a watery pie.
Assemble and Bake:
- Preheat your oven to 425°F (220°C).
- Remove the chilled pie shell from the refrigerator. Pour half of the prepared apple filling into the pie shell, spreading it evenly across the bottom. Then, pour approximately 1 ½ cups of the homemade butterscotch sauce over this first layer of apples.
- Carefully mound the remaining apple filling on top, creating a slight dome in the center of the pie. Pour the remaining butterscotch sauce over this top layer of apples.
- Cover the pie with your second crust (either a solid top crust or your decorative lattice). Decoratively crimp the edges to seal the pie, making sure to create as good a seal as possible to keep all that delicious butterscotch sauce inside during baking! Refrigerate the assembled pie on a parchment-lined baking sheet for 20 minutes.
- Remove the pie from the refrigerator. If using a solid top crust, cut several vent holes near the center to allow steam to escape. Lightly brush the pastry with heavy cream, being careful not to let it pool anywhere, as this can make your crust soggy. Then, sprinkle generously with turbinado or sanding sugar for a beautiful sparkle and a bit of crunch.
- Bake the pie at 425°F (220°C) for 20 minutes. After 20 minutes, lower the oven temperature to 350°F (175°C) and continue baking for another 1 hour to 1 hour 15 minutes, or until the filling is soft and visibly bubbly, and the crust is a rich golden brown. To test the apples for doneness, carefully insert a thin knife into one of the vent holes; there should be no resistance from the apples.
- This is the hardest part: let the pie cool completely on a wire rack before cutting or serving. This is crucial for the filling to set properly, ensuring clean, beautiful slices. The agony of waiting is real, but it’s absolutely worth it for the perfect pie!
Chef’s Notes & Pro Tips:
- Presentation Perfection: Earn extra points by serving this pie with a generous scoop of vanilla bean ice cream or a luxurious spoonful of vanilla bean crème anglaise. And don’t forget that extra drizzle of butterscotch sauce on top – it’s simply divine! (Pro Tip: A double batch of this butterscotch sauce recipe will provide enough for the pie filling, with about 1 cup left over for drizzling!) For a truly show-stopping dessert, consider making a lattice top; check out our lattice top tutorial video for step-by-step guidance! Always allow your pie to cool completely before cutting to ensure a clean slice and set filling.
- Flavor Harmony: A truly exceptional dessert strikes a perfect balance, avoiding excessive sweetness that limits enjoyment. With this in mind, we’ve carefully selected moderately tart apples like Braeburn, Pink Lady, Cortland, Macoun, and Ginger Gold. These are tossed with a blend of granulated and brown sugar, and critically, their sweetness is beautifully balanced with fresh lemon juice. The lemon not only brightens the flavor profile with a lovely floral dimension but also cuts through the richness, while cardamom adds an intriguing depth that transforms the pie into a party for your taste buds.
- Technique Matters: Dicing the apples into smaller, uniform pieces is a game-changer. This ensures that the filling cooks evenly and simultaneously with the crust, eliminating the need to pre-cook the apples. This approach helps the fruit retain its shape and a pleasing, tender-crisp texture, avoiding a mushy, applesauce-like consistency. For the all-butter pie crust, you can utilize any of the 5 methods demonstrated in our video tutorials. We also find it beneficial to let the apple filling meld for at least 30 minutes before assembly; this draws out some of the apples’ natural moisture, preventing a watery pie.
- Helpful Baking Tools: A stand mixer can be your best friend when preparing the pie crust, making the process quick and effortless. However, don’t despair if you don’t have one; you can certainly achieve a fantastic crust by hand using a pastry blender! It’s incredibly helpful to ensure all your ingredients and tools, especially for the pie crust, are well-chilled. And always remember to generously flour your work surface when rolling out the crust to prevent sticking and ensure a smooth, even roll.
- Creative Variations: Feel free to customize your pie! You could experiment with a Vodka Pie Crust for an exceptionally flakey result, or for convenience, a quality store-bought crust works too. Adjust the warming spices based on your preferences; a homemade apple pie spice mix would be a lovely addition. If you opt for naturally sweeter apple varieties, consider slightly reducing the amount of brown sugar in the filling to maintain that perfect flavor balance.
- Storage Solutions: For make-ahead convenience, the apple filling can be prepared the night before and refrigerated in an airtight container, ready for assembly the next day. Once baked, store the apple pie in a covered dish at room temperature for up to 3 days, or tightly wrapped in the refrigerator for up to 10 days. For longer storage, the pie can be tightly wrapped in plastic wrap and then foil, and frozen for up to 3 months. Thaw in the refrigerator overnight and warm gently before serving.
Nutrition Information
(Per serving, estimated)
- Calories: 731kcal
- Carbohydrates: 105g
- Protein: 6g
- Fat: 34g
- Saturated Fat: 26g
- Polyunsaturated Fat: 2g
- Monounsaturated Fat: 4g
- Trans Fat: 0.3g
- Cholesterol: 23mg
- Sodium: 324mg
- Potassium: 332mg
- Fiber: 6g
- Sugar: 82g
- Vitamin A: 348IU
- Vitamin C: 16mg
- Calcium: 61mg
- Iron: 1mg
Course: Dessert
Cuisine: American
We’d Love to Hear From You!
Did you make this incredible Apple Butterscotch Pie? Share your thoughts, tips, and photos in the comments section below! Your feedback inspires us to keep creating delicious recipes.