
For many, the kitchen is a realm of comfort and creativity. Yet, the art of canning often conjures images of daunting labor and complex procedures, a sentiment I deeply understood. Growing up, my mother was a canning virtuoso, transforming summer harvests into rows of vibrant jellies, hearty vegetables, and tangy relishes. I remember witnessing her dedication, the endless hours she spent, though I confess my assistance was minimal at best. Back then, the sheer effort seemed overwhelming, and the thought of pursuing canning myself felt distant. How I regret not absorbing more of her wisdom and lending a hand during those bustling canning days!
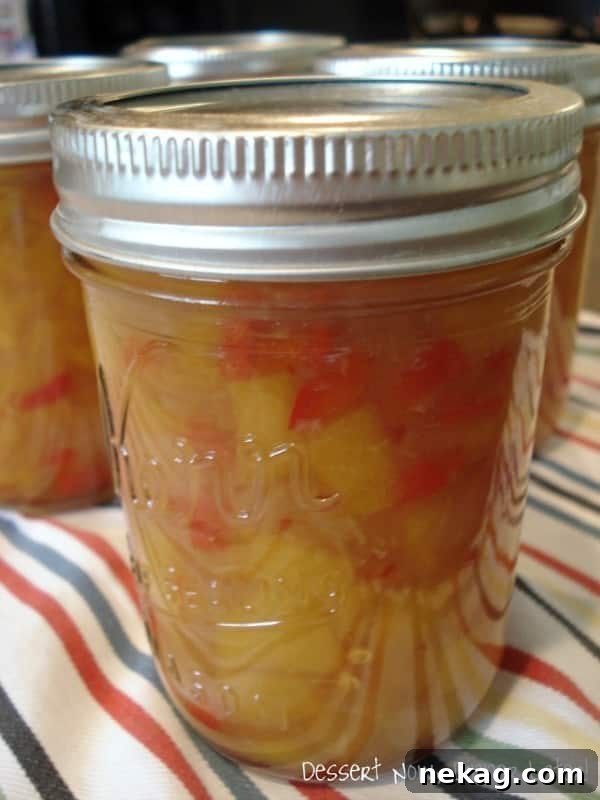
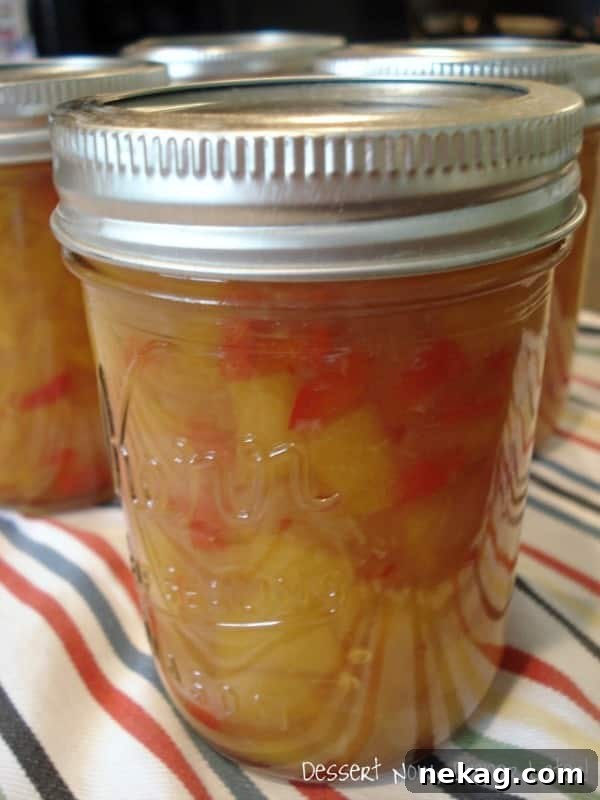
It wasn’t until last summer that my perception shifted, spurred by a desire to create something truly special and enduring. I embarked on my very first canning adventure with this incredible Spicy Peach Salsa recipe. The process, while initially intimidating, quickly became rewarding. The joy of turning fresh, seasonal peaches into a delicious, shelf-stable preserve was immensely satisfying. There’s a unique sense of accomplishment in hearing the distinct “pop” of a properly sealed jar – a small but mighty confirmation that your hard work has paid off, ready to be enjoyed months down the line. This year, its popularity among family and friends prompted a second, even larger batch, sourced from a local produce stand bursting with ripe, juicy peaches.
Why Embrace Homemade Canning? The Rewards of Preserving Flavor
Canning is more than just a method of food preservation; it’s a culinary journey that connects us to our food, the seasons, and often, cherished family traditions. By canning your own salsa, you gain complete control over the ingredients, ensuring no artificial preservatives or excessive sugars find their way into your jars. This allows for a burst of fresh, authentic flavor that store-bought alternatives simply cannot replicate. Beyond the health benefits and superior taste, there’s an immense personal satisfaction in seeing your pantry stocked with jars of homemade goodness. Each jar represents a labor of love, a tangible reminder of your efforts to capture the essence of peak season produce, ready to brighten any meal, any time of year. It’s an empowering skill that reduces food waste, saves money in the long run, and offers truly unique flavors tailored to your palate.
Starting Your Canning Journey: Essential Tools for Beginners
If the world of home canning beckons you, I highly recommend starting with a beginner-friendly kit. The Ball Home Canning Discovery Kit is an excellent choice for novices. It typically includes a canning rack that fits conveniently into most large stock pots you likely already own, along with essential tools like a jar lifter, funnel, and headspace tool. This allows you to experiment with small batches, building confidence before investing in more specialized equipment or larger canning operations. Starting small is key; it demystifies the process and makes it much less overwhelming. Remember, safety and proper technique are paramount in canning to ensure your preserves are safe for long-term storage. Always follow tested recipes and reliable guidelines for processing times and altitudes.
The Surprising Versatility of Spicy Peach Salsa
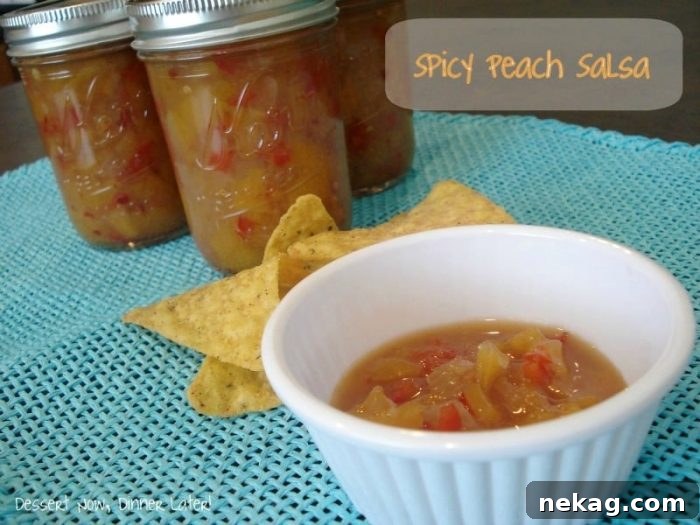
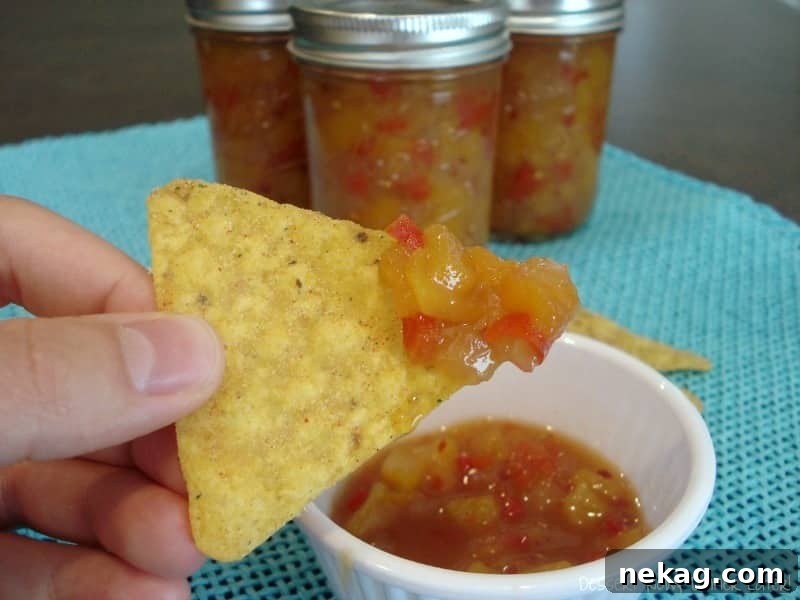
Initially, this recipe was conceived as a “Spicy Peach BBQ Sauce.” However, upon tasting, its vibrant balance of sweet, tangy, and spicy notes immediately brought to mind a delectable salsa or chutney. And indeed, we found its true calling: paired with crispy tortilla chips, it’s an absolute revelation! The chunky texture and complex flavors make it an irresistible dip for casual gatherings or a satisfying snack. But don’t let its “salsa” identity limit your imagination. This delightful condiment also shines as a glaze for grilled chicken or pork, a zesty topping for burgers, or even a flavorful accompaniment to fish tacos. Imagine spooning it over a block of cream cheese for a quick and elegant appetizer, or incorporating it into a gourmet sandwich. Its unique profile makes it a versatile star in any culinary repertoire, adding a burst of summer sunshine to dishes all year round.
Understanding Recipe Yield and Altitude Adjustments in Canning
One aspect of canning that often surprises beginners is the variability in recipe yield. This particular recipe, for instance, suggests it will produce 8 half-pint jars. In my experience, even with a generous amount of peaches, peppers, and onions, I typically yielded about 6 jars. Last year, when I prepared a half-batch, I ended up with two regular-sized pint jars plus a little extra. Factors like the exact size and water content of your produce, how finely you chop your ingredients, and even slight differences in cooking time can influence the final volume.
More critically, altitude plays a significant role in canning safety and success. Water boils at lower temperatures at higher altitudes, which means food needs to be processed for longer periods to reach the necessary temperature for safe preservation. The recipe explicitly provides altitude adjustments:
- 0-1,000 ft above sea level: Process for 15 minutes.
- 1,001-3,000 ft: Add 5 minutes (Total: 20 minutes).
- 3,001-6,000 ft: Add 10 minutes (Total: 25 minutes).
- 6,001-8,000 ft: Add 15 minutes (Total: 30 minutes).
- 8,001-10,000 ft: Add 20 minutes (Total: 35 minutes).
Always consult a reliable source for your specific altitude and adjust processing times accordingly. Ignoring this crucial step can compromise the safety and shelf stability of your canned goods. My own move 60 miles south, to a different elevation, even made a noticeable difference in my yields and processing!
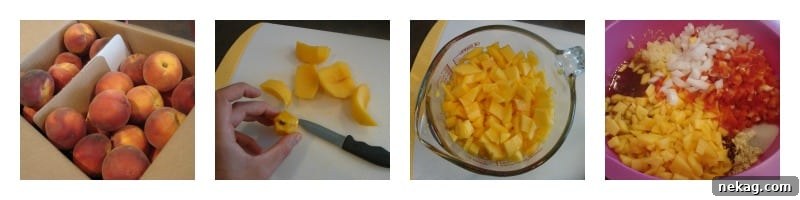
The Heart of the Flavor: Key Ingredients for Perfect Peach Salsa
The magic of this spicy peach salsa lies in its carefully chosen ingredients, each contributing to a harmonious blend of sweet, spicy, and savory notes:
- Peaches: The undisputed star, providing natural sweetness and a delicate fruity base. Opt for ripe, fragrant peaches for the best flavor.
- Red Bell Pepper & Onion: These aromatic vegetables form the savory backbone, adding a crisp texture and a subtle pungency that balances the sweetness of the peaches.
- Garlic: A generous amount of finely chopped garlic infuses the salsa with a robust, earthy warmth, deepening its flavor profile.
- Honey: Serving as the primary sweetener, honey complements the peaches beautifully, offering a nuanced sweetness that is richer than granulated sugar.
- Cider Vinegar: This essential ingredient provides the necessary acidity for safe canning and a delightful tangy counterpoint to the sweetness.
- Worcestershire Sauce: A secret weapon for umami, adding a layer of complex savory flavor that elevates the salsa.
- Red Pepper Flakes: The source of our “spicy” kick! Adjust the amount to your preference for a mild warmth or a fiery punch.
- Dry Mustard & Salt: These seasonings round out the flavor, enhancing all the other ingredients and ensuring a well-balanced taste.
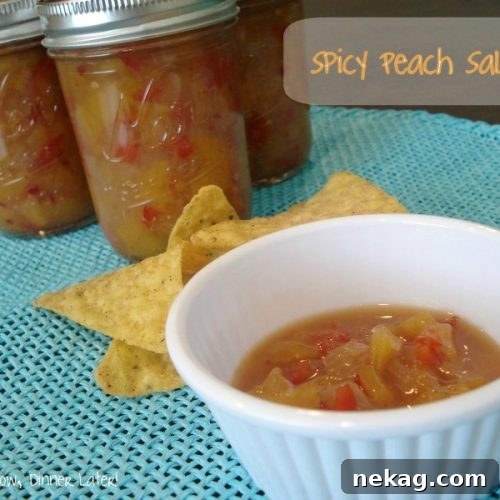
Spicy Peach Salsa
Amber Brady
8 half pint jars of salsa
Ingredients
- 6 cups finely chopped pitted peeled peaches (about 3 lb or 9 medium; mine took 12 medium peaches to get just over 6 cups)
- 1 cup finely chopped seeded red bell pepper (about 1 large; I got about 1 ½ cups from my pepper)
- 1 cup finely chopped onion (about 1 large; again I got about 1 ½ cups from my onion)
- 3 Tbsp finely chopped garlic (about 14 cloves)
- 1 ¼ cups honey
- ¾ cup cider vinegar
- 1 Tbsp Worcestershire sauce
- 2 tsp red pepper flakes
- 2 tsp dry mustard
- 2 tsp salt
- 8 half pint (8 oz) glass preserving jars with lids and bands
Step-by-Step Guide to Canning Your Spicy Peach Salsa
- **Chop to Your Preference:** Decide whether you want a smooth BBQ sauce consistency or a chunky salsa. For salsa, dice your peaches, bell peppers, and onions into small to medium pieces. For a smoother sauce, finely chop them as suggested in the original recipe. Remember, my 12 medium peaches yielded just over 6 cups, so plan accordingly.
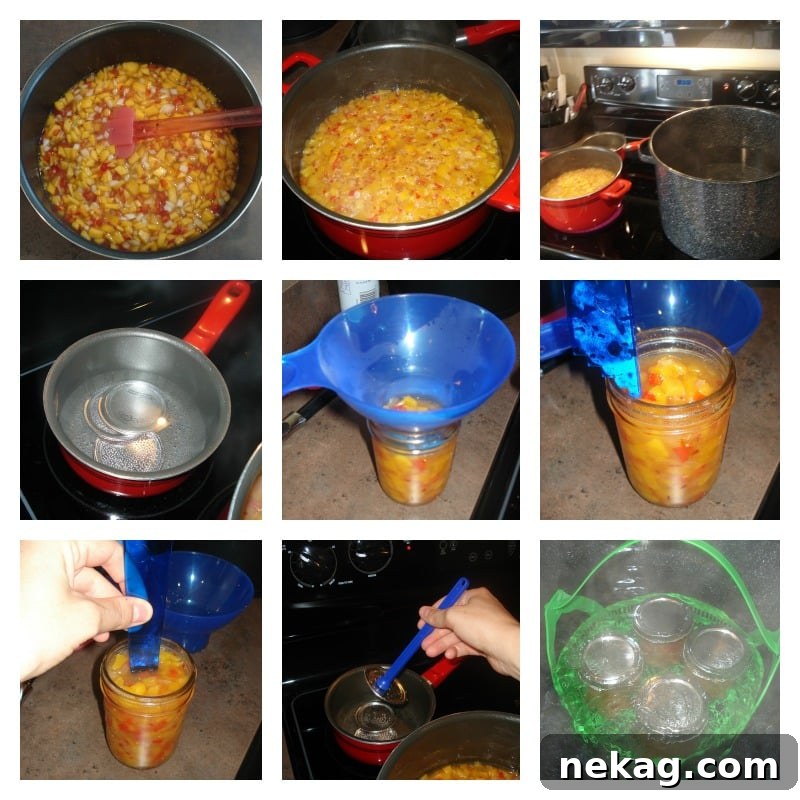
- **Prepare Your Canning Equipment:** Set up your boiling water canner. Fill your large stock pot with water and place it on the burner to begin heating. This water will be used for the boiling water bath.
- **Sanitize Jars and Lids:** While your canner water heats, sterilize your half-pint (8 oz) glass preserving jars. A simple method is to fill the jars halfway with water and microwave them on high for 15-20 minutes, or until the water is simmering hot. Keep the microwave door closed to retain heat until ready to fill. Place the metal lids in a small saucepan with simmering (not boiling) water on the stove to soften the sealing compound. Set the bands aside.
- **Combine Ingredients:** In a separate large saucepan, combine all the chopped peaches, red bell pepper, onion, garlic, honey, cider vinegar, Worcestershire sauce, red pepper flakes, dry mustard, and salt.
- **Simmer to Perfection:** Bring the mixture to a rolling boil over medium-high heat. Once boiling, reduce the heat to a gentle simmer. Stir frequently to prevent sticking and burning. Continue simmering for about 25 minutes, or until the mixture thickens to a consistency similar to a thin commercial barbecue sauce. You’ll notice it reduces in volume by about one-third to one-half, becoming slightly darker and more syrupy. This concentration of flavor is crucial.
- **Fill Hot Jars:** Carefully remove one hot jar from the microwave or canner. Using a canning funnel, ladle the hot peach salsa into the hot jar, leaving a ½-inch headspace (the space between the top of the food and the rim of the jar).
- **Remove Air Bubbles:** Using a non-metallic utensil (like a plastic spatula or chopstick), gently slide it around the inside of the jar to release any trapped air bubbles. Add more salsa if necessary to maintain the ½-inch headspace.
- **Clean Rims and Seal:** Wipe the rim of the jar thoroughly with a clean, damp cloth to remove any food particles that could prevent a proper seal. Center a hot lid onto the jar, then apply a band and adjust it until it is “fingertip tight” – snug enough but not overtightened.
- **Process in Boiling Water Canner:** Place the filled, sealed jars into your boiling water canner, ensuring they are fully submerged in the hot water by at least an inch. Bring the water back to a full, rolling boil.
- **Set Processing Time:** Process the jars for 15 minutes. *Remember to adjust this time based on your altitude as specified in the “Understanding Recipe Yield and Altitude Adjustments in Canning” section above.*
- **Cool and Check Seals:** Once the processing time is complete, carefully remove the hot jars from the canner using a jar lifter and place them on a clean towel or cooling rack, ensuring there’s space between jars for air circulation. Let them cool undisturbed for 12-24 hours. As they cool, you’ll hear the delightful “ping” or “pop” sound as the lids seal. After 24 hours, check each lid for a proper seal. The center of the lid should be concave and should not flex up and down when pressed. Jars with unsealed lids should be refrigerated and consumed within a few weeks.
Notes
Sharing this recipe with a link is both encouraged and appreciated. Copying/pasting and/or screenshots of full recipes to any social media is strictly prohibited. Content and photographs are copyright protected.
Did you make this?
Don’t forget to leave a rating below and make sure to follow on Pinterest and Instagram for more!
Conclusion: Embrace the Joy of Preserving
Embarking on the journey of home canning, especially with a recipe as delightful as this Spicy Peach Salsa, is an incredibly rewarding experience. It’s a chance to connect with your food, create something truly unique, and fill your pantry with homemade goodness. Don’t let initial nervousness deter you; with the right tools and a clear guide, you’ll soon be celebrating the satisfying “pop” of perfectly sealed jars. Dive in and discover the joy of preserving!