
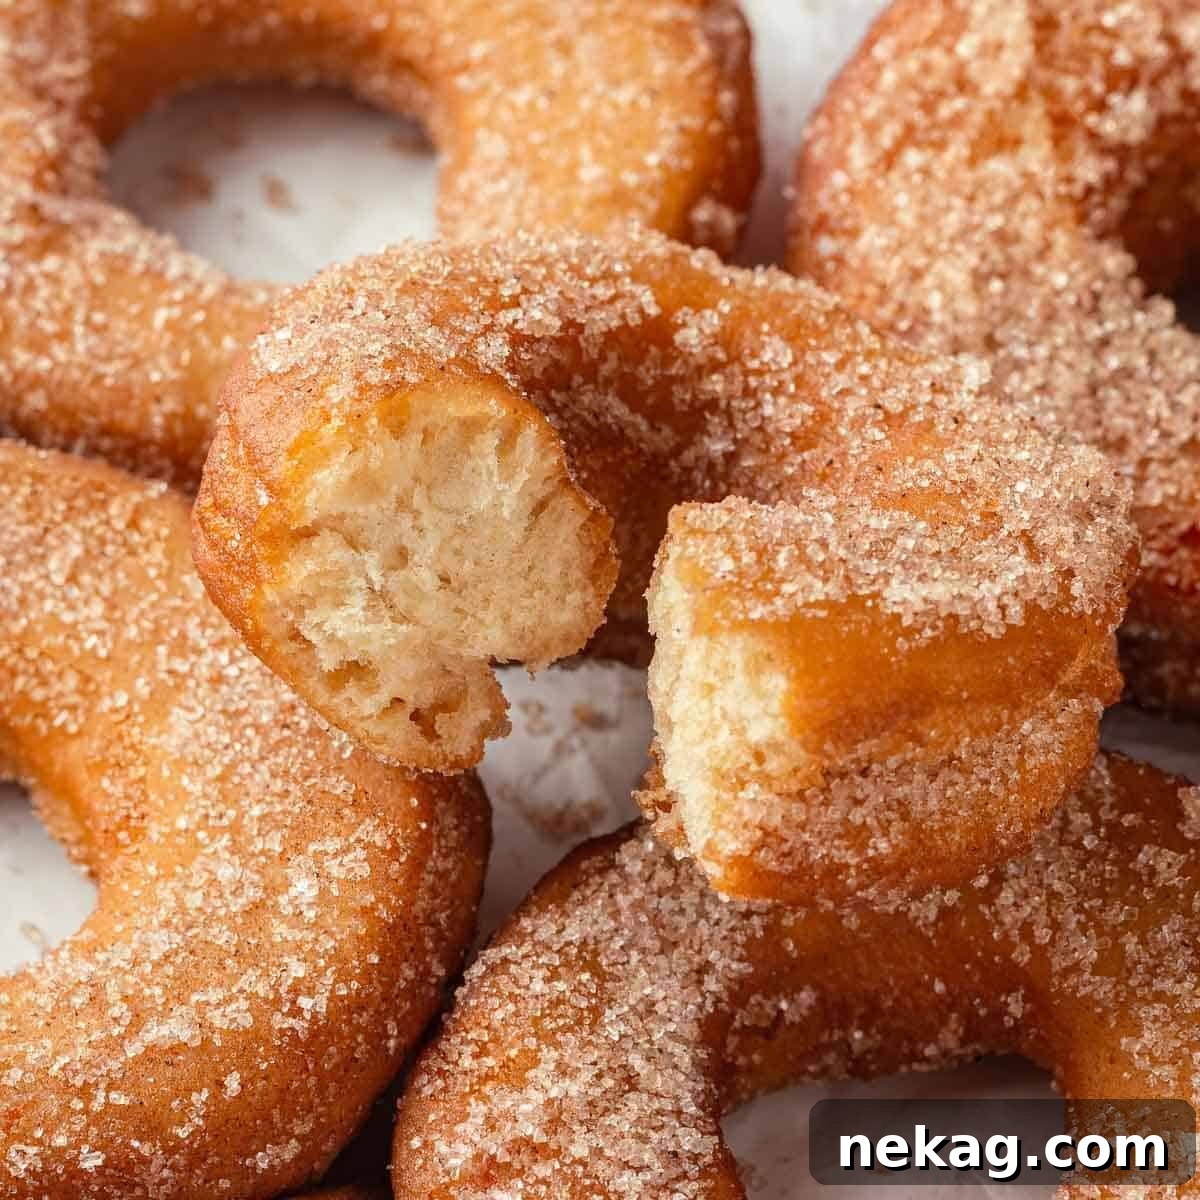
The Ultimate Guide to Homemade Apple Cider Donuts: A Fall Delicacy
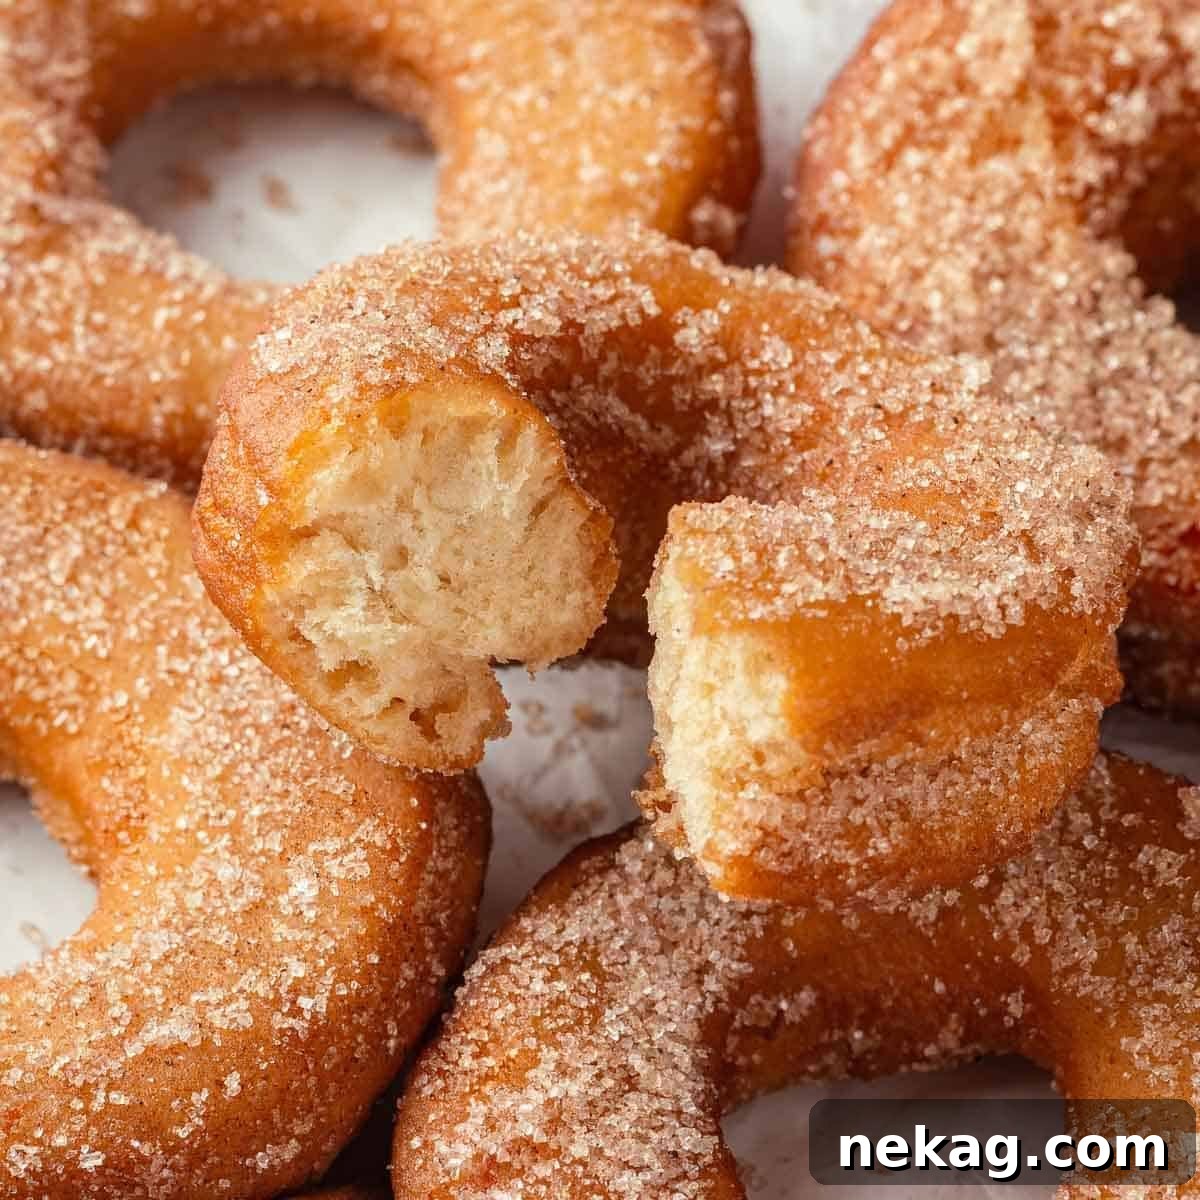
Few treats capture the essence of autumn quite like a perfectly crafted Apple Cider Donut. Imagine biting into a warm, soft cake donut, its tender interior bursting with the concentrated flavor of spiced apple cider, all encased in a delightful crunch of cinnamon sugar. This isn’t just any donut recipe; it’s a journey to creating those truly authentic, rich apple cider donuts you dream of – the kind that truly taste like fall and bring back cherished memories of crisp autumn days.
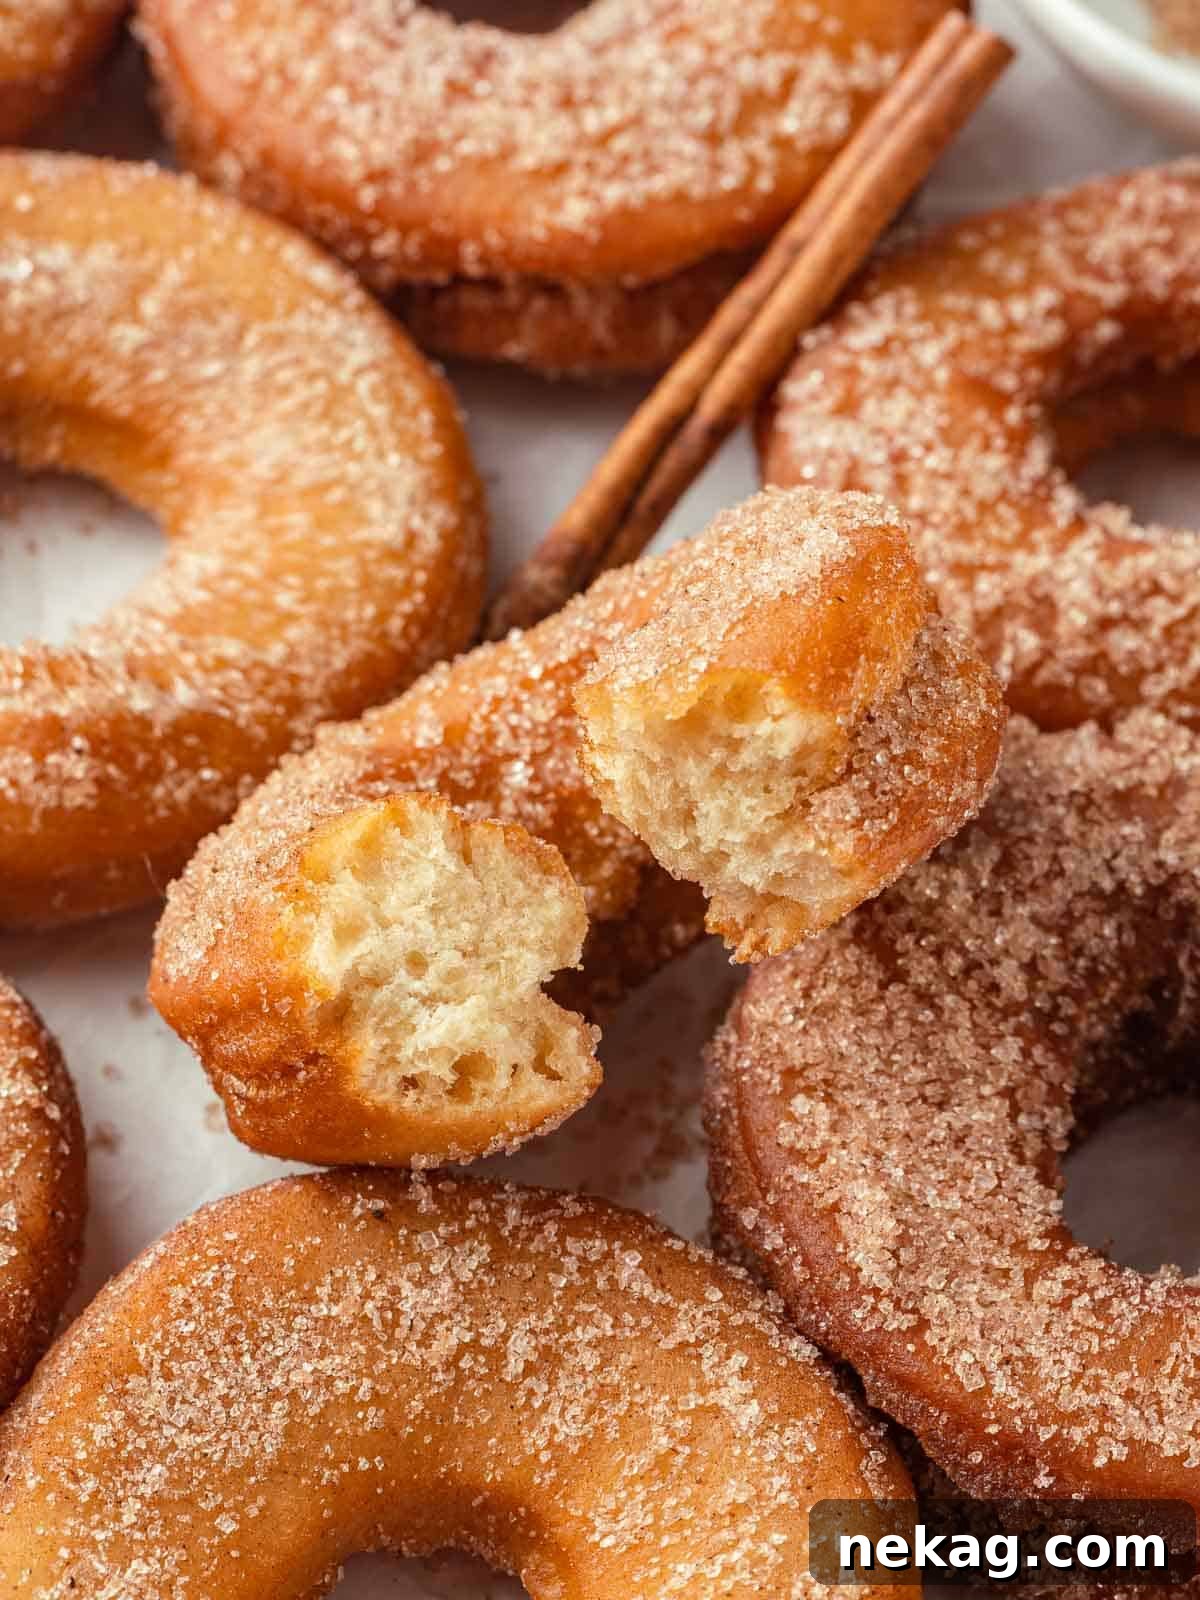
For many, the crisp air of autumn brings forth vivid memories of joyful apple picking excursions, vibrant pumpkin patches, and, of course, that quintessential paper bag overflowing with warm, fragrant apple cider donuts. Yet, a common frustration for home bakers and pastry enthusiasts alike is the frequent disappointment that many store-bought or even homemade versions often lack that deep, truly vibrant apple cider taste. As a passionate pastry chef, I took it upon myself years ago to solve this very problem, meticulously crafting a recipe that truly delivers an unparalleled spiced apple flavor that will exceed all your expectations. These aren’t just light, airy cake donuts; they are a heartfelt celebration of autumn, boasting a perfect crispy exterior generously coated in an irresistible blend of cinnamon and sugar. Each bite is a nostalgic embrace, a perfect harmony of texture and authentic fall flavor.
Once you’ve mastered this delightful recipe and experienced the sheer joy of creating these perfect fall treats, why stop there? The autumn season offers a bounty of baking inspiration and opportunities to expand your repertoire. For another seasonal comfort, I highly recommend exploring my pumpkin spice cake donut recipe, which offers a different yet equally comforting autumnal flavor profile that’s sure to please. If you’re a fan of yeasted varieties, try my fluffy stuffed jelly donuts, which reach new heights of deliciousness when generously filled with a decadent homemade caramel pudding. And for those who appreciate classic, simple donuts that effortlessly rival even the most popular national chains, be sure to try my old-fashioned sour cream donuts or my rich, perfectly glazed chocolate cake donuts. Each recipe is meticulously designed to empower you to bring bakery-quality treats right into the comfort of your own home kitchen.
Table of Contents
- Why These Are The Best Apple Cider Doughnuts
- Professional Tips for Making Homemade Apple Cider Donuts
- Key Ingredients for Perfect Apple Cider Donuts
- Creative Variations
- Step-by-Step Guide to Making Apple Cider Donuts
- Chef Lindsey’s Pro Tip: Calibrating Your Thermometer
- Frequently Asked Questions
- Apple Cider Donuts Recipe Card
- Before You Go
Why These Are The Best Apple Cider Doughnuts
My recipe for apple cider donuts isn’t just another fall treat; it’s a carefully perfected method to achieve bakery-quality results right in your home kitchen. Here’s what sets these donuts apart and why they’ll undoubtedly become your new autumn favorite:
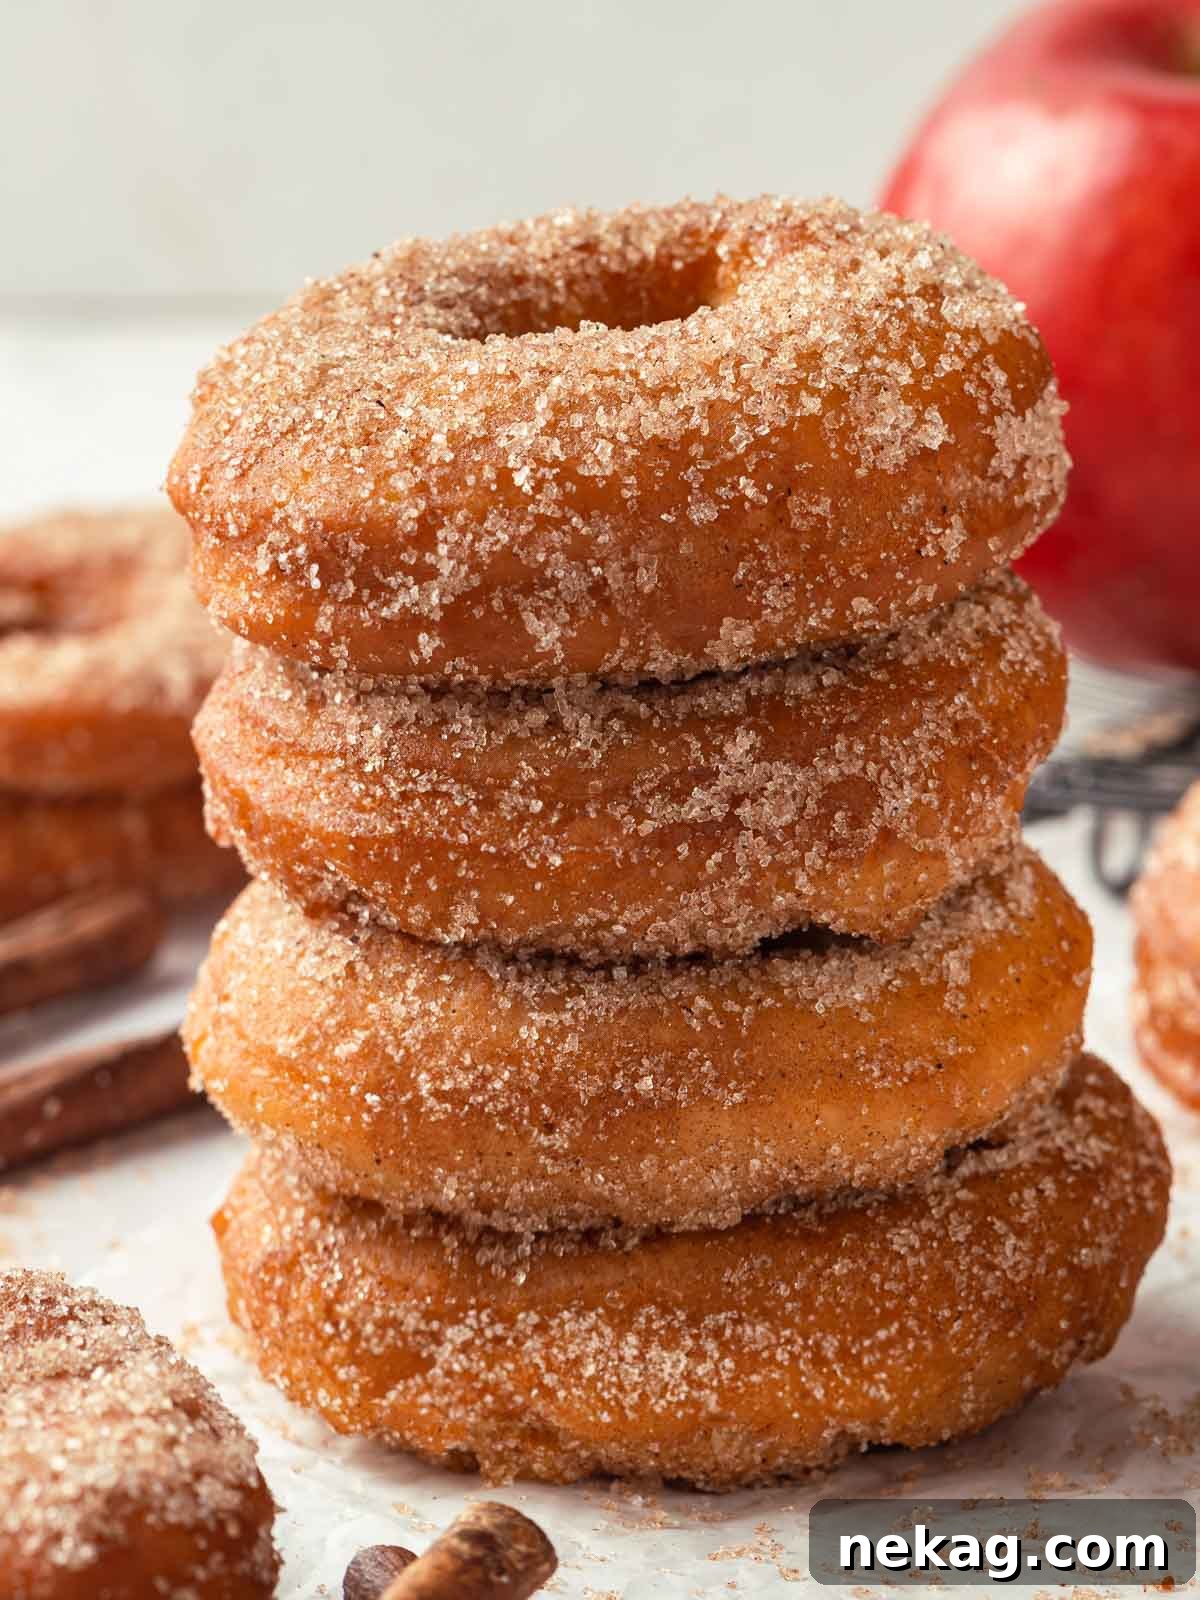
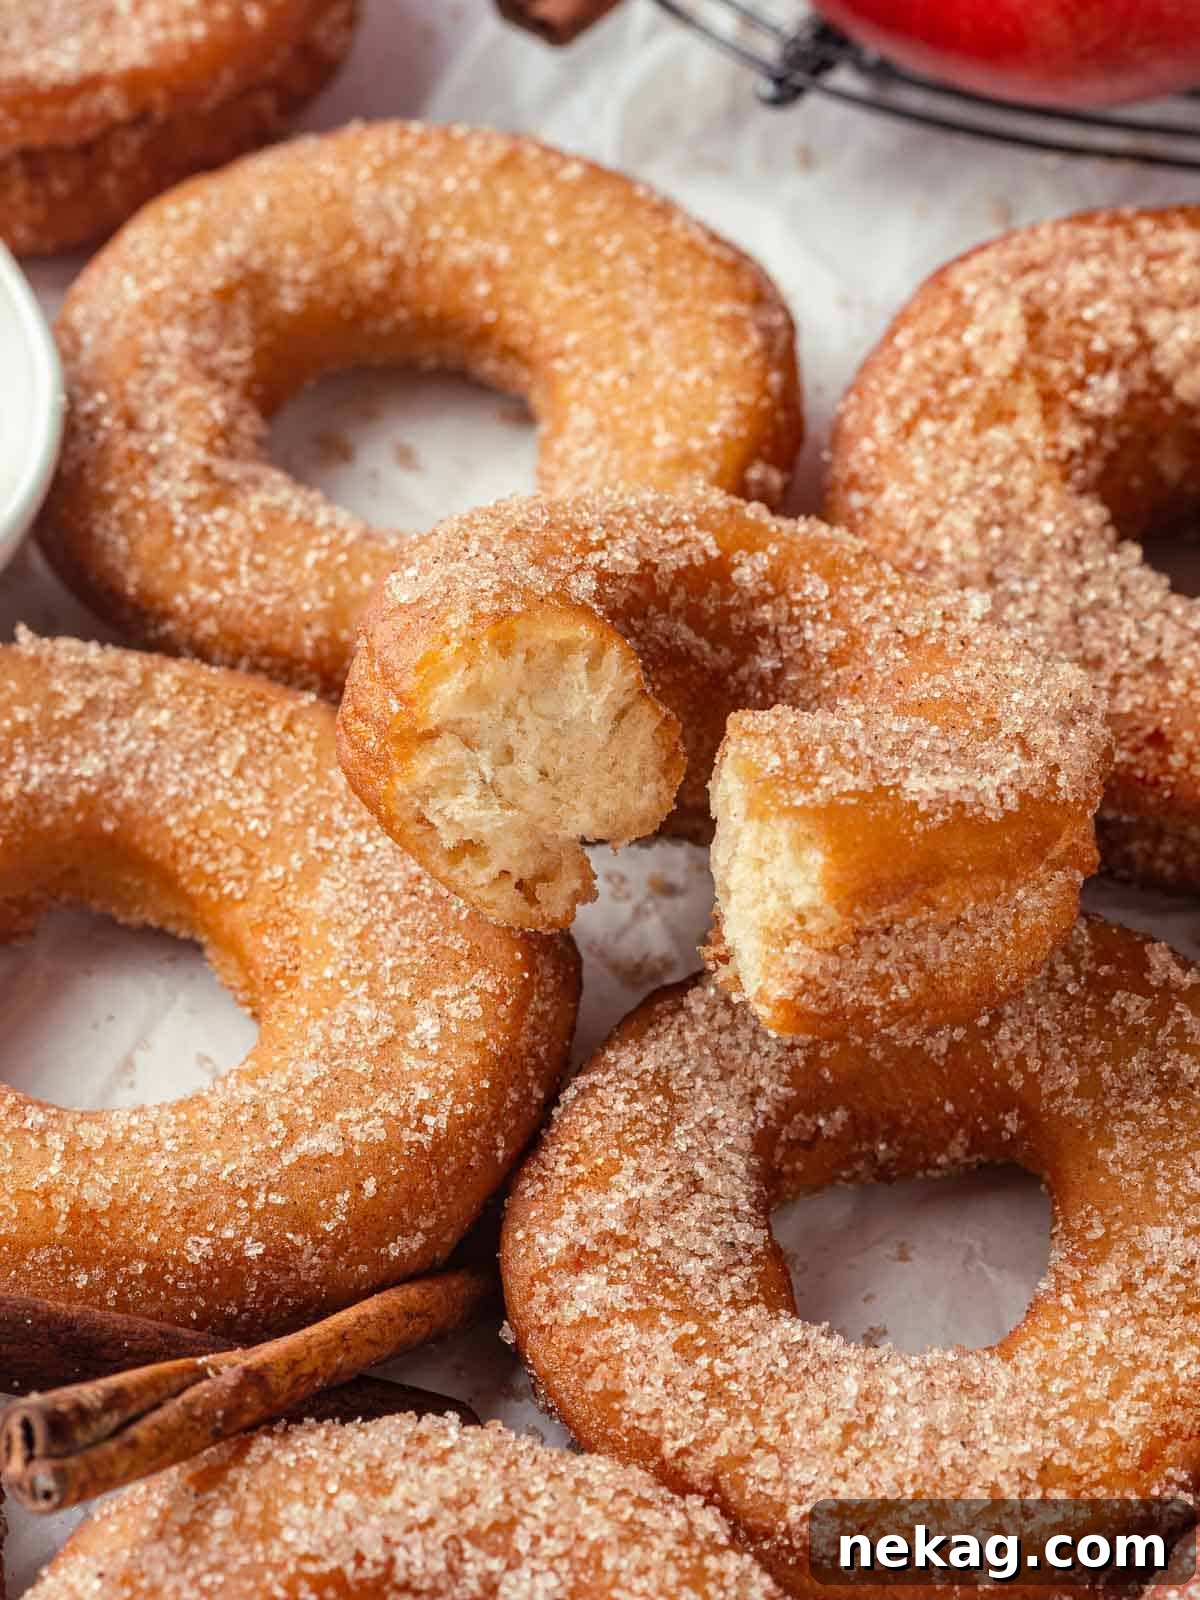
- Unbeatable Light and Tender Texture: Forget dense, heavy, or greasy donuts. These fried cake donuts boast an incredibly light and airy interior, a delightful contrast to their gloriously crisp and crunchy exterior. This unique combination of a soft crumb and a satisfying crisp shell makes every single bite an absolute pleasure, truly setting them apart from other recipes.
- Authentic, Concentrated Apple Cider Flavor: The true magic and secret to our donuts actually tasting profoundly like apple cider lies in a crucial preliminary step: the reduction of the apple cider. This meticulous process concentrates the cider’s natural sugars and robust apple flavor to an incredible degree, while simultaneously evaporating any excess water. The result is a rich, syrupy essence that deeply infuses every part of the donut dough. This technique ensures a truly nostalgic and intensely flavored apple cider donut that tastes exactly as it should – bursting with genuine apple goodness.
- Convenient Make-Ahead Dough: Life gets busy, especially during the bustling and festive fall season. That’s why this recipe is thoughtfully designed with maximum flexibility in mind. The versatile donut dough can be prepared up to three days in advance, allowing you to seamlessly fit your baking around your schedule. Simply store the dough in the refrigerator at any stage after mixing, and then fry or freeze them within three days for fresh, homemade goodness whenever the craving strikes or guests arrive.
Professional Tips for Making Homemade Apple Cider Donuts
Achieving the perfect apple cider donut involves more than just great ingredients; it requires mastering a few key techniques that professional bakers swear by. Follow these expert tips closely to ensure your homemade donuts are consistently light, packed with flavor, and perfectly fried every single time:
- Maintain a Cold Dough: The texture of your cake donuts is incredibly sensitive to gluten development. For a truly light, tender, and airy donut, it’s absolutely crucial to prevent the dough from becoming overworked and warm. Overmixing vigorously encourages the formation of gluten, which can lead to tough, chewy donuts that lack that desirable cake-like crumb. Therefore, always work quickly, handle the dough minimally, and ensure it remains thoroughly chilled throughout the preparation process. A cold dough is not only much easier to handle without sticking but consistently results in a superior final product with the perfect tender crumb.
- Choose the Right Oil and Temperature: The type and, most importantly, the temperature of your frying oil are paramount to donut success. Opt for a neutral-flavored oil with a high smoke point, such as canola, peanut, or sunflower oil. Crisco is another excellent, reliable choice. The ideal frying temperature must be consistently maintained between 325°F and 330°F (163°C-166°C). If the oil is too cool, your donuts will absorb excessive oil, becoming unpleasantly greasy and heavy. Conversely, if it’s too hot, the outsides will rapidly burn and become overly dark before the centers have a chance to cook through, leaving you with raw, unappetizing dough. A reliable deep-fry thermometer is an indispensable tool and your best friend here.
- The Essential Donut Hole: While often overlooked and sometimes skipped, the hole in the center of a cake donut serves a vital, functional purpose beyond aesthetics. Without it, the donut will not cook evenly or thoroughly. The outer edges would inevitably burn while the center remains raw or significantly undercooked, leading to an extremely unpleasant and inconsistent texture. The strategically placed hole allows for proper, even heat distribution, ensuring that the entire donut cooks thoroughly and uniformly from edge to center, resulting in that perfectly desired soft interior and delightfully crisp exterior.
- Prioritize Quality Apple Cider: The “apple cider” in apple cider donuts isn’t just a descriptive name; it represents the very heart of the donut’s flavor profile. The higher the quality of the cider you use, the more exceptional and authentic your donuts will taste. If at all possible, make an effort to source high-quality, freshly pressed apple cider from a local farmers’ market or an apple orchard. These artisanal ciders often possess a more concentrated, robust, and authentic apple flavor compared to generic, mass-produced varieties, and this profound depth of flavor will truly shine through and elevate your finished donuts to a new level.
Key Ingredients for Perfect Apple Cider Donuts
Every ingredient in this meticulously crafted recipe plays a crucial, specific role in developing the rich, authentic flavor and the irresistible, tender texture that defines these exceptional apple cider donuts. Here’s a closer look at what you’ll need and precisely why each component is so important:
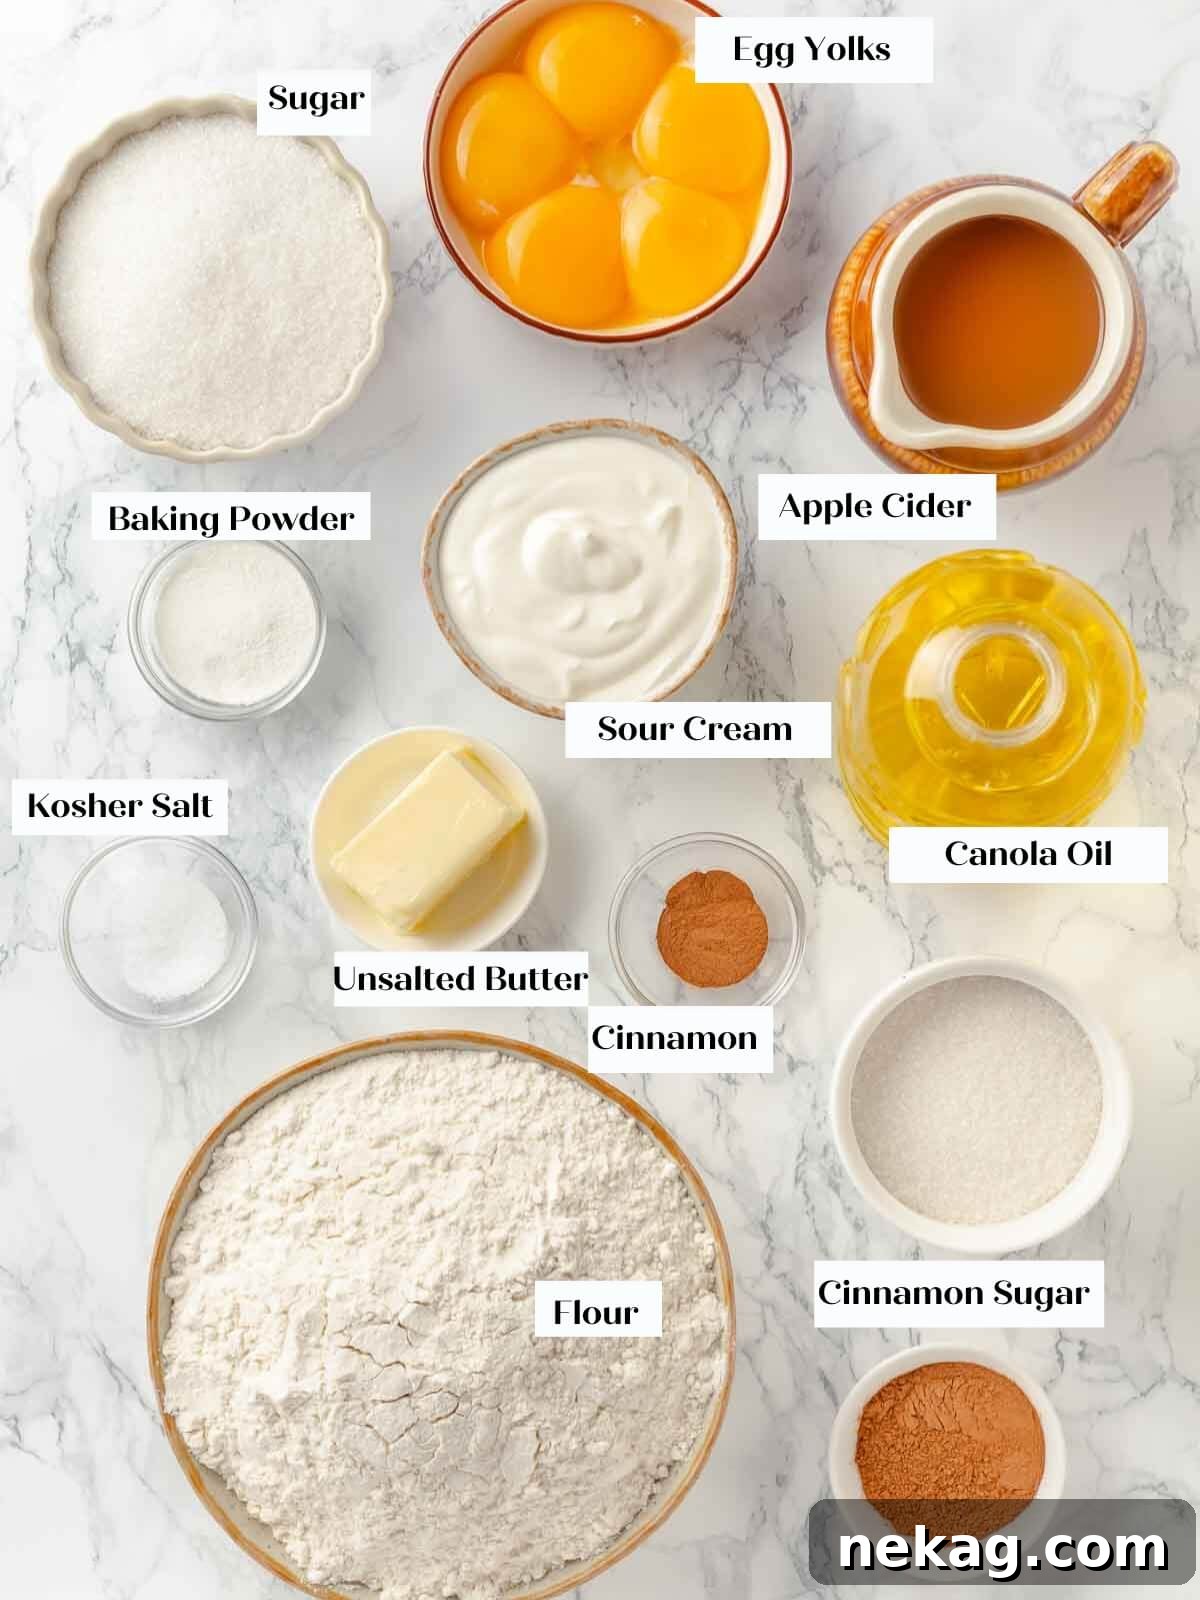
- Granulated Sugar: Beyond merely providing sweetness, granulated sugar contributes significantly to the donut’s delicate structure and tender texture. When creamed vigorously with butter and egg yolks, it creates countless tiny air pockets, which are instrumental in aiding the leavening process and ultimately contributing to a soft, incredibly tender, and remarkably light crumb. While brown sugar can be used as an alternative, its inherent molasses notes can sometimes inadvertently mute the delicate and nuanced apple cider flavor we are striving so hard to enhance and highlight.
- Unsalted Butter: High-quality unsalted butter is incorporated to add essential richness and contribute to a beautiful, melt-in-your-mouth tender crumb in the donuts. Using unsalted butter specifically allows you, the baker, to precisely control the overall salt content in the recipe, thereby ensuring a perfectly balanced and harmonious flavor profile that isn’t overly salty.
- Egg Yolks: These vibrant golden gems are true powerhouse ingredients in this recipe. Egg yolks bring essential fat and crucial moisture to the dough, significantly contributing to its overall richness and desirable tenderness. The fat present in the yolks helps to subtly shorten gluten strands, which is a critical factor for achieving a truly “cakey” texture rather than a chewy, bread-like one. They also provide some inherent leavening when beaten vigorously with sugar, adding to the donut’s lift.
- Sour Cream: Full-fat sour cream is my unequivocal preference for this recipe, as it offers unparalleled moisture, luxurious richness, and a subtle, delightful tang that perfectly complements the spiced apple flavor. Its natural acidity also plays a vital role in activating the baking powder, thereby contributing to a lighter, airier, and more voluminous donut. While low-fat sour cream can be used as an alternative, the full-fat version consistently delivers the absolute best results in terms of flavor and texture.
- Apple Cider (Reduced): This is truly the star ingredient and the heart of our apple cider donuts. Reducing the apple cider by approximately half is a non-negotiable step for achieving an authentic and profound apple flavor. This crucial process not only concentrates the apple essence to an incredible degree but also skillfully evaporates any excess water. This means you can infuse an intense, robust apple flavor without adding too much liquid to the dough, which could negatively impact its delicate texture and workability. Absolutely, under no circumstances, substitute with apple cider vinegar, as this would drastically alter the flavor profile.
- All-Purpose Flour: All-purpose flour is my consistent go-to for the vast majority of my donut recipes, and for good reason. It strikes the perfect, delicate balance. It contains just enough gluten to develop a stable, resilient structure that allows the donuts to hold their shape impeccably during the frying process, yet it remains wonderfully tender and soft, successfully preventing the donut from becoming tough, dense, or rubbery.
- Double-Acting Baking Powder: As our primary chemical leavening agent, double-acting baking powder is absolutely crucial for achieving the desired light and airy texture. It reacts twice: once instantly when mixed with an acid (such as the sour cream) in the wet ingredients, and again vigorously when exposed to the intense heat of the frying oil. This dual action ensures maximum lift and a consistently light texture. Baking soda alone is not recommended for this recipe, especially if you plan on preparing the dough in advance, as its leavening power would be largely depleted before the dough even hits the hot oil.
- Kosher Salt: A fundamental and often underestimated flavor enhancer in all baking, kosher salt plays a vital role in balancing the inherent sweetness of the donuts and expertly bringing out the subtle, nuanced notes of the apple cider and cinnamon. It truly elevates the overall flavor profile.
- Ground Cinnamon: The quintessential spice of autumn, cinnamon provides an essential warmth, depth, and a classic aromatic complement to the robust apple cider. It is thoughtfully incorporated into both the donut dough itself and the final cinnamon sugar coating, ensuring an enveloping aroma and an unmistakable taste of fall in every bite.
- Neutral Oil for Frying (e.g., Canola Oil): A neutral-flavored oil with a very high smoke point is absolutely essential for clean, successful frying. Canola oil is an excellent, widely available, and highly recommended choice, but other neutral oils such as peanut oil or sunflower oil also work exceptionally well. It is crucial to avoid oils with strong, distinct flavors, as these could easily impart undesirable tastes to your delicate donuts.
`
`
For precise measurements and detailed step-by-step instructions for each of these ingredients, please refer to the comprehensive recipe card located further down this page.
Creative Variations for Your Apple Cider Donuts
While these classic apple cider donuts are absolutely perfect as they are, don’t hesitate to unleash your culinary creativity and customize them to your personal liking. Here are some delightful and inventive variations you can try to add your unique spin:
- Spice It Up: While cinnamon is the undeniable classic and a staple of fall, you can easily experiment with an array of other warm spices to create a different aromatic profile. Consider swapping out or adding a generous dash of homemade apple pie spice mix or a comforting pumpkin spice mix to the dough for a distinct autumnal twist. A delicate pinch of ground cardamom, a warming hint of ginger, or a fragrant touch of nutmeg can also add wonderful depth and complexity. For an exceptionally elegant and sophisticated touch, you can even infuse your sugar coating with a spent vanilla bean; simply allow the vanilla bean to sit with the sugar for a few days to impart a subtle yet captivating vanilla aroma and flavor to your finished donuts. You can strategically use different spice blends in the donut dough and the cinnamon sugar mixture for beautifully layered and nuanced flavors.
- Indulgent Glazes: While the traditional cinnamon sugar coating is undeniably delicious, a well-chosen glaze can truly elevate your donuts to another level of decadence and gourmet appeal. Consider drizzling them with a rich and irresistible salted caramel glaze, a simple yet elegant vanilla bean glaze, or even a spiced glaze incorporating some of the aforementioned autumnal spices for an extra kick. For optimal results, allow the freshly fried donuts to rest briefly on a wire rack to shed any excess oil. Then, much like with my beloved Krispy Kreme copycat recipe, dip them into the warm glaze while they are still warm but not scorching hot. This ensures the glaze adheres beautifully, creating a smooth, glossy finish, and melts slightly into the donut for a truly delightful experience.
- Play with Sizes: This versatile recipe is incredibly adaptable for creating various donut sizes, allowing for creative presentation and serving options. You can make charming mini donuts, which are perfect for sampling, elegant dessert platters, or serving at festive gatherings. Alternatively, embrace the delightful simplicity of donut holes, which are often a universal favorite due to their bite-sized convenience. However, I strongly advise against making the donuts significantly larger than the recommended size, as larger donuts inherently require longer frying times. Extended frying can unfortunately lead to them absorbing more oil and consequently becoming heavier, denser, and potentially greasier.
Step-by-Step Guide to Making This Apple Cider Donut Recipe
Follow these detailed, easy-to-understand instructions to create perfectly delicious apple cider donuts every single time. Precise measurements and ingredient quantities can be found in the comprehensive recipe card below.
Part 1: Make the Donut Dough
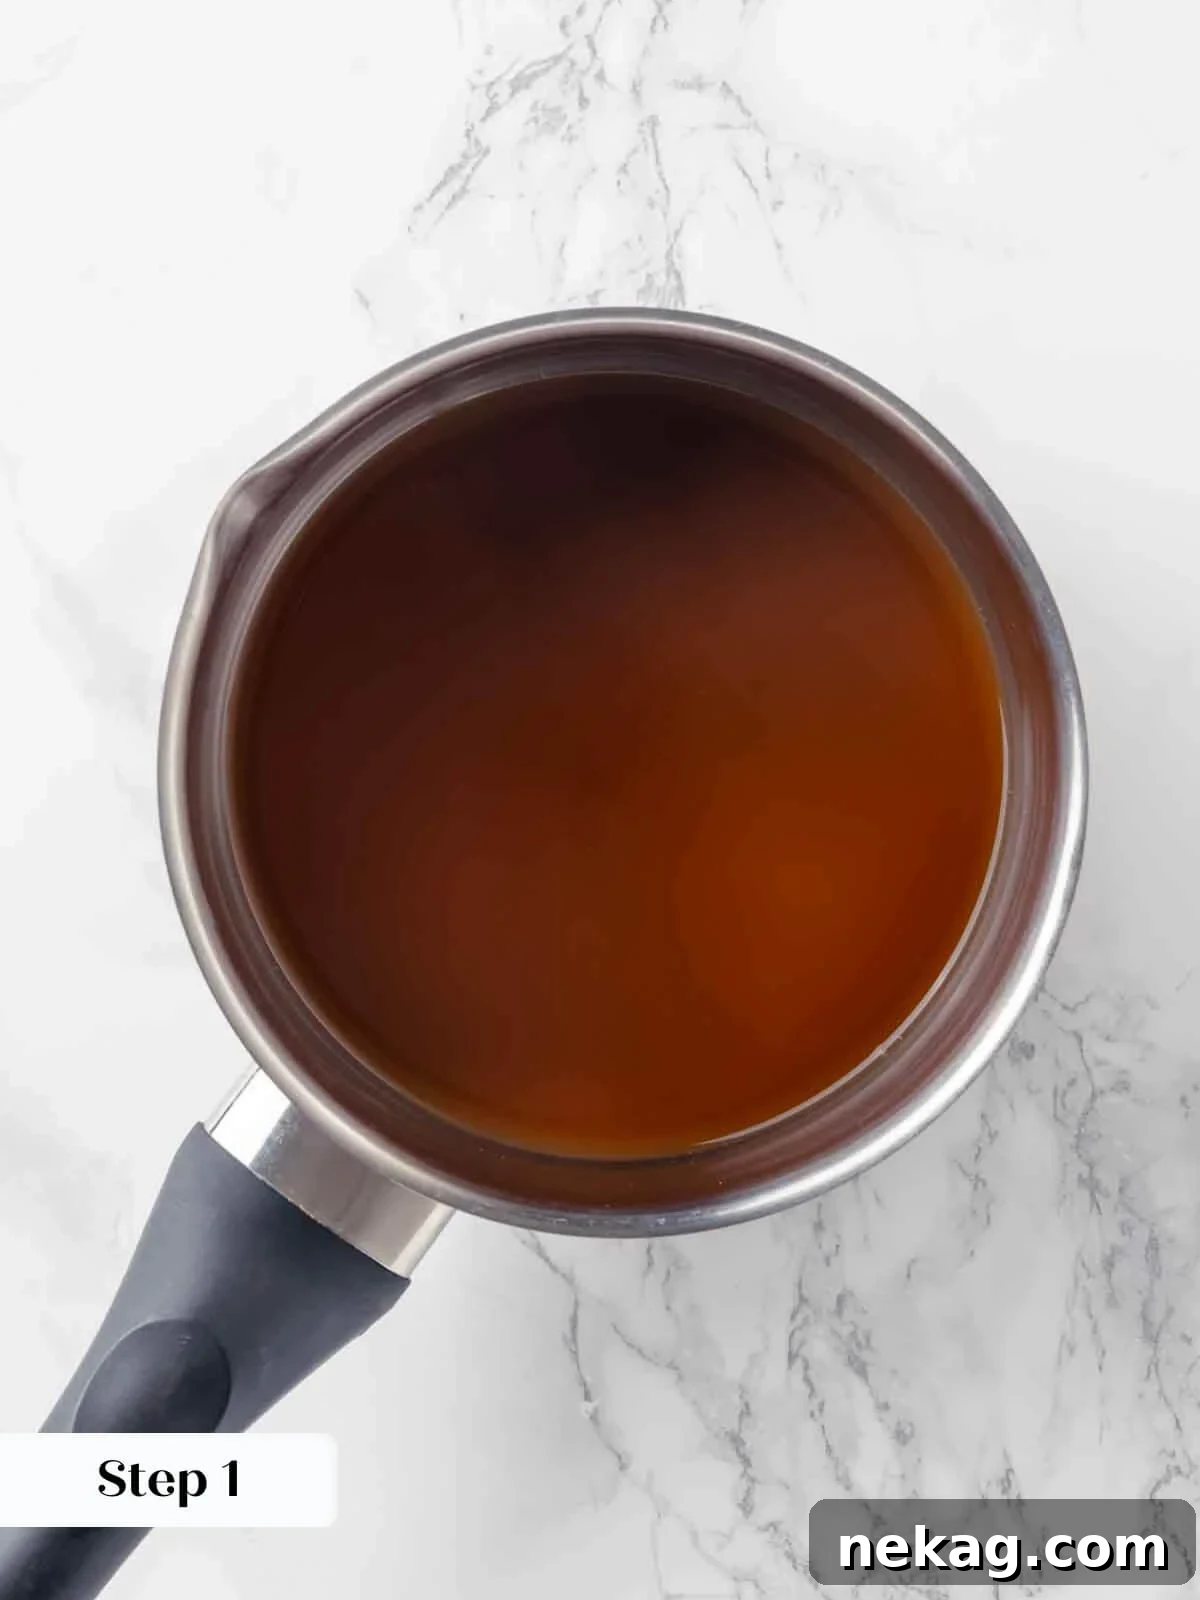
- Reduce the Apple Cider: In a small saucepan, gently simmer 1 ⅓ cups of high-quality apple cider until it visibly reduces by half, yielding approximately 166g or a scant ⅔ cup of intensely concentrated cider. This crucial preliminary step profoundly intensifies the apple flavor and skillfully removes excess water, which is vital in preventing your dough from becoming overly wet and difficult to handle. Allow the reduced cider to cool completely to room temperature before proceeding with the next steps. For added convenience, you can easily prepare this component in advance and store it securely in the refrigerator until ready to use.
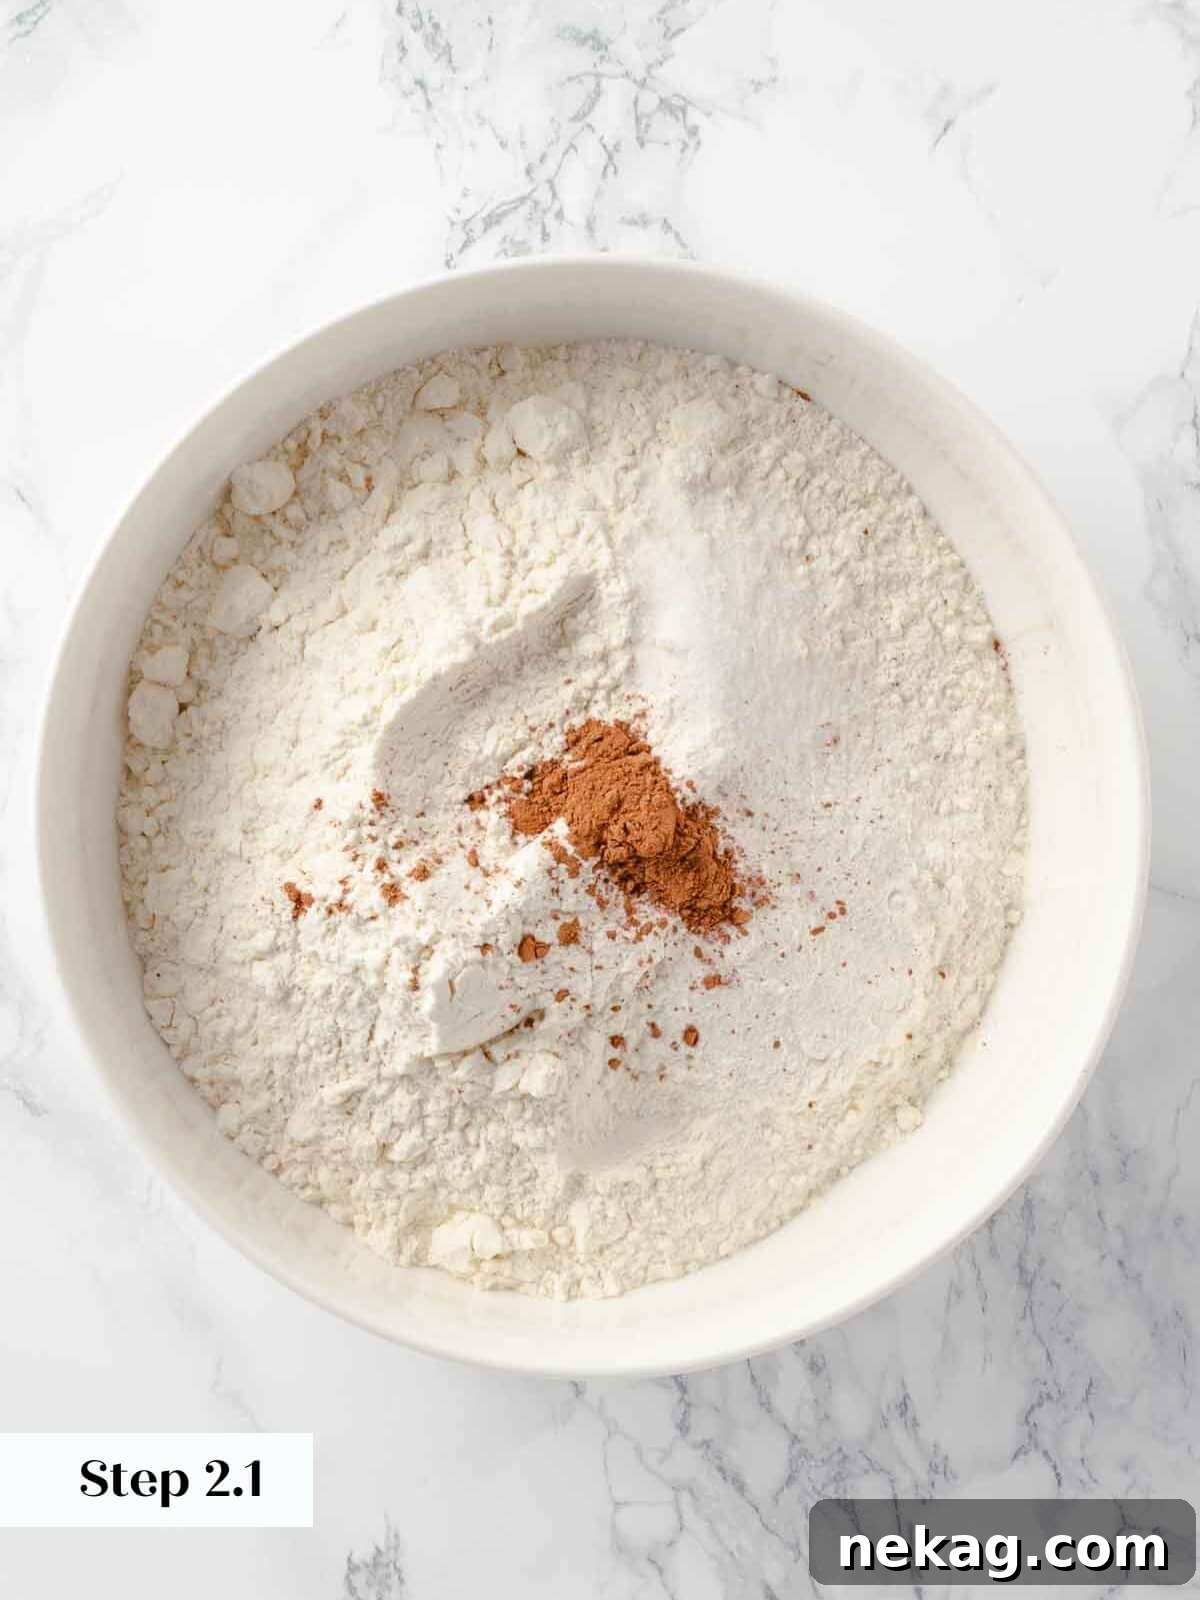
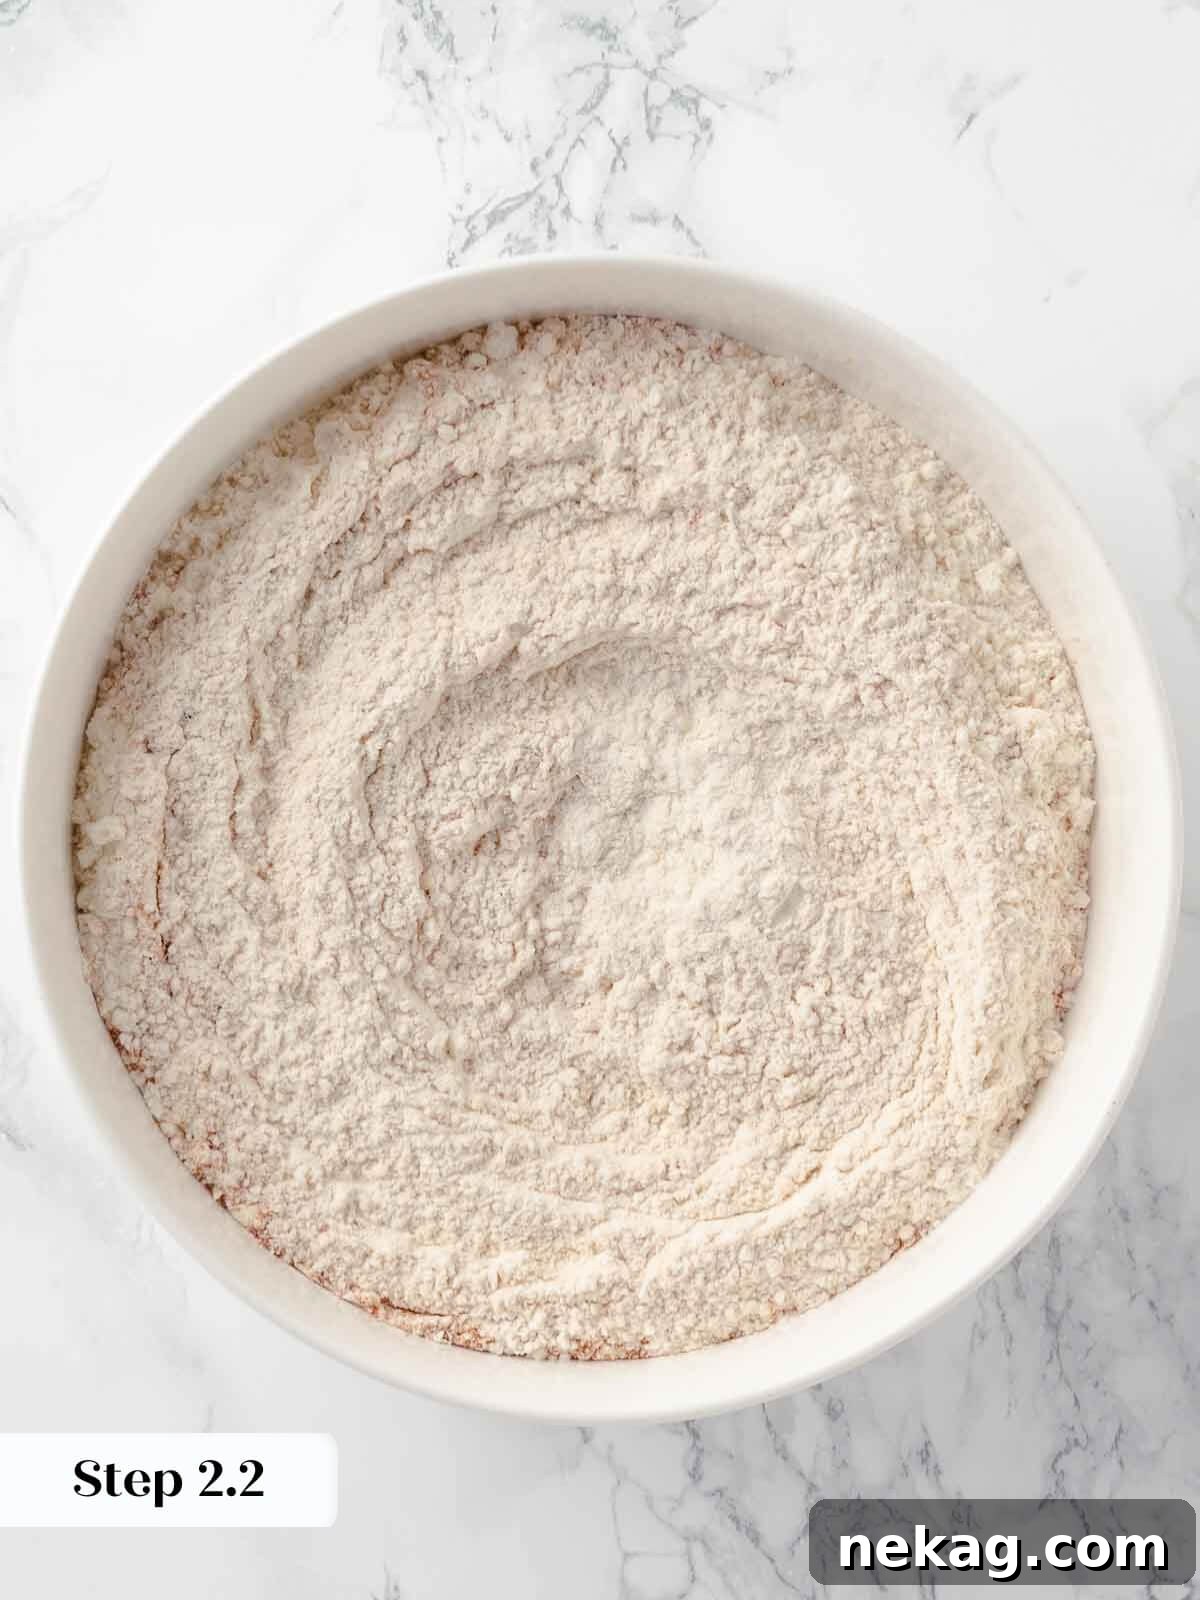
- Prepare Dry & Wet Mixtures: In a spacious large bowl, thoroughly whisk together the all-purpose flour, baking powder, kosher salt, and 1 teaspoon of ground cinnamon until all ingredients are evenly and thoroughly combined. Set this dry mixture aside. In a separate medium-sized bowl, whisk together the full-fat sour cream and the completely cooled apple cider reduction until the mixture is smooth and uniform.
- Prepare Chilling Surface: Line a sturdy baking sheet with a sheet of plastic wrap, ensuring it covers the entire surface without any gaps. Generously dust this plastic-lined surface with a liberal amount of all-purpose flour. This crucial step will create a non-stick barrier, preventing the inherently sticky dough from adhering and making it considerably easier to handle and remove later.
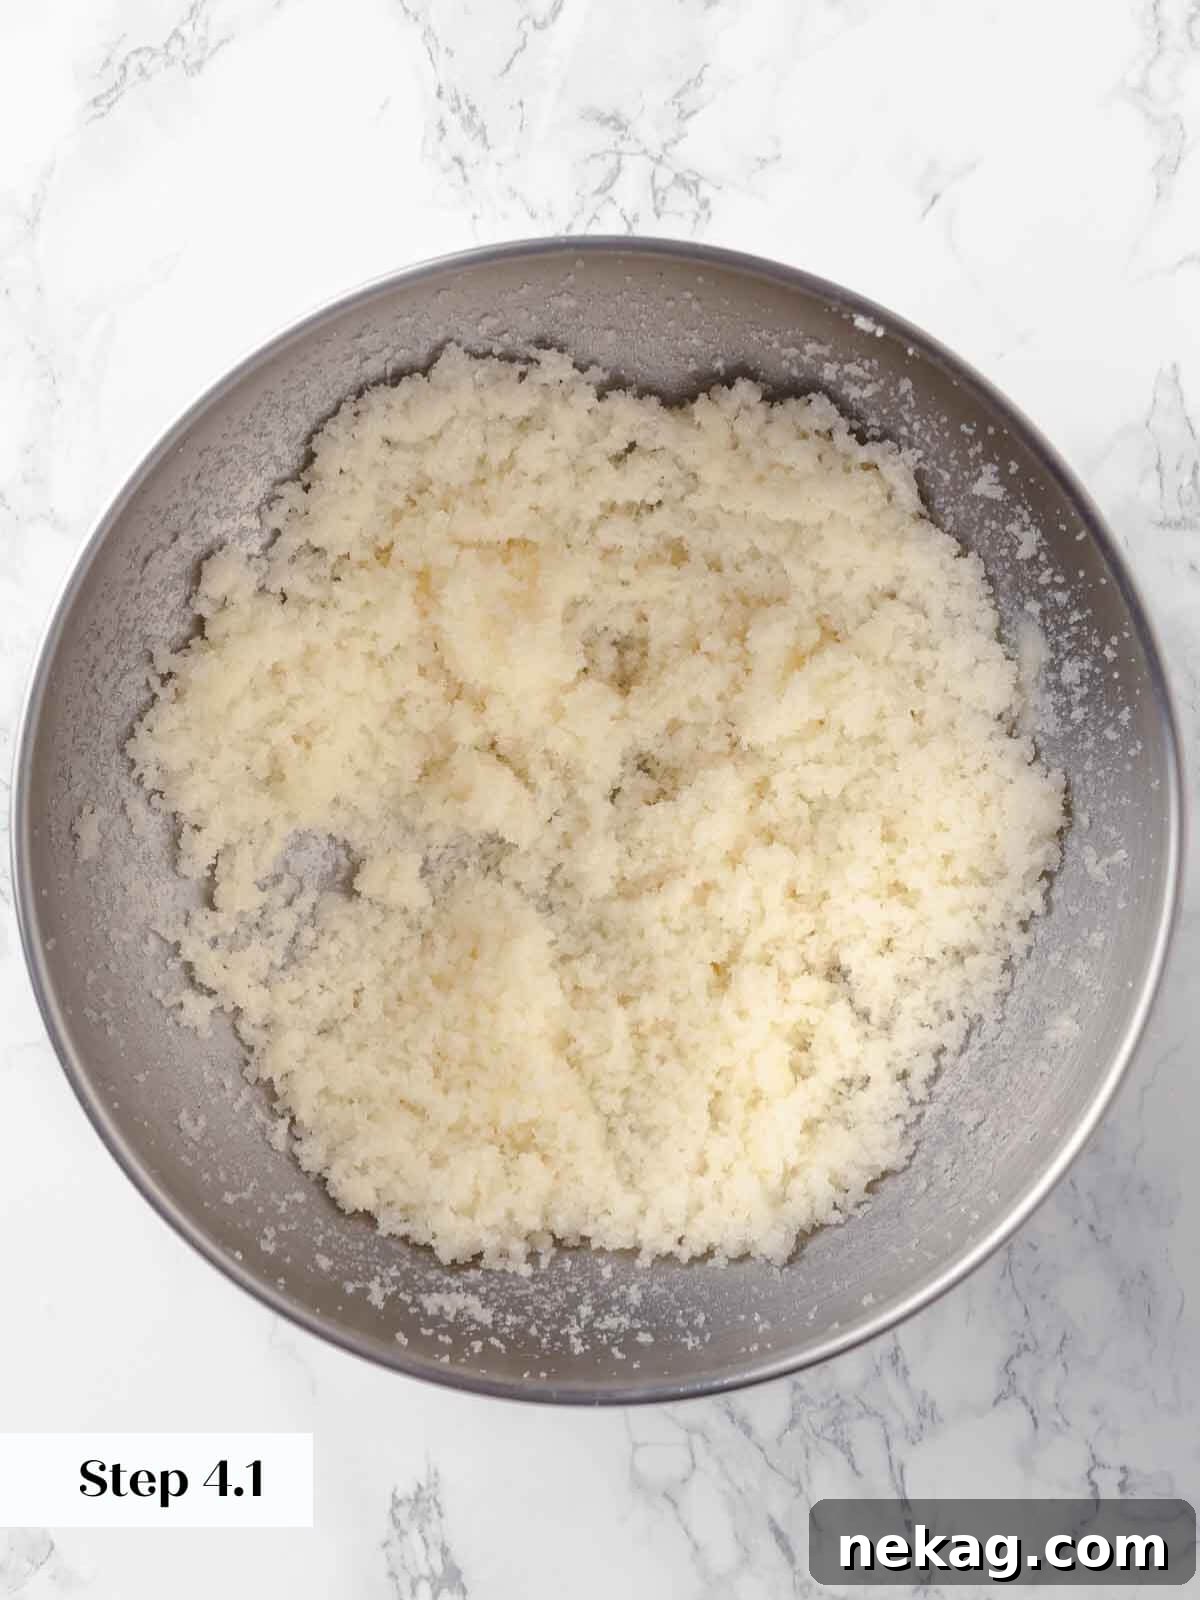
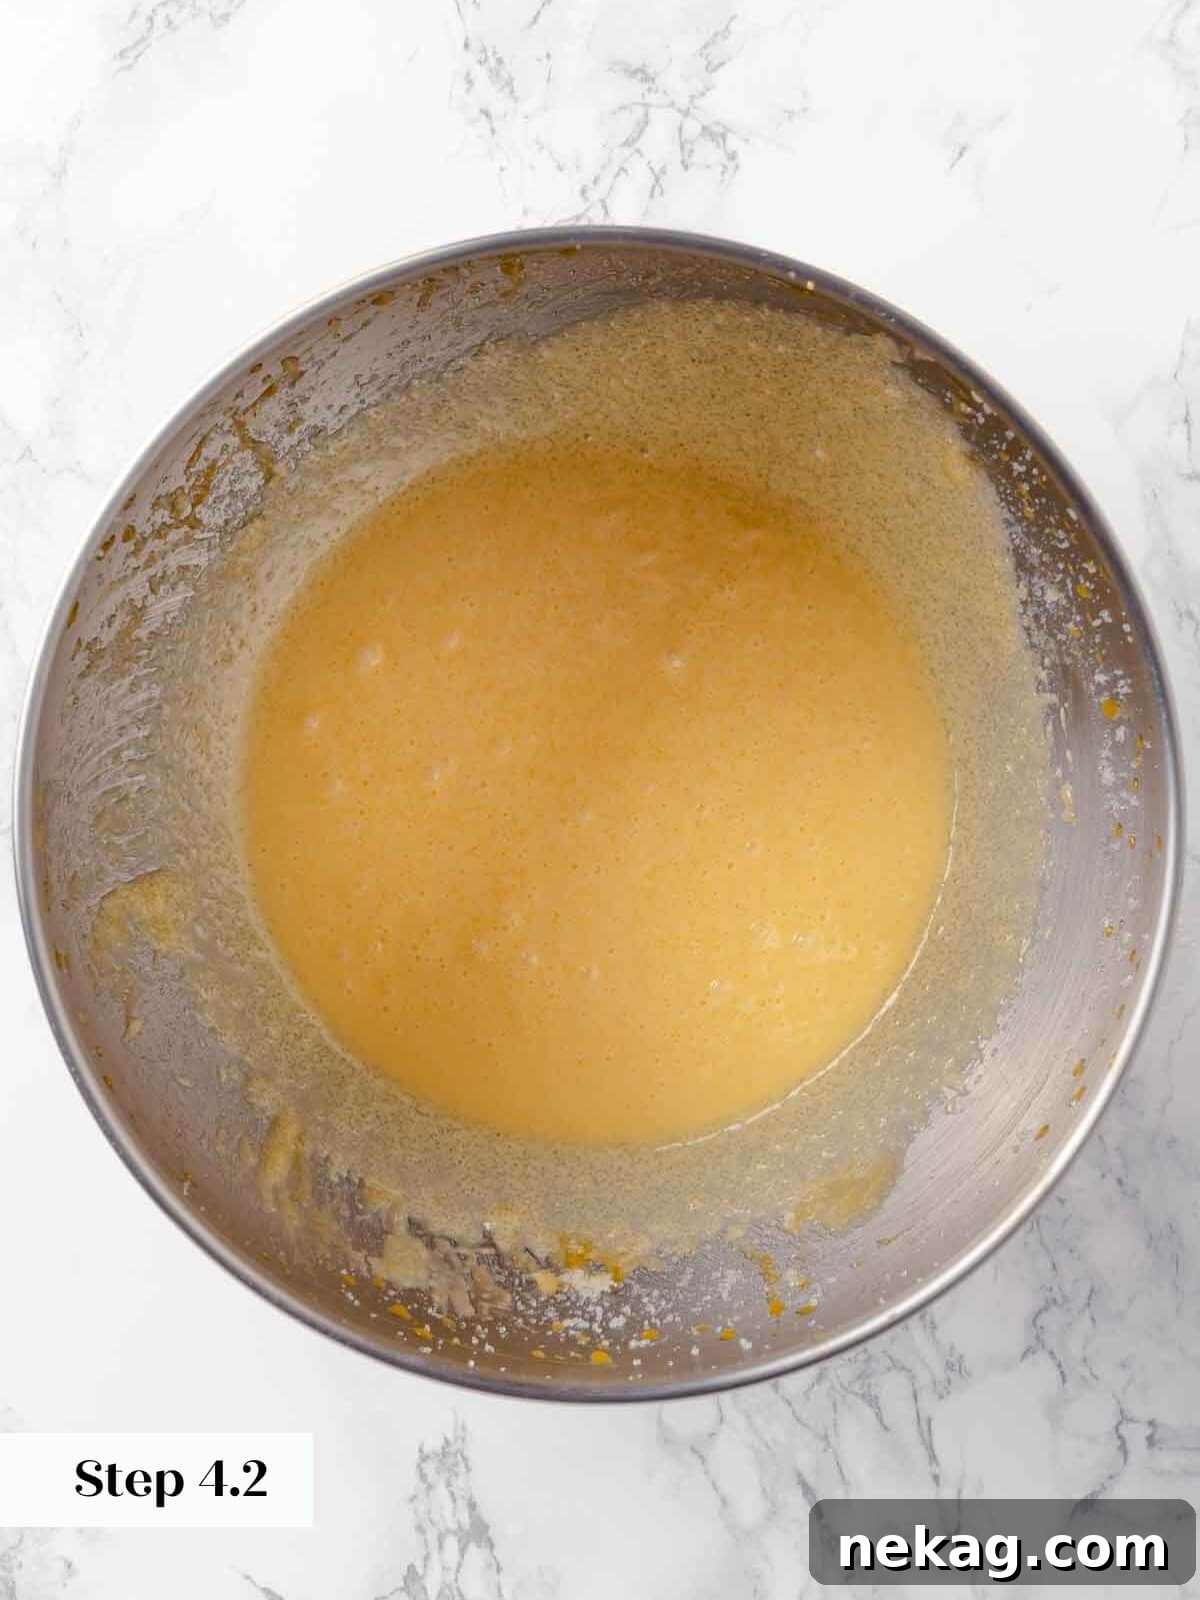
- Cream Butter, Sugar, and Yolks: In the bowl of a stand mixer fitted with the paddle attachment (alternatively, using a reliable hand mixer in a large bowl), beat the softened unsalted butter and granulated sugar together on medium-high speed until a light, sandy, and slightly fluffy mixture forms. Then, gradually incorporate the five large egg yolks, adding them one at a time, and continue to beat on high speed for approximately 2 minutes until the mixture becomes visibly pale yellow and wonderfully fluffy. This step effectively incorporates crucial air, which significantly contributes to the donut’s final tender crumb.
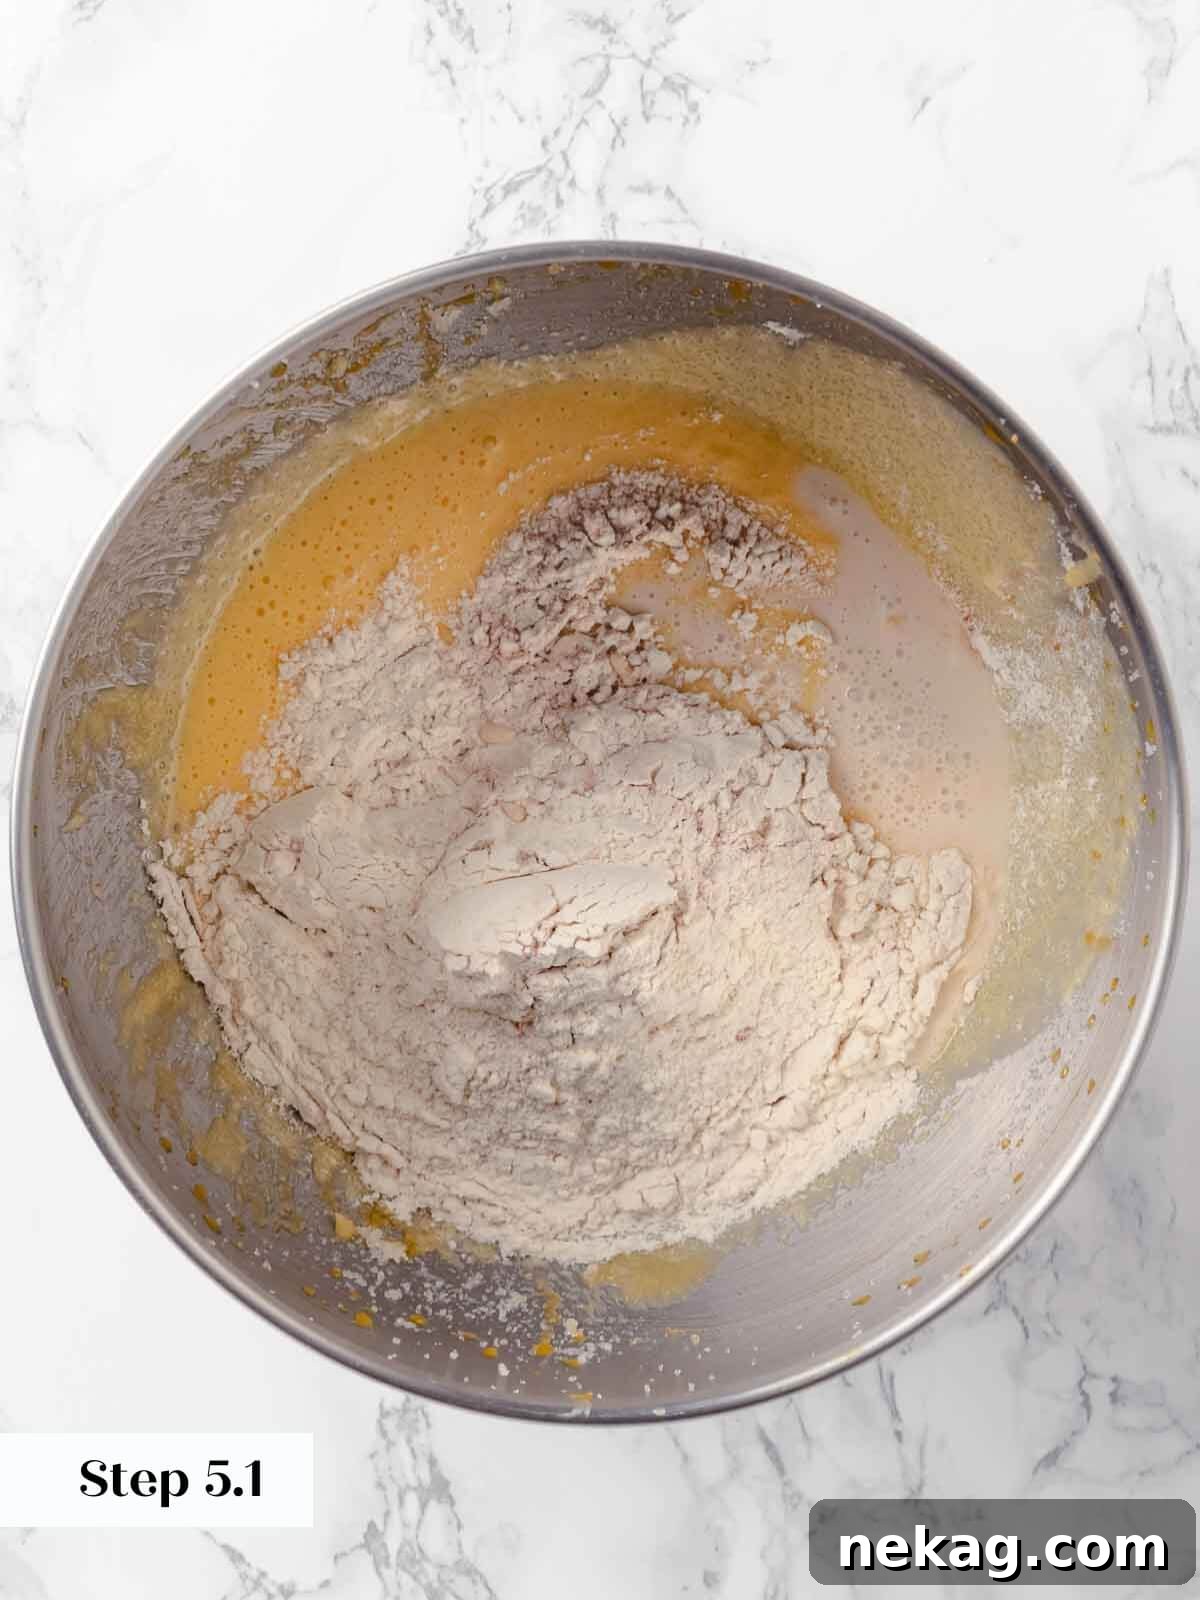
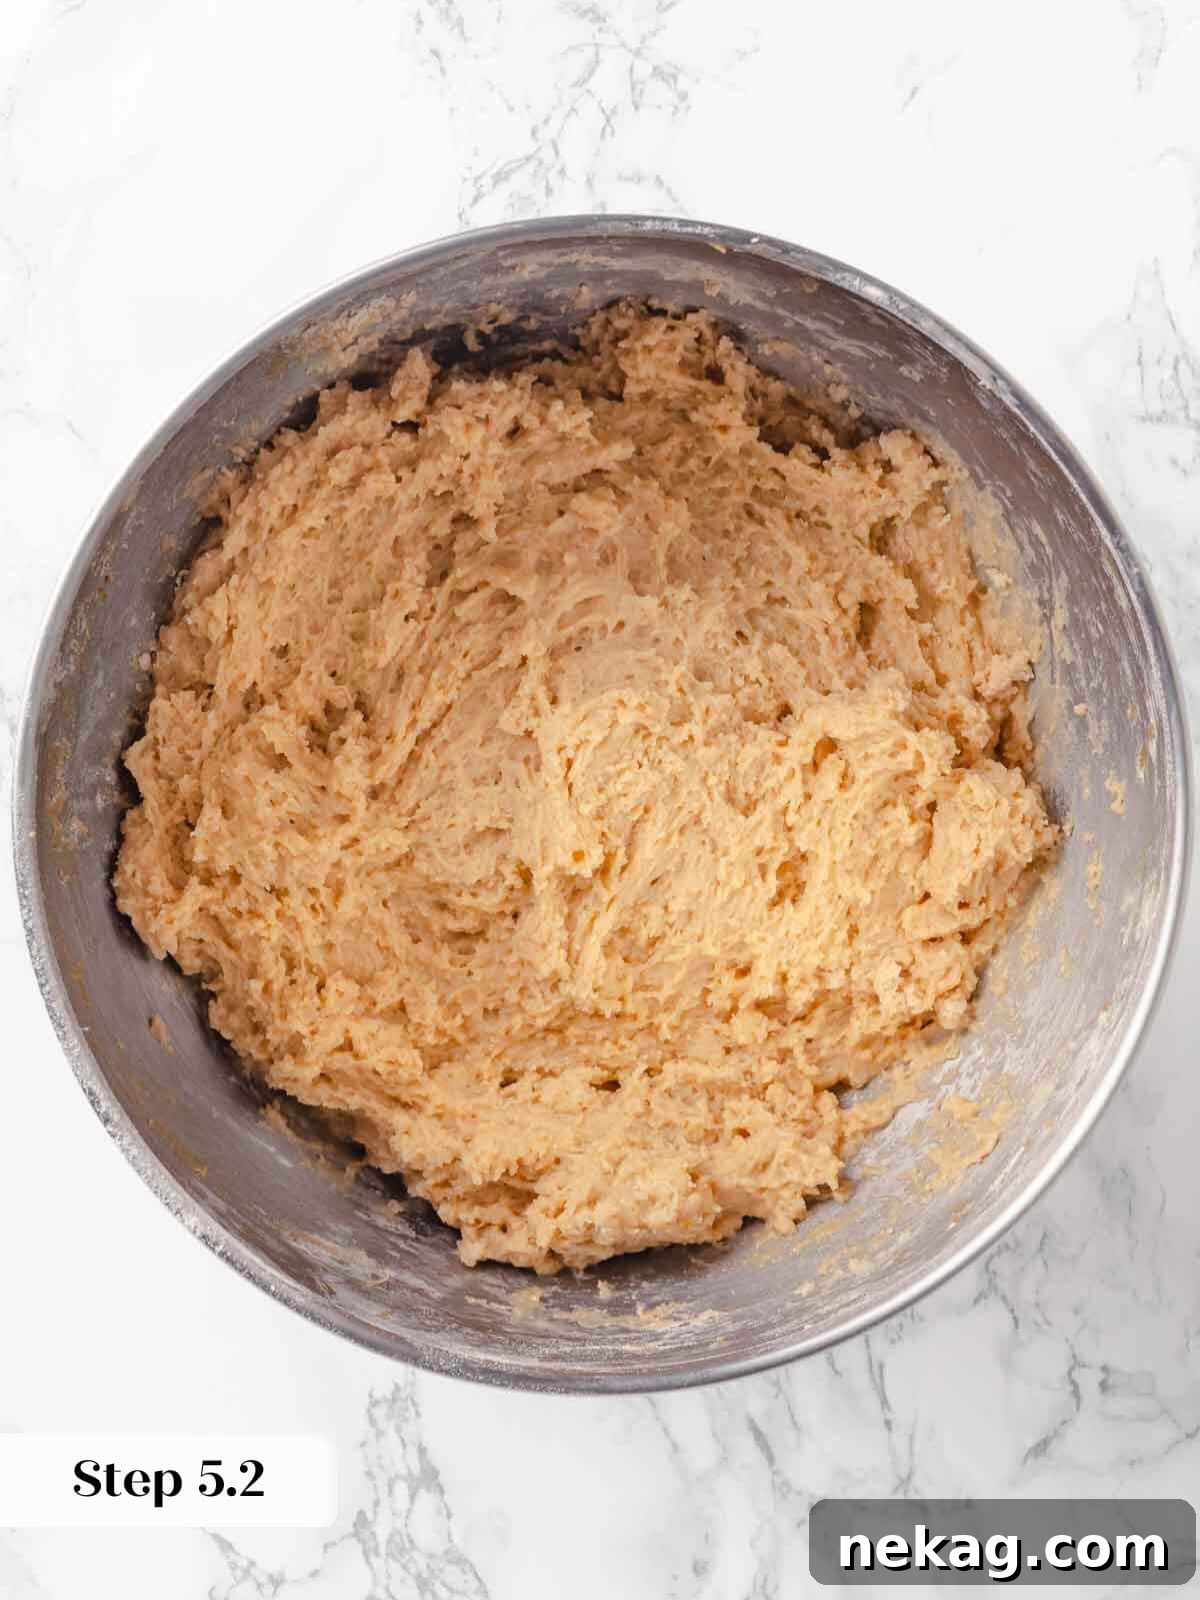
- Combine Wet and Dry Ingredients: With the stand mixer switched to low speed, alternately add the prepared flour mixture (dry ingredients) and the sour cream-cider mixture (wet ingredients) to the butter-sugar-yolk mixture in several carefully measured additions. Mix just until the dry ingredients are fully incorporated and absolutely no streaks of flour remain visible. It is paramount to avoid overmixing at all costs during this stage, as this action aggressively develops gluten, which will inevitably make your cake donuts tough, chewy, and prone to undesirable “tunnels” within their crumb.
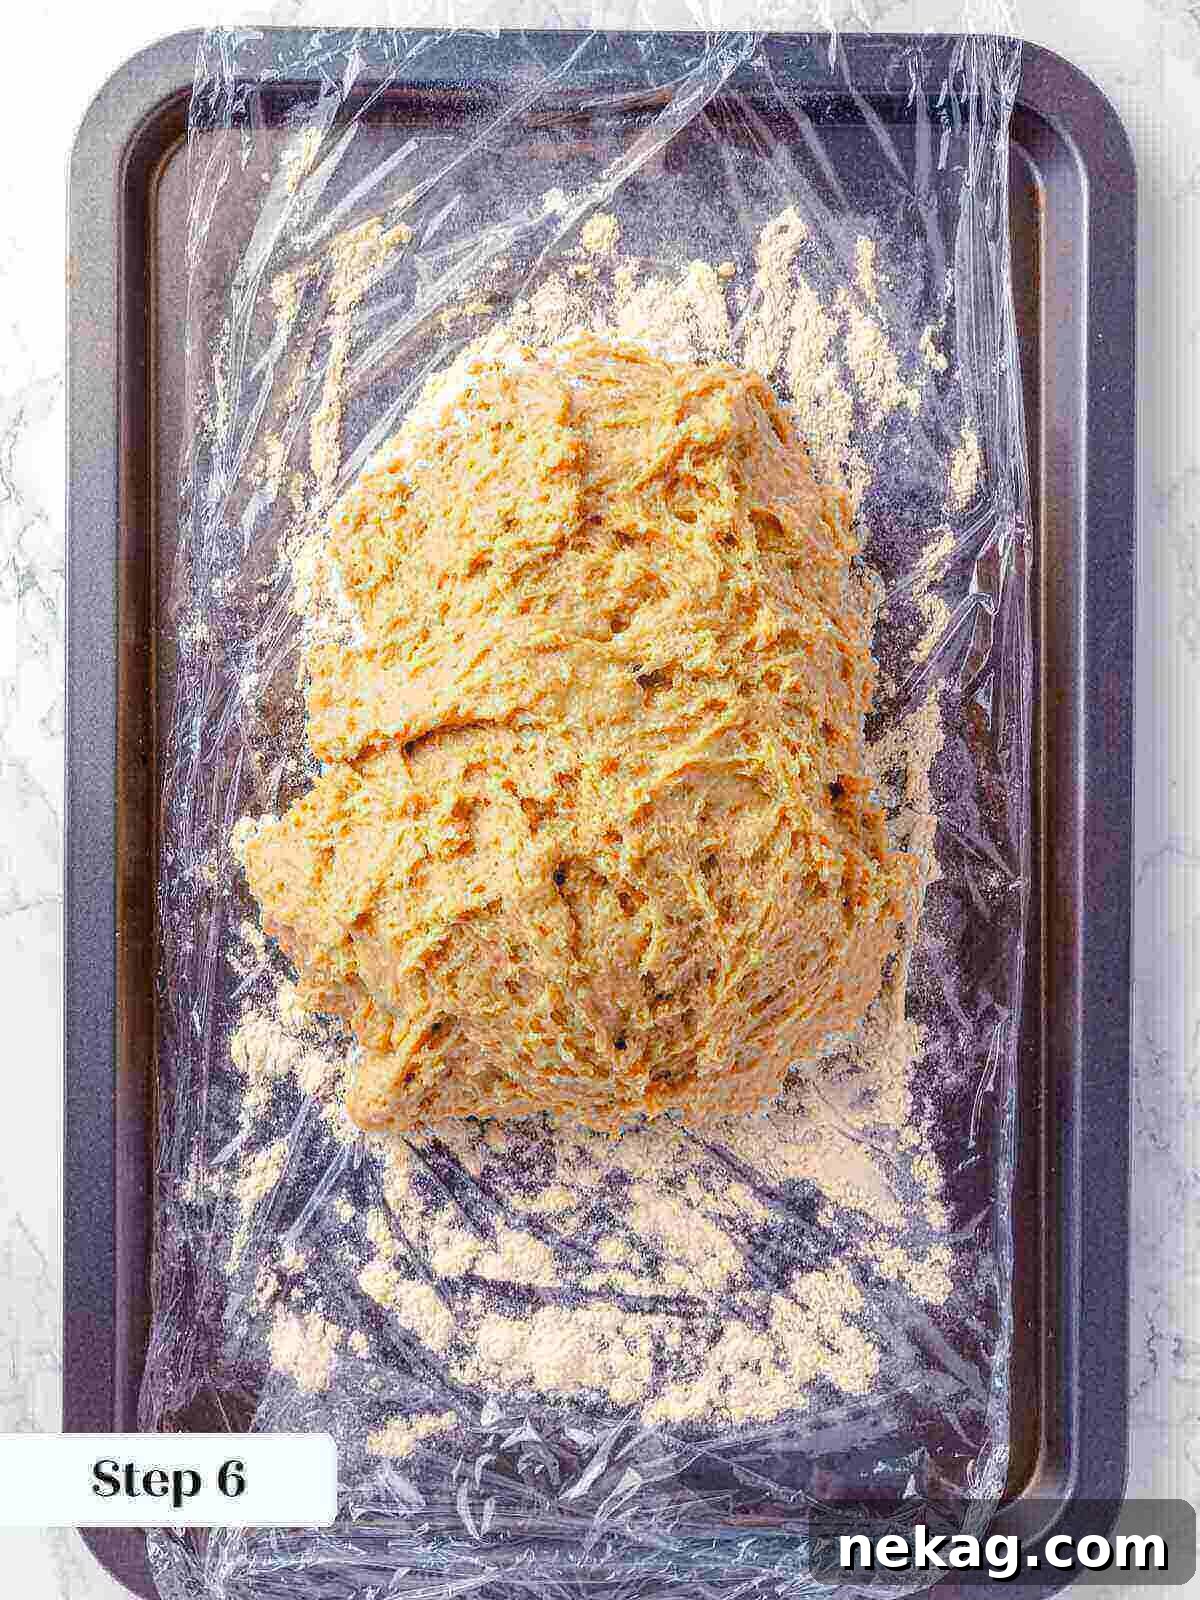
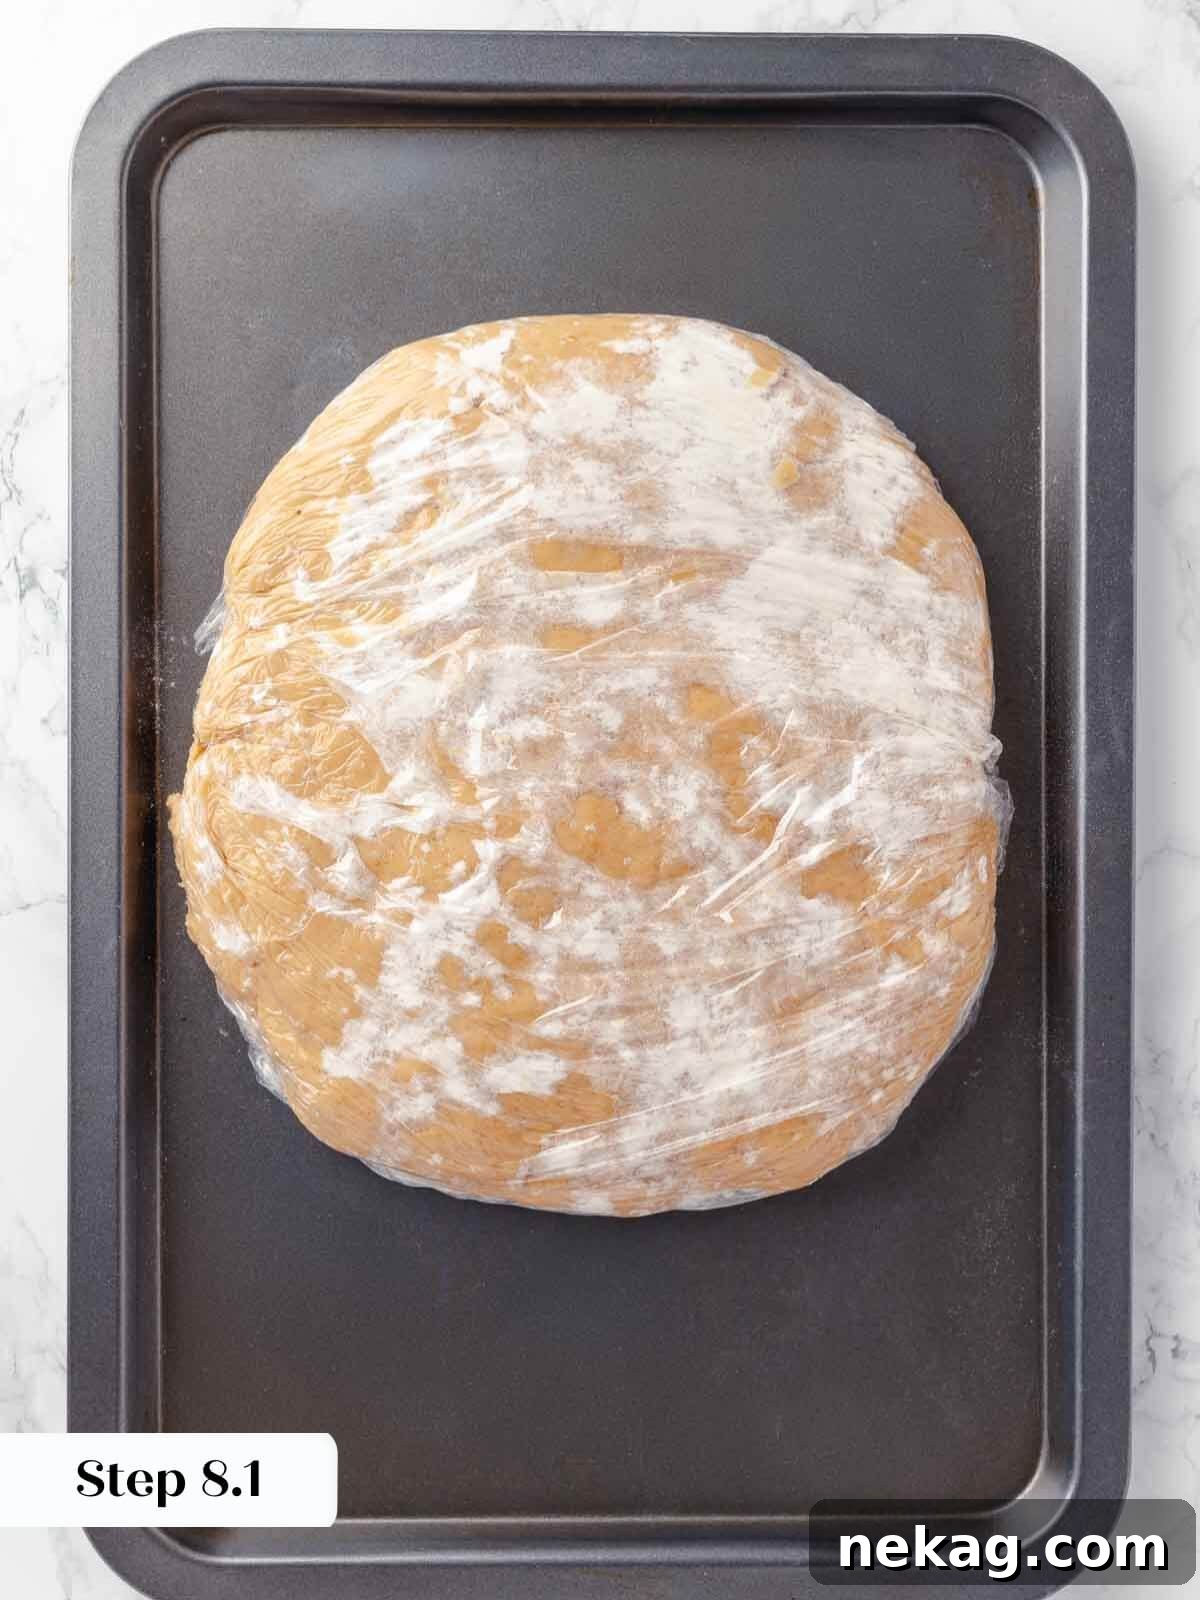
- Chill the Dough: Carefully transfer the slightly sticky dough onto the generously floured plastic wrap already on your baking sheet. Dust more flour liberally over the top surface of the dough, then meticulously fold the edges of the plastic wrap over to cover it completely and securely. Gently press the dough out into a flattened disc, approximately 2 inches thick, as this shape will significantly facilitate faster and more even chilling. Refrigerate the dough for a minimum of 60 minutes. A well-chilled dough is not only much easier to roll and cut but also less prone to sticking.
Pro Tip for Dough Consistency: Overmixing is the ultimate enemy of achieving tender cake donuts. Make a conscious effort to work quickly and stop mixing as soon as the ingredients are just combined to prevent excessive gluten development, which can lead to a tough, chewy texture and undesirable air tunnels in your finished donuts. A light touch here makes all the difference.
Make-Ahead Dough: This incredible dough is remarkably forgiving and flexible! It can be conveniently stored in the refrigerator for up to 3 days at this point, allowing you to prepare it well in advance and perfectly accommodate your busy schedule ahead of your frying day.
Part 2: Cut the Donuts
- Prepare a Second Baking Sheet: Line another clean baking sheet with a fresh sheet of parchment paper and lightly spray it with a nonstick cooking spray. This will serve as the dedicated resting place for your carefully cut donuts before they head into the hot oil for frying.
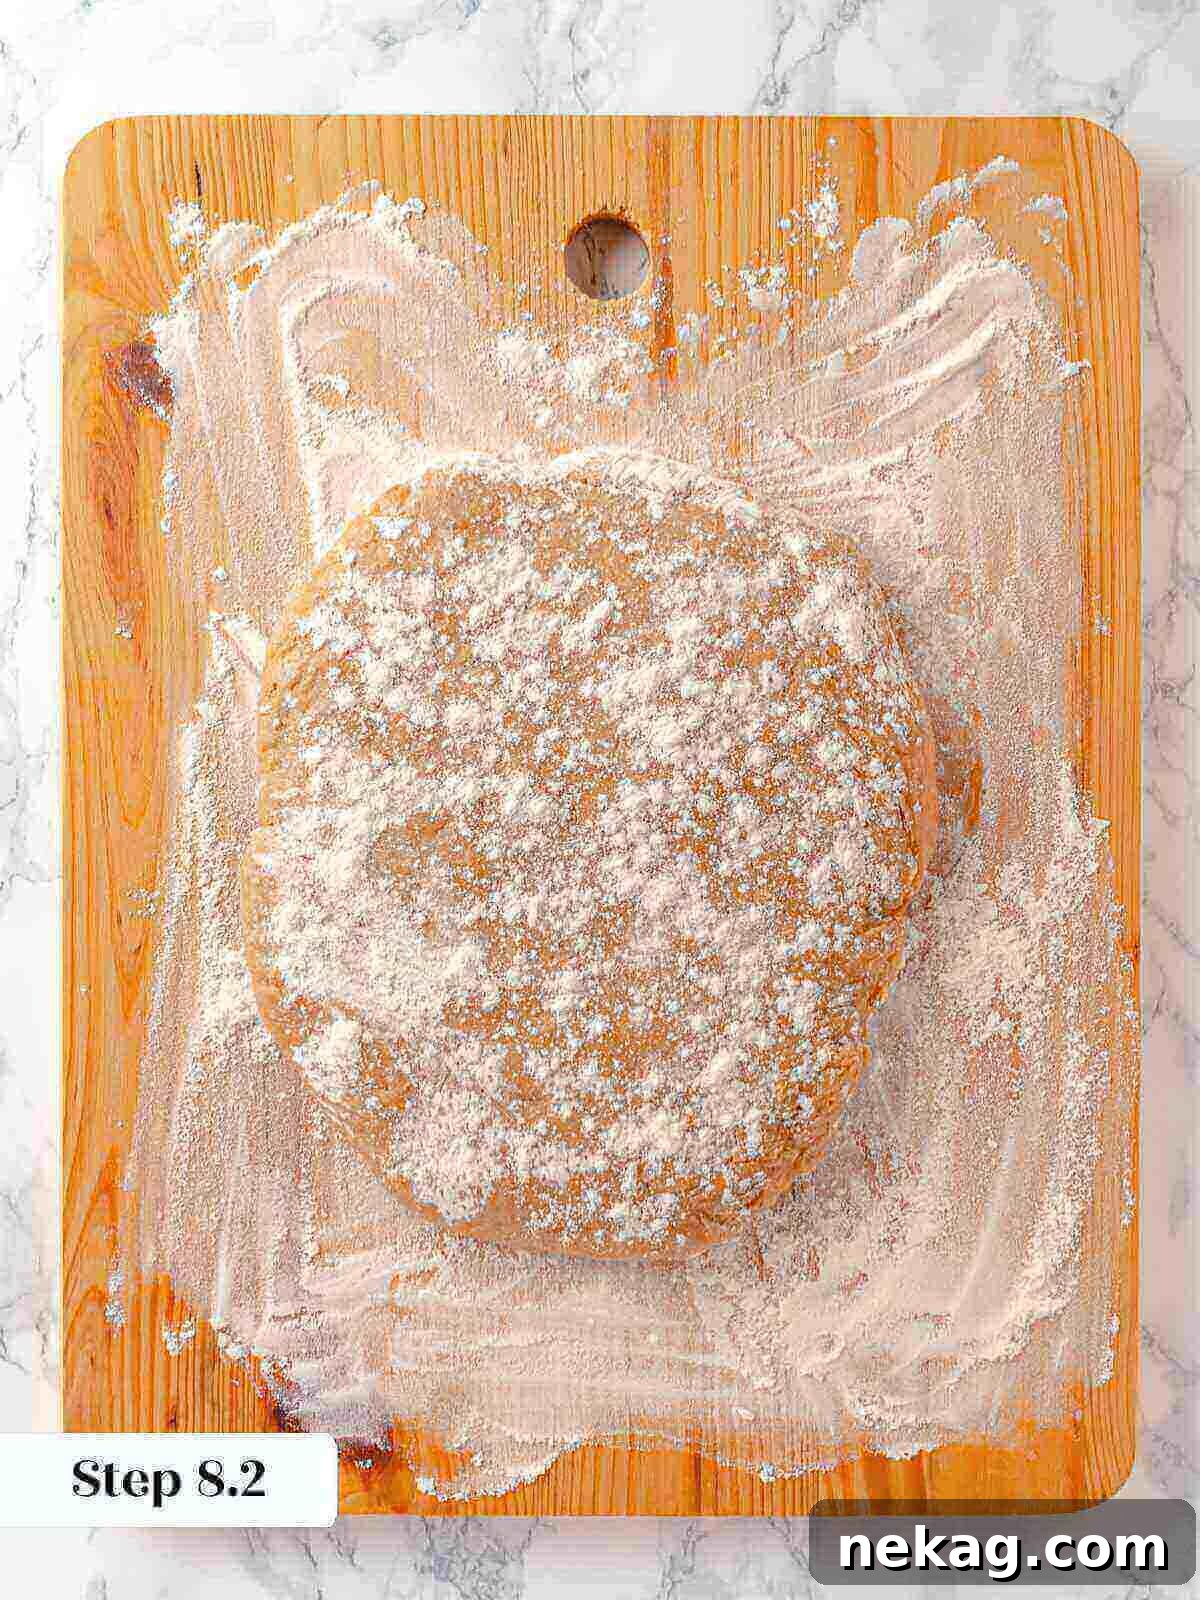
- Flour Your Work Surface: Generously dust your clean, dry work surface with an ample amount of all-purpose flour. Carefully turn the thoroughly chilled dough out onto your floured surface, ensuring the already floured side is face down, and then lightly dust the top surface with even more flour. While this dough is inherently quite sticky, the correct and sufficient amount of bench flour will render it perfectly manageable to work with. Do not be hesitant or shy with the flour here, as it is absolutely key to preventing frustrating sticking.
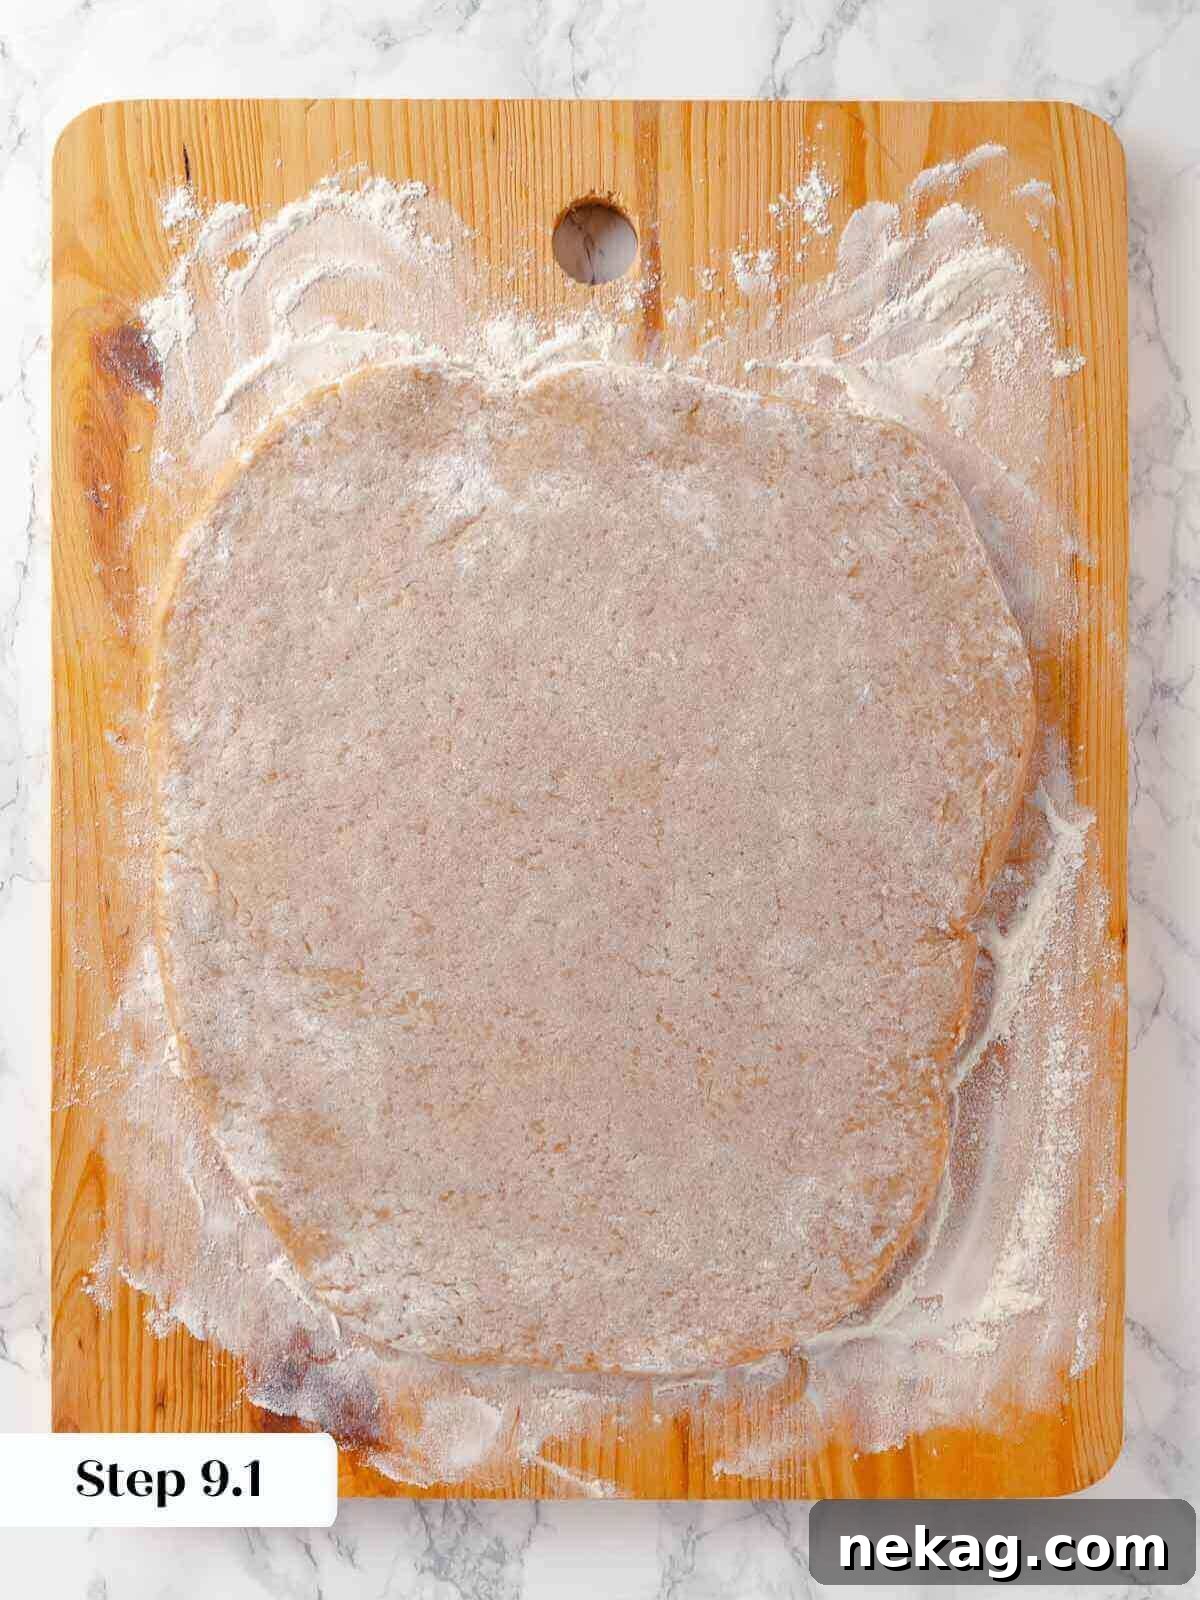
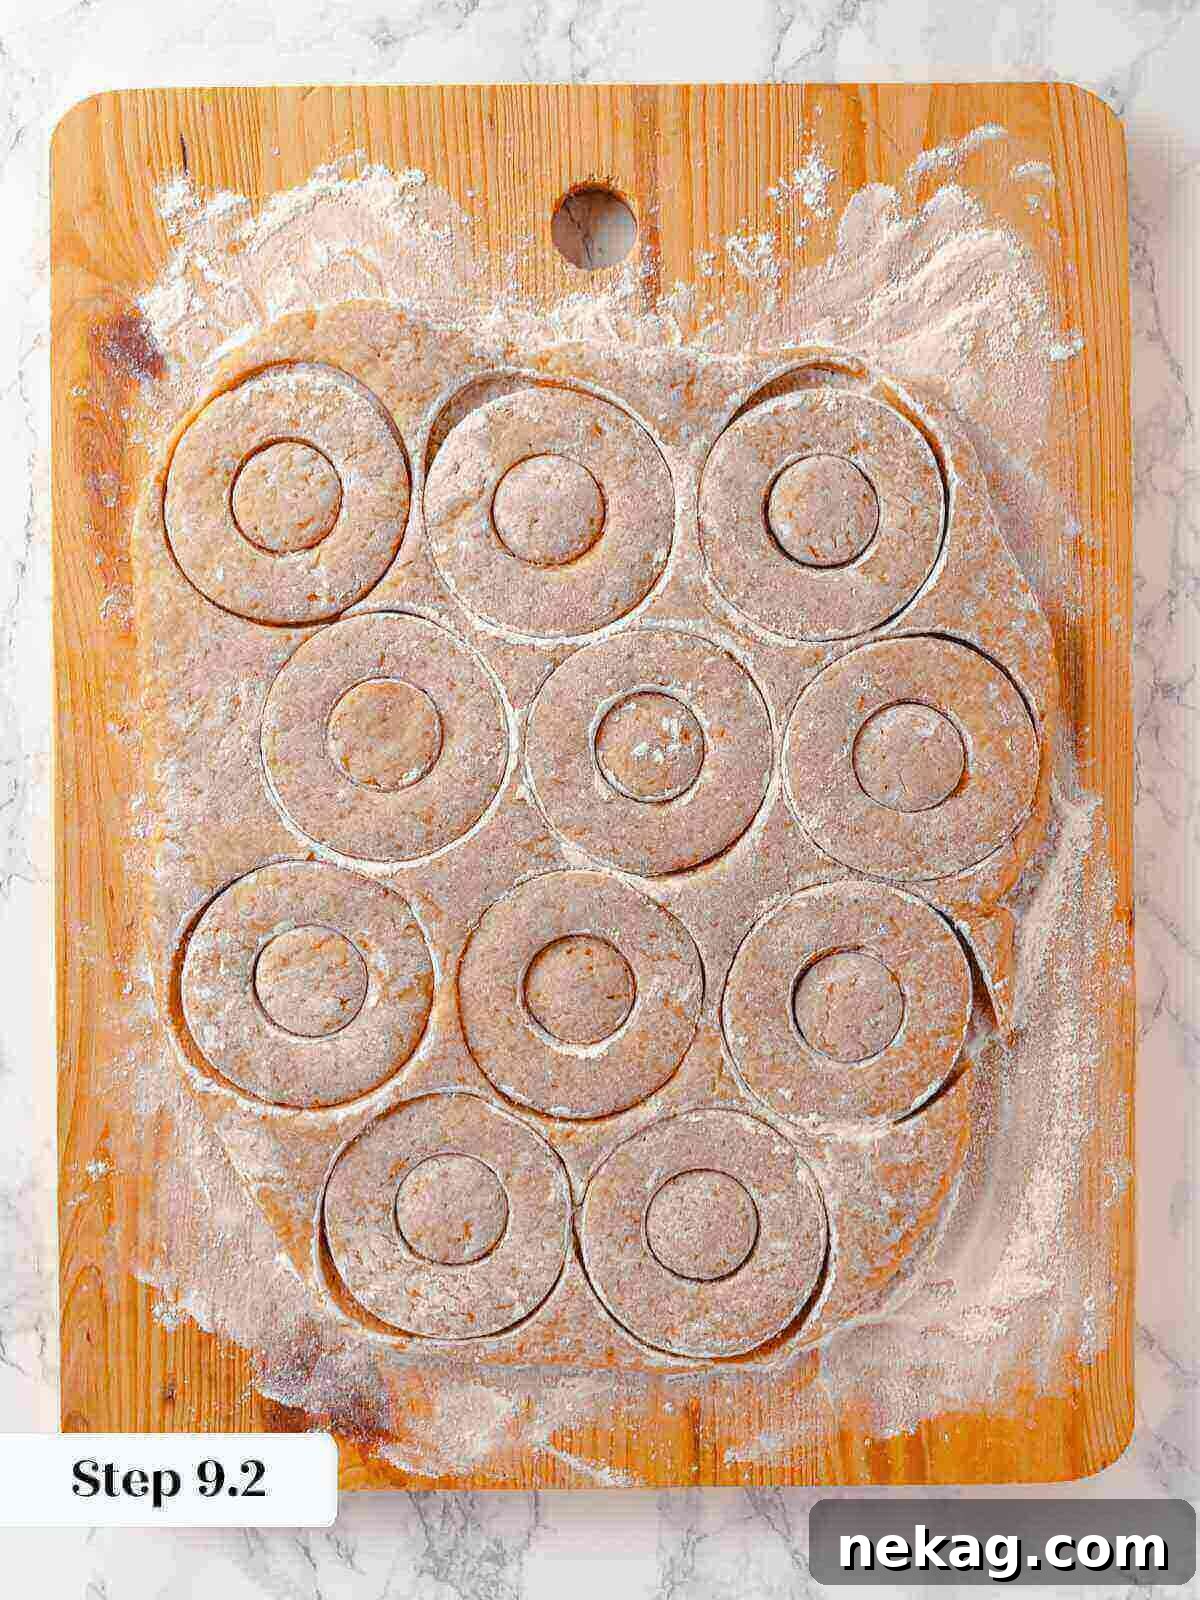
- Roll and Cut: Working swiftly and purposefully to keep the dough as cool as possible, use a rolling pin to carefully roll the dough out to an even and consistent ½-inch thickness. Lightly brush any visible excess flour from the top surface of the rolled dough. Use a 3-inch round cutter for forming the main donuts and a smaller 1 ¼-inch cutter (or the narrow end of a piping tip) for creating the essential donut centers, thereby producing the classic donut holes. Dip your cutters diligently in flour before each and every cut to ensure impeccably clean edges and to prevent any frustrating sticking. Carefully place the freshly cut donuts and donut holes onto your prepared baking sheet.
- Final Chill: Cover the baking sheet containing your cut donuts with plastic wrap, being extremely careful to ensure the plastic doesn’t directly touch the tops of the donuts (you can cleverly use a few toothpicks to create a small tent if needed). Chill the cut donuts in the refrigerator for a minimum of 2 hours. This extended chill time is absolutely crucial for preventing the donuts from absorbing too much oil during frying and significantly helps them maintain their perfect shape and structure. For even better results and enhanced flavor development, I frequently let mine chill overnight.
Handling Sticky Dough: It might genuinely feel like an excessive amount of flour, but please understand that this particular dough is inherently and quite sticky. Therefore, adequate bench flour is an absolute essential for easy, stress-free handling and to prevent any potential frustration. The ultimate goal is to make it perfectly workable, not to inadvertently dry it out.
Don’t Waste the Scraps: After you’ve meticulously cut all your main donuts, gather the remaining dough scraps. Gently re-roll them (with minimal handling!) to cut out additional donut holes. These delightful little bites are absolutely perfect for taste-testing and snacking while your full-sized donuts fry!
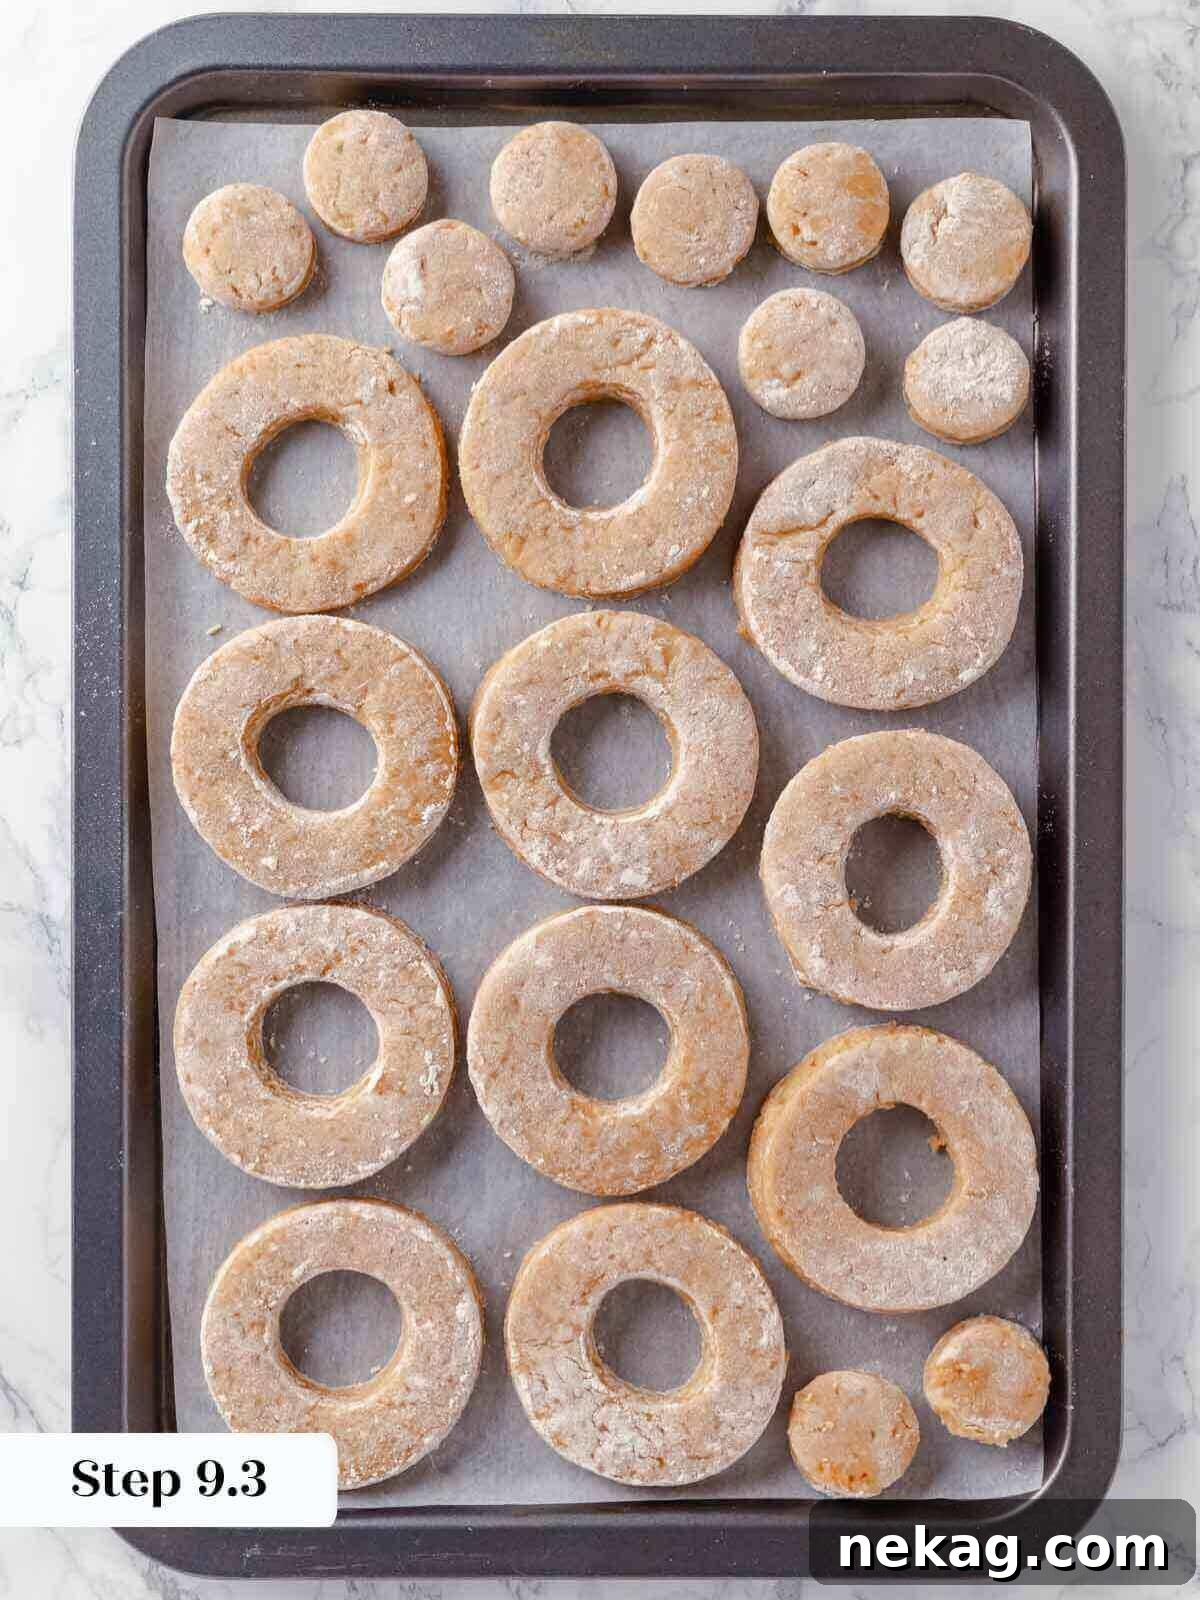
Storage Options: Cut donuts can be conveniently stored in the refrigerator for a respectable period of up to three days, or safely frozen for up to one month. If choosing to freeze, arrange them in a single layer on a baking sheet and freeze until they are completely solid, then transfer them to an airtight container or freezer bag. Always ensure to thaw frozen donuts completely in the refrigerator before proceeding with the frying steps; never attempt to fry them directly from frozen.
Part 3: Frying and Finishing the Apple Cider Donuts
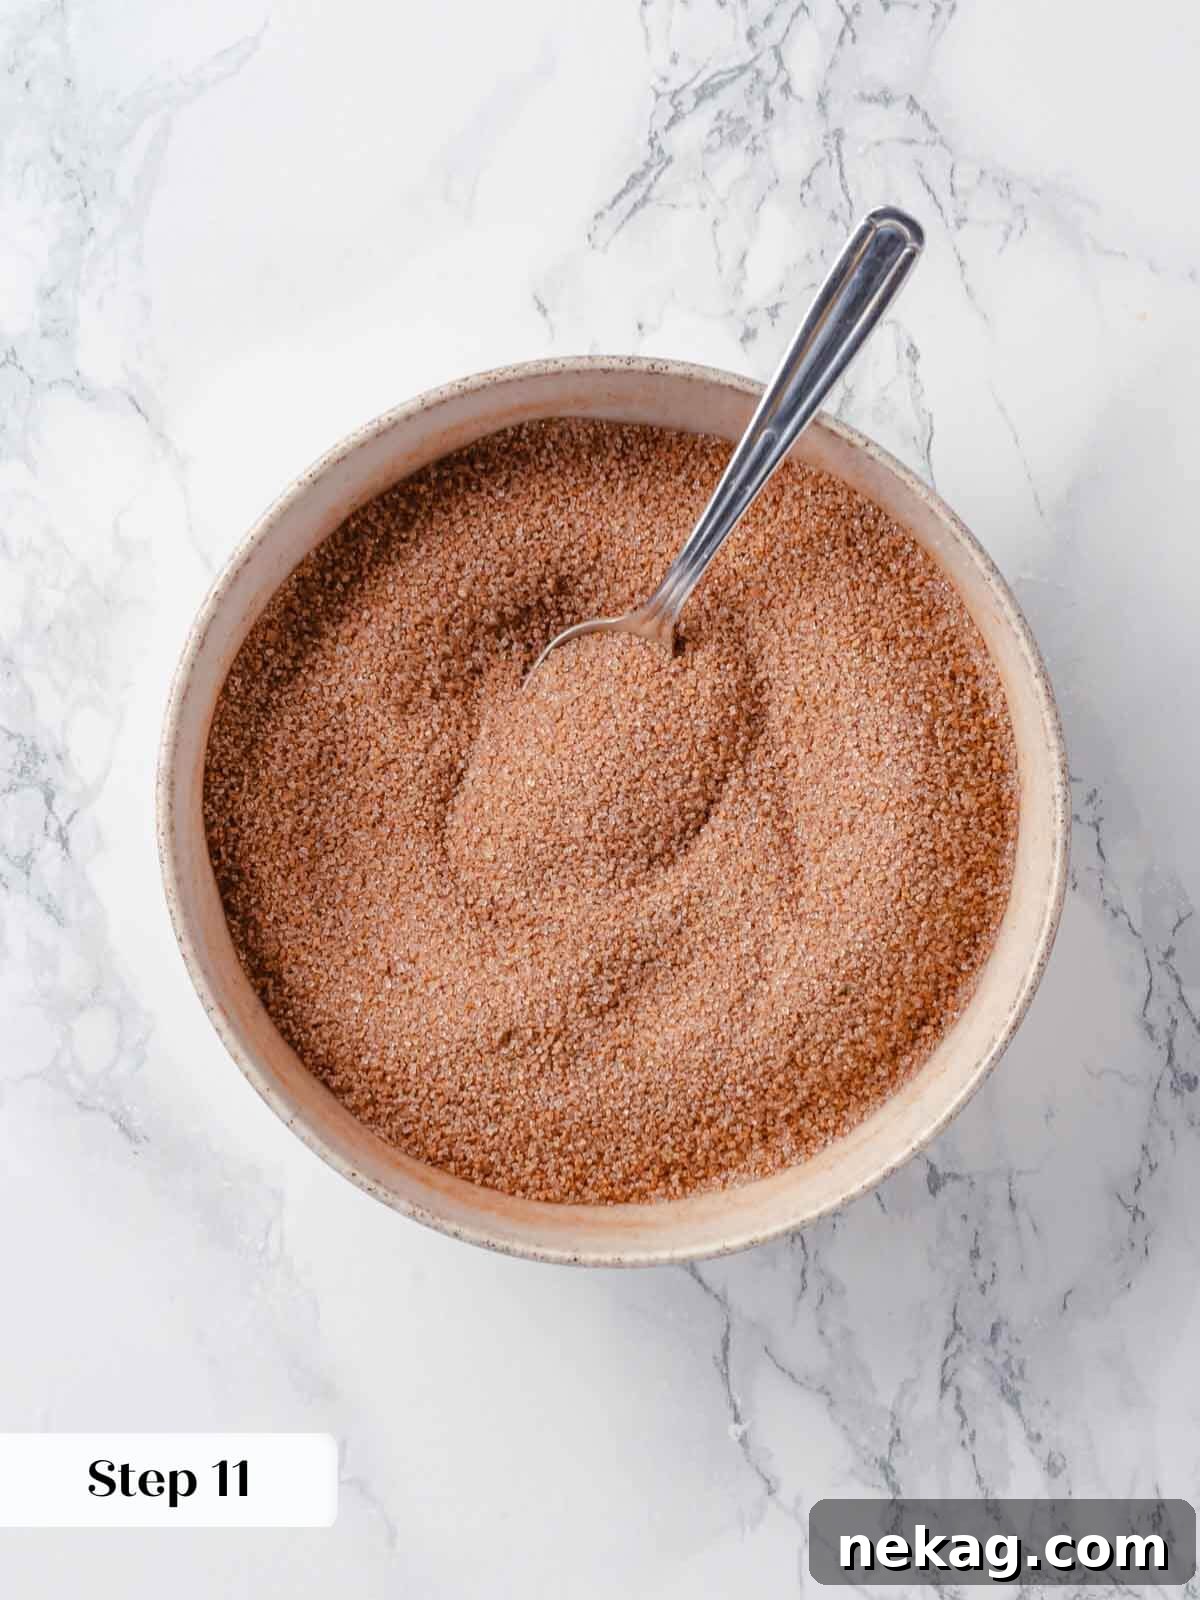
- Set Up Your Frying Station: Before you even think about heating your oil, it is absolutely imperative to meticulously prepare your post-frying setup. Place a sturdy wire rack over a rimmed baking sheet or several layers of absorbent paper towels for efficient draining of the fried donuts. In a shallow, wide dish, whisk together the granulated sugar and ground cinnamon for your irresistible cinnamon sugar coating, ensuring it’s ready for immediate use. Have a reliable slotted spoon or a spider tool readily available for safely and easily handling the donuts in the hot oil.
- Heat the Frying Oil: Carefully pour your chosen neutral oil (such as canola oil) into a deep fryer or a heavy-bottomed Dutch oven, ensuring the oil depth is at least 2 inches to allow the donuts to float freely. Heat the oil to a precise 325°F (163°C). It is absolutely critical to consistently maintain the oil temperature between 325°F and 330°F (163°C-166°C) throughout the entire frying process. I highly recommend initially heating the oil to 330°F (166°C) as the cold donut dough will inevitably cause the oil temperature to drop once added, and this buffer helps maintain the optimal range.
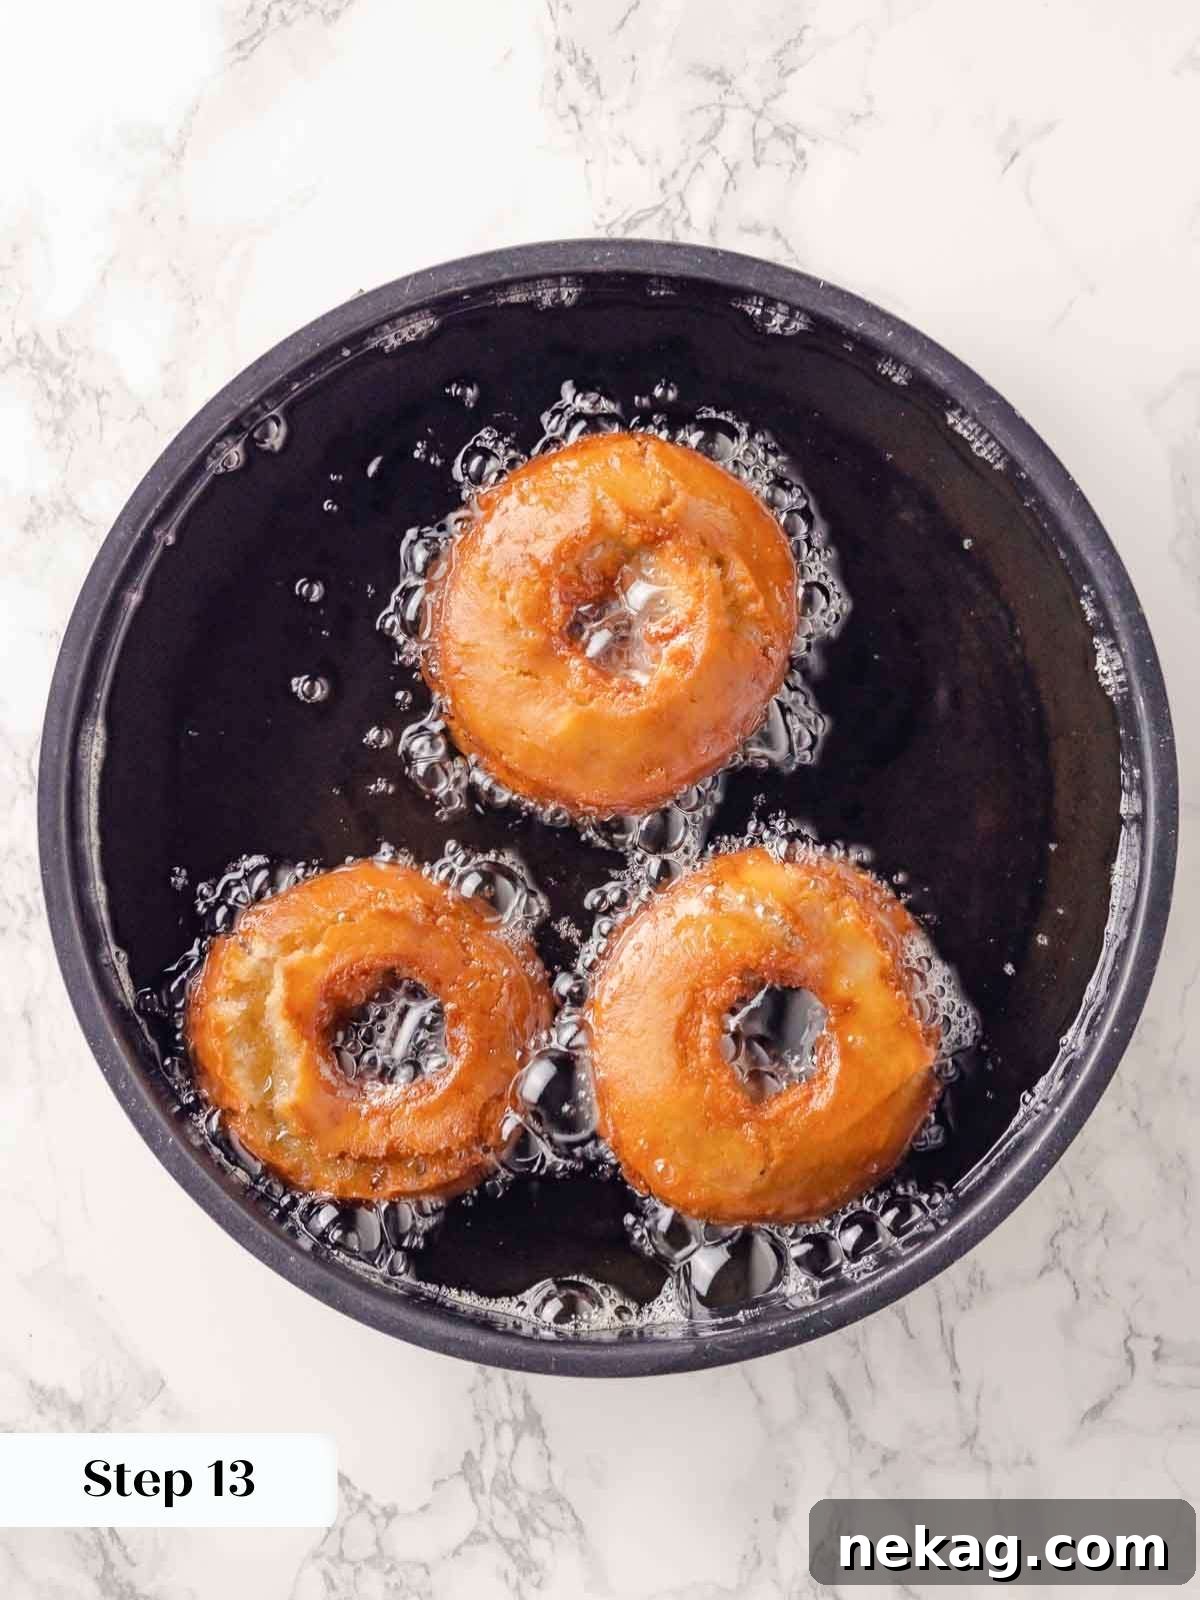
- Fry the Donuts: Gently and carefully lower three donuts into the hot oil, exercising caution not to overcrowd the fryer, as this would drastically lower the oil temperature and result in uneven cooking. Keep the remaining uncooked donuts safely stored in the refrigerator until they are ready to be fried. Once the donuts naturally rise to the surface of the oil, cook them for approximately 30 seconds before carefully flipping them over with your slotted spoon. Continue to fry them until the bottom develops a beautiful, rich golden brown color, which typically takes about 80 seconds. Flip them again and then fry for an additional 80 seconds, or until they are an even, appealing golden brown on all sides.
- Drain: Carefully transfer the freshly fried, golden brown donuts to the prepared wire rack, which is set over a sheet pan or several layers of paper towels, to allow any excess oil to efficiently drip off. This step is crucial for preventing greasy donuts.
- Coat with Cinnamon Sugar: Once the donut is barely cool enough to comfortably handle – but crucially, still very warm – gently dip and thoroughly roll it in the waiting cinnamon sugar mixture, ensuring it is completely and evenly coated on all sides. The residual heat emanating from the donut is absolutely critical for the sugar to adhere properly and create that perfect, sparkly crust. If the donuts are allowed to cool too much, the coating will simply refuse to stick and will just fall off. Place the perfectly coated donuts back on the wire rack to fully cool, if you can resist the overwhelming urge to eat them immediately!
Thermometer is Key: A reliable clip-on fry or candy thermometer is absolutely essential for consistent and successful results. Without it, accurately maintaining the correct oil temperature is nearly impossible, which can unfortunately lead to greasy, undercooked, or burnt donuts. Invest in a good one! (See “Chef Lindsey’s Pro Tip” below for crucial thermometer calibration instructions.)
Testing for Doneness: Just like baking a cake, you can effectively test the doneness of a donut. Gently insert a thin cake tester or a wooden skewer into the thickest part of the donut; it should come out completely clean, with no wet batter. This indicates that the center is fully cooked through and ready.
Frying Donut Holes: Donut holes, due to their smaller size, cook significantly faster! Fry them for approximately 30 seconds, then carefully flip them. Cook for another 60 seconds, flip them again, and then cook for a final 40-60 seconds, until they are beautifully puffed up and golden brown all over. While you could technically fry them for the same duration as full-sized donuts, they might unfortunately become slightly dry.
Chef Lindsey’s Pro Tip: Calibrating Your Thermometer
For consistently perfect frying results, an accurate deep-fry or candy thermometer is absolutely non-negotiable. Before you embark on your frying adventure, always take a moment to test and calibrate your thermometer, especially if it’s been accidentally bumped, dropped, or stored away for a while. There are two simple yet effective methods for precise calibration:
- Ice Bath Method: Fill a clean glass to the brim with crushed ice, then carefully add cold water until the glass is completely full. Stir the mixture gently for about a minute to ensure the temperature is uniform. Then, insert your thermometer into the icy water, making sure the probe doesn’t touch the bottom or sides of the glass. After approximately 10 seconds, a properly calibrated thermometer should accurately read 32°F (0°C).
- Boiling Water Method: Bring a sturdy pot of water to a vigorous, rolling boil. Carefully insert your thermometer into the boiling water, again ensuring the probe doesn’t touch the bottom or sides of the pot. After about 10 seconds, a calibrated thermometer should consistently read 212°F (100°C) at sea level. (If you reside at a higher altitude, please adjust this boiling point accordingly, as water boils at a lower temperature in higher elevations.)
If your thermometer reads off by a few degrees using either of these methods, you can either mentally account for the consistent difference during your frying process or, for ultimate precision, consider investing in a new, reliable, and properly calibrated thermometer.
Frequently Asked Questions
How do I store my apple cider donuts?
For the absolute best taste and optimal texture, freshly fried donuts are best enjoyed on the very day they are made. If you happen to have any delicious leftovers, store them at room temperature, ideally uncovered or in a container with a corner slightly cracked open to allow for some air circulation. Storing them in a completely airtight container can unfortunately lead to them developing a slightly oily taste and losing their delightful crispness. While they will slowly begin to dry out after a day, they will undoubtedly still be delicious. I strongly advise against refrigerating or freezing already fried donuts, as these methods significantly compromise their delicate texture and quality.
Can I freeze these donuts?
While fried donuts can technically be frozen for a period of up to a month, I strongly advise against this method for optimal quality, as their texture suffers considerably upon thawing. A much superior approach is to freeze the cut dough before frying. To do this, arrange the carefully cut donut shapes in a single layer on a baking sheet and freeze them until they are completely solid. Once frozen solid, transfer them to an airtight freezer bag or container. When you’re ready to indulge, thaw the dough completely in the refrigerator before proceeding with the frying steps outlined in the recipe. Crucially, never attempt to fry frozen cake donuts, as they will not cook properly or evenly.
Can I bake these donuts?
This particular recipe is meticulously formulated and optimized specifically for fried cake donuts, and as such, I do not recommend baking them. Baking would result in a significantly different product – most likely much drier and denser, completely lacking the characteristic light, airy interior and wonderfully crispy exterior that defines a true fried donut. While the inherent flavor of the dough would still be good, the resulting texture would unfortunately not be desirable or representative of an authentic apple cider donut experience.
Do I have to reduce the apple cider?
Yes, reducing the apple cider is an absolutely essential and non-negotiable step for this recipe to achieve the correct, authentic flavor and desirable texture. This crucial process serves two critical purposes: first, it profoundly concentrates the natural apple flavor, making it far more powerful and pronounced in your finished donuts. Second, it skillfully evaporates any excess water present in the cider, leaving you with a thicker, wonderfully syrupy apple concentrate. Without this vital reduction, the unreduced cider would both dilute the critical apple flavor and introduce too much unwanted moisture into the dough, making it excessively wet, challenging to work with, and ultimately impacting the donut’s texture negatively, resulting in a less-than-perfect outcome.
If you tried this recipe and loved it, please leave a 🌟 star rating and let me know how it went in the comments below. I love hearing from you; your comments make my day!
Apple Cider Donuts Recipe Card
Apple Cider Donuts
by Chef Lindsey
Nothing says fall like Apple Cider Donuts! Reduced apple cider and cinnamon give these donuts a rich apple cider flavor. These easy, fried cake donuts have a soft, tender texture with a crispy cinnamon sugar outside.
Prep Time: 30 mins
Cook Time: 20 mins
Chill Time: 2 hrs
Total Time: 2 hrs 50 mins
Yields: 12 donuts
Comment
Print Recipe
Ingredients
For the Donuts:
- 1 ¼ cups granulated sugar
- 2 ½ tablespoons unsalted butter, room temperature
- 5 large egg yolks
- ¾ cup sour cream
- 1 ⅓ cups apple cider (reduced to scant ⅔ cup, 166g)
- 4 ¾ cups all-purpose flour
- 1 tablespoon baking powder
- 1 tablespoon kosher salt
- 1 teaspoon ground cinnamon
- 96 fl oz (approx. 12 cups) neutral oil for frying (e.g., canola)
Cinnamon Sugar Mixture:
- 1 cup granulated sugar
- 4 teaspoons ground cinnamon
Instructions
Make the Donut Dough:
- In a small saucepan, reduce the apple cider by half to 166g or a scant ⅔ cup. Allow it to cool completely at room temperature, or make it ahead and store it in the refrigerator.
- In a large bowl, whisk together the all-purpose flour, baking powder, kosher salt, and 1 teaspoon cinnamon. Set aside. In a separate bowl, whisk together the sour cream and the cooled apple cider reduction.
- Line a baking sheet with plastic wrap and generously dust the surface with flour.
- In the bowl of a stand mixer fitted with the paddle attachment (or with a hand mixer), beat butter and sugar until a sandy mixture forms. Slowly add the yolks and beat on high speed until pale yellow and fluffy, about 2 minutes.
- With the stand mixer on low, alternately add the flour mixture and the wet ingredients (sour cream mixture) to the bowl in several additions. Stop the mixer when the dry ingredients are fully incorporated. (Avoid overmixing to prevent tough donuts.)
- Transfer the dough to the flour-dusted plastic wrap, dust more flour over the top, and fold the plastic edges to cover. Press the dough into a flattened circle about 2 inches thick to help it chill faster. Refrigerate for 60 minutes. (Dough can be kept in the fridge for up to 3 days.)
Cut the Donuts:
- Line a clean baking sheet with parchment paper and spray it with nonstick spray.
- Generously dust a work surface with flour. While the dough is still on the plastic wrap, dust its top with flour. Turn the dough out onto your floured surface, floured side down. Lightly dust the top with more flour. (The dough is sticky; use enough flour.)
- Working quickly, roll out the dough to ½ inch thick. Brush any excess flour from the top. Use 3-inch and 1 ¼-inch ring cutters (or round cookie cutters/a glass) to cut donuts and holes. Lightly tap the cutter in flour before each cut. Place cut donuts and holes on the prepared sheet pan. (Donut hole scraps can be re-rolled and cut for extra snacking.)
- Cover the sheet pan with plastic wrap (without touching the donuts). Chill in the refrigerator for 2 hours (or overnight). (Donuts can be stored in the fridge for up to three days or frozen for one month, thawed before frying.)
Frying the Apple Cider Donuts:
- Before frying, set up your frying station: wire rack on a rimmed baking sheet (or paper towels), a slotted spoon/spider, and a shallow dish with whisked cinnamon sugar for coating.
- Pour neutral oil (e.g., canola) into a fryer or Dutch oven, ensuring at least 2 inches deep. Heat the oil to 325° F (163°C). Adjust heat to maintain 325°-330°F (163°C-166°C) while frying. (Start at 330°F as cold dough will drop temp. Use a candy thermometer.)
- Gently place three donuts in the fryer, keeping others chilled. Once they rise, cook for 30 seconds, then flip. Fry until golden brown (about 80 seconds). Flip again and fry for another 80 seconds, or until evenly golden brown. (Test with a cake tester for doneness, should come out clean.)
- Transfer fried donuts to the wire rack to drain. (Donut holes fry faster: 30 seconds, flip, 60 seconds, flip, 40-60 seconds more until golden and puffed.)
- Once barely cool enough to handle (still warm), dip each donut into the cinnamon sugar mixture, ensuring a full coating. The warmth helps the sugar stick. Place back on the wire rack.
Notes
- Yield: Approximately 12, 3-inch donuts
- Presentation: For the best adherence, dip the donuts in the cinnamon sugar mixture while they are still warm, immediately after frying.
- Variations: Feel free to customize your donuts! Instead of the cinnamon sugar mixture, consider adding a luscious glaze, such as a spiced cinnamon glaze or a rich caramel glaze.
- Storage: Fried donuts are at their peak flavor and texture on the day they are made. If storing for a short period, keep them at room temperature, ideally uncovered or in a container with a corner slightly ajar. This prevents them from becoming oily or losing their crispness. Refrigerating or freezing already fried donuts is not recommended as it significantly affects their texture.
Nutrition (per serving, approx.)
- Calories: 413 kcal
- Carbohydrates: 80 g
- Protein: 7 g
- Fat: 8 g
- Saturated Fat: 4 g
- Polyunsaturated Fat: 1 g
- Monounsaturated Fat: 2 g
- Trans Fat: 0.1 g
- Cholesterol: 96 mg
- Sodium: 698 mg
- Potassium: 111 mg
- Fiber: 2 g
- Sugar: 41 g
- Vitamin A: 273 IU
- Vitamin C: 0.4 mg
- Calcium: 102 mg
- Iron: 3 mg
Course: Breakfast, Dessert, Snack
Cuisine: American
Calories: 413
Enjoyed this recipe? Share your thoughts and leave a comment below!
Before You Go
I truly hope you enjoyed crafting and savoring this professional chef-created recipe. It’s designed to bring the warmth, joy, and deliciousness of fall right into your home kitchen, making every moment memorable. For more delightful treats that satisfy every craving, be sure to explore all our other donut recipes, offering a wide array of flavors and styles to suit any preference. If you’re eager to fully embrace the autumnal spirit and infuse your home with the comforting aromas of the season, dive into our carefully curated collection of the 25 Best Pumpkin Recipes for Fall, or find quick and easy inspiration with these 10 Easy Pumpkin Recipes. You can also browse our extensive and diverse list of pumpkin recipes, perfect for every occasion from casual weeknight desserts to festive holiday gatherings. Happy baking, and may your kitchen always be filled with sweet scents!