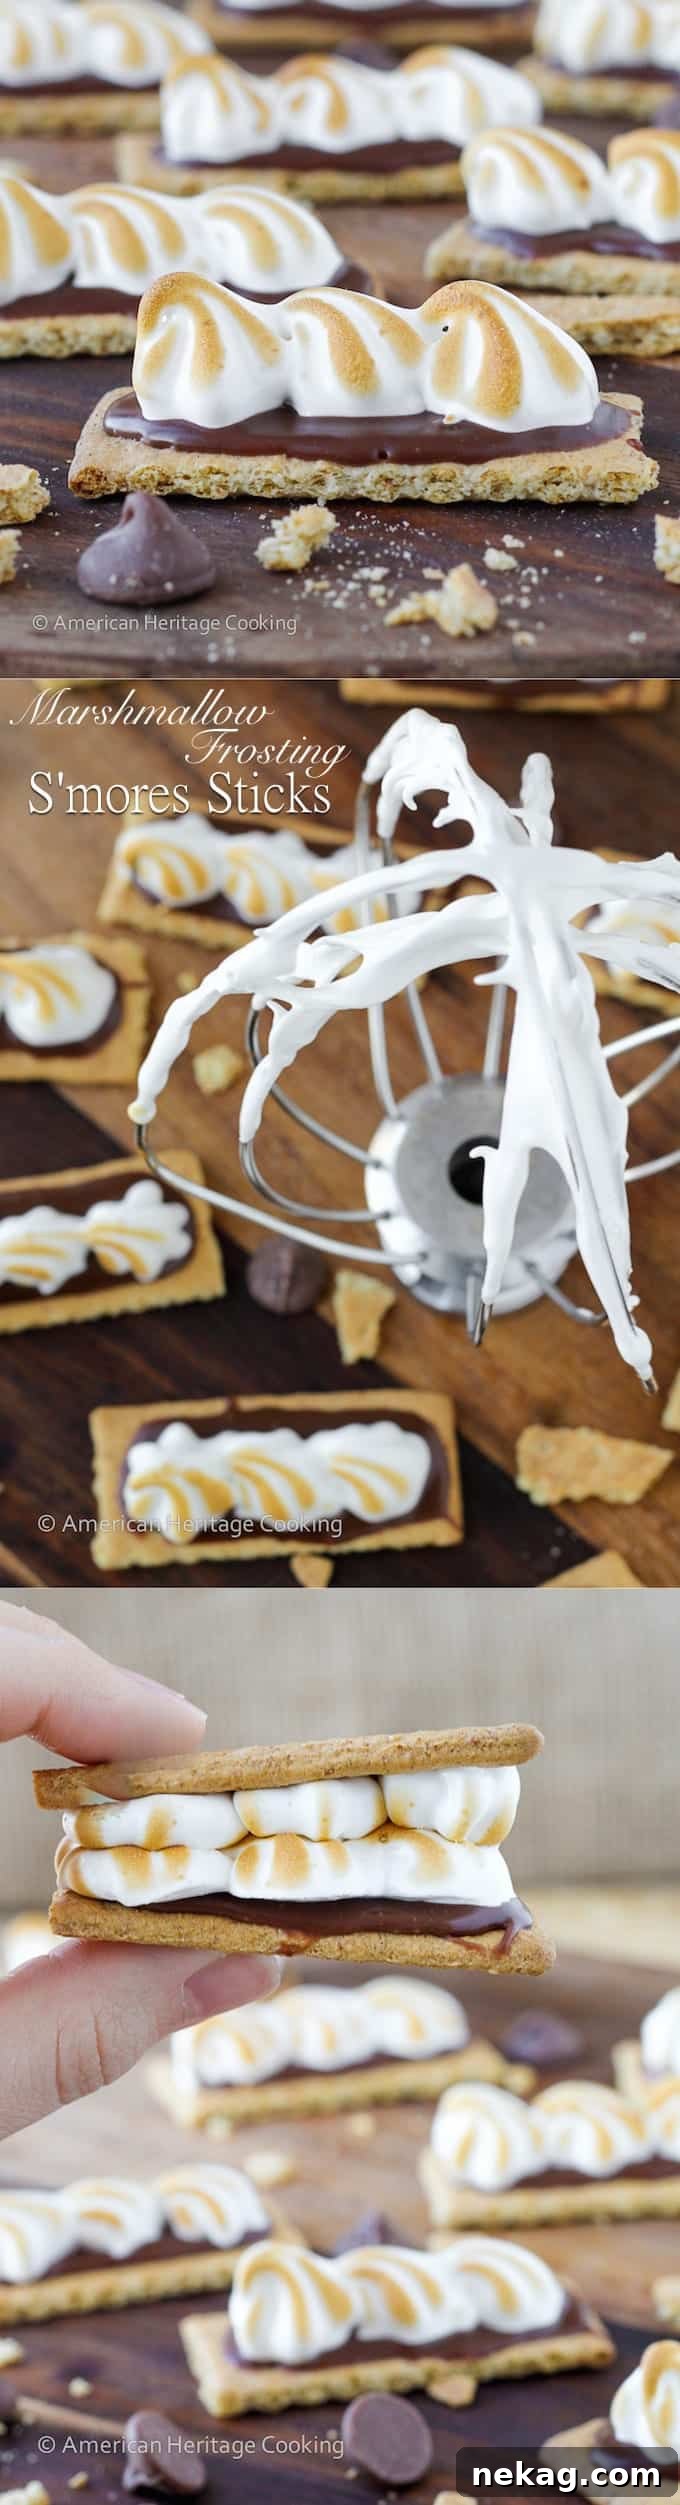
The Ultimate Homemade Marshmallow Frosting: Your Secret to Fluffy Perfection
Unlock the secret to a truly sublime dessert topping with this easy homemade Marshmallow Frosting recipe, crafted and perfected by a professional pastry chef. Forget complicated techniques or store-bought fluff; with just four essential ingredients, you can whip up a light, exquisitely glossy, and unbelievably fluffy frosting that’s perfect for elevating any dessert. Imagine delicate clouds of sweet vanilla melting in your mouth – that’s the experience this incredible frosting delivers. It’s ideal for adorning cakes, cupcakes, pies, and an array of other baked goods, offering a sophisticated touch that’s both beautiful and delicious.
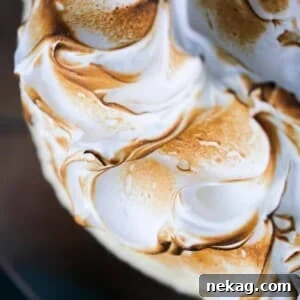
This light and airy marshmallow frosting stands out for its versatility and remarkable texture. Whether you choose to leave it a brilliant, pristine white or caramelize its peaks with a torch for a toasted marshmallow flavor and stunning visual appeal, it consistently impresses. Imagine it piped generously onto decadent chocolate cupcakes, swirled artfully over bright lemon blondies, or creating a show-stopping finish on a rich carrot cake. What makes this recipe truly special is its reliance on simple, natural ingredients, completely free of corn syrup, yet it still achieves that coveted, perfectly shiny finish and pillowy soft texture.
Unlike traditional buttercreams such as Italian meringue buttercream or Swiss meringue buttercream, a key advantage of this easy frosting recipe is that it doesn’t use any butter. This characteristic makes it remarkably light and less heavy, akin to an old-fashioned marshmallow frosting or a classic “7-minute frosting.” It boasts excellent setting properties, maintains its stunning gloss, and offers an exquisite taste profile reminiscent of soft, luxurious vanilla bean marshmallows. Prepare to be delighted by its simplicity and the impressive results it yields!
Why This Homemade Marshmallow Frosting is Unbeatable
What sets this marshmallow frosting apart from the rest? It’s not just another recipe; it’s a culmination of professional expertise and a deep understanding of baking science, designed to give you foolproof, delicious results every single time. Here’s why this particular recipe is a game-changer for your dessert repertoire:
- Professionally Tested & Perfected for Flawless Results: This isn’t just a home cook’s experiment; this very recipe forms the backbone of many iconic restaurant desserts I’ve created. This means it has undergone rigorous testing, refinement, and perfection in a professional kitchen environment. I understand its nuances, its capabilities, and precisely what can go wrong, allowing me to provide you with comprehensive tips throughout this post to ensure your success. You can trust that this recipe is truly foolproof.
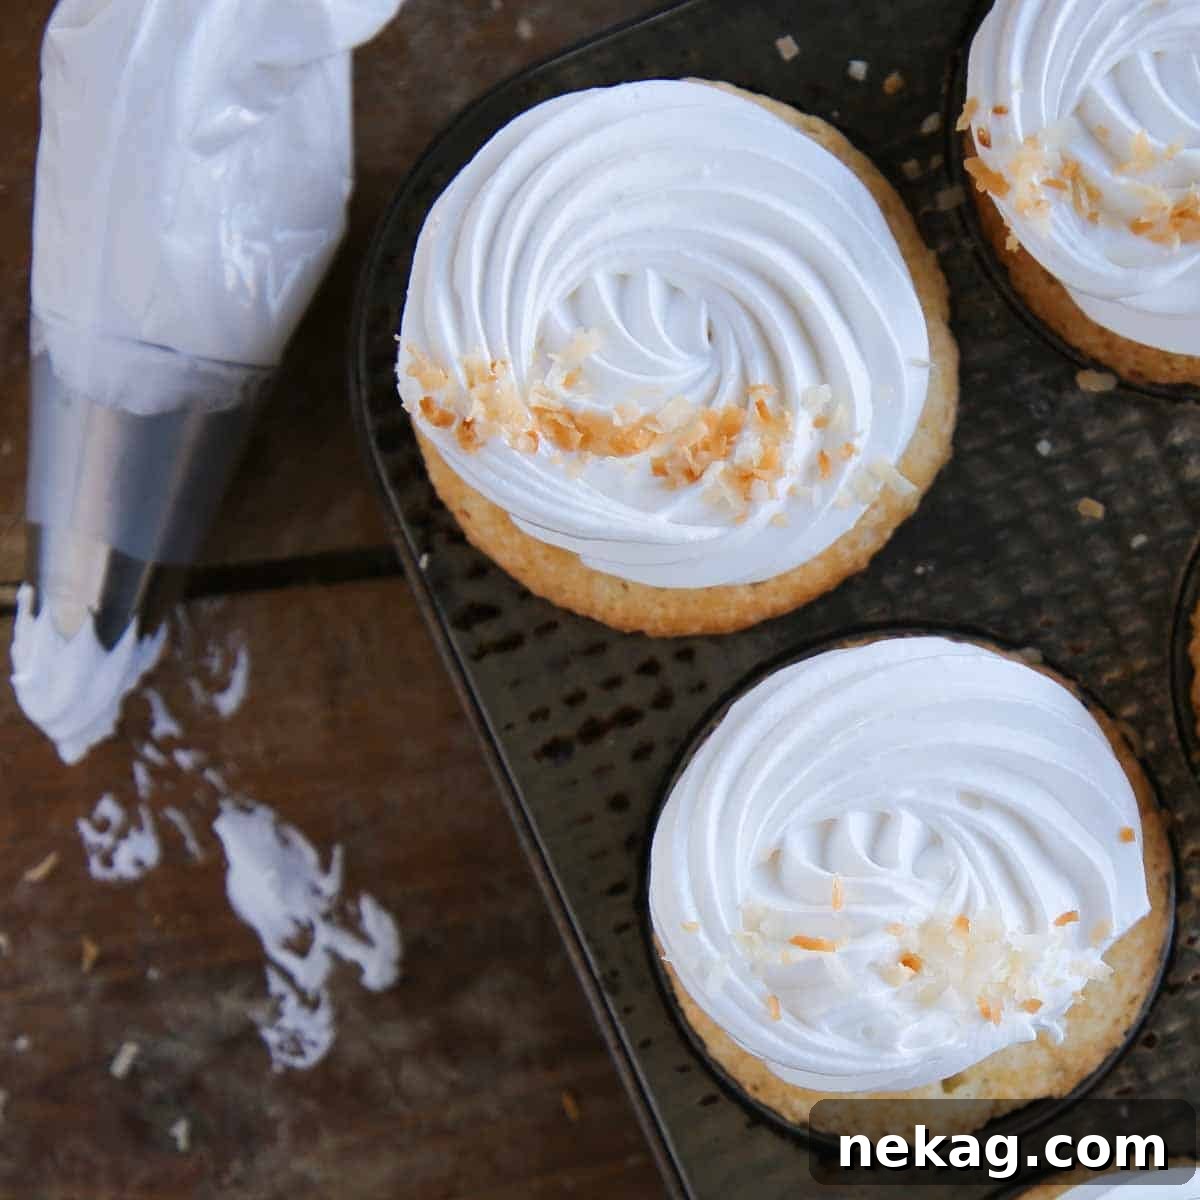
- Delicious & Visually Stunning – Toasted or Untoasted: The beauty of this fluffy marshmallow frosting lies in its versatility. You have the choice to either leave it a pristine, brilliant white, showcasing its natural gloss, or to transform it with a kitchen torch, creating tempting caramelized peaks. Just look at how beautifully it performs on these sweet potato cupcakes when toasted, or its elegant appearance on coconut cupcakes when left untouched. Both presentations offer distinct flavors and aesthetics that will impress any guest.
- Effortless Recipe Using Pantry Staples (No Store-Bought Fluff Needed!): You won’t need any special trips to the grocery store for unusual ingredients. This is a truly homemade marshmallow frosting, relying on basic ingredients you likely already have in your kitchen – no store-bought marshmallow fluff or pre-made marshmallows required. This simplicity not only makes it accessible but also ensures a fresh, superior flavor.
- Light, Airy, and Universally Complementary to Any Flavor: The texture of this frosting is what dreams are made of: incredibly light, airy, and soft. Its delicate vanilla flavor profile makes it the perfect companion for almost any dessert. Whether you’re pairing it with the rich intensity of devil’s food cake, the classic elegance of classic white cake, or using it as a vibrant topping for tangy lemon bars, it beautifully enhances rather than overwhelms. Honestly, I’d be hard-pressed to find a dessert that doesn’t benefit from a generous dollop of this fantastic frosting!
Table of Contents
- Why This Homemade Marshmallow Frosting is Unbeatable
- What Exactly is Marshmallow Frosting? (Swiss Meringue Explained)
- Key Ingredients for Perfect Marshmallow Frosting
- Professional Tips for the Best Marshmallow Frosting
- Step-by-Step: How to Make Homemade Marshmallow Frosting
- How to Toast Marshmallow Frosting (for that S’mores Flavor!)
- Chef Lindsey’s Recipe Tip for Optimal Texture
- Storing Your Homemade Marshmallow Frosting
- Creative Ways to Use Marshmallow Frosting
- Marshmallow Frosting Recipe FAQs
- Recommended Cupcake Recipes to Pair with this Frosting
- Homemade Marshmallow Frosting Recipe Card
- Before You Go: Explore More Frosting Delights
What Exactly is Marshmallow Frosting? (Swiss Meringue Explained)
While often compared to marshmallow fluff, this homemade marshmallow frosting is technically a Swiss meringue. Understanding the foundation of this delightful concoction is key to appreciating its unique texture and stability:
- The Art of Swiss Meringue: At its core, this marshmallow frosting is a Swiss meringue. This elegant technique involves gently whisking together fresh egg whites, granulated sugar, and a tiny pinch of salt in a heatproof bowl set over a pot of simmering water – a classic bain-marie. The mixture is carefully heated to a specific temperature, typically around 130°F, while constantly whisking. This gentle heating process serves two crucial purposes: it dissolves the sugar crystals, resulting in an incredibly smooth and glossy meringue, and it partially cooks the egg whites, making them safer to consume and significantly more stable for whipping. Once the desired temperature is reached, the bowl is removed from the heat, and the warm egg white mixture is whipped vigorously with an electric mixer until it transforms into stiff, voluminous, and wonderfully shiny peaks.
- Versatile Applications – Beyond Just Frosting: The beauty of marshmallow frosting is its incredible versatility. You can use it in much the same way you would any traditional buttercream frosting. It’s fantastic for icing entire cakes, piping decorative swirls onto cupcakes and cheesecakes, covering delicate pies with a fluffy blanket, or filling cupcakes for a surprise burst of flavor. It also makes an exceptional topping for brownies or blondies, adding a light contrast to dense baked goods. Beyond these common uses, you can get creative! It functions beautifully like marshmallow fluff in various desserts. I particularly love swirling it into homemade ice cream, as it retains its unique texture whether chilled or frozen, creating delightful pockets of sweetness.
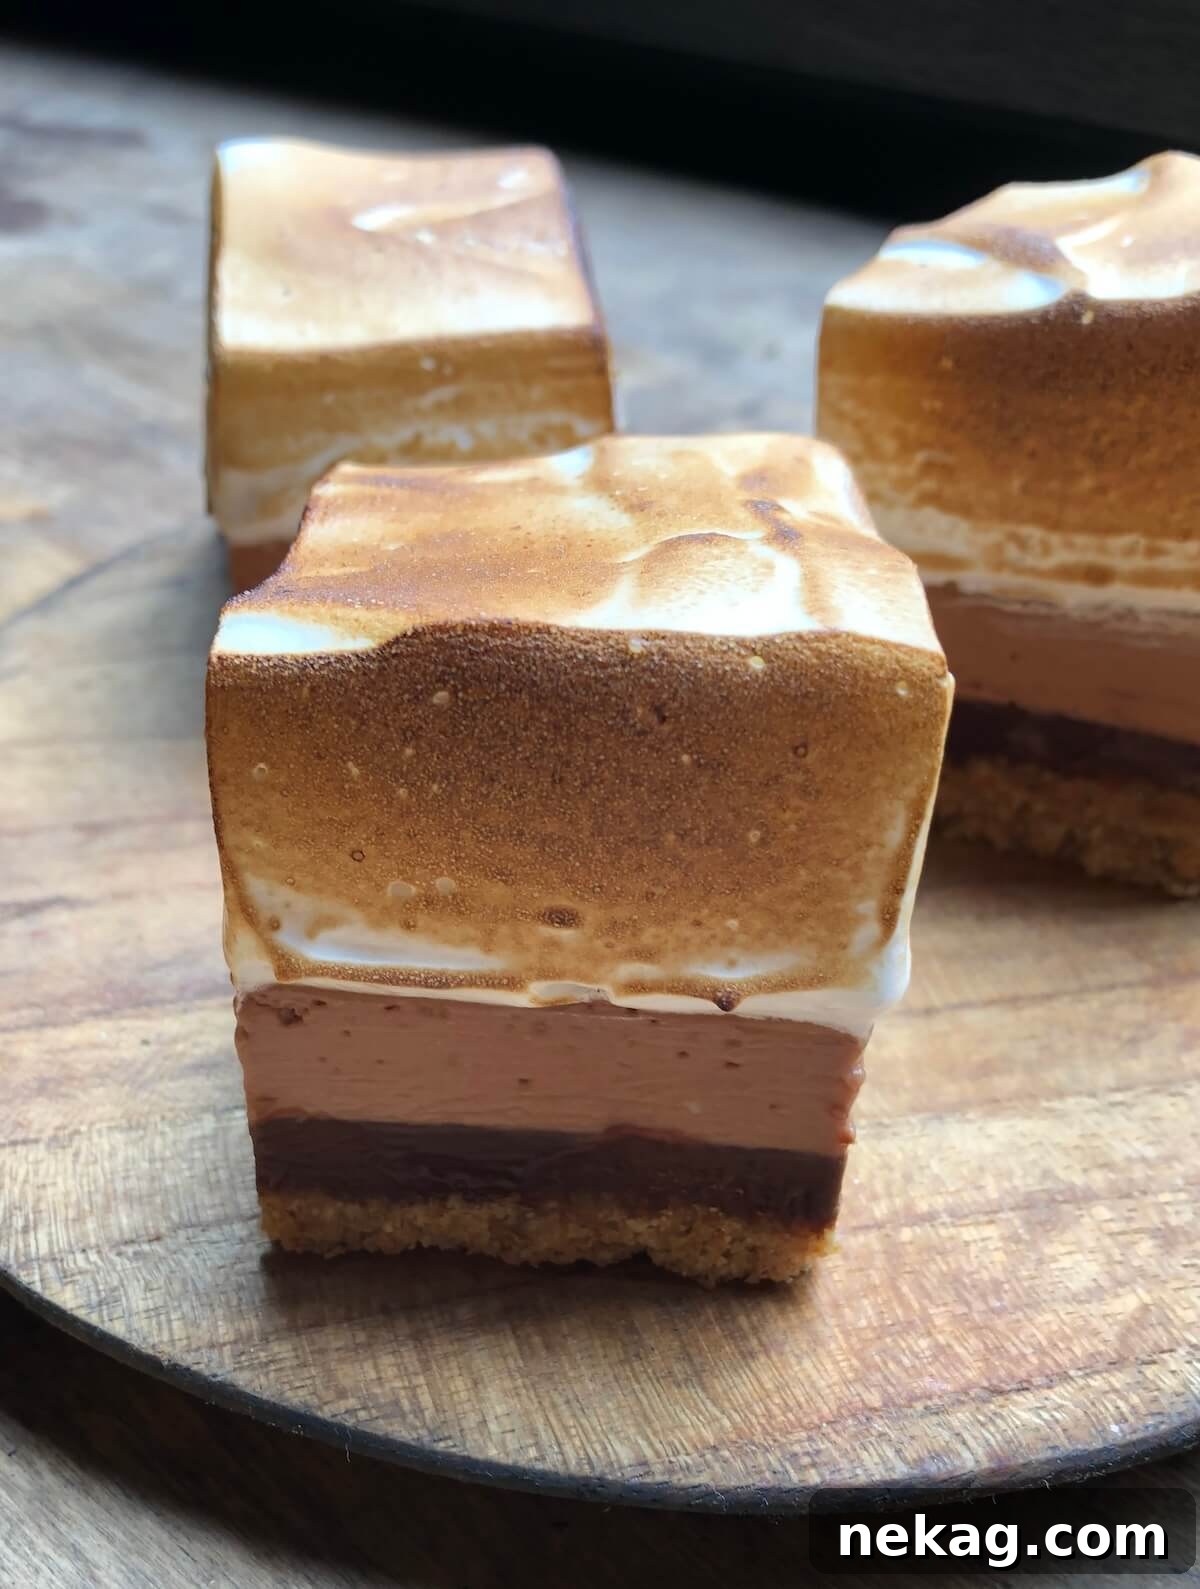
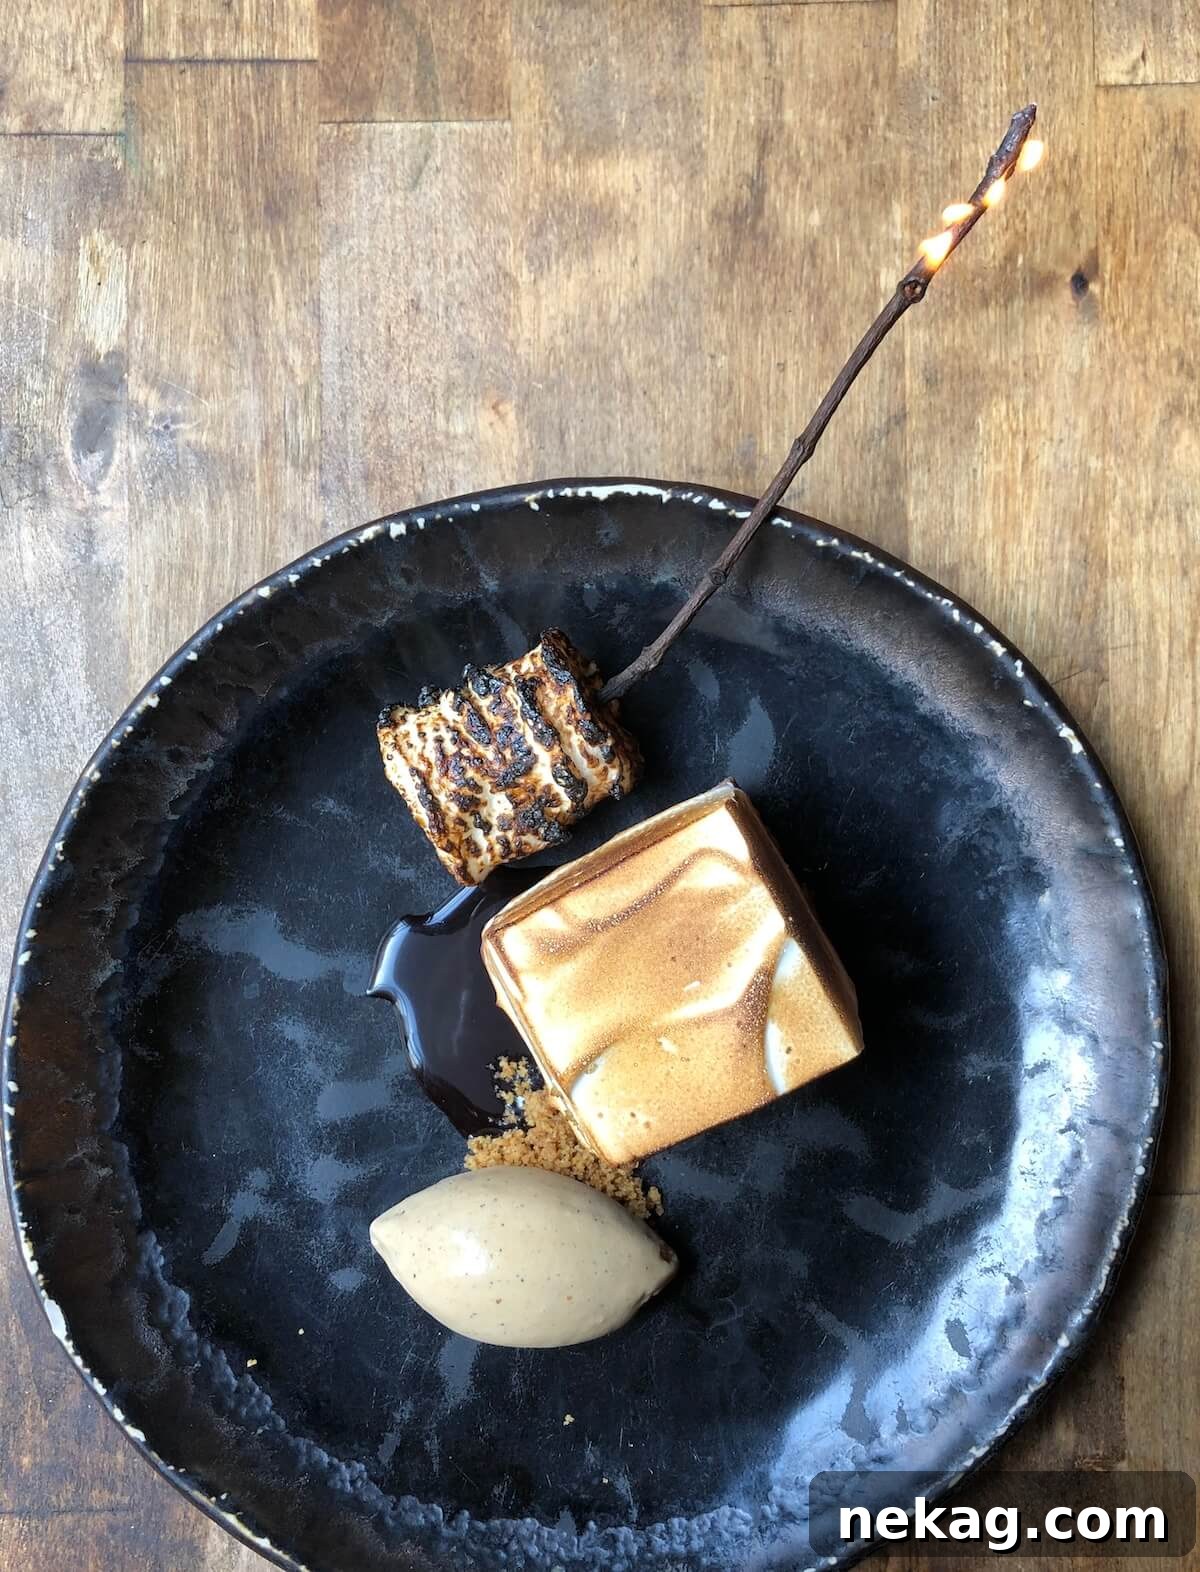
Key Ingredients for Perfect Marshmallow Frosting
Crafting this incredible marshmallow frosting requires just a few simple, high-quality ingredients. Each plays a vital role in achieving that signature light, glossy, and stable texture. Here’s a closer look at what you’ll need and why:
- Egg Whites: The star of our Swiss meringue! For the silkiest, shiniest, and most stable marshmallow frosting, freshly separated egg whites are absolutely essential. They whip up with better volume and hold their structure more effectively. While you *can* use pasteurized egg whites from a carton for convenience, be aware that the resulting meringue will generally be less stable, prone to weeping (seeping liquid) sooner, and the overall texture may not be as luxuriously satiny. Aim for fresh egg whites for the best possible outcome.
- Granulated Sugar: Beyond sweetness, sugar is crucial for the structure and stability of meringue. When heated with the egg whites, the sugar crystals dissolve, creating a smooth, glossy base. As the mixture cools and is whipped, the dissolved sugar creates a strong, elastic framework that traps air, giving the frosting its incredible volume and light texture.
- Kosher Salt: Often overlooked, kosher salt is a critical component in this recipe for two significant reasons. Firstly, it doesn’t just add a touch of flavor; it profoundly heightens the overall profile and expertly dampens the intense sweetness of the sugar, creating a more balanced and palatable frosting. Secondly, and perhaps more importantly, salt acts as a stabilizer for the meringue, helping the egg whites hold their whipped structure more effectively and resist collapse. Don’t skip this pinch!
- Vanilla Extract: Vanilla is the classic flavor that transforms simple meringue into delectable marshmallow frosting. To preserve its delicate aroma and potent flavor, it’s crucial to add the vanilla extract *after* the meringue has reached stiff peaks. Adding it too early can inhibit the egg whites from achieving their full volume potential and may cause some of the vanilla notes to dissipate during the heating process. A good quality vanilla extract will make a noticeable difference.
- Optional Pinch of Ground Cinnamon: For those who love a hint of spice, especially when pairing this frosting with apple pies, sweet potato dishes, or even certain chocolate desserts, a tiny pinch of ground cinnamon can add a wonderfully warm and aromatic dimension. Add it alongside the vanilla for a subtle, comforting twist.
For precise quantities and a detailed ingredient list, please refer to the comprehensive recipe card below.
Professional Tips for the Best Homemade Marshmallow Frosting
Achieving bakery-quality marshmallow frosting is easier than you think, especially with these insider tips straight from a professional kitchen. These techniques are designed to ensure your frosting is consistently shiny, stable, and perfectly fluffy:
- Always Use an Instant-Read Thermometer for Precision: While you *can* gauge the doneness of the meringue by checking if the sugar granules have dissolved between your fingers, this method is far less reliable than using an instant-read thermometer. Precision is key for Swiss meringue. If the egg white mixture is heated too high, it can lead to a separated or weeping meringue much faster. A thermometer ensures you hit the sweet spot every time, guaranteeing optimal stability and texture.
- The Secret Temperature: Heat to 120°F (Not the Standard 130°F!): This is a closely guarded professional secret that I’m thrilled to share! Most recipes call for heating Swiss meringue to 130°F. However, through extensive testing, I’ve found that heating the meringue to a slightly lower temperature of 120°F yields a superior frosting. This subtle difference results in a meringue that is notably shinier, significantly more voluminous, and remarkably more stable. It’s a small adjustment that makes a massive impact on the final product.
- Toasting Enhances Longevity and Flavor: Beyond its delightful flavor and aesthetic appeal, toasting your marshmallow frosting with a kitchen torch actually helps it last longer. In my professional experience, a toasted marshmallow frosting typically begins to weep (break down and release liquid) after about 3 days when stored in the refrigerator. Untoasted frosting, on the other hand, can start to weep within 24 hours. The caramelized exterior creates a protective barrier, sealing the moisture within and slowing down the degradation process. If you need a frosting to hold for an extended period without toasting, you might consider using my marshmallow fluff recipe, which uses an Italian meringue base known for its even greater stability.
- Start with Cold Egg Whites (Yes, Cold!): This tip might go against conventional wisdom for many meringue recipes, but I’m sharing all the good stuff today! Starting with cold egg whites gives you a crucial advantage. It allows for just the right amount of whisking time over the simmering water. As the cold whites gradually warm up, they are beaten sufficiently to incorporate air and build strength, resulting in the MOST stable meringue possible. If you start with room temperature egg whites, they will reach the target temperature too quickly, meaning you won’t have enough time to beat them adequately. This often leads to a less stable frosting that will weep twice as fast. Trust me on this one – cold eggs are your friend here!
Step-by-Step: How to Make Homemade Marshmallow Frosting
Creating this fluffy, glossy marshmallow frosting is a straightforward process, but precision and attention to detail will ensure professional results. Follow these steps carefully:
Further details and exact measurements can be found in the recipe card below.
Step 1: Set Up Your Bain-Marie (Double Boiler)
Begin by placing approximately an inch of water in the bottom of a saucepan. Crucially, choose a saucepan that will allow your stand mixer bowl to sit snugly on top without the bottom of the bowl touching the simmering water. It’s often a smaller gap than you might expect. Bring the water to a rolling boil, then immediately reduce the heat to a gentle simmer. Congratulations! You’ve successfully created a bain-marie, which provides the gentle, indirect heat necessary for a perfectly smooth Swiss meringue. If you have a traditional double boiler, you can certainly use the bottom pot of that instead.
Step 2: Gently Heat Egg Whites, Sugar, and Salt
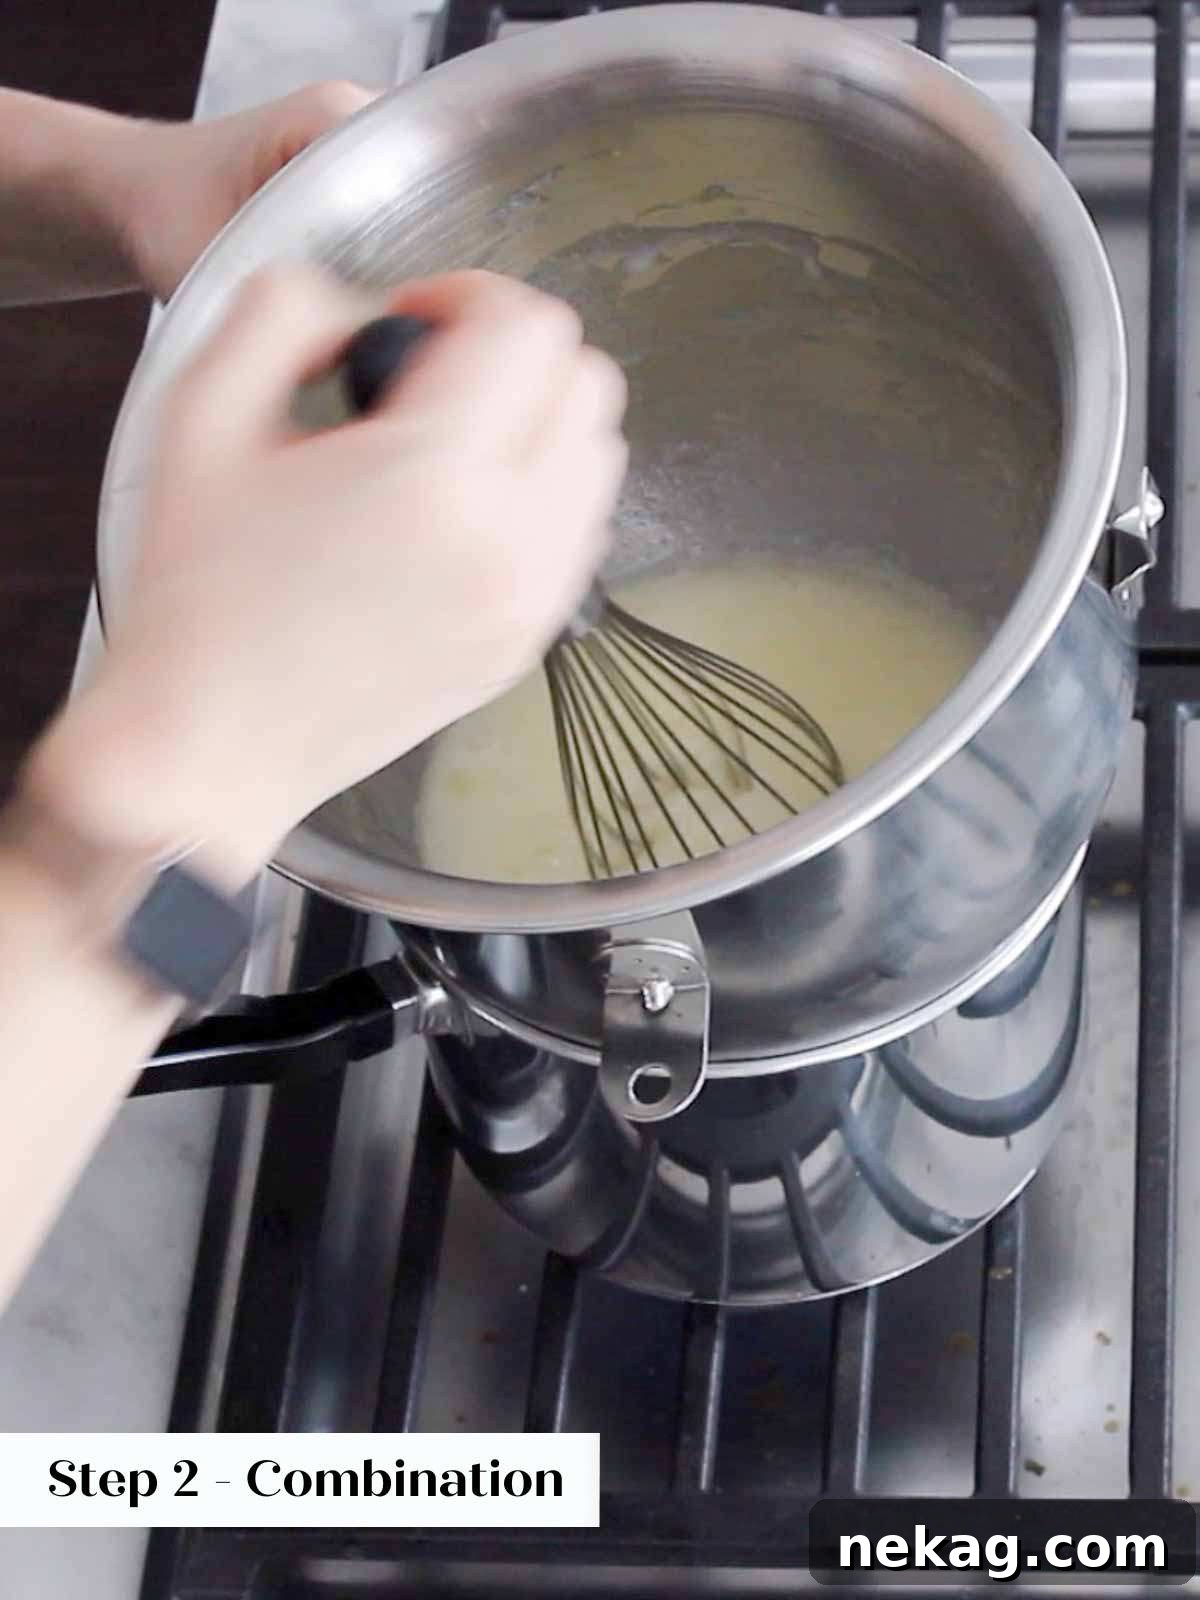
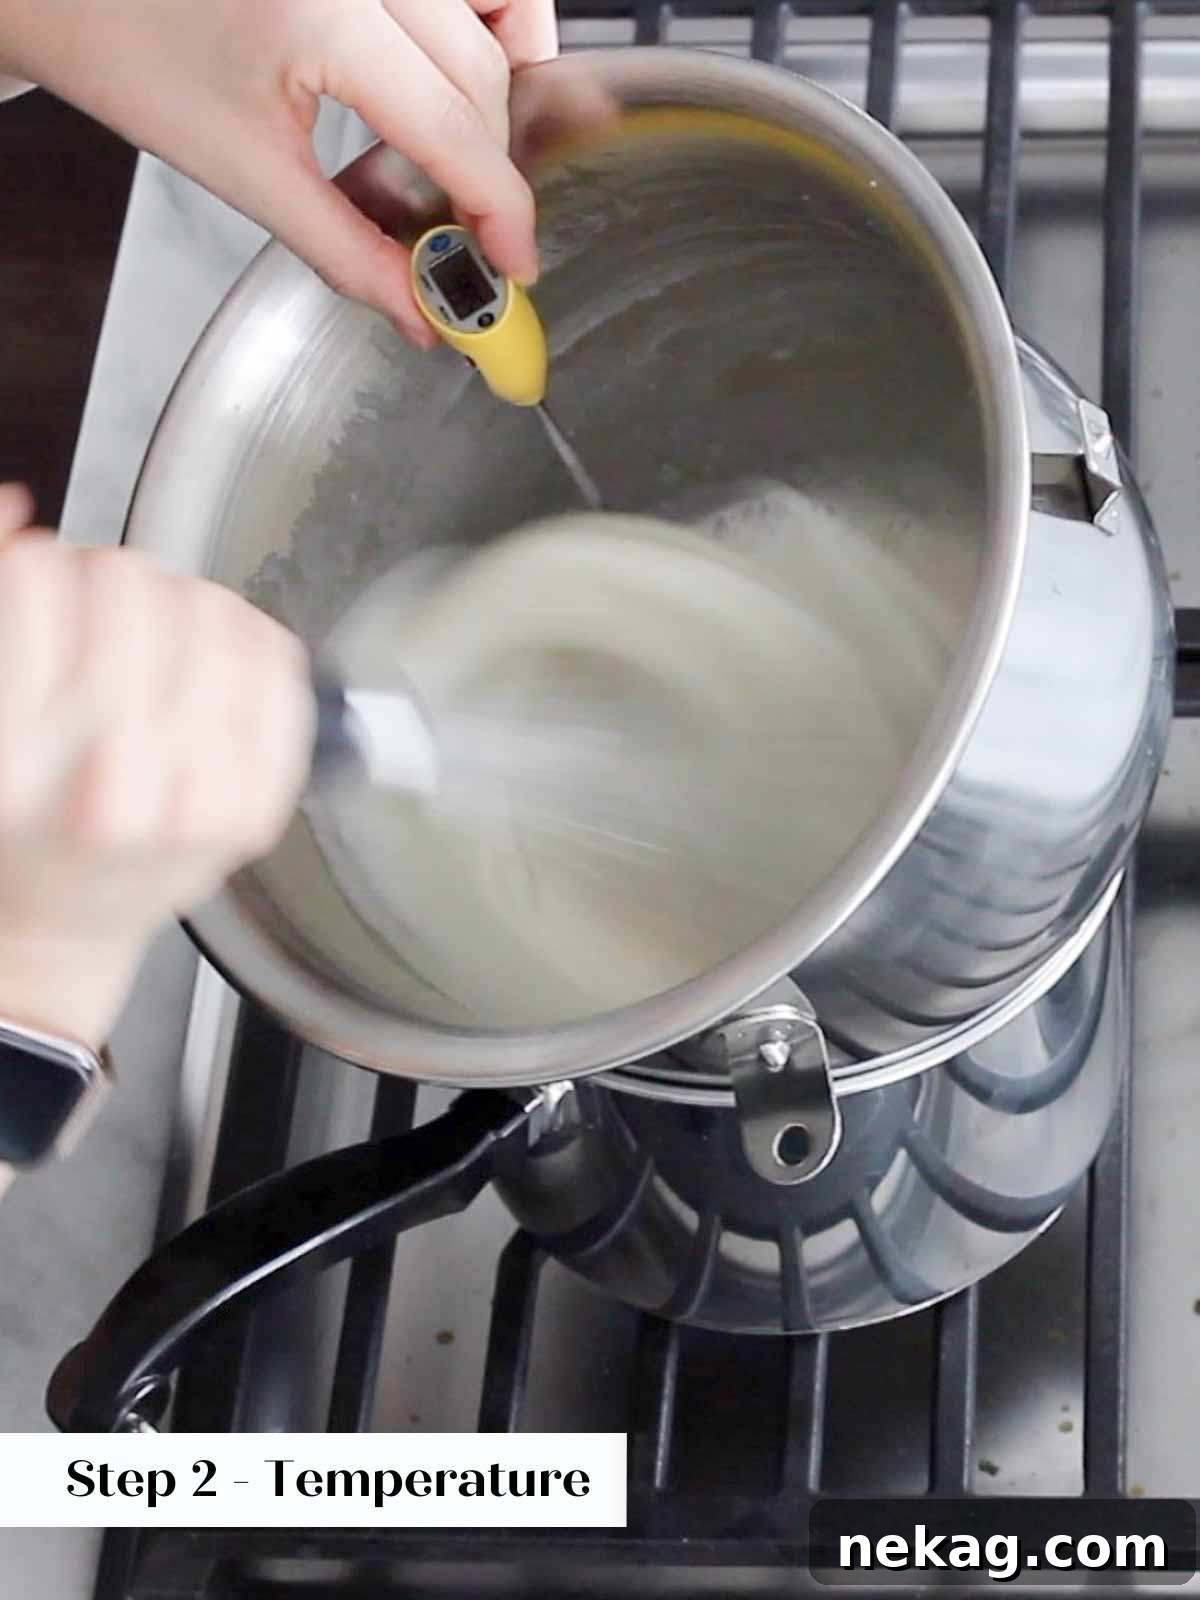
In the clean, dry bowl of your stand mixer, combine the cold egg whites, granulated sugar, and kosher salt. Give them a quick whisk to ensure they are well combined. It’s important not to do this step too far in advance, or you risk incorporating too much air into the mixture before heating, which can paradoxically make the final meringue less stable. Place the bowl directly over the simmering water, ensuring it fits snugly and does not touch the water. Whisk the mixture constantly and gently. This constant whisking prevents the egg whites from scrambling on the bottom and helps the sugar dissolve evenly. Continue whisking until the egg white mixture reaches a temperature of exactly 120°F (49°C) on your instant-read thermometer. The mixture should also feel warm to the touch and the sugar granules should be completely dissolved.
Crucial Reminder: Don’t Stop Whisking! This is the absolute cardinal rule when making Swiss meringue. Constant whisking ensures even heating, prevents the egg whites from cooking unevenly, and helps dissolve the sugar crystals perfectly. Keep that whisk moving!
As you can observe in the “Step 2: Checking Temperature” photo above, I’m adeptly whisking and simultaneously taking the temperature. This is a pro-move to maintain constant movement while monitoring. If you look closely, you’ll see I’m holding both the thermometer and stabilizing the bowl with my left hand, which ensures safety and efficiency.
Step 3: Transfer to Stand Mixer
As soon as the mixture reaches 120°F, immediately remove the mixer bowl from the saucepan. Transfer it to your stand mixer base, ensuring it is securely fitted with the whisk attachment. This transition should be done as quickly as possible to prevent the mixture from cooling too much before whipping begins.
Step 4: Whip to Stiff, Glossy Peaks
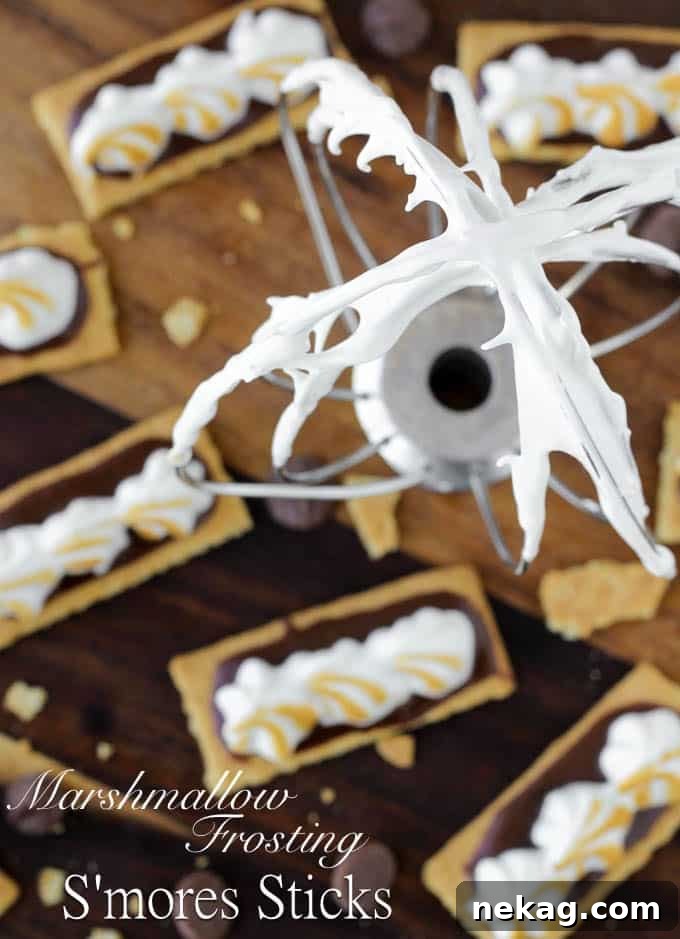
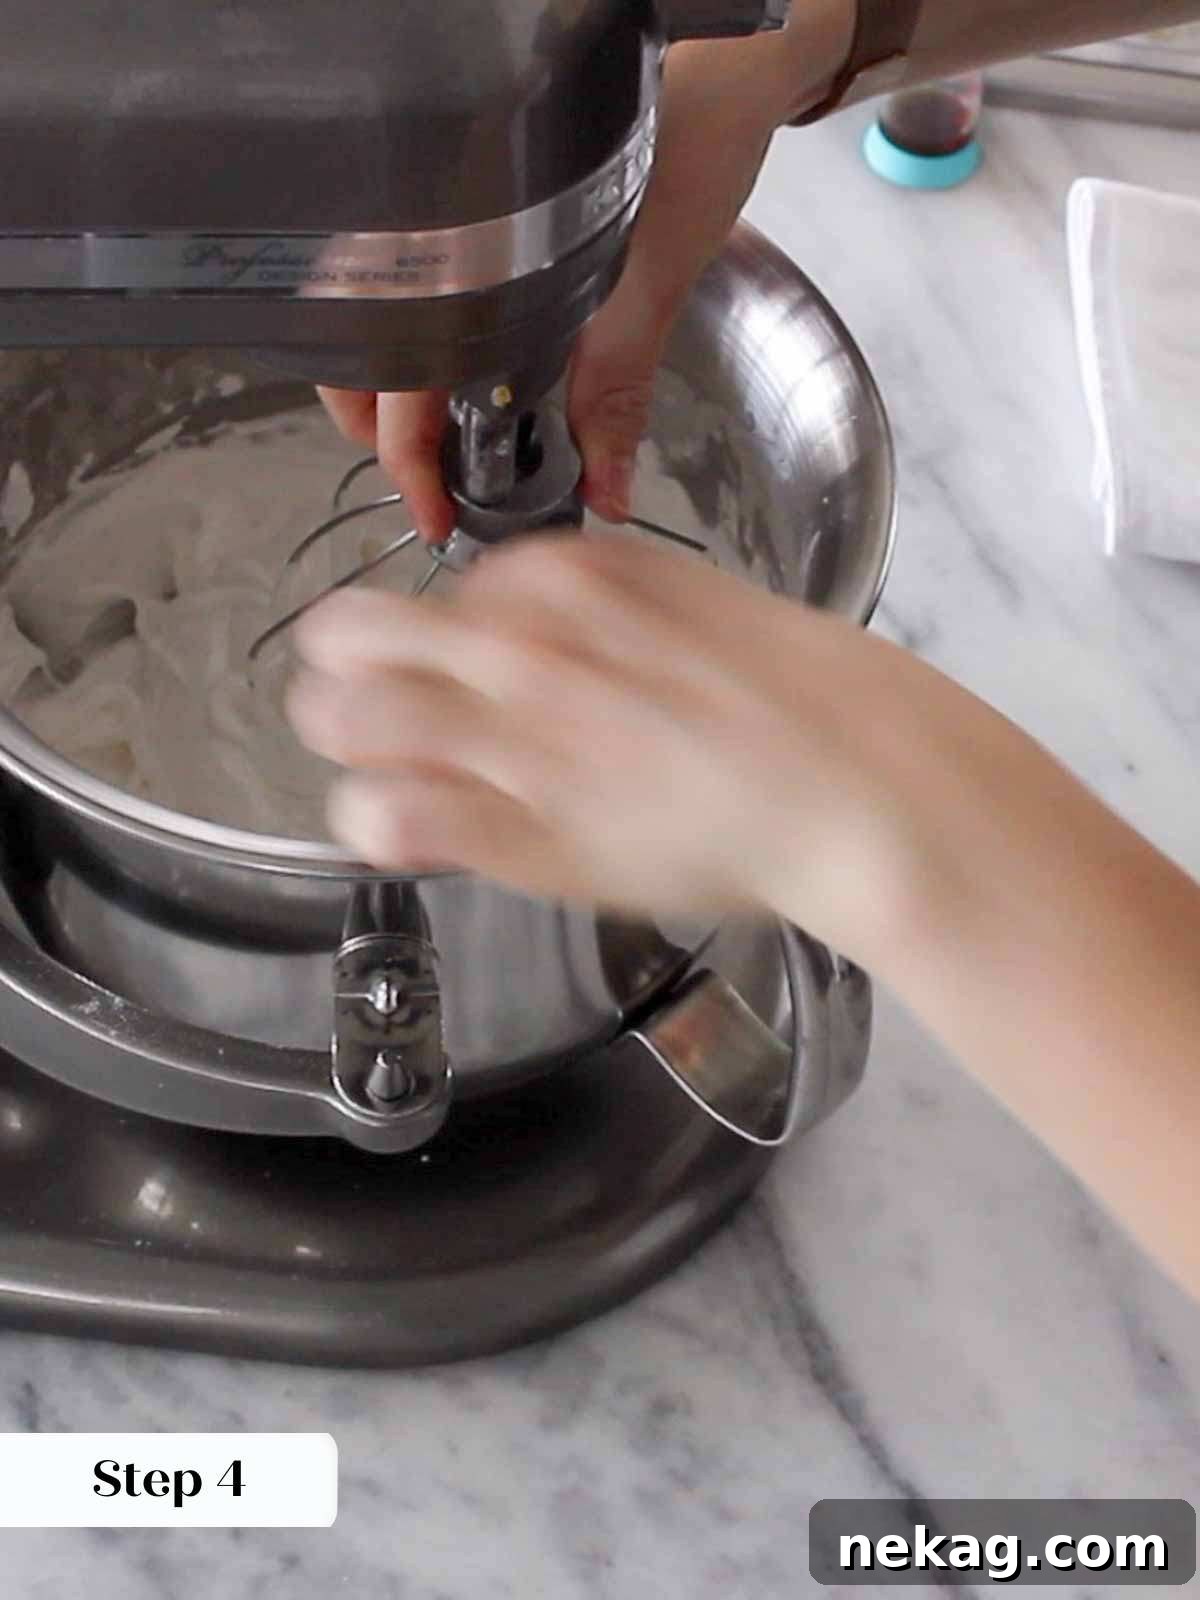
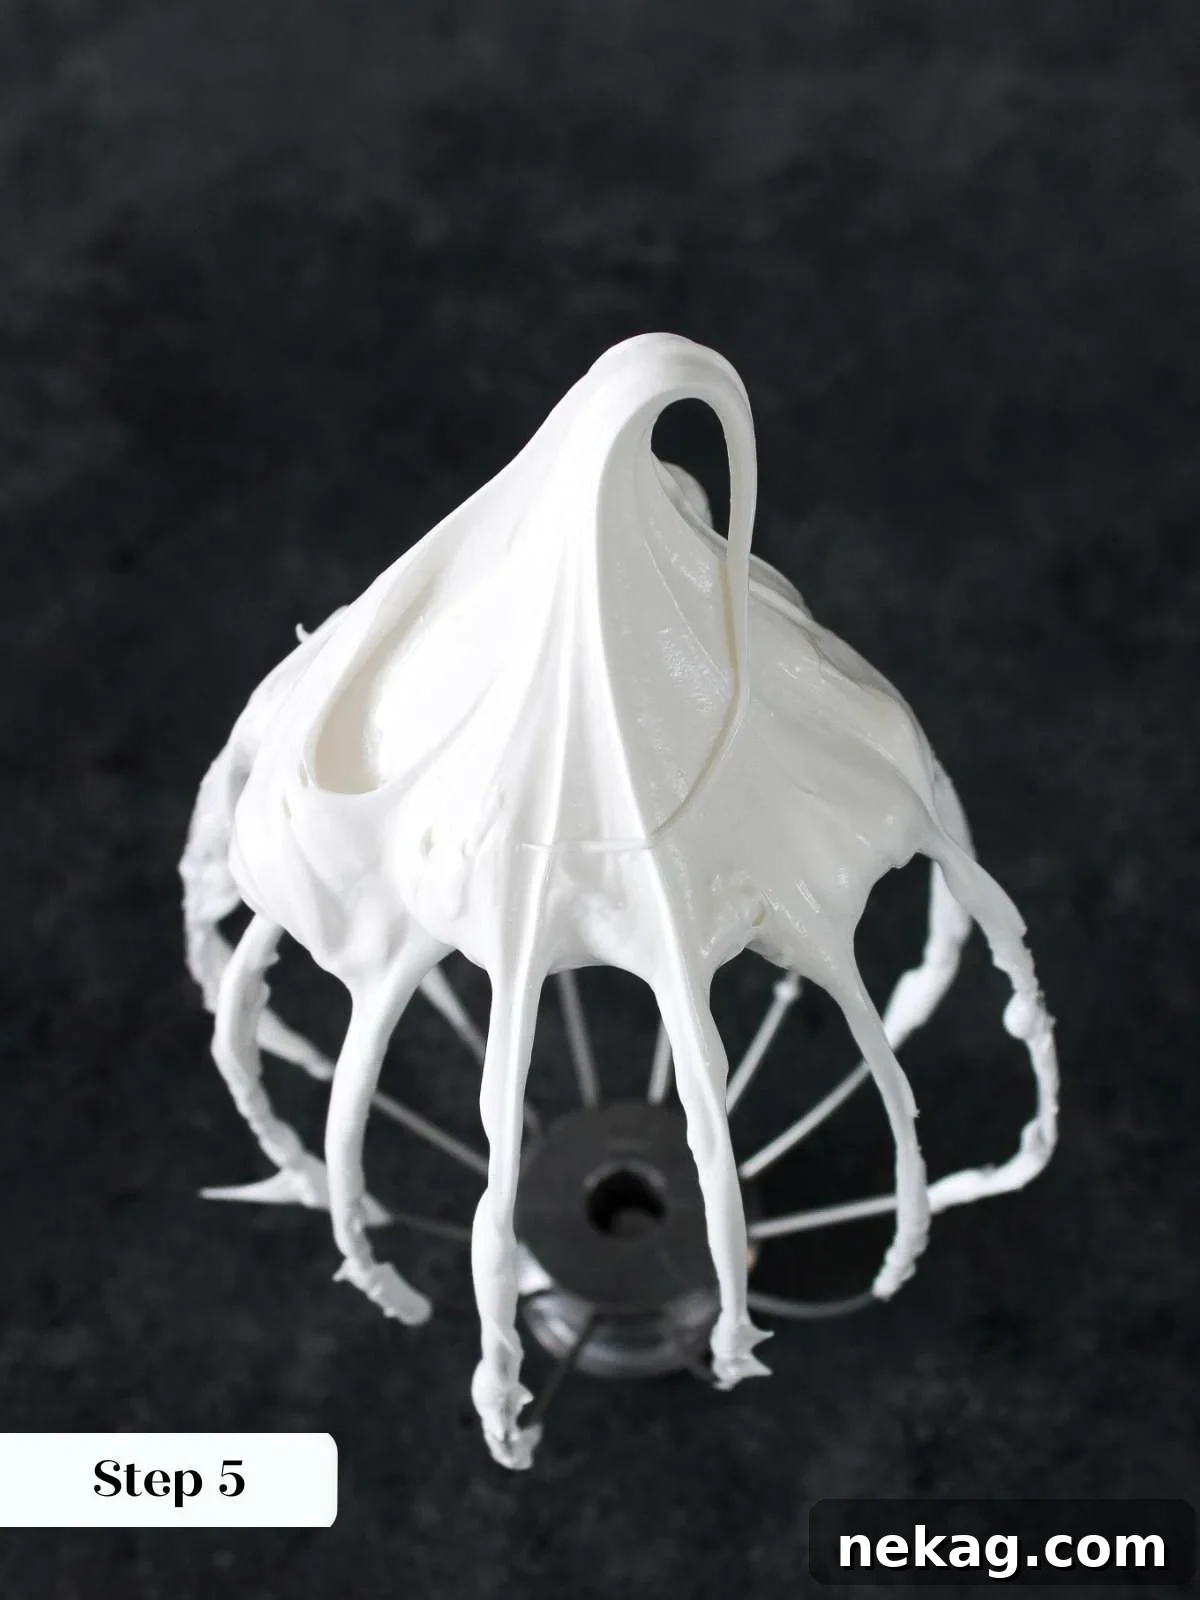
Turn your stand mixer to high speed and begin to beat the meringue. You will notice it transform from a translucent liquid into a thick, opaque, and incredibly voluminous white foam. Continue beating until the meringue is completely cool to the touch (this can take 7-10 minutes, sometimes more, depending on your mixer and kitchen temperature) and forms stiff, glossy peaks. When you lift the whisk, the meringue should hold its shape firmly without drooping.
Step 5: Incorporate Vanilla Extract (and Cinnamon, if using)
Once your meringue has reached stiff peaks and is cool, reduce the mixer speed to low. Add the vanilla extract (and the pinch of ground cinnamon, if you’re using it). Beat just until the extract is fully incorporated. At this point, the frosting should be around body temperature or feel just slightly warm. This is the perfect consistency and temperature for application.
Step 6: Apply and Enjoy!
Your homemade marshmallow frosting is now ready to use! You can either spread it generously over your favorite baked goods with an offset spatula, creating beautiful, rustic swirls, or transfer it to a piping bag fitted with your favorite piping tip for more intricate designs. Get frosting and let your creativity shine!
How to Toast Marshmallow Frosting (for that S’mores Flavor!)
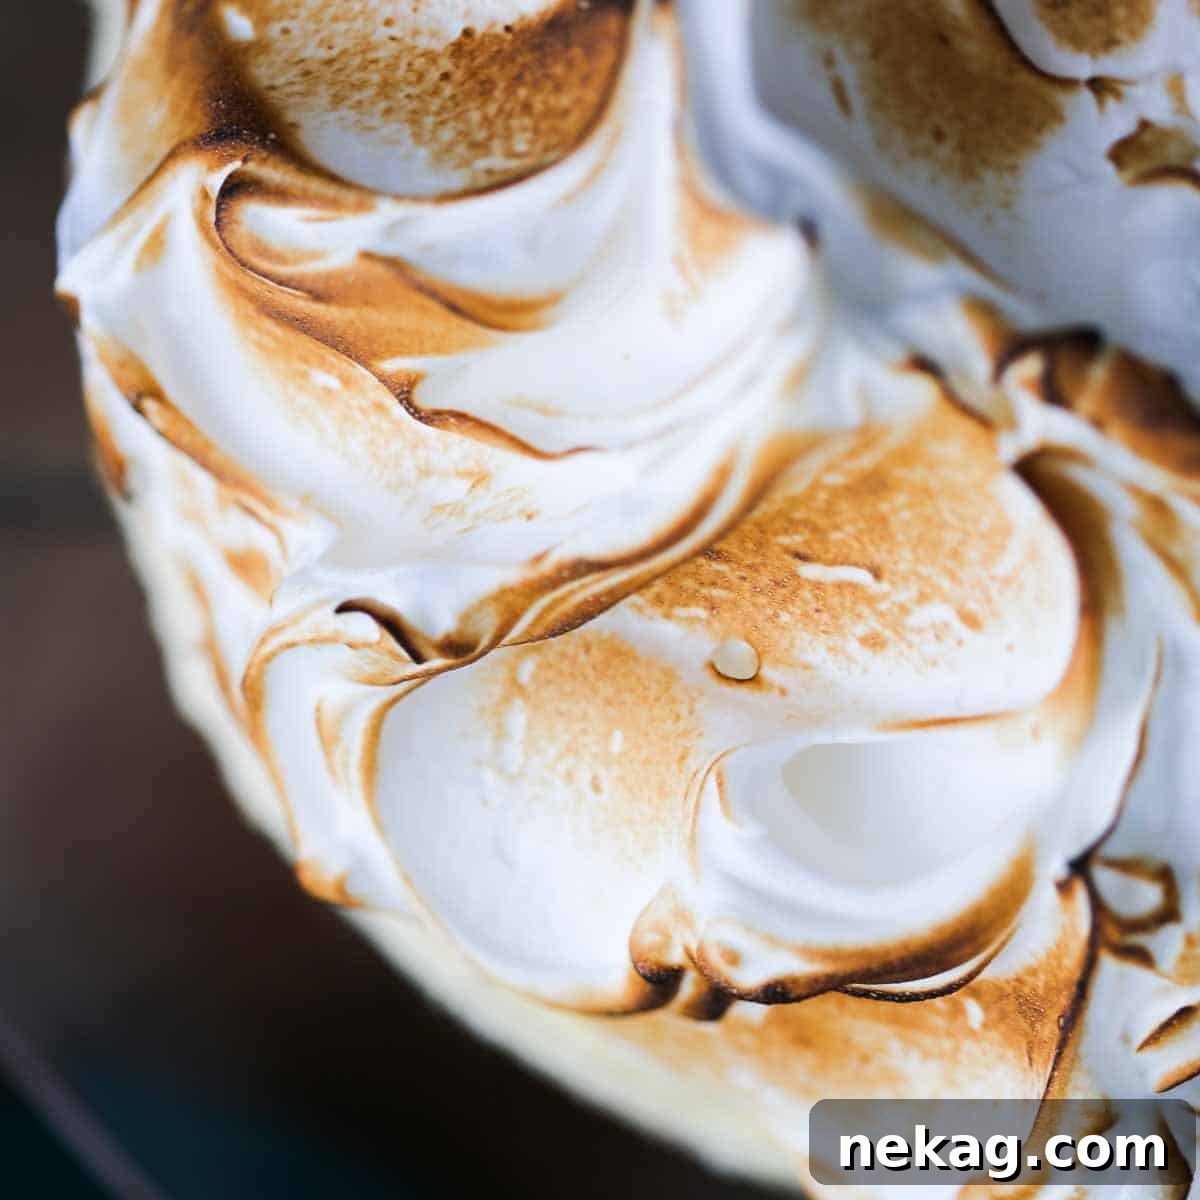
Toasting marshmallow frosting adds an irresistible smoky sweetness and a beautiful golden-brown color, mimicking the classic s’mores experience. Here’s how to achieve that perfect toasted finish:
First, pipe or spread your homemade marshmallow frosting onto your baked goods as desired. Once your dessert is frosted, you have two primary methods for toasting:
- Using a Kitchen Torch: This is my preferred method for precision and control. A kitchen torch (also known as a culinary torch or blowtorch) allows you to toast specific areas, highlight details, and achieve a beautiful gradient of color from light golden to rich, deep brown. Hold the torch a few inches away from the frosting and move it in a slow, continuous motion. The frosting will quickly bubble and caramelize. You can move the flame closer or further away to control the intensity of the browning. This method is faster and offers more artistic flexibility.
- Using Your Oven’s Broiler: If you don’t have a kitchen torch, your oven’s broiler can do the trick, though it requires more vigilance. Place your frosted desserts on a baking sheet on the top rack of your oven, ensuring they are several inches away from the broiler element. Keep the oven door slightly ajar and watch them *constantly*. The frosting will brown very quickly under the high heat, often in mere seconds. Remove them as soon as they reach your desired level of toastiness to prevent burning.
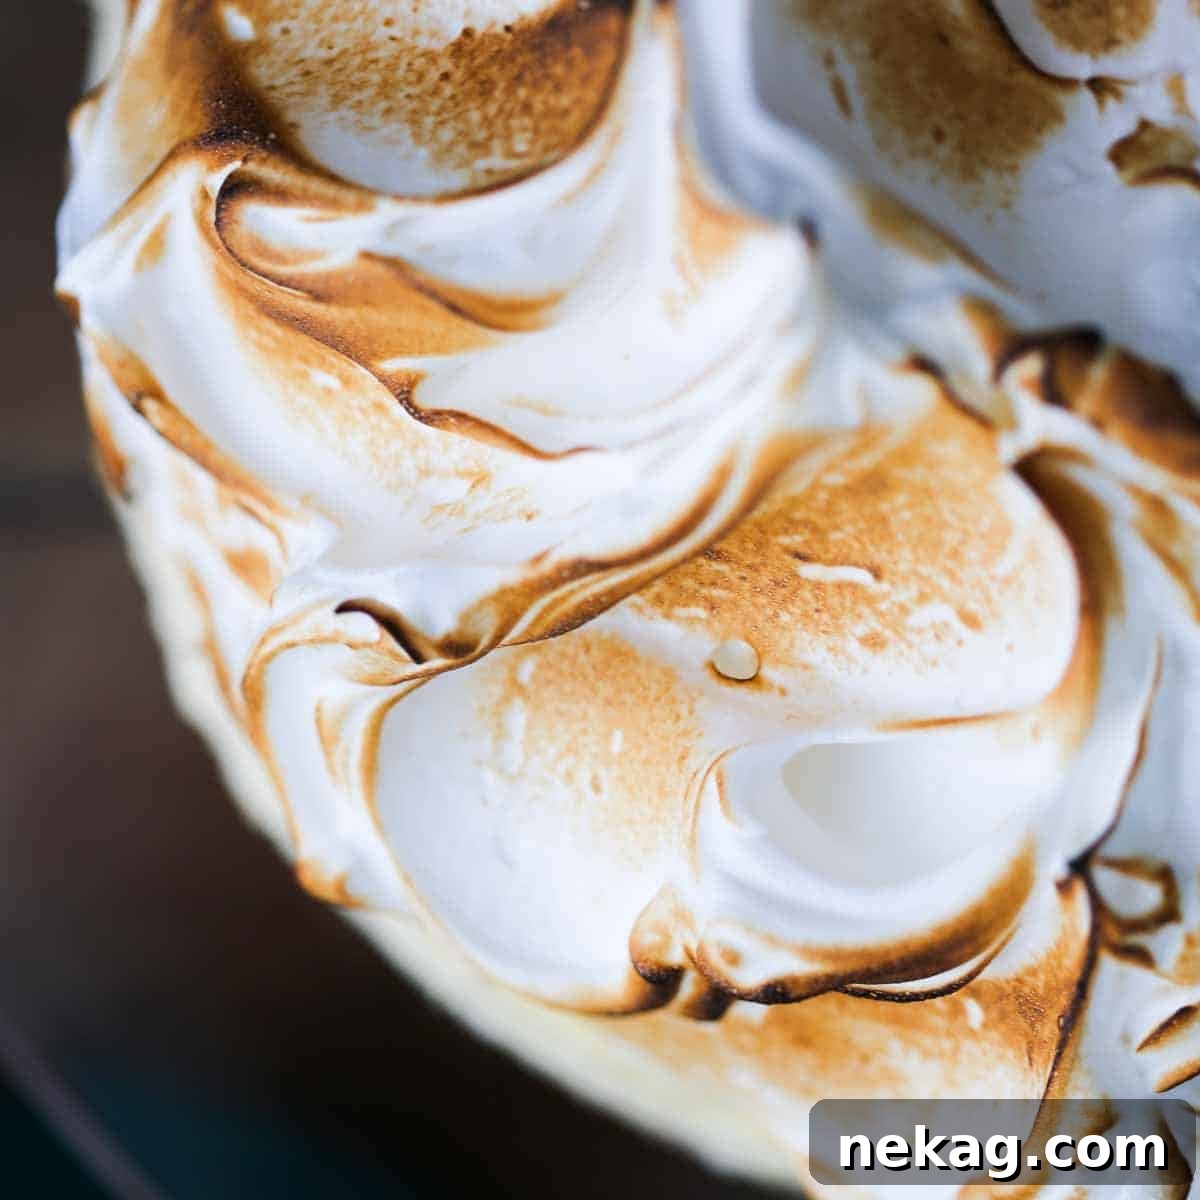
Whichever method you choose, watch carefully to prevent burning. The aroma of toasted marshmallow is simply divine!
Chef Lindsey’s Recipe Tip for Optimal Texture
For the absolute best results in terms of appearance and texture, the ideal temperature to use this marshmallow frosting is when it’s at body temperature or just slightly warmer. When applied at this stage, it maintains its most brilliant, glossy sheen and its silkiest, most luxurious texture. As the frosting cools, it will naturally set and firm up. While still perfectly delicious, piping or spreading it after it has completely cooled will disturb its delicate, set structure, potentially leading to a slightly less shiny, more matte finish. It will still taste fantastic and be perfectly fine, but for that truly picture-perfect, professional look, aim for application while it’s still warm to the touch!
Storing Your Homemade Marshmallow Frosting
Proper storage is essential to maintain the quality and extend the life of your delicious homemade marshmallow frosting. Here’s how to store it effectively, whether it’s on a dessert or in a container:
- Room Temperature Storage: I generally do not recommend leaving marshmallow frosting at room temperature for longer than 2 hours, especially if it contains fresh egg whites. While the heating process reduces risk, refrigeration is best for safety and stability. For the cleanest slices of a cake or pie adorned with this frosting, it’s always best to slice it straight from the refrigerator. The chill helps the frosting firm up, preventing squishing and ensuring neat portions.
- Refrigerated Storage: You can safely store marshmallow frosting, either on a dessert or in an airtight container, in the refrigerator for up to 3 days. After this period, the frosting may begin to “weep,” meaning it starts to release liquid and lose its pristine texture. A fantastic tip for extending its refrigerated life: if you toast the meringue (as described above), it will keep longer without weeping. The toasted, caramelized barrier acts as a protective shield, significantly reducing air exposure and helping to lock in moisture, thus preserving its texture for a little longer.
- Frozen Storage: Yes, you can freeze marshmallow frosting! It holds up beautifully, whether toasted or untoasted, for up to 1 month. To freeze, place frosted desserts or the frosting itself in an airtight container. If freezing on a cake or cupcakes, flash freeze them uncovered until the frosting is firm, then wrap tightly in plastic wrap and then foil to prevent freezer burn before returning to the airtight container. I highly recommend storing it in a freezer that isn’t frequently opened and closed. Consistent temperature fluctuations from opening the freezer door can cause the frosting to prematurely weep and degrade in quality upon thawing. Thaw frozen frosting slowly in the refrigerator overnight before serving.
Creative Ways to Use Marshmallow Frosting
This incredibly versatile marshmallow frosting goes far beyond just cupcakes! Its light, airy texture and delicate vanilla flavor make it a fantastic companion for a wide range of desserts. Here are some creative and delicious ways to incorporate it into your culinary adventures:
- Classic Frosting Applications: Naturally, this frosting shines in traditional roles. Pipe elegant swirls on any flavor of cupcakes, frost an entire layer cake for a show-stopping centerpiece, or mound it generously on a rich cheesecake, much like this delightful lemon meringue cheesecake. Its stability and beautiful sheen make it perfect for any classic dessert requiring a soft, sweet topping.
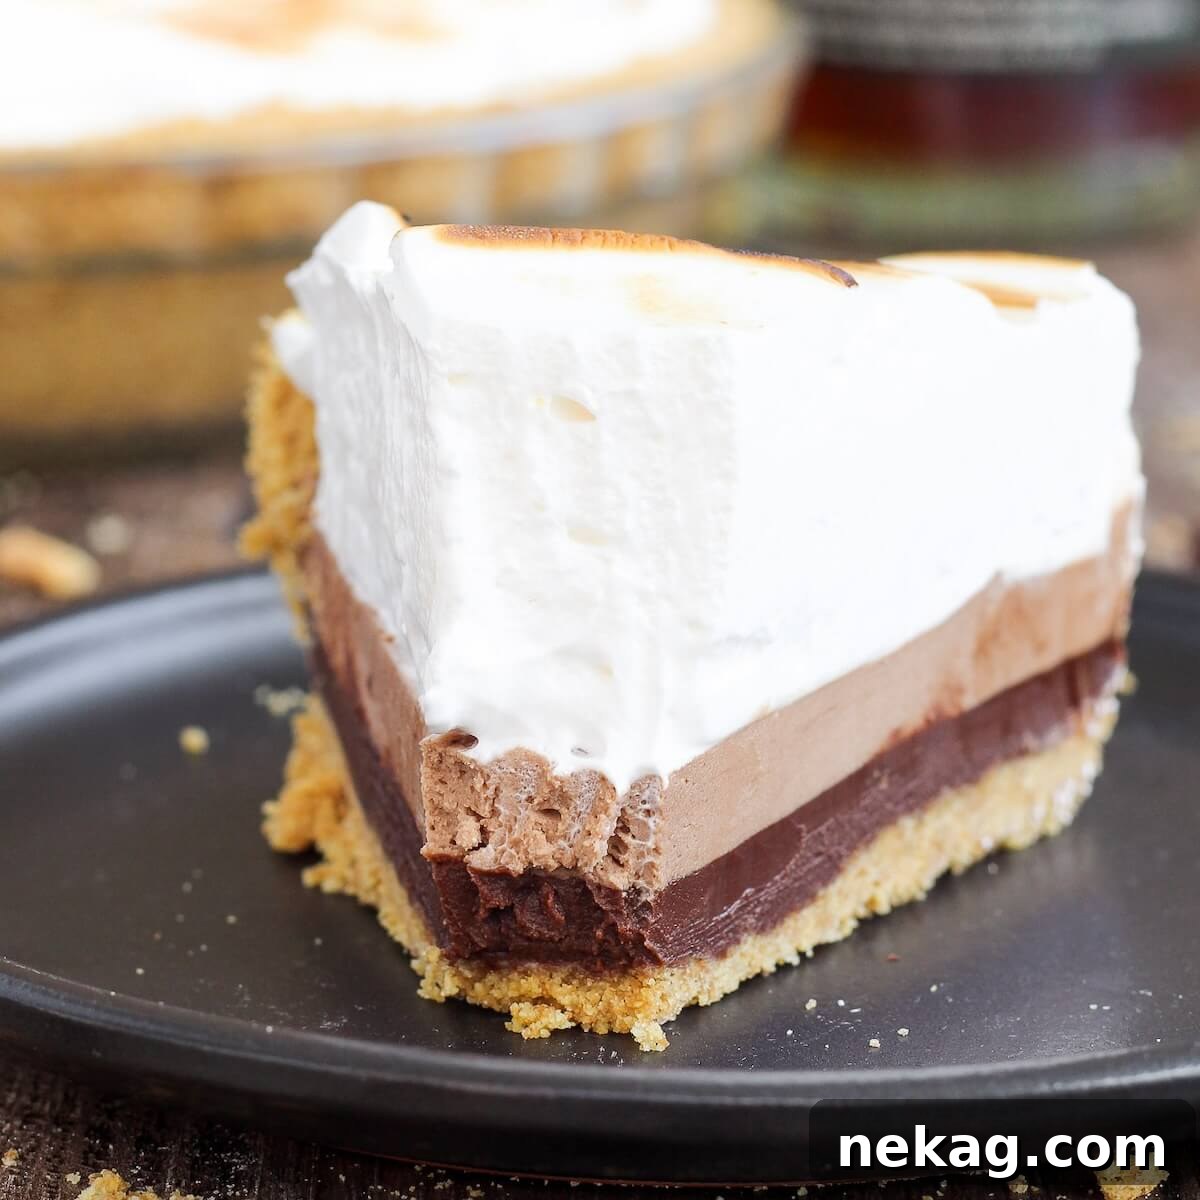
- Unexpected Dessert Pairings: Don’t limit yourself to the usual! This marshmallow frosting can be an incredible addition to surprising dishes. Try it as a fluffy topping on a decadent s’mores pie or an intensely flavorful key lime pie, offering a beautiful balance to the tartness. Swirl it into homemade ice cream before freezing solid for ribbons of marshmallow goodness. Use it as a delightful filling for cupcakes or as a layer in an elegant trifle, adding both texture and sweetness.
- Whip Up Amazing Dips: Transform this frosting into a quick and easy dessert dip! Its light, sweet character makes it perfect for pairing with fresh fruit, cookies, or graham crackers. Consider using this recipe as a base for a luscious marshmallow cream cheese fruit dip or in a fun and nostalgic fluffernutter dip. It’s an instant crowd-pleaser for parties or a delightful treat for a casual gathering.
- The Perfect Topping for Frozen Treats: One of the most remarkable qualities of this marshmallow frosting is that it maintains the exact same, wonderful consistency even when frozen solid. This makes it an unparalleled topping for all kinds of frozen desserts! Imagine it piled high on a rich peanut butter ice cream pie, sandwiched between cookies for an elevated ice cream sandwich, or mounded dramatically on a speedy 5-minute ice cream pie. You can even make it in advance, pipe it into decorative shapes, freeze, and then use individual pieces to top scoops of s’mores ice cream. And of course, for the ultimate experience, torch it just before serving for that warm, gooey finish!
Marshmallow Frosting Recipe FAQs
The primary difference between a classic marshmallow fluff and this homemade marshmallow frosting lies in their preparation technique and resulting stability. This marshmallow frosting is a type of Swiss meringue, which involves heating egg whites and sugar over a bain-marie before whipping. Traditional marshmallow fluff, on the other hand, is typically an Italian meringue, where hot sugar syrup is poured into whipping egg whites. Both yield incredibly pillowy soft, shiny, and delicious toppings that taste akin to homemade marshmallows. However, Italian meringue (fluff) is generally considered more stable and slightly denser, allowing it to keep without weeping for up to a week in the refrigerator and over two months when frozen. While this Swiss meringue frosting is wonderfully stable, the Italian meringue offers a bit more longevity.
This is a common and important question. It’s true that Swiss meringue, including this marshmallow frosting, is not heated to a temperature high enough to fully cook the egg whites to the degree typically recommended for food safety. According to the FDA, eggs need to reach 160°F (71°C) to be considered completely safe, or held at 134°F (57°C) for 3.5 minutes. Our recipe heats the mixture to 120°F (49°C). While this heating step reduces the risk significantly by creating a hostile environment for bacteria, it does not entirely eliminate it. For those concerned, especially individuals with compromised immune systems, young children, or pregnant women, using pasteurized egg whites (while noting they may result in a slightly less stable meringue) or opting for a recipe that reaches a higher temperature (like Italian meringue) would be safer alternatives. Always prioritize food safety and make choices based on your personal comfort level.
Yes, you absolutely can make this marshmallow frosting using pasteurized egg whites from a carton. This is a great option for added peace of mind regarding food safety. However, it’s important to set your expectations regarding the final product. While the frosting will still be delicious, the end results are typically not quite the same. Pasteurized egg whites tend to produce a meringue that is less stable and may not whip up with the same volume or luxurious silky texture as fresh, separated egg whites. They are often treated in a way that affects their protein structure, making them slightly less robust for meringue-making. Nonetheless, it remains a viable and tasty alternative.
It’s easy to get intimidated by meringues, but they are generally less finicky than often believed. Don’t stress too much! If a tiny bit of egg yolk accidentally gets into your whites, try your best to carefully scoop it out with a spoon or a piece of eggshell, then simply carry on. That being said, if your meringue is stubbornly refusing to whip up to stiff peaks even after extensive beating and has completely cooled, then you indeed have an issue. The most common culprits are grease (even a tiny speck on your bowl or whisk), residual yolk, or insufficient heating/whipping. To attempt to salvage it, I recommend gradually adding a very small pinch of cream of tartar, one at a time, and continuing to whip. Cream of tartar is an acid that helps stabilize egg whites and encourages them to reach stiff peaks. The worst-case scenario is that you might add too much cream of tartar, which could affect the flavor and necessitate discarding the batch and starting fresh. However, if it required that much intervention, the meringue was likely too compromised to begin with, so you gain bonus points for trying to save it! Learning from these experiences makes you a better baker.
Recommended Cupcake Recipes to Pair with this Frosting
This light and fluffy marshmallow frosting is an absolute dream paired with a wide variety of cupcake flavors. Here are some of my top recommendations that will truly shine with a generous swirl of this sweet, ethereal topping:
Cupcake Recipes
Coconut Cupcakes with Fluffy Frosting
Light and tropical, these coconut cupcakes are a match made in heaven for marshmallow frosting, especially if lightly toasted.
Fall Dessert Recipes
Sweet Potato Casserole Cupcakes
Everything you love about sweet potato casserole in an adorable cupcake, complete with a perfectly toasted marshmallow topping!
Cupcake Recipes
Classic Vanilla Cupcakes
The ultimate blank canvas! Vanilla cupcakes provide a perfect neutral base for the sweet, airy goodness of marshmallow frosting.
Cupcake Recipes
Bright Lemon Cupcakes
The zesty tang of lemon cupcakes finds a beautiful balance with the sweet, ethereal clouds of marshmallow frosting, creating a delightful contrast.
If you tried this incredible homemade marshmallow frosting recipe and absolutely loved it, please take a moment to leave a 🌟 star rating and let me know how it went in the comments below. Your feedback truly makes my day and helps other bakers discover this wonderful recipe!
Homemade Marshmallow Frosting
Comment
Print Recipe
Ingredients
For the Fluffy Marshmallow Frosting:
- 4 large egg whites (preferably cold and freshly separated for best results)
- 1 cup granulated sugar
- pinch kosher salt (essential for balance and stability)
- 1 teaspoon pure vanilla extract (add after whipping for best flavor)
- optional pinch ground cinnamon (for a warm, spiced variation)
Instructions
To Make the Homemade Marshmallow Frosting:
-
Prepare Bain-Marie: Place about 1 inch of water in the bottom of a saucepan and bring it to a gentle simmer over medium-low heat. Ensure your stand mixer bowl can sit on top of the saucepan without the bottom touching the simmering water.
-
Heat Egg White Mixture: In the bowl of your stand mixer, combine the cold egg whites, granulated sugar, and kosher salt. Whisk briefly to combine. Place the bowl over the simmering water. Whisk constantly and diligently until the egg white mixture reaches a temperature of 120°F (49°C) on an instant-read thermometer. The sugar granules should be completely dissolved, and the mixture should feel warm to the touch.
-
Whip to Stiff Peaks: Immediately remove the bowl from the heat and transfer it to your stand mixer base, fitted with the whisk attachment. Beat the mixture on high speed until it is completely cool, very thick, glossy, and forms stiff peaks. This process typically takes 7-10 minutes.
-
Flavor and Finish: Reduce mixer speed to low. Add the pure vanilla extract (and optional ground cinnamon, if using). Beat just until fully incorporated. The frosting should be at body temperature or slightly warm – this is ideal for piping and spreading.
-
Apply Frosting: Spoon the finished marshmallow frosting into a large piping bag fitted with your favorite tip, or simply use an offset spatula to mound it generously onto your desired baked goods, like the cheesecake pictured! Enjoy immediately or prepare for toasting.
Video Tutorial
Chef’s Notes
Presentation Perfection: You have the option to leave your marshmallow frosting beautifully untoasted for a classic white finish, or toast it with a kitchen torch for a delightful caramelized flavor and stunning visual appeal. Remember, toasted meringue also boasts improved storage longevity.
Key Technique: The most crucial aspect of achieving a perfect Swiss meringue is continuous whisking during the heating phase. As long as you keep whisking, you’ll be well on your way to success!
Storage Guidelines: Store frosted desserts or leftover frosting in an airtight container in the refrigerator for up to 3 days. For longer storage, it can be frozen for up to 1 month. Toasted meringue generally stores better in the refrigerator.
Nutrition Information (Estimated)
Before You Go: Explore More Frosting Delights!
I genuinely hope you enjoyed mastering this fantastic homemade marshmallow frosting recipe. Its light, airy texture and versatile nature are sure to make it a new favorite in your kitchen. If you’re looking to expand your frosting repertoire further, be sure to explore our other easy and delicious buttercream & frosting recipes. For a comforting and uniquely flavored option, why not try this delightful maple frosting recipe next? Happy baking!