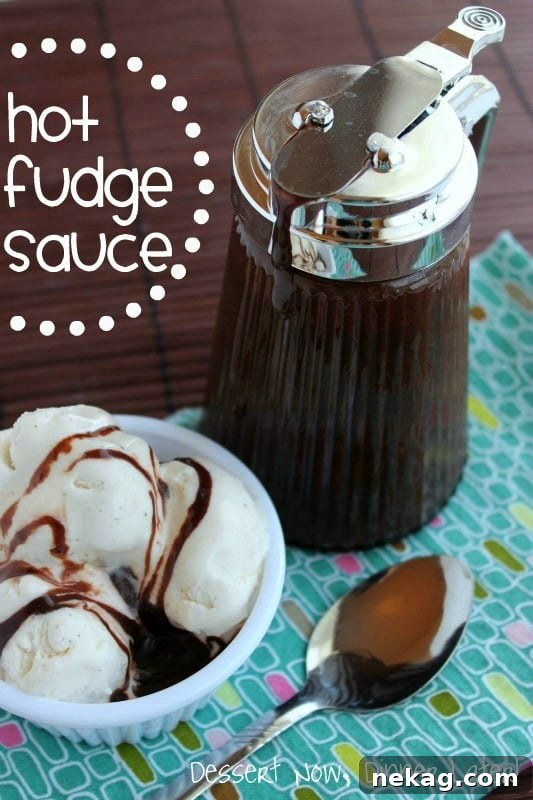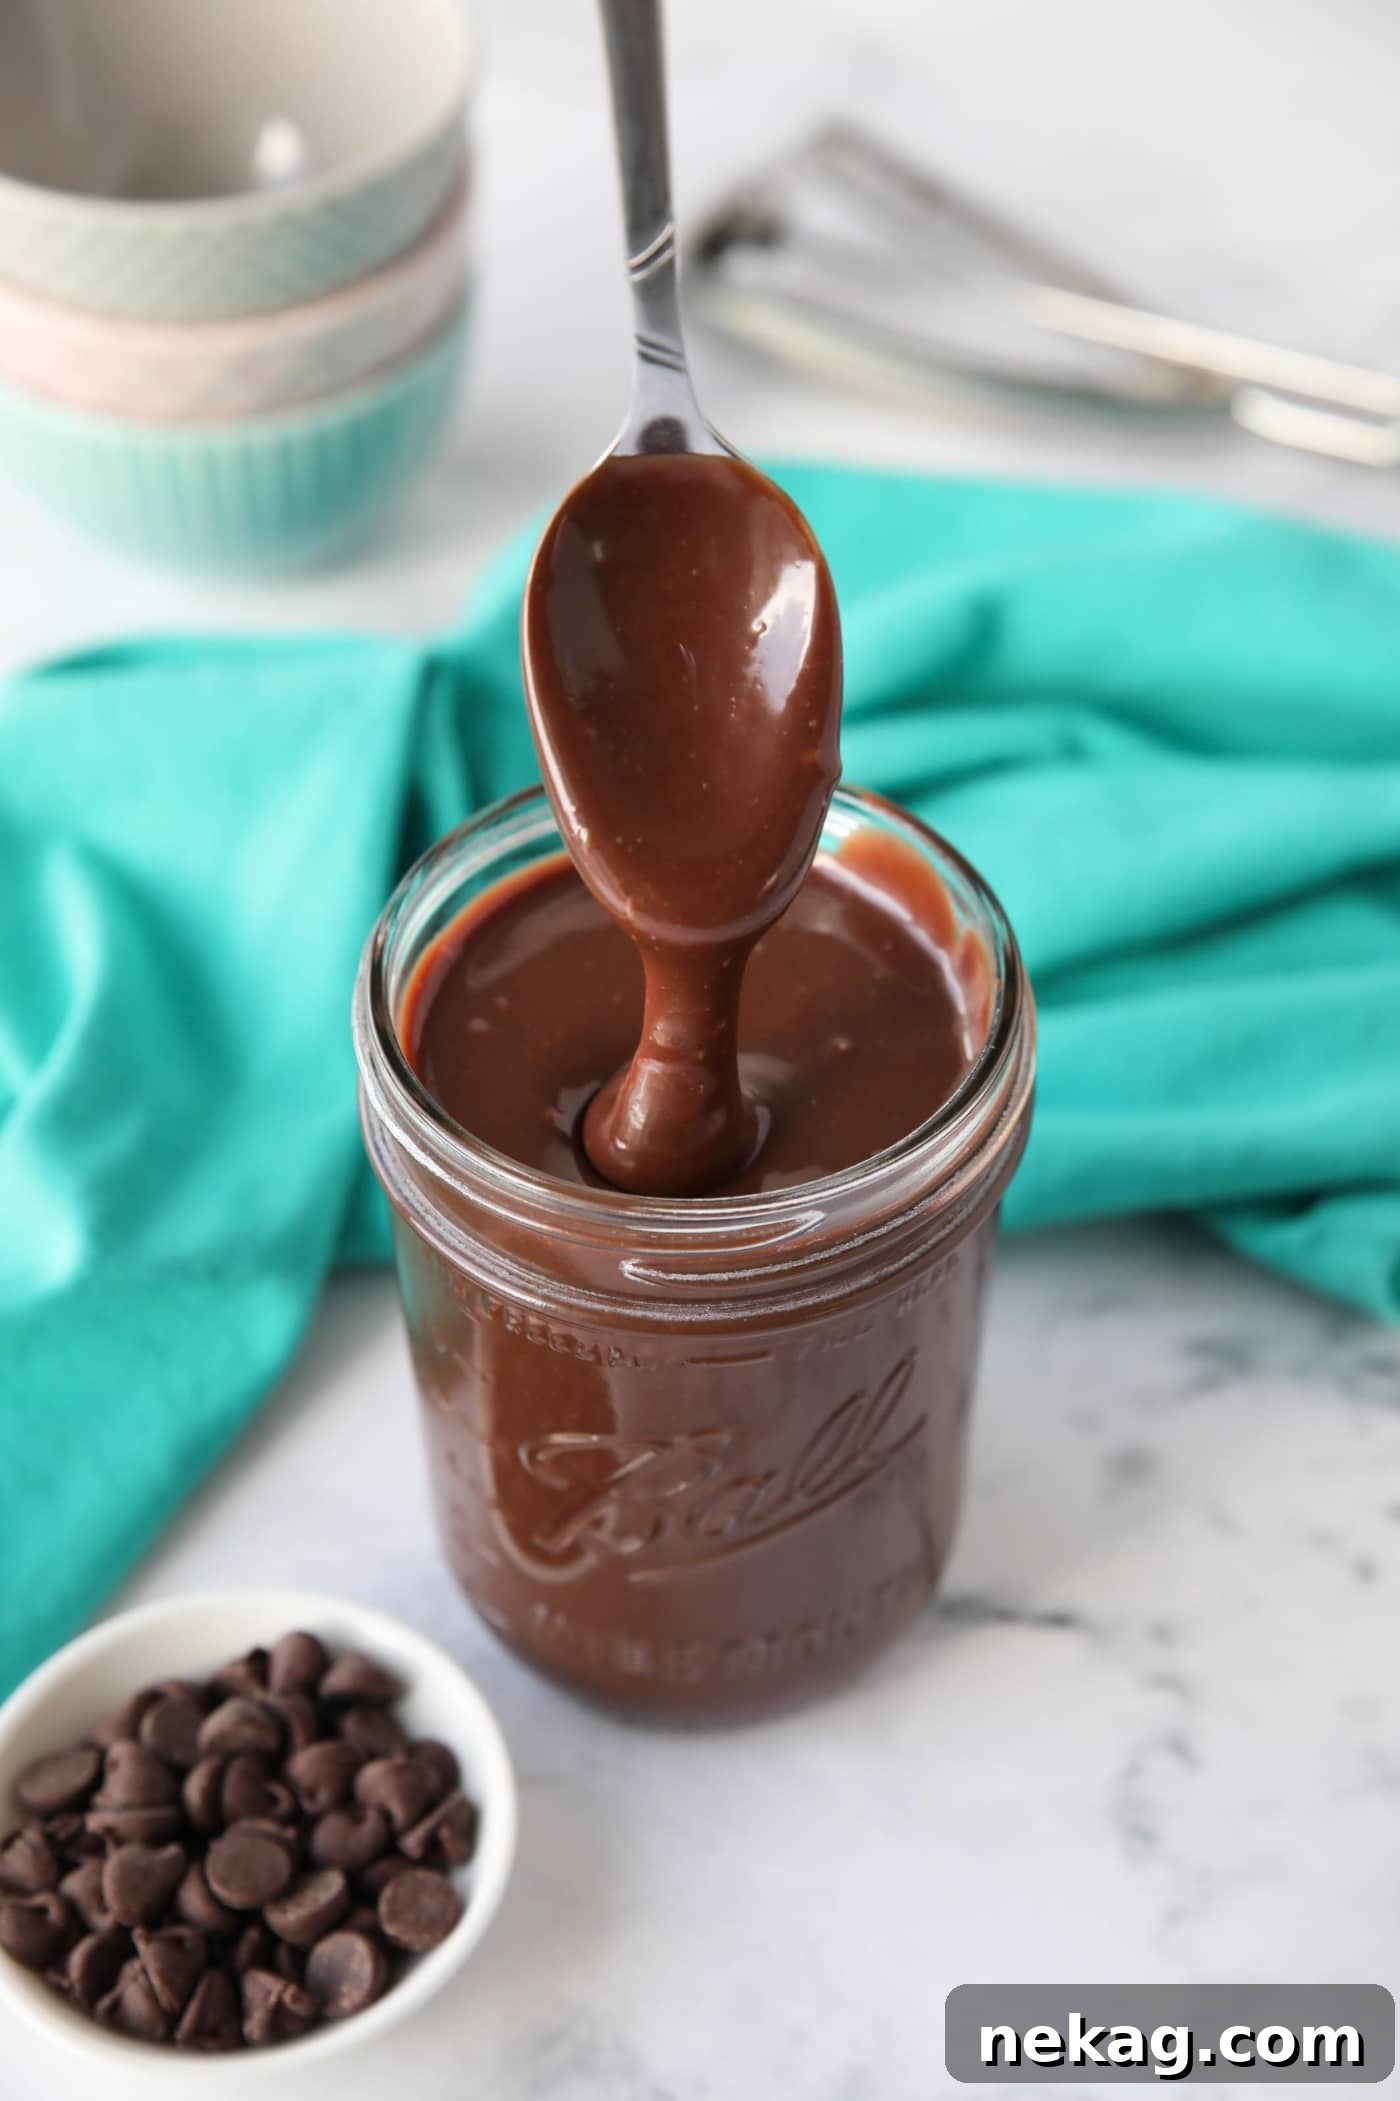
Whip up this incredibly rich, smooth, and utterly velvety homemade hot fudge recipe in merely 5 minutes with just 4 simple ingredients—the perfect decadent topping for everything from classic ice cream sundaes to warm brownies and beyond. Forget store-bought; once you try this easy recipe, you’ll never look back.
This divine hot fudge sauce is fantastic when swirled into creamy treats like my No Churn Oreo Fudge Ice Cream and delightful homemade Cookie Dough Ice Cream. It also makes an unforgettable topping for an Ice Cream Dessert and these fudgy Oreo Brownies. Prepare to elevate all your favorite desserts!

Why This Easy Homemade Hot Fudge Will Be Your New Go-To
My journey with this hot fudge recipe began back in August 2013, when I first crafted it alongside my beloved crockpot caramel as a topping for an ice cream party. Over the years, I’ve refined this recipe, initially using my homemade sweetened condensed milk. While homemade is always a treat, I’ve since simplified the process for this updated version by incorporating store-bought sweetened condensed milk, making it even more accessible without sacrificing flavor.
I also made a subtle but impactful change by replacing heavy cream with a bit more butter. This alteration not only reduced the ingredient count but also enhanced that signature silky, rich texture we all crave in hot fudge. But the reasons to adore this recipe extend far beyond its simple evolution. Here’s why this hot fudge will become a staple in your kitchen:
- Quick & Effortless Perfection: From your pantry to a luscious, warm sauce in just 5 minutes. No complicated techniques or endless stirring required, making it perfect for last-minute dessert cravings or unexpected guests.
- Minimal, Everyday Ingredients: You likely already have these 4 pantry staples on hand. This means fewer trips to the grocery store and more time enjoying delicious homemade treats.
- Uncompromised Richness & Velvety Texture: Despite its simplicity, this recipe delivers an intensely chocolatey flavor and a luxuriously smooth, pourable consistency that cools to a perfectly fudgy bite. It’s far superior to any store-bought alternative.
- Incredibly Versatile for Any Occasion: Whether you’re assembling elaborate sundaes, adding a sophisticated touch to cakes and pies, or looking for a delightful homemade gift in charming jars, this hot fudge is your answer. It’s the ultimate dessert enhancer for any sweet creation.
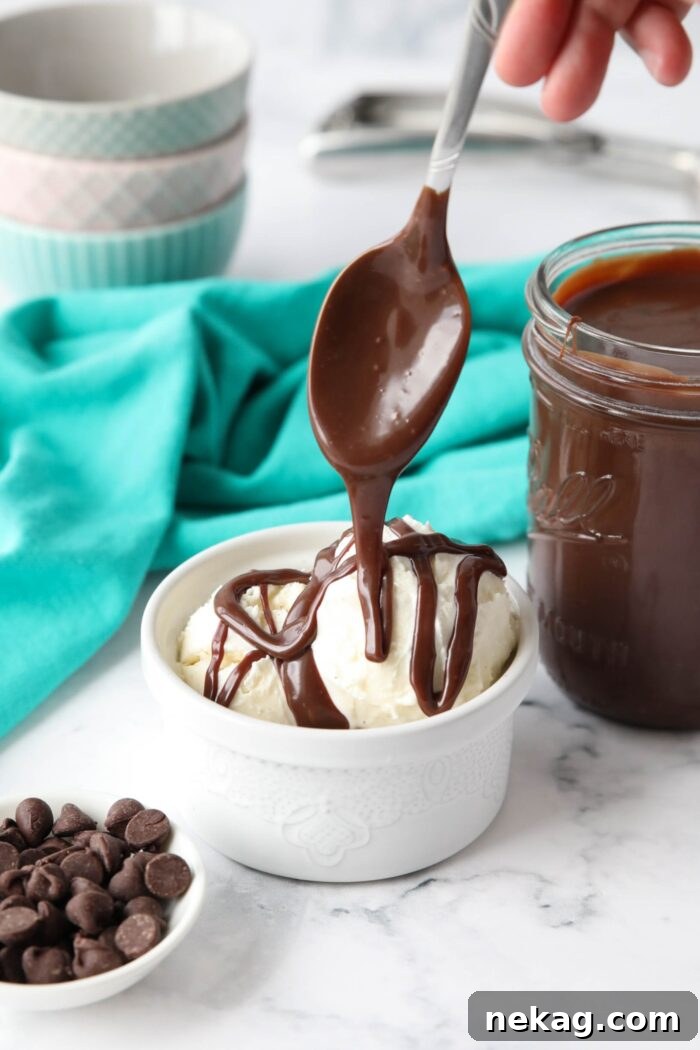
If you’re anything like me, a dessert just doesn’t feel complete without a generous, warm drizzle of chocolatey hot fudge. There’s something undeniably comforting and indulgent about it. Whether you’re meticulously topping a towering bowl of vanilla ice cream, elegantly dressing up a fresh-baked brownie, or simply sneaking a decadent spoonful straight from the jar (don’t worry, your secret’s safe with me!), this homemade hot fudge recipe is poised to become your absolute go-to for all things sweet.
The truly remarkable part? This extraordinary indulgence demands just 4 essential ingredients and a mere 5 minutes of your precious time. Prepare to be amazed by how easily you can create such a show-stopping dessert component.
Essential Ingredients for Your Luscious Hot Fudge Sauce
NOTE: For precise ingredient quantities and detailed, step-by-step instructions, please refer to the comprehensive printable recipe card located at the very end of this post.
Jump to Recipe Card
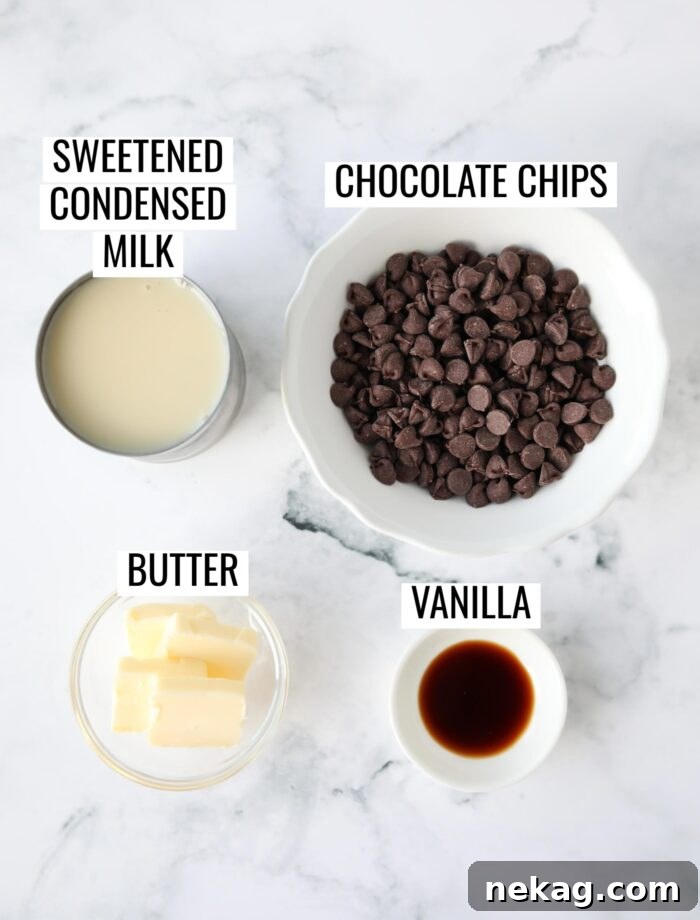
The beauty of this recipe lies in its simplicity, utilizing everyday ingredients to create something truly extraordinary. Here’s a closer look at the four stars of this show:
- Sweetened Condensed Milk: This is the secret weapon that makes this hot fudge incredibly creamy, thick, and wonderfully smooth without the need for corn syrup or granulated sugar, which are often used in other recipes to prevent crystallization. It provides the perfect balance of sweetness and body, ensuring your fudge is always rich and never grainy. It’s a foundational ingredient for that luscious, pourable consistency.
- Chocolate Chips: The quality and type of chocolate you choose here can significantly impact the final flavor. I highly recommend using semi-sweet chocolate chips for a balanced sweetness, as the condensed milk already contributes a good amount of sugar. For a deeper, more intense chocolate flavor, opt for dark chocolate baking bars (chopped into smaller pieces for easier melting). Aim for a cocoa content of 60-70% if using dark chocolate. A crucial tip: I would strongly advise against using milk chocolate chips, as they tend to make the fudge overly sweet and can sometimes lead to a less stable consistency.
- Butter: Salted butter is preferred in this recipe, as the hint of salt helps to beautifully balance the sweetness from the chocolate and condensed milk, enhancing the overall depth of flavor. If you only have unsalted butter on hand, simply add a tiny pinch (about ⅛ to ¼ teaspoon) of fine sea salt along with the butter to achieve that perfect flavor profile. The butter also contributes to the fudge’s silky texture and rich mouthfeel.
- Vanilla Extract: Often underestimated, a good quality vanilla extract is essential for truly enhancing the chocolate flavor and adding a layer of aromatic complexity to your hot fudge. While you *can* technically leave it out, the difference it makes is profound. It rounds out the flavors and adds a warmth that transforms the sauce from simply good to absolutely unforgettable. Use pure vanilla extract for the best results.
Crafting Your Velvety Hot Fudge: A Simple Step-by-Step Guide
Preparing this hot fudge is so straightforward, you’ll wonder why you ever bought it from a store. With minimal effort, you’ll achieve a gourmet result. Here’s how to do it:
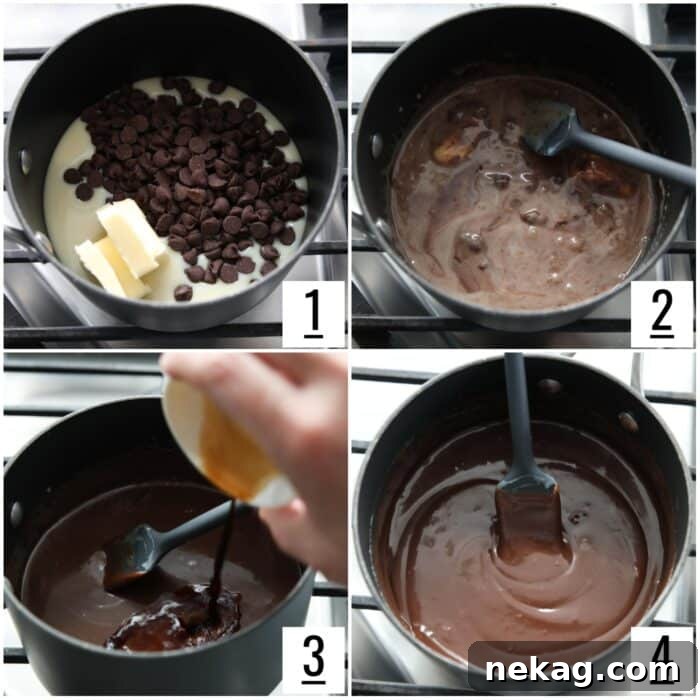
- Combine Ingredients: Begin by gathering your sweetened condensed milk, chocolate chips, and butter. Place all three ingredients into a medium-sized, heavy-bottomed saucepan. A heavy bottom prevents scorching and ensures even heat distribution, which is key for smooth melting.
- Gentle Melting & Stirring: Set your saucepan over medium-low heat. This gentle heat is crucial to prevent the chocolate from seizing or burning. Stir the mixture constantly with a silicone spatula or whisk. Continue stirring until the chocolate chips are completely melted and the butter is fully incorporated, resulting in a perfectly smooth, glossy, and uniform sauce. This typically takes about 3-4 minutes. Do not rush this process!
- Remove from Heat & Add Vanilla: Once the mixture is smooth and luxurious, immediately remove the saucepan from the heat. Now, stir in your vanilla extract. Adding the vanilla off the heat preserves its delicate flavor, preventing it from evaporating.
- Final Stir & Serve: Give the sauce one last good stir until the vanilla is thoroughly combined and the fudge is beautifully smooth. Your homemade hot fudge is now ready to be drizzled generously over your favorite ice cream, brownies, cakes, or any dessert that craves a touch of chocolatey perfection.
NOTE: Don’t worry if the hot fudge seems a little thin right after you take it off the heat. It has a magical quality of continuing to thicken as it cools. This is especially noticeable when it comes into contact with frozen desserts like ice cream, where it will develop a lovely, slightly firmer, fudgy texture.
Serving and Storing Your Homemade Hot Fudge
To ensure you get the most out of your delectable hot fudge, here are some practical tips for serving it perfectly and storing any delicious leftovers:
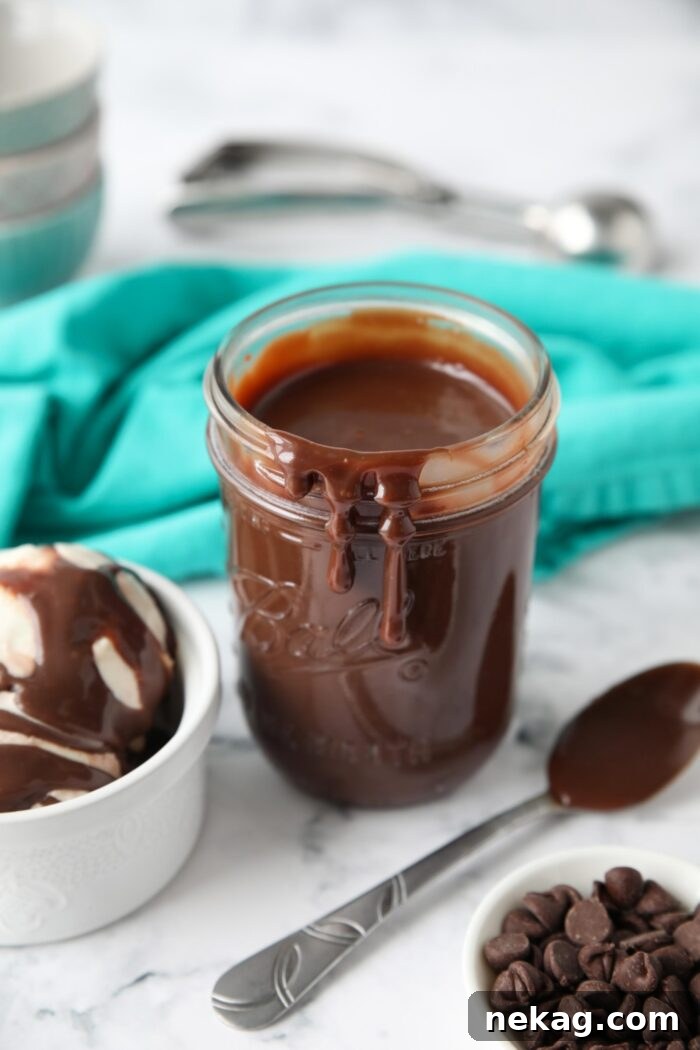
- Optimal Serving Temperature: For that ideal, thicker yet still pourable consistency, allow the hot fudge to cool slightly after cooking before drizzling it over your desserts. This brief cooling period helps it to set just enough to cling beautifully to ice cream and other treats. If you prefer a thinner, more liquid sauce, serve it immediately after preparation.
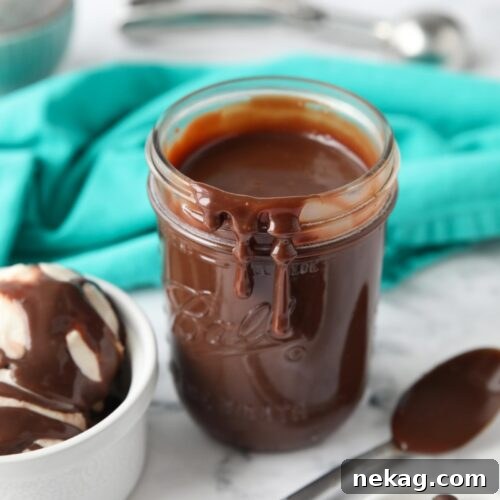
- Storing Leftovers: Any unused hot fudge can be easily stored for later enjoyment. Simply transfer the cooled fudge into an clean, airtight container. A mason jar works wonderfully for both storage and presentation. Place the container in your refrigerator, where it will keep beautifully for up to 2 weeks.
- Reheating Instructions: When you’re ready to enjoy your hot fudge again, reheating it gently will restore its luscious, pourable texture.
- Microwave Method: For quick reheating, spoon the desired amount of fudge into a microwave-safe bowl. Heat on high in short bursts of 20-30 seconds, stirring thoroughly between each interval, until the fudge is warmed through and reaches your desired consistency. Be careful not to overheat it, as this can alter its texture.
- Stovetop Method: Alternatively, you can reheat the fudge on the stovetop. Transfer it to a small saucepan and warm it over low heat, stirring frequently. Continue stirring until it’s smooth and perfectly warm. This method offers more control and is ideal for larger quantities.
This homemade hot fudge truly is a game-changer. There’s no complicated corn syrup to deal with, no intricate steps to master, just pure, rich, chocolatey bliss that comes together in mere minutes. Once you experience the superior flavor and velvety texture of this easy homemade version, you’ll find yourself saying goodbye to the inferior store-bought options forever. It’s a simple luxury that makes any dessert feel special.
Did you Make This?
I would absolutely love to hear about your experience with this recipe! Please take a moment to leave a review and rating below to share how much you enjoyed making and tasting this hot fudge. Your valuable feedback not only supports my small business but also helps me continue to provide delicious, free recipes for everyone to enjoy.
Recipe Notes & Important Tips
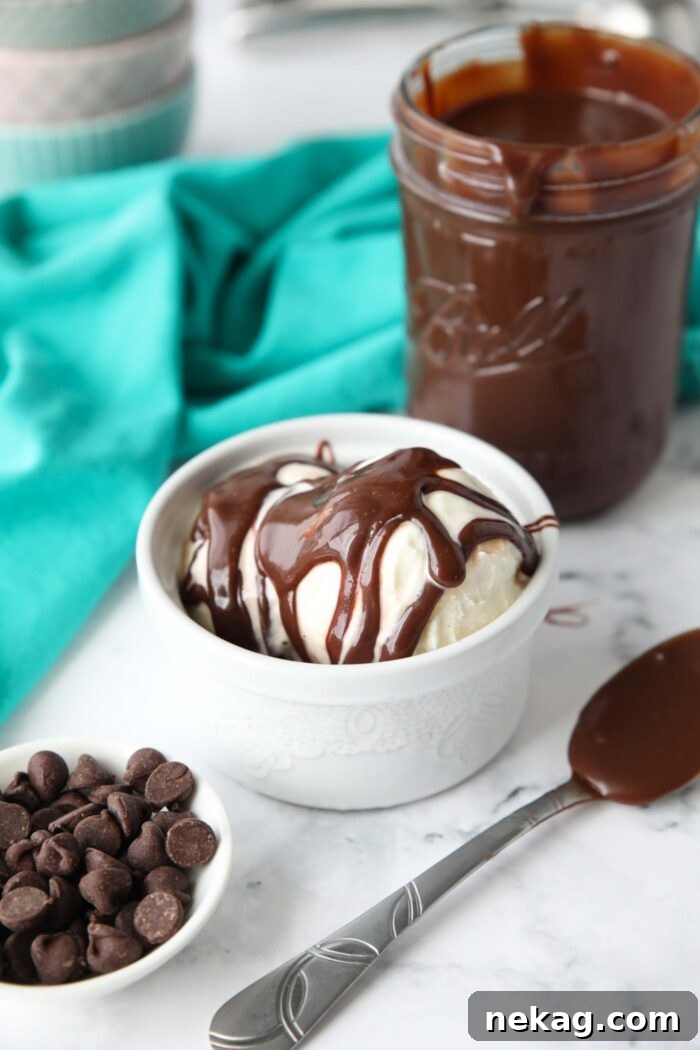
- Gifting Your Hot Fudge: This homemade hot fudge makes an absolutely charming and thoughtful gift. Package it beautifully in a clean mason jar, perhaps tied with a festive ribbon. When gifting, it’s essential to provide clear instructions to the recipient: remind them that the hot fudge must be kept refrigerated and should be consumed within 2 weeks for optimal freshness and safety. You might even consider writing an “expiration date” and a “refrigerate” reminder directly on the lid for convenience.
- Regarding Home Canning Safety: It is crucial to understand that I do NOT recommend canning hot fudge at home. Home canning procedures are specifically designed for high-acid foods, and unfortunately, chocolate sauce falls into the low-acid category. Attempting to can this sauce in a traditional hot water bath without refrigeration would pose a significant risk of botulism once consumed. Safe canning of low-acid foods like hot fudge sauce requires specialized pressure canning equipment and precise techniques, typically found only in professional processing facilities, often with the addition of specific preservatives. For home use, refrigeration is the only safe storage method beyond immediate consumption.
- Microwave Preparation Option: If you’re looking for an even quicker method, this hot fudge can be made in the microwave! In a large, microwave-safe bowl (a 4-cup glass measuring cup works perfectly), combine the sweetened condensed milk, chocolate chips, and butter. Microwave on high power in short 30-second intervals. After each interval, remove the bowl and stir the mixture thoroughly. Continue this process until all the ingredients are fully melted and the sauce is smooth and glossy. Once melted, stir in the vanilla extract until well combined, then serve immediately. This method is incredibly convenient for small batches or when you’re short on time.
Expert Tips for Crafting the Perfect Hot Fudge
- Use Quality Ingredients: Since there are only four ingredients, the quality of each really shines through. Opt for good quality chocolate chips and pure vanilla extract for the best flavor.
- Don’t Overheat: Low and slow is the key. Overheating chocolate can cause it to seize or burn, leading to a grainy or bitter fudge. Keep the heat on medium-low and stir constantly.
- Adjusting Consistency: If your fudge seems too thick once it cools, you can thin it out slightly by stirring in a tablespoon or two of milk (dairy or non-dairy) during reheating. If you prefer it even thicker, let it cool more before serving.
- Prevent Sticking: A heavy-bottomed saucepan is recommended, and constant stirring ensures the chocolate doesn’t stick to the bottom and burn.
- Make Ahead Friendly: This hot fudge is perfect for making in advance. Its excellent shelf life in the refrigerator means you can whip up a batch days before a party or simply keep it on hand for spontaneous dessert cravings.
Troubleshooting Common Hot Fudge Problems
- Grainy Texture: This usually happens if the chocolate was overheated or melted too quickly. Ensure you use medium-low heat and stir continuously. If it becomes grainy, try adding a tablespoon of hot milk or water and whisking vigorously off the heat to try and smooth it out.
- Fudge is Too Thin: It will thicken as it cools, so give it time. If it’s still too thin after cooling, you can gently reheat it and add a few more chocolate chips, stirring until melted, to increase its thickness.
- Fudge is Too Thick: If your refrigerated fudge is too thick even after reheating, add a tablespoon of milk (or cream) at a time, stirring well after each addition, until it reaches your desired drizzly consistency.
- Chocolate Seizing: This occurs when chocolate comes into contact with a small amount of liquid, causing it to clump up. While less common with condensed milk (which is already liquid), ensuring your equipment is completely dry and adding vanilla off the heat helps prevent this.
Creative Serving Ideas for Your Hot Fudge Sauce
Once you’ve made a batch of this irresistible hot fudge, the possibilities for enjoyment are endless! Here are some delectable ways to serve your homemade creation:
- Classic Ice Cream Sundaes: The quintessential use! Drizzle generously over vanilla, chocolate, or any flavor of ice cream, then top with whipped cream, nuts, and a cherry for the ultimate treat.
- Warm Brownies or Chocolate Cake: Elevate a simple slice of warm brownie or a rich chocolate cake by pouring hot fudge over it. The warm sauce melts slightly into the cake, creating pure bliss.
- Fruit & Pretzel Dip: Serve it warm in a fondue pot or a small bowl as a luxurious chocolate dip for fresh strawberries, banana slices, apple wedges, or crunchy pretzels. The sweet and salty combination is divine!
- Instant Hot Chocolate Enhancer: Stir a spoonful or two of hot fudge into a mug of warm milk for an incredibly rich and decadent homemade hot chocolate.
- Pancake & Waffle Topping: Transform your breakfast or brunch by drizzling hot fudge over fluffy pancakes, golden waffles, or even French toast.
- Milkshake & Smoothie Base: Blend a dollop of hot fudge into your milkshakes or smoothies for an extra layer of chocolatey goodness and a creamier texture.
- On Cheesecakes & Pies: Add a sophisticated touch to slices of cheesecake, pecan pie, or even apple pie. The contrast of the warm fudge with a cool dessert is exquisite.
Frequently Asked Questions (FAQs) About Hot Fudge
- Can I use different types of chocolate?
Yes, while semi-sweet is recommended, you can experiment. Dark chocolate (60-70% cacao) will yield a richer, less sweet fudge. Avoid milk chocolate as it can make the fudge overly sweet and might affect its texture. White chocolate is not recommended for this recipe as it has a different fat content and can seize easily. - Is this hot fudge gluten-free?
Yes, all the ingredients listed (sweetened condensed milk, chocolate chips, butter, vanilla extract) are typically gluten-free. However, always check the labels of your specific brands to confirm, especially for chocolate chips, if cross-contamination is a concern. - Can I make this dairy-free or vegan?
Yes, you can! Substitute the sweetened condensed milk with a can of sweetened condensed coconut milk and use a high-quality vegan butter substitute along with dairy-free chocolate chips. The consistency might vary slightly, but it will still be delicious. - Can I freeze homemade hot fudge?
While it’s best stored in the refrigerator, you can freeze hot fudge for longer storage, up to 2-3 months. Place it in an airtight, freezer-safe container. When ready to use, thaw it in the refrigerator overnight and then reheat gently using the stovetop or microwave method, stirring well until smooth. - What is the difference between hot fudge and chocolate sauce?
Hot fudge is generally thicker, richer, and more intense in chocolate flavor, often becoming fudgy when chilled. Chocolate sauce is typically thinner, more pourable even when cold, and may contain less fat. This recipe specifically aims for that classic, luxurious hot fudge consistency.
More Sweet Treats You’ll Love
No Churn Oreo Fudge Ice Cream
No Churn Chocolate Chip Cookie Dough Ice Cream (+10 more ice creams!)
Cookies and Cream Brownies
Crockpot Caramel
Hot Fudge Sauce
Pin
Rate
Save
Ingredients
- 14 oz (396 g) can sweetened condensed milk
- 1 cup (170 g) semi-sweet chocolate chips, or 6 oz chopped dark chocolate (NOT milk chocolate chips)
- 4 Tbsp (57 g) salted butter, cut into Tablespoons
- ½ tsp vanilla extract
Equipment
-
Circulon ScratchDefense Pots and Pans Set
-
Silicone Spatula Set
Instructions
-
Place sweetened condensed milk, chocolate chips, and butter in a medium saucepan. Cook over medium-low heat stirring constantly until melted and smooth.
-
Turn off the heat and add the vanilla. Stir until smooth and combined. Drizzle over ice cream or other desserts. (Let the hot fudge cool slightly before using it, if you prefer a thicker texture. It will continue to thicken as it cools.)
Notes
- To Store: Place leftovers in an airtight container in the fridge for up to 2 weeks.
- To Reheat: Reheat gently in the microwave or on the stovetop. (Nuke in the microwave for 20-30 second intervals, stirring in-between, until warmed through. You can also place it in a pan on the stovetop over low heat, stirring frequently until warmed through.)
- To Make Hot Fudge in the Microwave: In a large microwave-safe bowl or 4-cup glass measuring cup, combine the sweetened condensed milk, chocolate chips and butter. Microwave on high for 30 second intervals, stirring in-between, until melted and smooth. Add the vanilla, stir to combine and serve.
Nutrition
Disclaimer: Nutritional values were calculated using a third-party tool and are provided as an estimation only.
Sharing this recipe with a link is both encouraged and appreciated. Copying/pasting and/or screenshots of full recipes to any social media is strictly prohibited. Content and photographs are copyright protected.
Did you make this?
Don’t forget to leave a rating below and make sure to follow on Pinterest and Instagram for more!
*Originally published on 8/15/2013. Recipe and photos updated May 2025, with expanded content and tips for optimal enjoyment.