
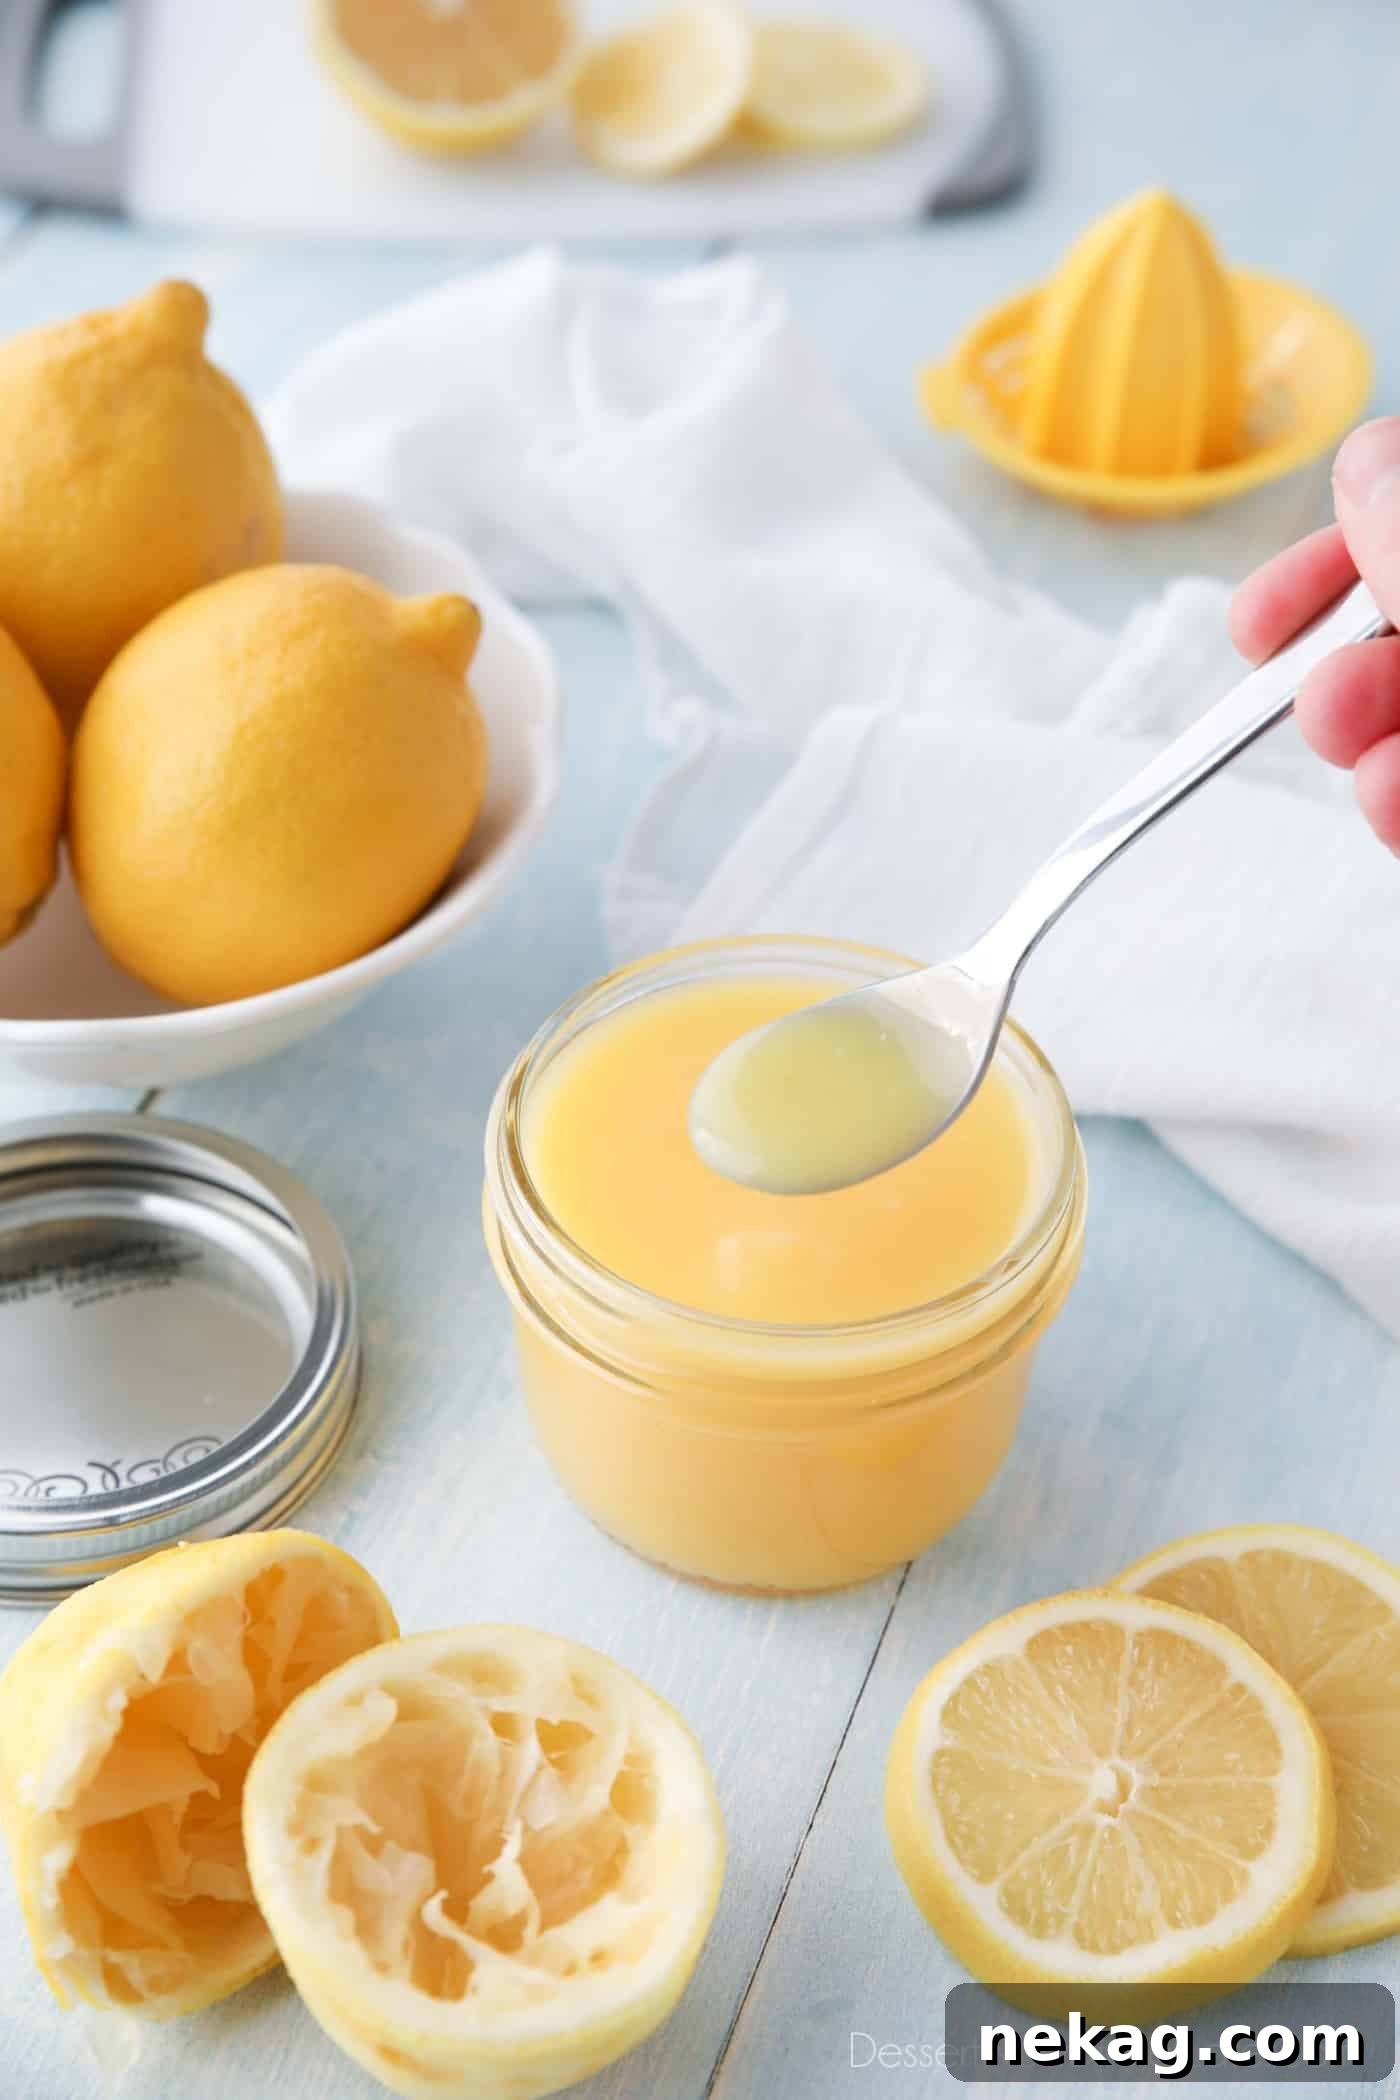
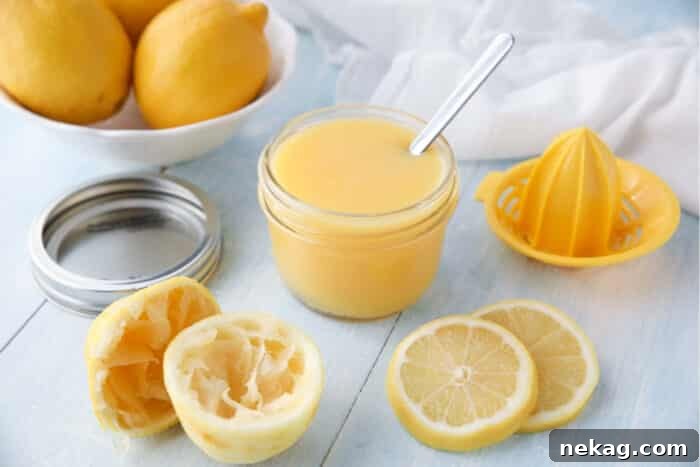
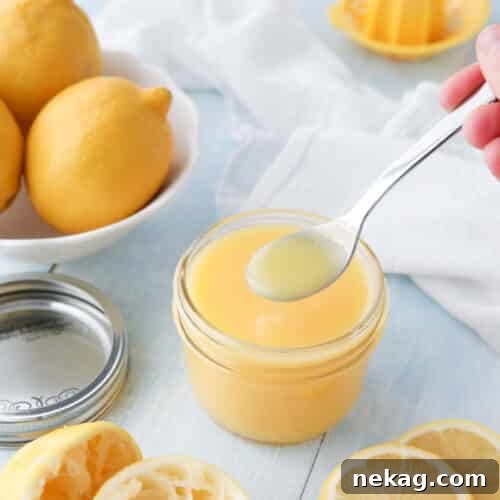
Experience the unparalleled delight of this homemade lemon curd. Boasting a vibrant, tangy flavor and a luxuriously smooth texture, it’s surprisingly simple to prepare right on your stovetop in under 20 minutes. This comprehensive guide will walk you through every step with clear instructions, provide creative ideas for how to savor every spoonful, and offer practical solutions should your curd need a little extra thickening magic. Say goodbye to store-bought and embrace the exquisite freshness of a truly artisanal treat!
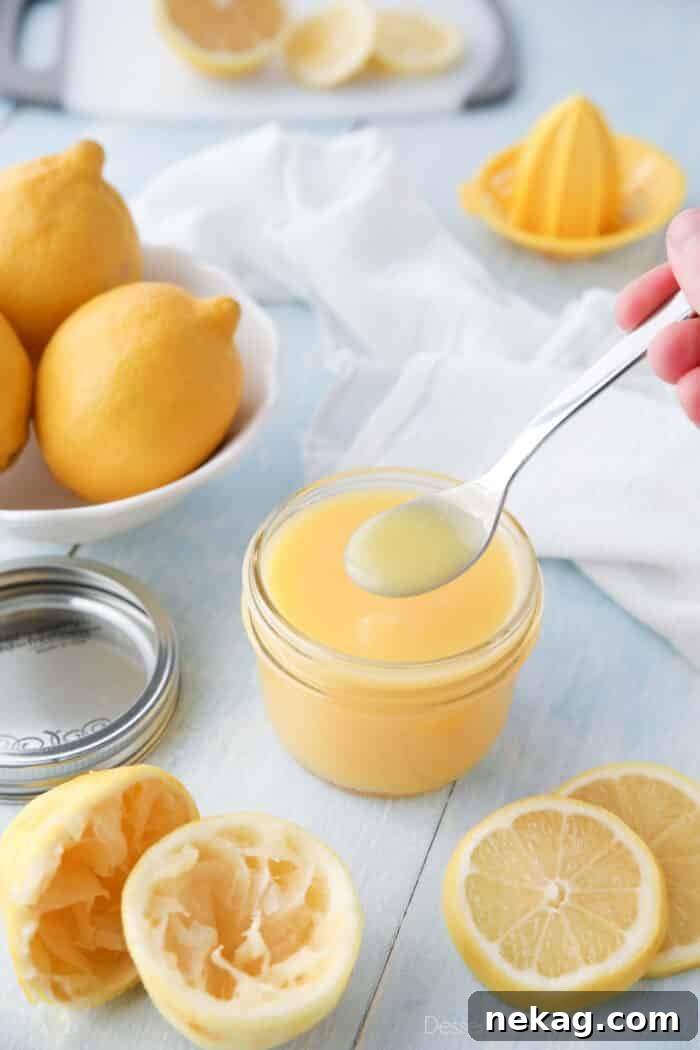
Indulge in the Zesty Perfection of Homemade Lemon Curd
There’s something incredibly enchanting about a truly well-made lemon curd. For those who adore citrus, its bright, bold flavor is simply irresistible. This velvety, sweet-tart spread is a kitchen staple that transforms ordinary meals and desserts into extraordinary culinary experiences. Forget the notion that lemon curd is a complicated, chef-only creation. This recipe empowers you to whip up a batch of glorious, golden lemon curd with minimal effort and maximum reward.
At its heart, lemon curd is a rich, creamy fruit spread, akin to a luxurious jam, perfect for slathering on toast, warm biscuits, or flaky scones. But its versatility extends far beyond breakfast fare, as we’ll explore in detail. What makes this recipe particularly special is its simplicity. Requiring just five basic ingredients – fresh lemons (for zest and juice), granulated sugar, rich butter, and egg yolks – it harnesses natural flavors and traditional techniques to achieve perfection. The best part? This fundamental recipe is incredibly adaptable, inviting you to experiment with other citrus fruits like limes, grapefruit, or oranges, opening a world of delightful possibilities.
Lemon Curd vs. Lemon Pie Filling: Understanding the Distinction
While lemon curd and lemon pie filling share a common lemony lineage and a delightful tartness, they possess distinct characteristics that cater to different culinary applications. Both deliver that quintessential sharp citrus flavor, but the nuances in their preparation and ingredient ratios create unique textures and intensity levels.
- Flavor Intensity: Lemon curd is renowned for its more concentrated and richer flavor profile. This intensity comes from a higher proportion of fresh lemons and butter, resulting in a deeply vibrant and bright taste that makes it ideal for serving in smaller, more potent quantities. Think of it as a luxurious accent rather than a voluminous filling.
- Consistency and Thickening Agents: The primary difference lies in how they achieve their characteristic thickness. Traditional lemon curd relies almost exclusively on egg yolks. The proteins in the egg yolks emulsify with the butter and lemon juice, and when gently heated, they coagulate to create a beautifully smooth, thick, and pourable consistency. Lemon pie filling, on the other hand, often incorporates water to dilute the lemon’s intensity and increase volume, making it suitable for filling an entire pie crust. It typically uses starches like cornstarch or flour as its main thickening agent, which results in a firmer, more gel-like texture compared to the silken richness of curd.
- Usage: Due to its robust flavor and texture, lemon curd is typically enjoyed as a spread, a topping, or a delicate filling for pastries. Lemon pie filling, with its milder flavor and sturdier set, is designed to hold its shape within a pie, offering a satisfying sliceable dessert.
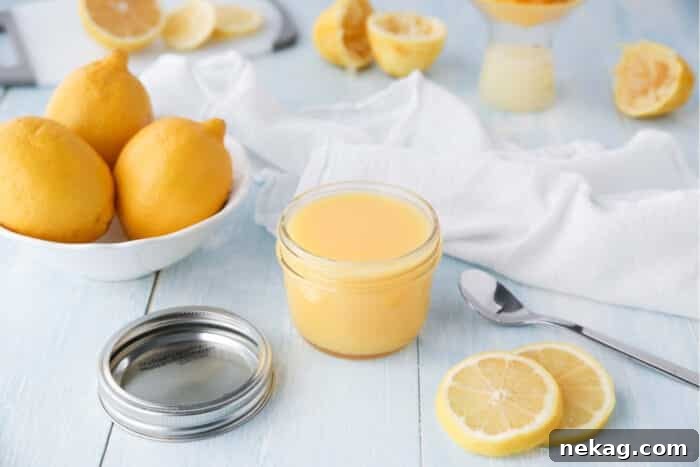
Unleash the Versatility: Creative Ways to Use Lemon Curd
The culinary applications for homemade lemon curd are virtually endless. Its bright, zesty flavor and creamy texture make it a magnificent addition to both sweet and savory dishes, transforming simple ingredients into gourmet delights. Here are just a few ideas to inspire your kitchen adventures:
- **Breakfast & Brunch Boost:** Elevate your morning routine by spreading it on warm toast, freshly baked scones (or American-style biscuits), fluffy pancakes, crispy waffles, or even elegant French toast.
- **Decadent Desserts:** Lemon curd shines as a filling or topping for a wide array of sweet treats. Use it to fill delicate tarts, add a burst of flavor to layered cakes or individual cupcakes, create stunning parfaits layered with berries and whipped cream, or inject into light, airy cream puffs and donuts.
- **Cookie & Pastry Perfection:** Swirl it into a cheesecake batter for a tangy twist, or dollop it onto cookies as a vibrant filling. Lemon curd bars are a classic for a reason!
- **Sauces & Accompaniments:** Fold lemon curd into freshly whipped cream to create a luscious, tangy sauce that beautifully complements fresh berries, pound cake, or even simple vanilla ice cream.
- **Beyond the Obvious:** Consider incorporating it into yogurt, oatmeal, or as a vibrant glaze for savory dishes like chicken or fish, offering a surprising balance of sweet and tart.
Once you discover the ease of making it from scratch, you’ll find that homemade lemon curd is an indispensable ingredient in your repertoire, ready to add a burst of sunshine to almost anything.
Inspiration Corner: Recipes Featuring Lemon Curd
Seeking more delicious ways to incorporate your freshly made lemon curd? Look no further! These recipes demonstrate just how beautifully lemon curd can star in a variety of desserts:
- Lemon Curd Cookie Bars: A classic and irresistible combination of buttery shortbread and tangy lemon curd.
- Lemon Cream Cheese Pie: A creamy, dreamy pie with a delightful citrus zing.
- Strawberry Lemon Sweet Rolls: A perfect balance of sweet strawberries and bright lemon in a soft roll.
- Lemon Strawberry Shortcake: A fresh and fruity twist on a beloved dessert.
- Lemon Curd Dessert: Explore more unique ways to feature lemon curd as the star of your sweet endings.
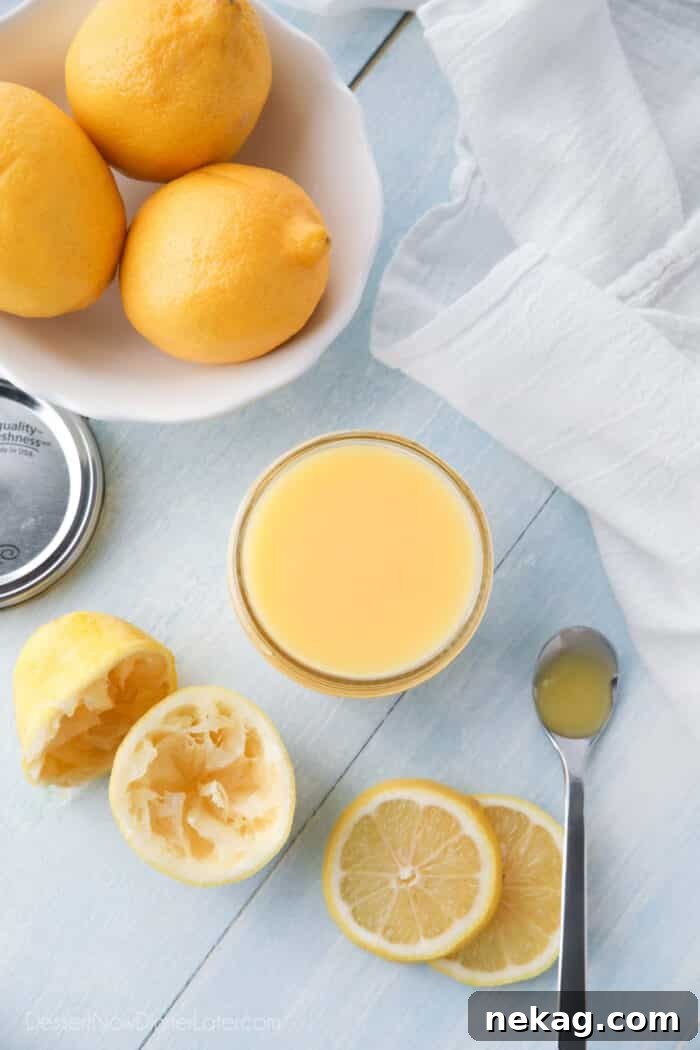
Mastering the Art of Homemade Lemon Curd: A Step-by-Step Guide
Now that you’re well-acquainted with the wonders of lemon curd, let’s dive into the incredibly straightforward process of making it yourself. You’ll be amazed at how quickly these simple ingredients transform into a glossy, irresistible spread. Precision and patience are key, but the steps themselves are remarkably easy to follow.
Before you begin, gather your tools: a medium-sized, heat-safe bowl (preferably glass or stainless steel) for your egg yolks, a medium saucepan for cooking the curd, a sturdy whisk, and a heat-proof silicone spatula. Having everything ready ensures a smooth cooking process.
Step 1: Prepare Your Ingredients and Simmer the Lemon Mixture
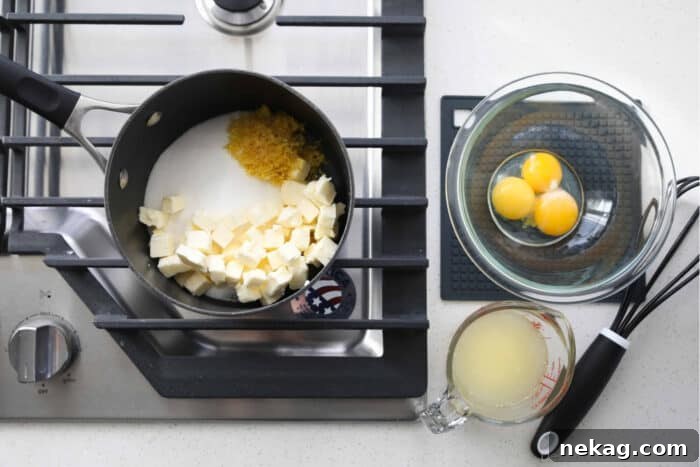
First, separate your egg yolks into your heat-safe bowl and set aside. Ensure no egg whites are present, as they can affect the curd’s texture. In your medium saucepan, combine the granulated sugar, finely grated lemon zest (which provides intense lemon oil flavor), freshly squeezed lemon juice, and the cubed unsalted butter. Place the saucepan over medium-low heat. Using your heat-proof silicone spatula, stir the mixture continuously. The goal here is to gently melt the butter and dissolve the sugar, allowing the flavors to meld without bringing the mixture to a rapid boil. Keep stirring until the butter is fully melted and the sugar is dissolved, and the mixture begins to lightly simmer around the edges.
Step 2: Temper the Egg Yolks for Silky Smoothness
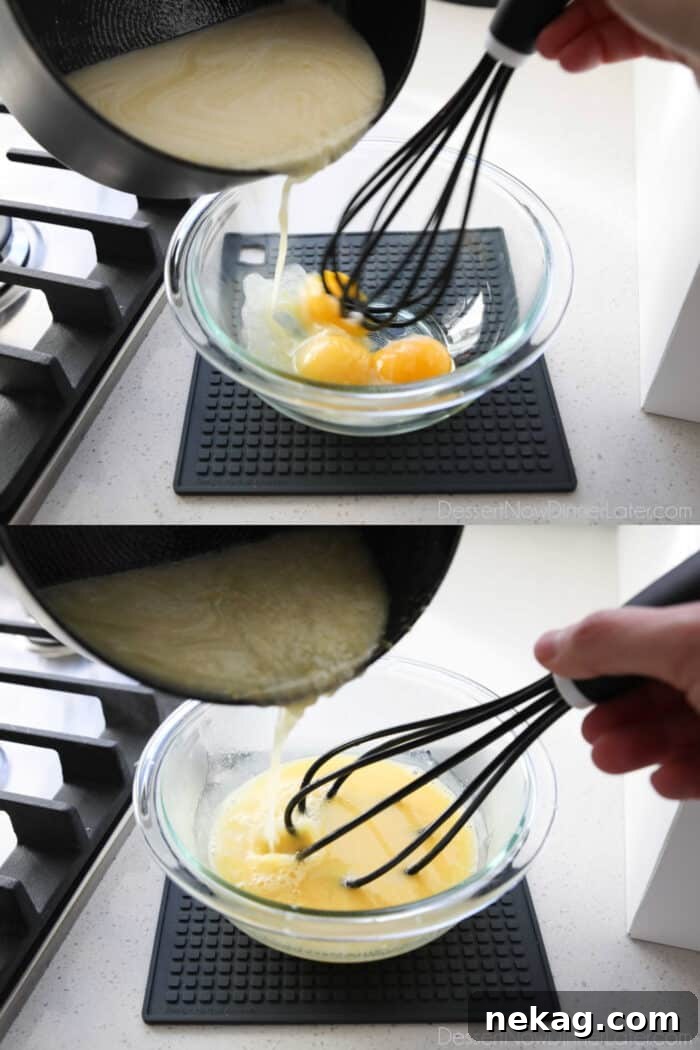
This is a crucial step to prevent your egg yolks from scrambling and ensure a perfectly smooth curd. Once your lemon mixture in the saucepan reaches a gentle simmer, it’s time to temper the egg yolks. While continuously and vigorously whisking the egg yolks in their bowl, SLOWLY pour about half of the hot lemon mixture into the egg yolks. The slow addition and constant whisking gradually raise the temperature of the egg yolks, preventing them from cooking too quickly when added back to the hot pan. This process is called tempering. Continue whisking until the egg yolks are fully combined and the mixture looks uniform. This technique ensures a lump-free, silky smooth curd.
Expert Tip: Tempering is a gentle method used to gradually warm delicate ingredients like eggs before incorporating them into a hot mixture. This slow temperature increase is vital; if you add cold egg yolks directly to a hot liquid, they will cook instantly and scramble, resulting in an undesirable lumpy texture. Pour the hot liquid as slowly as possible, maintaining vigorous whisking throughout, to achieve perfect emulsification.
Step 3: Cook Low and Slow to Achieve Perfect Thickness
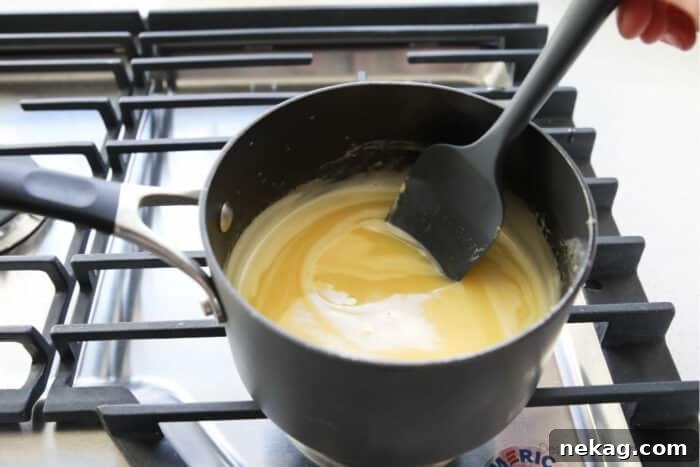
Pour the tempered egg yolk and lemon mixture back into the saucepan. Return the saucepan to the stove and continue to cook over medium-low heat. This is where patience pays off! Stir continuously with your silicone spatula or whisk. Constant stirring is essential to prevent the curd from sticking to the bottom of the pan and ensuring even cooking. Cook for approximately 10-15 minutes, or until the mixture visibly thickens and coats the back of your spatula, and small bubbles just begin to appear on the surface. When you run your finger across the spatula, the line should hold without the curd running back together. Do not stop stirring, and resist the urge to increase the heat to speed up the process; a low and slow cook is key for a beautifully set, smooth curd.
Step 4: Strain and Chill for Silken Smoothness
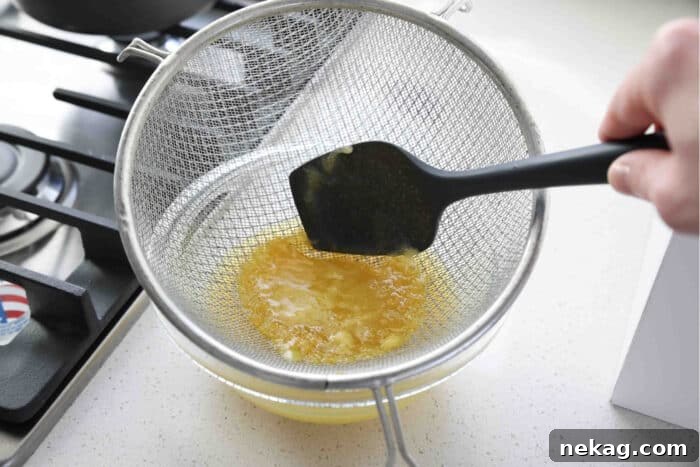
Once your lemon curd has reached the desired thickness and is showing signs of a gentle boil (small bubbles consistently breaking the surface), immediately remove the pan from the heat. For an impeccably smooth and luxurious curd, it’s essential to strain it. Place a fine mesh sieve over a clean, heat-safe container (like a mason jar or a glass bowl). Pour or push the hot curd through the sieve, using your spatula if necessary. This step removes any tiny bits of cooked egg yolk or lemon zest that might compromise the curd’s velvety texture.
Allow the strained lemon curd to cool completely to room temperature on your counter. During this cooling process, the curd will continue to thicken significantly. Once it has reached room temperature, cover the container tightly (a layer of plastic wrap pressed directly onto the surface of the curd can prevent a skin from forming) and place it in the refrigerator. The curd will achieve its final, firm, and spreadable consistency as it chills. Always keep your homemade lemon curd refrigerated until you’re ready to use it.
Troubleshooting: How to Fix Common Lemon Curd Problems
Even experienced bakers can encounter a hiccup or two. Don’t worry if your lemon curd doesn’t turn out perfectly the first time; most issues are easily fixable. The primary role of the egg yolks is to thicken the curd, and using large or extra-large yolks ensures sufficient thickening power. Patience during the cooking process is also paramount – it genuinely takes the full 10-15 minutes of low, continuous heat for the curd to achieve its proper consistency. Rushing the curd by increasing the heat or stopping stirring too soon can prevent it from thickening correctly.
What if My Lemon Curd Is Too Thin?
If your lemon curd has been cooked, strained, and allowed to cool completely to room temperature, yet it still seems too thin, there’s a quick and effective fix using a cornstarch slurry:
- Prepare the Slurry: In a small bowl, combine 2 teaspoons of cornstarch with 2 teaspoons of COLD water or cold lemon juice. Whisk until a smooth, lump-free slurry forms.
- Reheat the Curd: Return your thin lemon curd to the saucepan and bring it back to a gentle boil over medium-low heat, stirring constantly.
- Thicken with Slurry: Once the curd is boiling, slowly whisk in the cold cornstarch slurry. The chemical reaction between the cold cornstarch and the hot curd will cause it to thicken almost immediately. Continue whisking for another minute or two until it reaches your desired consistency.
- Cool and Chill: Remove from heat, strain again if desired, and cool to room temperature before refrigerating.
If you’re looking for a similar delicious result with an even shorter active cooking time, you might enjoy trying a microwave lemon curd recipe, offering a super speedy alternative.
Storing Your Homemade Lemon Curd
Proper storage is key to enjoying your delicious homemade lemon curd for as long as possible. Fortunately, it keeps remarkably well:
- **Refrigeration:** Store your lemon curd in an airtight container with a lid, such as a glass jar or a sealed plastic container, in the refrigerator. It will remain fresh and delicious for up to one month. Always ensure the container is clean and dry before filling.
- **Freezing:** For longer storage, lemon curd freezes beautifully for up to one year. Transfer the cooled curd into a freezer-safe container, leaving a little headspace as it may expand slightly. To thaw, simply transfer the frozen lemon curd from the freezer to the refrigerator 24 hours before you plan to use it. Once thawed, stir it gently before serving.
Lemon Curd
Created by Amber Brady
Prep Time: 5 mins
Cook Time: 15 mins
Total Time: 20 mins
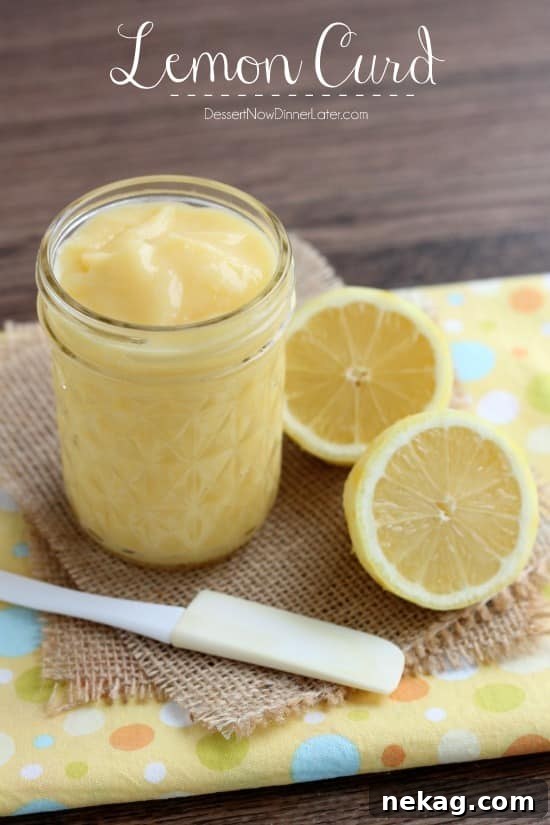
Tangy-sweet, thick and creamy, this silky smooth lemon curd is easy to make with 5 basic ingredients.
Print Recipe |
Pin Recipe |
Rate This Recipe
Yields: 12 servings
Ingredients
- 3 large egg yolks (no whites)
- ¾ cup (150 g) granulated sugar
- 1 Tbsp lemon zest (about 2 lemons)
- ¾ cup (177 g) lemon juice (about 2-3 lemons)
- ½ cup (113 g) unsalted butter (1 stick), cut up into cubes
Equipment
- Zester
- Juicer
- Fine Mesh Strainer
- Silicone Whisks
- Silicone Spatula Set
Instructions
- Place egg yolks in a large heat-safe bowl. Set aside.
- In a medium-size saucepan, continuously stir the sugar, lemon zest, lemon juice, and cubed butter with a heat-proof spatula over medium-low heat until butter is melted and mixture begins to simmer.
- Once the mixture comes to a simmer, temper the egg yolks by SLOWLY pouring about half of the hot liquid into the bowl of egg yolks while whisking constantly, until fully combined.
- Pour the tempered mixture back into the saucepan and continue to cook low and slow. Stir continuously with a spatula or whisk until the mixture thickens and coats the back of a spoon, and small bubbles start to come to the surface; about 15 minutes. Do not stop stirring, and don’t rush it. It should take the full time to cook and thicken properly.
- Once the curd is thick and starting to boil, remove the pan from the heat, and push the curd through a fine mesh sieve into a clean container. Cool to room temperature. Then place the curd in the refrigerator until ready to use. The lemon curd will continue to thicken as it cools. Keep refrigerated.
Notes
- If curd boils too soon and doesn’t thicken: Mix 2 tsp of cornstarch with 2 tsp of COLD water or lemon juice to form a slurry. Whisk the cornstarch slurry into the boiling curd mixture; it will thicken quickly.
- Store lemon curd in the refrigerator for up to one month or in the freezer for up to one year. Thaw in the refrigerator for 24 hours prior to using.
- YIELD: Approximately 1 ½ cups
Nutrition
Serving: 2 Tbsp | Calories: 78 kcal | Carbohydrates: 14g | Protein: 2g | Fat: 2g | Saturated Fat: 1g | Polyunsaturated Fat: 1g | Cholesterol: 63mg | Sodium: 26mg | Sugar: 13g
Disclaimer: Nutritional values were calculated using a third-party tool and are provided as an estimation only.
Sharing this recipe with a link is both encouraged and appreciated. Copying/pasting and/or screenshots of full recipes to any social media is strictly prohibited. Content and photographs are copyright protected.
Did you make this?
Don’t forget to leave a rating below and make sure to follow on Pinterest and Instagram for more delicious inspiration!
Originally published 5/6/14. Updated 1/8/21.