
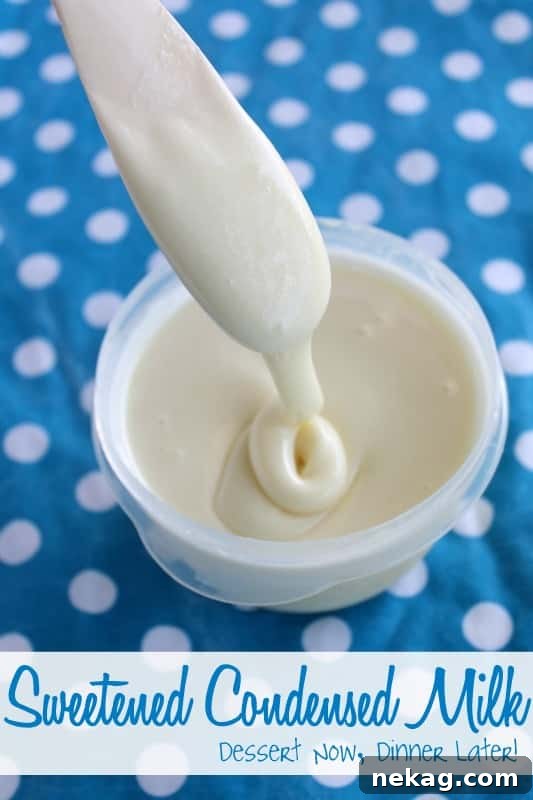
Homemade Sweetened Condensed Milk: The Easiest Blender Recipe
Discover the incredibly easy way to make your own sweetened condensed milk at home in under 2 minutes using just a blender! This versatile ingredient is a staple for countless dessert recipes, delightful beverages, and creamy homemade ice cream. Forget store-bought cans; your kitchen is about to become a sweetened condensed milk factory, always ready to sweeten your culinary creations.
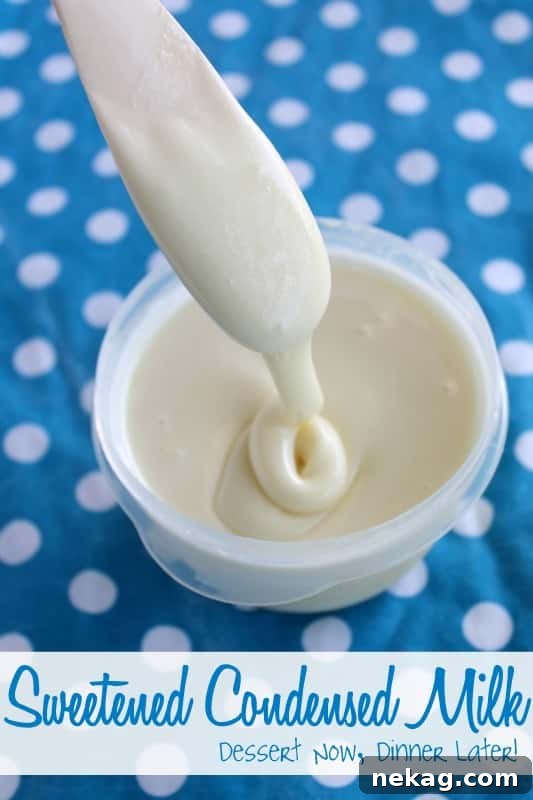
Why Opt for Homemade Sweetened Condensed Milk?
Making your own sweetened condensed milk isn’t just a fun kitchen experiment; it’s a culinary revelation that offers numerous benefits. Imagine never again having to rush to the store for a can of this essential ingredient in the middle of a baking project. For many home cooks, powdered milk is a pantry staple, making this recipe incredibly accessible. This method is so straightforward and genuinely delicious that once you experience the ease and superior taste, you’ll likely bid farewell to the store-bought variety forever.
Beyond the sheer convenience, crafting your own sweetened condensed milk offers several distinct advantages. You gain complete control over the ingredients, allowing you to avoid any unwanted preservatives, artificial flavors, or unnecessary additives often found in commercial products. This means a cleaner, fresher taste that truly elevates your desserts. Furthermore, it’s a cost-effective solution, as powdered milk is generally more economical than pre-packaged cans of sweetened condensed milk. It also contributes to reducing household waste by cutting down on cans, aligning with more sustainable kitchen practices. The satisfaction of creating such a fundamental and versatile ingredient from scratch is an added bonus, connecting you more deeply with your cooking.
The Blender Revolution: Effortless Smoothness, Zero Lumps!
You might be thinking, “Oh, I’ve tried making this before, and it was a disaster.” Let me assure you, this blender method is unlike any other you might have encountered, and it’s truly the definitive way to prepare sweetened condensed milk at home. In my own culinary journey, I initially learned a stovetop recipe that involved whisking the ingredients in a pot over simmering heat. This process was consistently frustrating. Despite diligent stirring, the mixture always ended up lumpy, uneven, and far from the smooth, rich consistency desired. It was a miserable, time-consuming endeavor that often resulted in a compromised end product and a messy cleanup.
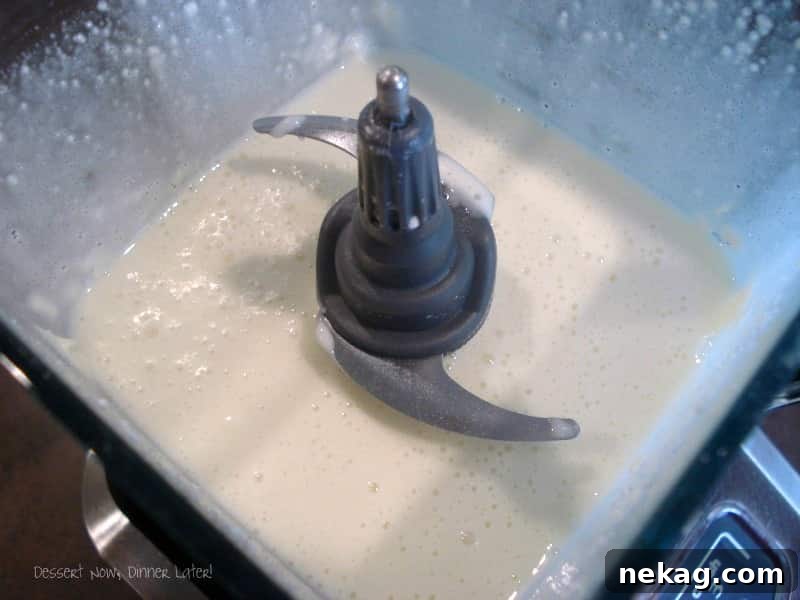
The discovery of the blender method was nothing short of a revelation! It completely transformed my approach to homemade sweetened condensed milk. With a high-powered blender, the ingredients are effortlessly combined, pulverized, and emulsified into a perfectly uniform and velvety liquid. The high-speed blades work their magic in seconds, dissolving the sugar completely and integrating the milk powder without any clumps. This means you get a consistently smooth, luscious sweetened condensed milk every single time, without the need for constant supervision or strenuous whisking. It’s not just an easier alternative; it’s a superior technique that guarantees professional-quality results with minimal effort and in record time. Say goodbye to lumpy batches and hello to culinary success!
Your Go-To Homemade Sweetened Condensed Milk Recipe
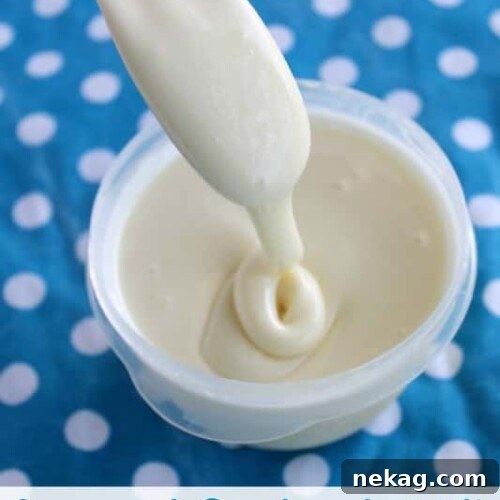
Sweetened Condensed Milk
Amber Brady
Share this recipe:
Print Recipe
Pin Recipe
10 (2 Tbsp) servings
Ingredients
- 1 cup (200 g) granulated sugar
- 1 cup (69 g) instant nonfat dry milk powder
- ½ cup (118 ml) water
- 1 Tbsp (14 g) unsalted butter
Instructions
-
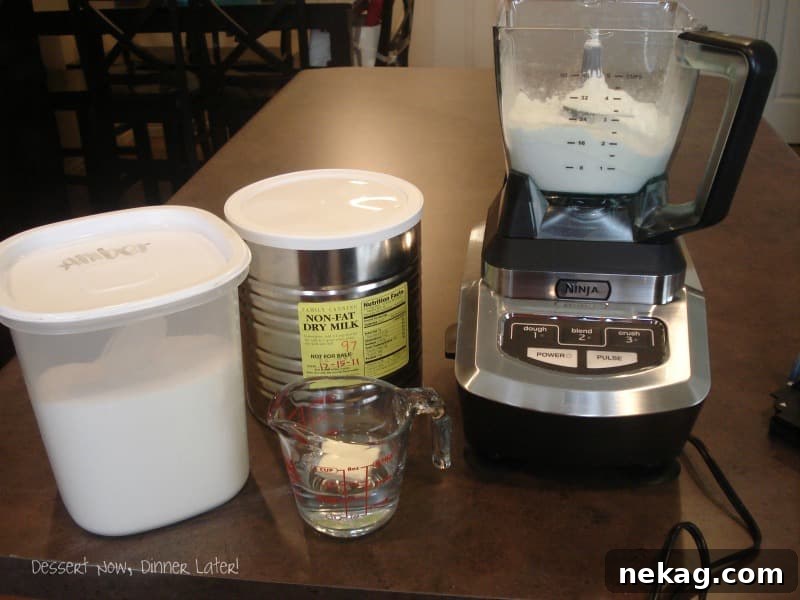
In your blender, combine the granulated sugar and the instant nonfat dry milk powder. Secure the lid firmly.
-
In a large microwave-safe dish or liquid measuring cup, add the water and the butter. Heat this mixture in the microwave until it comes to a rolling boil, which typically takes between 45 to 60 seconds, depending on your microwave’s power. It’s crucial to watch it closely to prevent it from boiling over. The butter should be completely melted and incorporated.
-
Carefully and immediately pour the hot water and butter mixture into the blender with the dry ingredients. Blend on high speed for about 1 to 2 minutes, or until the sugar is entirely dissolved and the mixture achieves a perfectly smooth, creamy, and uniform consistency. You might need to pause and use a rubber spatula to scrape down the sides of the blender jar to ensure all ingredients are fully incorporated and there are no dry pockets. Blend again briefly after scraping.
-
For the best results and proper thickness, allow the homemade sweetened condensed milk to cool completely. Transfer it to an airtight container and refrigerate for at least 4 hours, or ideally overnight, before using it in any dessert recipes. The mixture will significantly thicken as it chills.
Notes
- Storage: Store your freshly made sweetened condensed milk in an airtight container in the refrigerator for a period of 7 to 10 days. Always ensure it’s properly sealed to maintain freshness.
- Yield: This recipe typically yields approximately 1 ¼ cups of sweetened condensed milk, which is roughly equivalent to one standard 14-ounce can found in stores.
- Flavor Variations: While the recipe calls for nonfat dry milk powder, you can experiment with whole milk powder for a richer, more indulgent flavor and slightly thicker consistency. Be aware that this might slightly alter the overall texture.
- Consistency Tips: The temperature of the water is key. Using hot water ensures that the sugar fully dissolves, preventing a grainy or gritty texture. If your mixture feels too thin right after blending, remember it will thicken considerably once chilled.
Sharing this recipe by linking directly to this page is highly encouraged and appreciated. Copying, pasting, or taking screenshots of the full recipe for sharing on social media or other platforms is strictly prohibited. All content and photographs are protected by copyright.
Did you make this recipe?
We’d love to hear about it! Share your experience in the comments below, and don’t forget to follow us on Pinterest and Instagram for more delicious inspiration and updates!
Creative Ways to Utilize Your Homemade Sweetened Condensed Milk
Once you’ve whipped up your batch of this incredibly easy homemade sweetened condensed milk, a vast and delicious world of culinary possibilities opens before you! Its rich, sweet, and wonderfully creamy texture makes it an indispensable ingredient for transforming ordinary dishes into extraordinary delights. Here are some inspiring ideas to help you get the most out of your freshly made condensed milk:
Indulgent No-Churn Ice Creams
Homemade sweetened condensed milk is the magical component that makes incredibly easy, no-churn ice creams possible. Its dense sweetness and creamy body provide the perfect base, eliminating the need for an expensive ice cream maker. Simply combine it with whipped heavy cream and your favorite flavors or mix-ins for a gourmet frozen treat that’s ready in no time!
- No-Churn Oreo Fudge Ice Cream: A crowd-pleaser with crunchy cookie bits and rich fudge swirls.
- No-Churn Chocolate Peanut Butter Cup Ice Cream: The ultimate blend of chocolate and peanut butter in a creamy, frozen delight.
- No-Churn Chocolate Chip Cookie Dough Ice Cream: Chunks of classic cookie dough nestled in smooth vanilla ice cream.
- No-Churn Cake Batter Ice Cream: Celebrate birthdays any day with this fun, sprinkle-filled ice cream.
- Key Lime Pie Ice Cream: A refreshing and tangy twist on a beloved dessert.
Decadent Cakes and Moisture-Rich Cookies
This sweet milk is fantastic for adding an unparalleled level of moisture, sweetness, and a tender crumb to a variety of baked goods. It’s a cornerstone ingredient in many traditional Latin American desserts, but its versatility extends far beyond, enhancing countless cookie and cake recipes.
- Tres Leches Cake: The quintessential application for sweetened condensed milk, creating a wonderfully moist “three milk” cake.
- Root Beer Float Poke Cake: A nostalgic dessert soaked in a sweet, root beer-infused milk mixture.
- Coconut Key Lime Macaroons: Chewy, sweet, and bursting with tropical flavors, held together by condensed milk.
- Chocolate Chip Macaroons: A delightful twist on the classic cookie, with added chewiness.
- Chocolate Cherry Coconutty Macaroons: A fruity and rich variation for coconut lovers.
Irresistible Pies and Sumptuous Bars
When it comes to pies and bars, sweetened condensed milk acts as a magical binder and a profound flavor enhancer. It creates smooth, rich, and perfectly set fillings, making it ideal for both baked and no-bake recipes that require minimal fuss but deliver maximum flavor.
- (Key) Lime Pie: An iconic dessert where sweetened condensed milk provides the essential creamy, tangy filling.
- Creamy Lemon and Blueberry Pie: A refreshing pie with a balanced sweet and tart profile.
- Caramel Banana Cream Pie: A comforting classic made even more luscious with homemade caramel notes.
- Frozen Peanut Butter Cup Pie: A delightful frozen treat for peanut butter enthusiasts.
- Frozen Pink Lemonade Pie: A vibrant, cool, and tangy dessert perfect for warmer days.
- Lemon Raspberry Crumb Bars: Layers of fruit, crumb topping, and a sweet, condensed milk base.
- Caramel Pretzel Magic Bars: A perfect blend of sweet and salty, chewy and crunchy.
Delightful Drinks and Miscellaneous Sweet Treats
Beyond traditional desserts, sweetened condensed milk can significantly upgrade your beverage game and inspire unique confections. It’s fantastic for creating creamy, rich drinks and luscious homemade caramel sauces.
- Oreo Fudge: A simple, rich, and incredibly easy fudge recipe.
- Crockpot Caramel: Transform your homemade sweetened condensed milk into a deep, rich dulce de leche or caramel sauce with minimal effort.
- Brazilian Lemonade: This ingredient adds a signature creamy sweetness that makes this drink uniquely refreshing.
- Coffee and Tea Creamer: Stir a spoonful into your morning coffee or tea for a luxurious, sweet, and creamy addition that rivals any store-bought creamer.
- Smoothie Enhancer: Blend it into fruit smoothies or milkshakes for an extra layer of sweetness and a wonderfully creamy texture.
Frequently Asked Questions About Homemade Sweetened Condensed Milk
- Can I use whole milk powder instead of nonfat dry milk powder?
- Yes, absolutely! Using whole milk powder will yield an even richer and creamier sweetened condensed milk due to its higher fat content. The flavor profile might be slightly different, but it will work wonderfully in all your recipes. Feel free to experiment based on your preference for richness.
- What if my homemade sweetened condensed milk isn’t thickening enough?
- The most common reason for a thinner consistency is insufficient cooling. Sweetened condensed milk thickens considerably as it chills. It’s crucial to allow it to cool completely in the refrigerator for at least 4 hours, or ideally overnight, before assessing its final thickness. If it still seems too thin after thorough chilling, ensure your water was hot enough to fully dissolve the sugar during blending, as undissolved sugar can prevent proper thickening. You can try blending it for an additional minute or two if you suspect undissolved sugar.
- Can I adjust the amount of sugar in the recipe?
- While you can slightly reduce the sugar if you prefer a less sweet product, be mindful that the sugar content is vital not only for the characteristic taste but also for the texture and preservation properties of sweetened condensed milk. Significant reductions might affect the consistency and reduce its shelf life. For recipes that depend on the specific sweetness and thickness, sticking to the recommended amount is advisable.
- How long does homemade sweetened condensed milk last?
- When stored properly in an airtight container, your homemade sweetened condensed milk will remain fresh and delicious in the refrigerator for approximately 7 to 10 days. Always inspect it for any unusual smells or discoloration before use to ensure freshness.
- Is it possible to freeze homemade sweetened condensed milk?
- Yes, homemade sweetened condensed milk freezes quite well! To freeze, pour it into an airtight, freezer-safe container or, for convenient portioning, into ice cube trays. Once frozen, you can transfer the cubes to a freezer bag. It can be safely stored in the freezer for up to 3 months. When ready to use, thaw it in the refrigerator. You might notice some slight separation upon thawing, but a good stir will bring it back to its smooth consistency.