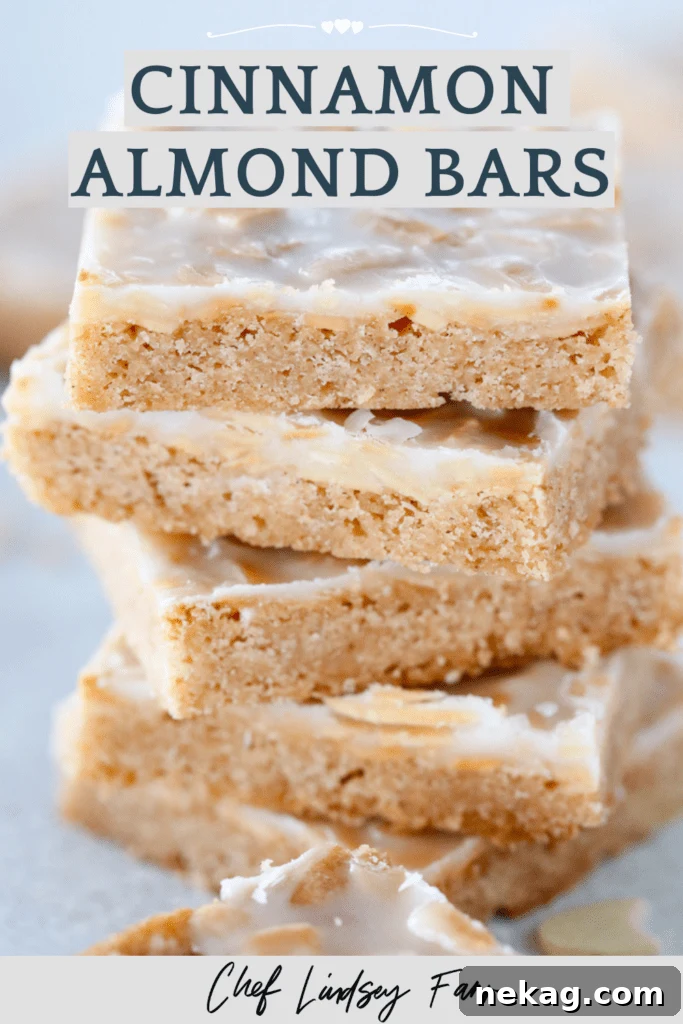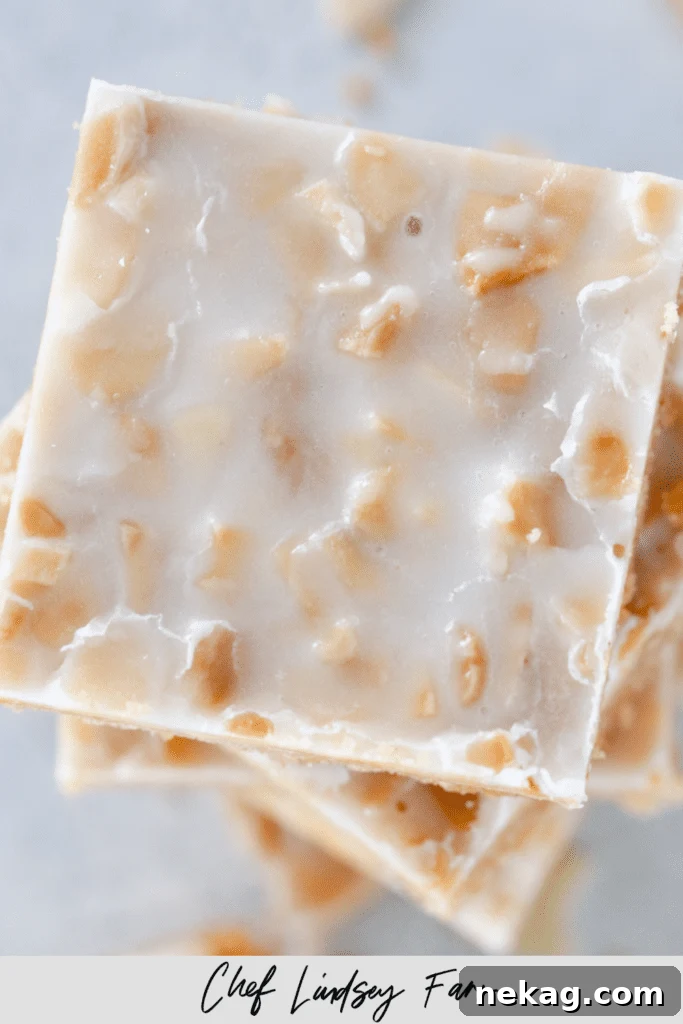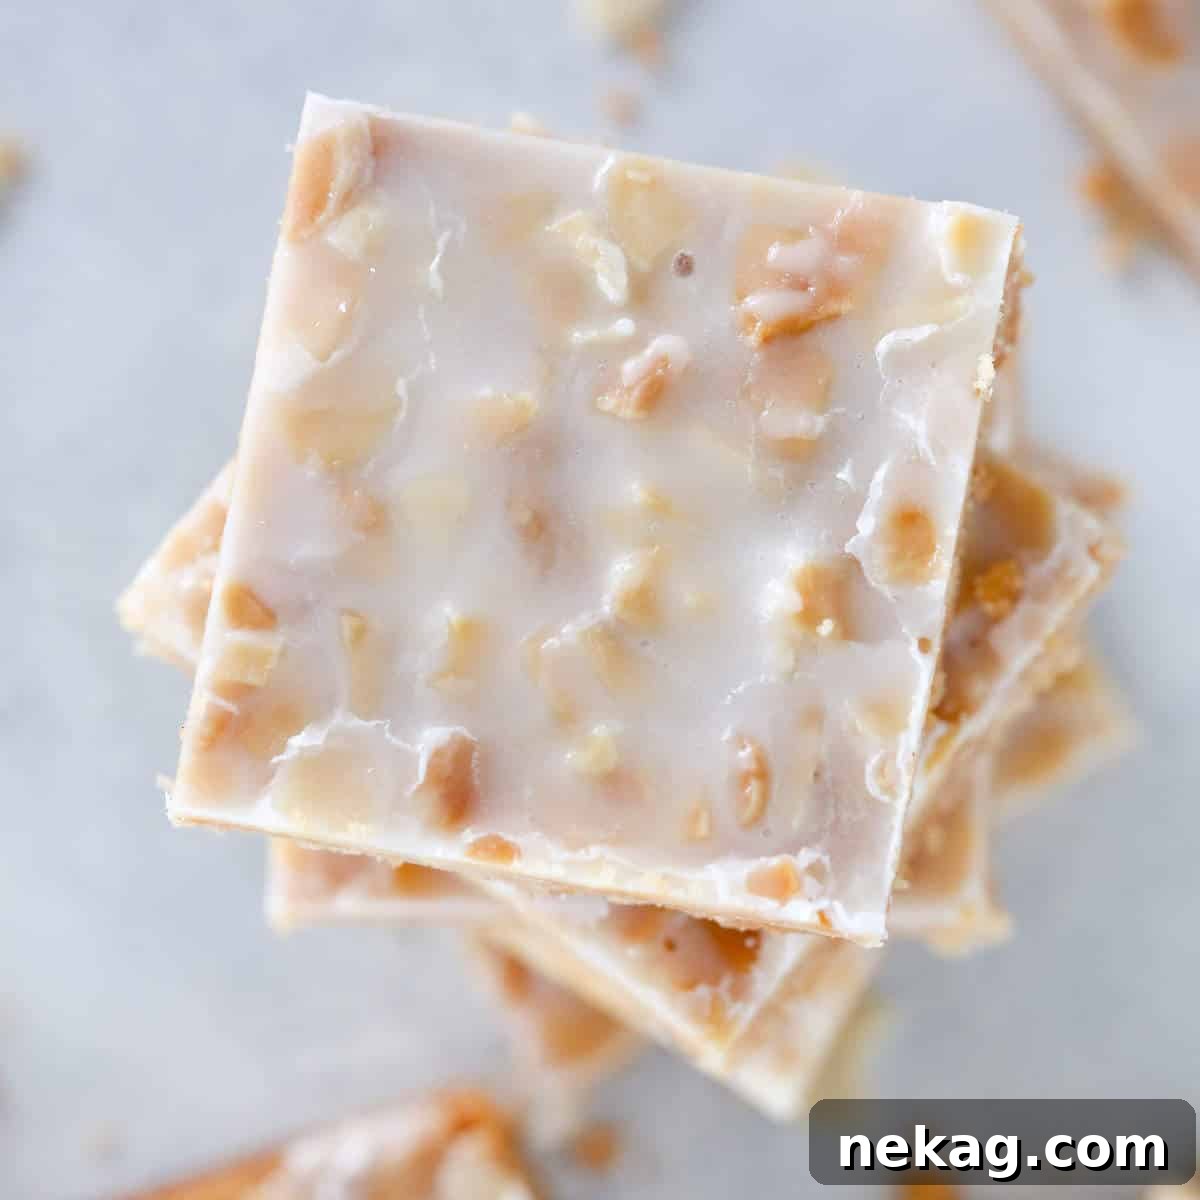
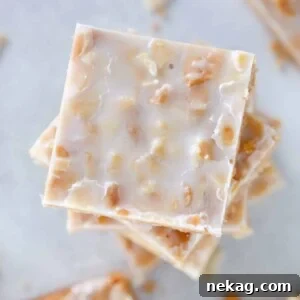
Discover the delightful world of **Crispy Almond Bars**, a truly unforgettable bar cookie recipe that marries the warm spice of cinnamon with the bright zest of lemon and the rich, nutty flavor of almonds. These thin, crunchy treats offer a captivating textural contrast and a flavor profile that stands out on any dessert platter, making them an instant classic for any occasion.
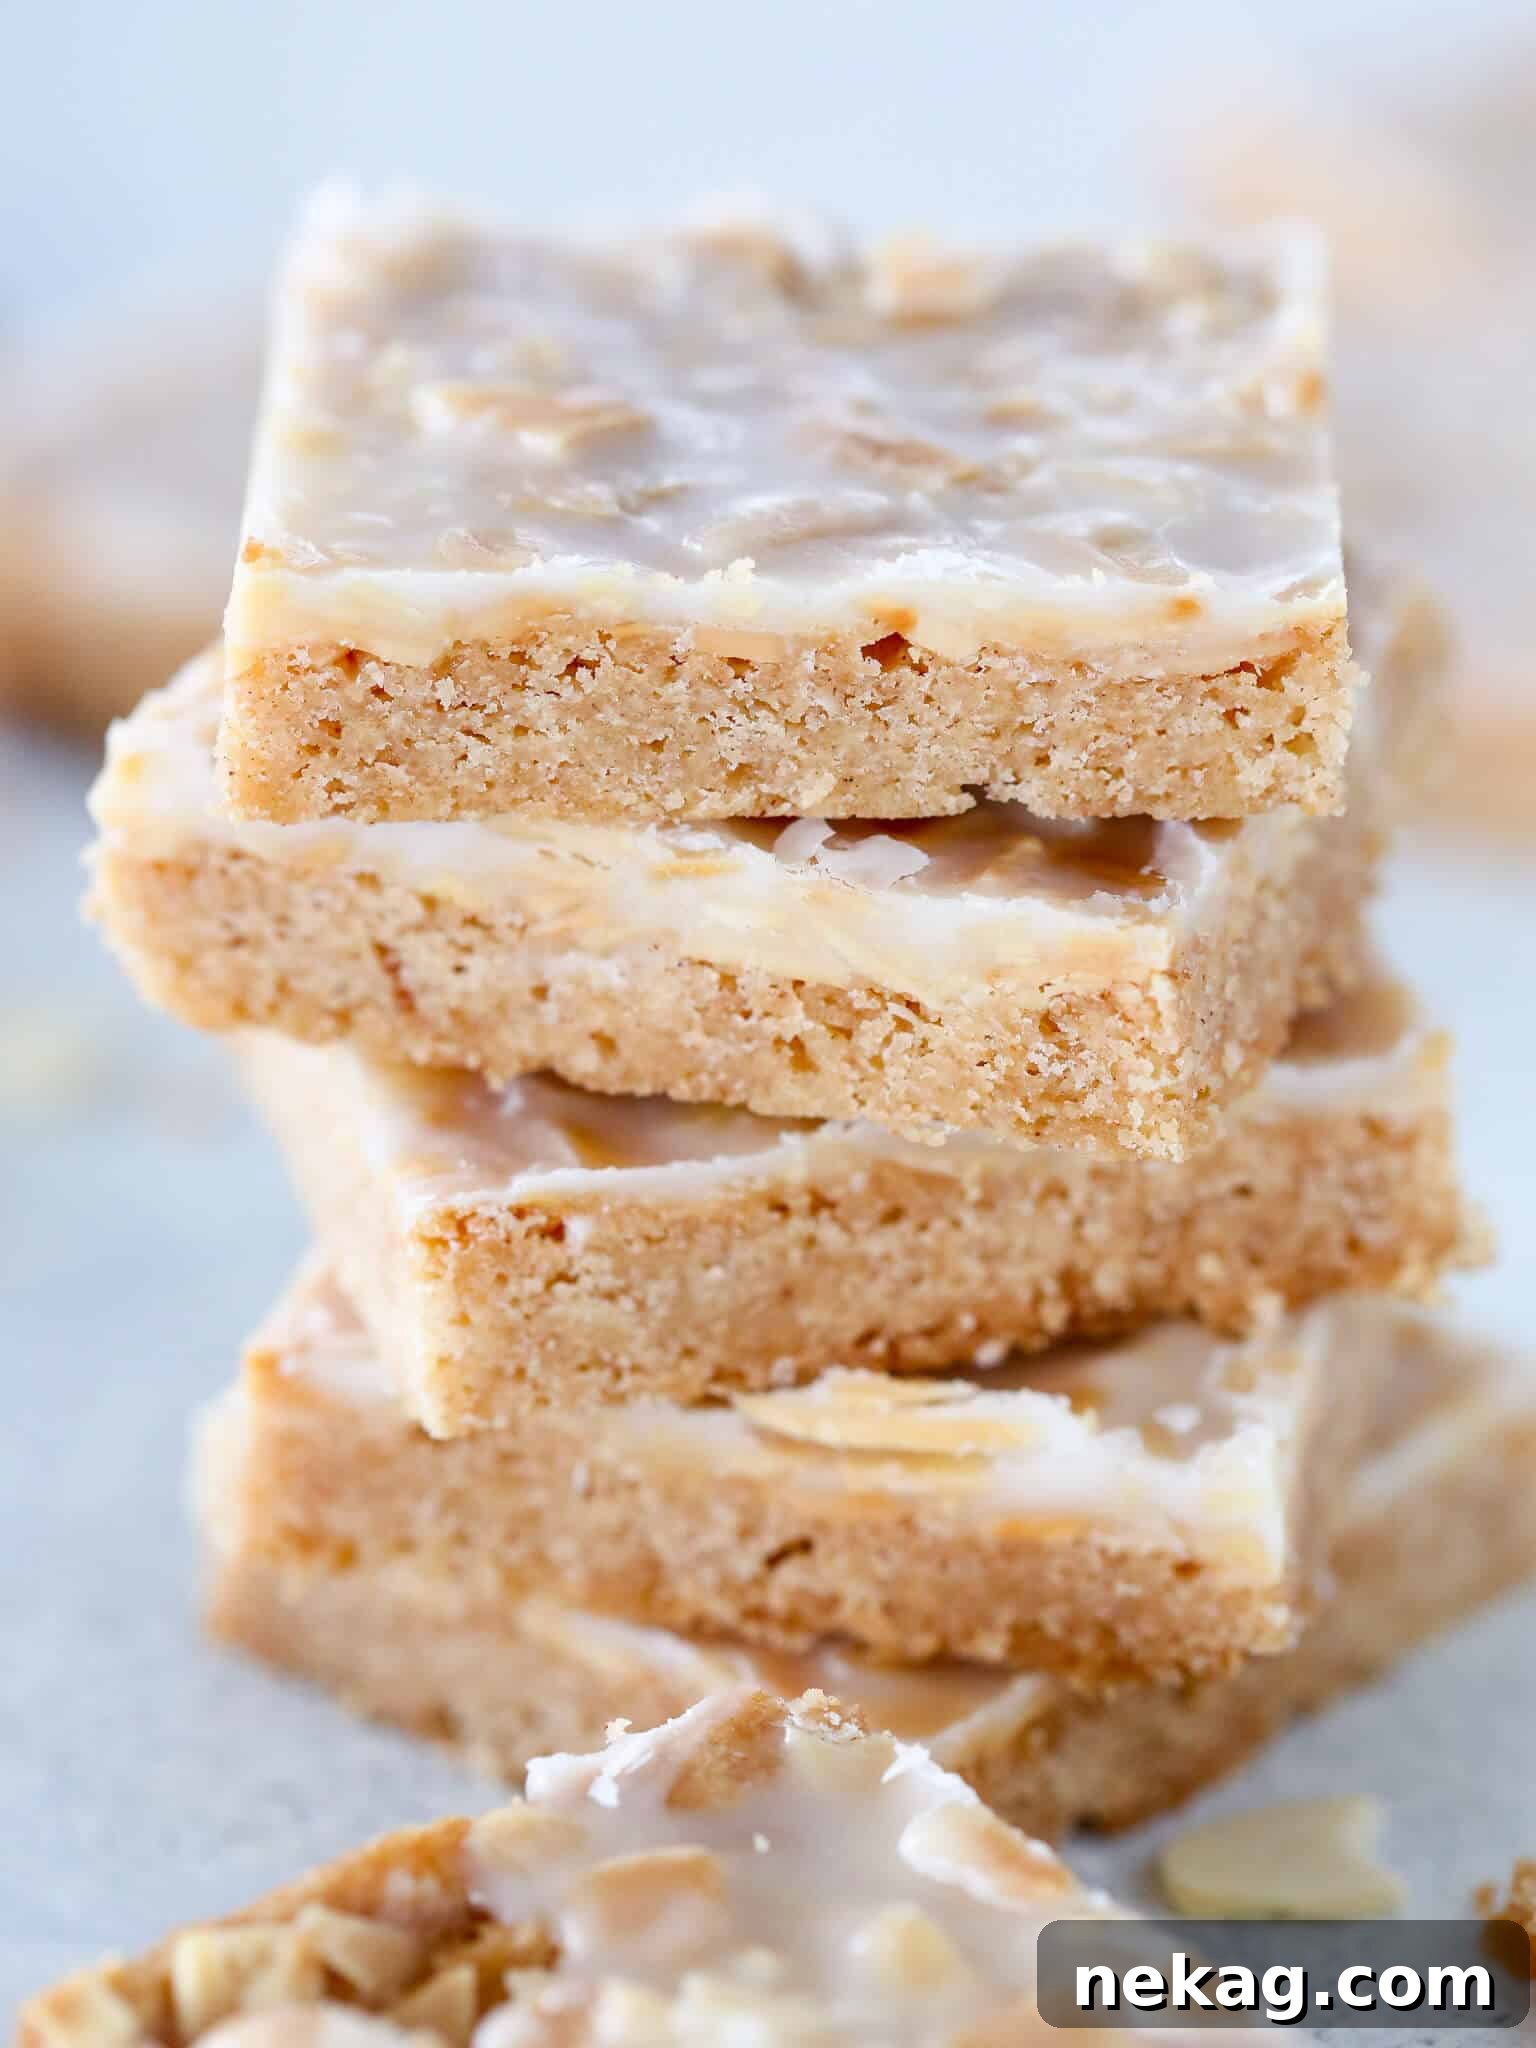
There’s a special joy in creating something truly **stunning with minimal fuss**, especially when it comes to baking. While many heritage cookbooks can sometimes be a bit wordy, their depth of flavor and unique insights into traditional baking methods often make the extra effort entirely worthwhile. This Almond Bars recipe, inspired by a cherished heritage cookbook, is a prime example of such a culinary gem. It proves that simplicity, when combined with time-honored techniques, can yield extraordinary results.
Inspired by the meticulous, yet always rewarding, recipes from Maida Heatter’s esteemed *Book of Great Cookies*, we’ve refined her classic approach to create these perfectly crunchy almond bars. Maida Heatter, known for her comprehensive and detailed instructions, has never once disappointed in delivering exceptional flavor, and her influence is deeply embedded in the success of this recipe.
These almond bars are a staple on our holiday cookie platters, often alongside some of our other cherished best Christmas Cookies. To truly elevate your festive spread, consider pairing these crunchy delights with other old-fashioned favorites. Imagine a platter featuring the delicate fruitiness of Traditional Raspberry Linzer Cookies, the spiced warmth of Homemade Speculoos Cookies, or the unique peppery notes of Pfeffernüsse Cookies. The crispy texture of these almond bars provides a wonderful counterpoint to softer, chewier options, ensuring a diverse and exciting selection for all tastes.
Table of Contents
- Why You Will Love These Almond Bars
- Essential Ingredients
- Creative Variations
- Smart Substitutions
- How to Make the Perfect Almond Bars
- Chef Lindsey’s Pro Tips for Almond Bars
- Baking and Serving Suggestions
- Frequently Asked Questions
- Almond Bars Recipe Card
- Before You Bake and Go!
Why You Will Love These Almond Bars
- Unique & Unexpected Flavor Profile: These crispy bar cookies, though requiring a tiny bit of extra effort, deliver a truly delightful and unexpected combination. The delicate citrusy brightness of lemon, the comforting warmth of cinnamon, and the rich nuttiness of toasted almonds create a harmonious flavor symphony that will surprise and enchant your taste buds. They are a welcome departure from typical cookie recipes, offering a sophisticated twist to your dessert repertoire.
- Old-Fashioned Charm & Nostalgia: There’s an undeniable allure to baked goods that evoke a sense of tradition and timelessness. These almond bars possess an **easy nostalgia**, reminiscent of recipes passed down through generations. Baking them brings a comforting aroma to your kitchen and delivers a dessert that feels both classic and intimately familiar, like something your grandmother or great-grandmother might have proudly served.
- A Fabulous Addition to Any Cookie Platter: Variety is key to an impressive cookie platter, and these almond bars provide the ideal **crunchy texture** to beautifully balance out softer, chewy favorites. Imagine them alongside indulgent Peanut Butter M&M Chocolate Chip Cookies, refreshingly zesty Lemon Pudding Cookies, or classic Perfect Chewy White Chocolate Macadamia Nut Cookies. The delicate yet distinct flavor of our almond bars ensures they complement, rather than overpower, other sweet treats, making your cookie selection truly diverse and exciting.
Essential Ingredients for Crispy Almond Bars
Crafting the perfect batch of these cinnamon almond bars starts with selecting high-quality ingredients. Each component plays a crucial role in achieving the desired flavor and texture:
- Almonds: We specifically recommend blanched, slivered almonds for this recipe. Their thin, elongated shape allows them to layer beautifully on top of the cookie crust, creating a stunning visual appeal and an even, satisfying crunch with every bite.
- Unsalted Butter: Using unsalted butter is paramount in baking, as it gives you complete control over the salt content in your recipe. Different brands of salted butter contain varying amounts of sodium, which can make it challenging to achieve a consistent and balanced flavor profile. By starting with unsalted butter, you can precisely adjust the seasoning to perfection.
- Cinnamon: The warm, aromatic spice of Saigon cinnamon adds a delightful depth to these bars. While Saigon cinnamon is preferred for its robust flavor, any good quality ground cinnamon will contribute beautifully to the overall taste, infusing the bars with a comforting warmth.
- Granulated Sugar: Granulated sugar is not only essential for sweetness but also plays a vital role in the structural integrity of the bars. It helps retain moisture, contributes to the desirable crispy texture, and aids in maintaining stability throughout the baking process, ensuring your bars are consistently delicious.
- Whole Egg: The egg serves multiple purposes in this recipe, acting as a binder, adding richness through its fat content, and providing essential moisture. Separating the yolk and white allows us to utilize each part strategically to achieve optimal texture for both the base and the almond topping.
- All-Purpose Flour: Proper measurement of all-purpose flour is critical for the success of your cookie crust. To measure correctly, fluff the flour in its bag or container, then spoon it gently into a measuring cup. Level it off with a straight edge, like a knife, without tapping or compressing the flour. Incorrectly measured flour can lead to a dry, crumbly crust, so precision here makes a big difference.
- Kosher Salt: Kosher salt, with its larger flakes and milder salinity compared to table salt, is perfect for enhancing the overall flavor of your baked goods. It prevents the bar cookies from tasting dull or flat, bringing out the subtle sweetness and aromatic notes of the other ingredients.
- Confectioner’s Sugar: Also known as powdered sugar, confectioner’s sugar is finely ground, making it the ideal choice for creating a smooth, silky, and lump-free glaze. Its fine texture allows it to dissolve easily without needing heat, resulting in a beautifully consistent topping for your bars.
- Water: A small amount of water is added to the glaze to achieve the perfect consistency. It helps to loosen the confectioner’s sugar and butter, allowing the glaze to be drizzled or spread smoothly over the warm almond bars.
- Lemon Juice: Fresh lemon juice is the star flavor component of our vibrant glaze. Our motto for citrus juices is unwavering: fresh is always best. The bright, tangy notes of freshly squeezed lemon juice provide a crucial counterpoint to the sweetness of the bars, creating a truly balanced and irresistible finish.
Chef’s Tip on Lemon Juice: While fresh lemon juice yields the best results, if you must use store-bought, opt for a frozen option that uses fresh-squeezed juice, or look for refrigerated varieties that appear light and clear. Avoid any lemon juice that has darkened in color, as this indicates a loss of freshness and flavor quality.
Creative Variations for Your Almond Bars
While the classic cinnamon, almond, and lemon combination is a winner, these crispy bar cookies are incredibly versatile and invite creative experimentation. Here are some ideas to tailor them to your taste or the season:
- Seasonal Spice Combos: Let the calendar guide your spice rack! Replace the cinnamon with an easy Homemade Apple Pie Spice Mix in the crisp days of autumn for a taste of fall. Transition to a cozy Pumpkin Spice Mix as the leaves turn, or embrace the festive spirit of winter with a aromatic Speculoos Spice Mix. Each blend will transform the bars into a new, exciting seasonal treat.
- Experiment with Glazes: The **sky’s the limit** when it comes to glaze possibilities! For a sophisticated twist, consider a rich cherry brandy glaze, similar to the one on our Cherry Almond Pound Cake. Or, for a truly almond-centric experience, go all-in with almond extract: simply combine confectioner’s sugar, a hint of almond extract, and a splash of milk to create an easy almond glaze, much like the one found on our Peach Loaf Cake. You could also try orange zest and juice for an orange glaze, or even a mocha glaze for coffee lovers.
- Break Apart for a Rustic Presentation: If you prefer a more rustic or casual presentation, or if your bars cool too much for perfect, clean slices, don’t fret! Simply let them cool completely and then **break them apart** into irregular pieces, much like chocolate bark. This method is not only forgiving but also creates delightful, bite-sized fragments perfect for snacking or sharing.
Smart Substitutions for Your Almond Bars
Flexibility in the kitchen is key, and this almond bar recipe allows for several smart substitutions without compromising on taste or texture. Here’s how you can adapt the recipe to your preferences or what you have on hand:
- Alternative Nuts: While we favor almonds, following Maida Heatter’s original choice, feel free to **use your favorite nuts**! Pecans, walnuts, pistachios, or even hazelnuts would all make excellent toppings. Remember to chop them finely to ensure an even distribution and delicate crunch. The egg white step is crucial as a binder for any nut you choose, so don’t skip it! If nuts aren’t your preference, you could also **consider adding a shredded coconut topping** for a tropical twist and a different kind of texture.
- Lemon Juice Alternatives: If fresh lemons are unavailable, other citrus juices can work as a substitute for the lemon juice in the glaze. Lime juice or orange juice can offer a different but equally refreshing zing. However, be mindful that different citrus fruits have varying levels of sweetness and acidity. **Taste for sweetness and adjust accordingly**, as the glaze should offer a slightly tart balance to the inherent sweetness of the bar cookie, preventing it from being overly sugary.
- Gluten-Free Adaptation: To make these delectable treats **gluten-free**, simply substitute the all-purpose flour with a high-quality gluten-free flour blend. We personally use and recommend the Cup for Cup brand in both our home kitchen and professional settings, as it consistently yields excellent results in baking, ensuring your gluten-free almond bars are just as delicious and perfectly textured as the traditional version.
How to Make the Perfect Almond Bars
Follow these detailed instructions to create consistently perfect, crispy Almond Bars every time. For precise measurements and a printable version, please refer to the recipe card below.
Step-by-Step Guide: Prepare the Pan
Step 1: Begin by lining a 9×13-inch baking dish with criss-crossed parchment paper. This method ensures easy removal of the baked bars later. Using a metal baking dish or a jelly roll pan is recommended, as metal conducts heat more efficiently, promoting a more evenly crisp bottom for your bar cookies.
Step 2: Preheat your oven to a steady 300°F (150°C). Allowing the oven to preheat fully ensures even baking and helps achieve that desirable golden-brown crust.
Step-by-Step Guide: Crafting the Bars & Glaze
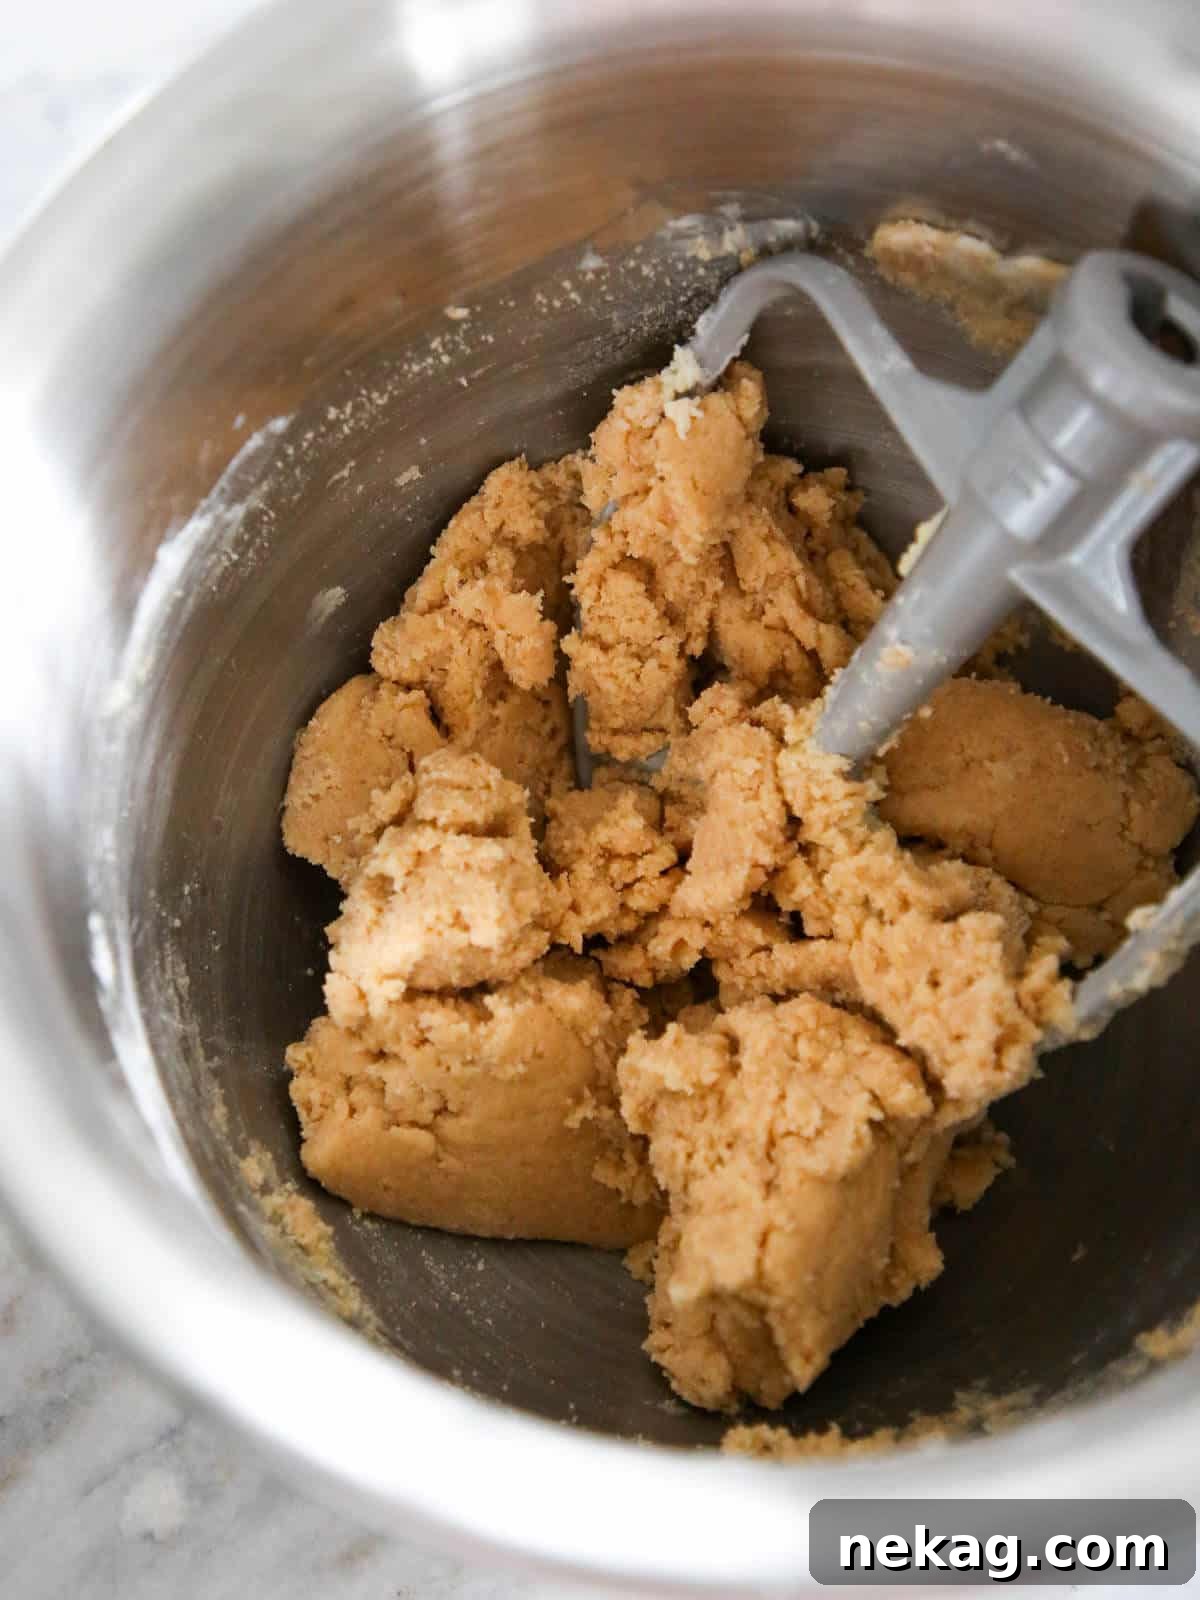
Step 1: In the bowl of a stand mixer fitted with the paddle attachment (or using a hand mixer), cream the unsalted butter until light and fluffy. Gradually add the granulated sugar and cinnamon, beating until well combined and light in color. Next, beat in the egg yolk, reserving the egg white for later. Reduce your mixer speed to low and gradually incorporate the all-purpose flour and kosher salt, mixing just until the ingredients are combined and no dry streaks of flour remain.
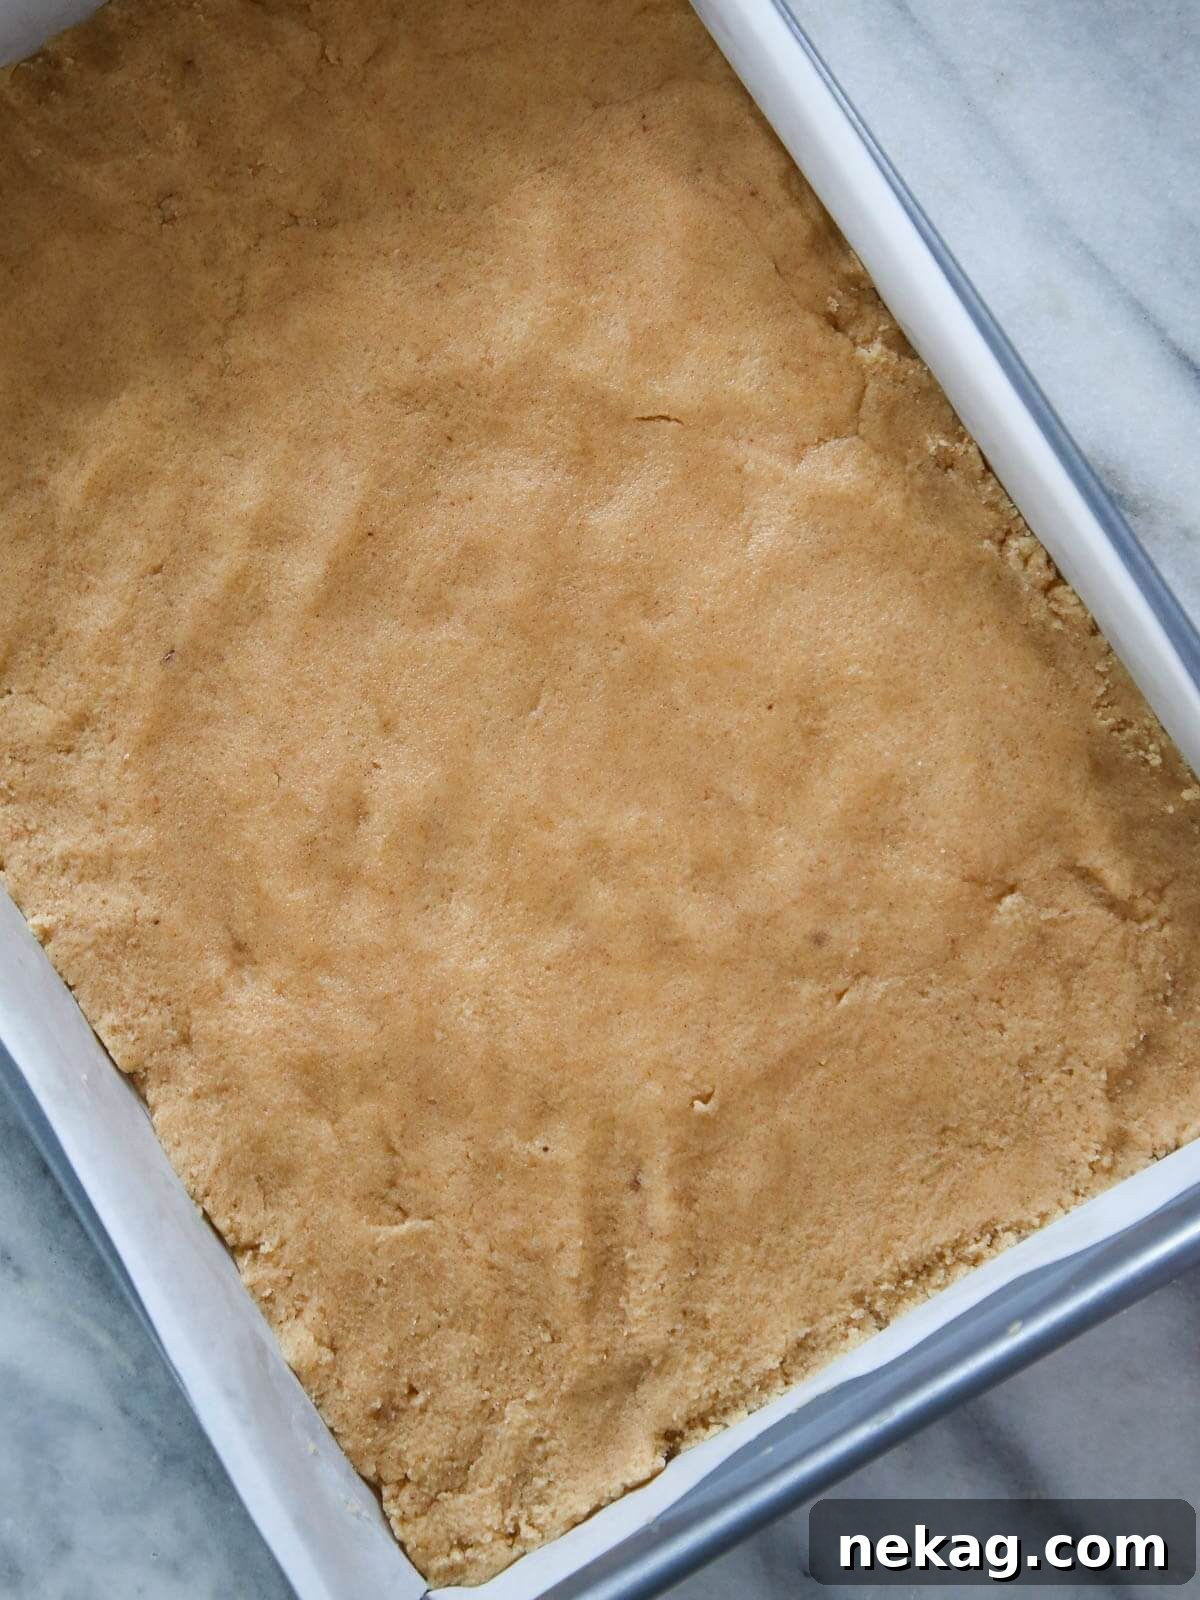
Step 2: Transfer the prepared dough into the bottom of your parchment-lined baking dish. Use your hands to spread and firmly press the dough evenly across the entire bottom surface of the pan. Aim for as consistent a thickness as possible. While perfection isn’t strictly necessary – after all, no one will see the bottom layer once baked and glazed – an even spread will contribute to a more uniform crispiness in the finished bars.
Dough Spreading Tip: For the crispiest, most uniformly baked bars, take a moment to press the dough as evenly as possible into the pan using the palms of your hands. While it doesn’t need to be absolutely perfect, a consistent layer ensures even baking and a delightful crunch in every piece!
Step 3: In a separate small bowl, beat or whisk the reserved egg white until it becomes light and foamy. Using a pastry brush, gently brush the entire top surface of the pressed dough with this whisked egg white. This acts as a binder. Evenly spread all the blanched slivered almonds over the egg white layer. Gently press the almonds down a little to help them adhere to the dough, ensuring they don’t fall off during baking.
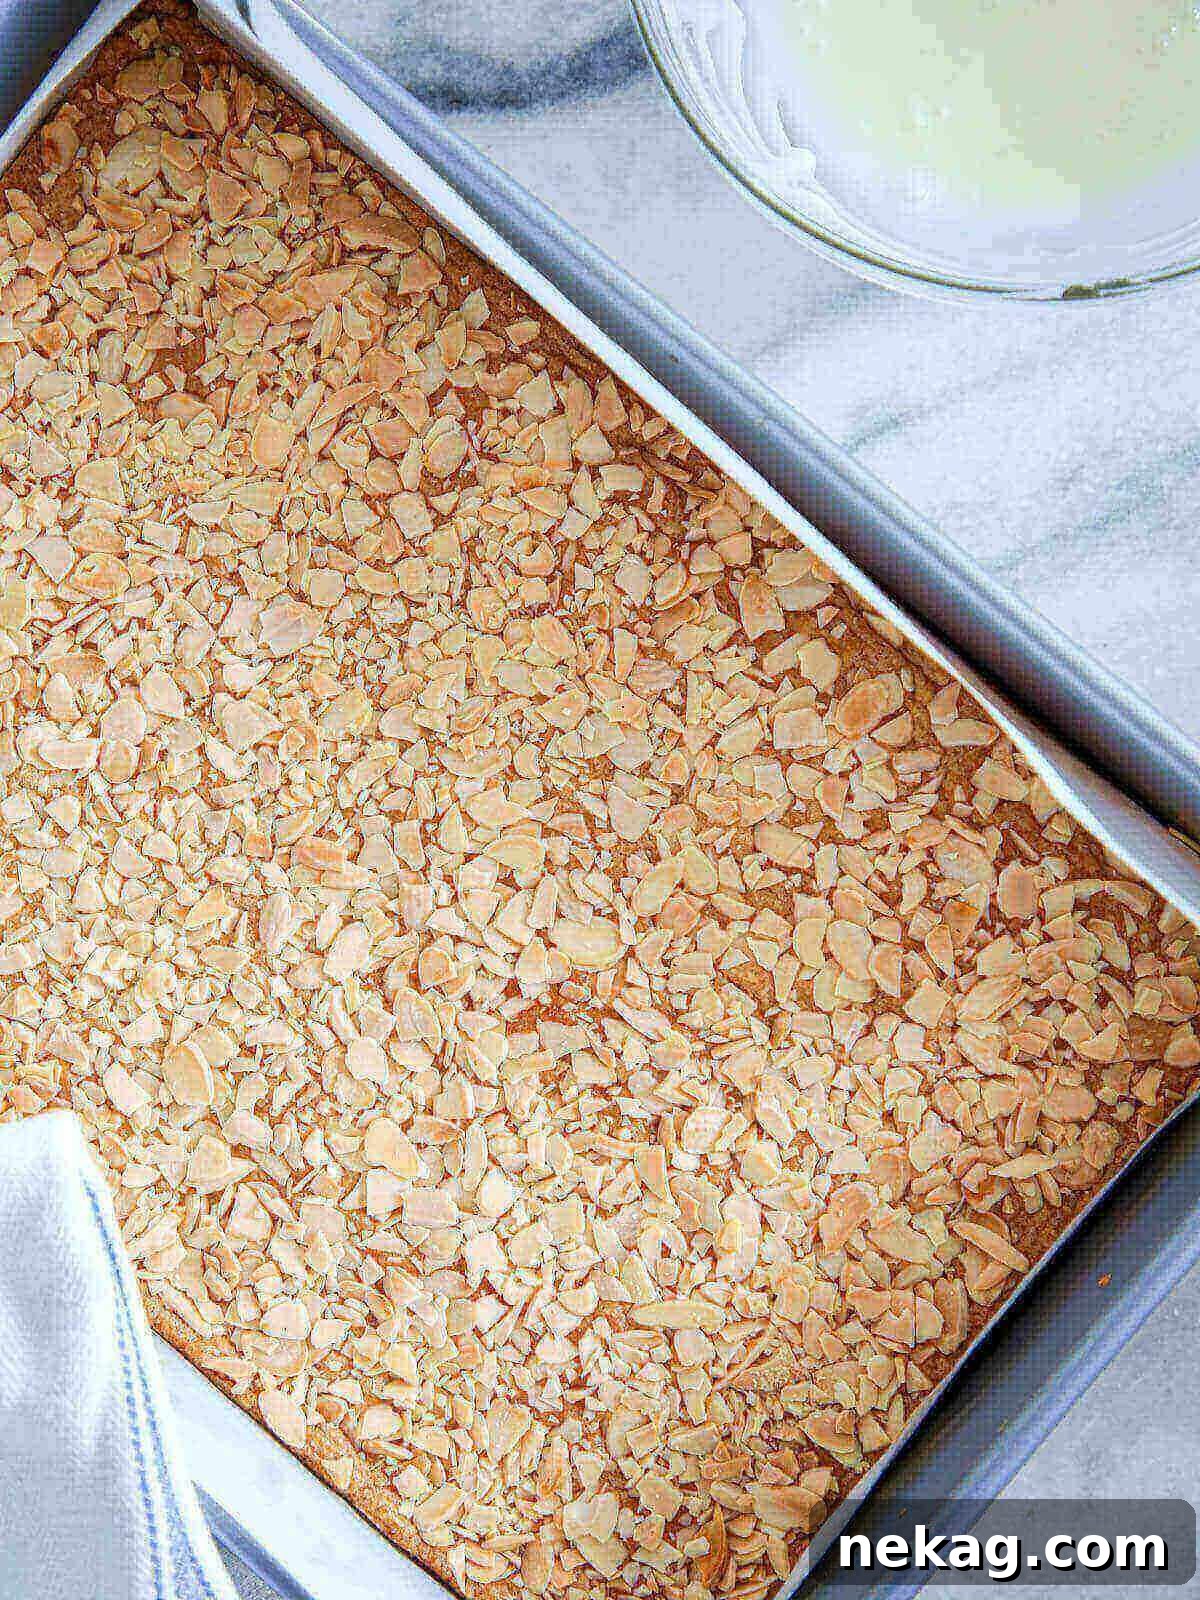
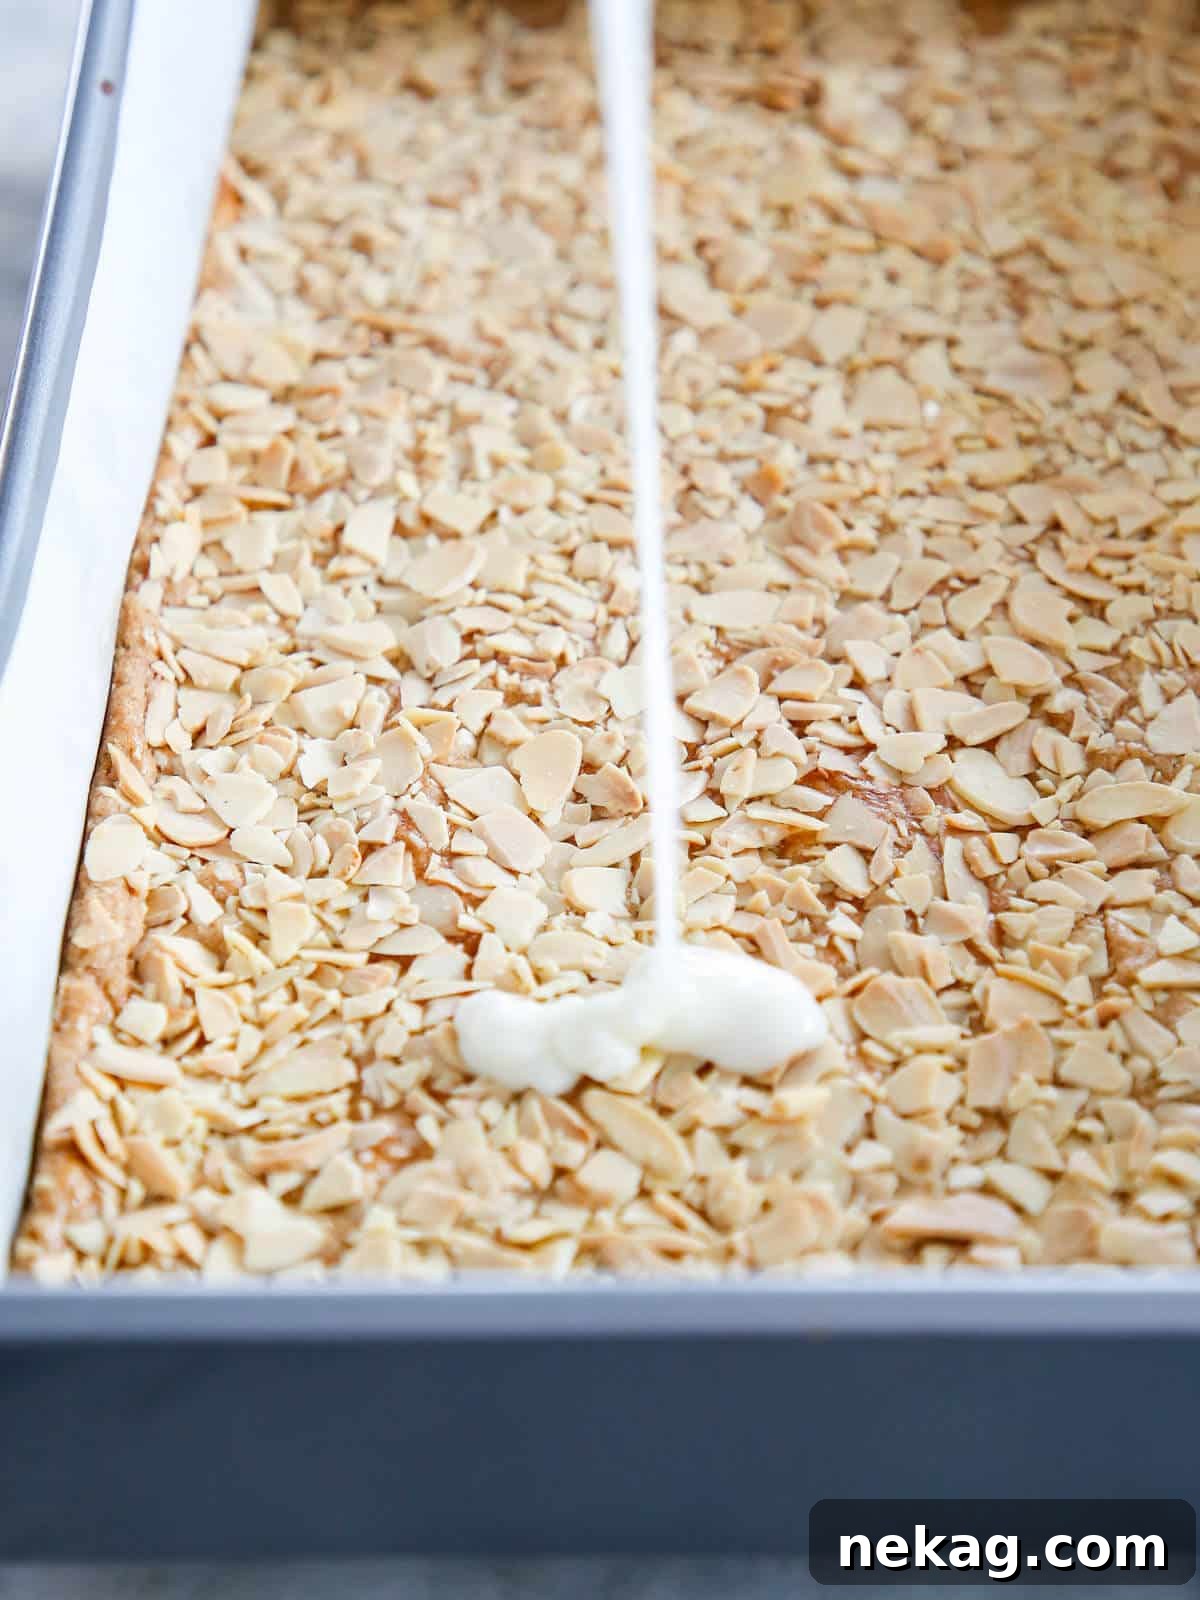
Step 4: Place the baking dish into the preheated oven and bake the bars until they achieve a beautiful golden-brown color. This process typically takes around 30 minutes, but ovens vary, so keep an eye on them. The golden hue indicates that the crust is perfectly cooked and the almonds are lightly toasted, bringing out their full flavor and enhancing the crispiness. As the bars near completion, prepare your glaze.
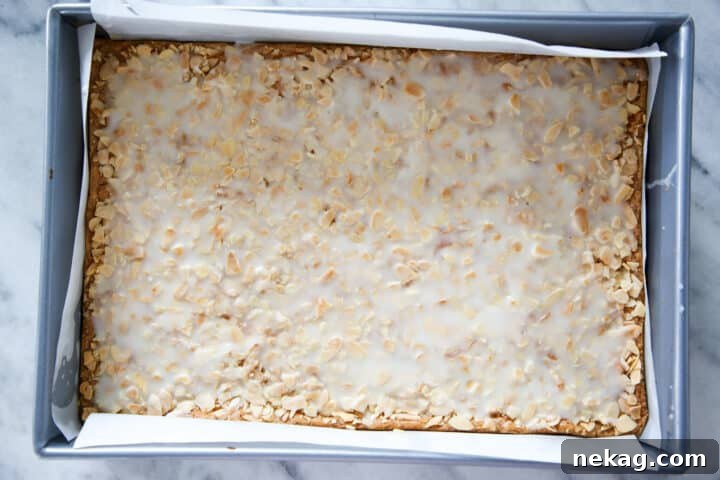
Step 5: While the bars are still warm from the oven, prepare the lemon glaze. In a medium bowl, whisk together the melted unsalted butter, water, fresh lemon juice, and confectioner’s sugar until completely smooth and free of lumps. Immediately drizzle this luscious glaze generously over the top of the warm, freshly baked bars. If the glaze appears to pool in certain areas, you can use an offset spatula to gently spread it evenly across the surface, ensuring every bar gets a delightful coating.
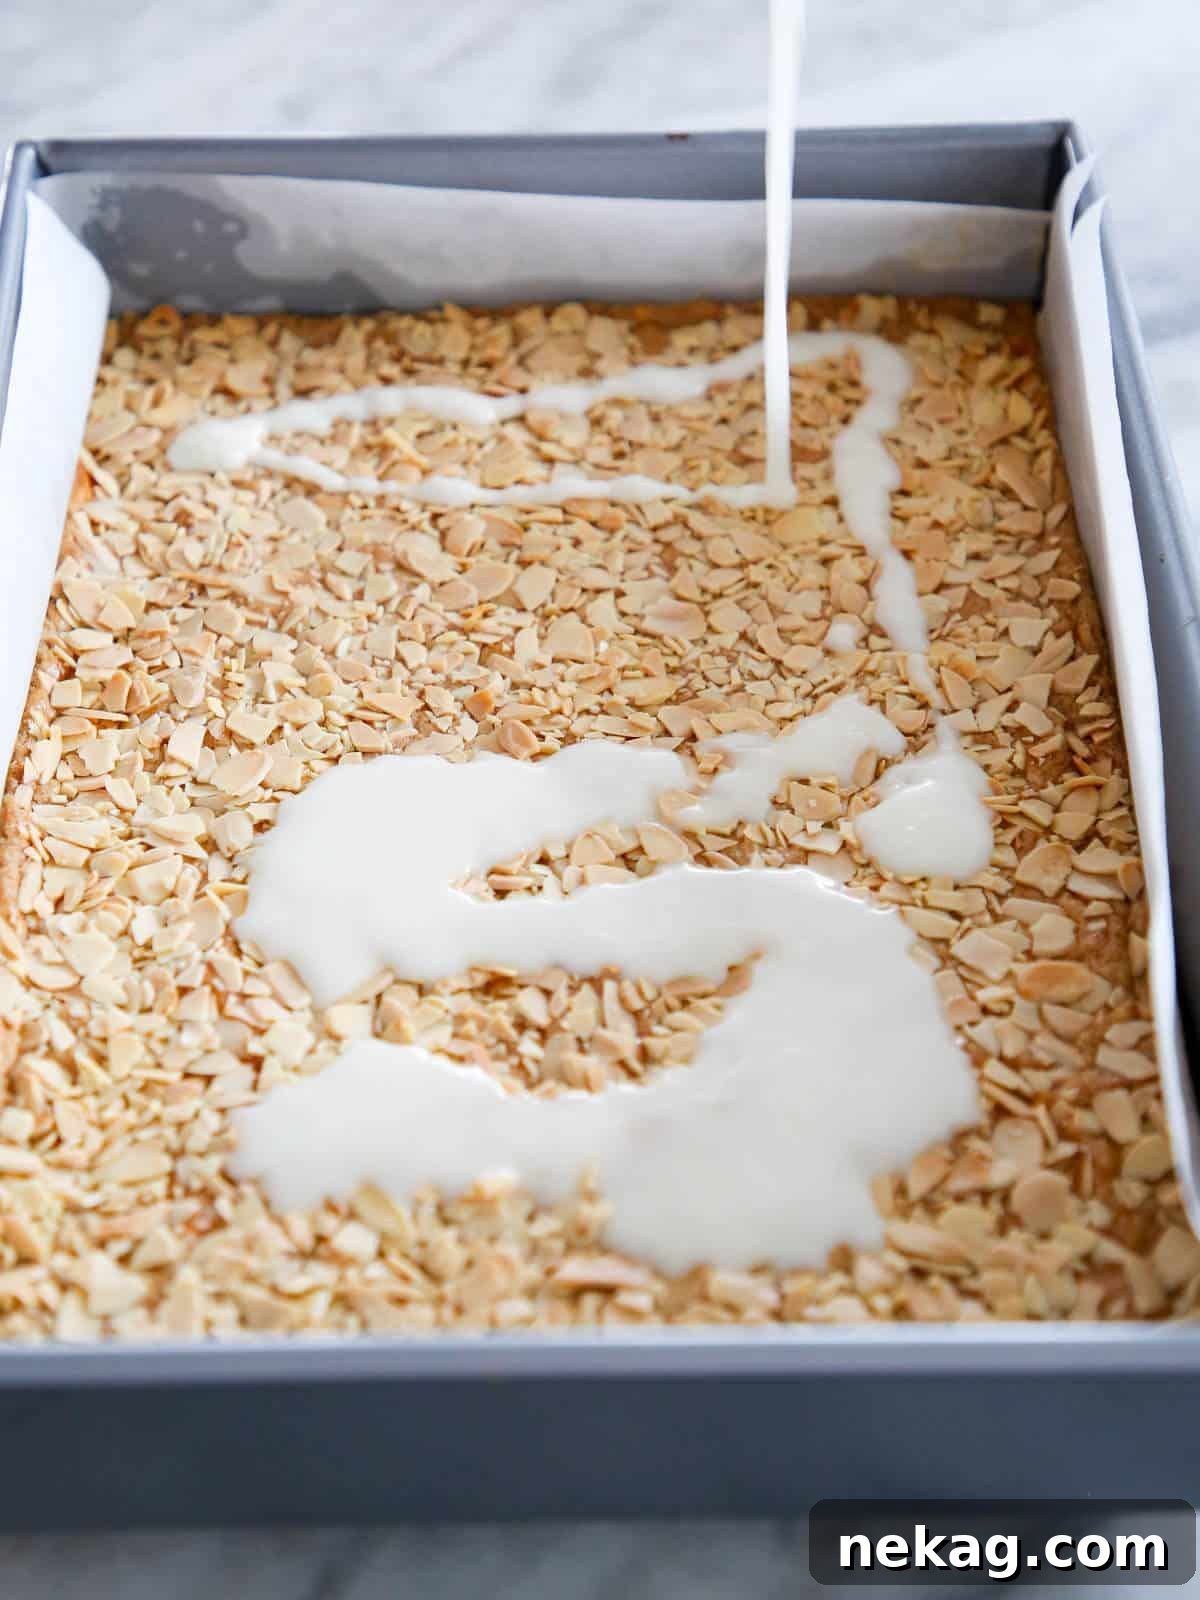
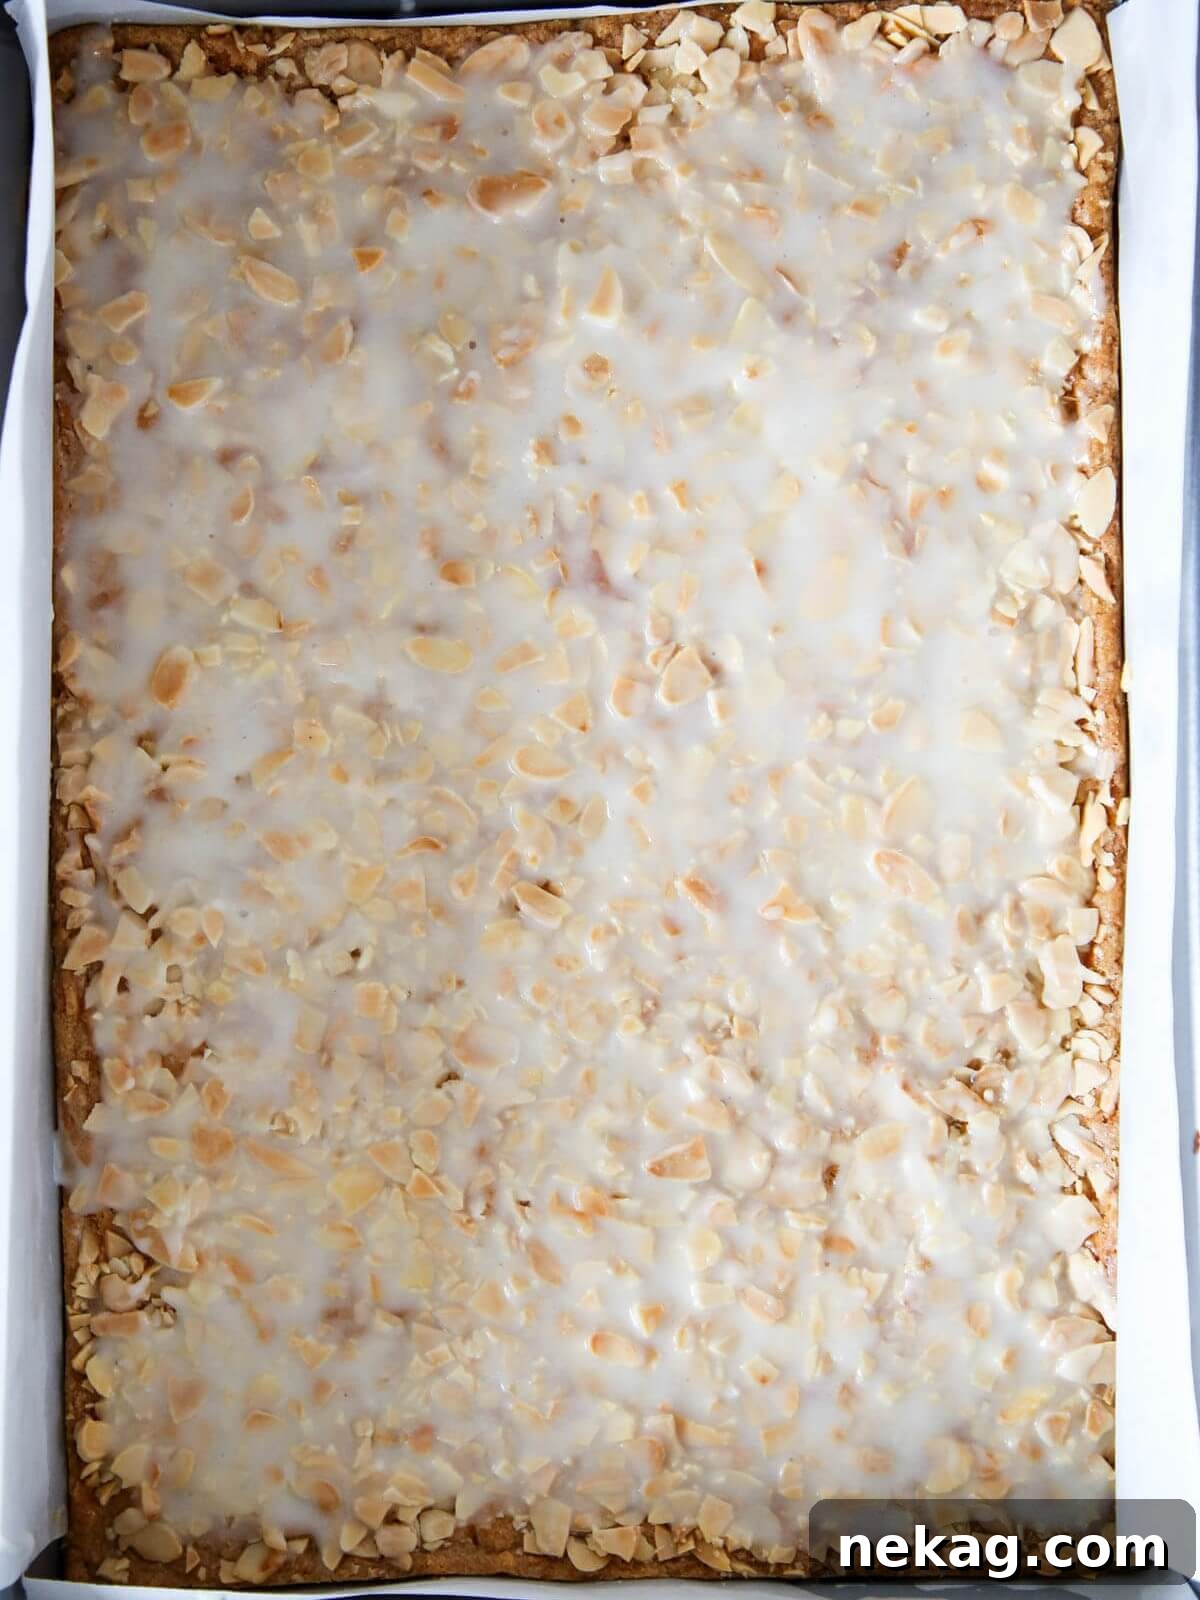
Glaze Application Tip: To prevent the glaze from pooling too much in one area and ensure an even coating, try to keep it moving as you drizzle. One effective technique is to create a pattern, such as a sine wave, across the surface, and then go back across in a similar pattern, filling in any gaps. This ensures a beautiful, uniform finish.
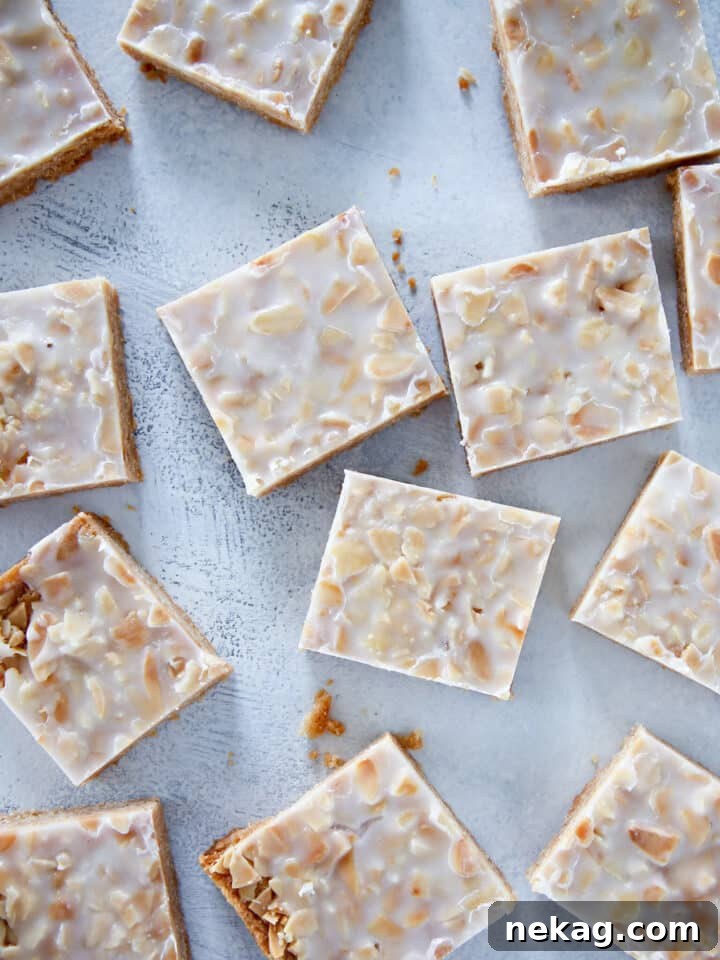
Step 6: Allow the glazed bars to cool in the pan for approximately 20-25 minutes. This cooling period is crucial because it allows the bars to set slightly, making them easier to cut cleanly. Once partially cooled, use a serrated knife – a bread knife works exceptionally well – to cut the bars into your desired pieces. The serrated edge helps to slice through the crispy topping and base without crumbling. Finally, transfer the cut bars to a wire rack and allow them to cool completely before enjoying. As they cool, they will crisp up further, reaching their optimal crunchy texture!
Chef Lindsey’s Pro Tips for Flawless Almond Bars
Achieving perfectly crisp and beautifully glazed almond bars relies on a few key techniques. Always remember to **cut the bars while they are still slightly warm**, using a sharp serrated knife (like a bread knife). This allows for the cleanest, most precise slices. As the bars continue to cool completely, they will gradually crisp up, developing that signature crunchy texture we all adore. Patience during the cooling and cutting phases will yield professional-looking results every time.
Baking and Serving Suggestions
Ensuring your almond bars turn out perfectly crunchy and delicious involves a few fundamental considerations, from your choice of bakeware to the precise timing of your bake:
- Opt for a Metal Baking Pan: The material of your baking dish significantly impacts the final texture of your bars. A **metal baking dish or jelly roll pan** is highly recommended over glass or ceramic. Metal conducts heat more efficiently and evenly, which is crucial for achieving that consistently crisp bottom crust that makes these almond bars so delightful.
- The Right Almonds Make a Difference: Pay close attention to the type of almonds you use. We strongly advise using slivered almonds. The very first time I made this recipe, I nearly used chopped almonds by mistake. While chopped almonds would still be tasty, they would result in a distinctly different, denser topping texture. Slivered almonds, with their elegant, thin profile, create a lighter, more delicate crunch. If slivered almonds are hard to find, **sliced almonds** can be used as an alternative, though note they are typically not blanched, which can slightly alter their appearance and mildness.
- Bake Until Golden Brown: The visual cue of a **golden-brown finish** is your best indicator that the bars are perfectly baked. This critical step not only ensures the cookie crust is adequately cooked through but also allows the flavors to meld beautifully. More importantly, it delicately toasts the almonds on top, enhancing their nutty aroma and contributing to the pleasant, satisfying crunch of the bar’s bottom layer. Don’t pull them out too early; that golden hue signifies flavor and texture perfection!
Frequently Asked Questions About Almond Bars
These delightful bar cookies can be stored in an airtight container at room temperature for up to two weeks, maintaining their crispy texture and fresh flavor. For longer preservation, they freeze exceptionally well. Simply place them in a freezer-safe, airtight container, and they will keep for up to two months, ready to be enjoyed whenever a craving strikes.
One of the great advantages of this recipe is its simplicity! There is absolutely **no need to chill the dough** before baking. You can proceed directly from mixing the ingredients to pressing the dough into the pan and popping your almond bars straight into the oven, saving you precious time and effort. Refer to our step-by-step instructions for details.
Absolutely! This almond bars recipe is perfect for advance preparation, making it an excellent choice for holiday baking or entertaining. You can fully assemble and bake these bars ahead of time. Once baked and cooled, they can be sliced and then frozen for up to two months, allowing you to have a delicious dessert on hand whenever you need it.
Yes, this recipe is quite scalable! You are primarily limited only by the capacity of your stand mixer (or hand mixer if using) and the number of baking pans and oven space you have available. Feel free to double or even triple the recipe to prepare larger batches for parties, potlucks, or simply to stock your freezer.
Indeed, almond bars freeze beautifully! This makes them an ideal make-ahead treat. To thaw, simply remove the desired number of frozen bars from their container and place them on the counter overnight. They will gradually come to room temperature, retaining their delicious flavor and wonderful crispy texture.
These bars are quite sturdy and tend to ship fairly well, making them a good option for edible gifts. To ensure minimal breakage during transit, carefully package them with plenty of tissue paper or other soft padding. This helps to cushion the bars and prevent them from shifting and crashing against each other in the tin. Cutting the bars into slightly larger pieces can also help them maintain their integrity during shipping.
Almond Bars
Comment
Print Recipe
Ingredients
For the Bars:
- 1 ⅓ cups blanched slivered almonds
- 1 cup unsalted butter
- 2 teaspoons cinnamon
- 1 cup sugar
- 1 egg separated
- 2 cups all-purpose flour
- ½ teaspoon kosher salt
For the Glaze:
- 1 cup confectioner’s sugar
- 1 tablespoon unsalted butter melted
- 1 tablespoon water
- 1 tablespoon lemon juice
Instructions
Prepare pan:
-
Line a 9×13 inch baking dish with criss-crossed parchment paper. A metal dish will produce a more evenly crisp bar bottom. You could also use a jelly roll pan.
Make bars:
-
Preheat the oven to 300°F (150°C).
-
In the bowl of a stand mixer or with a hand mixer, cream the butter. Add the sugar and cinnamon and beat to mix well. Beat in the egg yolk, but reserve the white.
-
Reduce your mixer speed to low and gradually add the flour and salt. Mix until combined.
-
Press your dough into the bottom of the prepared baking dish. You will want to spread and press the dough into the dish with your hands, and try to get it as even as possible.
-
In a small bowl, beat or whisk the egg white until it is foamy. Use a pastry brush to brush the top of the dough with the whisked egg white. Spread all the almonds over the top of the egg white. Press them down a little so they will slightly adhere.
-
Bake the bars in the preheated oven until golden brown. Mine took about 30 minutes. A minute or so before removing the bars from the oven, mix the glaze.
Make the glaze:
-
In a bowl, whisk together the melted butter, water, lemon juice, and confectioner’s sugar.
Assemble & enjoy:
-
Drizzle the glaze over the top of the warm bars! You can spread it evenly with an offset spatula if it pools in areas.
-
Cool the bars for 20-25 minutes and then cut them into pieces. I find a serrated knife useful here. Allow your bars to cool completely on a wire rack, and enjoy!
Notes
Flavor Tips – The quality of your lemon juice directly impacts the glaze’s flavor, so always aim for the freshest possible.
Technique – To achieve a beautiful, even glaze without pooling, keep the glaze moving as you drizzle. Try a sine wave pattern, then fill in the gaps.
Helpful Tools – Lining your baking pan with parchment paper is a simple yet essential trick for effortless removal of the cooled bars.
Variations – These bar cookies are incredibly adaptable! Feel free to experiment with different nuts or a variety of spice mixes, ensuring the ratios remain relatively consistent for best results.
Storage – Store these bar cookies in an airtight container at room temperature for up to two weeks, or freeze them for up to two months.
Nutrition
Before You Bake and Go!
We sincerely hope you enjoyed creating and tasting this professional chef-tested recipe for crispy almond bars. It’s a testament to the fact that with a little care and quality ingredients, you can produce truly exceptional results at home. Be sure to explore our other delicious, chef-developed cookie recipes to expand your baking horizons and find your next favorite sweet treat!