

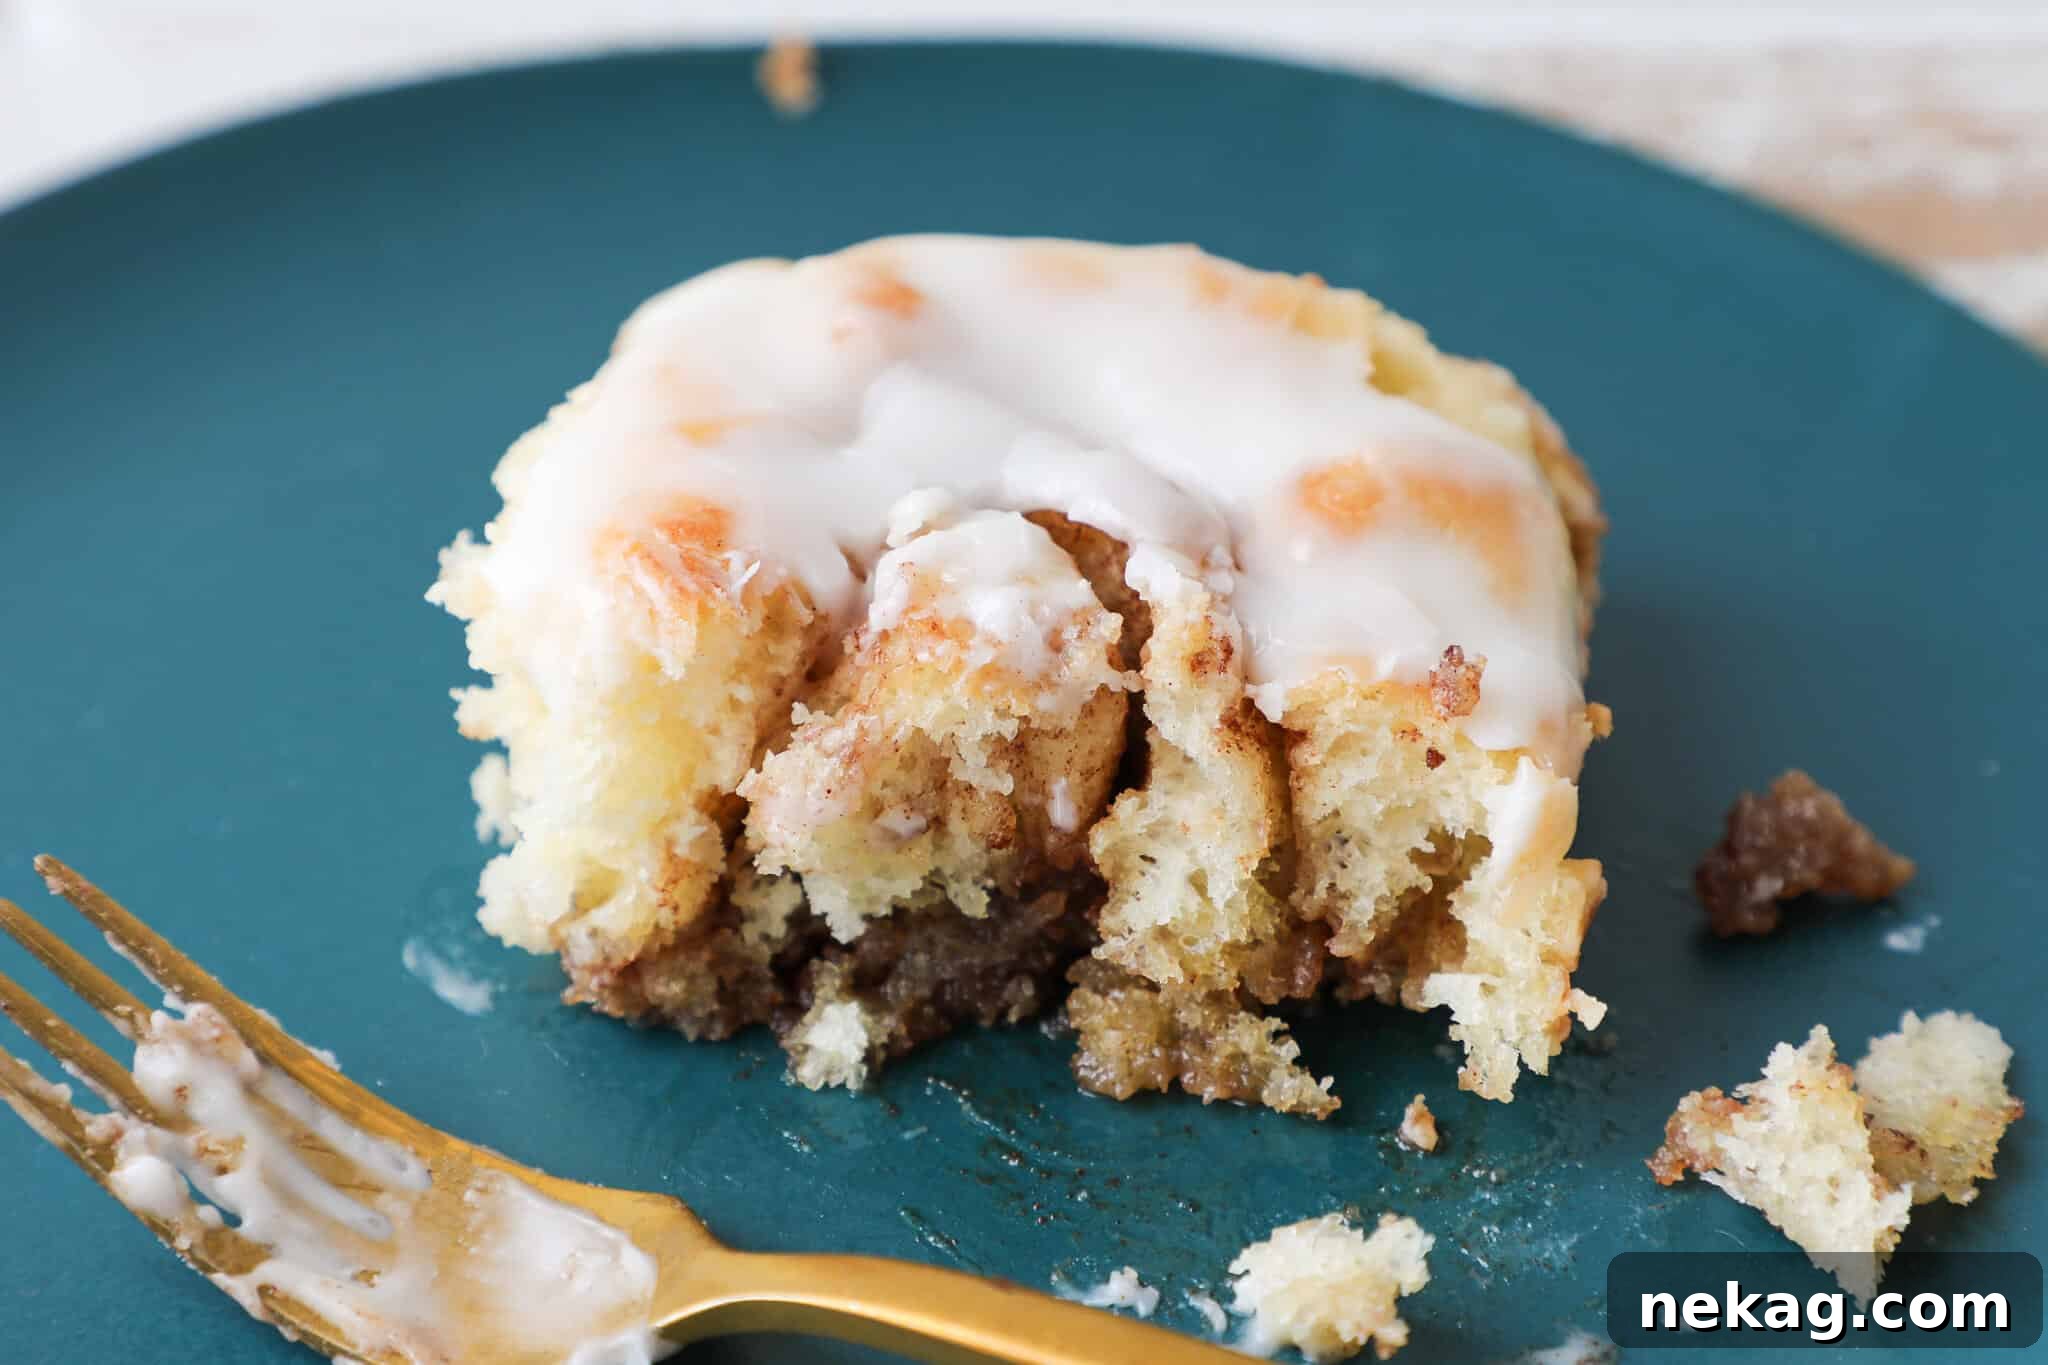
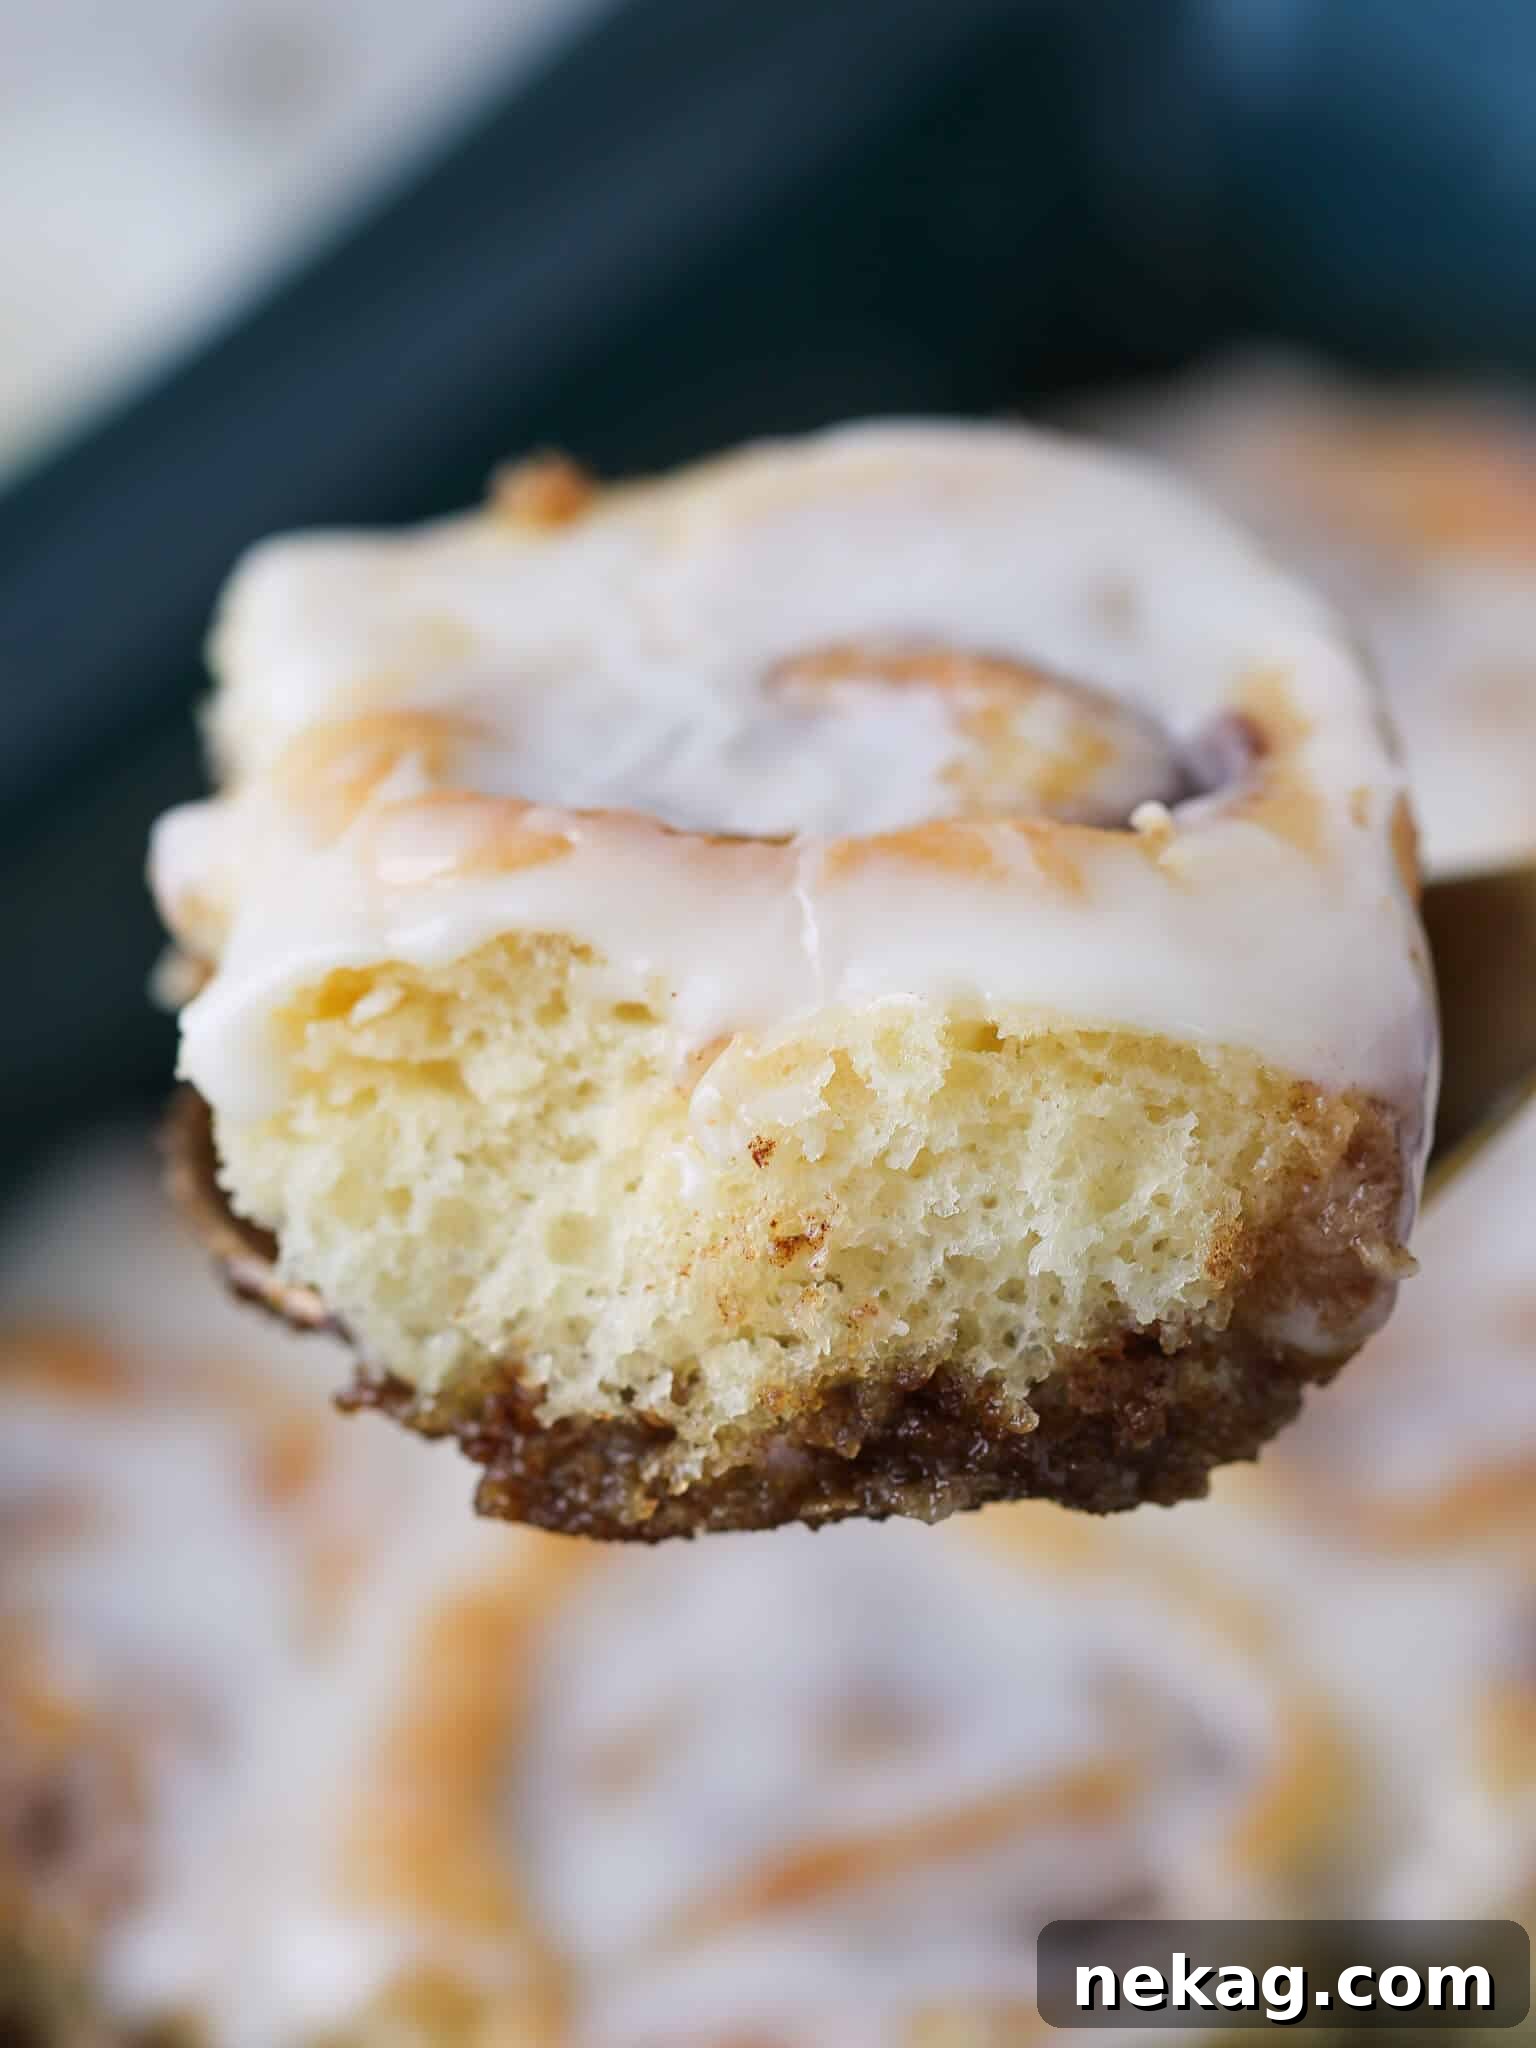
Indulge in the ultimate comfort food with this exceptional cinnamon roll recipe with cream cheese icing. Imagine a lavish amount of brown sugar cinnamon filling, perfectly swirled within a remarkably soft, tender, and airy yeasted dough. Each delightful bite promises the gooey, spiced goodness typically found only at the very center of a cinnamon roll. This recipe isn’t just a dessert; it’s an experience, designed to bring warmth and joy to any breakfast table or special occasion.
A Quick Look At The Recipe
This is a brief summary of the recipe. Jump to the recipe to get the full details.
Jump to Recipe
Prep Time
20 minutes
Cook Time
15 minutes
Proof Time
50 minutes
Total Time
1 hour 25 minutes
Servings
12 rolls
Difficulty
Intermediate but approachable, with simple steps and a forgiving dough that’s perfect for home bakers.
Calories *
374 kcal per serving
Technique
Master the art of creating a soft yeast dough, filling it generously with cinnamon sugar, rolling and slicing with precision, allowing for a double proof, and baking to golden perfection.
Flavor Profile
Experience soft, fluffy cinnamon rolls boasting a rich brown-sugar swirl, beautifully complemented by a tangy, sweet cream cheese icing that ties all the flavors together.
* Based on nutrition panel
I have made these so many times that I can’t count. This really is the best cinnamon roll recipe ever – so fast and easy! My tip is that a pan of these rolls makes an incredible hostess gift. I often cook 5 or 6 rolls in a 7″ pan and give those as gifts. My family, neighbors and friends all got these for Christmas this year. Yum! ⭐⭐⭐⭐⭐
Josephine Havlak
Why You Will Fall in Love with These Homemade Cinnamon Rolls
Prepare to be enchanted by these homemade cinnamon rolls, a recipe meticulously crafted to ensure perfection in every aspect. From their irresistible aroma filling your kitchen to their tender texture melting in your mouth, here’s why these will become your go-to:
- Unrivaled Flavor from Dough to Icing: Unlike many recipes, the flavor journey begins with the dough itself. It’s incredibly soft, rich with butter, and perfectly tender. This foundational taste then harmonizes with a generous, moist cinnamon-sugar filling, ensuring that every single part of the roll, inside and out, is bursting with aromatic spice and sweet indulgence. There are no shortcuts or gimmicks here—just pure, unadulterated flavor that truly shines.
- Consistently Moist & Gooey Centers: Say goodbye to dry, crumbly cinnamon rolls! This recipe guarantees an exceptionally moist outcome, thanks to a balanced blend of butter, sugar, and egg in the dough. This tender base perfectly cradles the buttery cinnamon sugar filling, which stays securely within the layers as it bakes. The result? Every spiral is delightfully gooey, making each bite feel like you’ve found the cherished center of the roll.
- The Perfect Tangy Cream Cheese Icing: Elevating these rolls to legendary status is the smooth, luscious cream cheese icing. It’s not merely an afterthought but a crucial component that pulls all the sweet, spicy, and buttery notes together. This creamy topping locks in moisture, adding a wonderful counterpoint of sweetness and a delicate tang that beautifully cuts through the richness of the rolls. It provides that essential finish, completing the ultimate cinnamon roll experience.
- Ideal for Special Occasions & Weekend Indulgences: These truly magnificent cinnamon rolls are perfect for celebrating life’s sweet moments. Whether you’re planning a memorable birthday breakfast, creating a festive Christmas morning tradition, or simply enjoying a leisurely Sunday brunch with loved ones, these gooey treats are guaranteed to be a highlight. For everyday ease, consider delightful alternatives like our fluffy whole wheat pancakes or this comforting cinnamon raisin French toast.
Table of Contents
- Why You Will Fall in Love with These Homemade Cinnamon Rolls
- Essential Ingredients & Smart Substitutions
- Creative Variations to Elevate Your Cinnamon Rolls
- Expert Tips for Bakery-Quality Cinnamon Rolls
- Step-by-Step Guide: Crafting Your Perfect Cinnamon Rolls
- Chef Lindsey’s Expert Baking Tip
- Frequently Asked Questions (FAQs)
- Recommended Cinnamon Pastry Recipes
- The Best Cinnamon Rolls Recipe
- Before You Go
This cinnamon roll recipe truly represents the pinnacle of home baking. After countless hours dedicated to perfecting my sourdough cinnamon rolls earlier this year, I realized the need for an equally exceptional, yet more approachable, option for everyone. Over the years, I’ve experimented with dozens of versions, but none quite captured the ideal balance of flavor, texture, and ease. Today, I am thrilled to confidently share what I believe is the very best classic cinnamon roll recipe. It features an incredibly soft, deeply flavorful yeasted dough, the quintessential ratio of sweet cinnamon-brown sugar filling, and a perfectly balanced, tangy cream cheese icing.
Should you find yourself short on time or simply craving a quicker cinnamon fix, don’t fret! You can always whip up a batch of my delightful cinnamon chip scones with cream cheese glaze. For an even easier breakfast treat, the tried-and-true cinnamon flop offers a charming, simple cake-like option. Alternatively, for a unique twist, try making air fryer cinnamon rolls. But for those dedicated bakers who wish to elevate their skills and flavor profile to the next level, I encourage you to explore my recipe for apple cinnamon rolls, a truly advanced delight.
Essential Ingredients & Smart Substitutions for Perfect Cinnamon Rolls
Crafting the perfect cinnamon roll begins with understanding your ingredients. Each plays a vital role in achieving that desirable soft texture and rich flavor. Here’s a detailed look at what you’ll need and potential substitutions:
- Whole Milk: I highly recommend using whole milk in all yeasted bread recipes, especially for cinnamon rolls. Its higher fat content contributes significantly to a more tender, moist crumb and richer flavor. While you can substitute any milk alternative, be aware that it might slightly alter the texture and richness of the final product.
- Active Dry Yeast: This recipe utilizes active dry yeast, which requires a preliminary step of hydration (blooming) in warm milk. This process is crucial for activating the yeast and ensuring it’s alive and ready to make your dough rise beautifully. It also offers controlled fermentation, essential for gluten development. If active dry yeast isn’t available, you can substitute with double the weight of fresh yeast or half the weight of instant yeast (though instant yeast doesn’t require blooming).
- Whole Egg: Eggs add richness, structure, and moisture to the dough, contributing to its tender texture and golden hue when baked. They also aid in emulsification, creating a more stable and pliable dough.
- Unsalted Butter: Butter is indispensable for both the dough and the filling. In the dough, it adds an incredible richness and tenderness. For the filling, it binds the sugar and cinnamon, creating that luscious, gooey swirl. Always use unsalted butter to control the overall salt content in your recipe.
- All-Purpose Flour: My preferred choice for most bread recipes is all-purpose flour. It strikes the perfect balance, possessing sufficient protein for developing a strong gluten network—essential for a good rise—while remaining tender and soft. Bread flour can be used for a chewier roll, but I strongly advise against using pastry or cake flour, as their low protein content will result in a weak, crumbly dough that won’t hold up.
- Kosher Salt: Salt is more than just a seasoning; it plays a critical role in controlling yeast activity, enhancing flavor, and strengthening gluten in the dough.
- Granulated Sugar: In the dough, granulated sugar provides essential food for the yeast, aiding in fermentation and rise. It also contributes to the dough’s flavor and assists in the beautiful caramelization of the crust during baking.
- Dark Brown Sugar: This is the star of our filling! Dark brown sugar, with its deeper molasses flavor and moist texture, creates a richer, more complex cinnamon swirl. Light brown sugar can be used as a substitute for an equally delightful, though slightly less intense, effect.
- Ground Cinnamon: The heart of any cinnamon roll. Use fresh, high-quality ground cinnamon for the most aromatic and flavorful filling.
- Cream Cheese: For the ultimate cream cheese icing, I consistently reach for original Philadelphia Cream Cheese. Its full-fat content delivers the signature tangy, creamy texture. While reduced-fat cream cheese can be substituted, it may result in a slightly thinner icing and a less robust flavor profile.
- Powdered Sugar: Essential for the smooth, melt-in-your-mouth texture of the icing. It dissolves effortlessly, creating a lump-free glaze.
- Vanilla Extract: A touch of vanilla extract in the icing enhances all the other flavors, adding a warm, aromatic depth that perfectly complements the cream cheese and cinnamon.
See the recipe card below for the full information on precise ingredient quantities and further details.
Creative Variations to Elevate Your Homemade Cinnamon Rolls
While the classic cinnamon roll is undeniably perfect, there’s always room for a creative twist! These variations allow you to customize your homemade rolls, making them even more special for any occasion:
- Luscious Fruit & Nut Infusions: Beyond the traditional cinnamon sugar, consider folding in your favorite fruit compote for an extra layer of flavor and moisture. An easy apple compote or a rich cherry pie filling adds a delightful fruity sweetness. For a crunchy surprise and added texture, sprinkle in a generous amount of your favorite toasted nuts, such as pecans, walnuts, or almonds, before rolling the dough.
- Decadent Caramel Cinnamon Sticky Buns: Bridge the gap between classic cinnamon rolls and our indulgent pecan sticky buns by adding a caramel layer! This variation is delightfully messy but utterly irresistible. Simply spread a generous amount of homemade salted caramel sauce on the bottom of your greased baking dish before placing the sliced rolls. For an extra punch of caramel flavor, swirl a little caramel sauce into your cream cheese icing before spreading it on the warm buns.
- Individual Cinnamon Muffins: For a charming, portion-controlled serving, transform your cinnamon rolls into muffins. After slicing, simply place each roll into a greased muffin tin cup. This method ensures individual perfection and makes serving a breeze, especially for brunches or gatherings.
- Pull-Apart Cinnamon Roll Bread: Create an impressive centerpiece with this fun variation. After preparing and chilling your dough, roll it out and spread the filling as directed. Slice the dough log in half lengthwise, then fold one half over the other like a sandwich. Gently roll it out again to roughly double its size. Cut the stacked dough into small squares and layer them vertically in a greased loaf pan, creating a beautiful layered effect. Proof and bake until a knife inserted into the center comes out clean. Once cooled, drizzle with cream cheese icing, and watch as guests pull apart the soft, sweet layers. Or for an apple-infused version, try an apple cinnamon roll bake, inspired by Dorothy at Crazy for Crust.
Expert Tips for Bakery-Quality Homemade Cinnamon Rolls
Achieving cinnamon rolls that rival your favorite bakery is entirely possible with a few professional insights. These tips will help you perfect your technique and ensure a consistently delicious result:
- Precision Rolling with a Ruler: For cinnamon rolls that are uniform in size and bake evenly, your ruler is your best friend! I keep a clear, clean ruler specifically for baking tasks. When rolling out the dough, aim for sharp, clean corners to create a perfectly rectangular canvas. This attention to detail might seem minor, but it ensures you get maximum surface area for filling and consistent rolls. Using the ruler again when dividing the dough into individual pieces guarantees each roll is the same size, promoting even baking and a beautiful presentation.
- Roll Those Cinnamon Rolls Tightly (But Gently!): The secret to keeping your delectable filling securely nestled within the dough, preventing it from oozing out during baking, is a tight roll. When forming the log, roll with purpose, ensuring there are no significant gaps between the layers of dough and filling. However, be careful not to roll so tightly that you tear the delicate dough. A firm yet gentle hand is key to creating those beautiful, defined spirals that hold their shape and their flavor.
- The Art of Clean Slicing: How you slice your rolls significantly impacts their final appearance and how well the filling is retained. I highly recommend using a very sharp, thin chef’s knife or a sharp serrated knife. A clean cut requires minimal pressure, which prevents the dough from squishing and pushing the filling out. If you’re a fan of the traditional dental floss method, remember to use unflavored floss. The last thing you want is a subtle minty undertone to your sweet cinnamon rolls!
- Optimize Your Proofing Environment: Yeast loves warmth and humidity. If your kitchen is cool, consider creating a warm proofing environment. Many modern ovens have a “proof” setting (often around 85°F). Alternatively, you can place the covered dough in an unheated oven with just the light on, or in a warm spot free from drafts. A consistent, warm environment ensures the yeast works efficiently, leading to light, airy rolls.
Step-by-Step Guide: Crafting Your Perfect Cinnamon Rolls with Cream Cheese Icing
Follow these detailed instructions to create the most exquisite homemade cinnamon rolls. You’ll find further precise measurements and ingredient quantities in the recipe card below.
Part 1: Preparing the Dough – The Foundation of Fluffy Rolls
Step 1: Gently Heat the Milk. Pour the whole milk into a small saucepan or microwave-safe bowl. Heat it until it reaches a temperature between 100-110°F (38-43°C). This is slightly warmer than body temperature. It’s crucial not to overheat the milk, as temperatures above 115°F (46°C) can kill the active yeast, preventing your dough from rising.
Step 2: Bloom the Yeast. Transfer the warmed milk to the bowl of a stand mixer. Sprinkle the active dry yeast evenly over the surface of the milk. Gently whisk for a few seconds to break up any potential clumps, ensuring good contact between the yeast and the warm milk. Allow the mixture to sit undisturbed for about 10 minutes. During this time, the yeast should activate and begin to bubble and foam, indicating it’s alive and ready to work. If no bubbles appear, your yeast may be inactive, and you’ll need to start with new yeast.
Step 3: Incorporate Remaining Dough Ingredients. Add the softened unsalted butter, whole egg, all-purpose flour, granulated sugar, and kosher salt to the yeast mixture in the stand mixer bowl.
Step 4: Develop the Gluten. Attach the paddle attachment to your stand mixer. Mix on low speed until all the ingredients are well incorporated and no dry pockets of flour remain. The mixture will be shaggy at first. Switch to the dough hook attachment. Increase the speed to medium and mix for 3-4 minutes. During this process, the dough will become smoother and more elastic, eventually pulling away from the sides of the bowl. While this dough is on the stickier side, don’t be tempted to add too much extra flour. It should be supple enough that you can gently stretch a small piece of it until it’s translucent without tearing (the “window pane test”). This indicates proper gluten development.
The dough will feel slightly sticky, which is perfectly normal and contributes to the final tenderness of the rolls. Trust the process; this stickiness is a good sign for a soft crumb!
Part 2: Folding and First Proof – Building Structure and Flavor
Step 5: Prepare for the First Proof. Lightly spray a large mixing bowl with cooking spray to prevent sticking. Carefully transfer the sticky dough from the stand mixer bowl into the prepared bowl.
Step 6: Perform the First Fold. This technique helps strengthen the gluten and develop more complex flavors. Starting on one side of the dough, gently pull a section of the dough upwards and fold it halfway towards the center. Rotate the bowl a quarter turn (90 degrees) and repeat this folding process with each side of the dough until you have completed one full rotation, forming a neat, small dough packet. Flip the dough over so the seam side is down and the top surface is smooth. Cover the bowl tightly with plastic wrap to prevent the dough from drying out. Place it in a warm, draft-free spot for its bulk proof, which will take approximately 30-45 minutes, or until the dough has visibly doubled in size.
My oven features a convenient proof setting, which I utilize at 85°F (29°C) for consistent results. A good indicator that your dough is ready is when it has clearly doubled in volume.
For enhanced flavor development and easier handling, you can also proof the dough slowly in the refrigerator overnight. This process, known as “retarding” the dough, will significantly slow the rise but make the dough less sticky and much easier to roll and shape the following day.
Part 3: Crafting the Irresistible Cinnamon Sugar Filling
Step 7: Prepare the Filling. While your dough is undergoing its first proof, prepare the star of the show: the cinnamon sugar filling. In a medium-sized bowl, combine the very soft unsalted butter (it should be almost melted but still a paste), dark brown sugar, and ground cinnamon. Mix these ingredients thoroughly with a spoon or spatula until they form a smooth, uniform paste. This consistency is crucial for easy spreading later. Set the filling aside at room temperature.
Part 4: Assembling Your Perfect Cinnamon Rolls
Step 8: Prepare the Work Surface. Once your dough has successfully doubled in size, lightly flour your clean work surface, ensuring it’s generously covered to prevent sticking. Gently turn the sticky dough out onto the floured counter. A bowl scraper or rubber spatula will be incredibly helpful here due to the dough’s inherent stickiness. Sprinkle a bit more flour over the top of the dough and also lightly flour your rolling pin.
Step 9: Roll the Dough to Shape. Using your floured rolling pin, carefully roll the dough into a precise rectangle measuring approximately 12 inches long by 10 inches high (30cm x 25cm). Aim for even thickness across the entire rectangle. Once you have achieved the desired shape and size, use an offset spatula to evenly spread the prepared cinnamon sugar filling over the entire surface of the dough, leaving a small, clean border (about ½ inch) along the top and bottom edges (the 12-inch sides). This border will help in sealing the roll.
Occasionally, using your fingers to gently spread the filling and hold the dough in place can be more effective. The slight border on the top and bottom helps create a clean seal when you roll.
Step 10: Roll the Dough Tightly. Starting from the bottom 12-inch edge of the rectangle (the edge closest to you), begin to gently but firmly roll the dough upwards and away from you. Aim for a tight, consistent roll, ensuring that each turn is snug. Continue rolling until you reach the top edge, then pinch the top seam firmly to seal the log securely. This tight seal is essential for the rolls to maintain their shape during baking and prevent the filling from escaping.
Step 11: Slice the Rolls. Using a very sharp knife (or your bench scraper for clean cuts), carefully slice the dough log into approximately 1-inch (2.5 cm) thick pieces. This will yield about 12 perfectly sized cinnamon rolls. For larger, more generous rolls, you can opt to cut the log into 8 equal pieces instead.
Step 12: Arrange for Second Proof. Lightly spray a 9×13-inch (23×33 cm) baking dish with cooking spray. Carefully transfer the sliced cinnamon rolls into the prepared dish, arranging them about 2 inches apart. I prefer to offset them, perhaps starting with a row of two, then placing one in the center of the next gap, followed by another row of two, and so on. This strategic spacing allows them ample room to proof and expand without crowding each other, ensuring they rise beautifully and bake evenly.
Part 5: Final Proof and Baking – The Moment of Magic
Step 13: The Final Proof. Cover the baking dish loosely with plastic wrap. Return the rolls to your warm, draft-free spot for their final proof. This will take an additional 20-40 minutes, or until the rolls have visibly puffed up and are touching or nearly touching. I typically proof for about 20 minutes before I begin preheating my oven to 350°F (175°C) convection. Keep in mind that smaller rolls will proof and bake slightly faster than larger ones.
Step 14: Bake to Golden Perfection. Once the rolls are fully proofed, carefully remove the plastic wrap. Place the baking dish into your preheated oven and bake for approximately 15-20 minutes. The rolls are done when their edges are golden brown, the tops have a slight golden hue, and the centers no longer appear or feel doughy. To be certain, you can insert a cake tester or toothpick into the center of a roll; it should come out clean. My batch typically bakes perfectly in about 18 minutes.
Part 6: Preparing the Icing and Frosting – The Sweet Finish
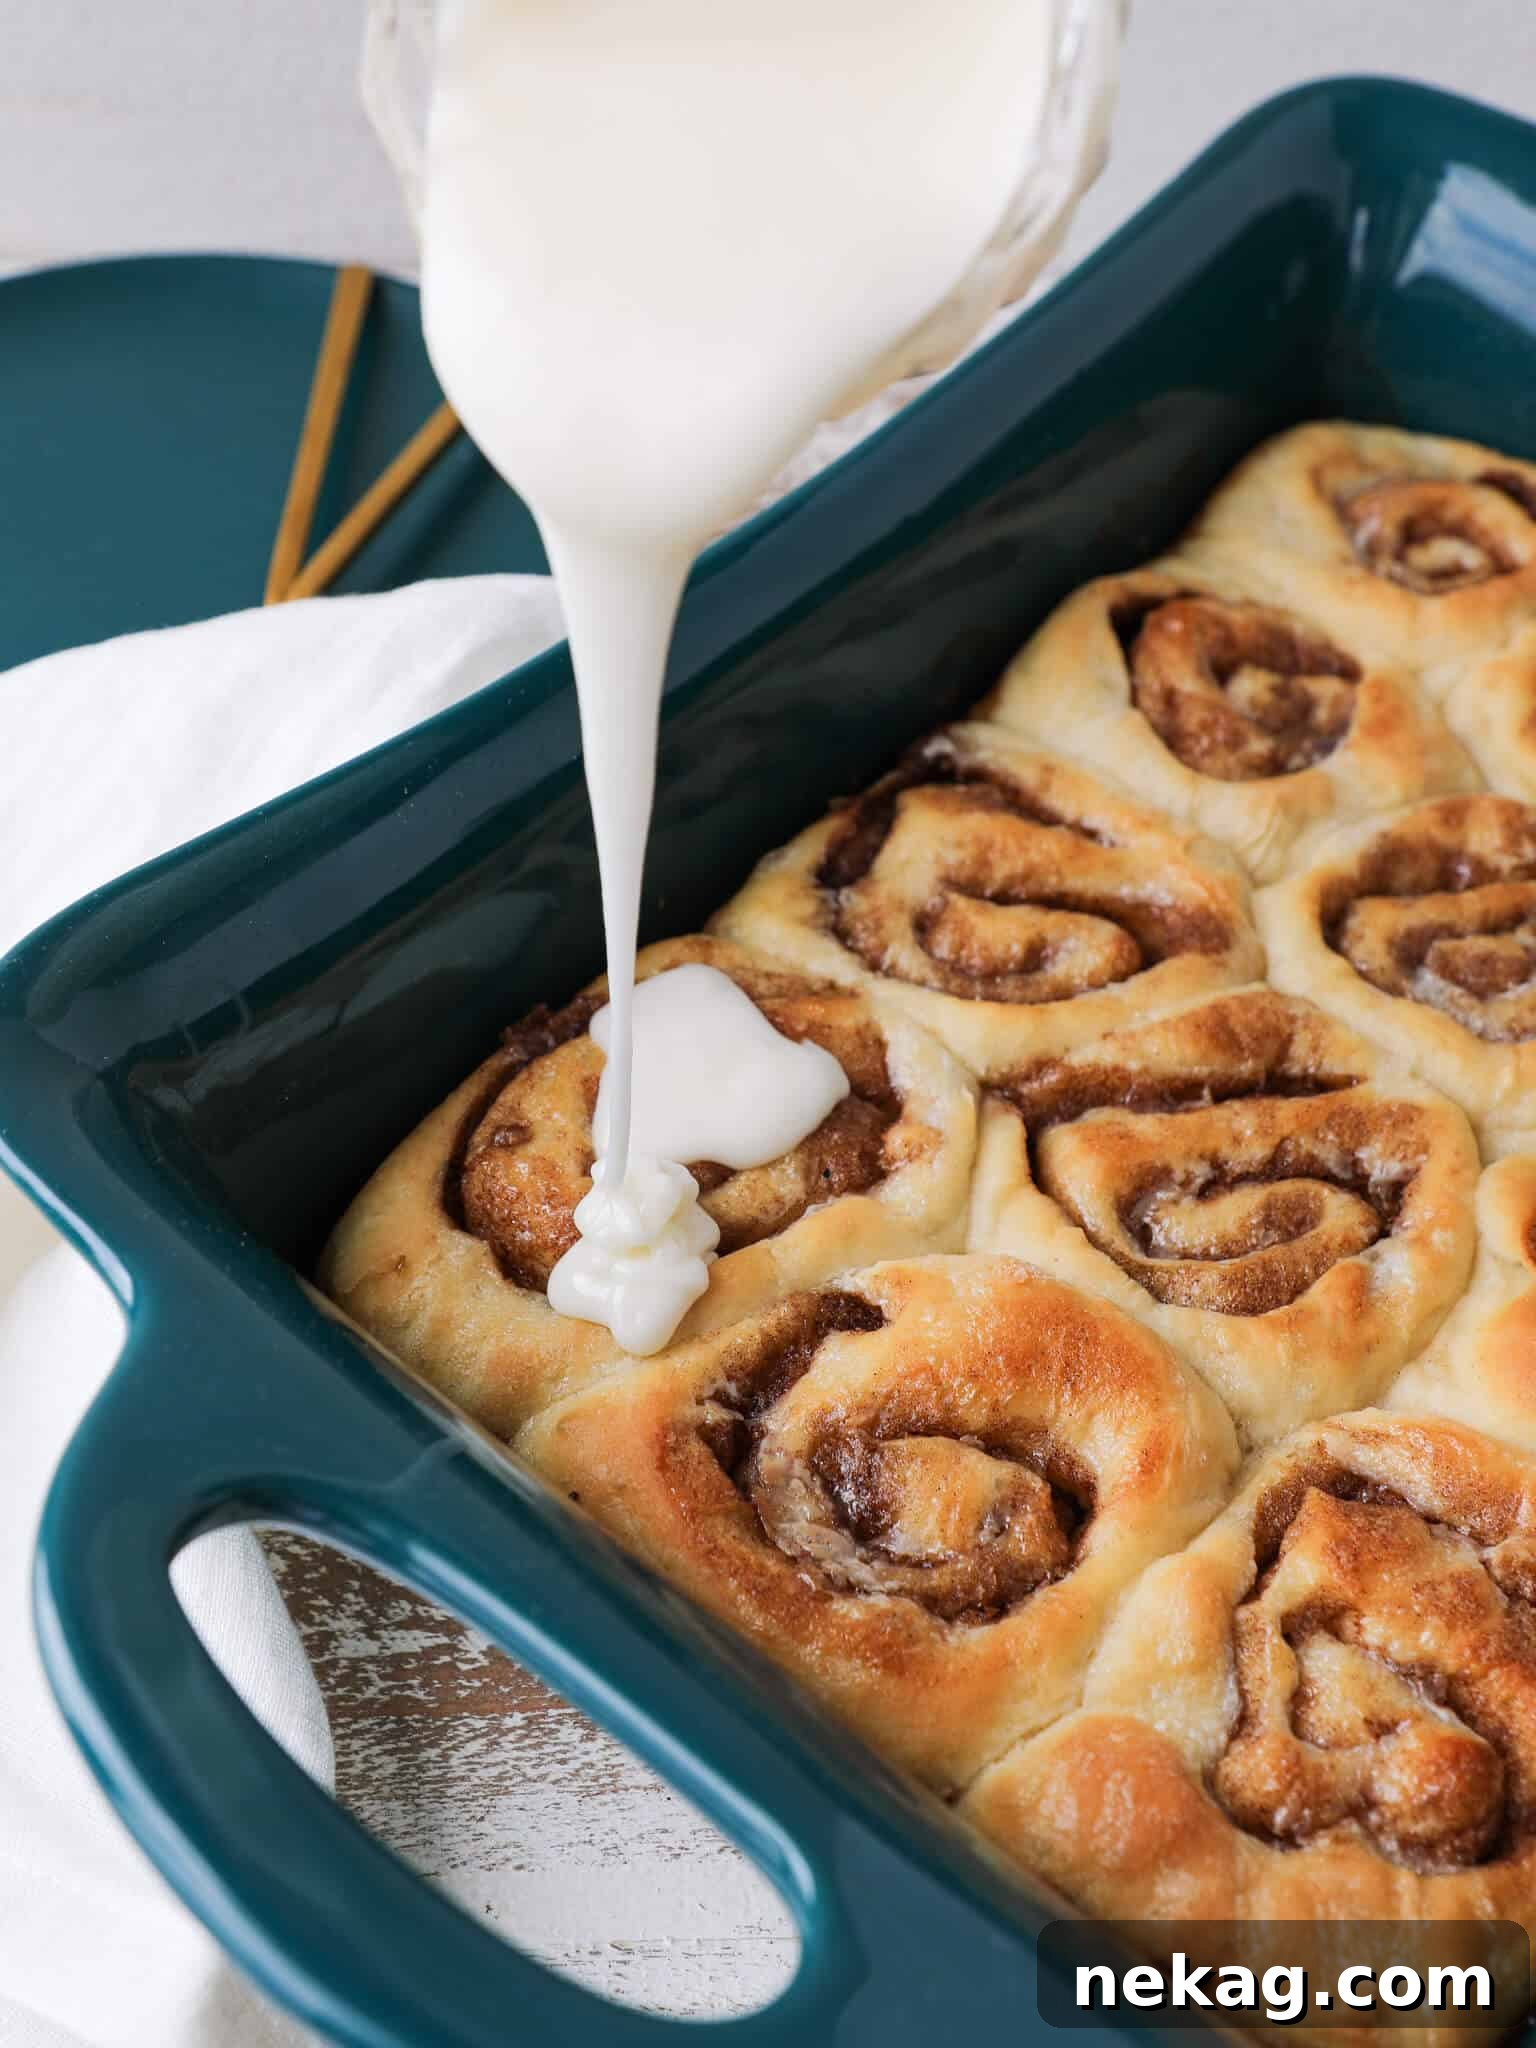
Step 15: Allow Rolls to Cool. Once baked, remove the cinnamon rolls from the oven and allow them to cool in the baking dish for at least 10-15 minutes before applying the icing. This slight cooling period is important; if you ice them too hot, the icing will simply melt and run off. A slightly warm roll, however, will allow the icing to soften and spread beautifully without disappearing.
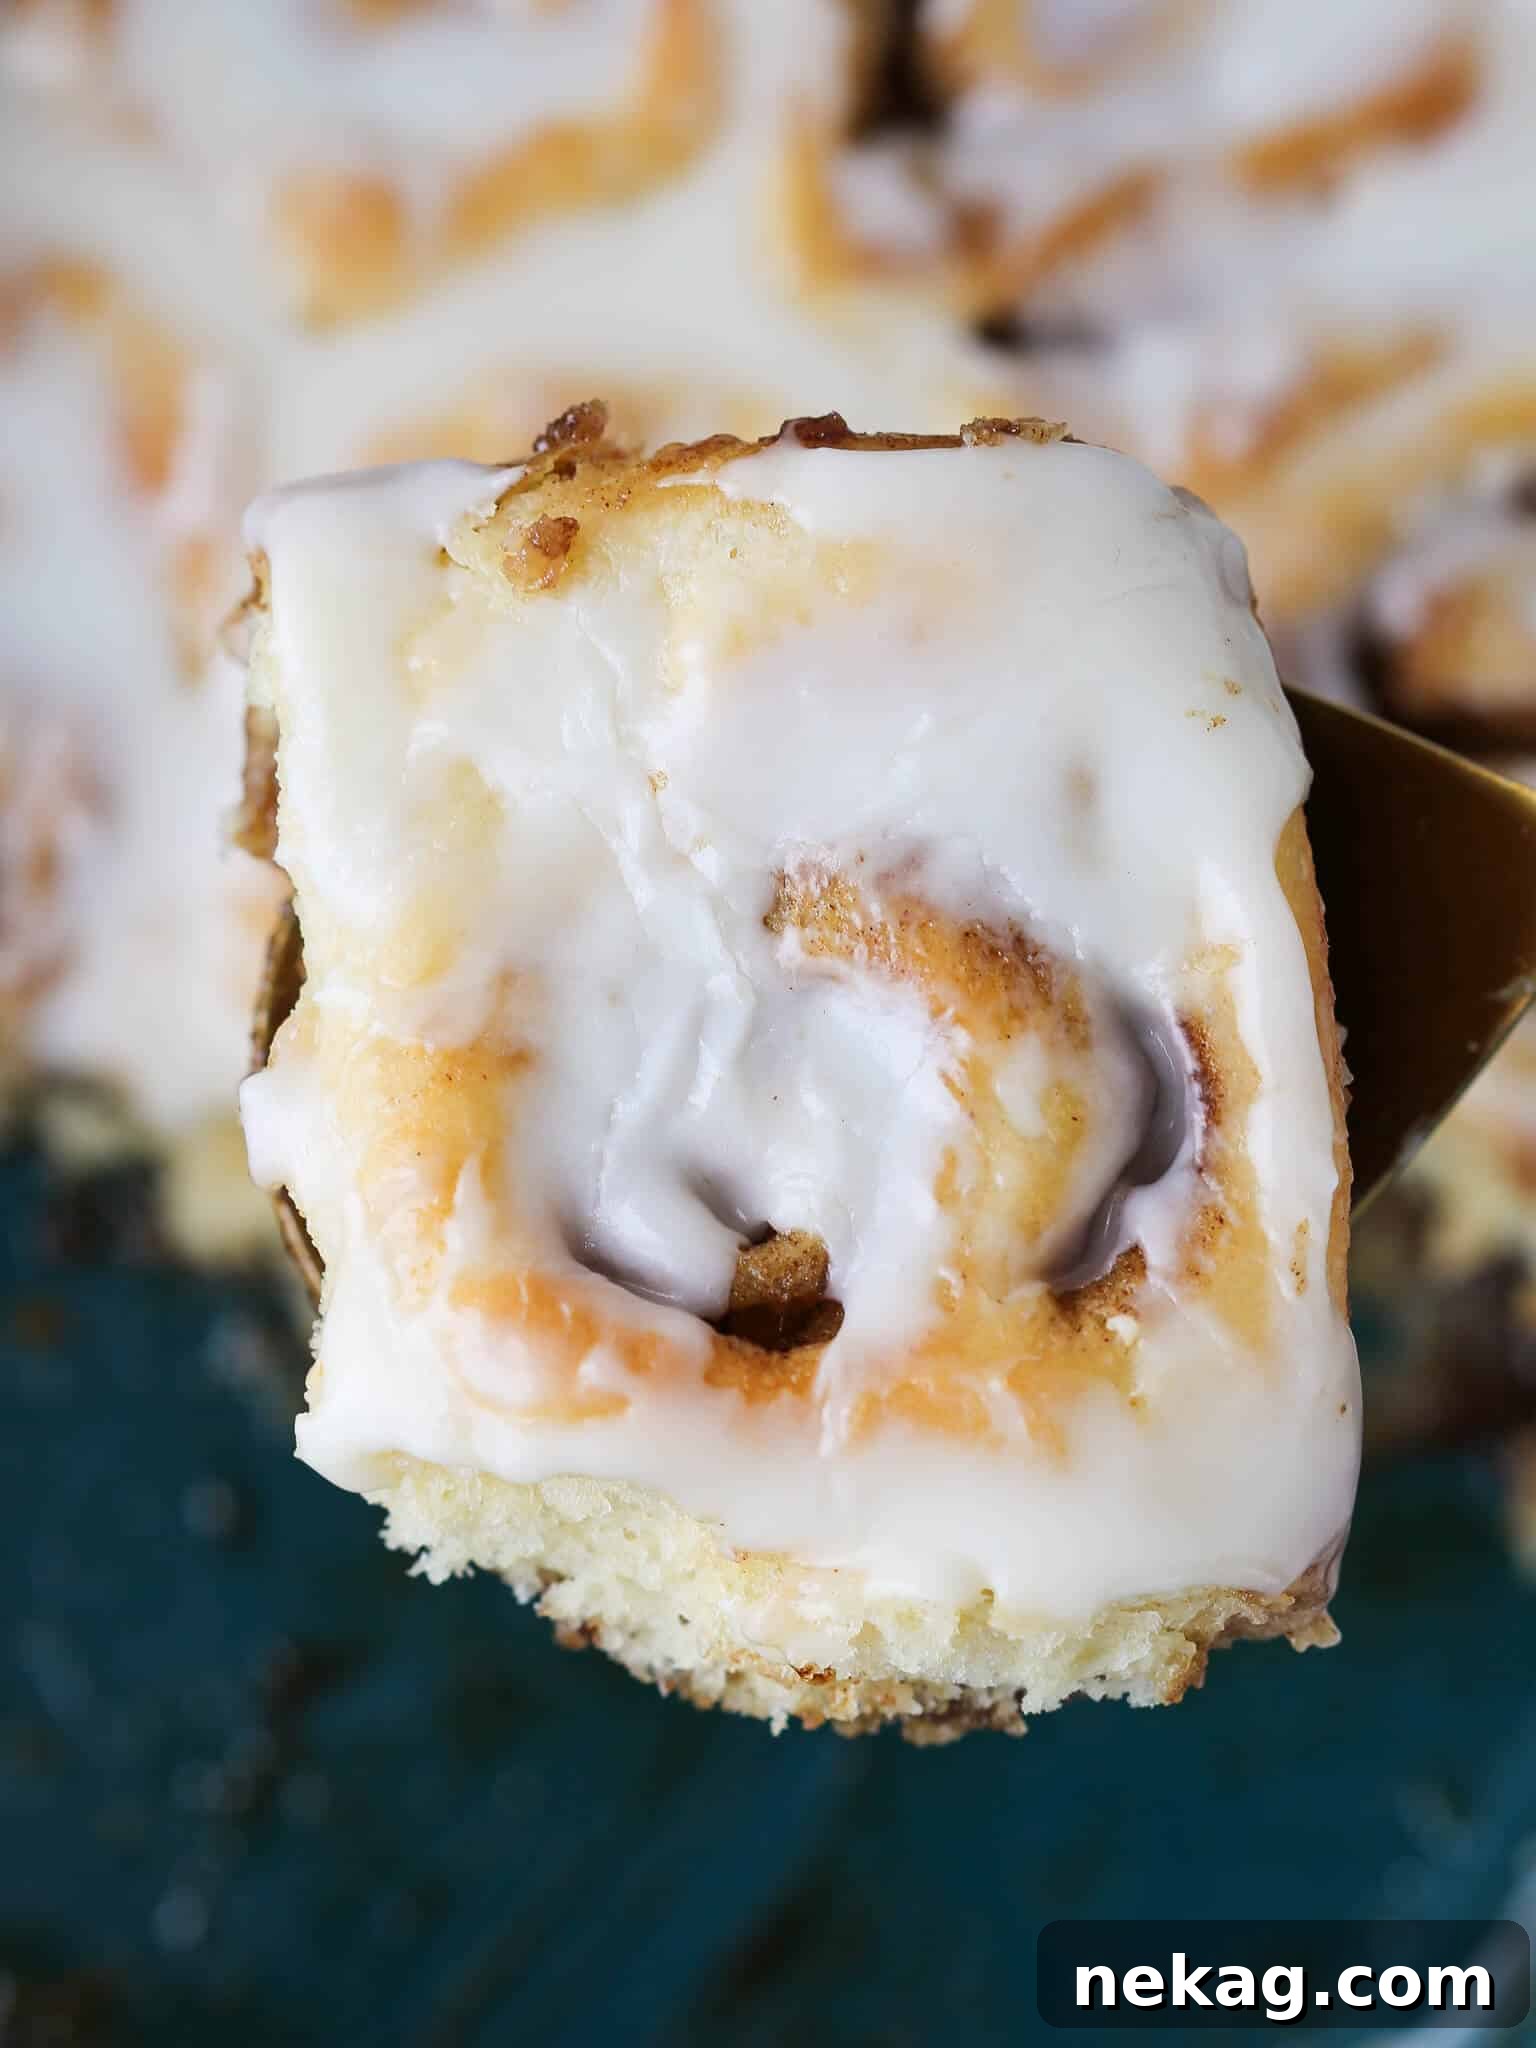
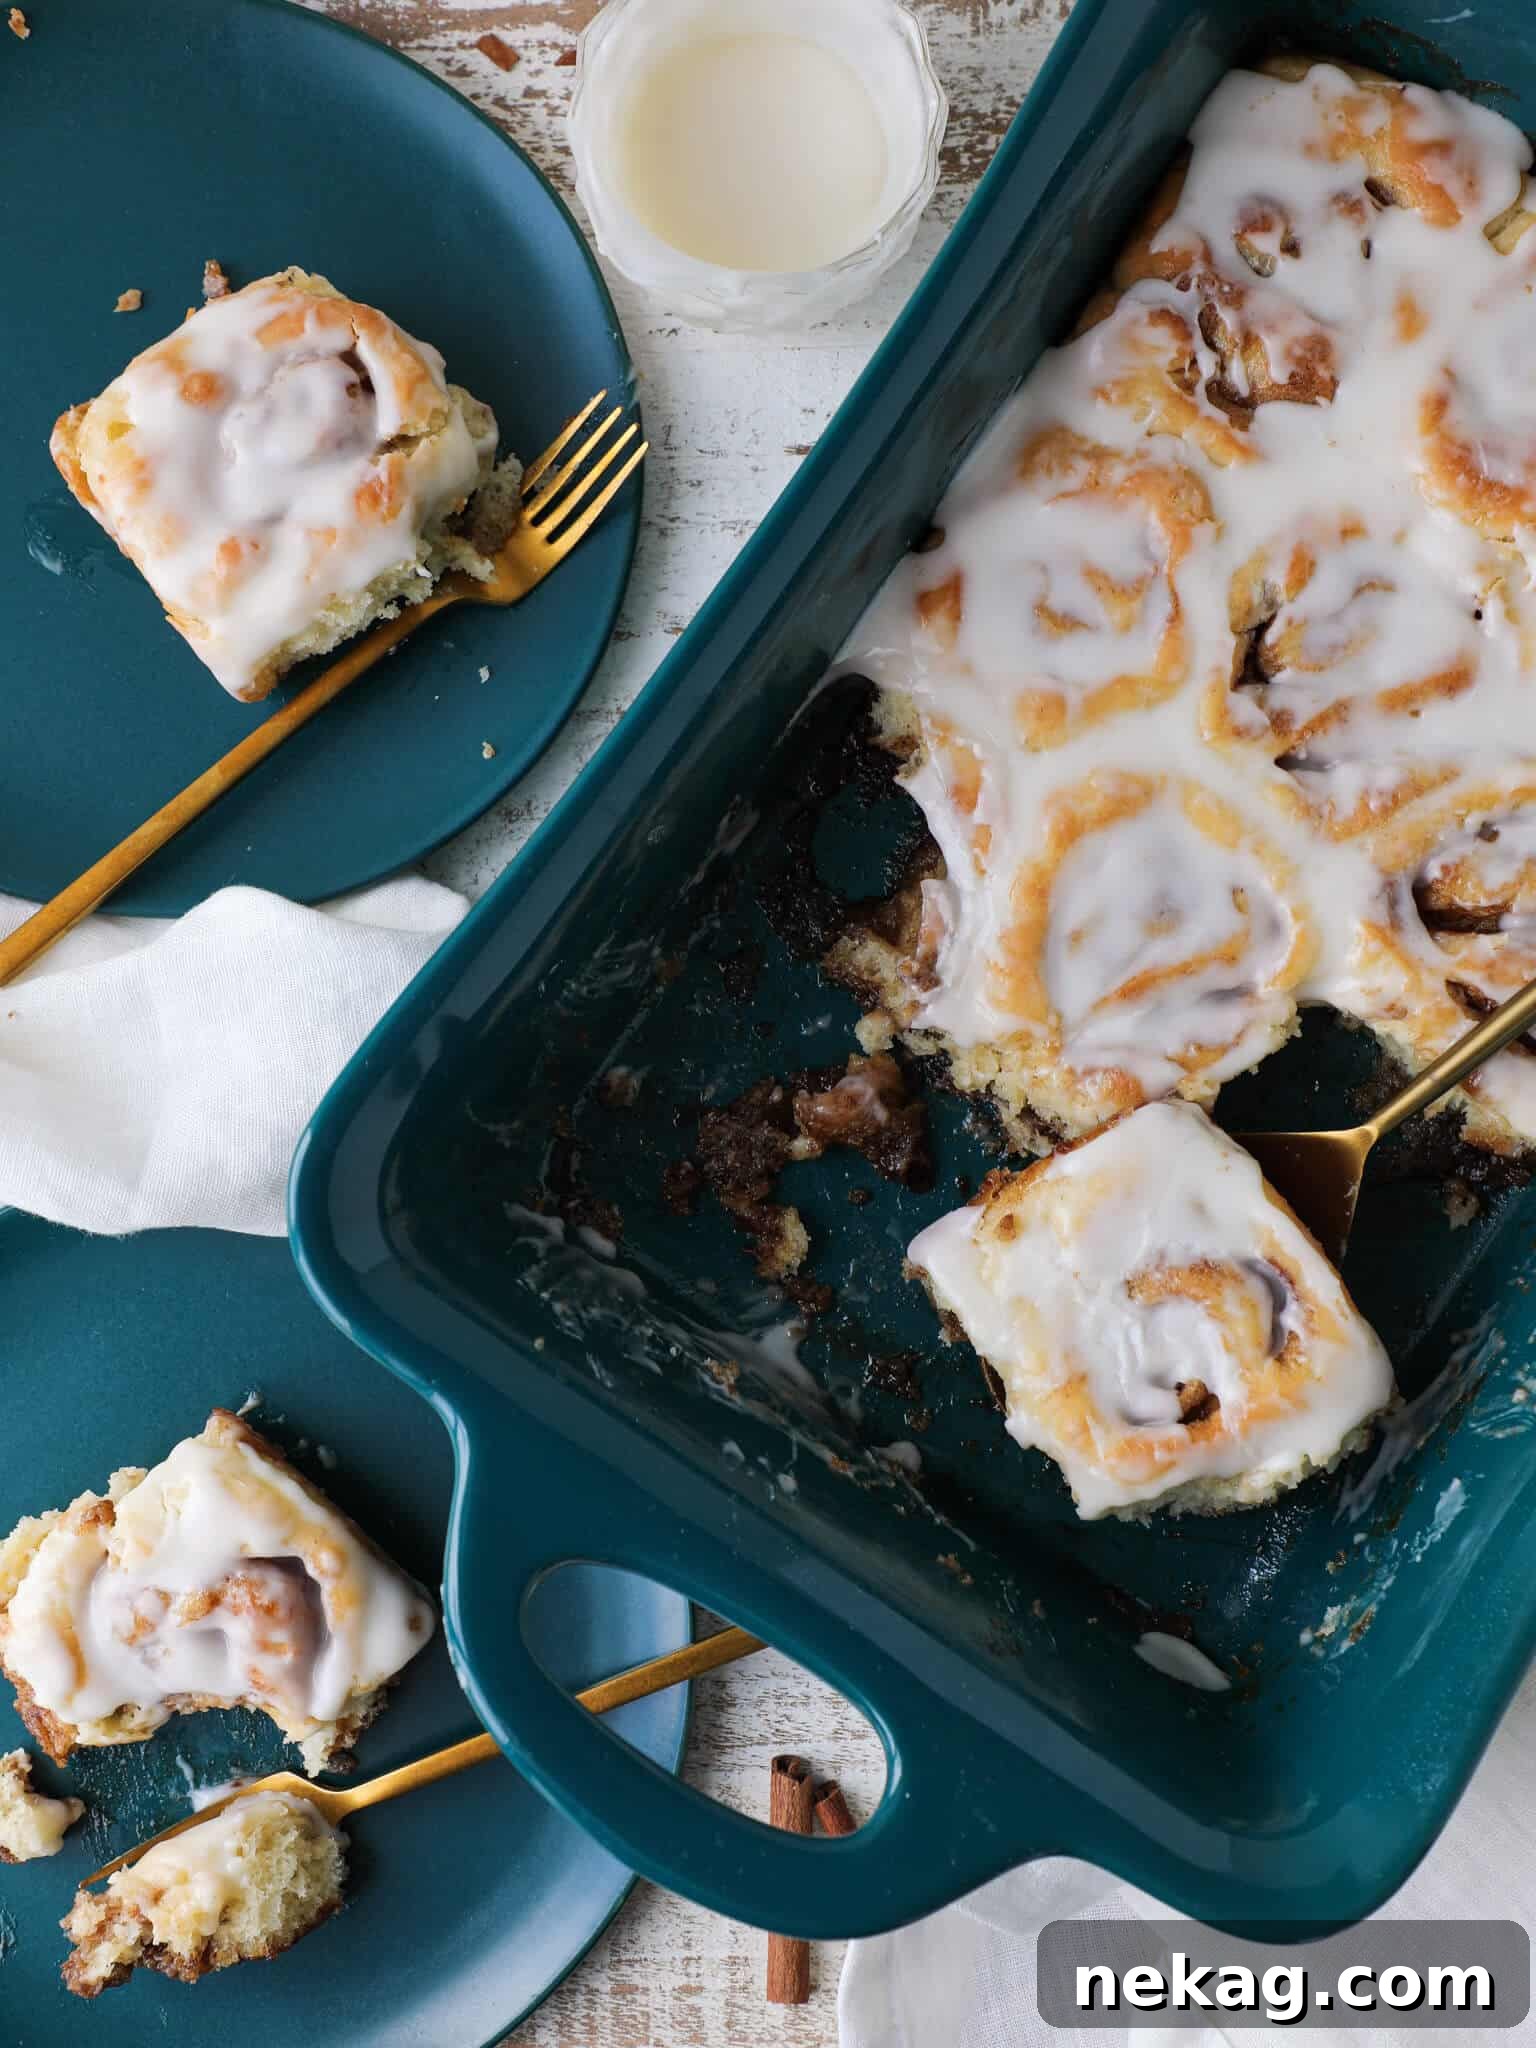
Step 16: Prepare and Frost with Cream Cheese Icing. In a medium bowl, combine all the ingredients for the cream cheese icing: powdered sugar, softened cream cheese, vanilla extract, and milk. Mix thoroughly until smooth and creamy. I find a sturdy spatula easier than a whisk to effectively incorporate the cream cheese and ensure there are no lumps. I prefer a slightly thicker icing, as it creates a more substantial layer on the still-warm rolls, melting just enough to coat them perfectly. Spreading this rich icing onto the warm, freshly baked cinnamon rolls truly is a little bit of heaven on earth!
Chef Lindsey’s Expert Baking Tip
For an easier-to-handle dough, especially if you find sticky dough challenging, try this professional trick: Halfway through the first proofing (after about 15-20 minutes), transfer the covered dough to the refrigerator. Allow it to continue proofing there until it has doubled in size. While it will take longer, the cold dough will be significantly less sticky and much easier to roll out, spread the filling, and shape into perfect rolls. Then, proceed with the rest of the recipe as directed.
Frequently Asked Questions (FAQs) About Cinnamon Rolls
For optimal freshness, cinnamon rolls are best enjoyed the day they are baked. However, any leftovers can be stored tightly wrapped in plastic wrap or an airtight container at room temperature for up to 3 days. If you need to keep them longer, they can be refrigerated for up to a week, though they may gradually dry out over time. Reheating briefly in the microwave can help restore some softness.
Due to the specific yeast content in this recipe, it’s not designed for very long, cold fermentation. However, you can certainly prepare the dough in advance. The process can be slowed down by proofing the dough in the refrigerator at each stage. For best results, prepare the rolls, assemble them in the baking dish, cover tightly, and store them in the freezer overnight. You can bake them straight from the freezer the next morning; just allow for a slightly longer baking time.
Absolutely! You can assemble and freeze these cinnamon rolls before baking. Arrange the cut rolls in a freezer-safe baking dish, cover them tightly with plastic wrap and then aluminum foil to prevent freezer burn. They will keep well in the freezer for up to a week. When you’re ready to bake, you can either let them thaw and proof at room temperature, or if they are already fully proofed before freezing, you can bake them directly from frozen. This makes them perfect for an easy breakfast any time!
Yes, you certainly can! While this recipe provides a luscious cream cheese icing, you could definitely opt for a richer, thicker frosting. Our best cream cheese buttercream frosting would be a fantastic choice. Just be aware that because buttercream frosting is denser than the suggested icing, you will need to spread it more deliberately over the rolls, rather than pouring or drizzling.
Recommended Cinnamon Pastry Recipes to Explore
Breakfast Pastry Recipes
Pecan Sticky Buns Recipe
Cookie Recipes
Cinnamon Sugar Cookies
Breakfast Pastry Recipes
Sourdough Cinnamon Rolls
Easy Scone Recipes
Cinnamon Scones
If you tried this recipe and loved it please leave a 🌟 star rating and let me know how it goes in the comments below. I love hearing from you; your comments make my day!
The Best Homemade Cinnamon Rolls
Print Recipe
Ingredients
For the Dough:
- ¾ cup whole milk a little warmer than body temperature. 105°F (40°C) is ideal
- 2 ¼ teaspoons active dry yeast (1 standard packet, NOT instant)
- 1 large egg
- ¼ cup unsalted butter softened
- 2 ½ cups all-purpose flour
- ½ teaspoon kosher salt
- 2 tablespoons granulated sugar
For the Cinnamon Sugar Filling:
- 7 tablespoons unsalted butter very soft, almost melted, for easy spreading
- 1 cup dark brown sugar
- 1 tablespoon ground cinnamon
For the Cream Cheese Icing:
- 2 cups confectioner’s sugar
- 2 oz cream cheese softened (can be quickly softened in microwave)
- ½ teaspoon vanilla extract
- 2 tablespoons milk or more, as needed to achieve desired consistency
Instructions
Make the Dough:
-
Heat the milk to 100-110 degrees F (38-43°C). Ensure it’s not too hot, as excessive heat will kill the yeast.
-
In the bowl of a stand mixer, add the warm milk, then sprinkle the active dry yeast over the surface. Whisk gently to break up any clumps. Allow the yeast to bloom (sit undisturbed) for 10 minutes, or until a bubbly, foamy layer forms on top, indicating it’s active.
-
Add the remaining dough ingredients: egg, softened butter, all-purpose flour, kosher salt, and granulated sugar to the mixer bowl.
-
Fit the mixer with the paddle attachment and mix on low speed until all ingredients are incorporated and no lumps remain. Switch to the dough hook attachment. Mix on medium speed for 3-4 minutes. The dough will become smooth, pull away from the sides of the bowl, and pass the “window pane test” (meaning you can stretch a small piece until it’s thin and translucent without tearing). The dough will be somewhat sticky, which is desirable for tenderness.
Folds and Proofing:
-
Turn the dough out into a large mixing bowl that has been lightly sprayed with cooking spray.
-
Perform one series of “stretch and folds.” Starting on one side, pull the dough up and fold it halfway towards the center. Rotate the bowl a quarter turn and repeat this process with each side until you’ve folded all four sides into the center, forming a small dough packet. Flip the dough so the seam-side is down and the top is smooth. Cover the bowl tightly with plastic wrap and bulk proof in a warm, draft-free spot (around 85°F/29°C is ideal) for 30-45 minutes, or until the dough has doubled in size.
Make the Filling:
-
While the dough proofs, prepare the filling. In a medium bowl, combine the very soft unsalted butter, dark brown sugar, and ground cinnamon. Mix thoroughly until a smooth, spreadable paste forms. Set aside at room temperature.
Assemble the Cinnamon Rolls:
-
Once the dough has doubled in size, generously flour your clean work surface and turn the dough out onto it. A bowl scraper or rubber spatula will assist due to the dough’s sticky nature. Sprinkle more flour on top of the dough and lightly flour your rolling pin.
-
Roll the dough out into a precise 12-inch long by 10-inch high (30cm x 25cm) rectangle. Once achieved, use an offset spatula to evenly spread the cinnamon sugar filling over the entire surface, leaving a small clean border along the top and bottom 12-inch edges.
-
Starting from the bottom 12-inch edge (closest to you), begin to gently and tightly roll the dough away from you, forming a snug log. Pinch the top edge firmly to seal the log.
-
Using a very sharp knife (or unflavored dental floss, or a bench scraper), cut the dough log into approximately 1-inch (2.5 cm) thick pieces. This should yield about 12 rolls. For larger rolls, you can cut the log into 8 equal pieces.
-
Lightly spray a 9×13-inch (23×33 cm) baking dish with cooking spray. Arrange the sliced cinnamon rolls in the dish, leaving about 2 inches of space between each roll. Offsetting them (e.g., a row of 2, then one in the center of the next space, then another row of 2) provides optimal room for them to proof and expand without overcrowding.
Final Proof:
-
Cover the baking dish loosely with plastic wrap and return it to your warm, draft-free spot for an additional 20-40 minutes of proofing. The rolls should visibly puff up and fill out the dish. I typically proof for 20 minutes, then move the dish while my oven preheats to 350°F (175°C) convection. Note that smaller rolls will proof and bake faster than larger ones.
Bake the rolls:
-
Remove the plastic wrap from the baking dish. Bake the cinnamon rolls in the preheated oven at 350°F (175°C) for approximately 15-20 minutes. They are ready when the edges are golden brown, the tops are lightly browned, and the centers no longer appear or feel doughy. You can also test for doneness by inserting a cake tester into the center of a roll; it should come out clean. My rolls usually bake perfectly in about 18 minutes.
Make the Icing & Frost:
-
Allow the baked cinnamon rolls to cool in the baking dish for at least 10-15 minutes before icing. This prevents the icing from melting completely and running off the rolls.
-
While the rolls cool, prepare the icing. In a medium bowl, mix all the ingredients for the cream cheese icing together until smooth and creamy. I find using a spatula makes it easier to fully incorporate the cream cheese than a whisk. I prefer a slightly thicker icing so that it beautifully coats the still-warm cinnamon rolls from the oven, creating a truly irresistible experience. Enjoy!
Notes
Presentation Tip – For the best visual appeal and to ensure the icing stays beautifully on top, allow your baked rolls to cool for at least 10-15 minutes before spreading the cream cheese icing. The slight warmth will allow it to melt just enough to cling, but not run off completely. A thicker icing will also adhere better to the tops of the rolls.
Key Technique – Always confirm your yeast is active! Before proceeding with the rest of the recipe, make sure to “bloom” the yeast in warm milk as directed. Within 10 minutes, you should see clear bubbling and foaming. If there are no bubbles, your yeast is likely inactive (dead), and you’ll need to replace it with fresh yeast. Skipping this crucial check could result in a dough that won’t rise, wasting your time and ingredients!
Flavor Variations for Icing – To add another layer of flavor to your cream cheese icing, consider stirring in a tablespoon or two of maple syrup, a touch of molasses for a deeper, richer note, or even a hint of honey for a floral sweetness. Experiment to find your favorite twist!
Storage Best Practices – While these cinnamon rolls are undeniably at their peak freshness the day they are baked, you can store leftovers. Keep them tightly wrapped in plastic wrap or an airtight container at room temperature for up to 3 days. Alternatively, they can be refrigerated for up to a week. For a warm, soft treat, reheat individual rolls in the microwave for 15-30 seconds.
Nutrition
Before You Go: Explore More Delicious Breakfast & Brunch Recipes!
I sincerely hope you savored every moment of making and enjoying this classic cinnamon roll recipe. There’s nothing quite like the aroma of fresh-baked goods to brighten your day. If you’re eager to expand your breakfast and brunch repertoire, be sure to explore our other fantastic easy breakfast & brunch recipes. You might discover your next favorite, whether it’s scrumptious jelly donuts, or our wholesome and fluffy whole wheat pancakes! Happy baking!