
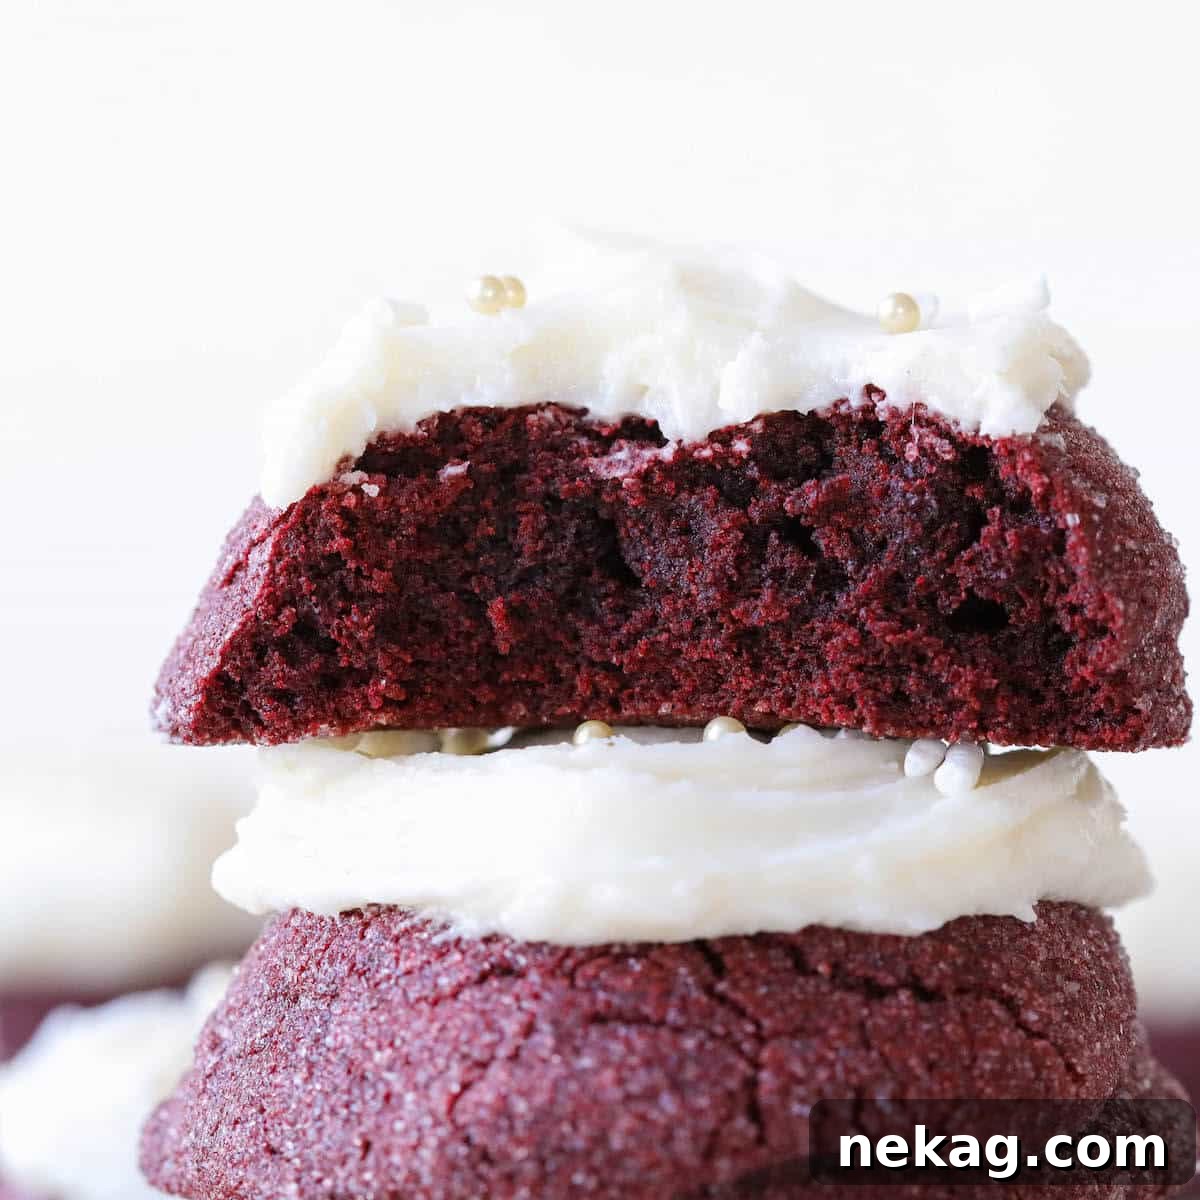
Indulge in the luxurious world of baking with these exquisite Red Velvet Cookies, perfectly complemented by a rich and tangy cream cheese frosting. These aren’t just any cookies; they’re a symphony of textures and flavors, boasting a thick, delightfully chewy, and incredibly soft interior. Imagine all the beloved essence of a classic red velvet cake, transformed into a convenient, handheld cookie form, offering that satisfying chewiness reminiscent of your favorite chocolate chip cookies. Each cookie is meticulously rolled in granulated sugar, creating a delicate, crispy exterior that contrasts beautifully with its tender core, delivering a truly perfect bite and a festive sparkle.
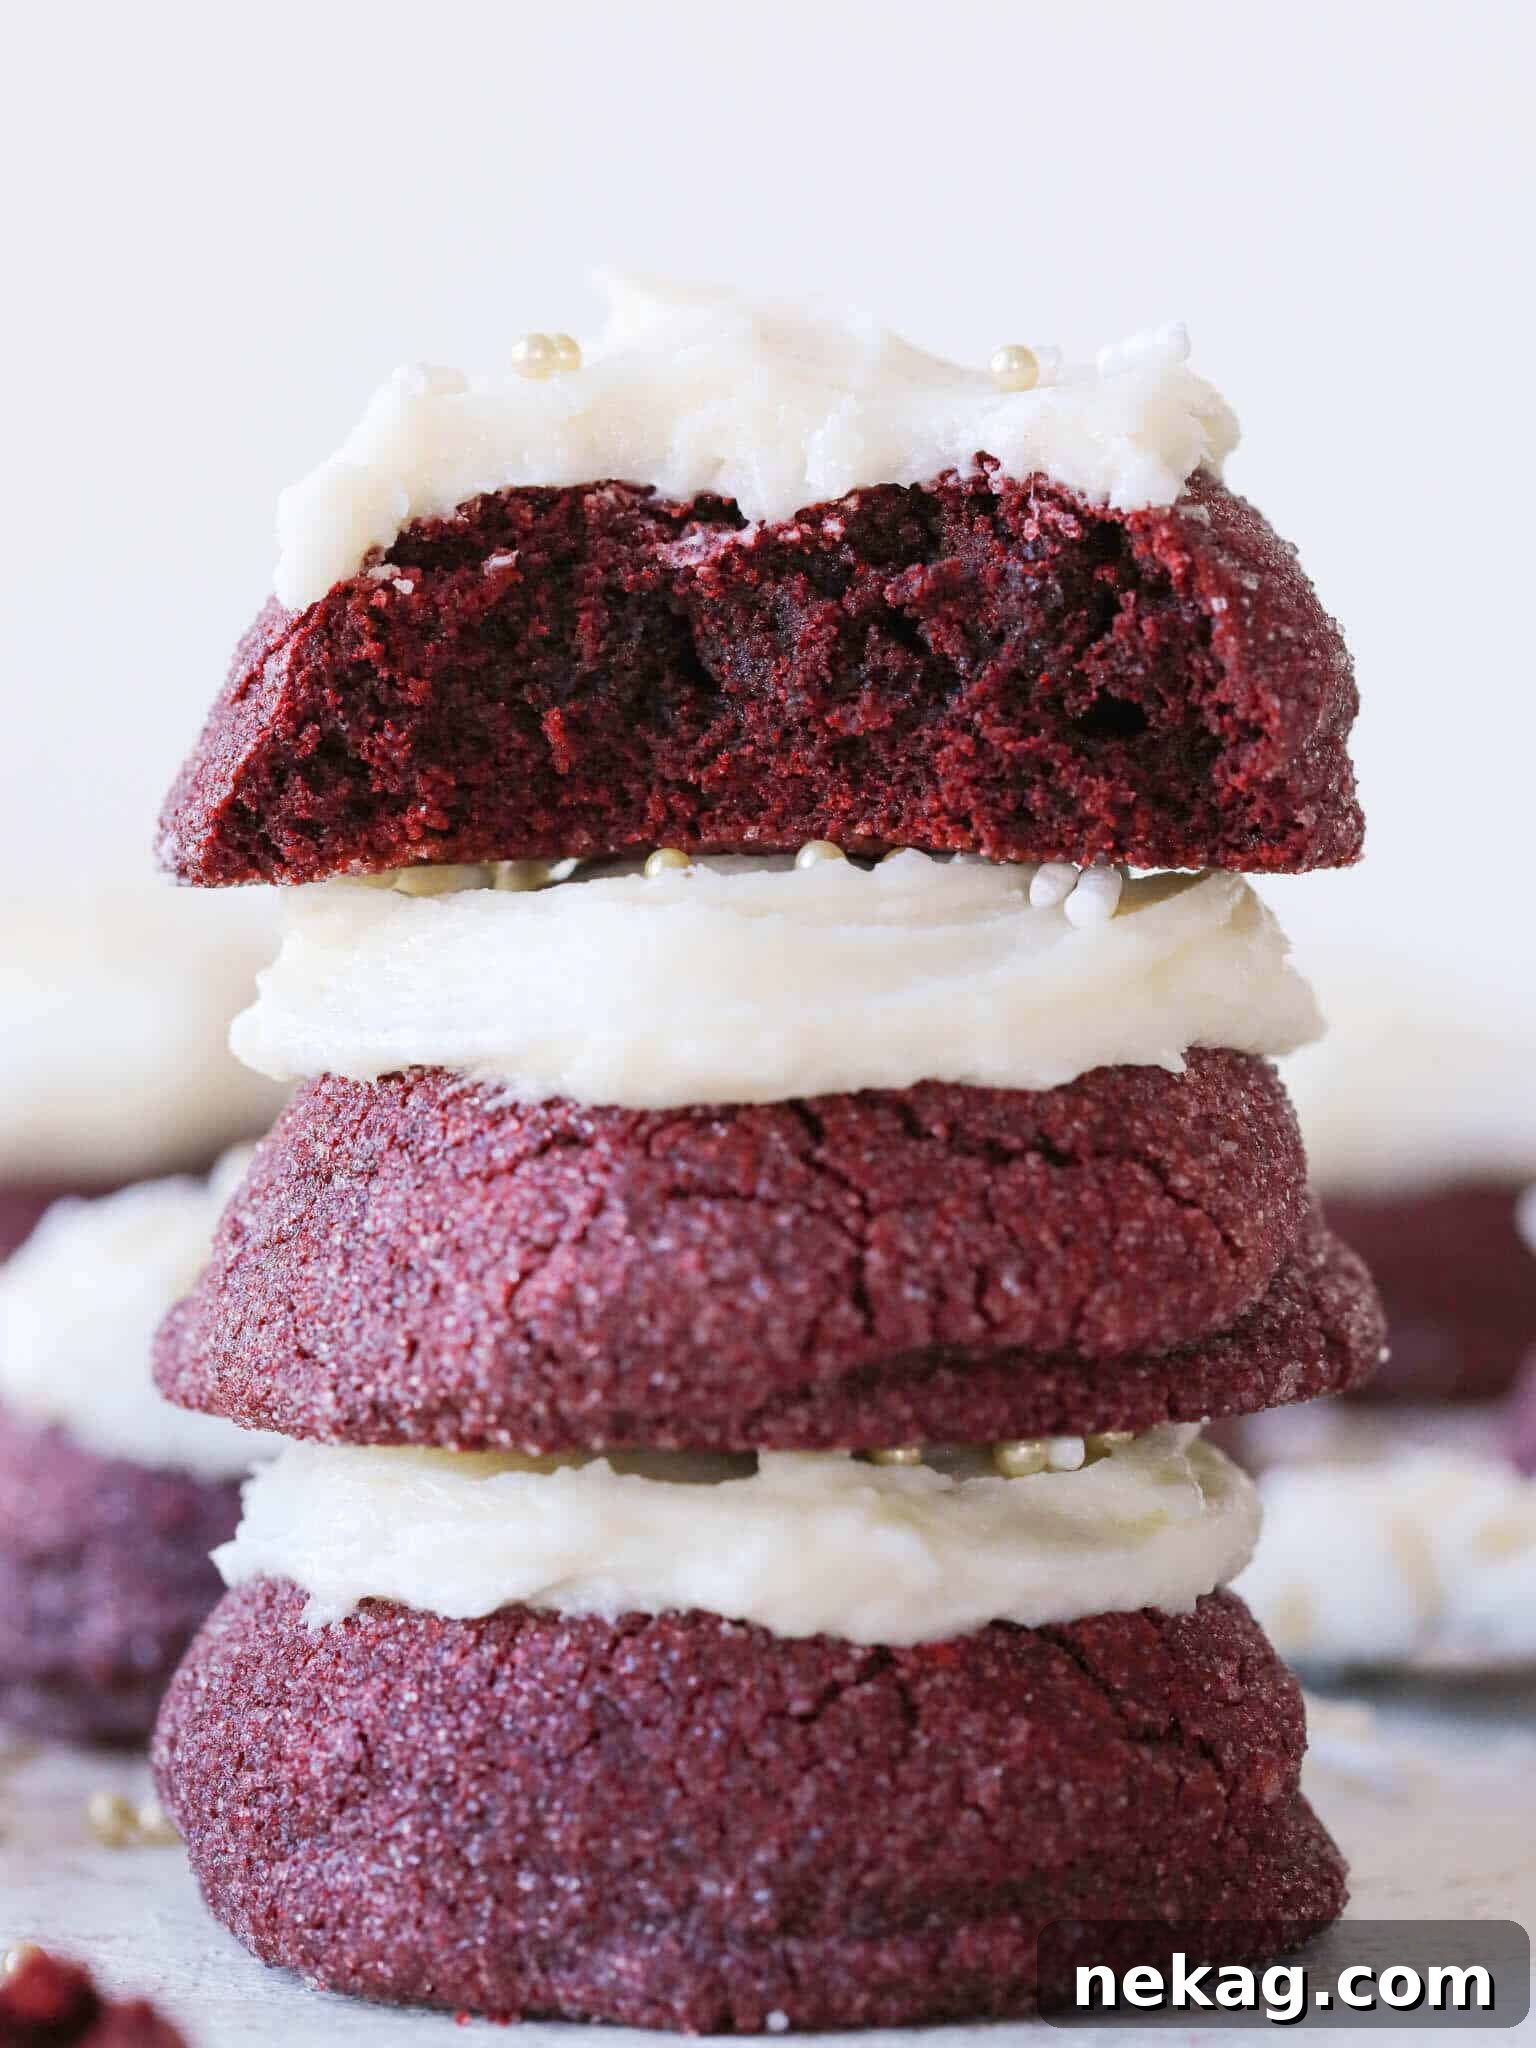
Your quest for the perfect red velvet cookies ends here. Every bite promises a soft, moist interior infused with a subtle yet distinct chocolate flavor. The granulated sugar coating not only provides a delightful crunch but also adds an extra layer of sweetness, enhancing the overall experience. The sparkling finish makes these cookies an ideal treat for celebrations and special occasions, adding a touch of elegance to any dessert spread.
Why stick to the traditional Red Velvet Layer Cake or even my delectable Red Velvet Pound Cake when you can enjoy the same iconic flavor in a more accessible and equally impressive format? These red velvet cookies, crowned with our special cream cheese frosting for cookies, are among my easiest and most popular Valentine’s Day Desserts. They make a thoughtful gift for your cherished Galentine, perhaps alongside these charming Valentine’s Day Cookies, or they can even grace your Christmas cookie platter as a festive companion to classic linzer cookies. Versatile and irresistibly delicious, these cookies are perfect for any festive gathering or simply as a comforting indulgence.
Table of Contents
- Why You Will Love This Red Velvet Cookie Recipe
- Professional Baking Tips for Perfect Cookies
- Understanding Red Velvet Cookies: Ingredients and Flavor Profile
- Key Ingredients for Unforgettable Red Velvet Cookies
- Exciting Variations to Customize Your Red Velvet Cookies
- Step-by-Step Guide: How to Make Red Velvet Cookies
- Chef Lindsey’s Expert Baking Insight
- Frequently Asked Questions About Red Velvet Cookies
- Ultimate Red Velvet Cookies Recipe with Cream Cheese Frosting
- Explore More Delicious Recipes
Why You Will Love This Red Velvet Cookie Recipe
- Unbeatable Texture, Unforgettable Experience: Prepare to be amazed by the exquisite texture of these cookies. They strike the perfect balance between chewy and tender, creating an extraordinary melt-in-your-mouth experience with every single bite. The slightly crisp sugar-coated exterior gives way to a gloriously soft interior, a hallmark of expertly crafted red velvet cookies. This multi-layered texture is what elevates them from good to truly exceptional.
- Subtle, Nuanced, and Rich Flavor Profile: Our recipe carefully balances a superior cocoa flavor, achieved through the use of Dutch-processed cocoa powder, with the added richness of egg. The touch of red food dye ensures a visually stunning presentation that is instantly recognizable as red velvet. This isn’t just a chocolate cookie dyed red; it’s a sophisticated blend of flavors that captures the essence of classic red velvet cake, with its characteristic hint of tang and gentle chocolate notes.
- Professional Guidance from a Seasoned Pastry Chef: As a professional pastry chef, I’ve broken down the entire process into easy-to-follow, step-by-step instructions. My goal is to empower you to create the most balanced and delicious red velvet cookies possible, even if you’re a novice baker. I’ve included practical tips and tricks learned over years in the kitchen, ensuring your baking journey is smooth and successful. You’ll find a helpful how-to video in the recipe card that visually guides you through each crucial stage, making the process virtually foolproof.
Professional Baking Tips for Perfect Cookies
- The Essential Role of Brown Sugar: Do not underestimate the power of brown sugar in this recipe. While white sugar provides sweetness, brown sugar is crucial for achieving the desired thick and chewy cookie texture. Its molasses content adds moisture, which prevents the cookies from spreading too much and ensures they remain wonderfully soft and pliable. If you were to use only white sugar, your cookies would likely flatten and spread considerably more, resulting in a different and less desirable consistency. For the best results, stick to the combination of both sugars as specified.
- Mastering Flour Incorporation for Ideal Texture: For cookies that are consistently thick, chewy, and tender, the method of incorporating dry ingredients is key. Gradually add your flour mixture to the wet ingredients, allowing each addition to be *just* combined before adding the next. This technique prevents overworking the dough and minimizes gluten development, which can lead to tough cookies. Overmixing builds strong gluten strands, making your cookies dense rather than delicate. By adding flour slowly and mixing only until barely incorporated, you ensure a soft, tender crumb every time.
- The Non-Negotiable Step: Chilling Your Cookie Dough: Patience is a virtue in baking, especially when it comes to chilling cookie dough. I strongly recommend refrigerating your cookie dough for a minimum of 2 hours, or ideally, overnight. This crucial step allows the flavors to meld and deepen, resulting in a more complex and satisfying taste. More importantly, chilling solidifies the butter in the dough, which significantly reduces spreading during baking. This ensures your cookies maintain their desired thickness and achieve that perfect chewy texture you crave. Don’t skip this step for truly professional-level results!
Understanding Red Velvet Cookies: Ingredients and Flavor Profile
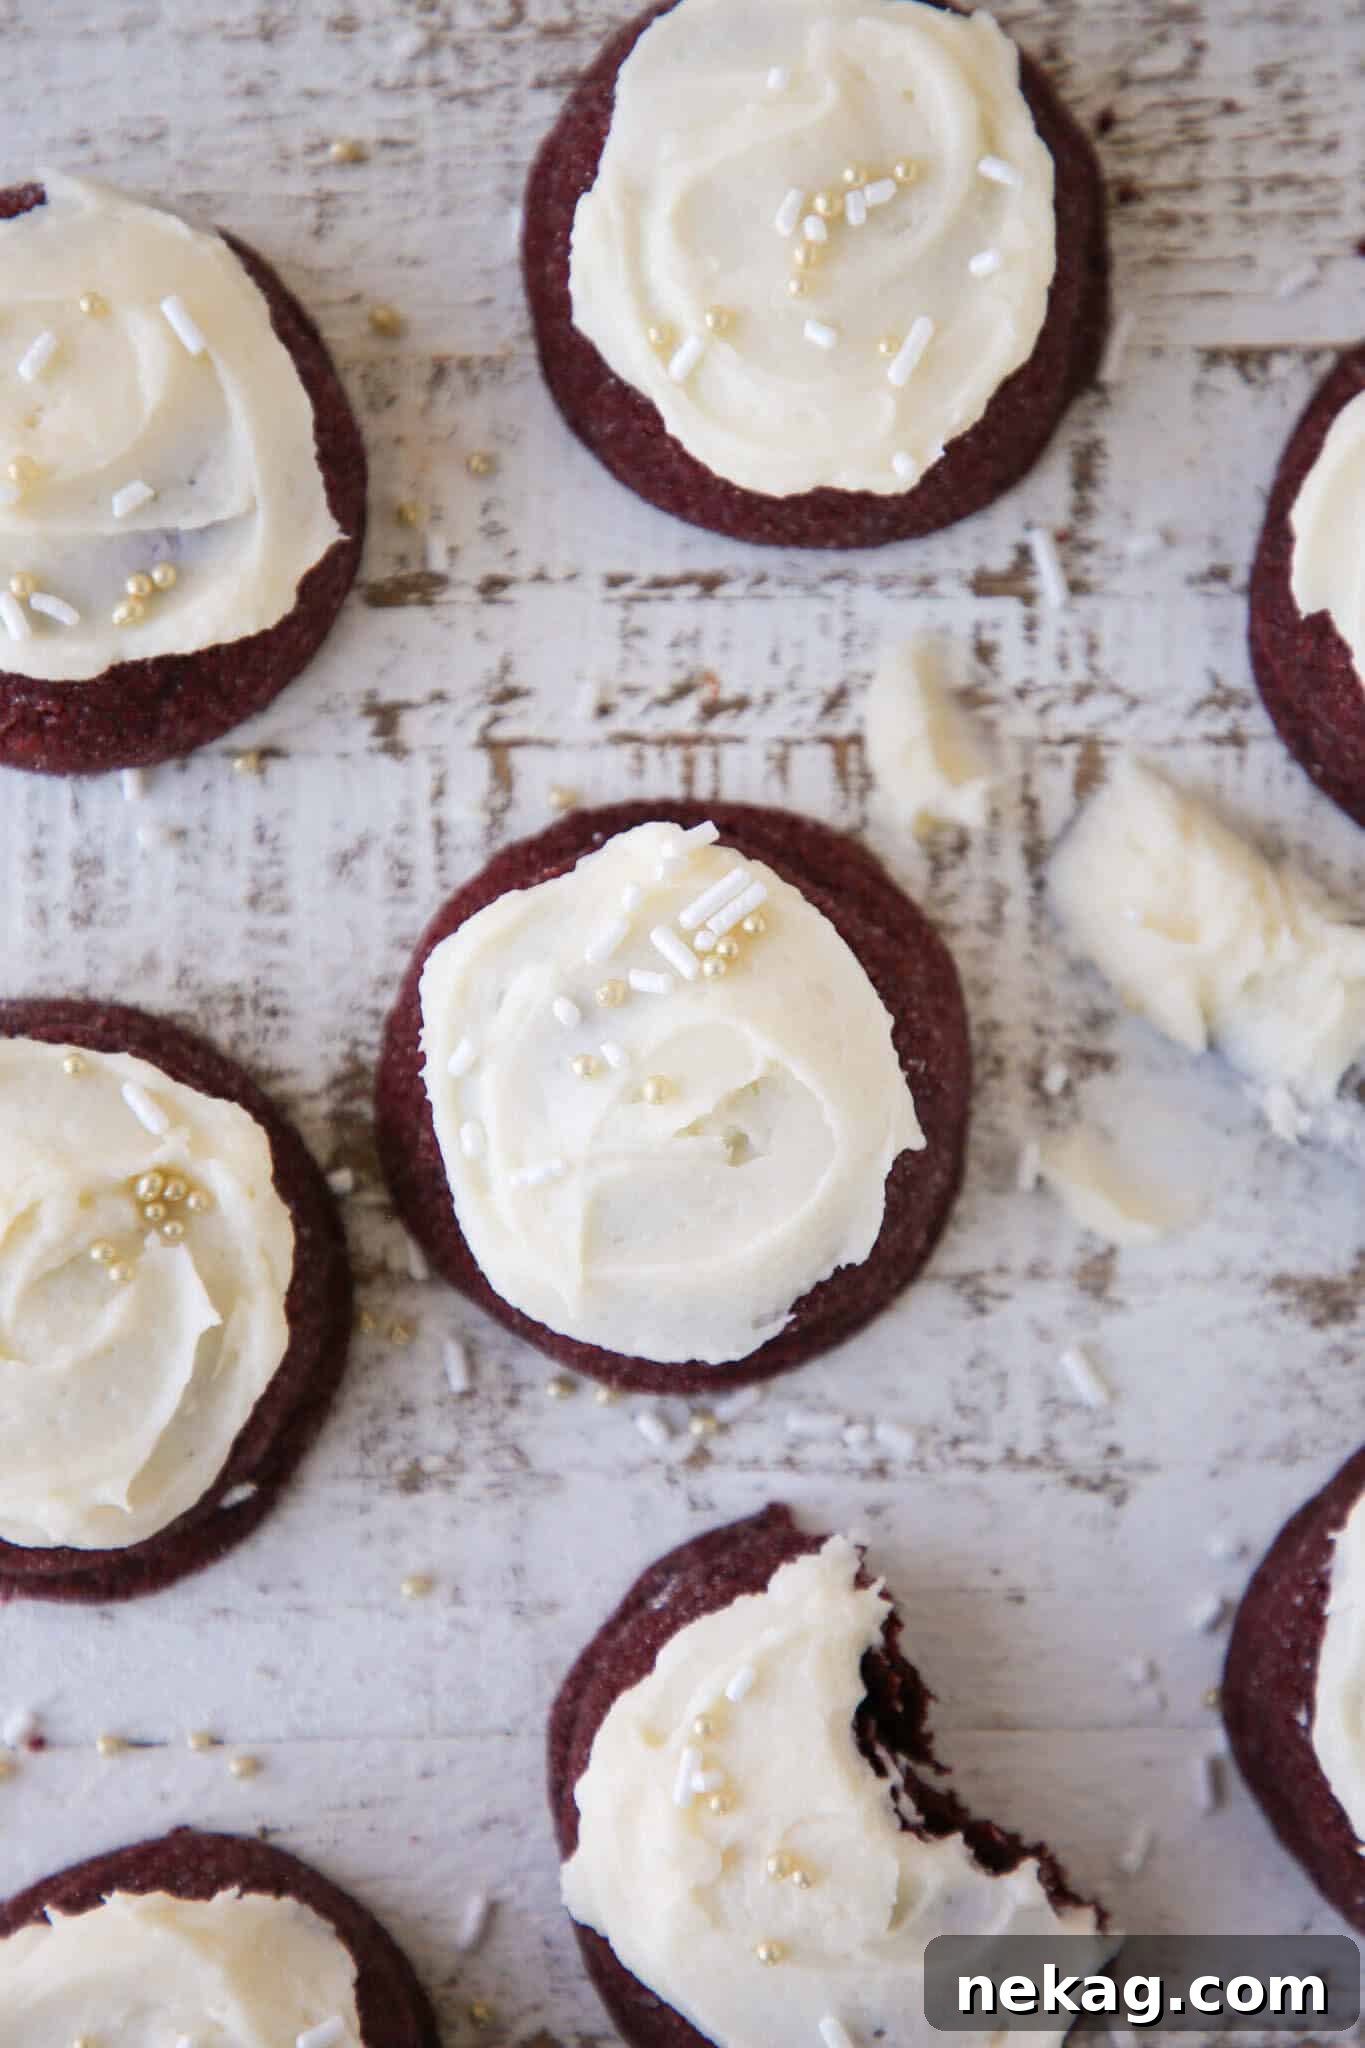
At their core, red velvet cookies share many fundamental ingredients with classic thick chocolate chip cookies. However, what sets them apart and gives them their distinctive identity is the thoughtful addition of a small amount of cocoa powder combined with vibrant red food coloring. This combination imbues them with the unmistakable flavor profile of an old-fashioned red velvet cake, echoing the delightful taste of treats like these charming red velvet white chocolate cupcakes. The cocoa provides a subtle chocolate base, while the red dye creates the iconic hue. Historically, the red color in red velvet cakes was often a result of a chemical reaction between natural cocoa powder and acidic ingredients like buttermilk or vinegar. Today, food coloring is typically used to achieve the consistent, deep red associated with this beloved dessert. The result is a cookie that offers a mild chocolate flavor with a slight tang, making it truly unique and utterly delicious.
Key Ingredients for Unforgettable Red Velvet Cookies
Crafting exceptional red velvet cookies begins with understanding the role each ingredient plays in creating their signature flavor and texture. Here’s a detailed look at the components that make these cookies truly special:
- Granulated Sugar: This common sweetener contributes not only to the sweetness but also to the crisp texture of the cookie’s edges, especially when rolled in additional sugar. It helps create a tender crumb and plays a role in the cookie’s spread.
- Dark Brown Sugar: A powerhouse ingredient for chewiness and depth of flavor. Using dark brown sugar provides a rich, caramel-like sweetness and essential moisture due to its higher molasses content. If dark brown sugar isn’t available, light brown sugar can be substituted in equal amounts, though it will result in a slightly less intense flavor and chew.
- Whole Egg: The egg serves multiple vital functions: it adds structure and acts as a binder, helps with leavening, and contributes fat from the yolk, which enriches the cookies and ensures their chewy texture. Eggs also add moisture, preventing the cookies from becoming dry.
- Red Food Coloring: While optional, red food dye is essential for achieving the iconic, vibrant red hue that defines red velvet. You can omit it if you prefer a less colorful cookie, but it will not have the characteristic bright red. Gel food coloring often provides a more intense color with less liquid, making it a preferred choice for many bakers.
- All-purpose flour: This provides the primary structure for the cookies. It’s crucial to measure flour correctly, preferably by weight, to avoid a dense or dry cookie. Sifting can also help ensure a lighter texture.
- Cocoa Powder: I opt for Dutch-processed cocoa powder for its smooth, less acidic, and deeply rich chocolate flavor. Historically, traditional red velvet cake didn’t rely on artificial food dye; instead, the combination of unprocessed (natural) cocoa powder and acidic ingredients like buttermilk or white vinegar created a reddish tint and a characteristic tangy flavor. For these cookies, either Dutch-processed or natural unsweetened cocoa powder will work, depending on your preference for flavor depth and interaction with the leavening agent.
- Baking Powder: A chemical leavening agent that helps the cookies rise, contributing to their soft and light texture. It reacts with moisture and heat to produce carbon dioxide gas, creating air pockets in the dough.
- Kosher Salt: Far from just a seasoning, kosher salt is a crucial flavor enhancer in baking. It balances the sweetness, brightens other flavors, and brings out the subtle chocolate notes in the cocoa powder.
- Unsalted Butter: The foundation of rich, flavorful cookies. Using unsalted butter allows you to control the exact amount of salt in the recipe. Its fat content is critical for tenderness, moisture, and contributing to the overall delicious flavor profile. Ensure it’s cold but pliable for the best creaming results.
- Cream Cheese: For the irresistible frosting, original Philadelphia Cream Cheese is my go-to. Its distinct tangy flavor is the perfect counterpoint to the sweetness of the cookies and frosting, adding depth and a classic red velvet finish. Ensure it’s softened to room temperature for a smooth, lump-free frosting.
- Powdered Sugar: Also known as confectioner’s sugar, its fine texture is essential for creating a smooth, silky buttercream without the need for heating. It dissolves easily, ensuring no grittiness. It’s also the secret to the excellent crackle qualities of my Donut Glaze Recipe.
- Vanilla Extract: A universal flavor enhancer, vanilla extract adds warmth and complexity to both the cookies and the frosting, complementing the chocolate and cream cheese beautifully. Use pure vanilla for the best taste.
- Heavy Cream: Incorporated into the frosting, heavy cream helps achieve a light, fluffy, and spreadable consistency, making the cream cheese frosting even more luxurious.
See the recipe card below for precise details on ingredients, quantities, and nutritional information.
Exciting Variations to Customize Your Red Velvet Cookies
While these red velvet cookies are perfect as they are, they also serve as a fantastic base for creativity. Here are some delightful variations to explore:
- Red Velvet Chocolate Chip Cookies: Elevate the chocolate experience by incorporating mix-ins. These soft and chewy cookies are absolutely divine with the addition of chocolate chips. Stir in a cup of regular white chocolate chips, semi-sweet, or dark chocolate chips for a fun and easy variation. The melted chocolate morsels will add another layer of texture and intensify the chocolate flavor, making each bite even more satisfying.
- Elegant Glaze Finish: For an alternative to the traditional cream cheese frosting, or simply to add an extra touch of sophistication, consider drizzling your cookies with a delicate glaze. These cookies already boast beautiful cracked, sparkly tops, and a glaze will only enhance their visual appeal. Try the luscious cream cheese glaze from my Carrot Cake Scones recipe for an elegant take, or opt for this simpler easy cookie icing for a quick and equally delicious finish. A glaze can add a subtle sweetness and a glossy sheen.
- Vibrantly Colored Frosting: Inject more personality into your cookies by experimenting with colored frosting. A few drops of liquid or gel food coloring can transform your cream cheese frosting into a vibrant masterpiece. Imagine piping green frosting in the shape of a festive wreath for Christmas, or soft pastels for a spring celebration. The possibilities are endless, allowing you to tailor your cookies to any holiday or theme.
- Flavorful Frosting Enhancements: Customize your cream cheese frosting with additional flavorings. For a naturally pink and fruity twist, blend in some dehydrated strawberry powder. This not only imparts a beautiful color but also a wonderful strawberry essence. Alternatively, for an easy chocolate frosting variation, simply add a tablespoon or two of cocoa powder to the cream cheese frosting base. You could also try other extracts like almond, peppermint, or even a hint of espresso powder to complement the red velvet flavor.
Step-by-Step Guide: How to Make Red Velvet Cookies
Creating these delightful red velvet cookies is a rewarding experience. Follow these detailed instructions to achieve perfect results. Further details and precise measurements can be found in the recipe card below.
Part 1: Preparing the Red Velvet Cookie Dough
Step 1: Combine Dry Ingredients. In a medium-sized bowl, thoroughly whisk together the all-purpose flour, cocoa powder, baking powder, and kosher salt. Ensure these ingredients are well-combined to evenly distribute the leavening and seasoning throughout the dough. Set this mixture aside.
Step 2: Cream Butter and Sugars. In the bowl of a stand mixer fitted with the paddle attachment, cream together the cold but pliable unsalted butter, granulated sugar, and dark brown sugar. Beat on medium speed until a smooth, light paste forms. This process should take about 2-3 minutes. Avoid over-aerating the mixture at this stage, as too much air can cause the cookies to spread excessively during baking.
Just like with delicate Nutella cookies, it’s important not to over-aerate the butter and sugar mixture. This careful approach helps maintain the ideal cookie consistency, ensuring they are thick and chewy rather than thin and crisp.
Step 3: Incorporate Wet Ingredients. Add the whole egg to the creamed mixture and beat until fully incorporated. Next, reduce the mixer speed to low and add the vanilla extract and red food dye. Continue to beat until the color is evenly distributed and the mixture is well-combined. Ensure there are no streaks of unmixed dye.
Step 4: Gradually Add Dry to Wet. With the mixer speed still on low, slowly add the whisked flour mixture in several small additions. Allow each addition to be *almost* completely incorporated before adding the next. This gentle method prevents overmixing and the development of tough gluten. Stop mixing as soon as the last streaks of flour disappear. Scrape down the sides and bottom of the bowl several times with a silicone spatula to ensure everything is evenly combined.
Achieving the perfect dough consistency is a delicate balance. Adding the dry ingredients too quickly can lead to prolonged mixing and excess gluten development, resulting in tough cookies. Conversely, adding them too slowly might also lead to overworking the flour. Watch the red velvet cookies video tutorial to observe the ideal technique for incorporating dry ingredients.
Step 5: Chill the Dough. Using a cookie scoop or spoon, portion the dough into golf-ball-sized portions. Roll each portion into a smooth ball and place them on a parchment-lined baking sheet. Cover the baking sheet tightly with plastic wrap and refrigerate for a minimum of 2 hours. Chilling is crucial for developing flavor and preventing excessive spreading during baking, contributing to a thicker, chewier cookie.
Part 2: Baking the Cookies
Step 6: Preheat Oven. When you’re ready to bake, preheat your oven. If you have a convection oven, set it to 325°F. For a standard oven, preheat to 350°F.
Step 7: Sugar Coating. Pour approximately ¼ cup of granulated sugar into a small bowl. Take each chilled cookie dough ball and roll it generously in the sugar, ensuring an even coating. This sugar layer will create a delightful crisp crust and add sparkle. Place the sugar-coated cookies back on the parchment-lined baking sheet, spacing them about 2 inches apart to allow for proper spreading.
Step 8: Bake to Perfection. Bake in the preheated oven for 9-10 minutes. Halfway through the baking time, rotate the baking sheet to ensure even baking. The cookies are done when they have spread slightly, their tops appear matte (no longer shiny), and small cracks begin to form on the surface. The edges should be set, but the centers might still look slightly soft – they will firm up as they cool.
Baking Red Velvet Cookies from Frozen Dough: If you’re baking from frozen cookie dough balls, you do not need to thaw them first. Simply add an additional 2-3 minutes to the baking time. Maintain the same oven temperature. The cookies are ready when they display tiny cracks on their tops and no longer appear shiny, indicating a perfectly baked center.
Step 9: Cool Completely. Once baked, remove the cookies from the oven and allow them to cool completely on the baking sheet before attempting to frost them. This step is vital to prevent the frosting from melting and sliding off.
Part 3: Making the Frosting & Assembling
Step 10: Prepare the Cream Cheese Frosting. In the bowl of a stand mixer fitted with the paddle attachment, beat together the softened unsalted butter, softened cream cheese, powdered sugar, vanilla extract, and any vanilla bean seeds you might be using until the mixture is light, fluffy, and perfectly smooth. Switch to the whisk attachment and gradually add the heavy cream, beating until the frosting reaches a beautifully smooth and pipeable consistency.
For more detailed instructions, troubleshooting tips, and variations for the perfect topping, be sure to visit my dedicated Cream Cheese Frosting for Cookies post!
Step 11: Frost and Enjoy! Once your cookies are completely cool, generously frost them with the prepared cream cheese frosting. You can use a knife, an offset spatula, or pipe the frosting for a more decorative finish. Serve immediately and savor every delightful bite!
Chef Lindsey’s Expert Baking Insight
Ideally, allowing cookies to cool completely after baking is crucial for the crumb to fully set and for the flavors to deepen. However, I’m certainly not a baking tyrant! If one or two cookies mysteriously disappear from the cooling rack before they’re fully chilled, I won’t bat an eye. After all, taste testing is an essential prerogative of the cook, ensuring every batch meets the highest standards of deliciousness. Enjoy your culinary creations!
Frequently Asked Questions About Red Velvet Cookies
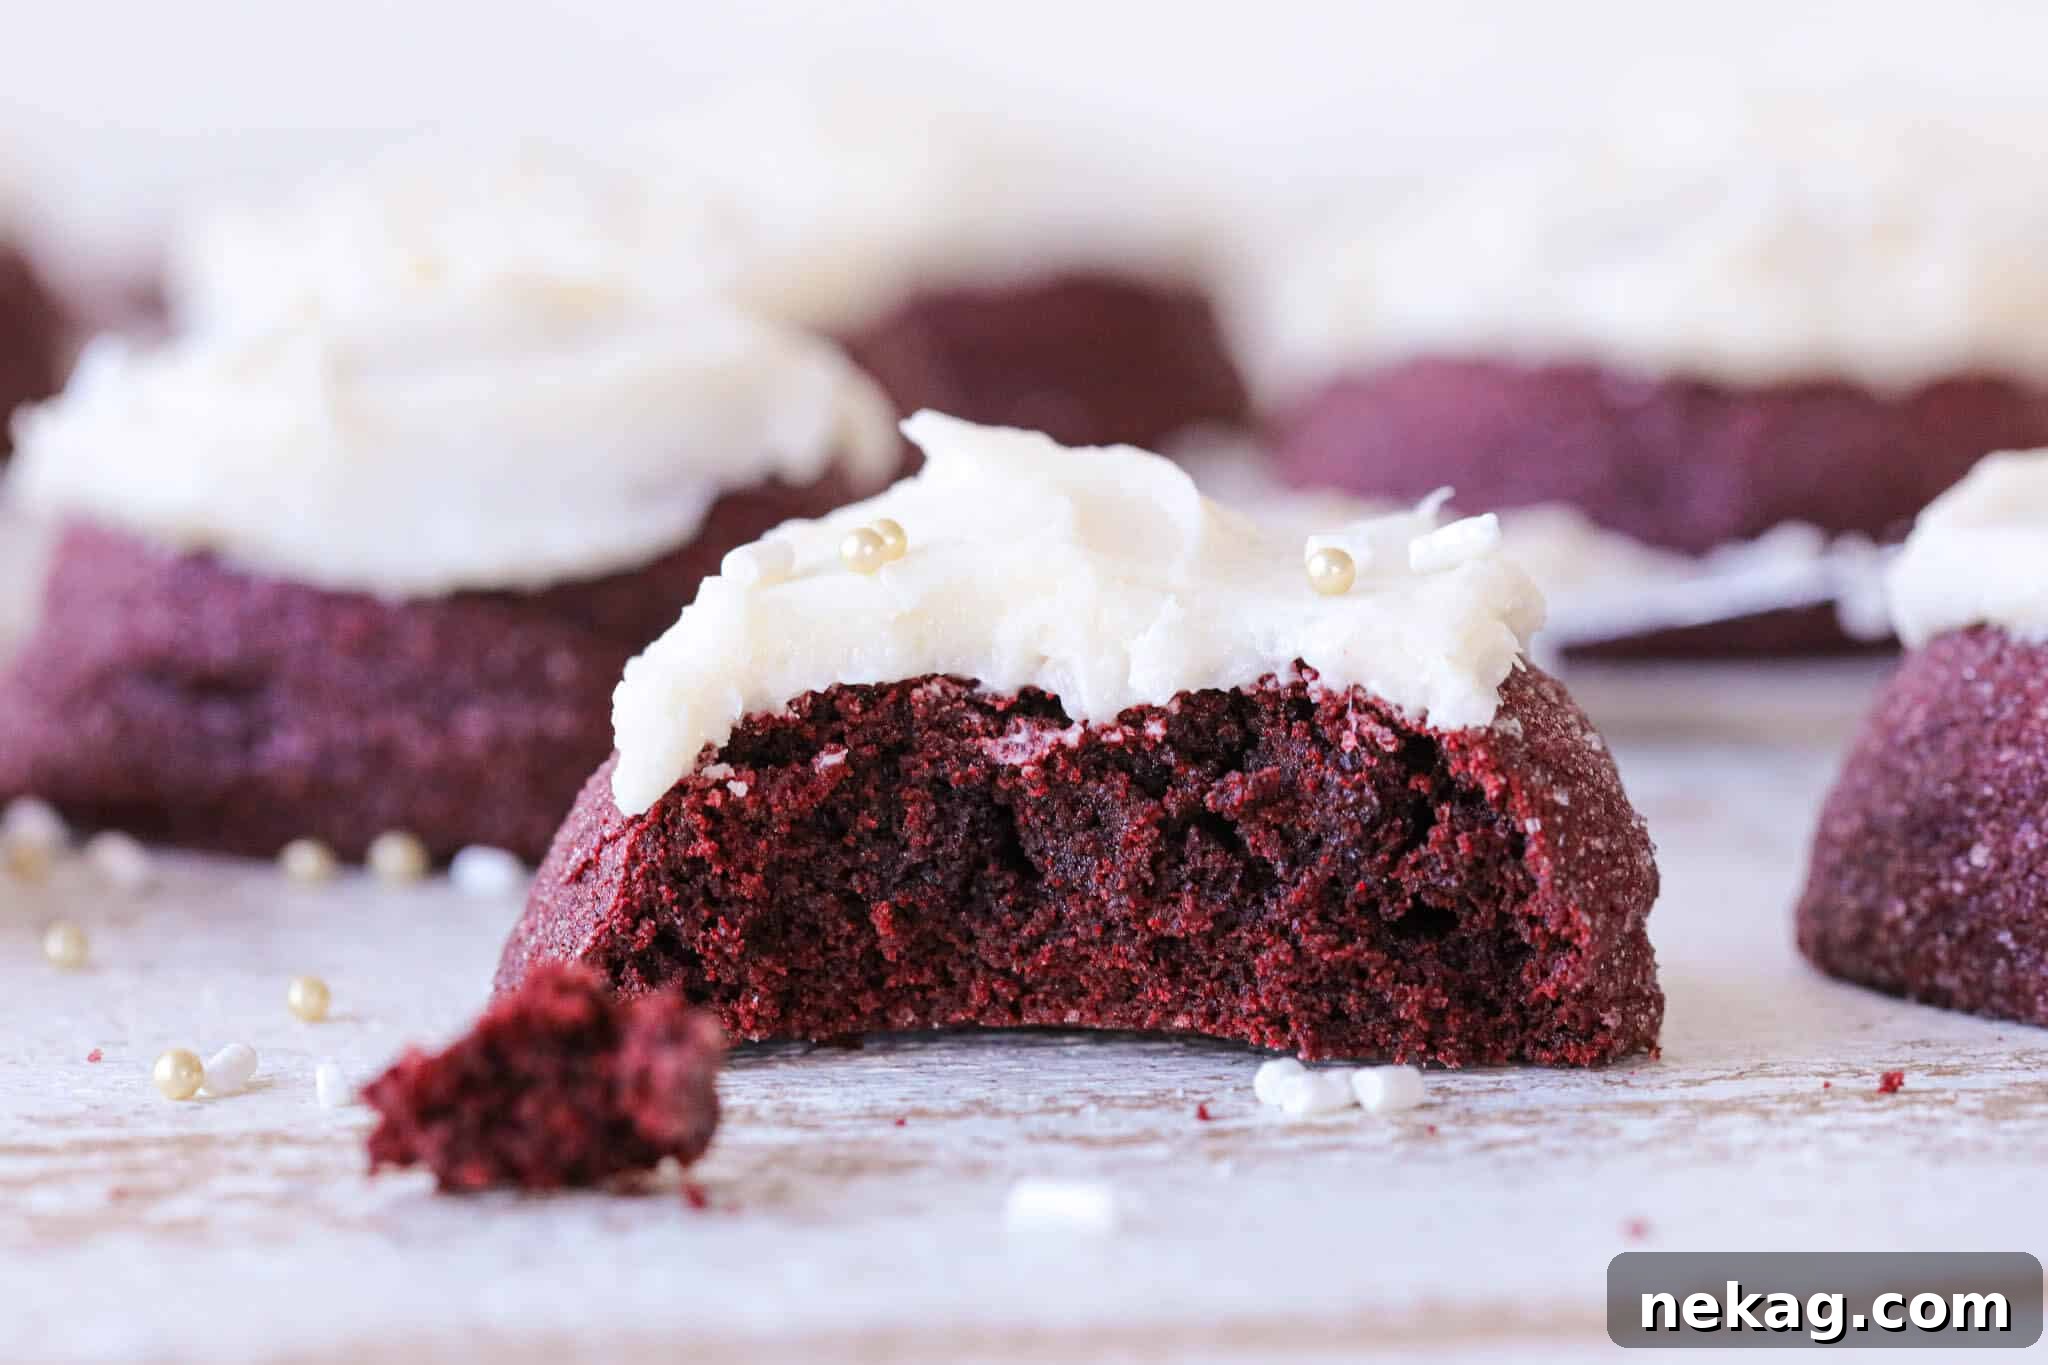
Proper storage is key to enjoying your red velvet cookies for as long as possible. Once iced with cream cheese frosting, these cookies can be kept at room temperature in an airtight container for up to three days. Beyond this period, the dairy in the buttercream may begin to spoil, so it’s best to refrigerate them. For extended storage, or if you prefer to frost them fresh, store the unfrosted cookies in an airtight container at room temperature for up to 10 days, or freeze them. Unfrosted baked cookies can be frozen for up to 2 months. You can also freeze the raw cookie dough rolled into balls. This allows you to bake fresh cookies whenever a craving strikes, simply following the baking instructions in the recipe card below directly from frozen.
Absolutely! Baking these cookies directly from frozen dough is a fantastic time-saver and can even enhance their texture. For an added crunch and sparkle, you can roll the frozen cookie dough balls in granulated sugar right before placing them on the baking sheet. Preheat your oven to 350°F (standard) or 325°F (convection), line a baking sheet with parchment paper, and bake the frozen dough for approximately 10-14 minutes. Keep an eye on them until the edges begin to turn a light golden brown, the centers appear puffed, and the tops show small cracks. The surface should look matte rather than shiny. There’s no need to adjust the baking temperature or thaw the dough beforehand, making spontaneous cookie baking incredibly easy!
These red velvet cookies are excellent candidates for shipping, making them a perfect gift for loved ones far away. They hold up remarkably well during transit thanks to their robust texture. For best results, package unfrosted cookies securely in a decorative tin, separating layers with parchment paper, or place them in a zip-top bag inside a sturdy mailer box. If shipping frosted cookies, ensure the frosting is firm before packing and consider using cooling packs for longer journeys to prevent spoilage. These cookies remain deliciously chewy for nearly 10 days when properly stored, ensuring they arrive fresh and delightful at their destination. Include a small note with storage instructions if sending frosted cookies. This makes them a wonderful, homemade treat to share!
If you tried this delightful recipe and loved it, please take a moment to leave a 🌟 star rating and share your experience in the comments section below. Your feedback truly brightens my day, and I love hearing how my recipes turn out for you!

Red Velvet Cookies
Comment
Print Recipe
Ingredients
For the cookies:
- 1 ¼ cups all purpose flour
- ¼ cup cocoa powder
- ½ teaspoon baking powder
- ¼ teaspoon kosher salt
- ½ cup unsalted butter cold but pliable
- ½ cup sugar
- ¼ cup dark brown sugar
- 1 egg
- 1 teaspoon vanilla extract
- 1 teaspoon red food dye
- ¼ cup sugar for rolling
For the frosting:
- ½ cup unsalted butter Softened
- 6 tablespoons cream cheese Softened
- 2 cups confectioner’s sugar
- 1 teaspoon vanilla
- 2 tablespoons heavy cream
Instructions
Make the red velvet cookie dough:
-
In a medium bowl, whisk together flour, cocoa powder, baking powder and kosher salt. Set aside.
-
In the bowl of a stand mixer fitted with the paddle attachment, cream butter, granulated sugar and dark brown sugar until a smooth paste forms.
-
Beat in the egg. Turn the mixer to low and add the vanilla and red food dye. Once it incorporates, beat it well.
-
Reduce the mixer speed to low and slowly add the flour mixture in several additions. Let each one almost completely incorporate before adding the next. Scrape down the bowl several times with a silicone spatula.
-
Scoop or spoon out golf ball sized portions of the cookie dough. Roll into a ball and place on a parchment-lined baking sheet. Cover and refrigerate for at least 2 hours.
Bake:
-
When ready to bake, preheat the oven to 325°F convection or 350°F standard.
-
Pour about ¼ cup granulated sugar in a bowl and roll each cookie dough ball in the sugar before placing back on the lined baking sheet. Space the cookies 2 inches apart to allow for spreading.
-
Bake in a preheated oven for 9-10 minutes, rotating the sheet halfway through. The cookies will spread and look matte on top. The tops will begin to have little cracks and will no longer look shiny.
-
Allow to cool on the sheet pan completely before frosting.
Make the frosting & assemble:
-
In the bowl of a stand mixer fitted with the paddle attachment, beat together butter, powdered sugar, vanilla, vanilla bean seeds until light and smooth. Switch to whisk attachment and add cream.
-
Frost your cooled cookies and enjoy!
Video
Notes
Note: This cream cheese frosting recipe is designed to yield enough frosting for 24 cookies. Therefore, you will likely have leftover frosting, or you can choose to apply a more generous amount to your 15 cookies!
Flavor Tips – Oftentimes, the most predominant flavor in red velvet desserts is the rich and tangy cream cheese buttercream. It offers a unique combination of sweetness with a slight, refreshing tang from the cream cheese. Ensure you are using a cream cheese buttercream recipe you genuinely enjoy, as it will significantly impact the overall taste experience of these cookies!
Variations – These cookies are incredibly versatile and delightful with various mix-ins! Consider adding a cup of your favorite chocolate chips (white, milk, or dark) or even chopped nuts for a fun and easy texture and flavor variation. These additions will make your red velvet cookies even more indulgent.
Storage – Once frosted, your red velvet cookies should be stored in an airtight container at room temperature for up to three days. For longer preservation, or if your kitchen is particularly warm, it’s best to store them in the refrigerator to prevent the buttercream from spoiling and to maintain optimal freshness.
Nutrition
Explore More Delicious Recipes
I sincerely hope you savored every moment of crafting and tasting this professional chef-tested recipe. It’s a joy to share my passion for baking with you. Don’t stop here – I invite you to delve into our collection of other delicious, chef-developed Cookie Recipes. You’ll find a wide array of treats, from classic comforts to innovative delights, all designed to bring joy to your kitchen and your table. Happy baking!