
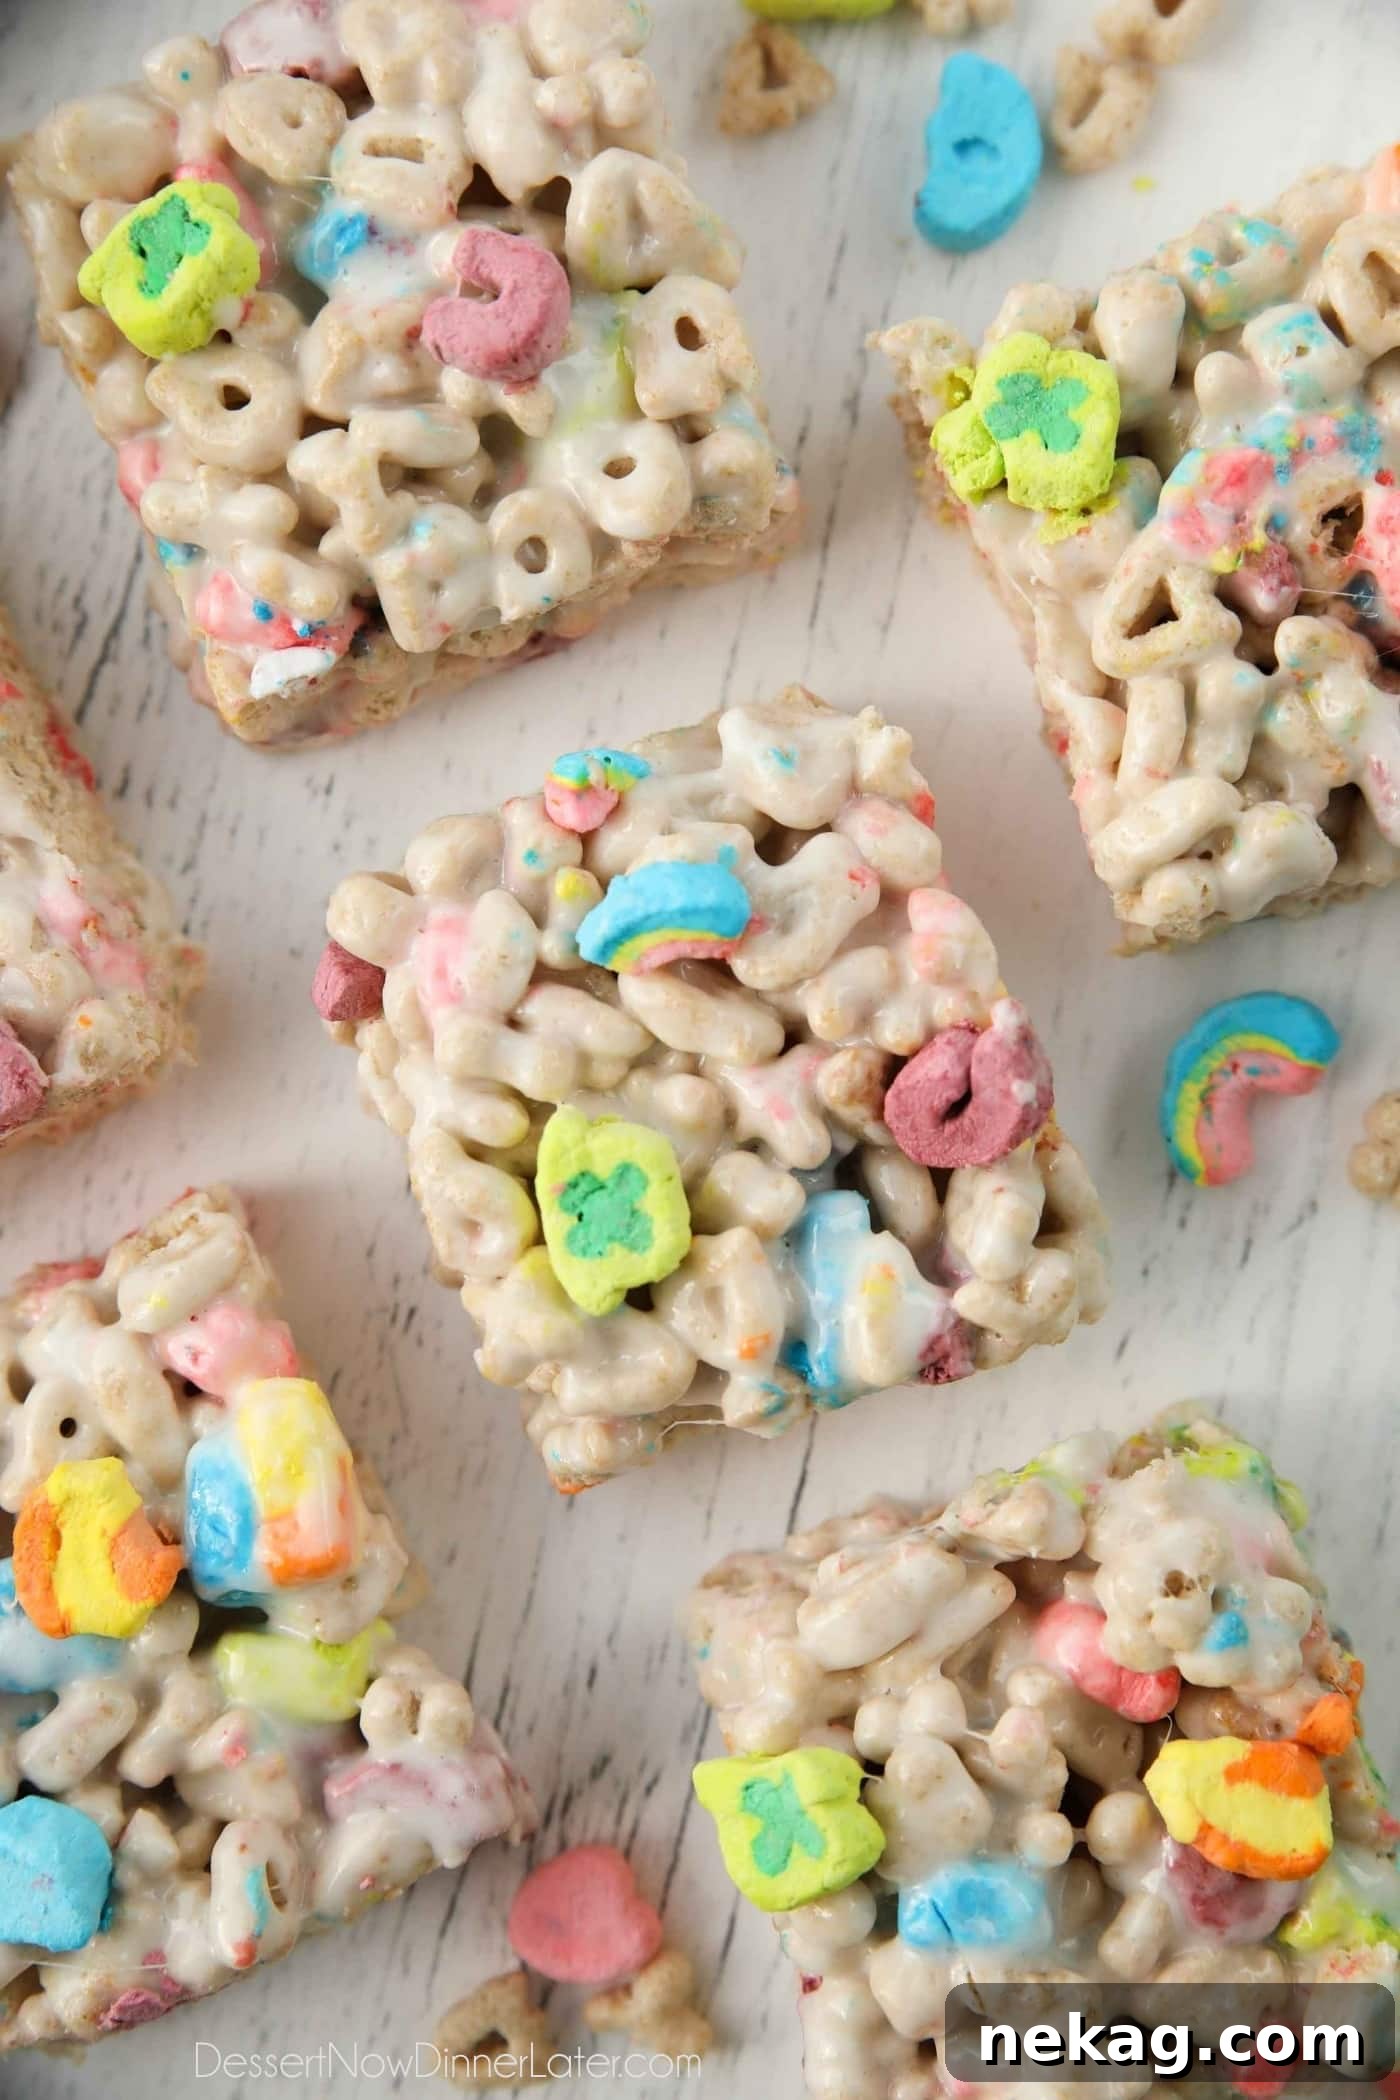
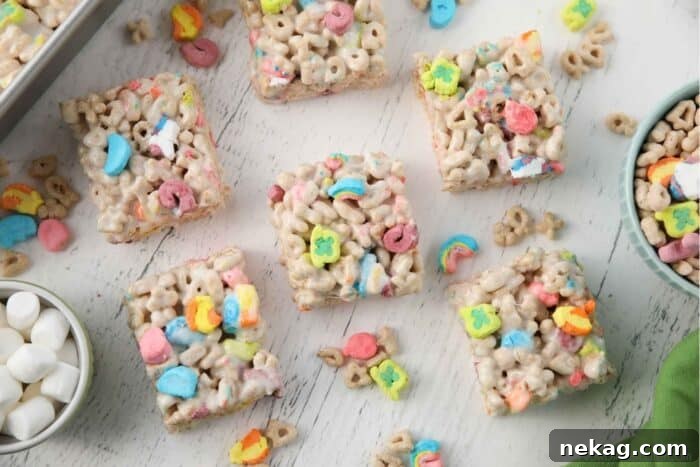
Lucky Charms Treats are an absolute delight, effortlessly conjuring a touch of magic with just three simple ingredients. These enchanting no-bake cereal bars come together in a flash, typically ready to devour in 15 minutes or less. You’ll be captivated by the irresistibly gooey marshmallow base, perfectly complementing the cheerful, crunchy marshmallow shapes that are the hallmark of Lucky Charms cereal. They’re not just a dessert; they’re a sprinkle of joy in every bite!
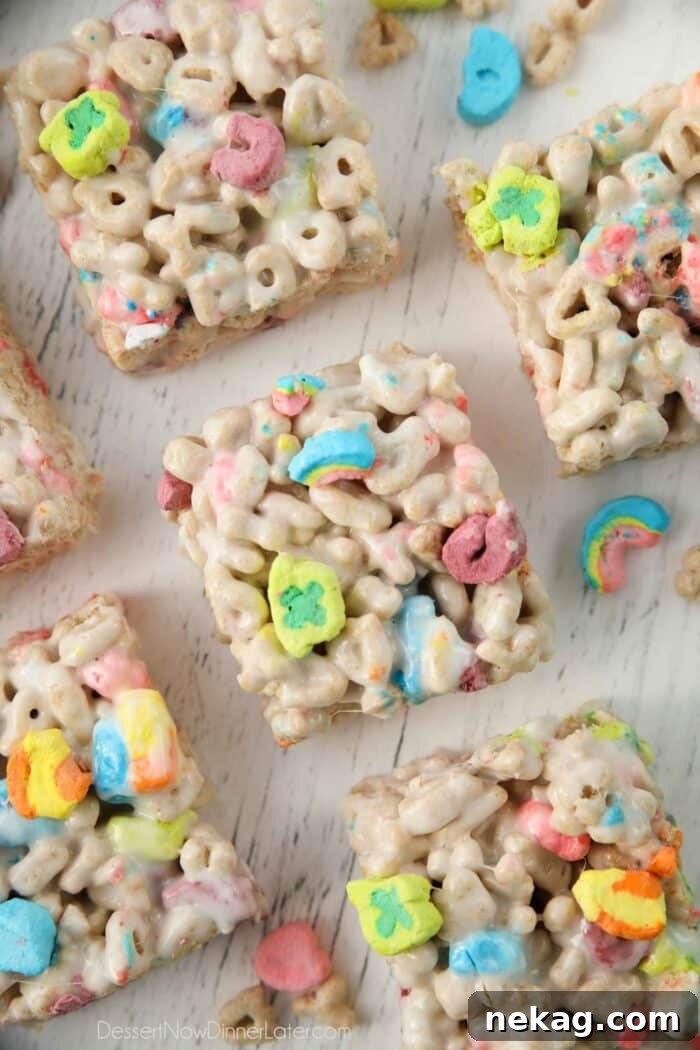
The Magic of Lucky Charms Treats: A No-Bake Delight
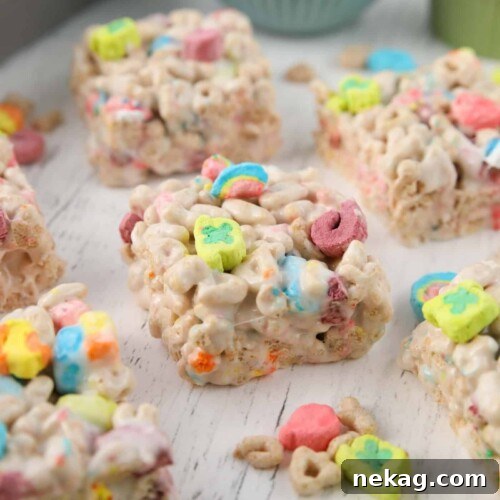
Prepare for your favorite rice krispie treats to get a whimsical, rainbow-hued makeover! By simply swapping classic crispy rice cereal for the beloved Lucky Charms, you elevate a humble snack into an extraordinary confection. These Lucky Charms Treats are a symphony of textures and flavors: wonderfully ooey and gooey, delightfully crunchy, and satisfyingly crispy. What makes them truly stand out is the inclusion of TWO distinct kinds of marshmallows – the classic mini marshmallows that bind the bars together, and the iconic, magically delicious marshmallow shapes straight from the cereal box. Who could resist such a captivating combination?
Imagine the smiles these colorful bars will bring to any gathering, whether it’s a casual snack time, a festive celebration, or just a treat to brighten an ordinary day. Their simplicity is a superpower, allowing anyone, regardless of baking experience, to create something truly special with minimal effort. They embody the spirit of fun and ease, making them a go-to for busy parents, enthusiastic home cooks, and anyone with a sweet tooth looking for instant gratification.
Beyond Rice Krispies: The Versatility of Cereal Bars
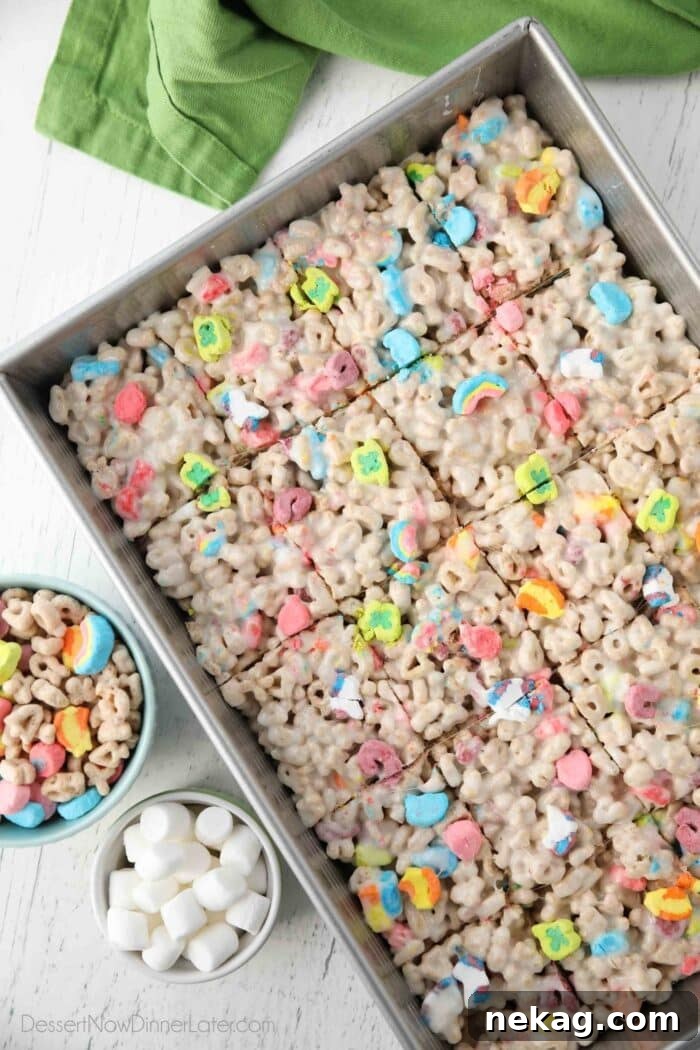
If you’re new to the wonderful world of cereal treats, get ready to have your mind blown! Marshmallow treats aren’t exclusively reserved for Rice Krispies. The truth is, they can be made with virtually ANY cereal you can imagine. This opens up a universe of possibilities for creative snacking and dessert making. From frosted flakes to fruity loops, the potential for unique flavor and texture combinations is endless, allowing you to tailor treats to any preference or occasion.
I’ve certainly embraced this versatility myself, having previously crafted delightful Fruity Pebbles cereal treats, which I even transformed into charming Christmas tree treats. The joy of experimenting with different cereals and shapes is undeniable, adding an extra layer of fun to the kitchen experience.
With holidays like St. Patrick’s Day on the horizon, the vibrant and playful nature of Lucky Charms cereal becomes an irresistible choice. The colorful, whimsical marshmallows nestled within the cereal not only make these treats extra visually appealing but also contribute a unique, delightful crunch that sets them apart. They’re a guaranteed crowd-pleaser, perfect for school parties, potlucks, or simply a festive afternoon snack.
These Lucky Charms marshmallow treats are incredibly practical, too. They’re fantastic for packing into lunchboxes, providing a sweet, energizing boost for students and adults alike. Furthermore, they serve as an ideal on-the-go snack for busy days, road trips, or picnics. And, of course, their quick preparation and no-bake nature make them a perpetually popular choice for a speedy and effortless dessert that never fails to impress.
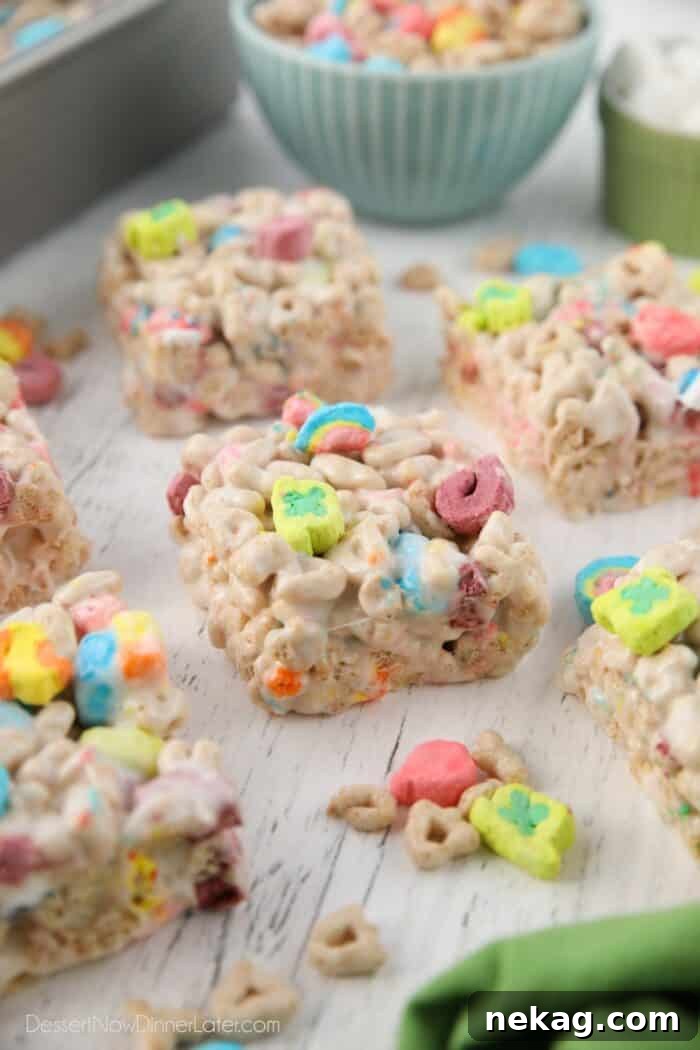
Crafting Your Own Lucky Charms Treat Recipe: Simplicity at Its Best
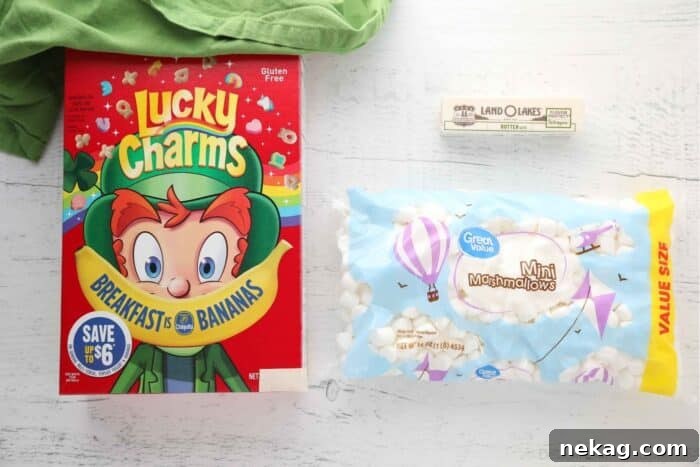
The beauty of these homemade Lucky Charms treats lies in their incredible simplicity. You truly only need three core ingredients, which are likely staples in many pantries:
- Lucky Charms Cereal: The star of the show, providing both the bulk and the iconic colorful marshmallows. Its inherent sweetness and crunchy texture are what make these treats so unique and beloved.
- Butter: Essential for achieving that perfect gooey consistency and preventing sticking. Butter also adds a rich, savory note that beautifully balances the sweetness of the cereal and marshmallows.
- Mini Marshmallows: These are the magical binders, melting down to create the irresistible sticky matrix that holds your treats together. Mini marshmallows are preferred for their quicker and more even melting.
That’s it! With these three items, you’re well on your way to creating a batch of delicious, colorful, and utterly satisfying cereal bars that everyone will adore. The minimal ingredient list not only makes preparation easy but also keeps costs down, proving that you don’t need fancy components to make a memorable dessert.
How to Make Marshmallow Treat Bars: A Step-by-Step Guide
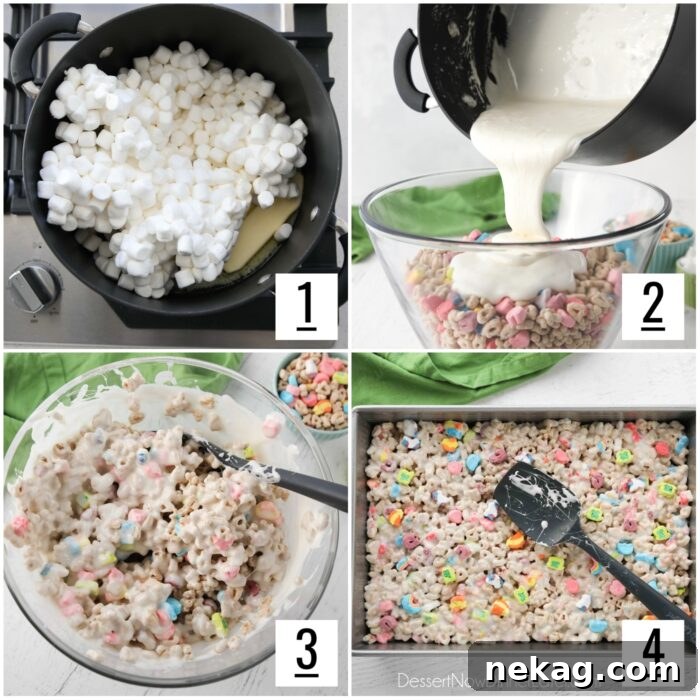
Once you’ve gathered your short list of ingredients, the assembly of these delightful Lucky Charms Treats is quick and straightforward. Follow these simple steps for perfectly gooey and crunchy bars:
- First, prepare your pan: Lightly grease a 9×13-inch baking pan with cooking spray or butter. This crucial step ensures your treats won’t stick and are easy to remove once cooled.
- In a large, non-stick saucepan, melt the butter over medium-low heat. Once the butter is mostly melted, add the mini marshmallows. Continue to heat, stirring constantly with a silicone spatula, until the marshmallows are just melted and smooth. Be careful not to overheat them, as this can lead to hard treats.
- Once the marshmallow mixture is fully melted, immediately remove the pan from the heat. Pour this warm, sticky mixture directly over the Lucky Charms cereal in a large mixing bowl or back into the large saucepan if it’s big enough.
- Using your spatula, gently fold the cereal and marshmallow mixture together. Continue folding until the cereal is evenly coated with the marshmallow mixture. The goal is to coat everything without crushing the cereal.
- Carefully transfer the mixture into your prepared greased pan. Using lightly buttered hands or the back of a greased spatula, press the mixture down evenly into the pan. Remember to press gently; over-compressing can make the treats dense and hard instead of delightfully chewy.
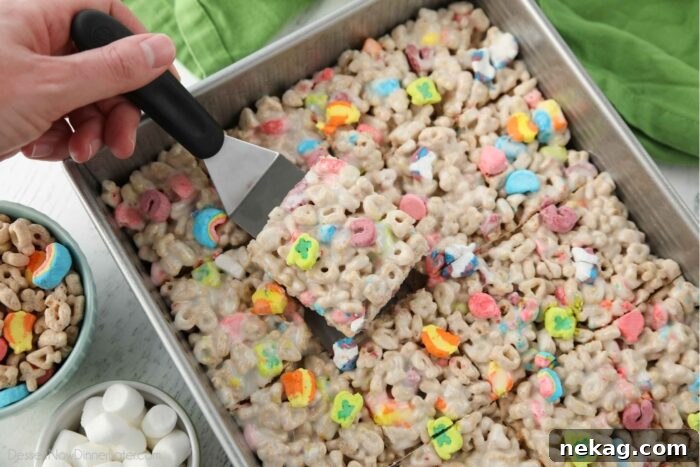
For the best results and clean, neat squares, allow the cereal bars to cool completely before cutting. This cooling process allows the marshmallow to set properly, ensuring the bars hold their shape. This can typically take about 1 to 2 hours at room temperature. If you’re in a hurry, you can expedite the cooling by placing the pan in the refrigerator for 15-30 minutes, or even the freezer for about 10-15 minutes.
While warm marshmallow treats are undeniably delicious, be warned – they can be slightly messy! The gooey marshmallow is wonderful, but it tends to stretch and pull, making clean cuts challenging until fully set.
To store any leftovers and keep them fresh, simply leave them inside the pan. Cover the pan tightly with aluminum foil or plastic wrap. When stored properly at room temperature, these delightful treats will maintain their optimal freshness and texture for up to 5-7 days. Though, let’s be honest, they rarely last that long!
Pro Tips for the Best Lucky Charms Treats Every Time
While making cereal treats might seem like a straightforward task, a few simple tricks can elevate your Lucky Charms bars from good to absolutely amazing. Pay attention to these tips for optimal success and a truly magical batch:
- Embrace Salted Butter: For any cereal treat, I strongly recommend using salted butter. The hint of salt wonderfully balances the intense sweetness from both the cereal and the marshmallows, creating a more complex and satisfying flavor profile. If you only have unsalted butter on hand, don’t fret! Simply add about 1/2 teaspoon of fine sea salt to the pan as you melt the butter and marshmallows together.
- Avoid Over-Melting the Marshmallows: This is a crucial step! As soon as the marshmallows are almost entirely melted and smooth, promptly remove the pan from the heat. Continue stirring for another minute or so using the residual heat of the pan to finish melting any small lumps. If marshmallows get too hot, they can caramelize, leading to a brittle, hard texture in your finished treats rather than the desired soft and chewy consistency. Overheated marshmallows also take longer to cool and set.
- Reserve Some Cereal Marshmallows for Topping: For an extra festive and visually appealing touch, consider gently picking out some of the colorful marshmallow shapes from the Lucky Charms cereal before mixing. After you’ve pressed the cereal mixture into the pan, artfully scatter and lightly press these reserved marshmallows onto the surface of the bars. This makes them look even more irresistible and is particularly charming for parties or holiday presentations. This step isn’t “necessary” for taste, but it certainly enhances the aesthetic!
- Choose Your Pan Wisely: This recipe is versatile when it comes to pan size. You can easily use a standard 13×9-inch pan for thinner, more traditional bars, or opt for TWO 8×8-inch pans if you prefer thicker, more substantial Lucky Charms Treats. Adjusting the pan size allows you to customize the treat’s thickness to your liking.
- Utilize a Large Stock Pot for Less Cleanup: For a true kitchen hack, if you possess a sufficiently large stock pot (one that’s 6 quarts or more in capacity), you can melt the butter and marshmallows directly in it. Once melted, simply add the Lucky Charms cereal straight into the pot. This ingenious method means one less large mixing bowl to wash, streamlining your cleanup process.
- Gentle Pressing is Key: When pressing the mixture into the pan, remember to be gentle. Use a lightly buttered spatula or your fingertips. Packing the mixture too tightly can result in hard, dense treats. A light, even pressure will ensure a perfectly soft and chewy texture.
Creative Variations & Serving Ideas
While these Lucky Charms Treats are fantastic as they are, there’s always room for a little extra creativity to make them even more special. Here are a few ideas to customize your batch:
- Add Sprinkles: For an instant boost of festivity, sprinkle some rainbow or themed sprinkles over the top of the treats immediately after pressing them into the pan, while the marshmallow is still tacky. Green and gold sprinkles would be perfect for St. Patrick’s Day!
- White Chocolate Drizzle: Once the treats have cooled, melt some white chocolate chips and drizzle them over the top for an extra layer of sweetness and a beautiful presentation. You can even tint the white chocolate green with food coloring.
- Food Coloring Fun: Add a few drops of green food coloring to the melted marshmallow mixture before adding the cereal for an even more vibrant, St. Patrick’s Day themed treat.
- Shaped Treats: Instead of cutting into squares, once the treats are slightly cooled but still pliable, use cookie cutters to create fun shapes like shamrocks or rainbows. This is especially fun for kids’ parties.
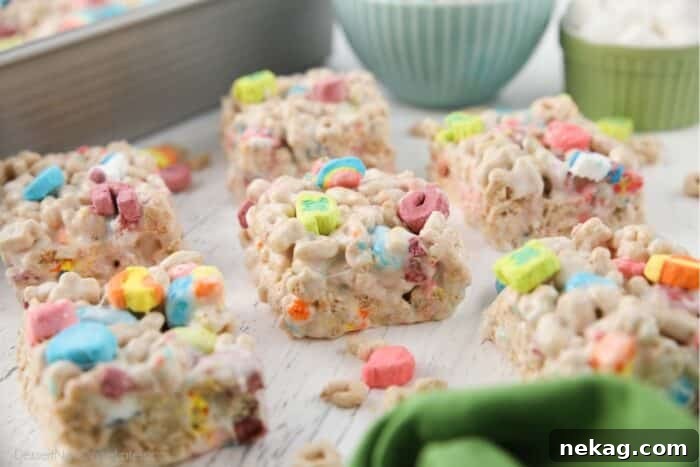
These treats are incredibly versatile for serving. They’re ideal for birthday parties, school bake sales, holiday gatherings, or simply as a delightful after-school snack. Arrange them on a platter for an eye-catching dessert, or wrap individual bars in plastic wrap for convenient grab-and-go options.
Storage and Longevity: Keeping Your Treats Fresh
Proper storage is essential to keep your Lucky Charms Treats soft, chewy, and delicious for as long as possible. Here’s how to ensure they stay fresh:
- Airtight is Best: Always store your treats in an airtight container at room temperature. Exposure to air is the quickest way for them to dry out and become hard.
- Layering: If stacking multiple layers of treats, place a sheet of parchment paper or wax paper between each layer to prevent them from sticking together.
- Refrigeration (Optional): While not strictly necessary, refrigerating the treats can extend their shelf life slightly. However, they may become a bit firmer. If you do refrigerate them, allow them to come to room temperature for about 15-20 minutes before serving for the best texture.
- Freezing: For longer storage, you can freeze Lucky Charms Treats. Wrap individual bars tightly in plastic wrap, then place them in a freezer-safe bag or container. They can be frozen for up to 3 months. Thaw at room temperature before enjoying.
With these storage tips, you can enjoy your magical Lucky Charms Treats for days, ensuring every bite is as fresh and delightful as the first.
Frequently Asked Questions (FAQ)
Got questions about making the perfect batch of Lucky Charms Treats? Here are answers to some common queries:
- Can I use large marshmallows instead of mini marshmallows? Yes, you can, but mini marshmallows are recommended because they melt more quickly and evenly. If using large marshmallows, cut them into smaller pieces to speed up the melting process and ensure a smoother mixture.
- Why are my Lucky Charms Treats too hard? This is usually due to overheating the marshmallows. When marshmallows are cooked too long or at too high a temperature, they can become brittle and lead to hard treats. Make sure to melt them over medium-low heat and remove from heat as soon as they are just smooth. Over-compressing the mixture into the pan can also make them dense.
- Why are my treats too sticky? If your treats are excessively sticky, it might be due to not enough butter, or insufficient cooling time. Ensure you’ve used the correct amount of butter and allowed them to cool completely before cutting. Greasing your hands or spatula lightly when pressing them into the pan can also help manage stickiness.
- Can I make these treats ahead of time? Absolutely! These are perfect for making in advance. They stay fresh for 5-7 days at room temperature when stored in an airtight container, making them ideal for parties or meal prep.
- Are these treats gluten-free? Lucky Charms cereal contains whole grain oats, which are naturally gluten-free. However, the cereal is not certified gluten-free as it may be processed on equipment that also handles wheat. If strict gluten-free is required, look for explicitly certified gluten-free cereals.
More Magical Recipes for St. Patrick’s Day and Beyond
If you’re looking for more festive and fun recipes, especially for holidays like St. Patrick’s Day, explore these delightful options:
- Rainbow Cupcakes
- Shamrock Shake Recipe
- Pistachio Pudding Cookies
- Gold Popcorn
- Mint Chocolate Chip Cookies
- Rainbow Frosted Cupcakes
- Green Slush
- Mint Oreo Cheesecake
Lucky Charms Treats
Created by Amber Brady
Prep Time: 5 mins
Cook Time: 10 mins
Total Time: 15 mins
Easy, no-bake marshmallow treats made with everyone’s favorite magical cereal, Lucky Charms!
Yields: 20 bars
Ingredients
- ½ cup (113 g) salted butter (1 stick)
- 16 oz (453 g) bag mini marshmallows
- 10.5 oz (297 g) box Lucky Charms cereal (approx. 8 cups)
Equipment
- Silicone Spatula Set
- Large non-stick saucepan
- 9×13-inch baking pan
Instructions
- Grease a 9×13-inch pan with cooking spray or butter. Set aside.
- In a large pan, melt the butter over medium-low heat. Add the mini marshmallows and stir constantly until just melted and smooth. Do not overcook.
- Remove the pan from heat. Pour the marshmallow mixture over the Lucky Charms cereal in a large mixing bowl (or back into the large saucepan if it’s big enough).
- Gently fold the cereal and marshmallow mixture together until the cereal is evenly coated.
- Empty the mixture into the greased pan and press evenly. Use lightly buttered hands or a greased spatula, and remember to press gently to avoid overly dense treats.
- Allow to cool completely at room temperature or in the refrigerator before cutting into bars. Store any leftovers inside the pan, covered tightly with foil or plastic wrap, for up to 5-7 days.
Notes
If using unsalted butter, add 1/2 teaspoon of salt with the marshmallows to balance the sweetness.
Nutrition
Serving: 1 square | Calories: 131kcal | Carbohydrates: 30g | Protein: 2g | Fat: 1g | Polyunsaturated Fat: 1g | Cholesterol: 1mg | Sodium: 117mg | Fiber: 1g | Sugar: 18g
Disclaimer: Nutritional values were calculated using a third-party tool and are provided as an estimation only.
Sharing this recipe with a link is both encouraged and appreciated. Copying/pasting and/or screenshots of full recipes to any social media is strictly prohibited. Content and photographs are copyright protected.
Did you make this?
Don’t forget to leave a rating below and make sure to follow on Pinterest and Instagram for more!