
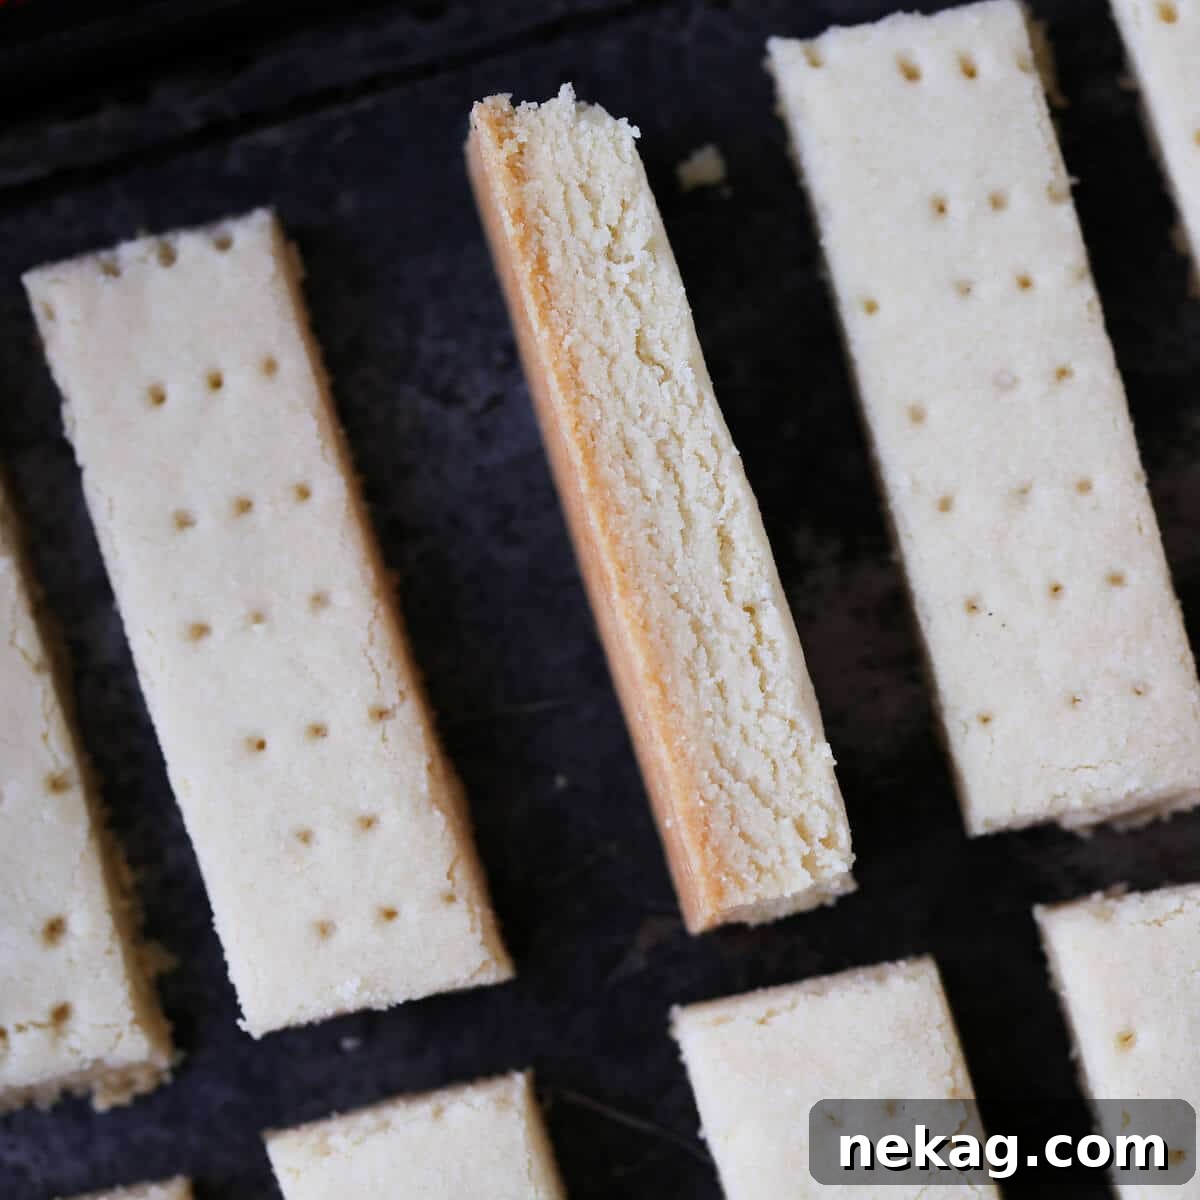
Prepare to master the art of traditional Scottish Shortbread with this authentic, easy-to-follow recipe. Crafted by a professional pastry chef, this guide will take you through each simple step to create remarkably tender, intensely buttery shortbread cookies using just four essential ingredients. Say goodbye to complicated baking and hello to stress-free, sensational shortbread that melts in your mouth with every bite.
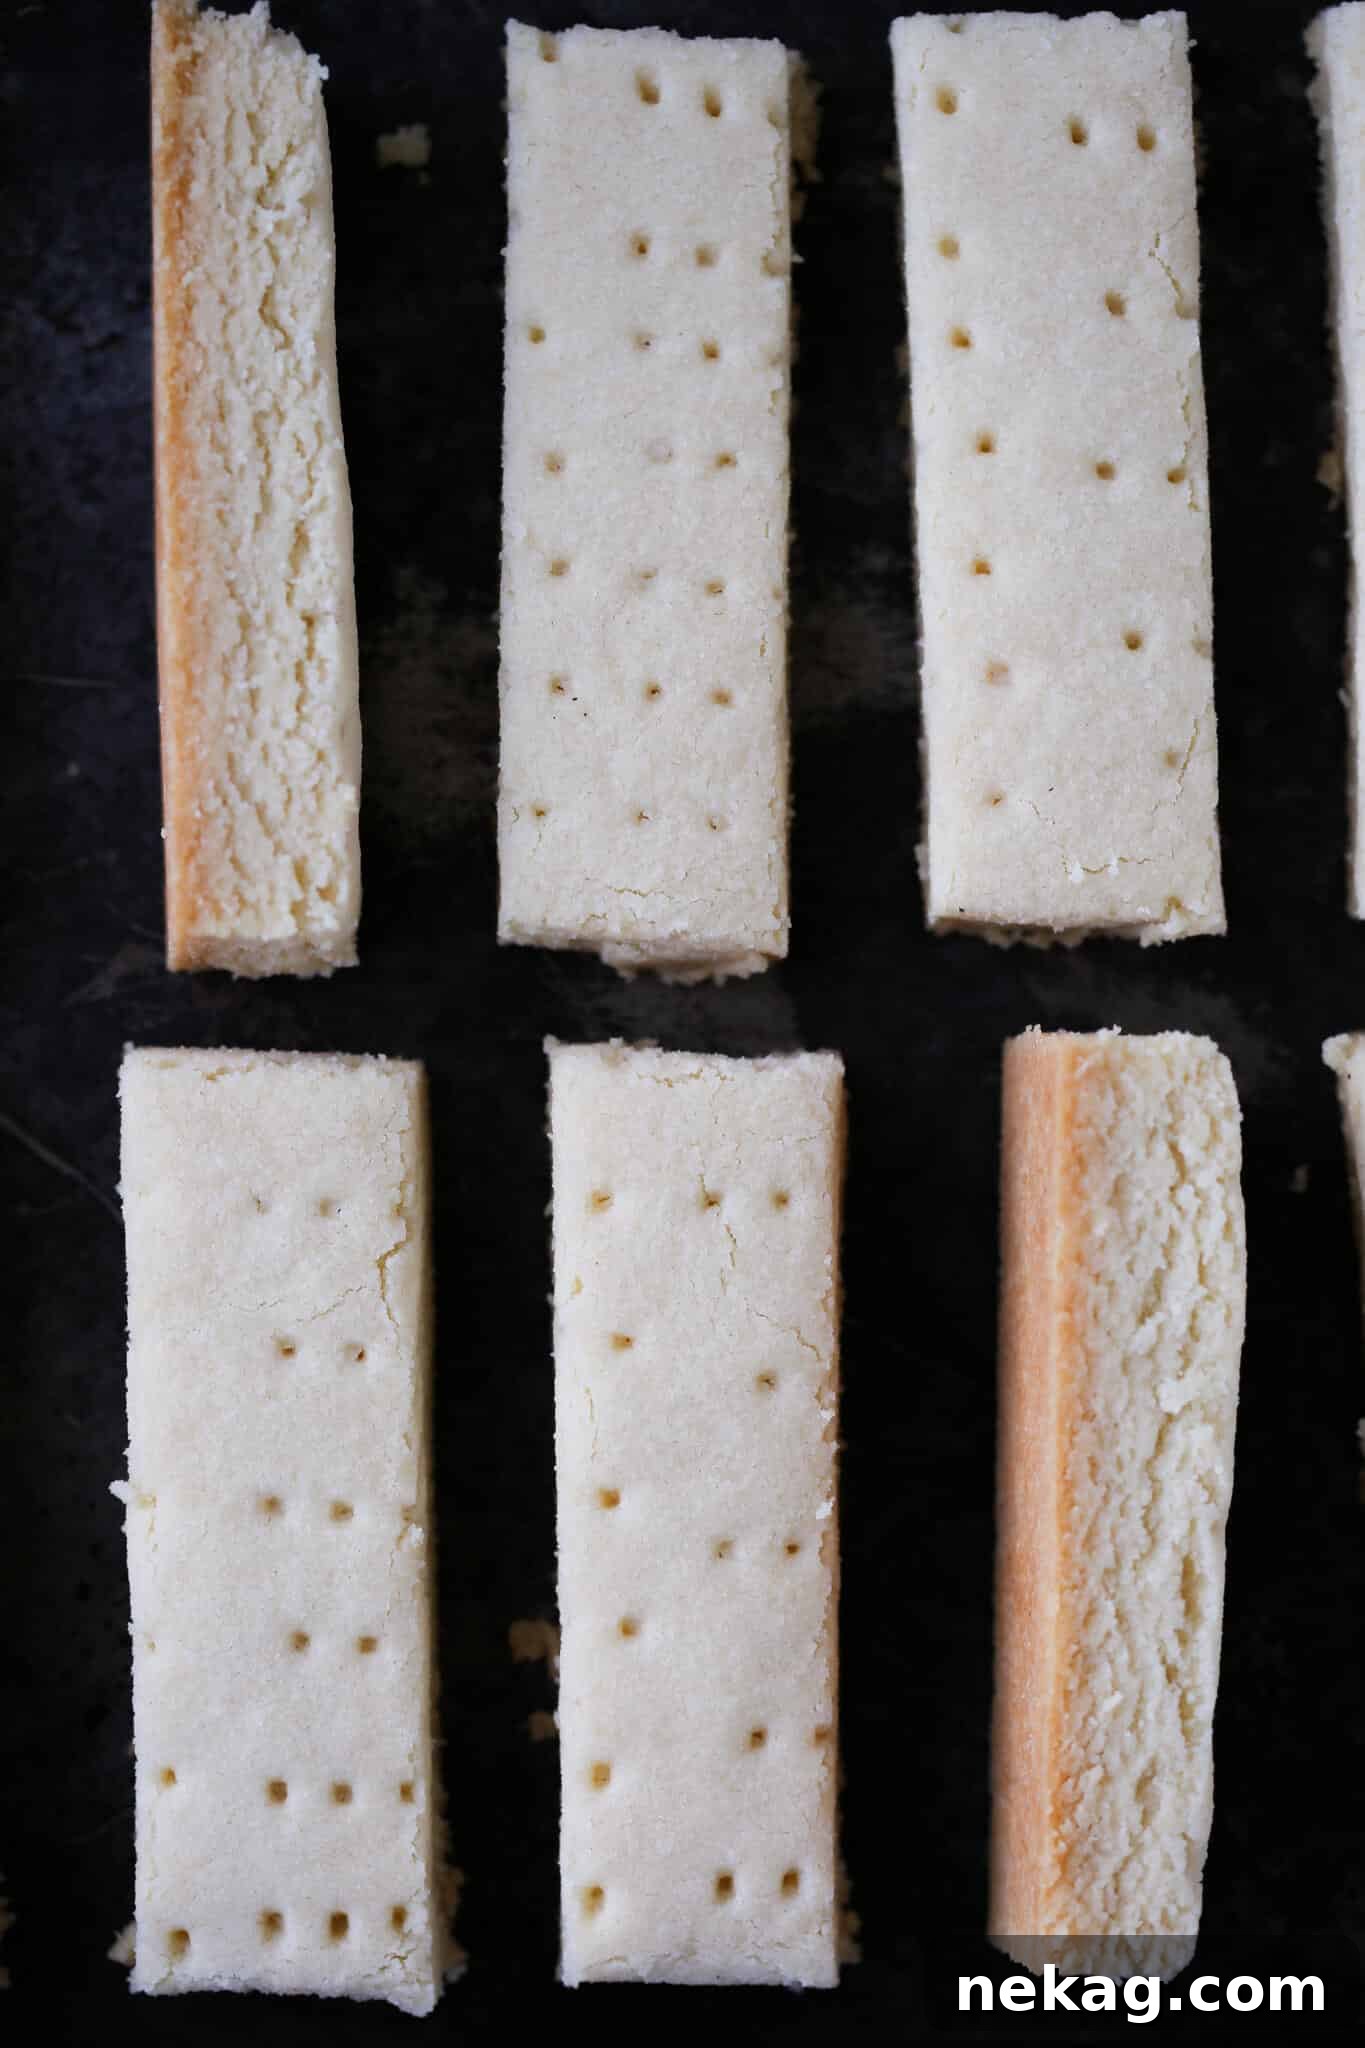
This cherished heritage recipe for Scottish Shortbread truly stands apart, primarily due to its elegant simplicity: it calls for only four ingredients. While many shortbread recipes rely solely on flour, butter, and sugar, our traditional approach incorporates a touch of rice flour. This inclusion is crucial; rice flour adds starch without developing gluten, resulting in a cookie that is exceptionally tender and crumbly, offering that signature delicate “snap” on the outside and a rich, buttery interior. Get ready to be utterly delighted by the exquisite texture and flavor.
Receiving a box of homemade shortbread from me during the holidays signifies a deep affection, as it’s a true test of willpower not to devour every piece alongside my morning tea or an evening glass of whiskey! These golden, crisp treasures are perfect for gifting on their own, or as part of an impressive assortment of baked goods. Imagine them nestled next to delightful Bakery Style Chocolate Chip Cookies, delicate Linzer Cookies, festive Pecan Snowball Cookies, aromatic Molasses Spice Cookies, or sophisticated Ginger Orange Almond Biscotti. They add a touch of timeless elegance to any holiday spread or gift basket, making them a truly special treat for friends and family.
Table of Contents
- Why This is the Best Traditional Scottish Shortbread
- Secrets to Perfect Shortbread
- The Name “Shortbread”: A Culinary Explanation
- A Rich History: The Origins of Scottish Shortbread
- Essential Ingredients for Traditional Shortbread
- Creative Variations to Try
- Step-by-Step: How to Make Scottish Shortbread
- Chef Lindsey’s Expert Baking Tip
- Frequently Asked Questions About Shortbread
- Scottish Shortbread Recipe Card
- More Delightful Baking from Our Kitchen
Why This is the Best Traditional Scottish Shortbread
There are countless shortbread recipes out there, but this particular method yields results that truly embody the essence of authentic Scottish shortbread. Here’s why this recipe stands out as a cut above the rest:
- Uncomplicated Ingredients, Unforgettable Flavor: At its heart, shortbread is a testament to the power of simple, high-quality ingredients. This recipe, perfected over centuries, relies on just four core components, each contributing to a rich, profoundly buttery flavor that is both comforting and deeply satisfying. It’s a taste that has brightened countless days and created cherished memories, proving that sometimes, less truly is more.
- Precision for Perfect Texture: The magic of shortbread lies in its distinctively delicate, sandy, and crumbly texture. This recipe achieves that perfection by precisely balancing the right ingredients. The inclusion of fine caster sugar ensures an even sweetness and contributes to the tender crumb without making the cookies gritty. More importantly, the addition of rice flour is key. It provides structure and a wonderfully unique crispness while preventing gluten development, which can lead to a tougher cookie. This careful selection of flours is what gives these shortbread cookies their characteristic melt-in-your-mouth quality with a delightful subtle crunch.
- Expert Guidance for Flawless Execution: Baking, especially with so few ingredients, requires precise technique. As a professional pastry chef, I’ve meticulously refined these directions to ensure your success. A crucial element in achieving authentic shortbread is the “cut-in” method for incorporating butter into the flour. This technique actively shortens the gluten strands, which is paramount for preventing toughness and achieving that desired crumbly texture. Every step is clearly outlined, ensuring that even novice bakers can confidently create perfect shortbread cookies every time, free from stress and full of flavor.
Secrets to Perfect Shortbread
While the ingredients are simple, a few expert tips can elevate your Scottish shortbread from good to absolutely legendary. These are the nuances that professional bakers understand, and now you can too:
- Achieve Uniform Butter Distribution: When cutting butter into your dry ingredients, consistency is key. Streaks of unincorporated butter can lead to uneven baking and pockets of tough or greasy texture. Take your time during this step, whether you’re using a pastry blender, two knives, or a food processor. Regularly stop and scrape down the sides and bottom of your mixing bowl to ensure that every speck of butter is evenly coated with the flour mixture. This meticulous approach guarantees a uniform dough that bakes beautifully and delivers consistent tenderness throughout.
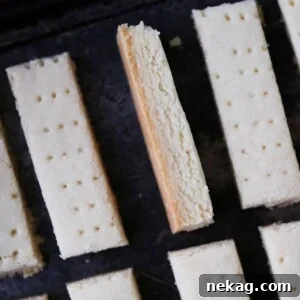
- The Importance of Pricking Holes: Don’t overlook this traditional and functional step! Using a fork to prick small holes across the surface of your shortbread dough serves a vital purpose. These perforations act as vents, allowing steam to escape gracefully from the dough as it bakes. Without these vents, the cookies can puff up irregularly, leading to an uneven texture and an unsightly appearance. Pricking ensures a flat, even bake and contributes to the shortbread’s characteristic crispness.
- The Two-Stage Baking Method for Ultimate Crispness: This is arguably the most significant secret to achieving truly spectacular, melt-in-your-mouth shortbread that retains its shape perfectly. Instead of baking the cookies all at once, you’ll employ a two-stage baking process. First, partially bake the dough in a single block until it’s set but not yet browned. Removing it from the oven at this stage allows you to cleanly slice the warm, pliable dough into your desired shapes (fingers, rounds, or wedges) without cracking. Then, return the separated pieces to the oven for a second, slightly hotter bake. This method prevents spreading, locks in their shape, and develops a beautiful golden hue on the bottom, ensuring each cookie is incredibly crispy on the outside while remaining tender and crumbly within.
The Name “Shortbread”: A Culinary Explanation
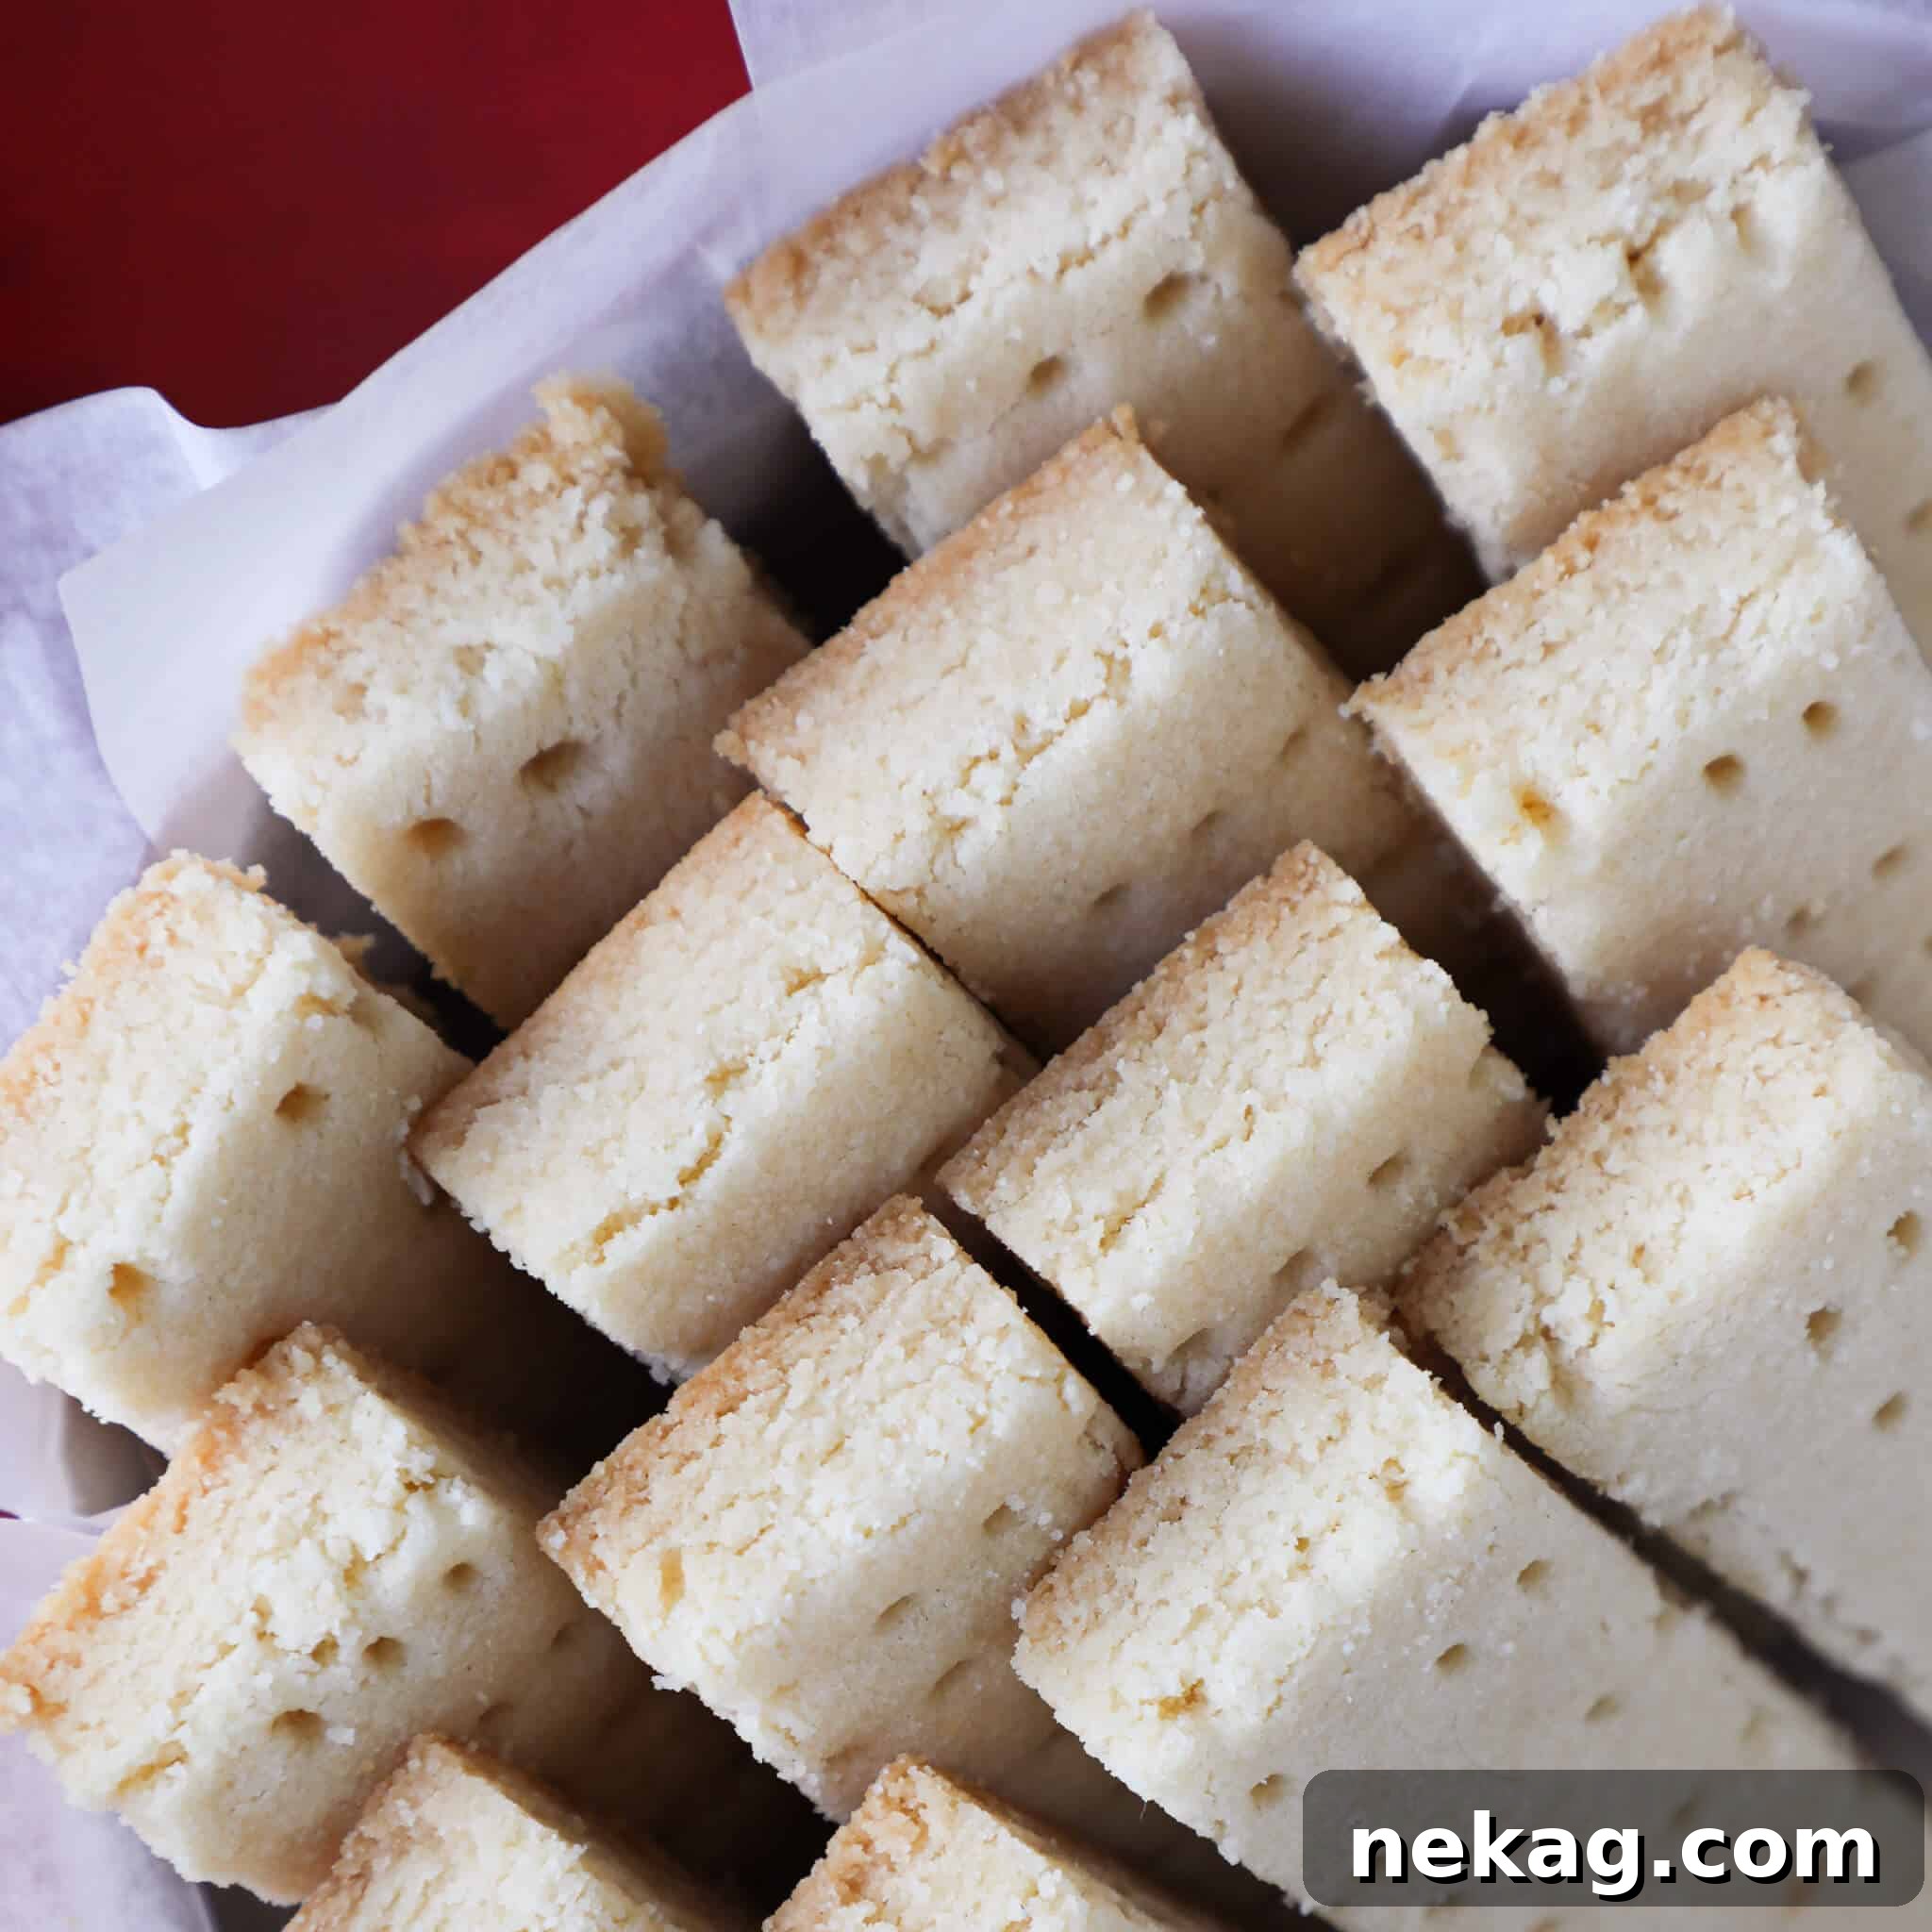
The term “shortbread” isn’t a reference to the cookie’s physical size but rather to a specific characteristic of its texture and the method used to achieve it. In baking, “short” refers to a high fat-to-flour ratio, which results in a crumbly, tender, and somewhat brittle texture – the opposite of a “long” or stretchy dough (like bread dough, which has strong, developed gluten strands). This is why shortbread doesn’t spread much and breaks easily rather than bending.
The culinary term “short” comes from the process of “shortening” the gluten strands. Gluten, a protein network formed when flour and water are mixed, gives elasticity and chewiness to baked goods. In shortbread, a large amount of fat (butter, in this case) is “cut in” or thoroughly incorporated into the flour before liquids are added. The fat coats the flour particles, effectively inhibiting the gluten proteins from fully hydrating and forming strong, long networks. This mechanical interference by the fat essentially “shortens” the gluten, preventing the dough from becoming elastic and tough. The result is a delightfully crumbly, melt-in-your-mouth cookie that lives up to its name, a hallmark of traditional shortbread.
A Rich History: The Origins of Scottish Shortbread
While various forms of shortbread exist globally, Scotland proudly lays claim to its earliest and most revered origins, establishing it as a national delicacy. The very nature of shortbread, with its rich butter content, provides a clue to its historical roots. To produce such a butter-laden biscuit, one needs abundant access to high-quality dairy – precisely what Scotland’s cool climate and thriving dairy cow industry have provided for centuries. This abundance of dairy fat made shortbread an accessible luxury for the Scottish people, transforming a simple baked good into a symbol of Scottish hospitality and culinary heritage.
Shortbread evolved from medieval “biscuit bread,” a twice-baked, enriched bread often flavored with spices and sweetened with honey. Over time, yeast was omitted, and the butter content increased significantly, transforming it into the rich, crumbly cookie we know today. Mary, Queen of Scots, is often credited with popularizing shortbread in the 16th century, particularly the delicate, thin, wedge-shaped cookies known as “petticoat tails.” This traditional shape, often impressed with a decorative pattern, is said to resemble the segments of a richly embroidered petticoat – a charming historical detail that might even transport fans of “Outlander” back in time! Beyond the well-known shortbread fingers we’re making today, these beautiful wedges and round shortbread “rounds” remain classic presentations, each telling a story of Scotland’s enduring love affair with this buttery delight. Historically, shortbread was considered a luxury, reserved for special occasions like Christmas, Hogmanay (New Year’s Eve), and weddings, though today it’s enjoyed year-round.
Essential Ingredients for Traditional Shortbread
The beauty of this traditional Scottish shortbread lies in its minimal ingredient list. However, because each component plays such a critical role, selecting the right quality and understanding their function is paramount for achieving that signature melt-in-your-mouth texture and rich flavor. Here’s a closer look at what you’ll need:
- Unsalted Butter: This is the star of shortbread, providing its signature richness, tenderness, and flavor. I always recommend using unsalted butter for baking, as it gives you complete control over the salt content in your recipe. Since shortbread contains no eggs or other liquids, the butter is the primary source of moisture and contributes significantly to the cookie’s structure and crumb. For the best possible flavor and texture, opt for a high-quality butter with at least 82% butterfat. While true Scottish shortbread would ideally use butter sourced directly from Scotland, any excellent quality European-style butter will yield fantastic results. Ensure your butter is at room temperature before you begin, but not melted, for optimal creaming.
- All-Purpose Flour: This forms the primary structure of our shortbread. Proper measurement is crucial here to avoid dry, crumbly cookies. To measure correctly, first fluff up the all-purpose flour in its bag or container, then gently spoon it into your measuring cup until overflowing. Use the back of a knife or a straight edge to level off the top. Avoid tapping the cup or compressing the flour, as this can result in using too much flour and lead to a tough, dry biscuit.
- Rice Flour: This ingredient is the secret weapon for authentic shortbread texture. Unlike all-purpose flour, rice flour is gluten-free and possesses a naturally coarser, yet finer, granular texture. When combined with wheat flour, it contributes to the unique sandy, slightly crisp, and exceptionally tender crumb that defines traditional Scottish shortbread. It adds to the cookie’s structure without developing the strong, elastic gluten network that would otherwise make the cookies chewy instead of crumbly. This makes for a wonderfully delicate cookie that practically dissolves on your tongue.
- Caster Sugar: Also known as superfine sugar, caster sugar is granulated sugar that has been ground to a finer consistency than regular table sugar, but not as fine as powdered (confectioners’) sugar. Its fine granules dissolve more readily into the butter, resulting in a smoother dough and a more even, delicate texture in the finished cookie without any grittiness. If caster sugar isn’t readily available in your region (it’s less common in the United States), you can easily make your own. Simply process granulated sugar in a food processor until it reaches a superfine texture, typically a minute or two. For safety and accuracy, grind approximately ¾ cup (172g) of granulated sugar, then measure out ¾ cup (150g) of the resulting superfine (caster) sugar.
- Kosher Salt: A tiny pinch of kosher salt is essential for balancing the sweetness and enhancing the rich, buttery flavor of the shortbread. It brightens the overall taste profile and prevents the cookies from tasting one-dimensionally sweet.
Please refer to the detailed recipe card below for precise measurements and quantities for each ingredient.
Creative Variations to Try
While classic Scottish shortbread is perfection on its own, it also serves as a fantastic canvas for creative flavor additions. Here are some delightful variations to experiment with, allowing you to personalize this beloved treat:
- Zesty Citrus Shortbread: Infuse your shortbread with bright, aromatic citrus notes. Simply zest the peel of an orange, lemon, or grapefruit directly into your caster sugar. Allow the zest to sit with the sugar for at least 30 minutes, or even overnight, to deeply infuse its essential oils into the sugar. Then, proceed with the recipe as instructed for a beautifully fragrant citrus shortbread. For more inspiration, explore my popular Cranberry Orange Shortbread Cookies recipe.
- Elegantly Glazed Shortbread: Add a touch of elegance with a simple yet delicious glaze. Whisk together powdered sugar with a tiny pinch of salt and just enough fresh lemon juice (or milk) to create a thick, pourable glaze. Drizzle this over the cooled shortbread and allow it to set for a beautiful finish and an extra layer of sweetness and tang. You could also venture outside the box and try a vibrant strawberry glaze, similar to what I use on my Lemon Pound Cake, or for an indulgent treat, dip your traditional Scottish shortbread cookies in a luscious Homemade Hot Fudge Sauce.
- Decadent Chocolate Chip Shortbread: For chocolate lovers, a simple addition of chocolate chips transforms classic shortbread into a delightful new experience. Once your shortbread dough has come together and is ready for shaping, gently fold in up to a cup of mini chocolate chips. Mini chips work best as they distribute evenly and don’t overpower the delicate texture of the shortbread. You could also use finely chopped chocolate for a more sophisticated touch, as demonstrated in my dedicated Chocolate Chip Shortbread Cookies recipe.
- Gluten-Free Shortbread: For those with dietary restrictions, this recipe can be easily adapted to be gluten-free. Simply substitute the all-purpose flour with a high-quality gluten-free all-purpose flour blend. I highly recommend Cup4Cup gluten-free flour, as I’ve found it provides the closest textural resemblance to traditional all-purpose flour, ensuring your gluten-free shortbread maintains its tender, crumbly appeal. Remember to keep the rice flour, as it’s already gluten-free and essential for texture.
- Shaping with a Shortbread Mold: If you’re looking to achieve a beautifully intricate presentation, consider using a shortbread mold. I’ve had great success with this beautiful wedge-shaped shortbread mold. When using ceramic molds, keep in mind they don’t conduct heat as efficiently as metal, which can make achieving that crisp finish a bit more challenging. To ensure easy release and a perfect imprint, I recommend lightly dusting your mold with a little extra rice flour before pressing the dough into it. Otherwise, the baking process remains largely the same, resulting in stunningly shaped cookies.
Step-by-Step: How to Make Scottish Shortbread
Creating perfect Scottish shortbread is a delightful and rewarding experience. Follow these detailed steps carefully to achieve that iconic buttery, tender, and crisp texture. Remember, precision is key when working with so few ingredients!
Further precise measurements and quantities for ingredients can be found in the comprehensive recipe card located at the end of this article.
Prepare the Dough:
Step 1: Preheat Oven and Prepare Baking Sheet
Begin by preheating your oven to a relatively low temperature of 275°F (135°C). This gentle heat is crucial for slowly drying out the shortbread and achieving its characteristic crispness without excessive browning. Line a standard baking sheet or an appropriate baking pan with parchment paper. This prevents sticking and makes it easy to handle the delicate shortbread after its initial bake.
Step 2: Cream the Butter
In the bowl of a stand mixer fitted with the paddle attachment, place your room temperature unsalted butter. Beat the butter on high speed until it becomes completely softened, smooth, and homogenous. This process can take a few minutes, depending on how soft your butter is initially. If your butter is already perfectly at room temperature (soft enough to leave an indentation when pressed, but not greasy or melted), you can shorten this step, but ensure it’s thoroughly smooth to integrate well with the dry ingredients.
Step 3: Combine Dry Ingredients
In a separate large mixing bowl, combine the all-purpose flour and rice flour. These two flours are essential for the unique texture of Scottish shortbread. Add the caster sugar and kosher salt to the flour mixture. Using a whisk, thoroughly combine all the dry ingredients. This ensures that the sugar and salt are evenly distributed throughout the flours, preventing pockets of uneven sweetness or saltiness in your finished cookies.
Step 4: Incorporate Dry Mix into Butter
Carefully add the whisked flour mixture to the stand mixer bowl containing the creamed butter. Begin mixing on the lowest speed. Continue to mix on low for at least 10 minutes. This extended mixing time is vital for properly integrating the fat into the dry ingredients without overworking the dough. The mixture will initially look crumbly, but it will gradually come together as the butter coats the flour particles. During this process, periodically stop the mixer and use a spatula to scrape down the sides and bottom of the bowl. This is important to ensure that all the butter is evenly incorporated and to prevent any streaks of unmixed butter, which can lead to inconsistencies in texture.
Chef’s Note on Dough Texture: It’s important to remember that this cookie dough contains no additional liquids beyond the moisture from the butter. Consequently, the dough will appear clumpy and somewhat dry during mixing. However, it should hold together firmly when squeezed in your hand. This is the correct consistency for traditional shortbread, relying solely on the butter to bind the ingredients.
Shape and Initial Bake:
Step 5: Shape the Dough
Gather the shortbread dough into a ball. Transfer it to your parchment-lined baking sheet and press it out evenly into your desired shape. A rectangle is common for shortbread fingers, but you could also form a round for wedges (petticoat tails). Aim for a uniform thickness of about ½ inch. The exact dimensions aren’t critical, but consider the final size of your cut cookies before baking. For example, if you aim for 3½ x 1-inch sticks, press your dough out to roughly 7 inches high and 9 inches across, leaving a slight buffer for clean edges when cutting.
Presentation Tip: As the shortbread bakes, the sides may slope slightly. To ensure you can cut perfectly straight and uniform rectangles or other shapes, make your initial dough slab slightly larger than your intended final dimensions. This ‘buffer’ allows for neat trimming after the first bake.
Step 6: Prick the Dough
Using a fork, gently and evenly prick holes across the entire surface of your shaped dough. These perforations are not merely decorative; they serve a crucial functional purpose by allowing steam to escape from the dough during baking. This prevents the shortbread from puffing up irregularly and helps maintain an even, flat surface, contributing to its characteristic crisp texture. You can either prick randomly or try to align the holes with your envisioned final cookie shapes for a more organized look.
Second Bake and Cooling:
Step 7: First Bake
Place the baking sheet with the pricked shortbread dough into your preheated 275°F (135°C) oven. Bake for approximately 45 minutes. During this initial bake, the cookies will puff up slightly and the surface will transition from glossy to a matte finish, indicating they are set but not yet browned. This slow, low-temperature bake begins the crucial drying process without initiating caramelization.
Step 8: Slice and Separate
Carefully remove the baking sheet from the oven. While the shortbread is still warm and relatively pliable, use a sharp knife to slice it into your desired shapes on the baking sheet. Attempting to remove the entire baked slab from the parchment before cutting will likely cause it to crack and crumble. Once you’ve made your cuts, gently separate the individual shortbread pieces, creating small gaps between them. This is important to ensure that each cookie receives sufficient airflow during the second bake, allowing for even cooking and optimal crispness on all sides.
Step 9: Second Bake for Golden Finish
Increase the oven temperature to 300°F (150°C). Return the baking sheet with the separated shortbread pieces to the oven. Continue baking for an additional 30-45 minutes, or until the bottoms of the cookies have begun to turn a light golden brown. This second, slightly hotter bake is crucial for developing the depth of flavor and achieving the desired crisp texture. Once baked to your liking, remove the shortbread from the oven and allow them to cool completely on the baking sheet (do not transfer to a wire rack initially). This extended cooling time on the warm baking sheet helps them crisp up further and prevents premature cracking. Enjoy your perfectly crafted, buttery shortbread!
For No-Browning Shortbread: If you prefer shortbread with a perfectly pale, almost white appearance (as is traditional for some varieties), do not increase the oven temperature in Step 9. Instead, continue baking the shortbread at the initial 275°F (135°C) for an additional 60-75 minutes after slicing. The cookies will remain pale but will achieve a fully matte finish and the desired crisp texture.
Chef Lindsey’s Expert Baking Tip
One of the simplest yet most effective tips for perfect shortbread is this: always leave the shortbread on the baking sheet to cool completely after it comes out of the oven. Transferring warm shortbread to a wire rack or directly handling it too soon can cause it to crack due and lose its delicate structure. Allowing it to cool undisturbed on the sheet not only helps the cookies set fully and prevents them from breaking, but it also contributes significantly to their ultimate crispness as residual heat continues to dry them out gently. It’s a win-win for both structural integrity and texture!
Frequently Asked Questions About Shortbread
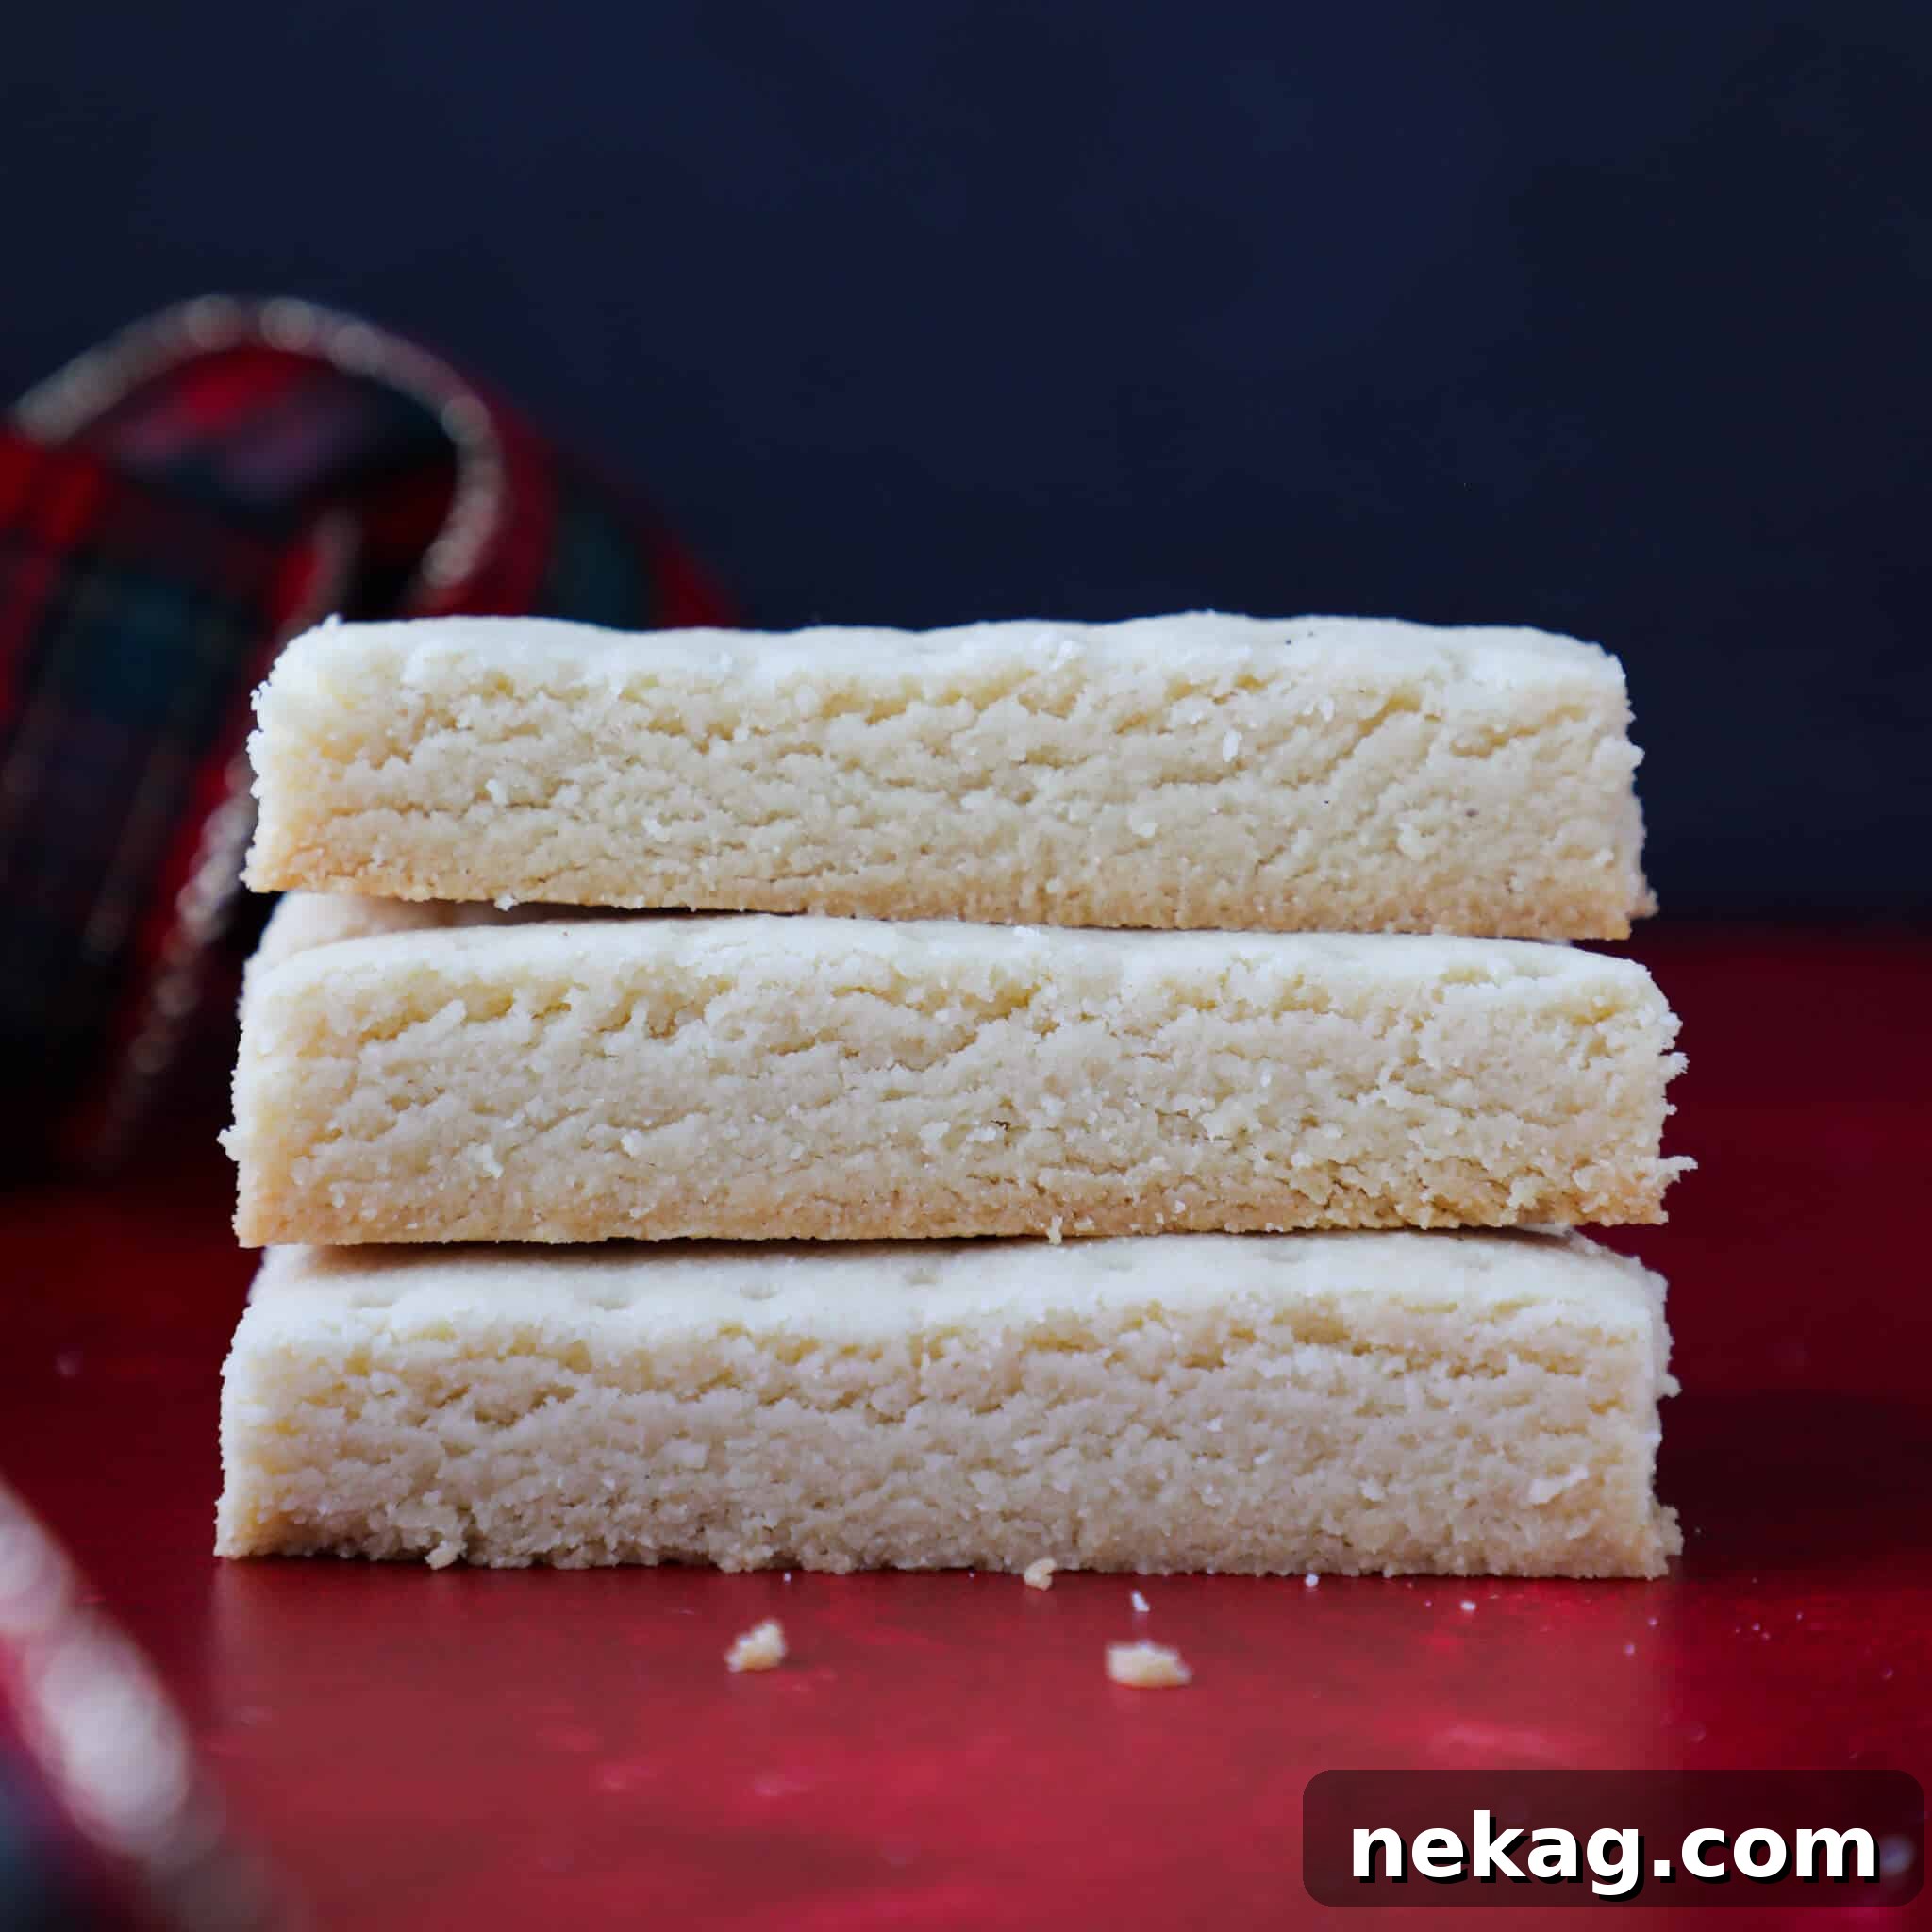
To ensure your Scottish shortbread cookies remain wonderfully crisp and fresh, store them in an airtight container at room temperature. Avoid refrigerating, as the moisture can soften their texture. Properly stored shortbread will keep beautifully at room temperature for up to two weeks. For longer storage, you can freeze shortbread for up to 3 months. When ready to enjoy, simply thaw them at room temperature; they often regain their crispness perfectly.
Unlike many other cookie doughs, chilling shortbread dough prior to baking is generally not necessary for this particular recipe. Our unique two-stage baking method effectively mitigates any potential spreading. By initially baking the shortbread as one solid block and then slicing it into individual cookies before the final bake, we ensure they hold their shape beautifully without the need for refrigeration. This streamlined process saves time and makes baking traditional shortbread even more convenient.
While it might be tempting to substitute, rice flour is a key ingredient for achieving the authentic, delicate, sandy texture of traditional Scottish shortbread. Its unique starch composition and lack of gluten contribute to the signature “short” crumb that cannot be perfectly replicated by other flours. If you must substitute, a small amount of cornstarch (about 2 tablespoons per ½ cup of rice flour) mixed with all-purpose flour could offer a slightly tenderizing effect, but it won’t yield the exact same result as rice flour. For the best, most traditional shortbread, I strongly recommend sticking to the rice flour.
Our recipe’s two-stage baking method is the primary strategy to prevent spreading. By baking the dough in a single block first, it sets its shape before being cut. Also, ensuring your butter is at the correct room temperature (soft but not melted) and mixing it thoroughly but without overworking the gluten are crucial. Over-creaming butter with sugar or using butter that’s too warm can also contribute to spreading. Stick to the precise temperatures and method outlined in the recipe for best results.
If you’ve tried this authentic Scottish Shortbread recipe and absolutely loved it, please take a moment to leave a 🌟 star rating and share your thoughts in the comments below. I truly cherish hearing from you; your feedback and comments brighten my day and help others discover these delicious treats!
Scottish Shortbread Recipe
Chef Lindsey
25 mins
1 hr
15 mins
1 hr
40 mins
18
cookies
Comment
Print Recipe
Ingredients
- 1 cup unsalted butter (room temperature, 2 sticks)
- ¾ teaspoon kosher salt
- 2 cups all-purpose flour
- ½ cup rice flour
- ¾ cup caster sugar (or granulated sugar ground in food processor, see note)
Instructions
-
Preheat the oven to 275°F (135°C) and line a baking sheet with parchment paper.
-
In the bowl of a stand mixer, place the butter. Beat on high until completely softened and smooth. If your butter is already room temperature, this step may be quicker, but ensure it’s uniform.
-
In a large mixing bowl, combine rice flour and all-purpose flour. Add the caster sugar (refer to the note in the recipe for making your own if needed!) and kosher salt. Whisk to combine thoroughly.
-
Place the flour mixture into the stand mixer bowl with the butter. Mix on low speed until completely combined. This process will take at least 10 minutes. Periodically scrape down the sides of your bowl to ensure all butter is incorporated and to avoid butter streaks.
-
Gather the dough into a ball and press it out evenly into a rectangle or your desired shape on the parchment-lined baking sheet. Aim for a thickness of about ½ inch. The exact size and shape are flexible, but consider your desired final cookie dimensions before baking. For 3½ x 1-inch sticks, press your dough out to approximately 7 inches high and 9 inches across.
-
Using a fork, poke holes across the surface of the dough to prevent air bubbles from forming during baking. You can choose to align these with your intended final cookie shapes or prick them randomly.
-
Bake in the preheated oven for about 45 minutes. The shortbread will appear slightly puffed and its surface will look matte when ready for the next step.
-
Remove the shortbread from the oven and, while still on the baking sheet, use a sharp knife to slice it into your desired shapes. Attempting to remove the parchment from the baking sheet at this stage will cause the warm, delicate shortbread to crack. Once sliced, gently separate the pieces to allow for proper airflow during the final bake.
-
Increase the oven temperature to 300°F (150°C). Return the baking sheet to the oven and continue baking for another 30-45 minutes, or until the bottoms of the cookies achieve a light golden-brown color. Cool completely on the baking sheet before serving and savoring!
Video
Notes
Presentation Tip: During baking, the edges of the shortbread block may slope slightly. To ensure you can cut perfectly crisp and straight rectangles (or your desired shapes), it’s advisable to initially press the dough out with a small ‘buffer’ around the edges, which can be trimmed off if necessary.
Dough Technique: It’s important to understand that this shortbread dough contains no additional liquids; its structure is entirely held together by butter. The dough will have a clumpy appearance, but it should readily come together and hold its shape when squeezed firmly in your hand. This is the correct, rich consistency.
Storage Instructions: To preserve the delightful crispness of your shortbread cookies, store them in an airtight container at room temperature. They will maintain their freshness and ideal texture for up to two weeks. For extended storage, Scottish shortbread cookies can be frozen for a period of up to 3 months.
Nutrition
Carbohydrates: 22g |
Protein: 2g |
Fat: 10g |
Saturated Fat: 7g |
Polyunsaturated Fat: 0.5g |
Monounsaturated Fat: 3g |
Trans Fat: 0.4g |
Cholesterol: 27mg |
Sodium: 178mg |
Potassium: 21mg |
Fiber: 0.5g |
Sugar: 8g |
Vitamin A: 315IU |
Calcium: 6mg |
Iron: 1mg
Dessert
Scottish
189
Like this? Leave a comment below!
More Delightful Baking from Our Kitchen
Before you leave, don’t forget to explore more of our delicious, chef-developed recipes! Whether you’re a seasoned baker or just starting out, you’ll find inspiration among our extensive collection of Cookie Recipes. Dive into other festive options, perfect for special occasions, by perusing our traditional Christmas cookies, or discover some of my personal best Christmas cookie recipes from recent years. Happy baking, and enjoy sharing these homemade delights with your loved ones!