
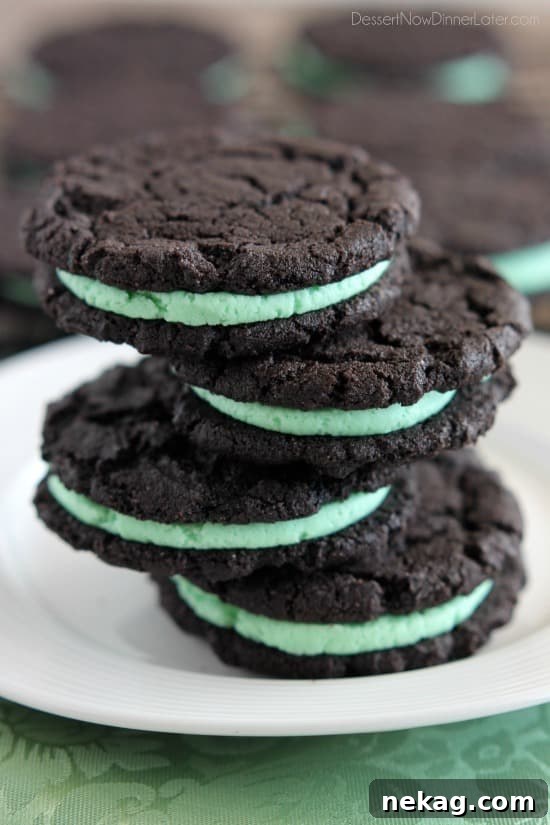
Homemade Mint Oreos: A Refreshing Twist on a Classic Cookie
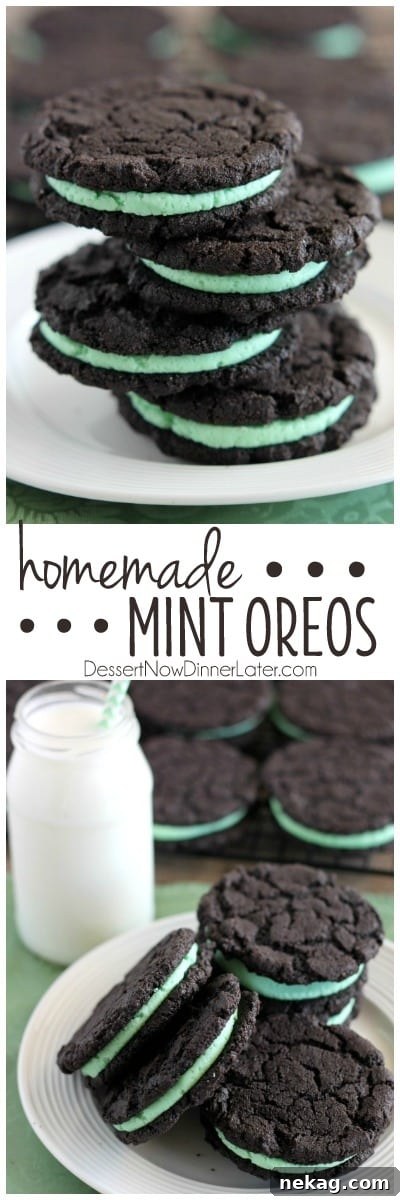
Prepare to fall in love with these incredible Homemade Mint Oreos. Imagine sinking your teeth into a rich, crisp, yet tender dark chocolate cookie, perfectly balanced with a vibrant, refreshing mint buttercream filling. These DIY sandwich cookies are a delightful upgrade from their store-bought counterparts, offering an unparalleled depth of flavor and a satisfying texture that will keep you coming back for more.
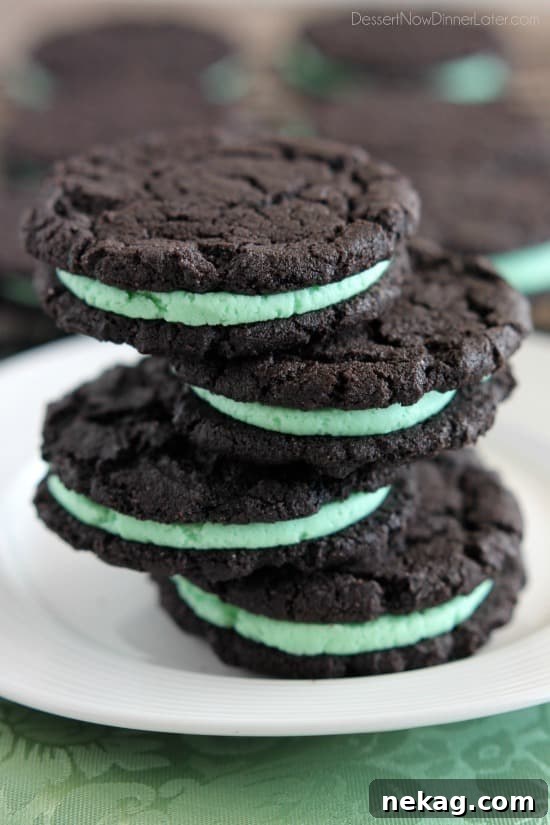
As a passionate baker, I’ve developed quite an affinity for sandwich cookies and whoopie pies – any delectable treat that combines two layers with a creamy filling in between. This particular recipe for Homemade Mint Oreos has quickly become a favorite, captivating hearts and taste buds with its simple yet profoundly delicious combination. It’s more than just a cookie; it’s a nostalgic journey with a gourmet touch, proving that sometimes, homemade is truly best.
Why These Homemade Mint Oreos Stand Out from the Rest
The Ultimate Dark Chocolate Cookie Base
The foundation of any great sandwich cookie is its wafer, and for these chocolate mint sandwich cookies, we’ve crafted a truly exceptional dark chocolate cookie. It’s designed to be crisp at first bite, yielding to a tender, melt-in-your-mouth texture. This magical transformation happens partly due to the moisture from the mint buttercream seeping into the cookie over time. If you prefer a softer cookie right away, simply allow your assembled Homemade Mint Oreos to rest for a day in an airtight container, and you’ll find them wonderfully tender and even more flavorful. The rich, intense flavor of dark chocolate, ideally from Hershey’s Special Dark Cocoa, provides the perfect canvas for our refreshing mint filling, creating a symphony of flavors with every bite.
The Dreamy Mint Buttercream Filling
Speaking of the filling, our mint buttercream is truly something special. Many people worry about mint desserts tasting like toothpaste, but fear not! This recipe uses just 1 teaspoon of high-quality peppermint extract, striking that perfect balance. You get all the invigorating mint flavor without any artificial aftertaste, a common pitfall of many mint-flavored treats. It’s cool, creamy, and wonderfully smooth, complementing the deep chocolate notes of the cookies beautifully. The subtle hint of green food coloring gives these DIY Oreos their iconic, cheerful look, making them as visually appealing as they are delicious. The blend of butter and shortening in the buttercream gives it a stable yet luxurious texture, perfect for piping and holding its shape.
Kid-Approved and Crowd-Pleasing Delights
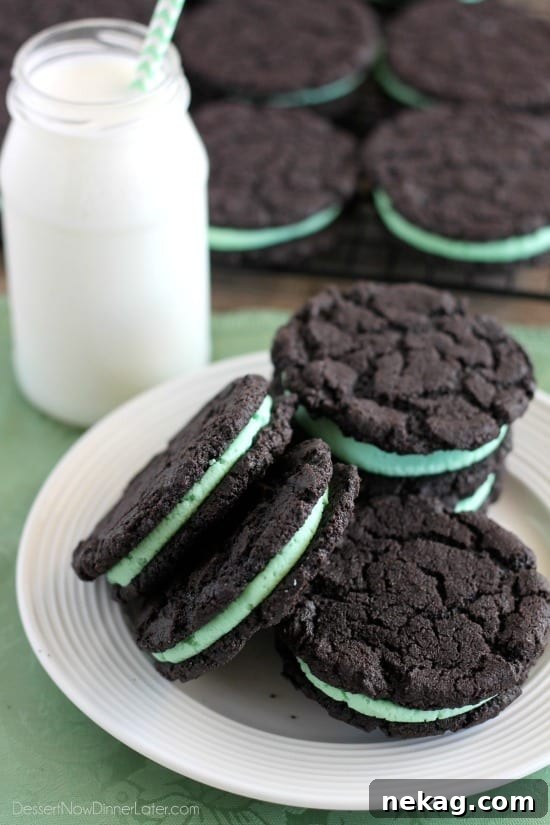
These Homemade Mint Oreos aren’t just for adults who appreciate gourmet treats; they’re a certified hit with the younger crowd too! I once brought a batch to a church party, and a sweet little boy came up to me, his eyes wide with delight, exclaiming, “Your mint Oreos are very yummy!” That adorable endorsement sealed their fate as a universally loved dessert. This personal anecdote highlights the universal appeal of these homemade cookies – they’re perfect for school functions, holiday parties, birthdays, or just a special treat for your family. The combination of familiar flavors in a homemade package makes them incredibly appealing and a guaranteed crowd-pleaser for any gathering.
Essential Tips for Baking Perfect Homemade Mint Oreos Every Time
Creating these delightful chocolate mint sandwich cookies is straightforward, but a few key tips can ensure your batch turns out absolutely perfect, just like the ones from your favorite bakery:
Achieving the Ideal Cookie Texture
- Measure Flour Correctly: For the best results, always stir your all-purpose flour before spooning it into your measuring cup and leveling it off with a straight edge. This method, often called “stir, spoon & level,” prevents over-measuring, which can lead to dry, crumbly cookies.
- Don’t Overmix: After incorporating the butter and then the egg, mix the cookie dough just until it comes together. Overmixing can develop the gluten too much, resulting in tough, less tender cookies.
- Uniformity is Key: When scooping the dough, aim for consistently sized balls. This ensures that all your cookies bake evenly and that your sandwich cookies will fit together nicely without awkward overhangs. A small cookie scoop (about 1 tablespoon capacity) is your best friend here.
- Slightly Flatten: Gently flattening the dough balls before baking helps them spread into the classic disc shape of an Oreo wafer. Use moistened hands or the bottom of a wet measuring cup for a smooth, even surface.
- Cool Completely: Before attempting to assemble your cookies, allow your baked dark chocolate cookies to cool completely on a wire rack. Warm cookies will inevitably melt the buttercream, leading to a messy and disappointing situation. Patience is a virtue in cookie assembly!
Crafting the Silky Smooth Mint Buttercream
- Room Temperature Ingredients: Ensure both your unsalted butter and shortening are at true room temperature. This allows them to cream together seamlessly and effortlessly, creating a light, airy, and fluffy buttercream texture.
- Sift Powdered Sugar: Sifting your powdered sugar before adding it to the buttercream mixture helps prevent lumps and ensures a perfectly smooth, pipeable frosting. Don’t skip this step if you want that professional finish.
- Adjust Consistency: The amount of water or milk needed to thin the frosting can vary based on humidity and how soft your butter was. Start with 2 teaspoons and add more, ¼ teaspoon at a time, until your mint buttercream reaches a consistency that’s easy to pipe but still holds its shape without oozing.
- Peppermint Extract: The 1 teaspoon of peppermint extract provides the ideal amount of refreshing mint flavor. If you’re a true mint fanatic and feel daring, you could add an extra ¼ teaspoon, but be careful not to overpower the delicate balance with the chocolate!
Variations to Explore with Your DIY Oreos
While the classic Homemade Mint Oreo is undeniably delicious, feel free to experiment and customize this recipe to your liking. The beauty of baking at home is the freedom to get creative!
- Different Extracts: Swap the peppermint extract for vanilla, almond, or even orange extract for entirely different flavor profiles. Imagine a sophisticated chocolate orange sandwich cookie! Lemon extract could also provide a surprisingly delightful twist.
- Colorful Fillings: Adjust the food coloring to match different themes or holidays. Red for Valentine’s Day, vibrant blue for a baby shower, or swirl multiple colors for a festive look. You could even omit the food coloring for a natural, creamy white filling.
- Add-ins: For extra texture and flavor, fold mini chocolate chips into the buttercream for a “double chocolate” effect, or sprinkle crushed peppermints on top of the filling before adding the second cookie for an invigorating crunch. A touch of finely chopped Andes mints could also elevate the experience.
- Cocoa Powder: While Hershey’s Special Dark Cocoa is highly recommended for its intense flavor and deep color, you can experiment with other high-quality Dutch-processed cocoa powders to see how they impact the final taste and appearance of your chocolate wafers.
- Cookie Shape: Instead of round cookies, use small cookie cutters to create stars, hearts, or other fun shapes, making these cookies perfect for themed events.
Homemade Mint Oreos
These Homemade Mint Oreos feature a simple mint buttercream sandwiched between crisp, yet tender, dark chocolate cookies!
Created by: Amber Brady
Yields: 15 to 16 cookies
Ingredients
For the Cookies:
- 1 ¼ cups (150 g) all-purpose flour (stir, spoon & level)
- ½ cup (40 g) Hershey’s Special Dark Cocoa
- 1 tsp baking soda
- ¼ tsp baking powder
- ¼ tsp salt
- 1 ¼ cup (250 g) granulated sugar
- ½ cup (113 g) plus 2 Tbsp unsalted butter, room temperature
- 1 large egg
For the Mint Buttercream:
- ⅓ cup (75 g) unsalted butter, room temperature
- ⅓ cup (75 g) shortening
- 1 tsp peppermint extract
- 6 to 8 drops green food coloring
- 2 cups (240 g) powdered sugar
- 2 to 3 tsp water or milk for thinning the frosting to desired consistency
Instructions
- Preheat oven to 375 degrees Fahrenheit (190°C). Prepare baking sheets by lining them with parchment paper or silicone mats.
- In the bowl of a stand mixer fitted with the paddle attachment, thoroughly mix together the all-purpose flour, cocoa powder, baking soda, baking powder, salt, and granulated sugar until well combined.
- Add the unsalted butter to the dry ingredients, 1 tablespoon at a time, mixing until the mixture resembles coarse crumbs. Then, add the large egg and continue mixing on low speed until the dough comes together and forms a cohesive ball.
- Scoop the dough into tablespoon-sized balls and place them on the prepared baking sheets, ensuring they are about 2 inches apart. Gently flatten each dough ball with moistened hands or the bottom of a wet measuring cup to create uniform cookie discs.
- Bake for 9 minutes. The cookies will be soft when they come out of the oven but will firm up as they cool. Carefully transfer the baked cookies to a wire rack to cool completely before proceeding to the next step.
- While the cookies cool, prepare the mint buttercream. In a large bowl, using a hand mixer or a stand mixer with the paddle attachment, whip together the room temperature butter and shortening until the mixture is light and fluffy, about 2-3 minutes.
- Mix in the peppermint extract. Gradually beat in the powdered sugar, a half cup at a time, until the frosting is smooth and creamy. If the frosting appears too stiff to pipe, add water or milk, 1 teaspoon at a time, until the desired pipeable consistency is achieved.
- Once the cookies are completely cool, fill a plastic sandwich bag (or a piping bag fitted with a round tip) with the mint buttercream. Snip off a small corner of the plastic bag.
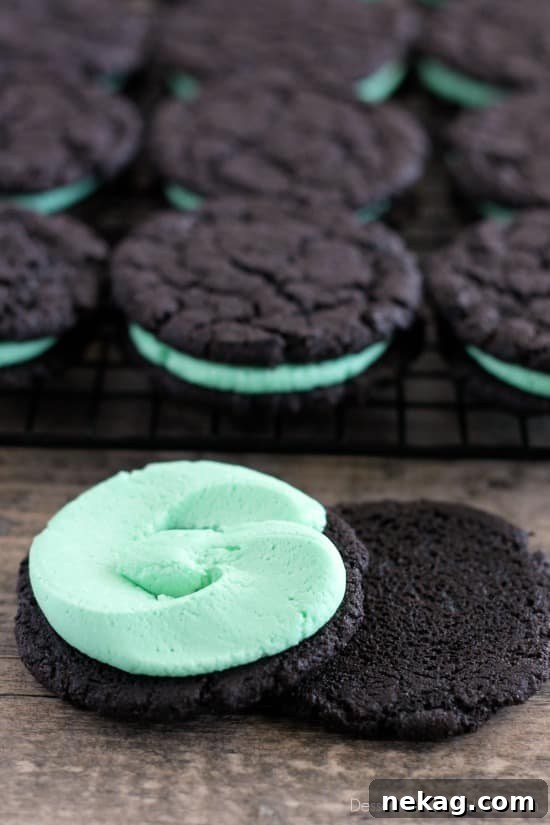
- Pipe a swirl of mint buttercream onto the flat bottom of one chocolate cookie. Gently top it with the flat bottom of another chocolate cookie, pressing lightly to create an Oreo-style sandwich cookie. Repeat this process with all remaining cookies.
Notes
For a softer cookie texture, allow the assembled cookies to sit in an airtight container for at least 24 hours at room temperature. The moisture from the buttercream will naturally soften the chocolate wafers over time, creating a chewiness similar to traditional Oreos.
You can adjust the intensity of the green food coloring by adding more or less drops until your desired shade is reached.
Disclaimer: Nutritional values were calculated using a third-party tool and are provided as an estimation only. These estimations can vary based on specific ingredients and preparation methods.
Sharing this recipe with a link is both encouraged and appreciated. Copying/pasting and/or screenshots of full recipes to any social media is strictly prohibited. Content and photographs are copyright protected by Dessert Now Dinner Later.
Storing Your Homemade Mint Oreos
These delightful Homemade Mint Oreos are best stored in an airtight container at room temperature for up to 5 days. For longer enjoyment, they can be frozen for up to 2-3 months. To freeze, arrange the assembled cookies in a single layer on a baking sheet and flash freeze for about an hour until firm. Then, transfer them to a freezer-safe container, separated by parchment paper, to prevent them from sticking together. Thaw at room temperature before serving. They maintain their excellent flavor and texture beautifully, making them perfect for meal prep or unexpected cravings.
Conclusion: Indulge in the Magic of Homemade
There’s a special satisfaction that comes with creating a beloved treat from scratch, and these Homemade Mint Oreos truly deliver on that promise. From the rich dark chocolate cookies to the refreshing mint buttercream, every component works in harmony to create an unforgettable dessert experience. Whether you’re baking for a special occasion, celebrating a holiday, or simply craving a delicious sweet treat, this recipe is guaranteed to impress. Dive into the wonderful world of DIY sandwich cookies and discover how easy and rewarding it is to make your own gourmet version of a classic favorite. You’ll never look at store-bought Oreos the same way again!
Recipe adapted from Sugar Cooking
Did you make this?
Don’t forget to leave a rating below and make sure to follow on Pinterest and Instagram for more delicious recipes and baking inspiration!