
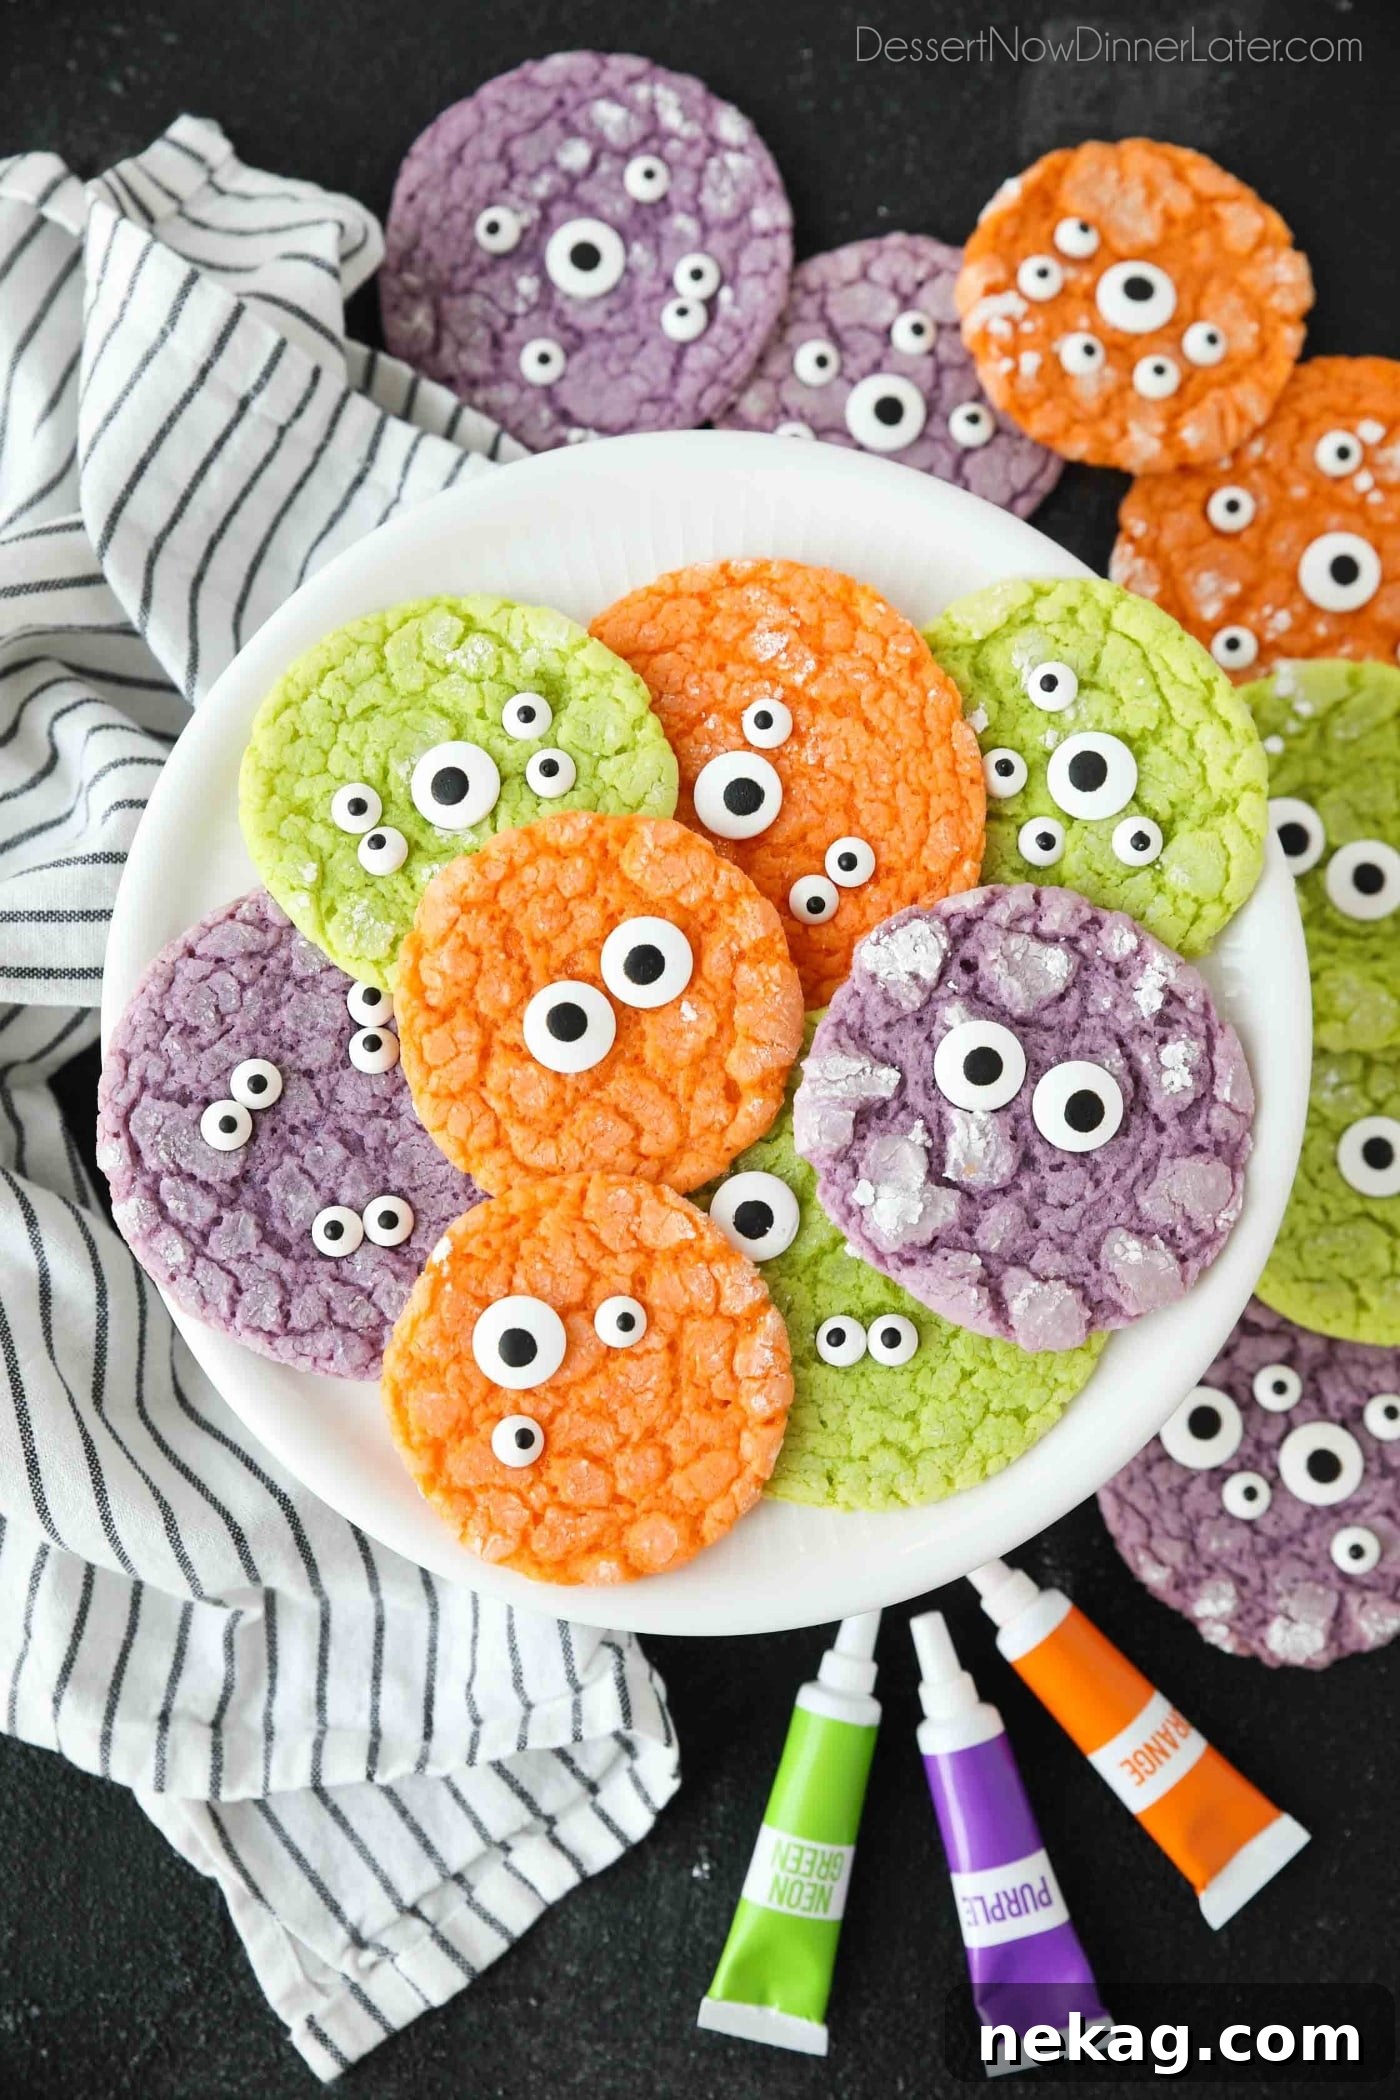
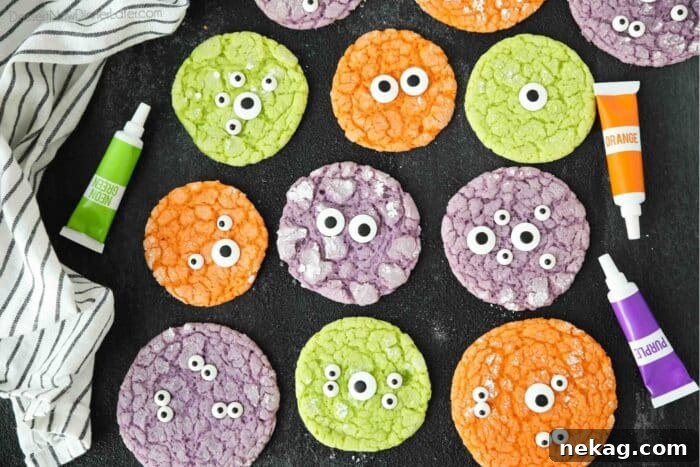
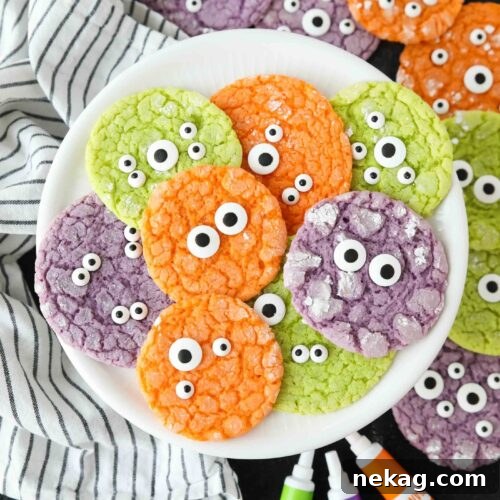
Halloween Monster Cookies are an absolute treat for any spooky season gathering, effortlessly combining ease of preparation with vibrant, eye-catching appeal. Crafted from a simple cake mix and brought to life with brilliant neon food coloring, these playful cookies are crowned with whimsical candy eyeballs, creating a “spooky-cute” dessert that delights both children and adults alike. Tasting remarkably like classic sugar cookies, they’re the quintessential addition to your Halloween party menu, promising both fun and flavor in every bite.
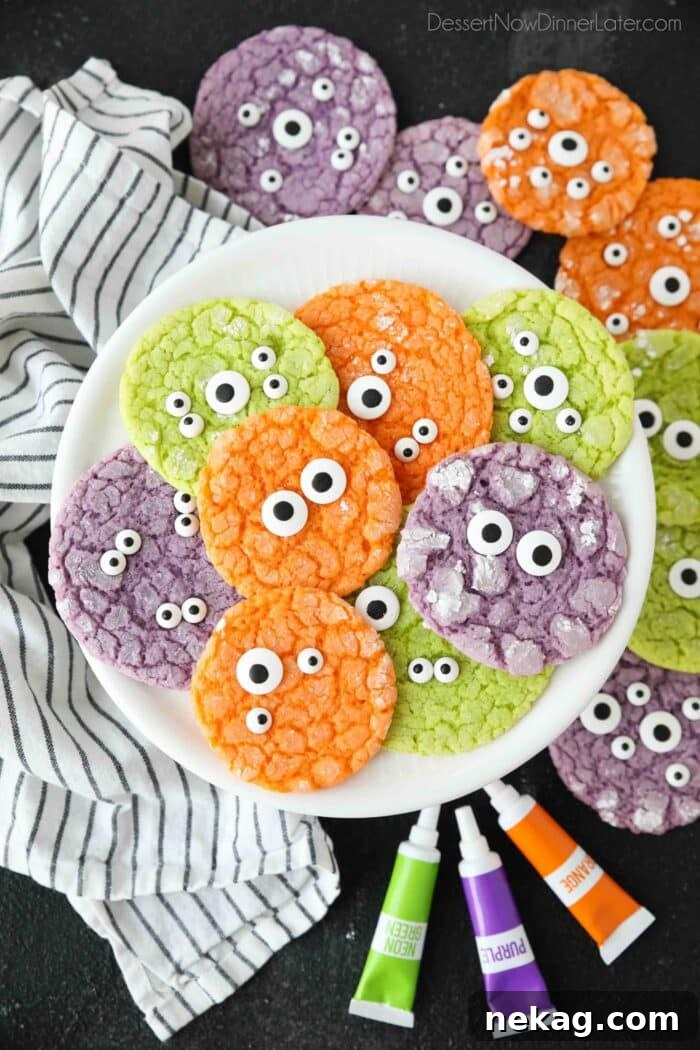
Unleash the Fun: Easy Halloween Monster Cookies Recipe
Are you ready to bewitch your guests with a dessert that’s as easy to make as it is enchanting to behold? Our Halloween Monster Cookies are the perfect festive treat to elevate your Halloween party from ordinary to extraordinary. These bright, crinkle-coated delights are incredibly simple and a joy to prepare, making them an ideal activity for family baking sessions during the holiday season.
Each cookie is a small masterpiece, striking the perfect balance between spooky and irresistibly cute. The magic begins with a humble cake mix, which serves as the versatile base for these fantastic creations. The dough is then divided and infused with an array of vibrant neon food colorings, transforming it into a palette of ghoulish green, electrifying orange, and mysterious purple. Once baked to a delicate perfection, each colorful cookie is adorned with playful candy eyeballs, giving them that signature “eye-catching” charm that will have everyone reaching for more. These are more than just cookies; they’re conversation starters!
Speaking of those charming candy eyeballs, they’re truly a versatile Halloween staple! Beyond these monster cookies, you can use them to add a fun, googly touch to many other treats. Imagine them peering out from a batch of Spider Cookies or adding character to whimsical Ghost Pretzels. They’re an inexpensive way to bring instant Halloween cheer to almost any dessert.
The Secret to Simplicity: Ingredients for Monster Cookies
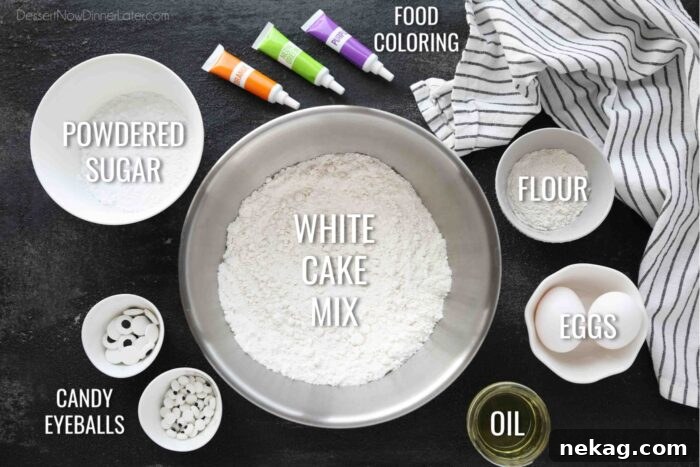
The beauty of these Halloween Monster Cookies lies in their minimal ingredient list and straightforward preparation. You’ll be amazed at how quickly you can whip up a batch of these festive cookies using just a handful of pantry staples. Here’s what you’ll need to gather:
- White Cake Mix (dry mix only): This is the hero ingredient that makes these cookies so incredibly easy and gives them a soft, cake-like texture. Be sure to use only the dry mix and disregard any instructions or additional ingredients listed on the cake mix box. White cake mix is ideal because it provides a neutral base, allowing your neon colors to truly pop.
- All-Purpose Flour: A small amount of all-purpose flour is added to give the cookies a bit more structure, transforming the cake mix into a cookie-dough consistency that’s perfect for shaping and baking.
- Large Eggs: Eggs act as a binding agent, helping to hold the dough together and contributing to the overall richness and texture of the cookies.
- Oil (Canola or Vegetable): Oil is crucial for moisture and tenderness. It helps to create a soft, chewy cookie. While canola or vegetable oil are standard, you can also opt for softened butter for a richer flavor profile (more on this in our Q&A!).
- Neon Food Coloring: This is where the “monster” aspect truly comes to life! Neon gel food colorings are highly recommended for achieving those intensely vibrant, festive shades that make these cookies so striking. Gel colors are more concentrated than liquid drops, meaning you’ll need less to achieve a brilliant hue, and they won’t thin out your dough as much.
- Powdered Sugar: Essential for the signature “crinkle” effect! Rolling the dough balls in powdered sugar before baking creates beautiful cracks as the cookies expand, giving them a rustic yet charming appearance.
- Candy Eyeballs (two sizes for variety): These are the finishing touch that transforms your colorful crinkle cookies into adorable monsters. Having both large and regular-sized eyeballs allows for more creative and varied monster expressions.
Crafting Your Monsters: Step-by-Step Instructions
How to Make Halloween Monster Cookies
Creating these delightful monster cookies is a straightforward process that even beginner bakers can master. Follow these steps for perfect results:
- Combine the Base: In a generously sized mixing bowl, combine the dry white cake mix, all-purpose flour, large eggs, and oil. Mix these ingredients thoroughly until a smooth, uniform dough forms. For the easiest and most efficient mixing, an electric hand mixer is highly recommended, ensuring all ingredients are well incorporated without overworking the dough.
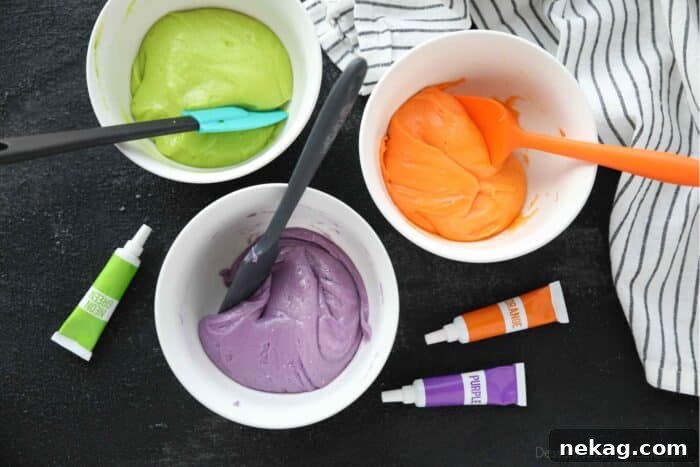
- Divide and Conquer with Color: Once your base dough is ready, divide it equally into separate bowls—one for each color you plan to use. Now comes the fun part: add a small amount of neon food coloring to each bowl. Start with a pea-sized amount of gel coloring or 3-5 drops of liquid coloring, and mix until the dough achieves a consistent, vibrant hue. Remember, you can always add more color if you desire a deeper shade, but it’s harder to lighten it!
Scoop and Coat with Powdered Sugar
The distinctive crinkle appearance of these monster cookies comes from a generous coating of powdered sugar before baking. This simple step adds both visual appeal and a delightful sugary crust.
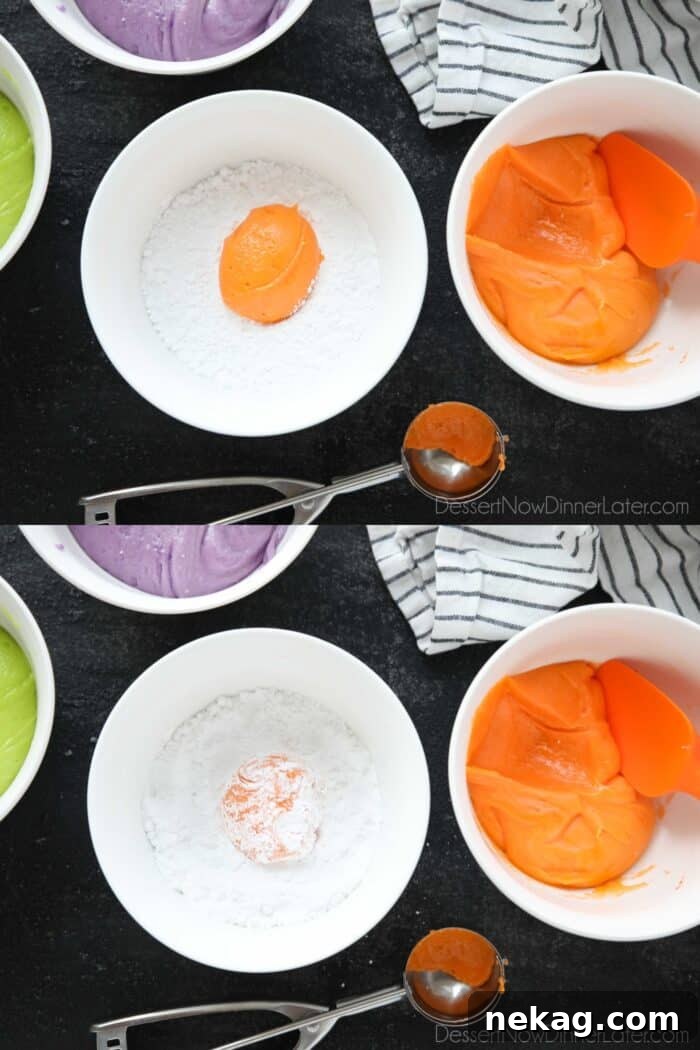
- Portion the Dough: Use a #50 cookie scoop (which is approximately the size of a heaping tablespoon) to portion out the dough. This ensures that each cookie is roughly the same size, promoting even baking and a consistent final product. Roll each scoop of dough gently into a ball with your hands.
- Powdered Sugar Bath: Drop each dough ball into a bowl filled with powdered sugar. Roll and flip the dough over until it is completely coated with a thick layer of sugar. Don’t be shy here; a good coating is key to achieving those beautiful crinkles!
Bake and Top with Candy Eyeballs
The final stages involve careful baking and the crucial addition of those charming candy eyeballs. Pay close attention to these steps to ensure your monster cookies turn out perfectly.
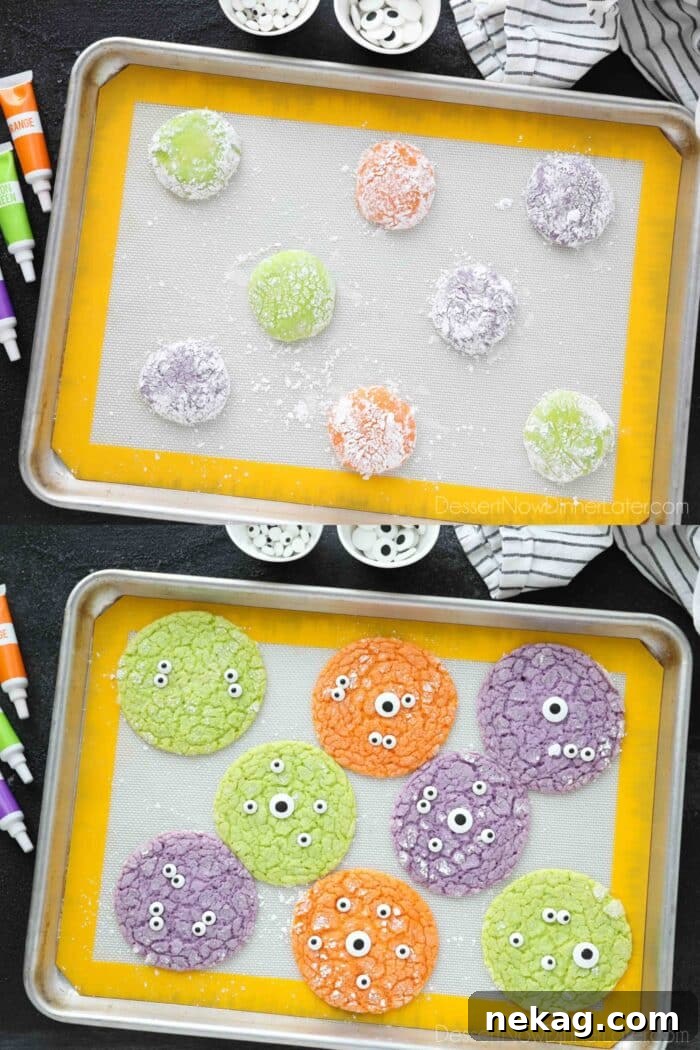
- Prepare for Baking: Arrange the generously sugar-coated cookie dough balls on a baking sheet lined with parchment paper or a silicone baking mat. Make sure to space them 2-3 inches apart, as these cookies tend to spread quite a bit in the oven. You might even notice them flattening slightly before they even begin to bake – this is perfectly normal and contributes to their desirable thinness.
- Bake to Perfection: Preheat your oven to 350˚F (175˚C). Bake the cookies for 10-11 minutes, or until their edges just begin to show a hint of browning and the tops appear matte rather than shiny. Overbaking can lead to dry cookies, so keep a close eye on them.
- Add the “Eyes”: This is a critical step for your monster cookies’ appearance! IMMEDIATELY after removing the cookies from the oven, while they are still warm and soft, gently press the candy eyeballs into the tops of each cookie. The residual heat will help the eyeballs adhere securely. (A note of caution: these cookies will be quite thin, so handle them delicately.) Allow the cookies to rest and set on the hot baking pan for a few minutes before carefully transferring them to a wire rack to cool completely. Enjoy your monstrously delicious creations!
These cookies are not just a recipe; they’re an experience! The whole family will undoubtedly enjoy the process of making these vibrant and playful treats, from coloring the dough to adorning them with candy eyes. It’s truly a fun and festive Halloween activity that culminates in a delectable reward!
Frequently Asked Questions About Monster Cookies
We’ve gathered some common questions to help you achieve monster cookie perfection every time:
CAN I USE BUTTER INSTEAD OF OIL? Absolutely! While oil yields a softer, more cake-like cookie, using softened butter instead of melted butter can introduce a richer, more traditional cookie flavor. If you choose butter, ensure it’s softened to room temperature, not melted, to maintain the correct dough consistency. This substitution can also contribute to a slightly chewier texture.
WHAT TYPE OF FOOD COLORING SHOULD I USE FOR VIBRANT COLORS? For truly striking and vivid Halloween colors, we highly recommend using gel food coloring. Brands like Betty Crocker Neon Gel Food Coloring are excellent choices as they provide concentrated pigment without significantly altering the dough’s moisture content. Gel colors are far superior to liquid drops for intense hues. Start with a small amount, roughly a pea-size drop of gel or 3-5 drops of liquid food coloring, and gradually add more until you reach your desired vibrancy. If you find your dough becomes too soft or sticky after adding the coloring (which can happen with excessive liquid coloring or prolonged mixing), simply pop it into the refrigerator for at least 30 minutes to help it firm up before proceeding to the scooping stage.
CAN I MAKE THESE HALLOWEEN COOKIES AHEAD OF TIME? Yes, these monster eye cookies are fantastic for making in advance, which can be a huge time-saver when preparing for a Halloween party. To maintain their quality and presentation, it’s best to store them in a single layer on a tray. If you need to stack them, place a sheet of parchment paper between each layer to prevent the candy eyeballs from falling off or getting damaged. Once arranged, wrap the entire pan tightly with plastic wrap to keep the cookies fresh and soft. They can be stored at room temperature for up to 3-4 days in an airtight container.
Expert Baking Tips for Perfect Monster Cookies
Achieve the best possible results with these additional baking tips and tricks:
HOW TO MAKE COOKIES THICKER: These cake mix cookies naturally produce a slightly thinner, softer cookie when baked immediately after mixing due to the dough’s initial softness. If you prefer a thicker, chewier cookie, there are a couple of excellent strategies you can employ. First, you can **chill the dough** in the refrigerator for at least 30 minutes, or even up to an hour, before scooping and baking. Chilling allows the fats in the dough to solidify, making it less prone to spreading and resulting in a thicker cookie. Secondly, you can **add an additional 1/4 cup of all-purpose flour** to the dough, bringing the total flour amount to 1/2 cup. This extra flour will absorb more moisture, providing more structure to the dough and helping the cookies maintain their shape and thickness during baking. The added flour also makes the dough easier to handle if you find it particularly sticky.
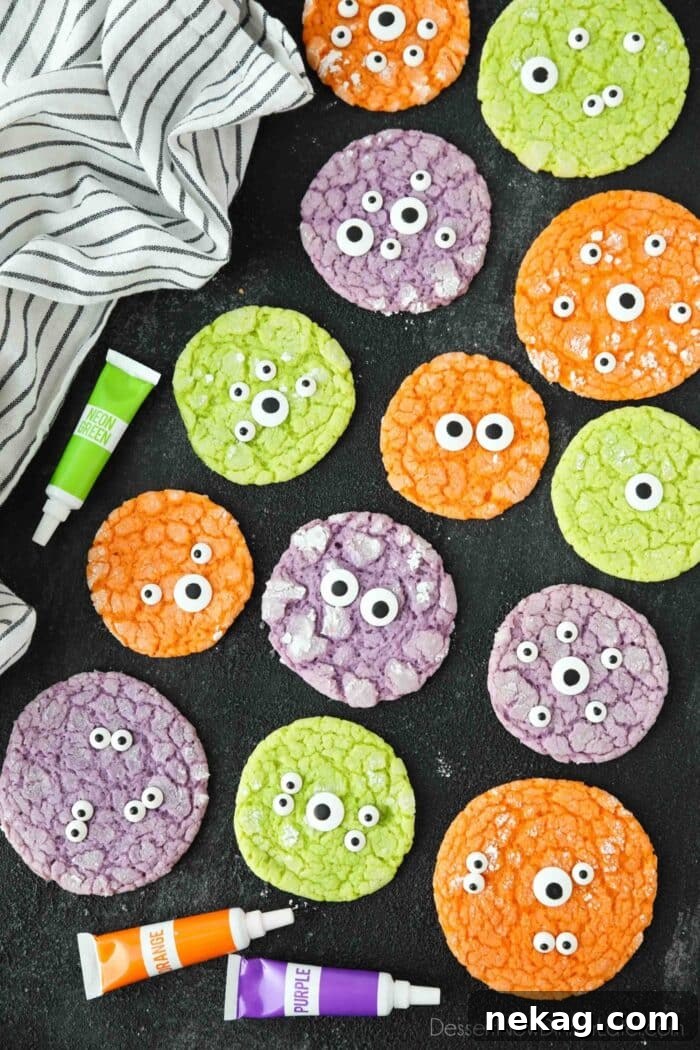
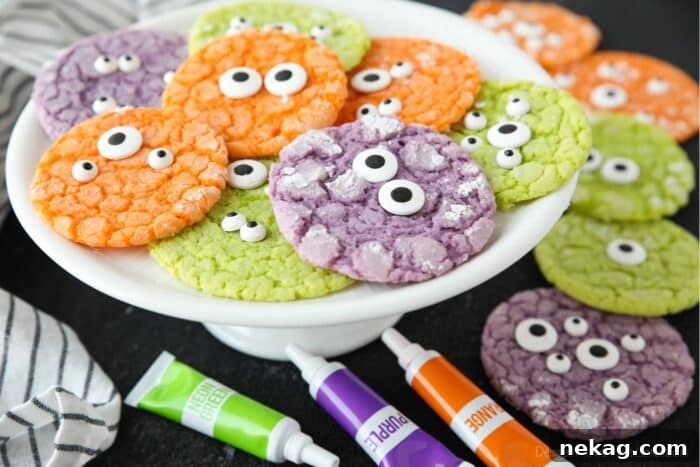
THE MAGIC OF CANDY EYEBALLS: The timing of adding candy eyeballs is crucial for their success. Always wait to press them into the cookies **AFTER baking**, while the cookies are still warm and soft. If you add them before baking, the high oven heat will likely cause them to melt, disfigure, or even burn, ruining their charming effect. To add visual interest and personality to your monster cookies, consider purchasing two different sizes of candy eyeballs: large and regular (avoiding mini ones if you want them to stand out). This variety allows you to create different monster “expressions.” You can place them close together for a bug-eyed look, or spread them farther apart for a more bewildered monster. Have fun experimenting with placement and giving each cookie its own unique character!
More Spooky & Delicious Halloween Food Ideas
If you’re planning a full Halloween spread, these Monster Cookies are just the beginning! Pair them with other themed treats for an unforgettable party. Here are some more fantastic Halloween-themed food ideas that are sure to impress your guests:
- Ghost Pretzels: Simple, sweet, and perfectly spooky chocolate-covered pretzels decorated to look like adorable ghosts.
- Spider Cookies: Another cookie classic, transformed with a touch of chocolate and more candy eyeballs to create friendly (or creepy!) spiders.
- Cobweb Oreo Dessert Pizza: A giant cookie crust topped with a creamy filling and decorated with chocolate to resemble a spooky spiderweb.
- Witch’s Broomstick Breadsticks: Savory and fun, these breadsticks resemble miniature witch’s broomsticks, perfect for dipping.
- Hot Dog Mummies: A classic Halloween appetizer, hot dogs wrapped in pastry strips to look like mummies – always a crowd-pleaser!
- Mummy Pizza: Individual pizzas decorated with cheese strips to create a fun mummy face.
- Halloween Bread (Bloody Intestines): For those who love a truly gruesome (but delicious) dish, this bread shaped like intestines is a showstopper.
Halloween Monster Cookies
Pin Recipe
Ingredients
- 15.25 oz (432 g) box white cake mix
- ¼ cup (30 g) all-purpose flour
- 2 large eggs
- ½ cup (118 ml) oil (canola or vegetable, or softened butter)
- ⅓ cup (40 g) powdered sugar
- Neon gel food coloring
- Candy eyeballs (two sizes)
Equipment
-
Wilton Assorted Candy Eyeballs
-
Wilton Candy Eyeballs, Large
-
Betty Crocker Neon Gel Food Colors
-
Electric Hand Mixer
-
#50 Cookie Scoop
Instructions
-
Preheat oven to 350 degrees Fahrenheit (175°C). Line cookie trays with parchment paper or a silicone baking mat.
-
In a large bowl, mix together the cake mix, flour, eggs, and oil until smooth. (Using an electric hand mixer makes this process easiest.)
-
Divide the dough into separate bowls for different colors. Add food coloring to each bowl and mix until the dough is a uniform color.
-
Use a #50 scoop (about the size of a heaping Tablespoon) to portion the dough into balls.
-
Drop each dough ball into a bowl of powdered sugar. Flip the dough over to coat it completely and thoroughly.
-
Place the coated cookie dough balls on the prepared baking sheet, ensuring they are 2-3 inches apart. (NOTE: These cookies spread quite a bit and may flatten some before entering the oven.)
-
Bake for 10-11 minutes at 350˚F (175°C) until the edges are just starting to brown and the tops appear matte, not shiny.
-
IMMEDIATELY press candy eyeballs into the cookies while they are still warm and soft. (NOTE: The baked cookies will be thin.) Allow the cookies to rest on the pan for a few minutes before transferring them to a wire rack to cool completely. Enjoy!
Notes
- CAN I USE BUTTER INSTEAD OF OIL? Yes, you can substitute softened butter for oil in these cake mix cookies for a richer flavor. Ensure the butter is softened, not melted.
- WHAT TYPE OF FOOD COLORING DO I USE? We recommend Betty Crocker Neon Gel Food Coloring for vibrant results. Gel colors are more concentrated than liquid drops. Use about a pea-size amount of gel or 3-5 drops of liquid food coloring. If the dough becomes too soft while mixing in the color, refrigerate it for at least 30 minutes to firm it up.
- HOW TO MAKE COOKIES THICKER: To achieve thicker cookies, you can either chill the dough in the refrigerator for at least 30 minutes before scooping and baking, or you can add an additional 1/4 cup of all-purpose flour to the dough (making it 1/2 cup total). The added flour also helps if the dough is too sticky.
- CAN I MAKE THESE HALLOWEEN COOKIES AHEAD OF TIME? Yes, these monster eye cookies can be made ahead. To store, keep them flat on a tray with parchment paper between layers to prevent eyeballs from falling off. Wrap the pan well with plastic wrap to keep them fresh.
Nutrition
Serving: 1 cookie | Calories: 70kcal | Carbohydrates: 5g | Protein: 1g | Fat: 5g | Saturated Fat: 1g | Polyunsaturated Fat: 5g | Cholesterol: 16mg | Sodium: 16mg | Sugar: 3g
Disclaimer: Nutritional values were calculated using a third-party tool and are provided as an estimation only.
Sharing this recipe with a link is both encouraged and appreciated. Copying/pasting and/or screenshots of full recipes to any social media is strictly prohibited. Content and photographs are copyright protected.
Did you make this?
Don’t forget to leave a rating below and make sure to follow on Pinterest and Instagram for more!