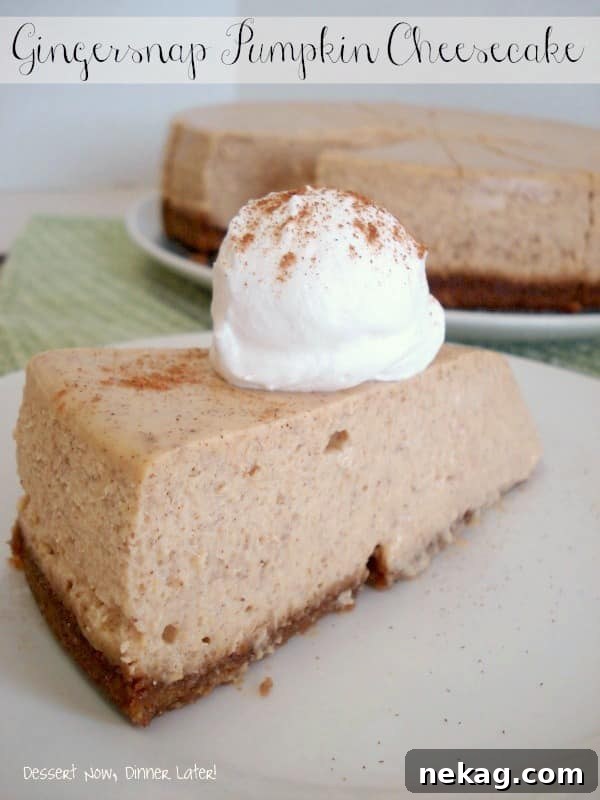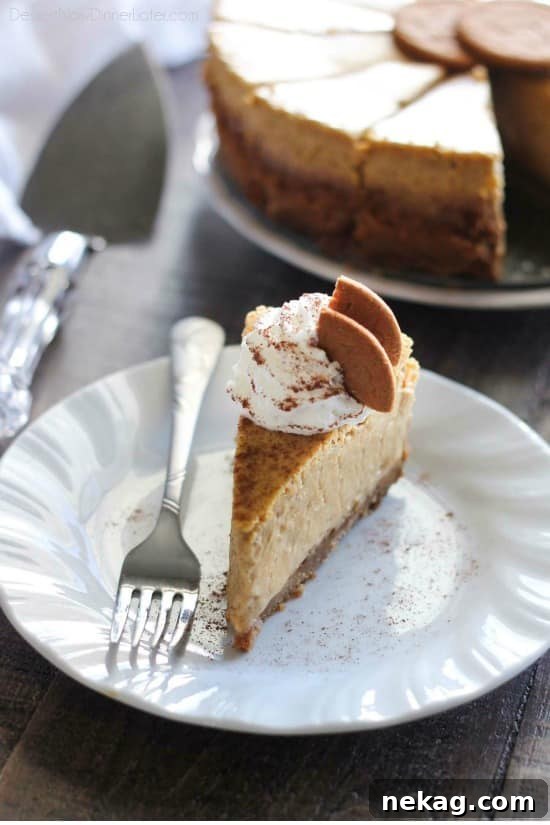
Gingersnap Pumpkin Cheesecake: Your Ultimate Guide to a Flawless, Crack-Free Fall Dessert
Embrace the cozy flavors of autumn with this exquisite Gingersnap Pumpkin Cheesecake. Featuring a perfectly spiced gingersnap cookie crust and a creamy, aromatic pumpkin cheesecake filling, it’s truly the perfect centerpiece for any fall gathering. Beyond the incredible taste, discover expert tips on achieving that coveted, perfectly smooth cheesecake top—every single time, without a single crack!
Just gazing at these luscious images makes my mouth water, confirming that this pumpkin cheesecake, with its distinctive gingersnap crust, is an absolute marvel. The thought of it being gone almost brings a tear to my eye! Today, I’m thrilled to share not only this fantastic pumpkin cheesecake recipe but also the tried-and-true secrets to achieving a perfectly smooth cheesecake top, completely free of those dreaded cracks. Many home bakers shy away from cheesecakes, intimidated by the potential for presentation mishaps like a split down the center. But fear not! You are about to unlock the mysteries behind a flawless cheesecake. Are you ready to dive into these invaluable secrets? Let me guide you through them.
Unlocking the Secrets to a Perfectly Smooth, Crack-Free Cheesecake
Baking a cheesecake often comes with a reputation for being challenging, particularly when it comes to preventing unsightly cracks. However, with a few crucial techniques and a dash of patience, you can consistently achieve bakery-quality results right in your own kitchen. These simple yet effective tips will transform your cheesecake baking experience and ensure a beautiful, unblemished dessert every time.
Tip 1: The Essential Foil Wrap and Water Bath Technique
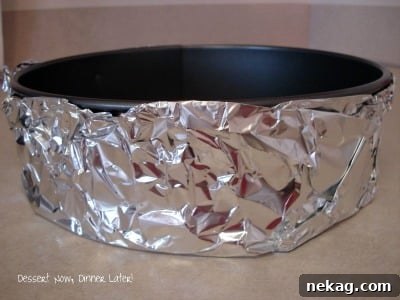
The first vital step in your journey to a crack-free cheesecake begins even before the oven is preheated: adequately preparing your springform pan. You’ll want to double wrap the outside of your springform pan with heavy-duty aluminum foil. This creates an impenetrable barrier, effectively preventing any water from seeping into your crust or cheesecake batter when it’s placed in a water bath during baking. Why is this so crucial? Cheesecakes thrive in a moist, even baking environment. Pre-bake your gingersnap crust, then place your foil-wrapped springform pan in the center of a large, rimmed baking sheet. This setup lays the foundation for the bain-marie, or water bath, which we’ll discuss in more detail shortly.
Tip 2: All Ingredients Must Be at Room Temperature
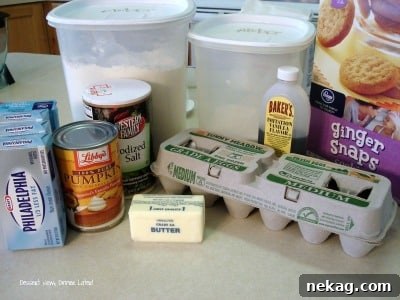
Cheesecakes, by nature, are quite temperamental, and temperature consistency is paramount. It’s imperative to ensure all your cheesecake ingredients, especially the cream cheese and eggs, are at room temperature. Think of it like a gradual warming process; a sudden temperature change can shock the delicate batter, causing it to seize or curdle, which ultimately leads to an uneven texture and, you guessed it, cracks. When ingredients are at room temperature, they emulsify much more smoothly, creating a uniform, lump-free batter. Begin by whipping the softened cream cheese and sugar together until the mixture is beautifully smooth and light, scraping the bowl thoroughly to ensure everything is well combined before introducing any additional ingredients. Over-beating the mixture, particularly after adding the eggs, can incorporate too much air. These tiny air bubbles expand during baking and then collapse during cooling, leaving you with unattractive holes or, worse, a split top. Gentle and consistent mixing is the goal here.
Tip 3: The Art of Gentle Mixing
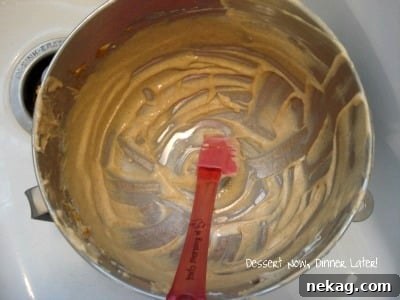
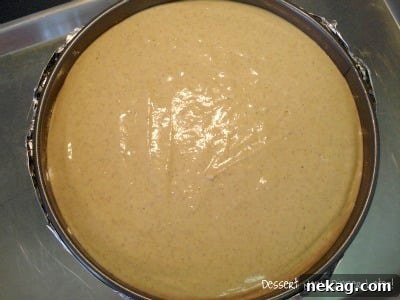
Once your crust is ready and your room-temperature ingredients are prepped, carefully pour your cheesecake filling over the cooked gingersnap crust. Here’s another nuanced but critical piece of advice: resist the urge to aggressively scrape every last bit of filling from the mixing bowl. Some portions near the bottom or sides might not be perfectly incorporated, and this is absolutely not the time to re-mix the batter vigorously. Remember our earlier point: excessive mixing introduces air bubbles, which are a primary culprit behind cheesecake cracks. A little bit of unmixed batter on the sides is a small price to pay for a crack-free surface. Gently smooth the top of the poured filling, then place the rimmed baking sheet holding your cheesecake into the center of the oven.
Tip 4: Patience is a Virtue – Baking and Cooling
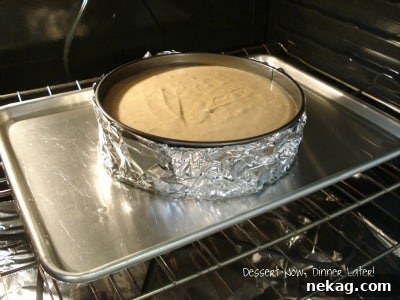
Now, for the “special trick” that transforms your cheesecake: the water bath. After placing the cheesecake in the oven, carefully pour about 1 inch of warm water into the rimmed baking sheet surrounding the springform pan. The foil barrier you created earlier will diligently keep the water out of your cheesecake. This water bath, known as a bain-marie, is an ingenious method that facilitates slow and even cooking. The gentle steam prevents the cheesecake from drying out and cracking, ensures uniform baking from the center to the edges, and helps maintain a beautiful, unbrowned top. For cheesecakes, low and slow truly is the ultimate mantra.
During the baking process, there’s one golden rule you must adhere to: DO NOT OPEN THE OVEN DOOR, EVER! I know the temptation to peek at your beautiful creation is strong, but resist! Any sudden drop in temperature can cause the cheesecake to crack. A standard 9-inch cheesecake typically bakes in 50 to 60 minutes. However, this particular pumpkin cheesecake, with its added moisture from the pumpkin puree, will require a bit longer, usually around 70 to 80 minutes. You’ll know it’s done when the top loses its shiny appearance, becoming dull or matte, and the center is slightly puffed. It might still have a slight jiggle, which is perfectly normal. Absolutely do not jiggle the pan, or insert a knife or toothpick into the cheesecake to check for doneness. Trust the process and be patient!
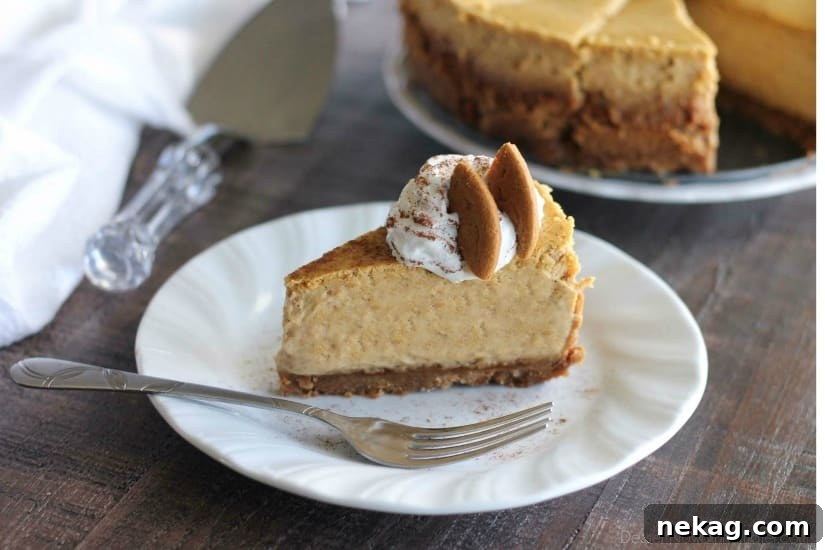
Once the baking time is complete, turn the oven off but leave the cheesecake INSIDE the closed oven for at least 2 to 3 hours. In commercial bakeries, cheesecakes are often left overnight to cool slowly. This gradual cooling process, coupled with residual heat (carry-over cooking), allows the cheesecake to finish setting gently and adapt to the temperature change without shocking its delicate structure. This critical step is the ultimate safeguard against cracks and helps prevent the center from sinking. A smooth top and even texture are the rewards for your patience.
Finally, remove the cheesecake from the oven and let it come to room temperature completely before moving it to the refrigerator. Refrigerate for a minimum of 4 hours, or ideally, overnight. Chilling solidifies any remaining jiggle and ensures a perfectly firm, sliceable texture. The colder the cheesecake, the cleaner your slices will be!
Why This Gingersnap Pumpkin Cheesecake is a Fall Favorite
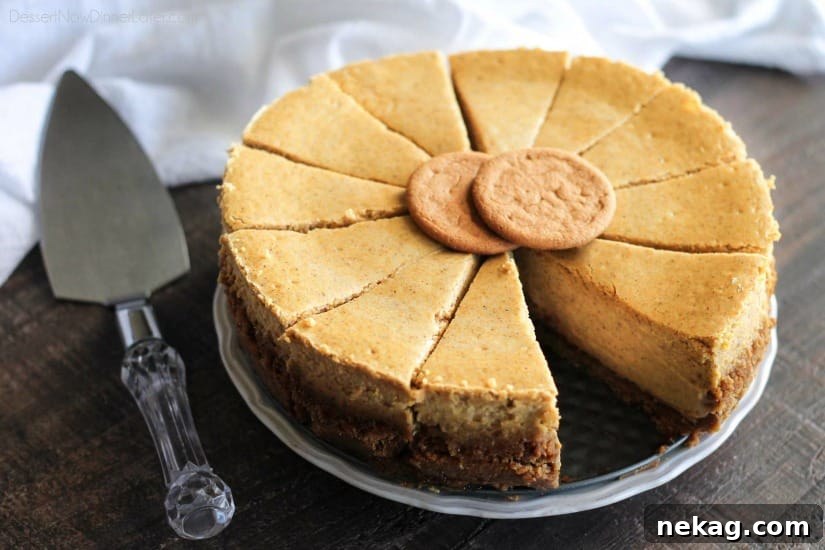
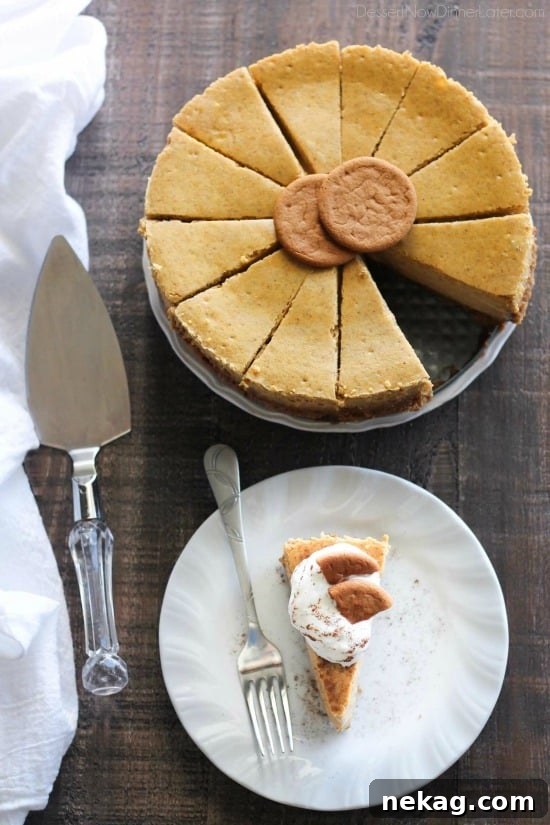
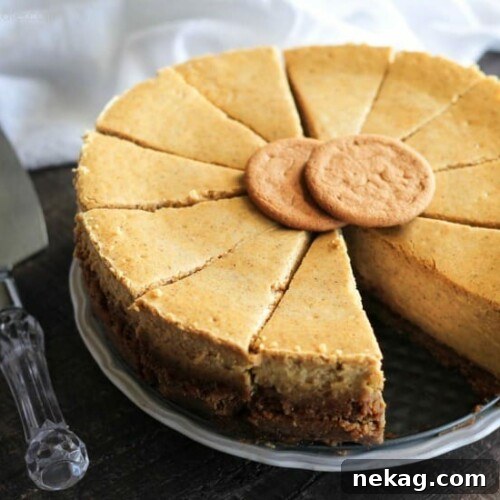
Hooray! Now that you’re armed with the insider secrets to baking the perfect, crack-free cheesecake, you’re ready to impress your family and friends this Thanksgiving or at any fall celebration. This Gingersnap Pumpkin Cheesecake isn’t just any dessert; it’s a symphony of seasonal flavors. The crisp, spicy notes of the gingersnap crust provide a delightful counterpoint to the rich, creamy, and warmly spiced pumpkin filling. It offers a sophisticated twist on traditional pumpkin desserts, making it a truly unforgettable culinary experience. Many who have tasted it even declare it superior to classic pumpkin pie!
Gingersnap Pumpkin Cheesecake
Created by
Amber Brady
Prep:
7 hrs 15 mins
Cook:
1 hr 20 mins
Total:
8 hrs 35 mins
Pin Recipe
Yields
16 Servings
Ingredients
For the Crust
- 2 cups (290 g) gingersnap crumbs (about 40 store-bought cookies, finely crushed with a food processor)
- 5 Tbsp granulated sugar
- 6 Tbsp (85 g) unsalted butter, melted
For the Filling (all ingredients at ROOM TEMPERATURE)
- 32 oz (904 g) block-style cream cheese (four 8oz blocks), room temperature
- 1 ¼ cups (250 g) granulated sugar
- 3 Tbsp all-purpose flour
- 1 cup (244 g) canned pumpkin puree, room temperature
- 2 Tbsp *Homemade Pumpkin Pie Spice or store-bought
- 1 Tbsp vanilla extract
- ½ tsp salt
- 4 large eggs, cracked open into a bowl, room temperature
Instructions
- Preheat oven to 350 degrees Fahrenheit (175°C). Assemble a 9-inch nonstick springform pan, with the raised side of the bottom piece facing down. Double wrap the outside of the springform pan with heavy-duty foil.
- MAKE CRUST: In a medium bowl, mix the cookie crumbs, sugar, and melted butter until thoroughly moistened; press firmly into the bottom of the prepared springform pan. BAKE for 10 to 12 minutes until golden around the edges. Set aside to cool slightly.
- MAKE FILLING: Using a stand mixer with the paddle attachment, beat the room temperature cream cheese and granulated sugar on low speed until smooth and creamy, scraping the bowl well occasionally to ensure no lumps remain. Gradually add the all-purpose flour until just incorporated.
- Add the pumpkin puree, pumpkin pie spice, vanilla extract, and salt; mix on low speed just until the mixture is smooth and well combined. Give the bowl one final scrape down.
- Add the eggs, one at a time, mixing on very low speed until each egg is just incorporated before adding the next. This step is crucial: DO NOT SCRAPE THE BOWL ANYMORE, and avoid over-mixing the filling, as this introduces air.
- Carefully pour the creamy pumpkin cheesecake filling into the springform pan over the cooled gingersnap crust, gently smoothing the top with a spatula. Place the entire springform pan (still double-wrapped in foil) onto a large, rimmed baking sheet. Transfer this assembly to the preheated oven. Carefully pour about 1 inch of warm water into the rimmed baking sheet, surrounding the cheesecake.
- REDUCE HEAT to 300 degrees Fahrenheit (150°C). Bake for 70 to 80 minutes. The cheesecake is done when the top appears dull/matte, and the center is slightly puffed but still has a slight jiggle. Remember: DO NOT OPEN THE OVEN DOOR AT ANY POINT during baking. After the cheesecake is baked, turn the oven off completely. Leave the cheesecake inside the closed oven for an additional 2 to 3 hours without opening the door. This slow cooling prevents cracks and helps it set perfectly.
- Remove the cheesecake from the oven and allow it to cool completely at room temperature on a wire rack. Once fully cooled, cover the cheesecake pan with plastic wrap and refrigerate until firm, for at least 4 hours, or preferably overnight. Before serving, carefully un-mold the cheesecake from the springform pan. For neat, clean slices, use a HOT knife, rinsing and drying the blade between each cut. Garnish with a dollop of fresh whipped cream and a dash of cinnamon. Enjoy your flawless masterpiece!
Notes
*My recipe for Homemade Pumpkin Pie Spice is available if you wish to make your own.
Sharing this recipe with a link is both encouraged and appreciated. Copying/pasting and/or screenshots of full recipes to any social media is strictly prohibited. Content and photographs are copyright protected.
Did you make this?
Don’t forget to leave a rating below and make sure to follow on Pinterest and Instagram for more!
Recipe adapted from Martha Stewart
Pictures updated & post re-published 9/22/16. Post originally published to my blog October 7, 2012.