
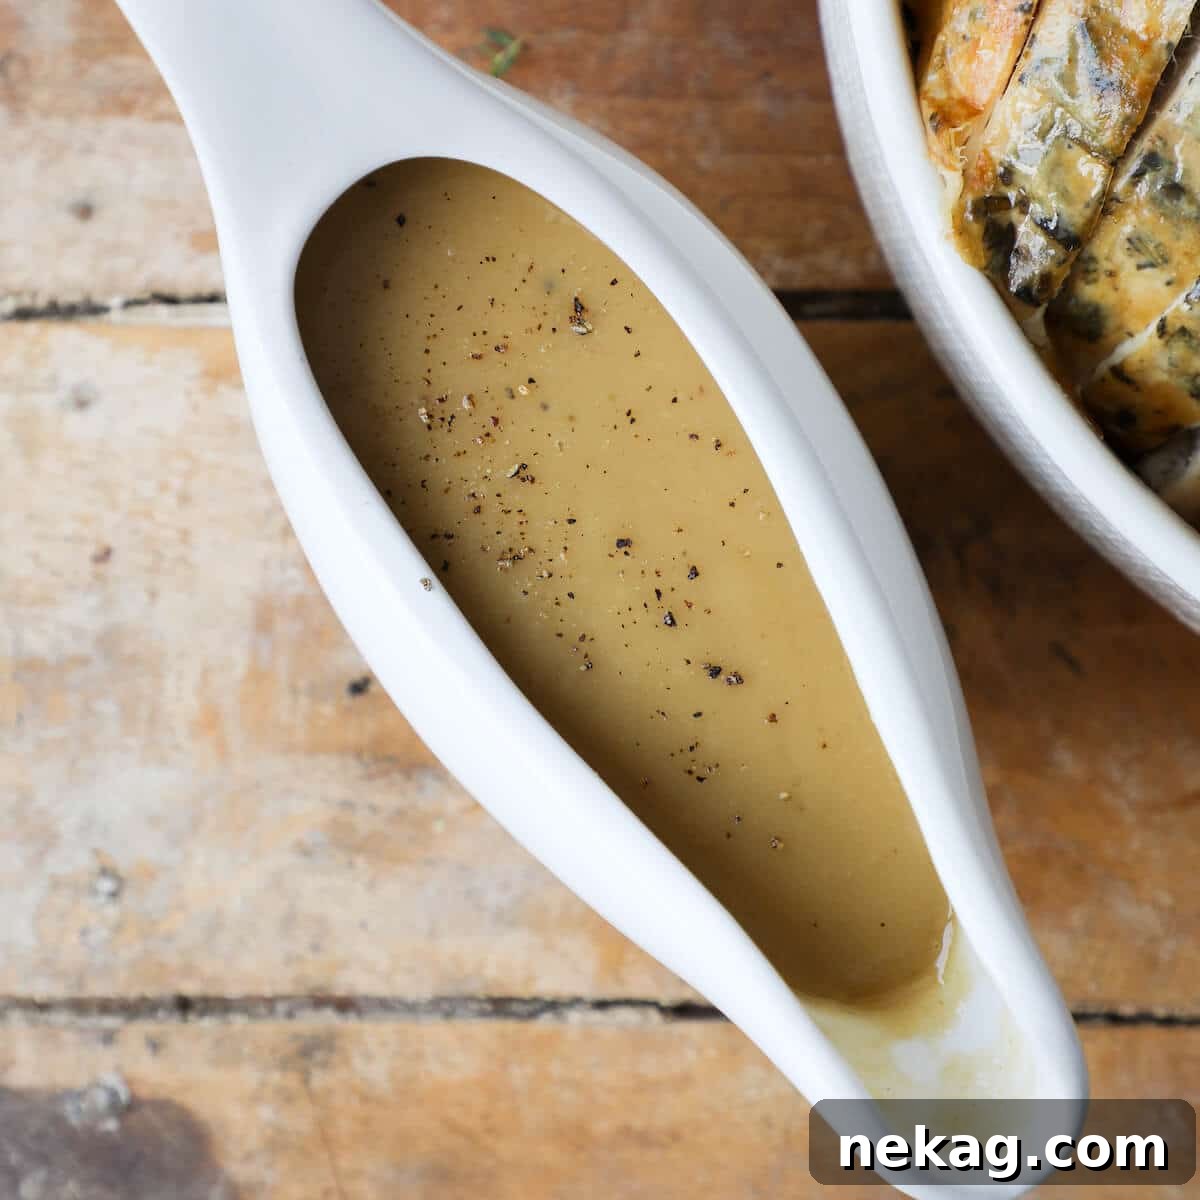
Mastering Homemade Gravy: Your Essential Guide to Rich, Lump-Free Gravy from Pan Drippings
Elevate your culinary creations with the ultimate homemade gravy. As a professional chef, I’m excited to share the secrets to crafting a truly exceptional gravy right in your kitchen. This comprehensive guide will show you **how to make gravy from drippings** that’s thick, rich, and incredibly robust. Whether you’re using delicious roasted chicken or succulent roasted turkey pan drippings, or even starting from scratch with butter, this easy-to-follow recipe guarantees a phenomenal homemade gravy every time. Say goodbye to store-bought gravies and hello to a homemade staple that will impress everyone at your table!
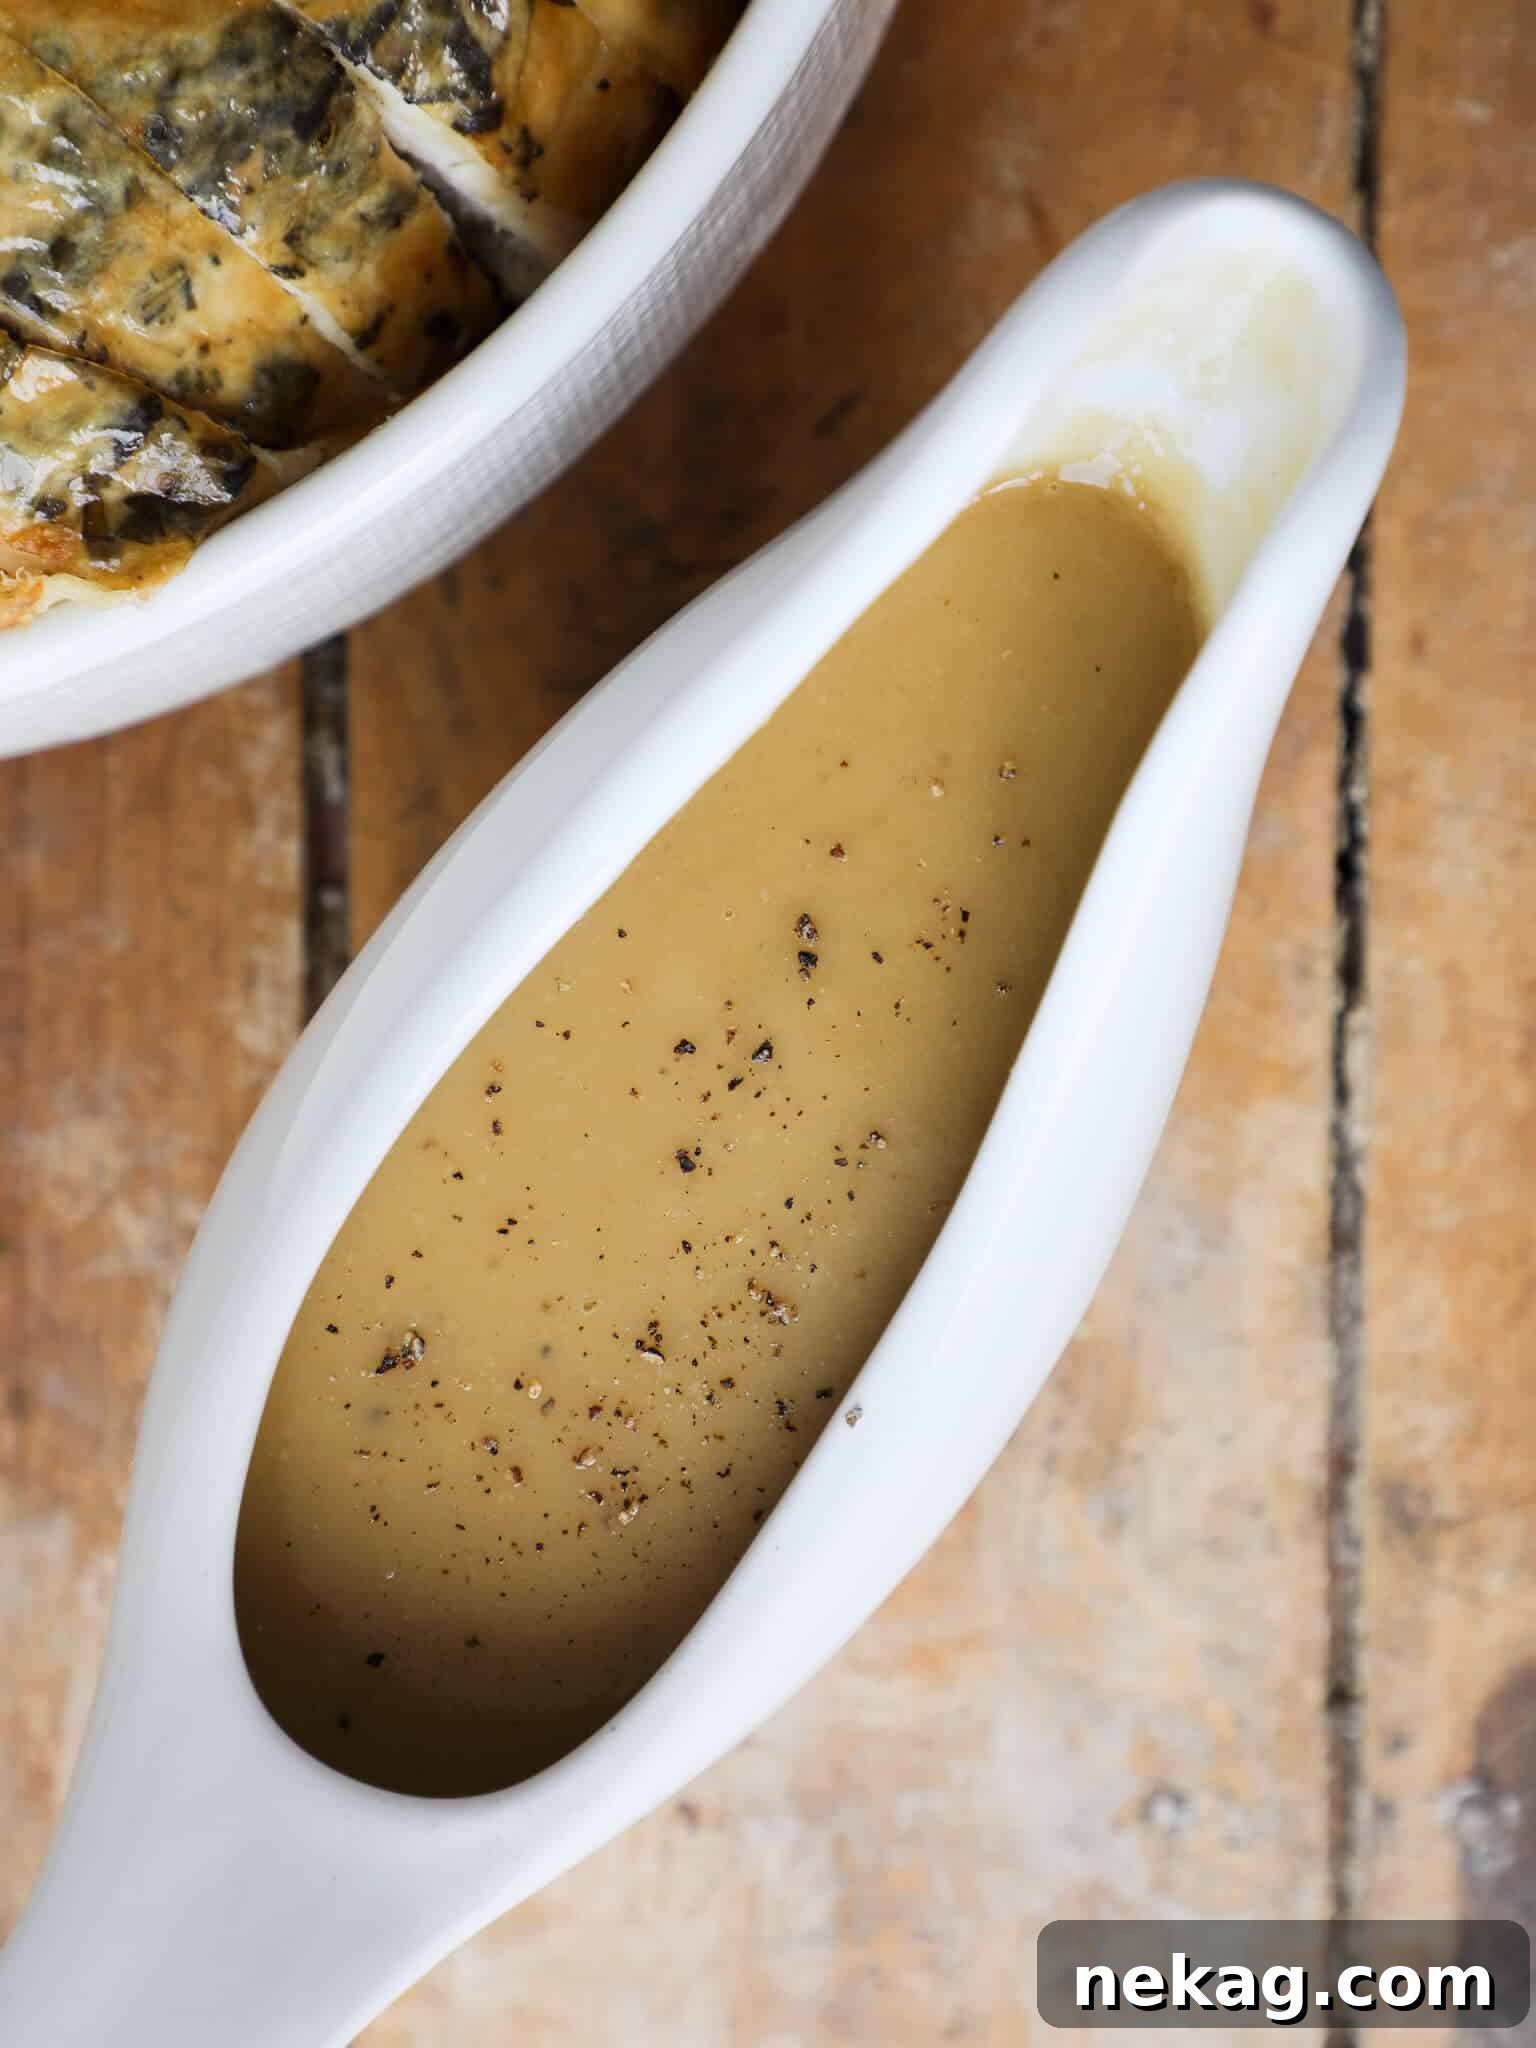
Creating a velvety, flavorful, and lump-free gravy might seem daunting, but it’s far simpler than you imagine! This foundational recipe provides a versatile base for making exquisite gravy from virtually any kind of pan drippings – be it from roasted chicken, a festive turkey, savory roast beef, or even tender pork. The deep, concentrated flavors left in the roasting pan are liquid gold, forming the heart of a truly unforgettable gravy.
Gravy isn’t just a side dish; it’s a culinary cornerstone, transforming ordinary meals into extraordinary feasts. It’s an indispensable component of both a traditional Thanksgiving dinner and an easy Thanksgiving dinner alike. Beyond holidays, its savory goodness is absolutely phenomenal poured generously over creamy mashed potatoes, fluffy buttermilk biscuits, or any roasted meat, adding a layer of comfort and richness that is simply unparalleled.
Table of Contents
- Why Does My Gravy Have Lumps?
- Essential Ingredients for Perfect Gravy
- How to Make Gravy from Pan Drippings: Step-by-Step
- Useful Substitutions and Variations
- Frequently Asked Questions About Gravy
- Easy Gravy from Pan Drippings Recipe Card
- Before You Go: Final Thoughts and Related Recipes
Why Does My Gravy Have Lumps? Understanding and Preventing Them
Lumpy gravy is a common kitchen frustration, but understanding its causes is the first step to achieving a silky-smooth result. There are typically two primary reasons why lumps form in your gravy, both easily avoidable with proper technique:
- Adding Stock Too Quickly: The most frequent culprit is incorporating the liquid (stock or water) into your roux (a mixture of fat and flour) too rapidly. When you dump a large quantity of cold or lukewarm liquid into a hot roux, the flour clumps up instantly, creating pockets that are difficult to whisk out. The solution is simple: slowly whisk in the stock, about ½ cup at a time. This gradual addition allows the flour particles in the roux to evenly absorb the liquid, expanding smoothly and forming a cohesive, lump-free base. Think of it as slowly dissolving flour rather than shocking it.
- Adding Dry Flour Directly to Hot Liquid: Attempting to thicken gravy by sprinkling dry flour directly into hot liquid is a recipe for disaster. The flour will instantly absorb moisture on its exterior, forming sticky clumps that no amount of whisking can effectively break down. This is why a roux is essential. By first cooking the flour in fat, you coat the flour particles, preventing them from clumping and allowing them to disperse smoothly when liquid is introduced. Always start with a roux or create a slurry with cold liquid if you need to thicken gravy after it’s already simmering.
Mastering these techniques will ensure your gravy remains consistently smooth and delightful, enhancing your meal rather than detracting from it.
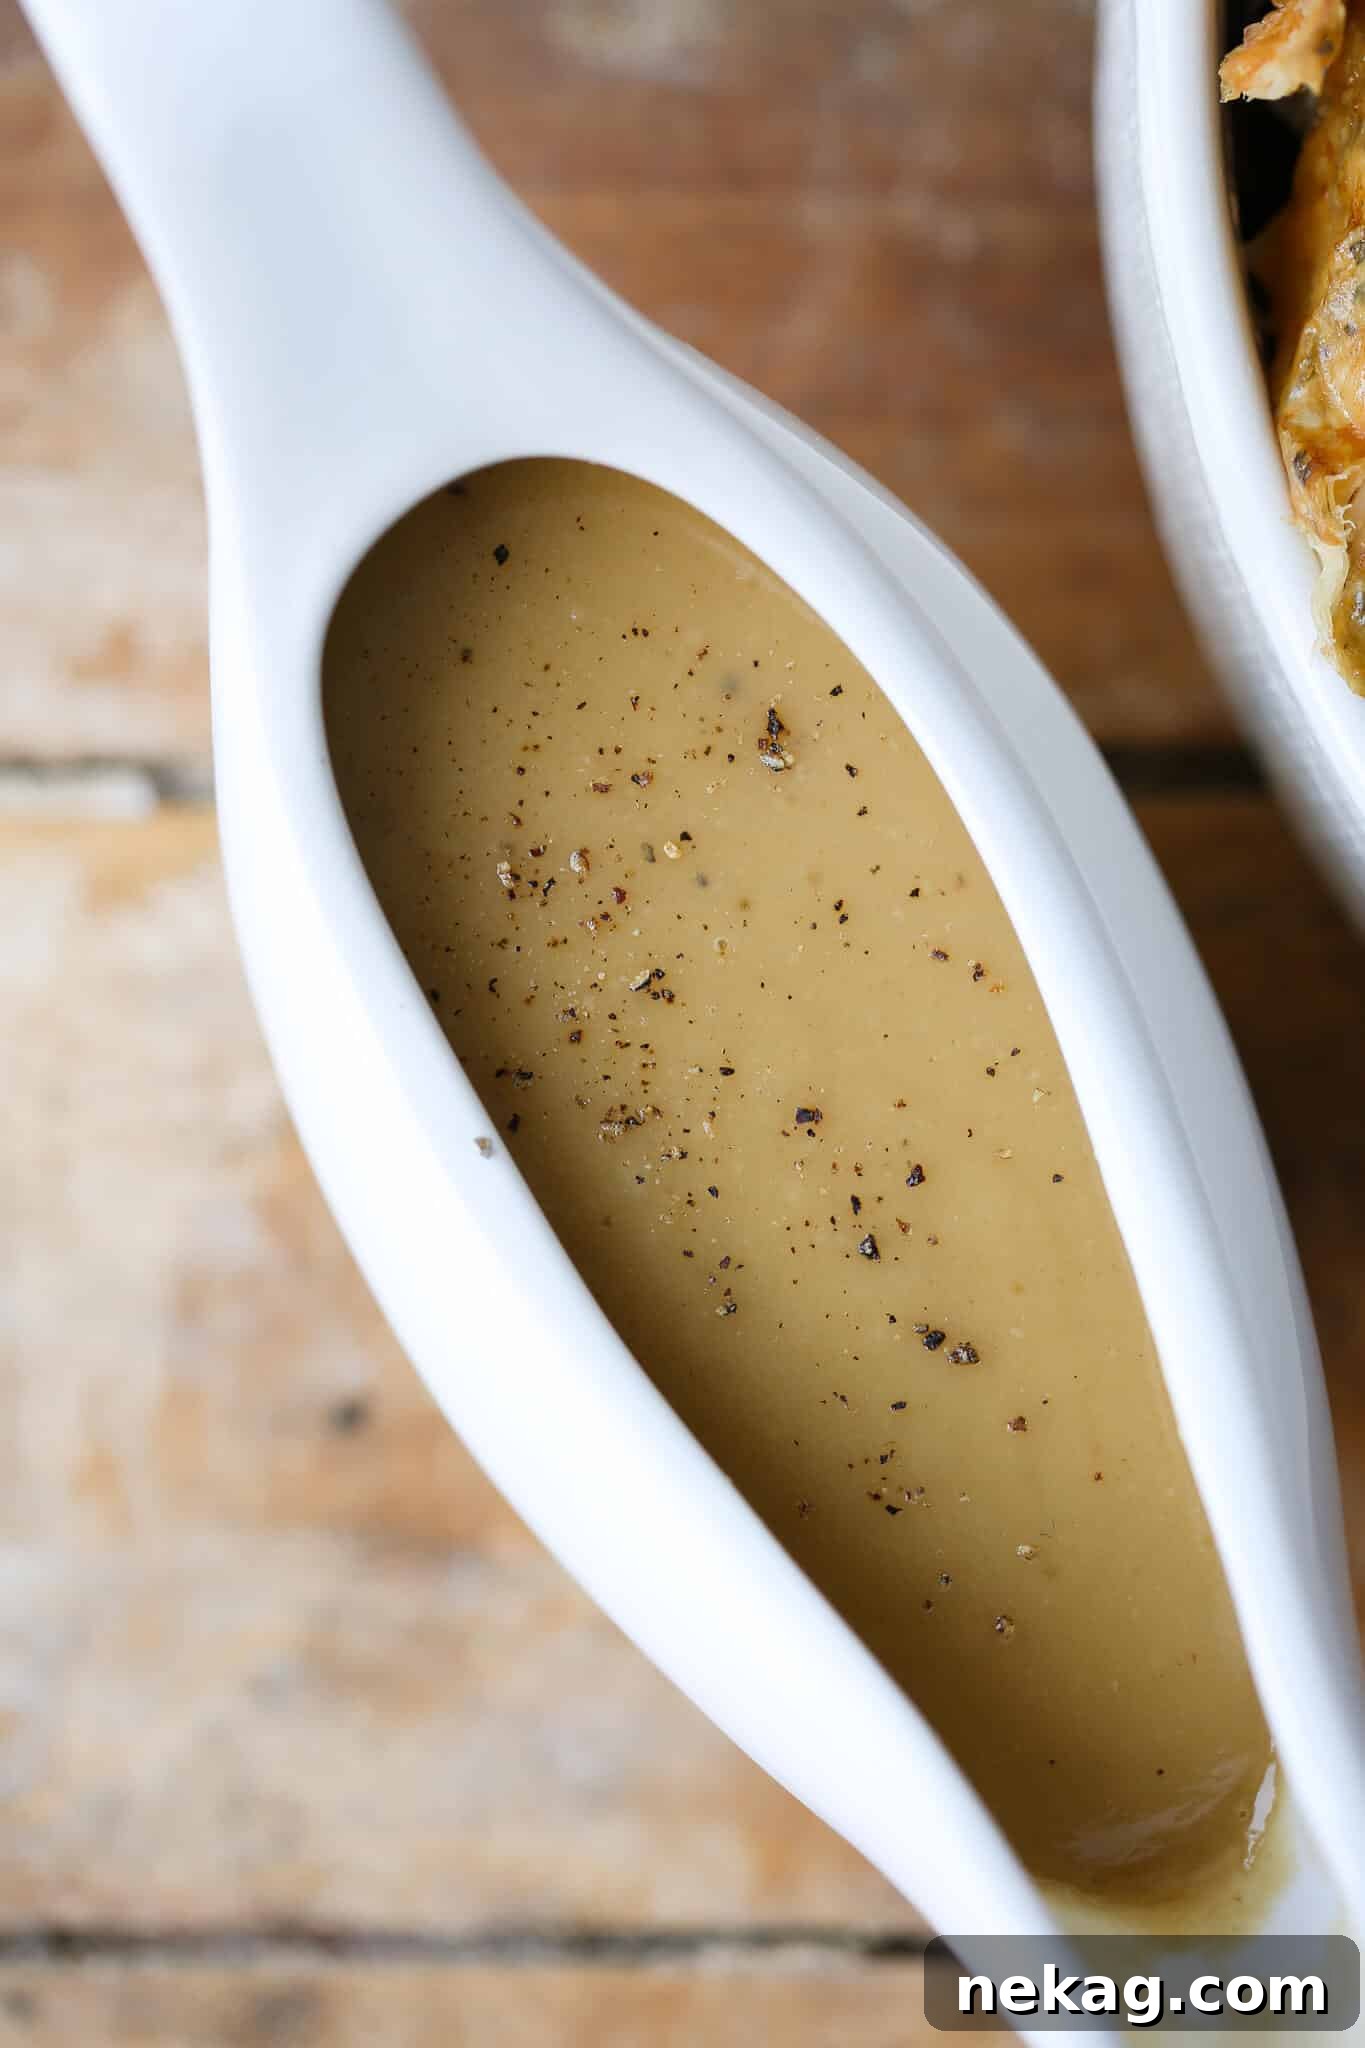
Essential Ingredients for Perfect Gravy
Crafting the perfect gravy requires a few key ingredients, each playing a crucial role in developing its rich flavor and ideal consistency. Here’s a closer look at what you’ll need and why:
- Pan Drippings: The Flavor Foundation
These are the invaluable juices, rendered fat, and caramelized bits left at the bottom of your roasting pan after cooking meat like roasted chicken, turkey, roast beef, or pork. They are packed with concentrated flavor, forming the authentic base of your gravy. To maximize your drippings and prevent them from burning, always add a shallow layer of stock or water to the bottom of your roasting pan *before* cooking, and replenish as needed during the roasting process. This gentle simmering helps to loosen and caramelize the flavorful fond, ensuring every drop contributes to your gravy’s robust character.
- Chicken Stock: The Liquid Component
Chicken stock provides the necessary liquid to create your gravy. I highly recommend using my homemade chicken broth recipe, or if buying, opt for an unsalted organic chicken stock. Store-bought stocks can often contain high levels of sodium, which, when combined with the inherent saltiness of pan drippings, can make your gravy overly salty. Always taste as you go! Making your own stock, as shown in my tutorial on homemade chicken stock, truly elevates the comfort level to “out of this world,” much like in my famous Best French Onion Soup.
- All-Purpose Flour: The Thickening Agent
All-purpose flour is the cornerstone for creating a classic roux, which is the most reliable method for thickening gravy and ensuring a smooth texture. A roux is simply a mixture of equal parts fat and flour cooked together. While all-purpose flour is preferred for its balanced gluten content and common availability, you can certainly use whole-wheat flour or bread flour if that’s what you have on hand. The key is the cooking process with fat, not just the type of flour itself.
- Kosher Salt: The Flavor Enhancer
Kosher salt is not just for seasoning; it’s a vital flavor amplifier. It expertly brings out all the other subtle flavors in your gravy and harmonizes everything into a cohesive, delicious whole. Adjust the amount to your personal preference, but I strongly advise against omitting it entirely, as it’s crucial for balancing the richness and depth of flavor.
- Freshly Cracked Black Pepper: The Aromatic Kick
Freshly cracked black pepper adds a wonderful depth, a subtle warmth, and a gentle heat, especially if you’re generous with it. Unlike pre-ground pepper, fresh pepper offers a more vibrant aroma and a nuanced flavor profile that truly enhances the gravy. It’s entirely to your taste, so add as much or as little as you desire for that perfect finish.
How to Make Gravy from Pan Drippings: A Professional’s Step-by-Step Guide
Follow these detailed steps to transform those delicious pan drippings into a spectacular, lump-free gravy that will be the highlight of any meal:
- Prepare the Roasting Pan for Deglazing: Once your roasted meat is removed from the pan and resting, place the roasting pan (without the rack) over one or two burners on your stovetop. Add about 1 cup of fresh stock (chicken or turkey, depending on your drippings). Bring the stock to a gentle boil, then use a sturdy wooden spoon or spatula to vigorously scrape up all the browned, caramelized bits (the “fond”) from the bottom of the pan. These bits are packed with flavor!
- Strain the Drippings and Separate the Fat: Carefully pour the liquid from the roasting pan through a fine-mesh sieve into a heat-proof bowl or large liquid measuring cup. This will remove any unwanted solids. Allow the mixture to settle for a few minutes; the fat will naturally rise to the surface, forming a distinct layer.
- Skim the Fat: Using a ladle or a fat separator, carefully skim off the rendered fat from the top of the strained drippings. You’ll need precisely ¼ cup of this flavorful fat for your roux. If you don’t have enough, simply make up the difference with melted butter to reach the required ¼ cup. Reserve the remaining defatted liquid (this is your flavorful stock base) – you’ll need about 2 cups total. If you have less than 2 cups, add additional hot chicken or turkey stock to reach the desired volume.
- Create the Roux: In a medium saucepan, combine the ¼ cup of reserved fat with ¼ cup of all-purpose flour. Place the saucepan over medium heat. Using a flat-bottomed whisk, continuously whisk the fat and flour together. This mixture is called a roux, and it’s what will thicken your gravy.
- Cook the Roux to Perfection: Continue to cook the roux, whisking constantly, until it reaches a beautiful golden-brown color and has boiled for at least 1 minute. The browning process adds a nutty depth of flavor. Be patient and don’t let it burn!
- Slowly Incorporate the Stock: This is the crucial step for a lump-free gravy. While vigorously whisking the hot roux in the saucepan, slowly pour in the reserved defatted stock from the roasting pan, adding it about ½ cup at a time. The mixture will initially be very thick and pasty, but as you continue to whisk and add more liquid gradually, it will loosen up and become smooth.
- Achieve Desired Consistency: Once all the stock has been incorporated, continue to simmer the gravy over low heat, stirring occasionally, until it thickens to your desired consistency. Remember that gravy will thicken further as it cools, so aim for a slightly thinner consistency than you ultimately desire.
- Season and Serve: Taste your gravy and season generously with kosher salt and freshly cracked black pepper. Adjust to your preference. Serve your rich, homemade gravy immediately, or allow it to cool completely before storing. If reheating, you may need to add a splash more stock to reach the perfect consistency.
With these steps, you’ll consistently create a gravy that boasts incredible flavor and a perfectly smooth texture, transforming any meal into a gourmet experience.
Useful Substitutions and Variations for Your Gravy
While the classic recipe is fantastic, sometimes you need flexibility. Here are some excellent substitutions and variations to help you customize your gravy to suit your needs or preferences:
- Stock Alternatives: The type of stock you use heavily influences the final flavor.
- Meat-Specific Stocks: Always choose a stock that complements your dish. Use rich veal or beef stock for beef dishes, and correspondingly, chicken or turkey stock for poultry.
- Vegetable Stock: For a vegetarian or vegan gravy, a robust vegetable stock is an excellent choice. Ensure it’s low-sodium to control the seasoning.
- Broth vs. Stock: While stock is generally preferred for its richer body and gelatin content, good quality broth can be used in a pinch. Just be aware the gravy might be slightly thinner.
- Fat Alternatives: If pan drippings are scarce or you’re making gravy without roasting meat, other fats work beautifully.
- Unsalted Butter: Melted butter is an excellent and widely available substitute for pan drippings. It creates a delicious, classic-tasting gravy.
- Other Rendered Fats: Bacon fat, duck fat, or even olive oil (though it changes the flavor profile) can be used to make your roux. Choose a fat that complements the flavors of your meal.
- Flour Alternatives for Thickening: If all-purpose flour isn’t an option, or if you need to thicken a gravy that’s already cooked, consider these:
- Gluten-Free Flours: For a gluten-free gravy, use cornstarch, arrowroot powder, or tapioca flour. These are best used as a slurry (mixed with a small amount of cold water) and whisked into hot simmering gravy until thickened. Cook for at least one minute to eliminate any starchy taste.
- Other Wheat Flours: While all-purpose is standard, whole wheat flour can provide a nuttier flavor and slightly different texture. Bread flour also works but might make the gravy a bit denser.
- Flavor Enhancements:
- Herbs: Fresh or dried thyme, rosemary, or sage can be added to the drippings while deglazing, or simmered in the gravy for extra aroma.
- Aromatics: Sauté finely minced shallots or garlic in the fat before adding flour for an added layer of flavor.
- Wine or Brandy: A splash of dry red or white wine (or brandy) can be used to deglaze the pan before adding stock, deepening the flavor profile. Simmer until reduced by half before proceeding.
Experiment with these substitutions to find your favorite variations and tailor your gravy to any meal or dietary need.
Frequently Asked Questions About Gravy
Here are answers to some common questions about making and managing homemade gravy:
To maintain its freshness and flavor, store homemade gravy in an airtight container. It will keep well in the refrigerator for up to 1 week. For longer storage, gravy freezes exceptionally well. Pour it into zip-top freezer bags (laying them flat for easier storage) or freezer-safe containers. Properly frozen gravy can last for up to 2 months. Thaw in the refrigerator overnight before reheating.
Absolutely! You can easily scale this recipe to make as large a batch of gravy as you desire. When doing so, you might find that you don’t have enough natural pan drippings to provide the necessary fat for a larger roux. In such cases, simply supplement with melted butter until you achieve the correct quantity of fat needed. The key to successful batch cooking is to maintain the same proportions of fat to flour, and flour to liquid, as outlined in the recipe. This minimizes the risk of ending up with a thin, watery gravy or one that’s too thick.
The best method for reheating homemade gravy is to gently warm it in a saucepan over low to medium-low heat on the stovetop, stirring frequently. Bring the gravy to a gentle simmer. Gravy often thickens significantly as it cools, so you’ll likely need to add additional stock (chicken, turkey, or vegetable) a little at a time, whisking constantly, until it reaches your desired consistency. You can also reheat gravy in the microwave, stirring every minute or so, but be mindful that it can sometimes separate if heated too quickly. Again, add stock to thin as needed.
If your gravy turns out thinner than desired, the best way to thicken it without creating lumps is to make a cornstarch slurry. In a small bowl, whisk together 1 teaspoon of cornstarch with 2 teaspoons of cold water until smooth. Gradually whisk this slurry into your hot, simmering gravy. Bring the gravy back to a boil and let it simmer for at least one minute to allow the cornstarch to activate and to cook out any starchy taste. If it’s still not thick enough, repeat the process with another small slurry. If you don’t have cornstarch, you can use arrowroot powder, tapioca flour, or potato starch following the same slurry method.
If your gravy becomes too thick, simply whisk in additional warm stock (chicken, turkey, or vegetable) a tablespoon at a time until it reaches your desired pourable consistency. The key is to add slowly and whisk thoroughly after each addition to ensure it incorporates smoothly without becoming too thin.
Yes, absolutely! To make a delicious vegetarian gravy, simply replace the pan drippings with an equal amount of melted butter or olive oil. Use a high-quality vegetable stock instead of chicken or turkey stock. You can also add finely minced mushrooms, onions, or carrots and sauté them in the butter before adding the flour to build a deeper umami flavor base. Follow the rest of the steps as normal.
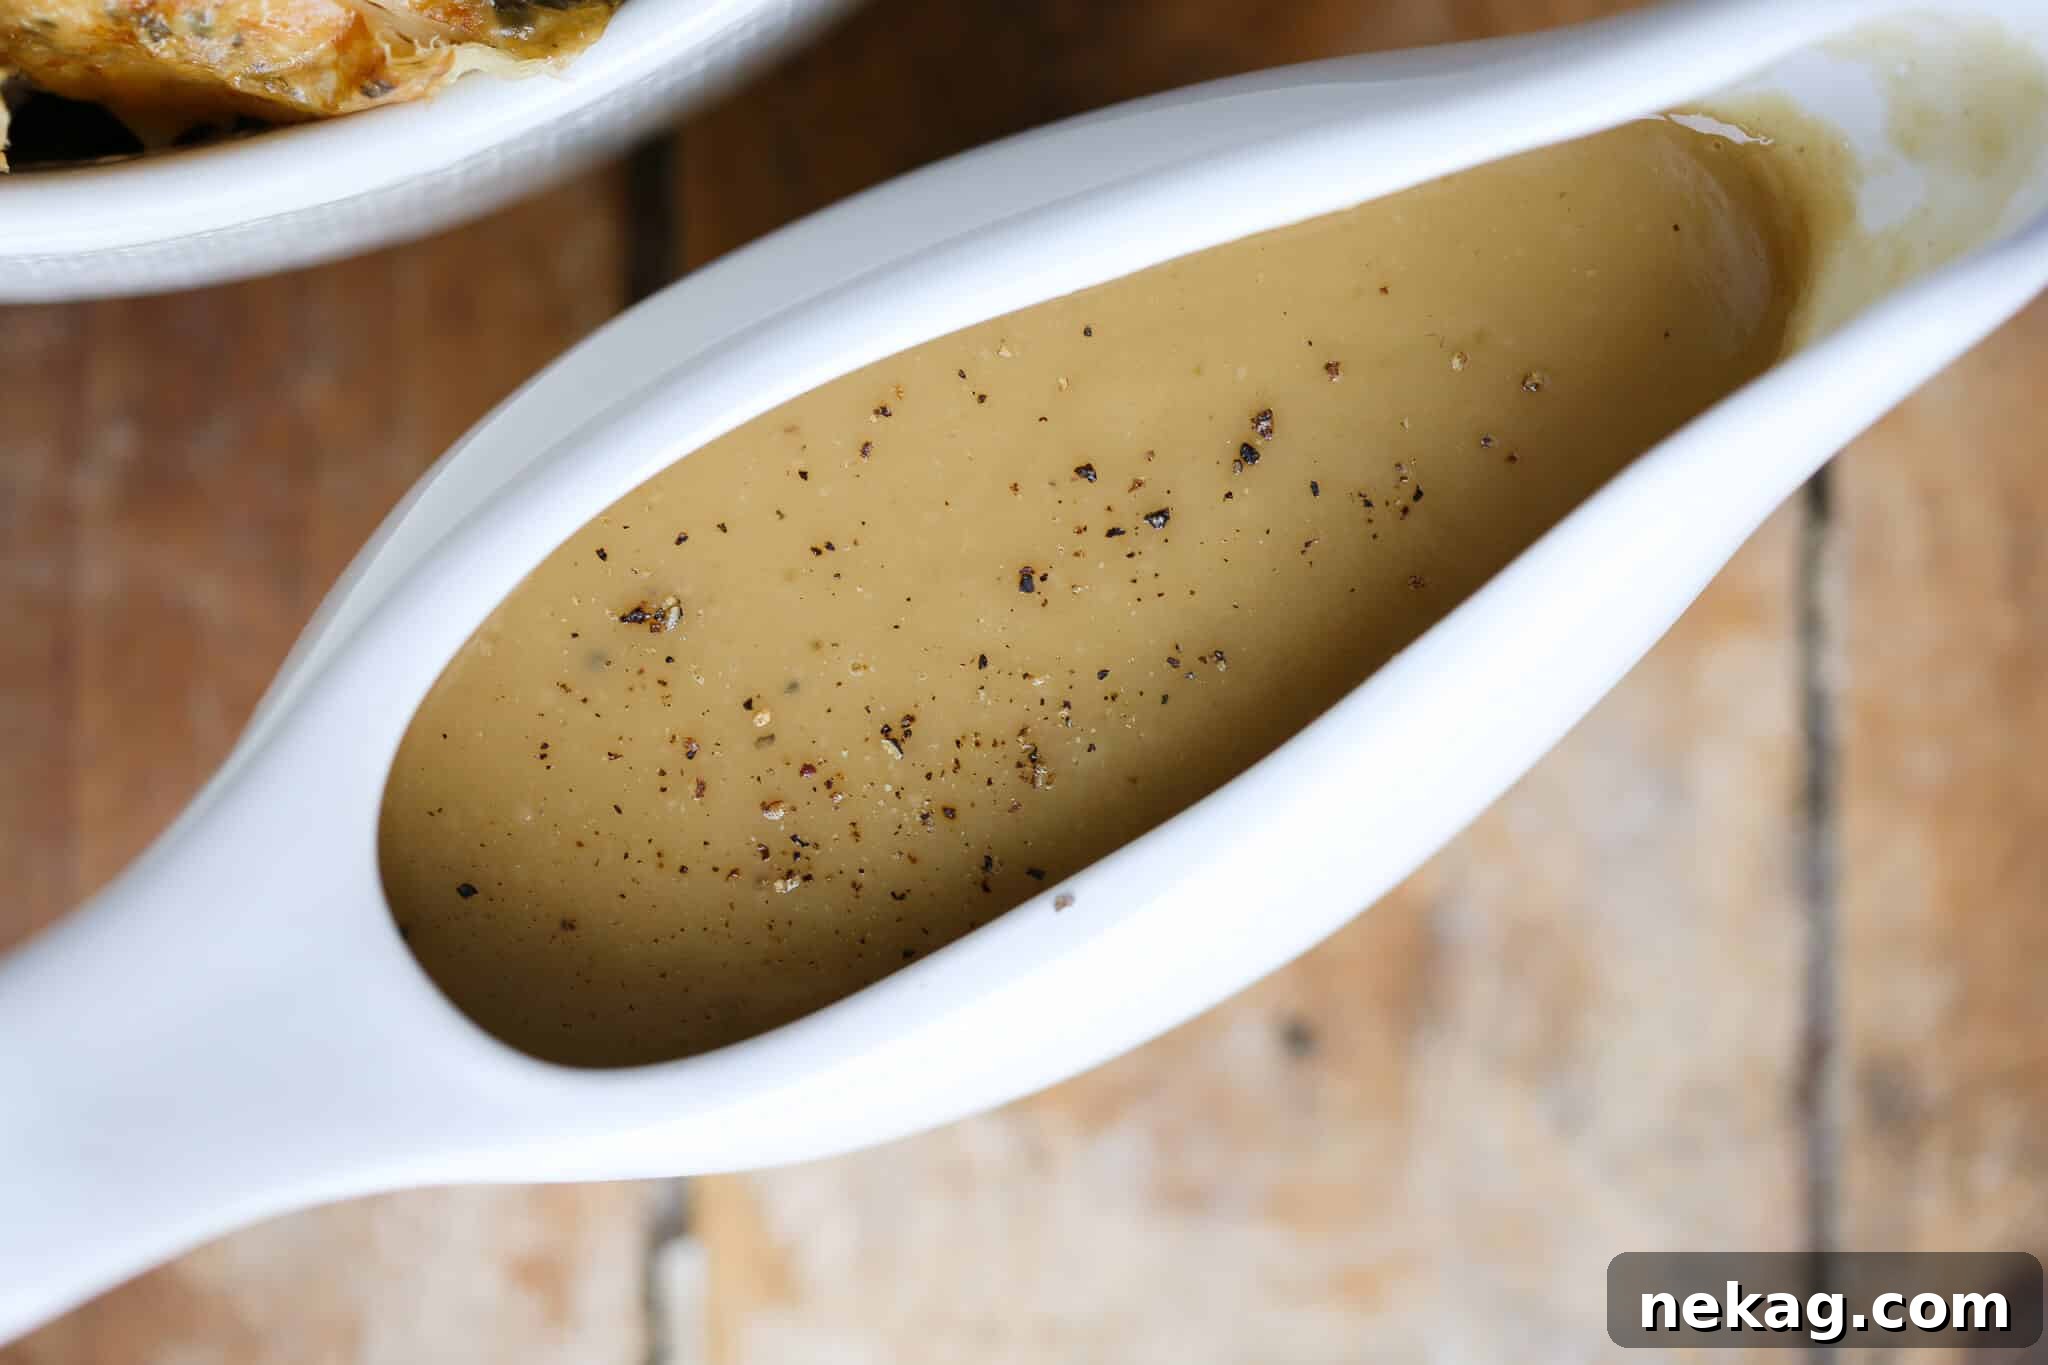
If you tried this recipe and loved it, please leave a 🌟 star rating and let me know how it goes in the comments below. I love hearing from you; your comments make my day!
Easy Gravy from Pan Drippings: A Chef’s Go-To Recipe
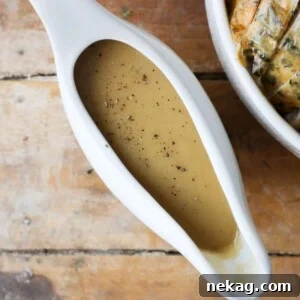
Learn how to make rich, lump-free gravy using savory pan drippings from roasted chicken or turkey. This easy recipe ensures a thick, flavorful gravy that perfectly complements any meal, or can be made with butter for a equally delicious homemade version.
Cook Time: 20 mins
Total Time: 20 mins
Yield: 2 cups (approximately 4-6 servings)
Rating: 5 out of 5 stars (based on 49 ratings)
Author: Chef Lindsey
Comment
Print Recipe
Ingredients
- Pan drippings from a turkey or chicken roast (ensure at least ¼ cup of fat can be skimmed, plus reserved stock)
- 1 cup Chicken Stock or turkey stock, plus more as needed (preferably homemade or unsalted)
- ¼ cup Fat skimmed from pan drippings (or melted butter if insufficient drippings)
- ¼ cup All-Purpose Flour (recommended)
- Kosher salt to taste (recommended)
- Freshly cracked Black Pepper to taste (recommended)
Instructions
- Prepare Pan Drippings: To ensure ample drippings and prevent burning during roasting, add about 1/2 inch of water or stock to the bottom of your roasting pan before cooking your meat. Replenish as needed during roasting to keep the surface covered.
- Deglaze the Pan: Once your roasted bird is removed and resting, take the roasting rack out of the pan. Place the roasting pan over 1-2 burners on your stovetop (depending on pan size). Add an additional 1 cup of chicken or turkey stock to the pan. Bring to a boil and vigorously scrape up all the flavorful browned bits (fond) from the bottom using a wooden spoon. Turn off the heat.
- Strain and Separate: Carefully pour the liquid from the pan through a fine-mesh strainer into a large bowl or liquid measuring cup placed on a towel (for stability). Discard any solids caught in the strainer. Allow the mixture to sit for a few minutes so the fat can rise to the surface.
- Skim the Fat: Gently skim off the fat layer from the surface of the liquid. You need exactly ¼ cup of this fat. A small ladle works well: press it just below the surface, and the fat will run over the edge into the ladle. If you don’t have ¼ cup of pan fat, make up the difference with melted butter.
- Adjust Stock Volume: Continue to skim any excess fat from the liquid; this defatted liquid is your flavorful stock base for the gravy. You should aim for about 2 cups of this stock. If you have less, add additional hot chicken or turkey stock to reach the 2-cup mark.
- Make the Roux: In a clean, medium saucepan, add the ¼ cup of reserved fat (or melted butter) and the ¼ cup of all-purpose flour. Place over medium heat. Using a flat-bottomed whisk, continuously whisk the fat and flour together to create a smooth roux.
- Cook the Roux: Continue cooking the roux, whisking constantly, until it turns a nice golden brown color and has gently boiled for at least 1 minute. This ensures the flour is cooked and adds depth of flavor.
- Incorporate Stock Slowly: While still whisking the hot roux constantly, begin slowly adding the reserved stock from the roasting pan, about ½ cup at a time. This gradual addition is key to preventing lumps. The mixture will initially be very thick, but as you whisk and add more liquid, it will loosen and become smooth.
- Simmer and Thicken: Once all the stock is incorporated, let the gravy simmer gently over low heat, stirring occasionally, until it reaches your desired consistency. Remember it will thicken more as it cools.
- Season: Taste the gravy and season with kosher salt and freshly cracked black pepper to your preference. Adjust as needed.
- Serve: Serve your delicious homemade gravy immediately. If storing, cool completely before refrigerating or freezing. When reheating, you may need to add a splash more stock to achieve the perfect consistency.
Video Tutorial
Watch this video for a visual guide on how to achieve that robust, lump-free gravy every time!
Nutrition Information (per serving, approximate)
Calories: 335 kcal | Carbohydrates: 16g | Protein: 5g | Fat: 29g |
Saturated Fat: 23g | Polyunsaturated Fat: 1g | Monounsaturated Fat: 4g |
Cholesterol: 4mg | Sodium: 172mg | Potassium: 143mg |
Fiber: 0.4g | Sugar: 2g | Vitamin A: 4IU |
Vitamin C: 0.2mg | Calcium: 6mg | Iron: 1mg
Nutritional information is an estimate and may vary based on ingredients and preparation methods.
Course: Condiments, Sauce
Cuisine: American
Keywords: homemade gravy, pan drippings gravy, chicken gravy, turkey gravy, lump-free gravy, chef’s gravy recipe
Enjoyed this recipe? Share your thoughts in the comments below! Your feedback helps us grow and inspires others.
Before You Go: Final Thoughts and Related Recipes
Mastering homemade gravy is a rewarding skill that will serve you well for countless meals. It transforms simple dishes into comforting feasts and adds that indispensable finishing touch to holiday gatherings. We hope this guide has empowered you to create the best gravy you’ve ever tasted!
Don’t stop here! Explore our other delicious, chef-developed Sauces and Condiment Recipes to further expand your culinary repertoire. You might love my best pizza sauce recipe for your next homemade pizza night. This gravy recipe is also a perfect addition to a grand traditional Thanksgiving dinner menu or an efficient easy Thanksgiving dinner. Happy cooking!