
The Ultimate Guide to Fluffy Potato Rolls: A Beginner-Friendly Recipe
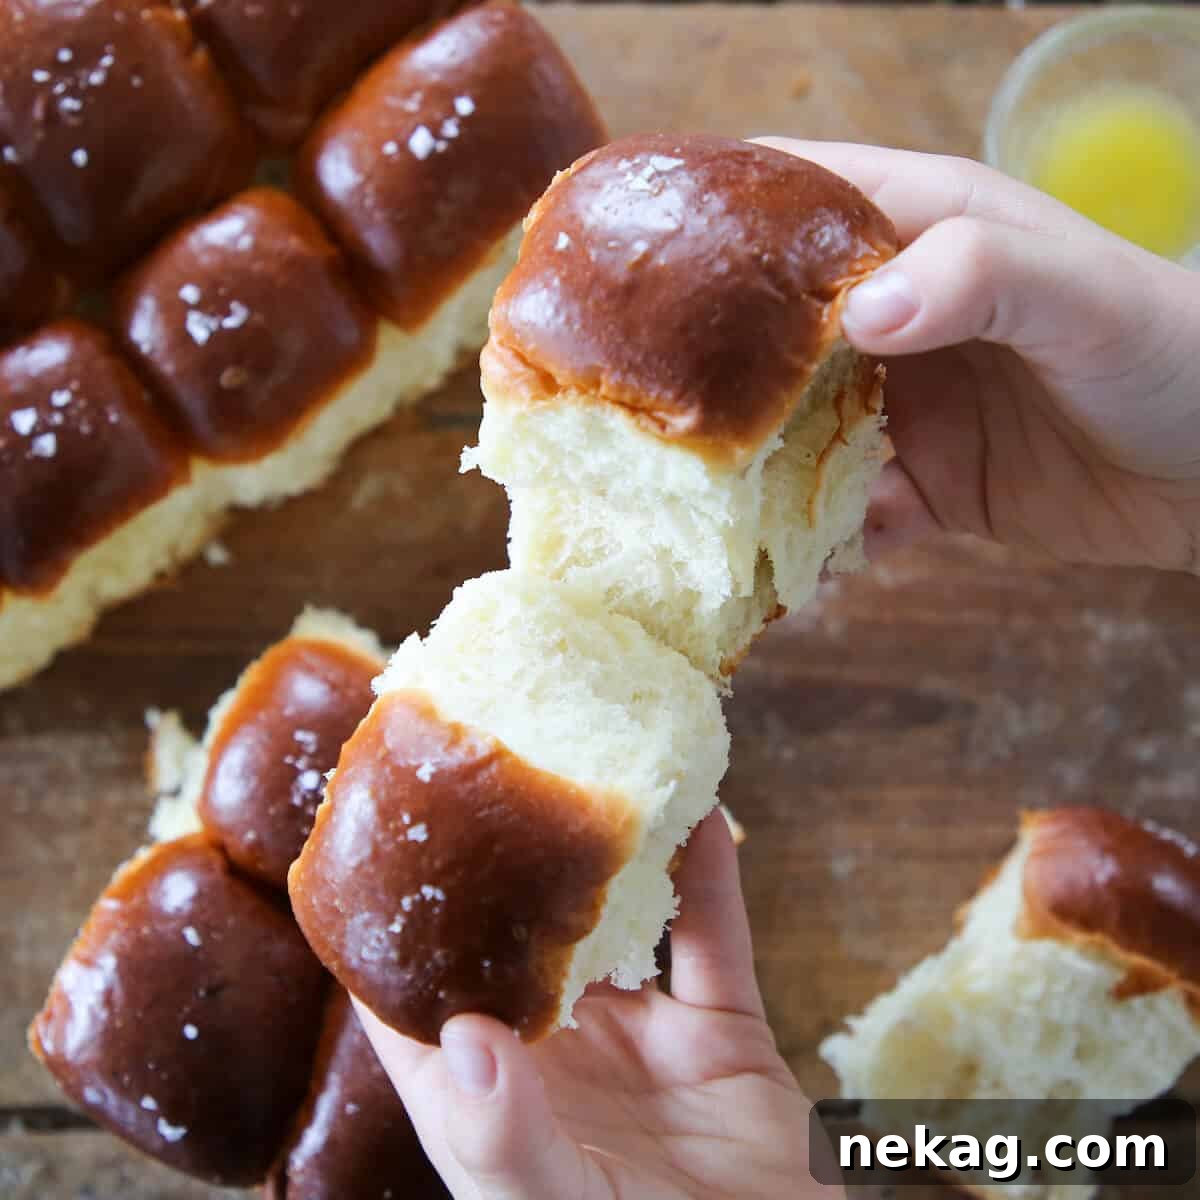
Discover the secret to incredibly soft, buttery, and richly flavored potato rolls with this foolproof recipe. Crafted from real mashed potatoes, this dough is exceptionally beginner-friendly, guaranteeing perfect results every time. Prepare to elevate your dinner table with these irresistible, fluffy delights!
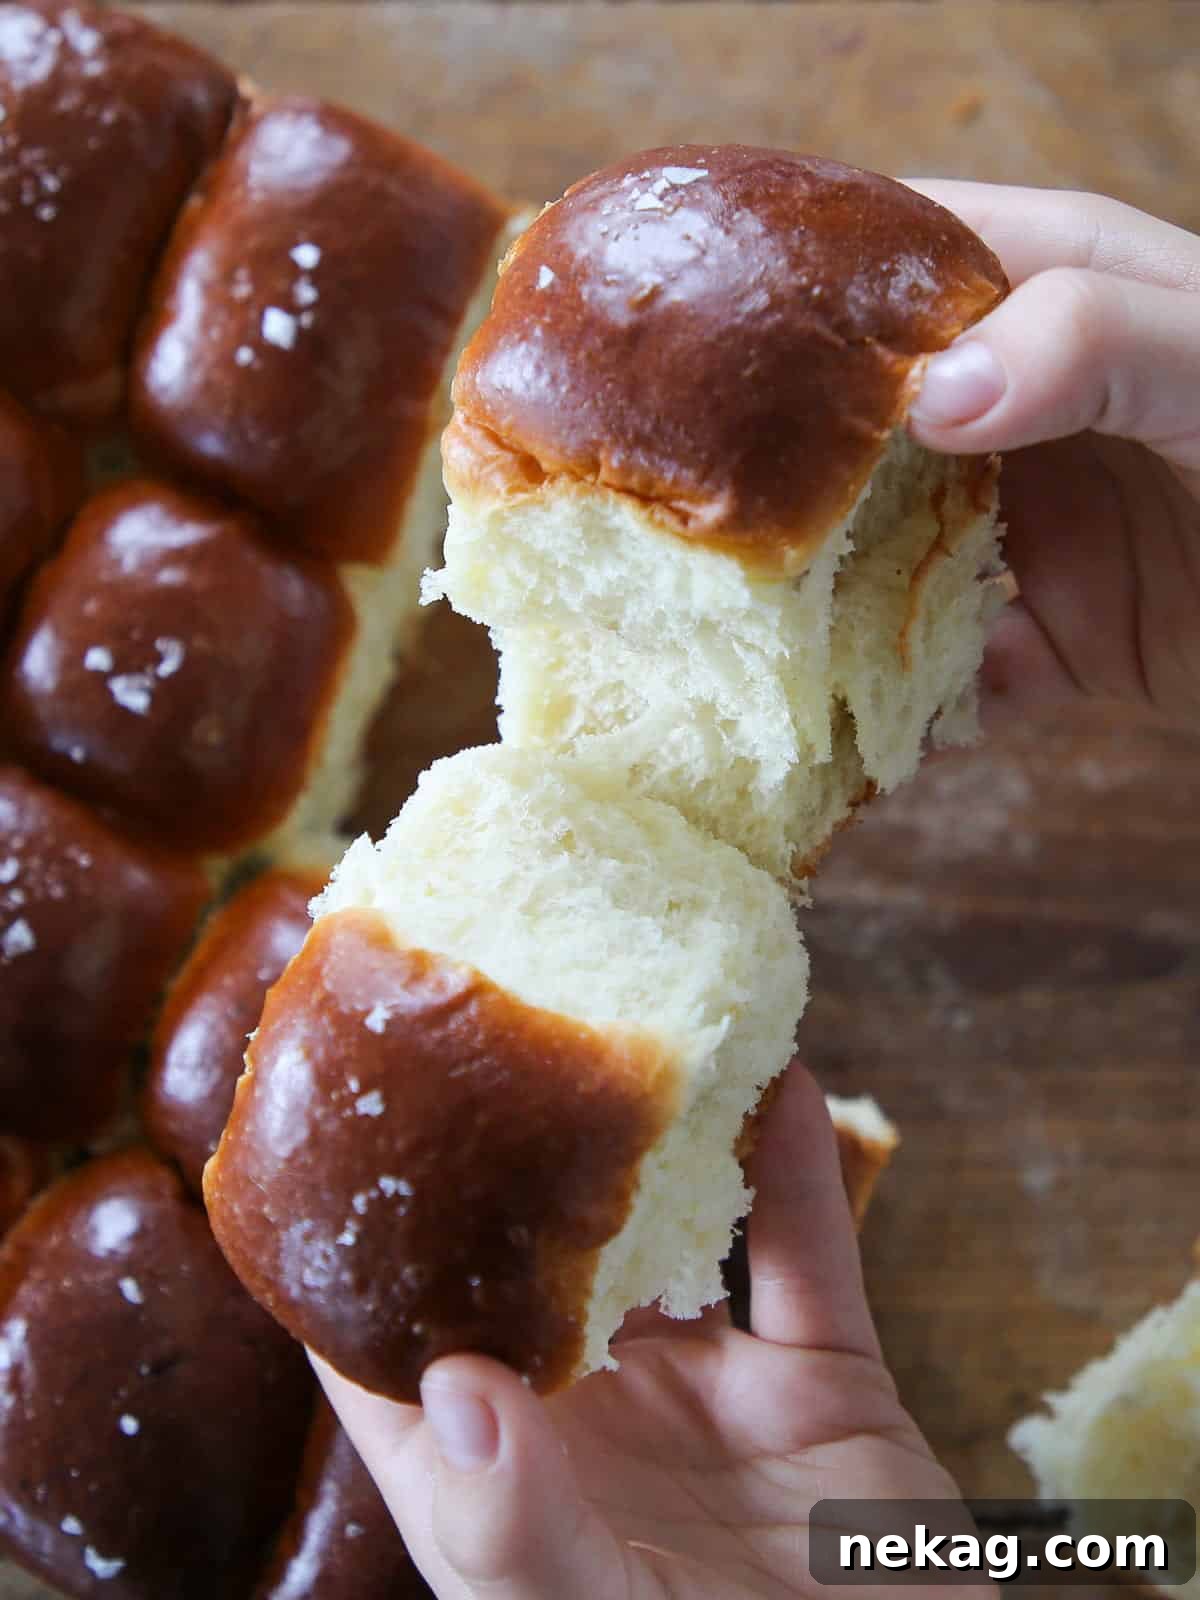
As a seasoned baker, I’ve had the pleasure of making hundreds of thousands of these specific potato dinner rolls and have personally trained over twenty individuals to master this recipe. My experience allows me to confidently assure you: you absolutely can create perfect homemade dinner rolls with mashed potatoes. This dough is not only a joy to work with but also incredibly forgiving, making it ideal for aspiring bakers. The simplicity of this recipe is its strength, relying on precise timing rather than complex techniques like the window-pane test. You’ll achieve consistently stunning results without the stress.
These fluffy, rich potato dinner rolls are versatile and make excellent foundations for small sandwiches. Imagine them filled with the best tuna melt or a creamy deviled egg salad sandwich. Beyond sandwiches, they pair wonderfully with an array of side dishes. Consider serving them alongside my quick and easy creamy vegetable casserole or my indulgent scalloped potatoes for a truly memorable meal.
Why You Will Love These Perfect Potato Rolls
There’s a reason these potato rolls have become a beloved staple. They combine classic comfort with gourmet quality, offering an unmatched taste and texture experience.
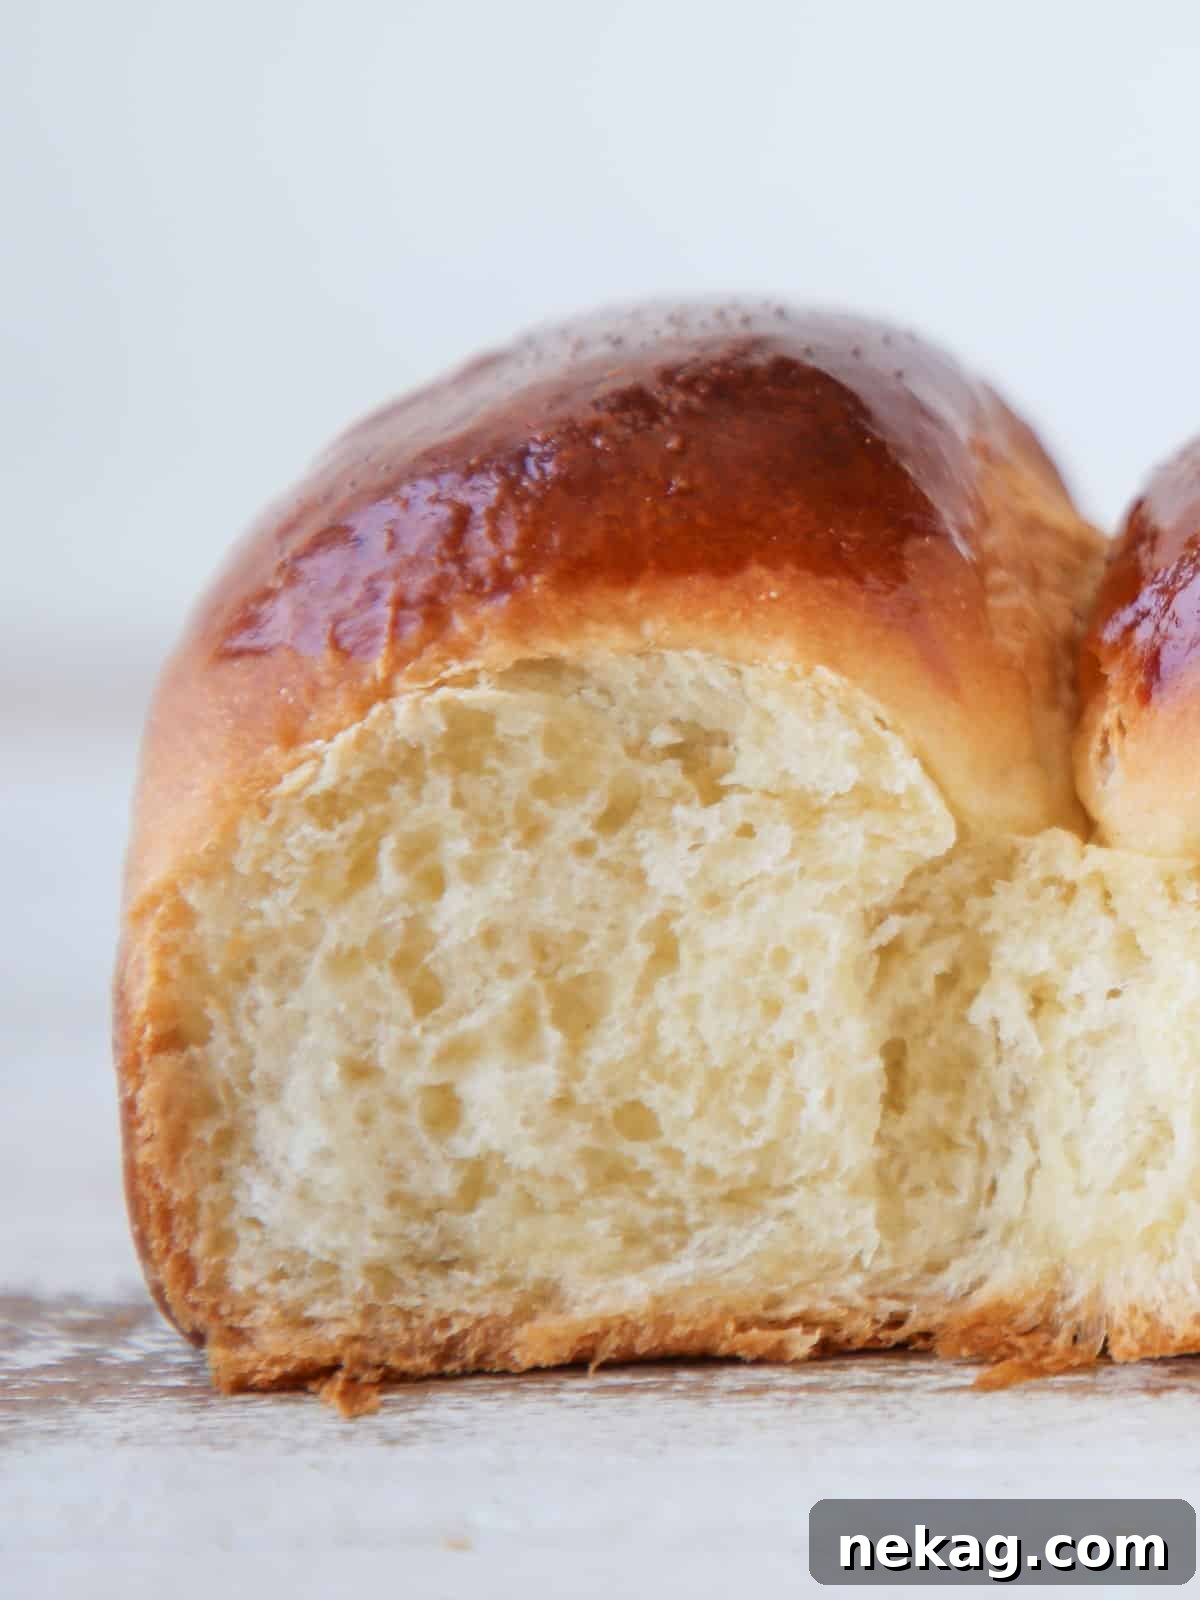
- Luxuriously Enriched, Brioche-Like Dough: These aren’t just any dinner rolls; they are enriched potato rolls that boast a decadent quality similar to a brioche bun recipe. The secret lies in generously incorporating a significant amount of butter into the dough, resulting in an exceptionally tender crumb and a rich, buttery flavor that melts in your mouth.
- Decadent Mashed Potatoes in Bread Form: Experience the ultimate comfort food fusion! These rolls capture everything you adore about creamy, decadent mashed potatoes and transform it into a light, airy bread. It’s a delightful surprise for your palate, offering a unique twist on traditional homemade rolls.
- The Game-Changing Power of Potatoes: Mashed potatoes are our not-so-secret weapon in this recipe. They work wonders by adding unparalleled moisture and structure to the dough, creating a luscious, incredibly soft texture. This effect is similar to how pumpkin puree enhances the tenderness of pumpkin dinner rolls, making the rolls moist and preventing them from drying out quickly.
- A Truly Foolproof Recipe for All Bakers: If you’ve been hesitant about baking bread, this mashed potato dinner roll recipe is designed for you. It’s one of the easiest and most reliable methods for creating homemade rolls. The instructions are meticulously timed, making it a perfect beginner bread recipe. You won’t need to worry about complex indicators; simply follow the time-based steps for success. If you’re seeking another incredibly easy dinner roll recipe that doesn’t use potatoes, be sure to try this easy dinner roll recipe.
Table of Contents
- Why You Will Love These Perfect Potato Rolls
- Essential Ingredients & Expert Substitutions
- Creative Variations for Your Potato Rolls
- Professional Tips for Baking Success
- How to Make Potato Rolls: A Step-by-Step Guide
- Chef Lindsey’s Recipe Tip
- Potato Roll Recipe FAQs
- Recommended Bread Recipes
- Potato Rolls Recipe Card
- Before You Go
Essential Ingredients & Expert Substitutions
Crafting the best potato rolls begins with selecting quality ingredients. Here’s what you’ll need and some clever substitutions:
- All-purpose Flour: The foundation of our rolls, providing structure. While all-purpose works beautifully, for a slightly richer texture, you could experiment with bread flour, though it might make the dough a bit chewier.
- Kosher Salt: Essential for flavor balance. It’s crucial to use kosher salt, not table salt, as their granular size and salinity differ significantly.
- Granulated Sugar: A small amount helps to activate the yeast, tenderize the dough, and contribute to a golden crust and subtle sweetness.
- Whole Egg: Eggs add richness, color, and act as a binder, contributing to the dough’s luxurious texture and elasticity, much like in a brioche.
- Whole Milk: Provides moisture, tenderness, and richness to the dough. Warm milk is vital for activating the yeast. Dairy-free alternatives like almond or soy milk can be used, but may slightly alter the flavor and texture.
- Dry Active Yeast: The leavening agent that makes our rolls rise. If you only have fresh yeast, use double the weight of active dry yeast. For instant yeast, use half the weight. While fresh or instant yeast can be added directly to the dry ingredients, blooming active dry yeast in warm milk first ensures it’s active and kickstarts fermentation and gluten development, leading to a lighter, fluffier roll.
- Mashed Potatoes: The star ingredient! Using real mashed potatoes is key to the unique texture and flavor. If you have leftover creamy mashed potatoes, they are perfect, but be mindful of their seasoning. If they are already salted, omit the salt from the dough to avoid overly salty bread. For the smoothest rolls, ensure your potatoes are finely mashed without lumps. While you can leave the peel on for a rustic touch, as with my potato bread, mashing them thoroughly is paramount for dough consistency. Russet, Yukon Gold, or Idaho potatoes are highly recommended for their starch content, which yields lighter, fluffier results.
- Unsalted Butter: Generously incorporated, butter is crucial for the rolls’ rich flavor, tender crumb, and golden crust. Using unsalted butter gives you control over the overall saltiness of the recipe.
For precise measurements and full ingredient quantities, please refer to the detailed recipe card below.
Creative Variations for Your Potato Rolls
While the classic potato roll recipe is perfect on its own, don’t hesitate to get creative with these delicious variations to suit any occasion or palate.
- Infuse the Butter with Flavor: Take your rolls to the next level by experimenting with flavored butter. Consider using rich brown butter for a nutty depth, or decadent black garlic butter for an umami kick. You can also melt butter with fresh herbs like rosemary and sage, allowing the flavors to meld before incorporating into the dough. Drawing inspiration from my pumpkin herb dinner rolls, remember to use this flavored butter both within the dough and as a brush for the tops of the rolls fresh out of the oven for an added aromatic finish.
- Mix in Fresh or Dried Herbs: Enhance the aromatic profile of your homemade rolls by adding your favorite herbs directly into the dough. Sage, thyme, oregano, or rosemary are excellent choices. Similar to my sourdough rolls, you can use either fresh or dried herbs. For an even more intense flavor, gently fry fresh herbs in a small amount of butter until fragrant before mixing them into the dough.
- Indulge with Cheese: Who doesn’t love a cheesy dinner roll? Once the butter is fully incorporated into the dough, fold in a generous amount of your favorite shredded cheese. Parmesan adds a salty, nutty bite, Gruyere offers a sophisticated, melt-in-your-mouth experience, cheddar brings classic comfort, and pepper jack introduces a delightful spicy kick.
- Shape into Loaves or Burger Buns: This versatile potato roll dough isn’t just for small rolls. You can easily adapt it to create a beautiful loaf of potato bread or a batch of eight perfect burger buns. For buns, simply double the size of each dough portion and lightly score the tops before baking. If you prefer a full loaf, follow the shaping techniques outlined in my brioche bread recipe for a stunning, sliceable bread perfect for sandwiches or toast.
Professional Tips for Baking Success
Achieving bakery-quality fluffy potato rolls is within reach with these expert insights:
- Opt for Unseasoned Boiled Potatoes: When preparing your mashed potatoes for the dough, it is paramount to use unseasoned boiled potatoes. While boiling with herbs can add a subtle flavor, *never* salt the water. Adding salt to the potato boiling water and then again to the dough will result in excessively salty rolls that overpower the delicate potato flavor. We want to control the salt content precisely within the dough itself.
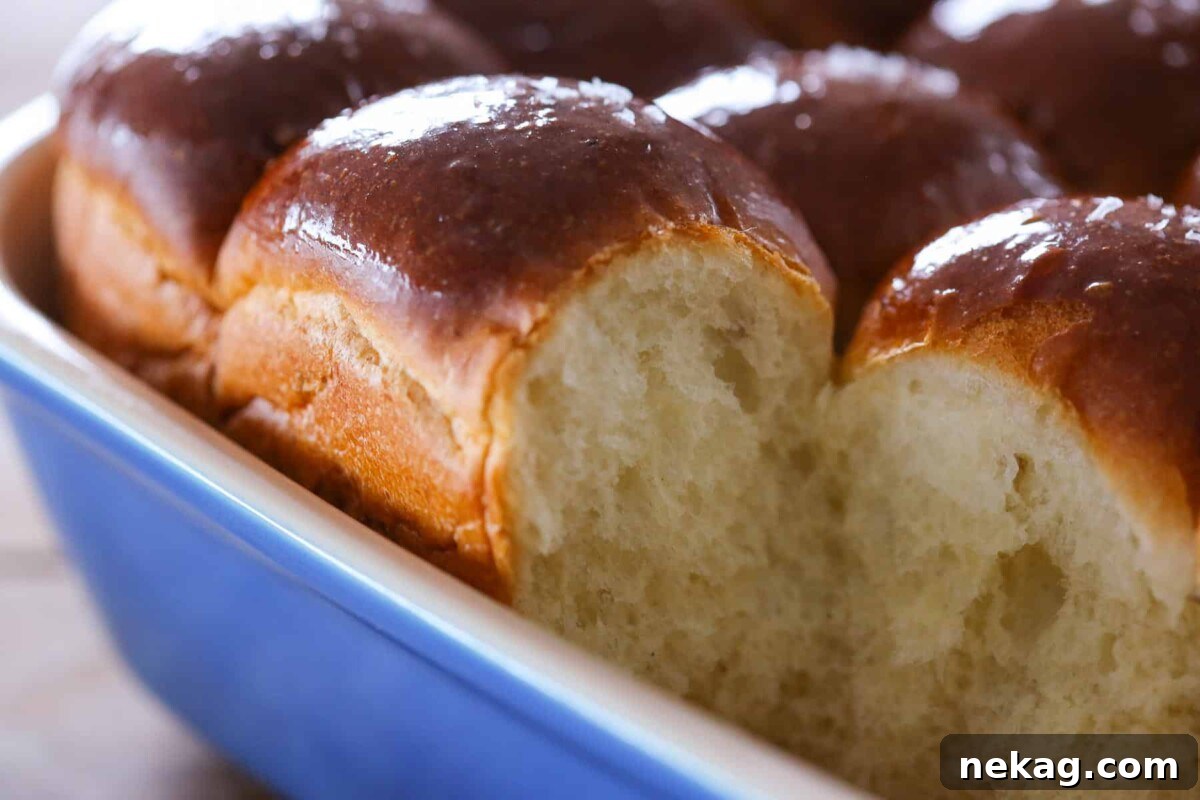
- The Advantage of a Metal Baking Dish: While not strictly necessary, baking your homemade potato rolls in a metal baking dish will significantly enhance their texture. Metal baking dishes conduct heat much more efficiently and evenly than glass or ceramic. They distribute heat directly to the rolls, promoting a consistent golden-brown crust and thorough baking, rather than absorbing and holding the heat themselves, which can sometimes lead to uneven baking or softer crusts.
- Prioritize Gluten Development: Due to the rich ingredients in this dough—eggs, butter, milk, and especially the mashed potatoes—it requires a bit more time for the gluten to properly develop. Gluten is the protein network that gives bread its structure, elasticity, and chewiness. If your stand mixer struggles during the last few minutes of kneading, don’t hesitate to finish the process by hand on a lightly floured surface. Underdeveloped gluten can lead to rolls that collapse after baking, lack the desired fluffy texture, or become dense and heavy. Knead until the dough is smooth, elastic, and passes the “window-pane test” (though this recipe relies on timing, knowing the visual cues for developed gluten is always a bonus).
How to Make Potato Rolls: A Step-by-Step Guide
Follow these detailed instructions to create perfectly soft and tender potato rolls. You’ll find further specifics and precise measurements in the comprehensive recipe card below.
Make the Potatoes:
Step 1: Prepare Your Potatoes for Boiling. Begin by thoroughly washing your chosen potatoes. They can be boiled whole or chopped into smaller, roughly equal-sized pieces to ensure even cooking. Place them in a pot and cover them completely with water. This technique helps prevent the potatoes from absorbing excess moisture during boiling, which could make your dough too wet.
Step 2: Boil, Mash, and Cool. Bring the pot of potatoes to a rolling boil and cook until they are completely fork-tender. Once cooked, drain the liquid thoroughly. While the potatoes are still warm, mash them until smooth. You can achieve this by hand with a potato masher or use the paddle attachment on your Kitchen Aid mixer for speed. Just be careful not to overmix, as this can make the potatoes gummy. Allow the mashed potatoes to cool completely at room temperature, then cover them well and place them in the refrigerator until chilled and ready to use. Chilled potatoes are easier to incorporate into the dough.
Chef’s Insight: Mashing potatoes while they’re warm helps break them down effectively and prevents them from becoming gluey later. Cooling them completely is crucial for dough consistency, as warm potatoes can prematurely activate the yeast or melt the butter.
Make the Dough:
Step 3: Prepare Yeast and Warm Milk. In a small bowl, sprinkle the active dry yeast and set aside. Next, gently warm the whole milk in a small saucepan over low heat or in the microwave until it is warm to the touch, but not hot. Add a small amount of cold milk to the warm milk until the temperature registers between 100-110°F (38-43°C). This temperature range is ideal for activating yeast without killing it.
Step 4: Bloom the Yeast. Pour the temperature-controlled milk over the yeast in the small bowl. Stir gently to combine, then let the mixture sit undisturbed for 5-10 minutes. During this time, the yeast should “bloom” or become foamy, indicating it is active and ready to be added to your dough. If it doesn’t foam, your yeast may be old or the milk too hot/cold.
Step 5: Combine Wet Ingredients. In the bowl of a stand mixer fitted with the dough hook attachment, combine the large eggs, the cooled mashed potatoes, and the bloomed milk-yeast mixture. Mix on low speed for a few minutes until all ingredients are thoroughly combined into a smooth, paste-like consistency. Scrape down the sides of the bowl as needed to ensure even mixing.
Step 6: Incorporate Dry Ingredients. Add the all-purpose flour, granulated sugar, and kosher salt to the mixing bowl. Continue to mix on low speed for approximately 15 minutes. This extended mixing time is crucial for developing the gluten structure, which will give your potato rolls their characteristic elasticity and soft crumb. The dough should become smooth, elastic, and pull away from the sides of the bowl.
Step 7: Gradually Add Butter. With the mixer still running on medium speed, add the cold, cubed unsalted butter all at once. Continue to mix for another 10 minutes, or as long as your stand mixer can comfortably handle the rich dough. The butter needs to be fully incorporated into the dough, making it even more pliable and tender. Be patient, this step contributes significantly to the brioche-like richness.
Troubleshooting Tip for Sticky Dough: If, due to the moisture from the potatoes, your dough remains excessively sticky and difficult to handle, you can gradually add a small amount of extra flour, one tablespoon at a time, until it becomes tacky but not wet. While this isn’t ideal as it can slightly alter the intended flavor and texture, it’s a tried-and-true method that has saved many batches of rolls in professional kitchens. Trust the process and adjust as needed.
Shape and Proof:
Step 8: Divide the Dough Evenly. Turn the prepared dough out onto a clean, *non-floured* surface. Divide the dough into 16 equal pieces. While you can eyeball this, for consistently sized and evenly baked rolls, it’s highly recommended to use a kitchen scale. Each piece should ideally weigh around 65 grams.
Step 9: Shape the Rolls into Boules. Lightly spray your clean counter surface and your chosen baking dish with a non-stick cooking spray. Take each dough portion and shape it into a tight boule (a round ball) using your thumb and fingers as a guide. The goal is to create surface tension on the outside of the roll, which helps it hold its shape and rise beautifully during proofing and baking.
Important Shaping Note: Resist the urge to flour your work surface during shaping. If you use flour, the dough won’t have enough friction to grip the counter, making it difficult to create the necessary surface tension and achieve that perfectly tight, round shape we’re looking for. It will simply slip and slide, resulting in loose, misshapen rolls.
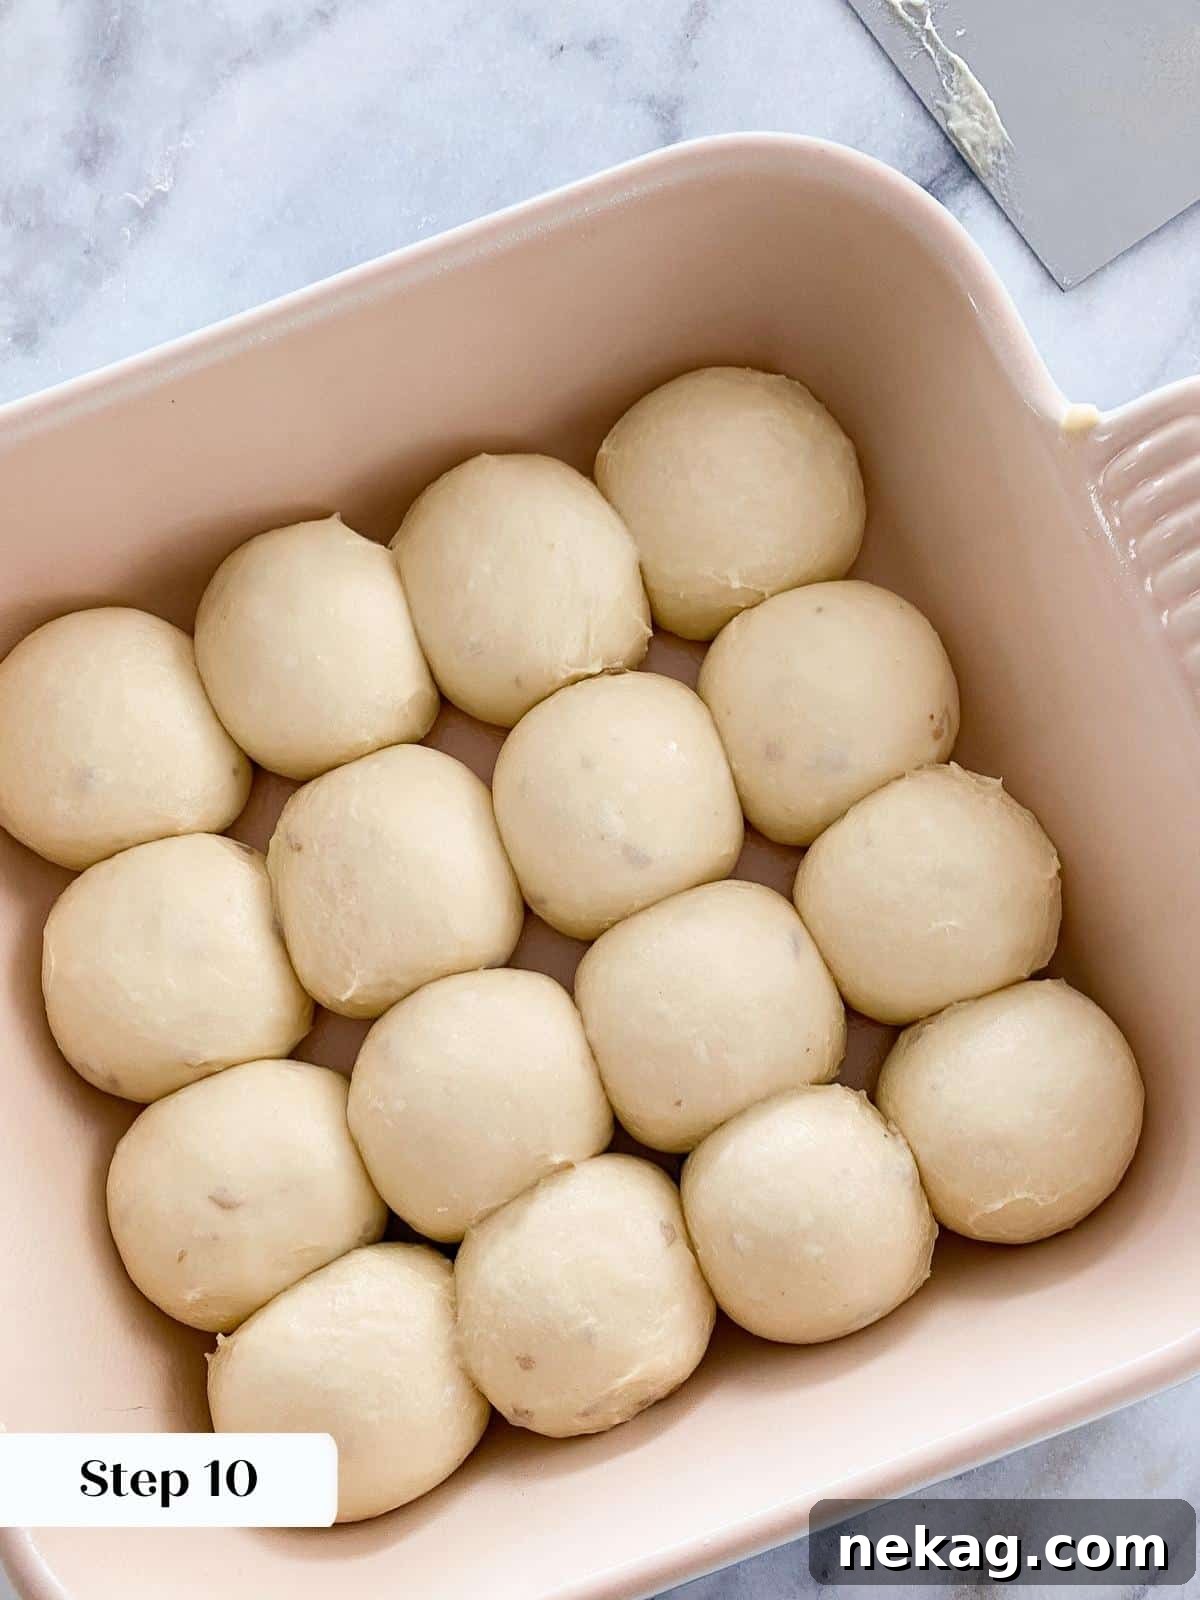
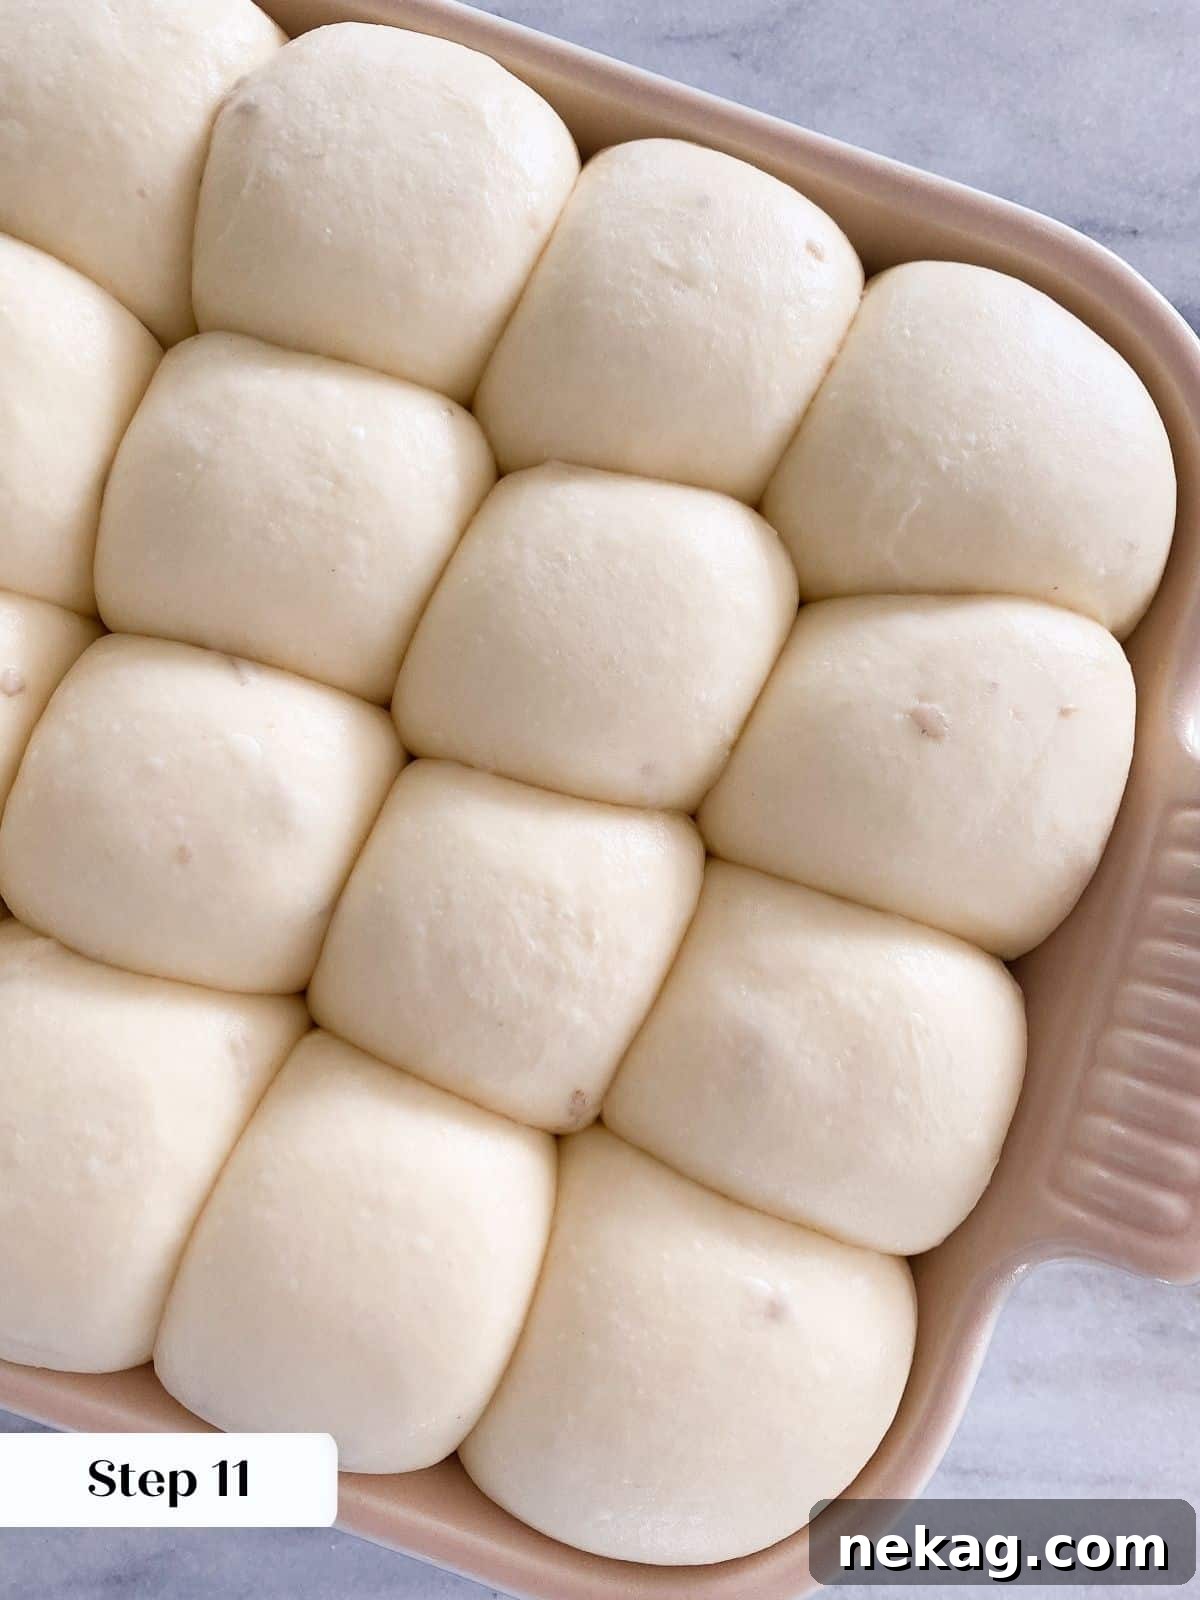
Step 10: Arrange Rolls for Proofing. Carefully place the shaped rolls into your greased baking dish if you prefer taller, softer rolls that kiss each other as they rise and bake. Alternatively, arrange them on a parchment-lined baking sheet for flatter, but equally delicious, individual rolls (refer to Photo 1 for arrangement before proofing).
Step 11: Proof the Rolls. Loosely cover the baking dish or sheet with plastic wrap or a clean kitchen towel. Place the covered rolls in a warm, draft-free spot. A slightly warm oven on a proof setting (if your oven has one) is an excellent option. Allow the rolls to proof until they have visibly tripled in size and appear light, airy, and very fluffy (refer to Photo 2 for proofed rolls). This usually takes about 1 hour and 30 minutes, but depends on your environment. Once proofed, preheat your oven to 350°F (175°C).
Critical Proofing Reminder: If you are utilizing your oven’s proof setting, ensure you remove the rolls with ample time for the oven to fully preheat to 350°F. Over-proofed potato rolls can sometimes collapse during baking, so timing is everything for that perfect rise.
Time to Bake:
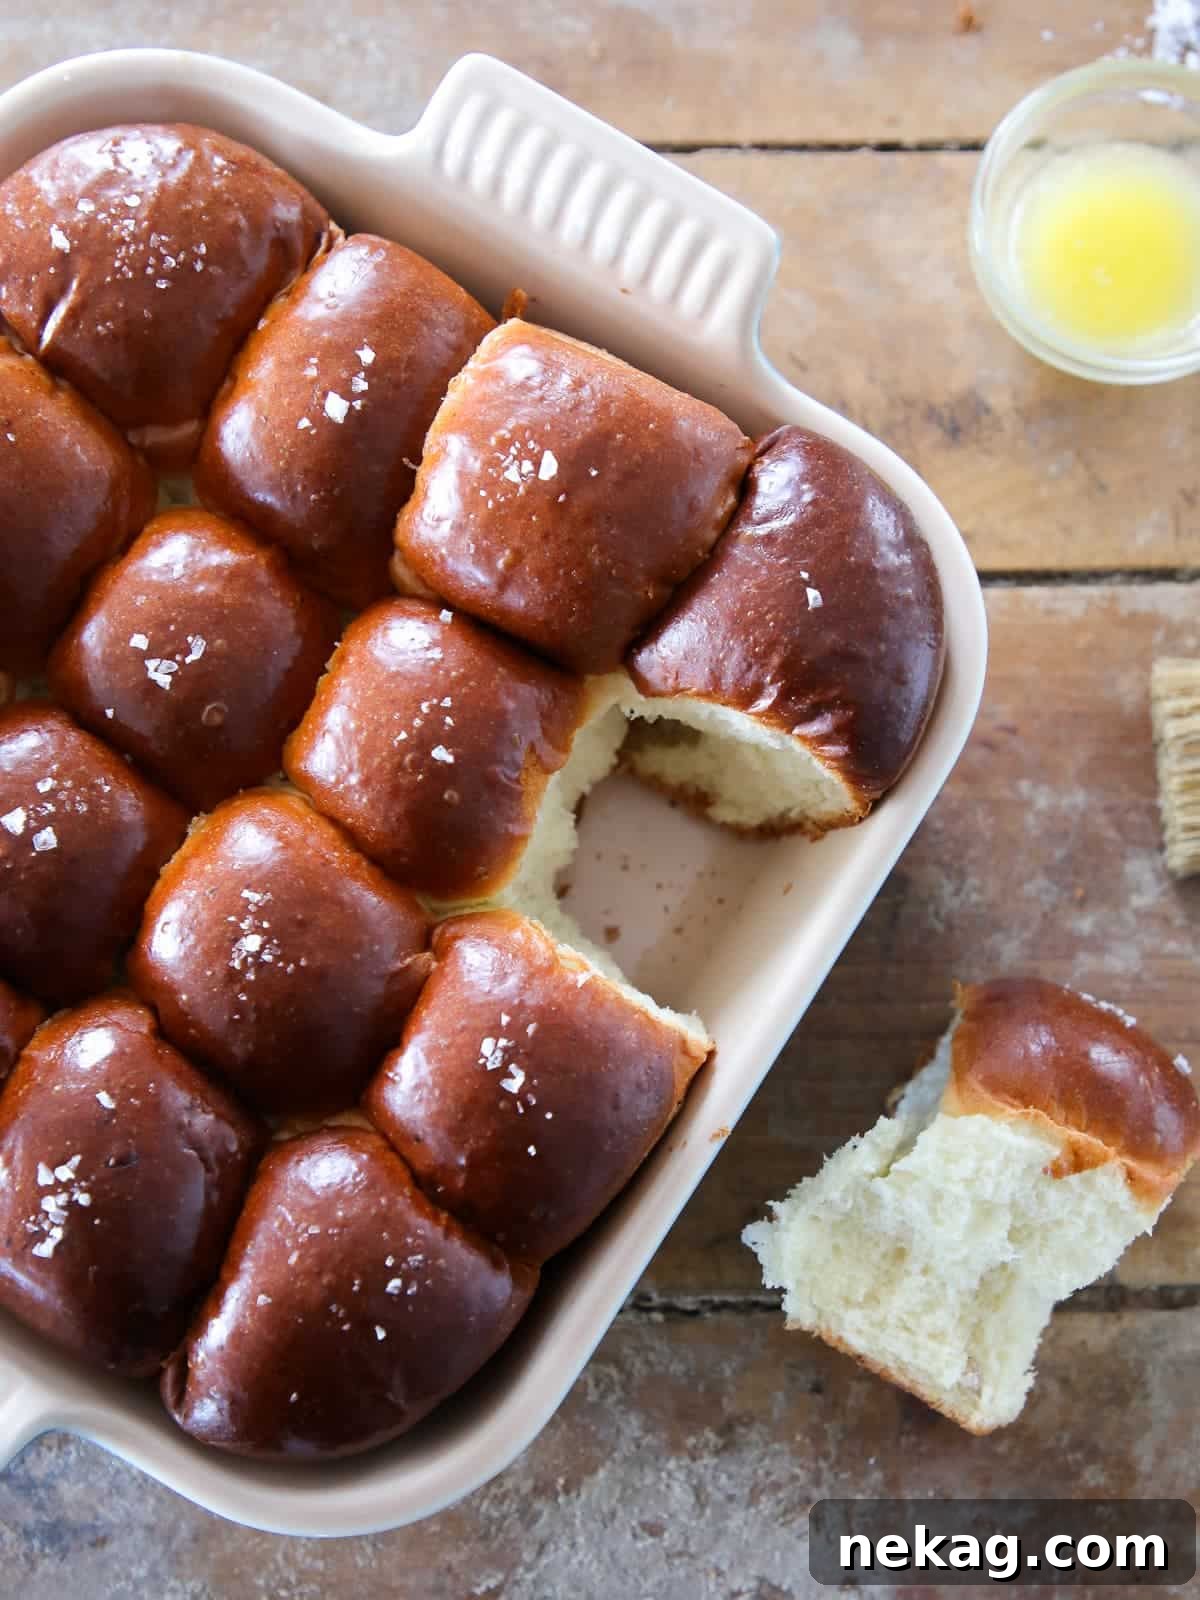
Step 12: Bake to Golden Perfection. Place the proofed rolls into the preheated oven at 350°F (175°C). Bake for approximately 20-25 minutes, or until the tops are a beautiful dark golden brown. The precise baking time will vary depending on your oven and whether the rolls are closely nestled in a ceramic baking dish (which may take longer due to slower heat transfer) or spaced individually on a baking pan (which typically bake in about 8-10 minutes). For optimal doneness, the internal temperature of the center-most roll should register 185°F (85°C) when checked with an instant-read thermometer or cake tester.
Doneness Check: To ensure your rolls are perfectly baked through, insert a cake tester or an instant-read thermometer into the center of one of the middle rolls. It should come out clean, or the thermometer should read 185°F (85°C).
Step 13: The Buttery Finish. Immediately after removing the homemade potato rolls from the oven, generously brush their tops with melted butter. This not only adds an extra layer of richness and shine but also contributes to a softer crust. For a touch of gourmet flair and enhanced flavor, sprinkle a little fleur de sel (flaky sea salt) over the buttered tops before serving. Serve warm and enjoy the pure comfort!
Chef Lindsey’s Recipe Tip
If you’re preparing a larger batch of these delicious potato rolls for a holiday feast like Thanksgiving or Christmas (e.g., a 2x or 3x recipe), it’s crucial to manage your dough effectively. Always use plastic wrap to cover any portion of the dough you aren’t actively working with. Exposed dough can quickly form a dry “skin” on top, which makes it incredibly difficult to shape smoothly and can lead to uneven, less appealing rolls. Keeping it covered maintains its moisture and pliability.
Potato Roll Recipe FAQs
Have questions about these delectable potato rolls? We’ve got answers!
Once completely cooled, your homemade potato rolls can be stored in an airtight container or well-wrapped at room temperature for up to 5 days. For longer storage, they freeze exceptionally well. Wrap them tightly in plastic wrap and then in aluminum foil, or place them in a freezer-safe bag, and they will keep for up to 2 months. Since these rolls do not contain preservatives, their texture will be at its absolute best if consumed within 2-3 days of baking. Leftover rolls also make fantastic ingredients for other dishes, such as this comforting easy bread pudding recipe or this vibrant lemon bread pudding.
For the lightest and fluffiest potato rolls, varieties like Russet, Yukon Gold, or Idaho potatoes are ideal. These types have higher starch levels compared to waxy potatoes, which contributes to a lighter, airier texture when mashed. This characteristic translates directly into a more delicate and tender crumb in your finished bread, enhancing the overall quality of your dinner rolls.
Potato bread, and by extension potato rolls, distinguish themselves from regular bread primarily through the inclusion of mashed potatoes or potato flour in the dough, often in addition to or as a partial substitute for wheat flour. This crucial ingredient swap imparts a distinctively richer, moister, and often slightly sweeter taste compared to traditional yeast rolls. The potatoes also contribute to an incredibly tender crumb and help the bread stay fresh longer, often with a subtle, earthy potato flavor that adds complexity.
Yes, these homemade potato rolls are excellent for making ahead! You can prepare the dough and let it undergo its first rise (bulk fermentation) in the refrigerator overnight. This slow, cold proof actually enhances the flavor development. Alternatively, after shaping the rolls, you can cover them tightly and refrigerate them for their second proof for up to 18-24 hours. Just let them come to room temperature for about 30-60 minutes before baking to ensure optimal rising.
While fresh mashed potatoes are always recommended for the best flavor and texture in these fluffy potato rolls, instant mashed potatoes can be used as a substitute in a pinch. If you opt for instant, ensure they are unseasoned and prepared without milk or butter (just water) before adding them to the dough, or adjust the recipe’s milk and butter accordingly to maintain the correct dough consistency.
Explore More Delicious Bread Recipes
Homemade Bread Recipes
Classic Potato Bread
Dinner Roll Recipes
Savory Pumpkin Herb Dinner Rolls
Dinner Roll Recipes
Effortless Easy Dinner Roll Recipe
Dinner Roll Recipes
Sweet Pumpkin Spice Dinner Rolls
If you tried this potato roll recipe and loved it, please consider leaving a 🌟 star rating and sharing your experience in the comments below. Your feedback truly brightens my day!
Potato Rolls Recipe Card
Ingredients
- 3 ¾ cups all-purpose flour
- 1 tablespoon kosher salt (not table salt!)
- 3 tablespoons sugar
- 2 large eggs
- 2 tablespoons whole milk
- 3 ½ teaspoons dry active yeast
- 1 ¾ cups mashed potatoes (cooled)
- ⅓ cup unsalted butter (cold, cubed)
Instructions
Make the potatoes:
- Place your washed potatoes in a pot. They can be whole or chopped. Cover the potatoes in water to prevent them from absorbing too much moisture.
- Bring to a boil and cook until fork tender. Drain the liquid and mash the potatoes while still warm. Cool the potatoes at room temperature, then place them well-wrapped in the fridge.
Make the dough:
- Add active dry yeast to a small bowl and set aside. Warm the milk in a small saucepan or microwave. Add a little cold milk to the warm milk until it reaches 100-110°F.
- Add the milk to the yeast, stir gently, and allow it to bloom for 10 minutes before adding it to the dough.
- In the bowl of a stand mixer fitted with the dough hook, combine the eggs, potatoes, and milk-yeast mixture. Mix on low speed until combined into a smooth paste.
- Add the flour, sugar, and salt to the mixing bowl and continue to mix on low speed for 15 minutes until a smooth dough forms.
- Add the cubed butter all at once and mix on medium for 10 minutes—or as long as your stand mixer can handle!
Shape and Proof:
- Turn the dough out onto a non-floured surface and divide it into 16 equal pieces. For evenly baked rolls, use a kitchen scale (they should weigh 65g).
- Spray the counter and your baking dish with non-stick spray and shape each portion into boules (rounds) using your thumb as a guide.
- Place the rolls in the greased baking dish for tall rolls or on a parchment-lined baking sheet for flatter, but still delicious, rolls.
- Cover the rolls loosely in plastic wrap or a kitchen towel and place them in a warm spot or in your oven on a proof setting. Proof until the rolls triple in size and are light and fluffy. Preheat the oven to 350°F.
Time to Bake:
- Bake in the preheated oven at 350°F for approximately 20-25 minutes or until dark golden brown. The timing will depend greatly on whether the rolls are in a ceramic baking dish or placed individually on the pan.
- Before serving, brush the tops with melted butter and sprinkle with a little fleur de sel.
Video Tutorial
Notes
Flavor Tips – For the best flavor, use unsalted, cooled mashed potatoes; salted potatoes can lead to overly salted bread.
Technique – Mash the potatoes while hot to break them apart and prevent moisture retention, avoiding sticky dough.
Variations – For a garlicky, cheesy twist, add cheddar, parmesan, and confit garlic after incorporating the butter.
Storage – Store well-wrapped at room temperature for up to 5 days or freeze for up to 2 months.
Nutrition Information (Approximate Per Roll)
Before You Go: More Culinary Adventures Await!
I genuinely hope you enjoyed mastering this foolproof dinner roll recipe. These fluffy potato rolls are sure to become a cherished addition to your recipe collection, perfect for any meal or celebration. If you’re hungry for more delightful culinary creations, be sure to explore our other easy and delicious side dish recipes. Indulge in our decadent white cheddar mac and cheese for ultimate comfort, or elevate your potato game with these rich and savory loaded mashed potatoes! Happy baking!