
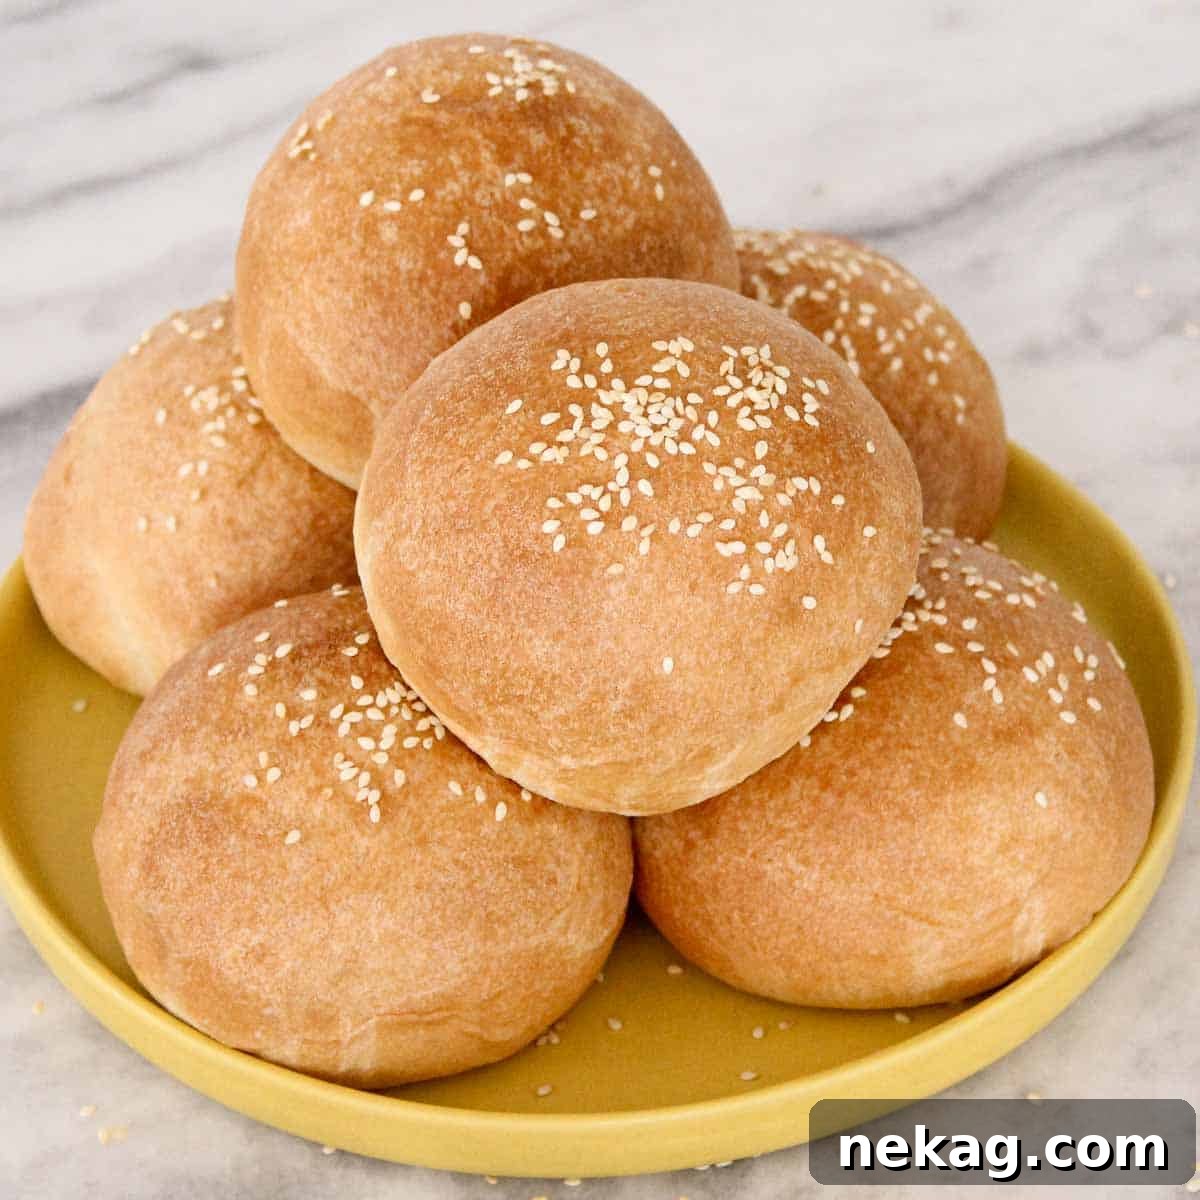
Welcome to the ultimate guide for making the most incredibly soft, buttery brioche hamburger buns right in your own kitchen! This isn’t just any recipe; it’s a meticulously developed and perfected formula straight from a high-end Manhattan steakhouse. Imagine serving your family and friends gourmet-quality buns that are effortlessly superior to anything you can buy at the store. Whether you’re making classic hamburgers, savory slow cooker BBQ chicken sandwiches, or simply want to instantly upgrade any sandwich, these brioche buns are your secret weapon for culinary excellence.
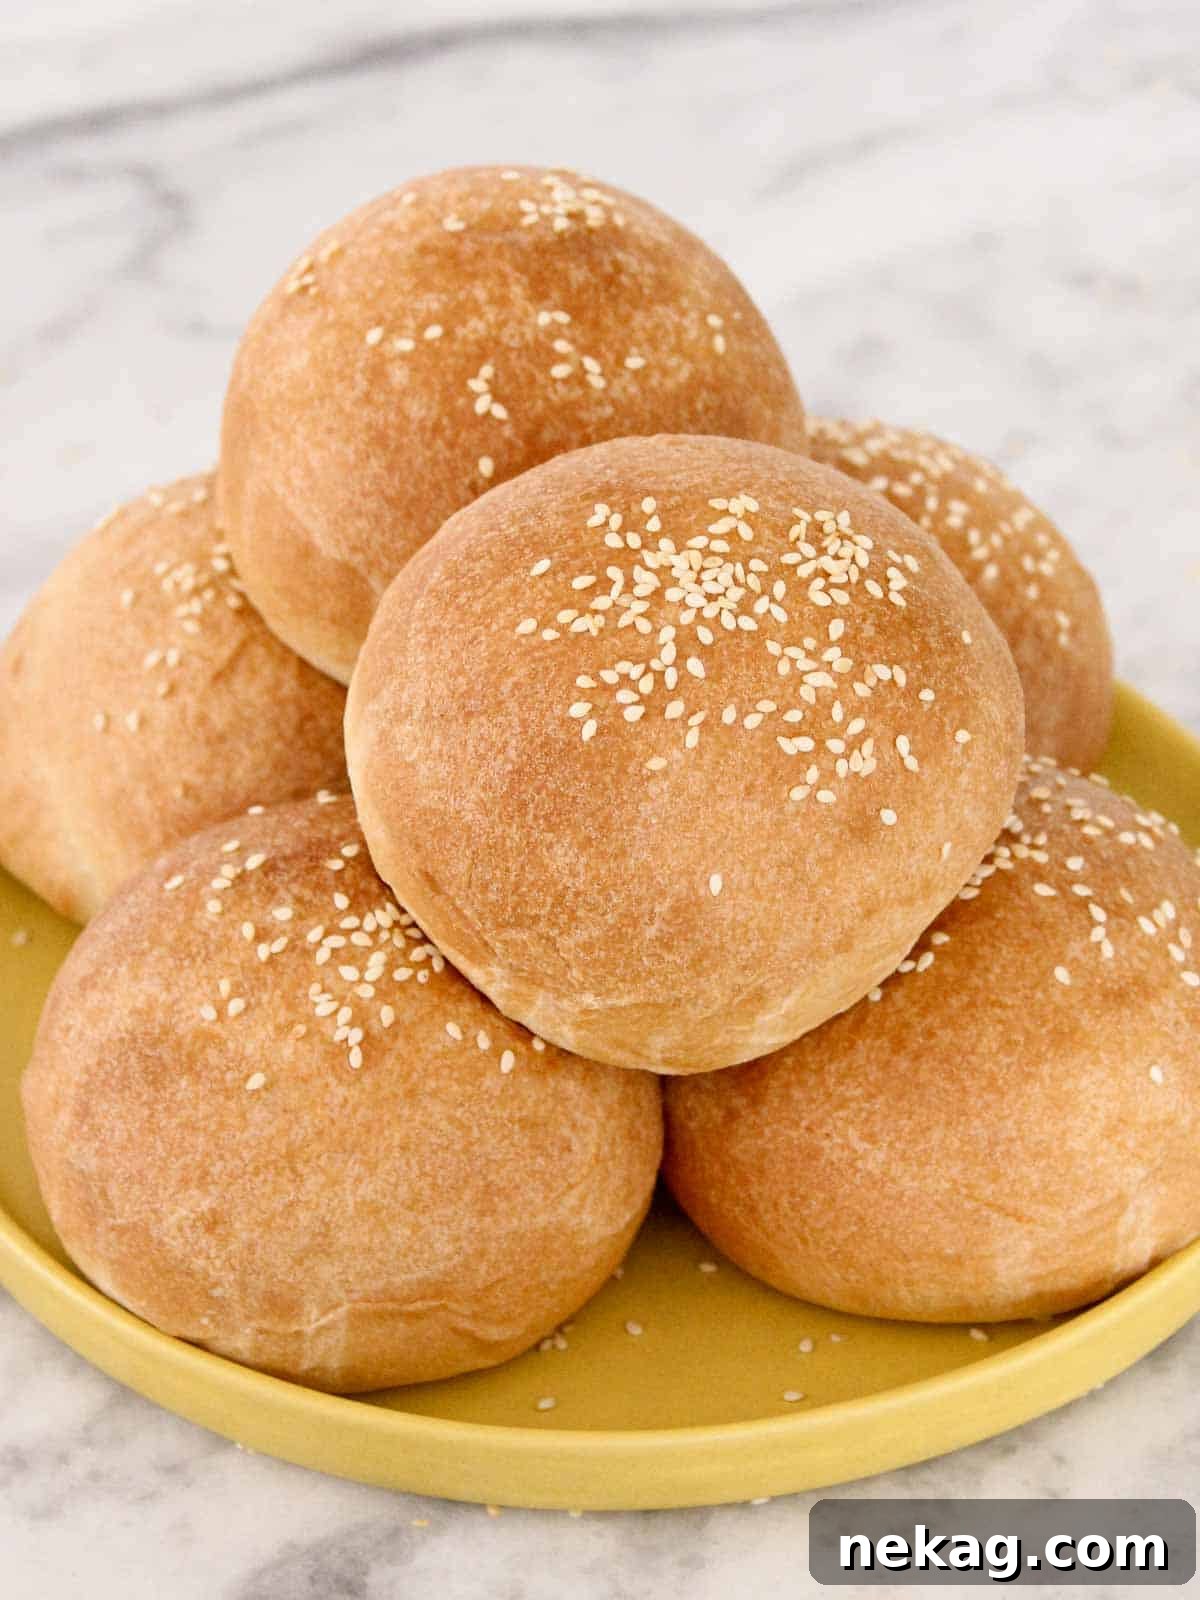
Crafting these professional-grade brioche buns might sound intimidating, but I assure you, they are much simpler to make than you think. The result is a bun with an exquisite flavor profile – rich and buttery, with just the right hint of sweetness that complements rather than overpowers. While they feature a generous amount of butter, they contain slightly less than my indulgent classic brioche bread recipe, yet they lose none of their incredible flavor or tender texture. This particular recipe holds a special place in my heart, as these are the very brioche hamburger buns we meticulously prepared daily at an esteemed NYC steakhouse during my culinary school days. They quickly became, and remain, my benchmark for what a perfect hamburger bun should be – a golden standard to which all other buns are compared.
Why This Brioche Bun Recipe Will Become Your Favorite
- Restaurant-Quality, Home-Kitchen Friendly: This recipe was born in the bustling kitchen of a top Manhattan steakhouse, meaning it has been rigorously tested and perfected under high-pressure, professional conditions. You’re getting an exclusive, easy-to-follow method that delivers truly restaurant-worthy buns, transforming your home cooking into a gourmet experience. Expect consistent excellence every time.
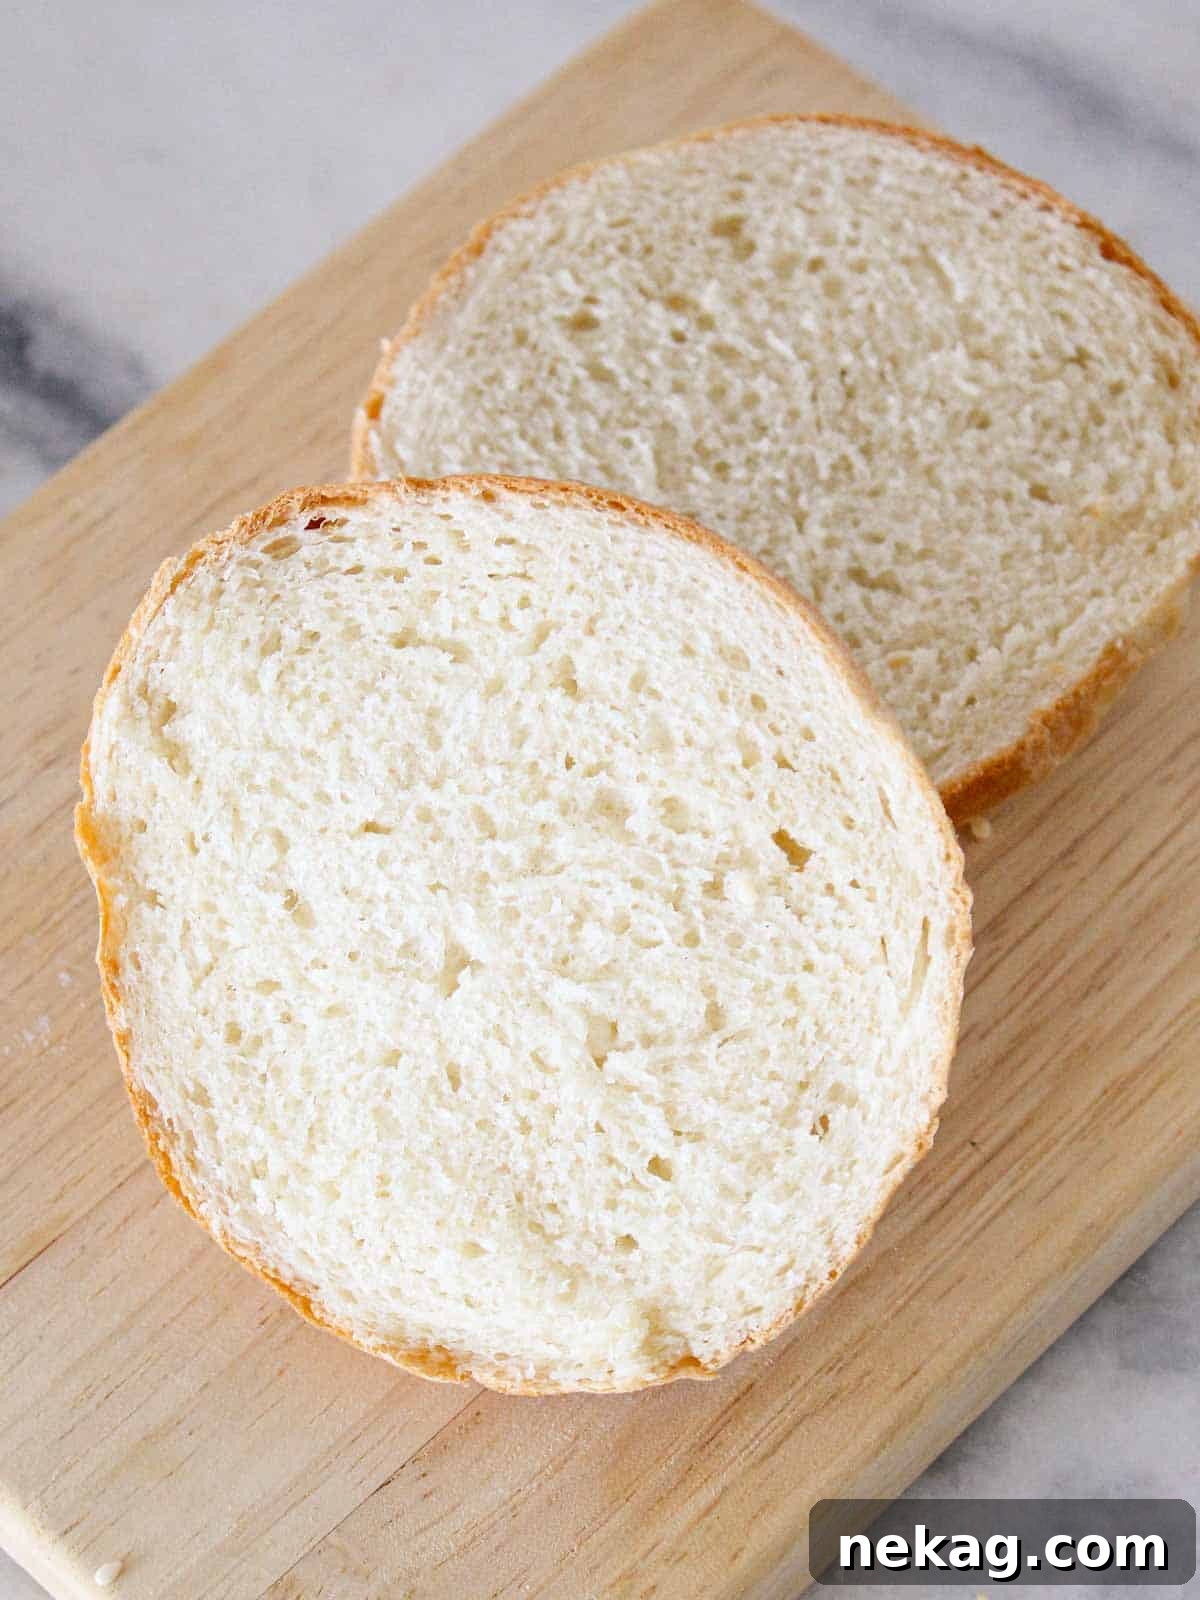
- Unrivaled Softness, Buttery Flavor, and Perfect Texture: Prepare for an unparalleled sensory experience. These brioche buns boast an incredibly soft, tender crumb that practically melts in your mouth, enveloped in a rich, buttery flavor and a subtle sweetness. Their delicate structure provides the ideal canvas for any burger or sandwich, enhancing every bite without ever becoming soggy.
- Remarkably Easy & Versatile Dough: Despite their luxurious taste, the dough for these brioche buns is surprisingly straightforward to work with. Even better, it’s incredibly versatile! You can use this same magnificent dough to create perfect hamburger buns, charming slider buns for appetizers, or fluffy dinner rolls for any meal. I’ve included detailed instructions for all three variations, giving you endless possibilities with one fantastic recipe.
Table of Contents
- Why You Will Love this Brioche Bun Recipe
- Essential Ingredients for Brioche Buns
- Professional Tips for Perfect Brioche Buns
- How to Make Brioche Hamburger Buns: Step-by-Step Guide
- Chef Lindsey’s Recipe Tip: Trust Your Instincts
- Ideas for Serving Your Homemade Brioche Buns
- Tips for Storing and Reheating Brioche Buns
- Recipe FAQs: Your Brioche Bun Questions Answered
- Recommended Bread Recipes
- Brioche Buns Recipe Card
- Before You Go: Explore More Bread Recipes
Essential Ingredients for Brioche Buns
Each ingredient in this brioche bun recipe plays a crucial role in achieving that perfect texture, flavor, and golden-brown finish. Here’s a closer look at what you’ll need and why:
- Whole Milk: I highly recommend using whole milk for its rich flavor and higher fat content. This contributes significantly to the tender crumb and overall luxurious mouthfeel of the buns. While low-fat or alternative milks can work, they may result in a slightly less rich and tender texture. Ensure your milk is warmed to the ideal temperature (100-110°F) to properly activate the yeast.
- Dry Active Yeast: I opt for dry active yeast because of its consistent performance and reliability. Unlike instant yeast, dry active yeast benefits from a brief “blooming” period, ensuring it’s alive and active. This initial proofing time also allows for a longer, slower fermentation, which is essential for developing the complex flavors and strengthening the gluten network, creating the ideal structural integrity for buns that can beautifully hold up to juicy fillings like turkey sloppy joes.
- Granulated Sugar: Beyond simply adding a hint of sweetness, granulated sugar serves several vital functions. It acts as food for the yeast, encouraging vigorous activity and a good rise. Additionally, sugar helps tenderize the dough and contributes to the beautiful golden-brown color of the crust during baking.
- All-Purpose Flour: My preferred choice is all-purpose flour because it offers a balanced gluten content. This provides just enough structure to create a strong, elastic dough that rises beautifully, yet not so much that the resulting buns become overly chewy or tough. If you use bread flour, your buns might be a bit chewier and less light. Save your robust whole wheat flour for heartier bakes, like some delicious honey whole wheat buttermilk rolls instead!
- Unsalted Butter: Butter is the heart of brioche, lending its signature richness, tenderness, and exquisite flavor. Using unsalted butter allows you to precisely control the overall salt content of your dough, ensuring perfect seasoning every time. For best results, ensure your butter is softened to room temperature for easier incorporation into the dough.
- Kosher Salt: This recipe calls for a significant amount of salt, which is crucial for both enhancing the flavor of the brioche and regulating yeast activity. It also plays a key role in strengthening the gluten structure. It’s important to use kosher salt, as its larger crystal size means it’s less salty by volume compared to fine table salt or even sea salt. Always measure carefully to achieve the perfect balance.
- Whole Egg: A single whole egg, beaten and used as a wash, is the secret to giving these buns their classic, irresistible burger bun shine and a beautiful golden crust. The egg wash also helps any toppings, like sesame seeds, adhere perfectly to the surface. While brushing with melted butter before baking will also add richness, it won’t yield the same iconic glossy finish.
- Sesame Seeds: For that authentic steakhouse look and a subtle nutty flavor, I recommend sesame seeds. In the restaurant, we often used a mix of both black and white sesame seeds for visual appeal, but feel free to use whichever variety you prefer or have on hand. Other options like poppy seeds or even everything bagel seasoning can also make a lovely topping.
For precise quantities and a complete nutritional breakdown, please refer to the comprehensive recipe card below.
Professional Tips for Perfect Brioche Buns
Leverage these insights from a professional kitchen to ensure your brioche buns turn out flawlessly every time, just like they would at a Manhattan steakhouse.
- Precision for Perfection: Consistency is Key. One of the most valuable tools in a baker’s arsenal is an inexpensive kitchen scale. Measuring ingredients by weight rather than volume (cups) ensures far greater accuracy, which is paramount in baking. Not only will a scale help you get the exact right amount of each ingredient into your dough, but it’s also essential for dividing the dough into uniformly sized pieces. Consistently sized buns are crucial for even proofing and baking, guaranteeing that every single bun emerges from the oven perfectly golden and cooked through at the same time.
- The Art of Proofing: Don’t Skip Either Rise. The proofing stages are where much of the magic happens in bread making, transforming a simple dough into a flavorful, airy delight. It can be tempting to rush or skip the bulk proof (the first rise), but resist this urge at all costs. This initial, longer proofing period is absolutely essential for the yeast to develop complex flavors and for the gluten network to properly strengthen and relax. Skipping it will result in a less flavorful and denser bun. The second, shorter proofing helps the shaped buns achieve their final airy texture. Give your dough the time it needs, and you’ll be rewarded with superior results.
- Baking with Confidence: Measure by Weight to Easily Scale This Recipe. Understanding how to measure ingredients by weight (grams or ounces) unlocks the ability to confidently scale any bread recipe up or down. If you want to make a larger batch for a party or a smaller batch for a weeknight dinner, simply adjust all ingredient weights proportionally. I’ve personally made batches as large as 40 quarts of this exact dough in a commercial kitchen, so trust in the power of your kitchen scale. You can halve this recipe to make 4 perfect burger buns, or scale it up to produce 18 sliders with ease and consistent success.
How to Make Brioche Hamburger Buns: Step-by-Step Guide
Follow these detailed instructions to create consistently perfect, soft, and buttery brioche buns every time. For precise measurements and additional details, refer to the full recipe card found below.
Make & Shape the Brioche Dough:
Step 1: Activate the Yeast. In the bowl of your stand mixer, whisk together the active dry yeast, warm whole milk (ensure it’s between 100 – 110°F or 38-43°C to properly activate the yeast without killing it), and granulated sugar. Give it a gentle stir and then allow the mixture to sit undisturbed for approximately 10 minutes. You’ll know the yeast is active and healthy when the surface becomes visibly bubbly and frothy.
Step 2: Mix the Dough. To the bubbly yeast mixture in the mixer bowl, add the all-purpose flour, softened unsalted butter, and kosher salt. Begin mixing with the paddle attachment on low speed to combine the ingredients until a shaggy dough forms. Once combined, switch to the dough hook attachment. Increase the mixer speed to medium and continue mixing to develop the gluten. This process will take several minutes. You’ll know the dough is properly developed when it pulls away cleanly from the sides of the bowl, and its surface appears smooth, elastic, and slightly glossy.
Professional Insight: Butter Incorporation Timing. For a slightly faster mixing time, you can develop the gluten in the dough first (without the butter). This is because butter can sometimes inhibit initial gluten formation. Once a smooth dough has formed and is pulling away from the bowl, reduce the mixer speed to low and add the softened butter all at once. Continue mixing until the butter is completely incorporated, with no visible pieces or streaks remaining. Then, proceed to step 3.
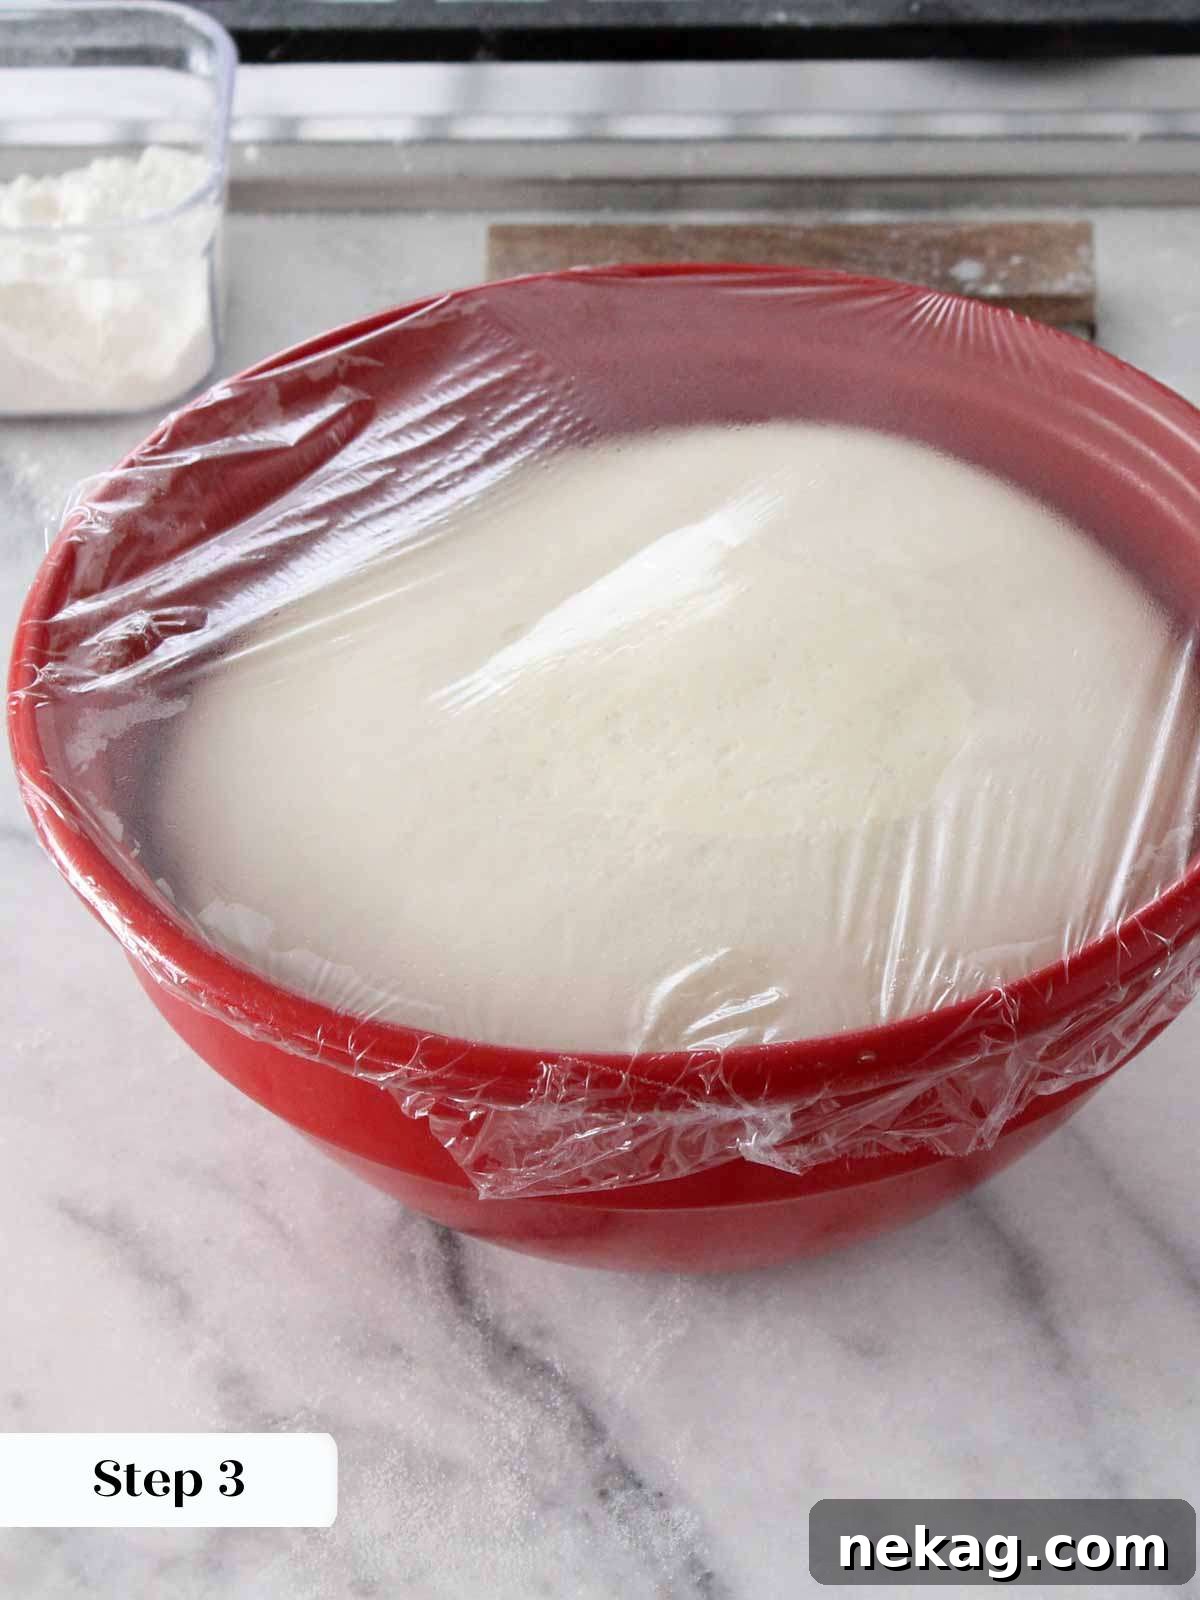
Step 3: First Rise (Bulk Proof). Transfer the freshly mixed dough into a large bowl that has been lightly coated with cooking spray or a thin layer of oil. This prevents sticking. Cover the bowl securely with plastic wrap to create a humid environment, which aids in rising and prevents a dry crust. Place the covered bowl in a warm spot in your kitchen (an oven with just the light on, or a sunny spot, works well) and allow it to proof until it has beautifully doubled in size. This crucial step typically takes approximately 1 to 1.5 hours, depending on the warmth of your environment.
Step 4: Divide the Dough. Once the dough has completed its bulk proof, gently punch it down to release the air. For standard hamburger buns, divide the dough into 8 equal pieces, each weighing between 110 – 115 grams. If you don’t have a scale, you can eyeball eight equal portions. For smaller slider buns or dinner rolls, aim for pieces between 45-50g. For hotdog buns, portions should be between 75-85g. This recipe is designed to yield 8 perfect hamburger buns, or alternatively, about 36 slider buns, or 22 hotdog buns.
Step 5: Shape the Buns. This shaping technique creates the perfect surface tension for a tall, round bun. Take one piece of divided dough and gently pull its four corners into the center, effectively sealing it. Flip the dough over so the seam side is down onto an un-floured surface. The natural stickiness of the dough will help you here. Place the dough under the palm of your hand and, without letting the dough roll freely, roll it in a circular motion to tighten it into a smooth ball. Use your thumb to gently tuck the dough under itself, pulling back towards you with your other fingers. Continue this motion, tightening the dough until its surface is perfectly smooth and the ball stands tall and proud on your counter.
Shaping Perfection: Avoid Cracks. If you notice the surface of your dough ball starting to crack during shaping, it’s a sign that you’re creating too much tension. Continuing to shape at this point will only make the gluten contract more, potentially leading to a tough bun. For your next piece, simply apply slightly less tension. The ideal amount of shaping results in a dough ball that holds its shape, sits up tall on the counter, and has a flawlessly smooth top surface.
Step 6: Arrange for Final Proof. Carefully place your beautifully shaped dough balls onto a baking sheet lined with parchment paper, ensuring they are spaced about 3 inches apart to allow for expansion during the final proof. To prevent the dough from drying out and to maintain a moist environment for rising, spray the surface of a piece of plastic wrap with non-stick cooking spray and gently lay it directly over the dough balls, allowing it to loosely tent them.
Final Proofing & Baking:
Step 7: Final Proofing. Return the covered dough to a warm spot for its final proof. Allow the buns to rise until they feel noticeably light and airy when gently squeezed. They should be a bit more than doubled in size, appearing plump and delicate. This stage typically takes approximately 30-45 minutes, though the exact time will vary depending on the ambient temperature and humidity of your kitchen.
Moisture is Your Friend: During both proofing stages, it’s crucial to lock in moisture. Using plastic wrap or a reusable dough cover directly over the dough prevents the top surface from drying out and forming a skin, which can hinder a good rise. If you absolutely must use a kitchen towel, ensure it is lightly dampened.
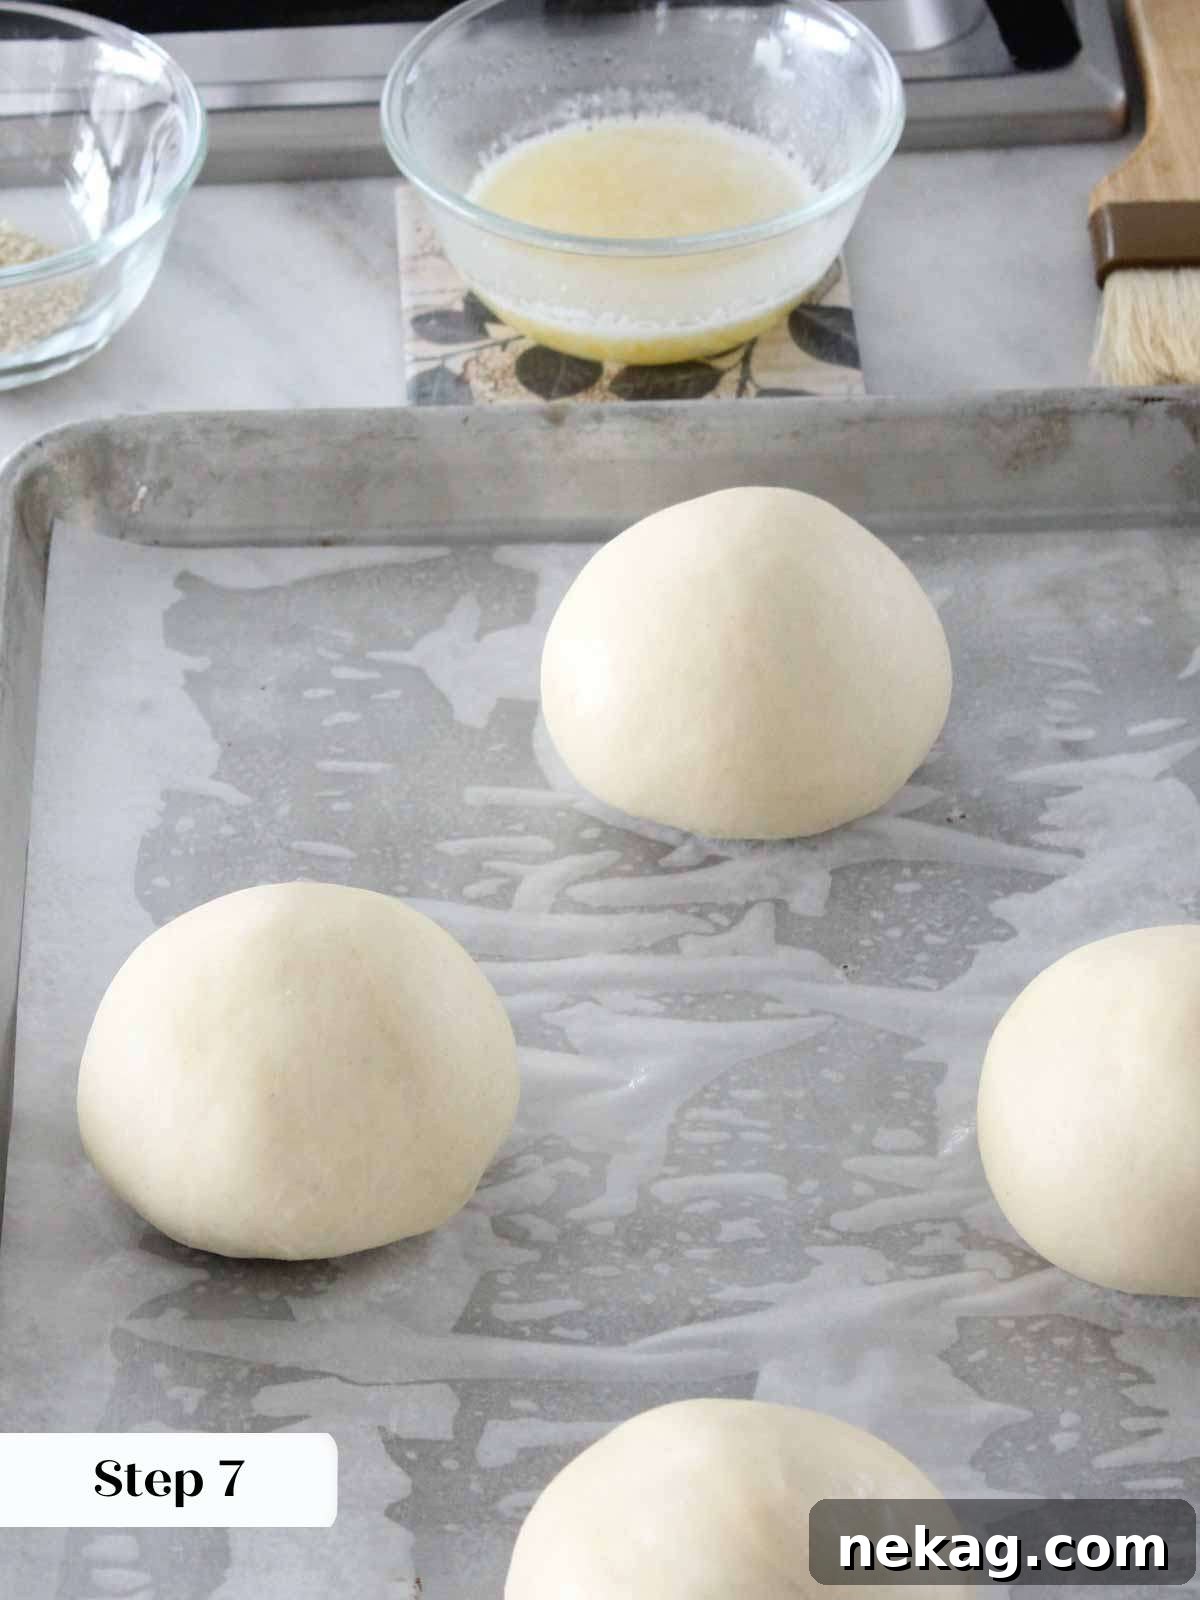
Step 8: Preheat Oven. While your buns are completing their final proof, preheat your oven to 350°F (175°C) if using convection (with a fan), or 375°F (190°C) if using a conventional oven (no fan). Proper preheating ensures the oven reaches a consistent temperature for even baking and a good oven spring.
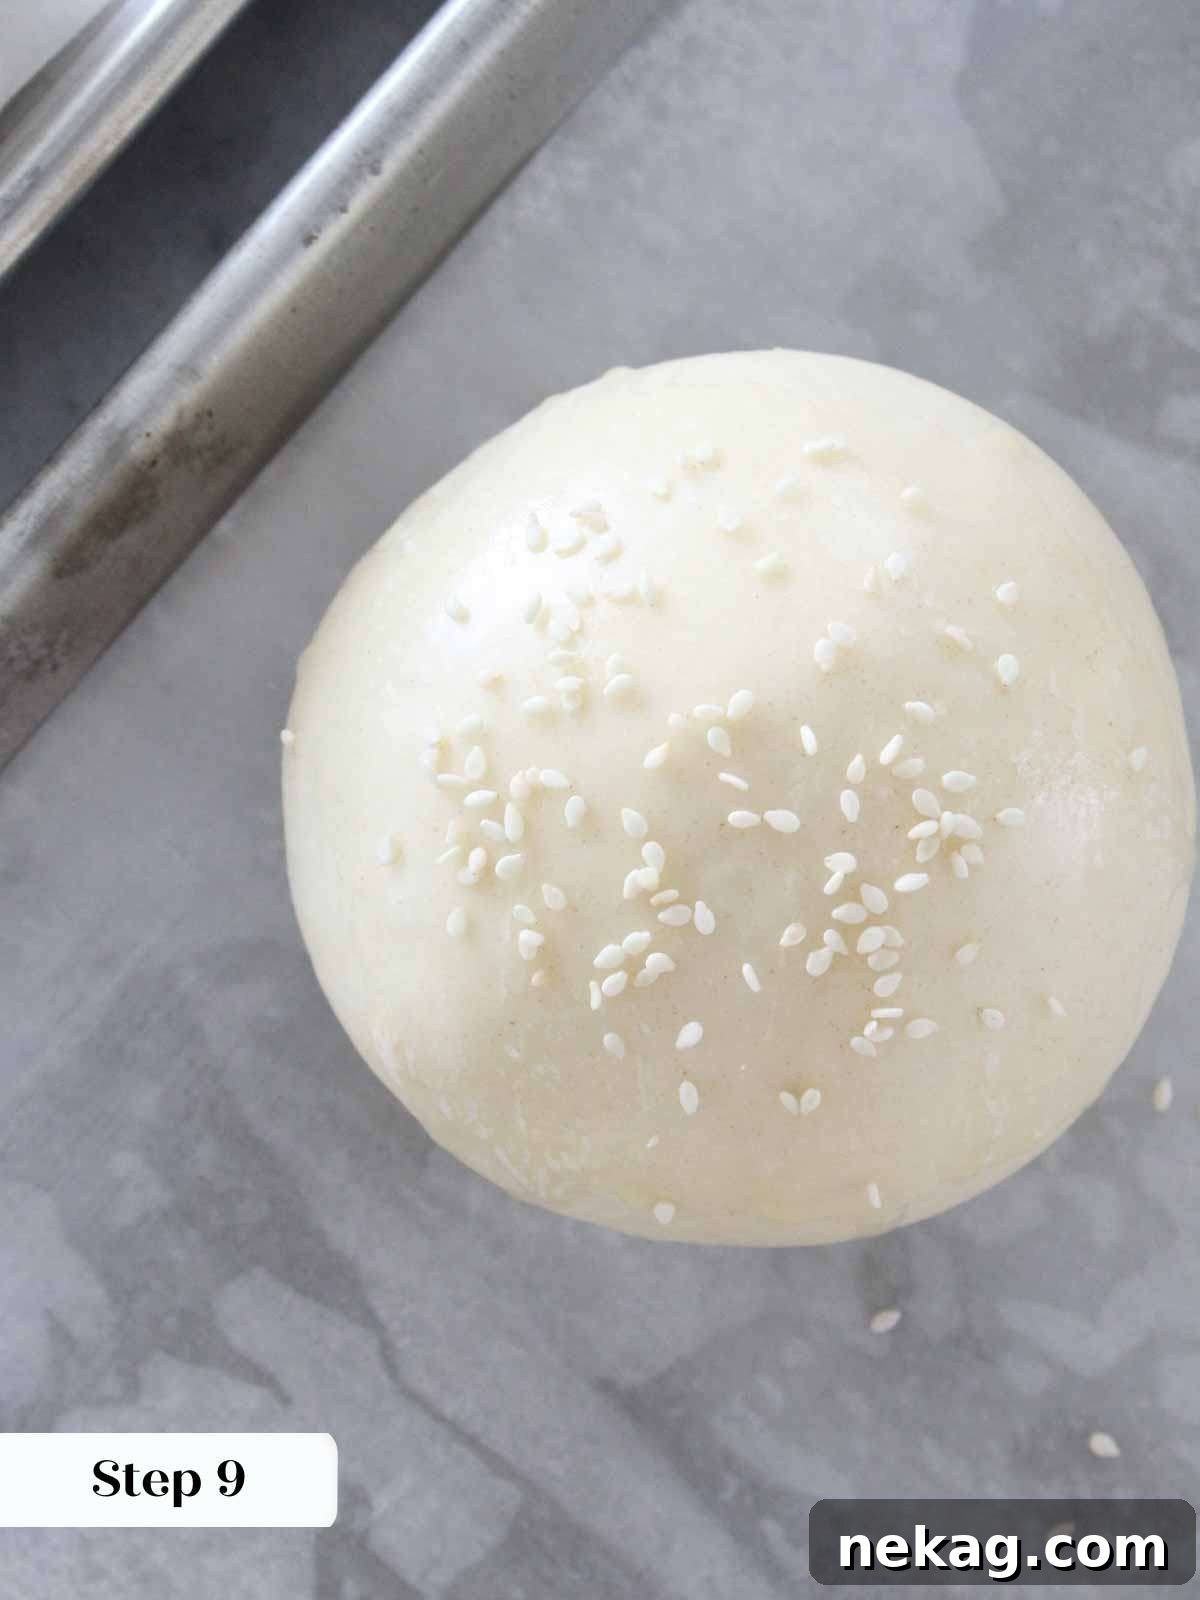
Step 9: Apply Egg Wash & Toppings. Just before baking, gently brush the tops of each proofed bun with the beaten whole egg. This egg wash is key for achieving that classic, glossy, golden-brown crust. If desired, sprinkle generously with sesame seeds (black, white, or a mix) or other chosen toppings over the egg wash; the wash will help them adhere beautifully.
Step 10: Bake to Golden Perfection. Carefully place the baking sheet into the preheated oven. Bake until the brioche buns are puffed up, beautifully golden brown on top, and cooked through. This will typically take approximately 12-15 minutes, but keep an eye on them as oven temperatures can vary. Once baked, transfer them to a wire rack to cool slightly before serving. Enjoy!
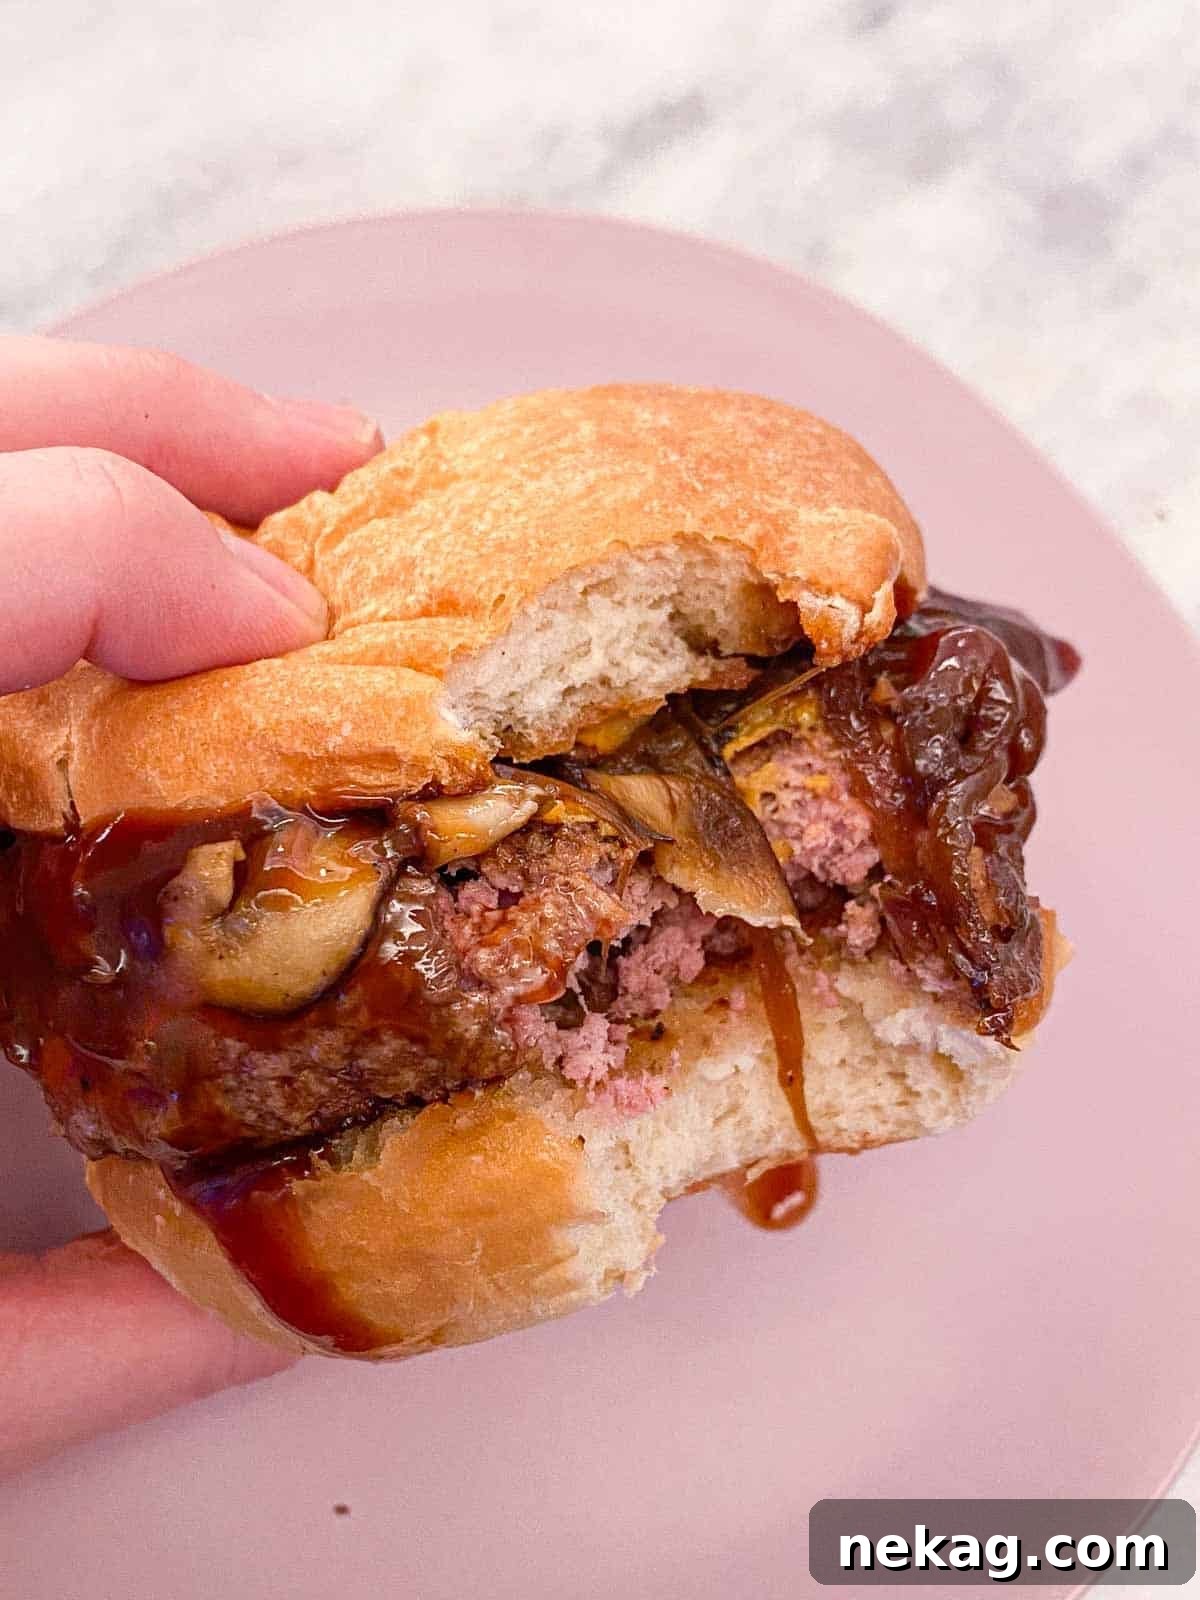
Chef Lindsey’s Recipe Tip: Trust Your Instincts in Baking
When it comes to baking, particularly with yeasted doughs, developing an intuitive “feel” for the dough is often more important than rigidly adhering to the clock. Be patient with yourself and truly welcome any mistakes you make, as they are invaluable learning opportunities! This tactile understanding takes practice. If your buns are proofed for too little time, they will appear dense and compact, lacking that desirable airy texture. On the other hand, if they are proofed for too long, they risk over-fermenting, which can cause them to deflate in the oven, develop a slightly sour off-flavor, and result in a texture that might be light but ultimately flat and coarse. Learn to observe the dough – its elasticity, its rise, its springiness – and let those observations guide you more than a timer.
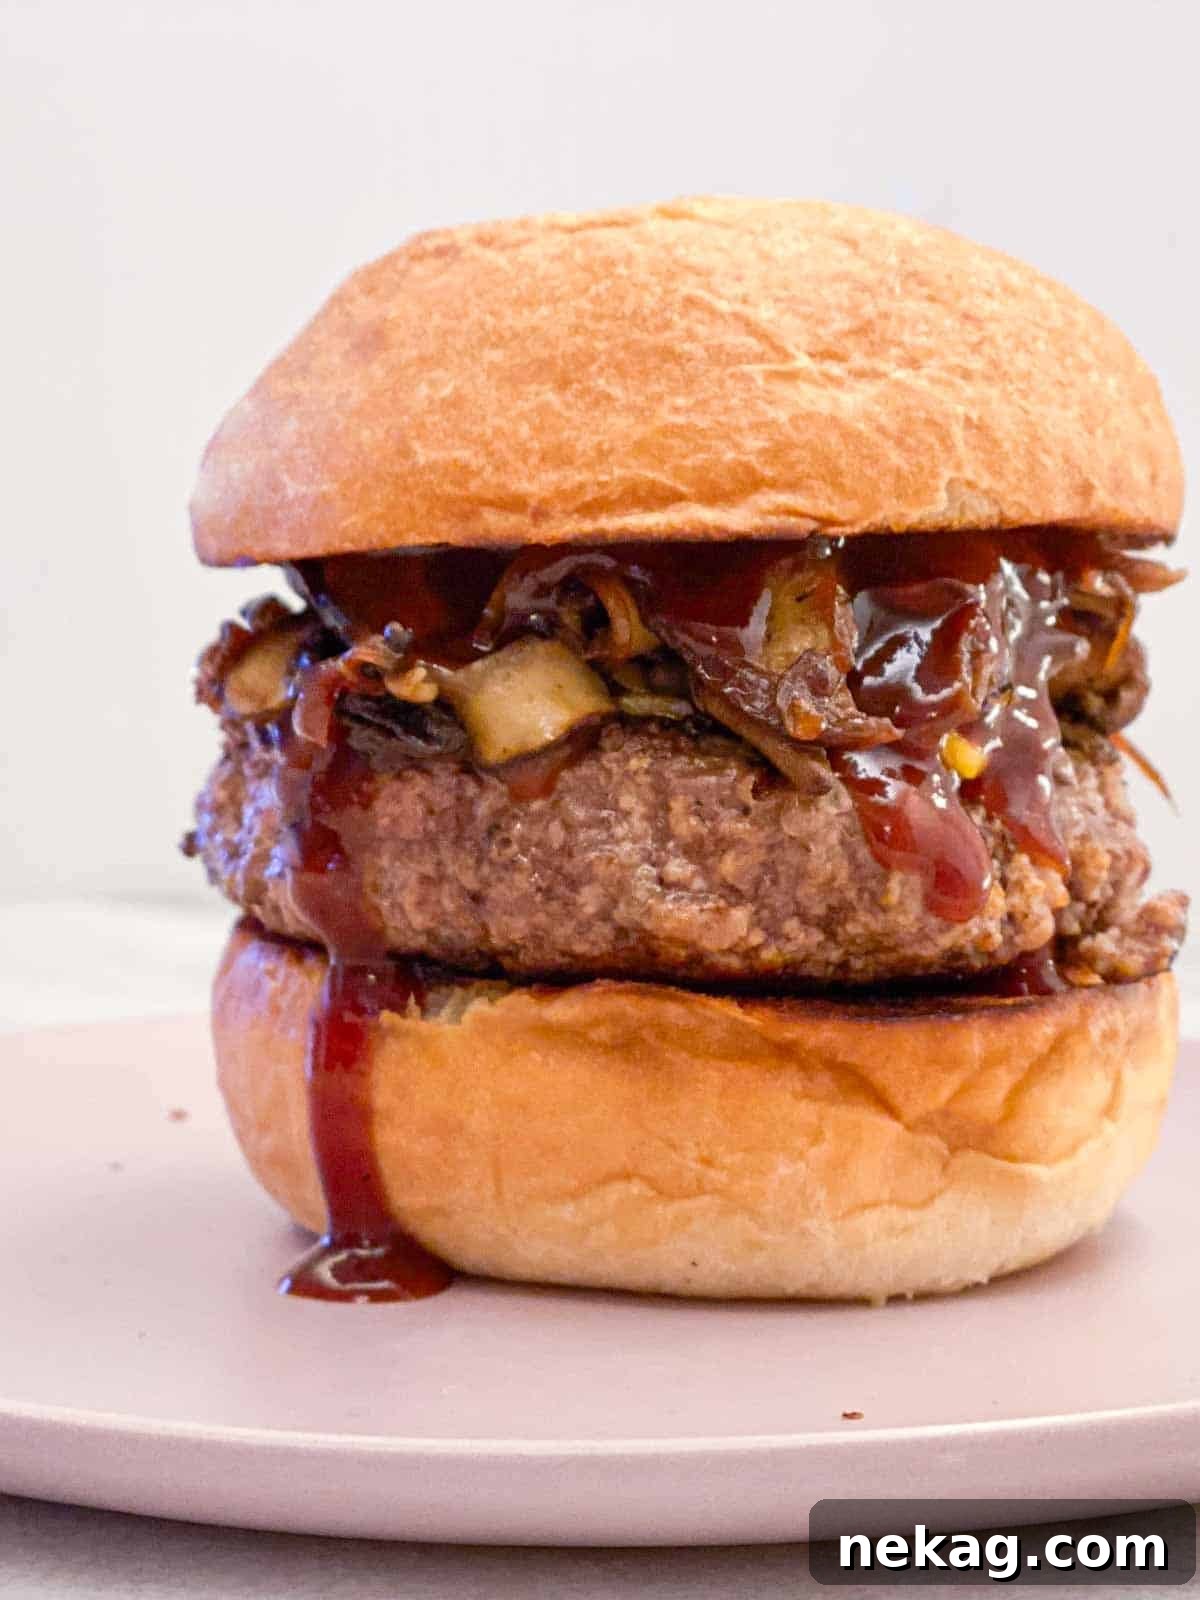
Ideas for Serving Your Homemade Brioche Buns
The beauty of this versatile brioche bun recipe lies in its adaptability. These buns are so much more than just a home for your burger; they can elevate a multitude of dishes! Here are some creative ideas to inspire your next meal:
- Elevate Your Next Burger Night: Transform ordinary burger nights into gourmet affairs. These buns are absolutely phenomenal with everything from light ground chicken burgers to rich turkey burgers. Load them up with classic toppings or go for a sophisticated touch with piles of sweet caramelized onions, perfectly sautéed mushrooms, and a generous drizzle of an easy homemade BBQ sauce, just like I do with my signature hamburgers. For another instant flavor upgrade, try them with a creamy yum yum sauce.
- Create Delicious Sliders & Mini Rolls: This same adaptable recipe will yield an impressive 36 slider buns or charming mini dinner rolls. They make a fantastic, richer alternative to my easy dinner rolls and are perfect for piling high with your favorite slider fillings like pulled pork, shredded chicken, or mini patties. You can even get creative and make miniature deviled egg salad sandwiches for a light brunch or elegant appetizer.
- Craft the Best Hot Dog Buns: Forget those flimsy, flavorless store-bought hot dog buns! Shaping this brioche dough into hot dog buns creates a truly decadent experience for your favorite frankfurter. They are also the ideal foundation for luxurious seafood rolls, like a rich, buttery lobster roll – a true East Coast delicacy.
- Upgrade Any Sandwich: The simplest way to transform a good sandwich into an extraordinary one is by upgrading your bread. These brioche buns provide a substantial yet tender base for almost any filling. Try them lightly warmed with a melty roast beef and Swiss melt, my grandmother’s comforting tuna melt, or even a spicy pimento cheese sandwich for a truly memorable meal.
Tips for Storing and Reheating Brioche Buns
To keep your homemade brioche buns tasting fresh and delicious for as long as possible, proper storage is key. Remember, they contain no artificial preservatives, so enjoying them soon after baking is always best!
- Room Temperature Storage: For optimal freshness and texture, store your well-wrapped brioche buns at room temperature for up to 2 days. While they will keep for up to 5 days, I find their incredibly soft and buttery texture is best within the first two days. Always ensure they are stored in an airtight container or tightly wrapped in plastic wrap to prevent them from drying out.
- Refrigerator Storage (Use with Caution): You can store brioche buns in the refrigerator for up to a week. However, be aware that refrigeration tends to dry out bread faster and can subtly alter its delicate flavor. If you must refrigerate, ensure they are wrapped extremely well to minimize moisture loss.
- Longer Storage in the Freezer: For longer preservation, the freezer is your best friend. Once completely cooled, store the buns in an airtight freezer bag or wrap them tightly in multiple layers of plastic wrap and then foil. They will stay fresh in the freezer for up to 2 months. To thaw, simply unwrap them and let them come to room temperature on your counter.
- Reviving Stale Buns: If your buns feel a little less fresh the next day, you can easily revive them! A quick toast in a toaster oven or a few seconds in the microwave (being careful not to overdo it, or they’ll get tough) can bring back some of their softness. For truly exceptional revival, lightly dampen them with water, wrap them in foil, and warm them in a preheated oven at 300°F (150°C) for 5-10 minutes.
Recipe FAQs: Your Brioche Bun Questions Answered
For that signature glossy top and delicious crunch, I recommend brushing your proofed dough with a well-beaten egg before baking. This not only gives it a beautiful shine but also helps the toppings adhere perfectly. Classic choices include white sesame seeds, black sesame seeds, or a combination of both for visual appeal. You can also get creative with poppy seeds, or even a savory “everything bagel” seasoning for a unique twist! The possibilities are endless, so feel free to experiment.
Brioche stands apart from leaner breads due to its “enriched” dough. This means it contains a significantly higher proportion of rich ingredients like milk, granulated sugar, and especially butter, often with the addition of eggs. Traditional brioche bread can incorporate butter up to 50% of the flour’s weight! While brioche buns typically use a slightly less extreme butter ratio, they still contain enough to impart that characteristic soft, tender, and incredibly flavorful crumb that makes them so distinct and beloved.
In my professional opinion as a chef, brioche buns are not just “good” for burgers; they are absolutely the best! Their unique qualities make them the ideal companion for any patty. The softness and tenderness of brioche provide a delightful contrast to the texture of the burger, while their buttery richness enhances the overall flavor profile. Crucially, brioche buns are absorbent enough to soak up delicious burger juices and condiments without becoming soggy too quickly, maintaining their structural integrity and preventing your burger from falling apart. They truly elevate the entire burger experience.
Yes, absolutely! While a stand mixer makes the kneading process much easier and quicker, you can certainly knead this brioche dough by hand. The process will take longer, likely 20-30 minutes of vigorous kneading, to achieve the same smooth, elastic, and glossy texture. Be patient, as the dough will be quite sticky initially due to the butter. Use a bench scraper to help incorporate the butter and keep your work surface clean. The extra effort is well worth it for these delicious buns!
When you combine the dry active yeast with warm milk and sugar in Step 1, you’re “blooming” the yeast. A healthy, active yeast will become visibly foamy and bubbly on the surface of the liquid within 5-10 minutes. This indicates that the yeast is alive and ready to work its magic. If you don’t see any activity, or only very minimal bubbles, your yeast may be old or the milk temperature was off. In such cases, it’s best to discard the mixture and start again with fresh yeast.
Dense brioche buns usually point to one of a few common issues. The most frequent culprit is insufficient proofing. If the dough didn’t get enough time to rise (either during the bulk proof or the final proof), the gluten structure won’t have fully developed, and the yeast won’t have produced enough gas to create that airy texture. Another reason could be insufficient kneading, meaning the gluten network wasn’t properly strengthened. Lastly, using expired yeast or milk that was too hot or cold can also inhibit proper rising, leading to a dense result.
Recommended Bread Recipes to Explore
Yeasted Bread Recipes
Classic Brioche Bread Recipe
Dinner Roll Recipes
Easy Fluffy Dinner Roll Recipe
Dinner Roll Recipes
Hearty Potato Rolls
Breakfast Pastry Recipes
Irresistible Pecan Sticky Buns Recipe
If you tried this wonderful brioche bun recipe and loved it, please leave a 🌟 star rating and let me know how it went in the comments below. Your feedback truly makes my day!

The Ultimate Homemade Brioche Buns
Pin Recipe
Comment
Print Recipe
Ingredients
- 1 cup +2 tbsp whole milk warm
- 4 teaspoons dry active yeast 13g
- 2 tablespoons granulated sugar heaping
- 4 cups all-purpose flour
- 5 tablespoons unsalted butter
- 1 tablespoon kosher salt
- 1 whole egg beaten for egg wash
- ¼ cup sesame seeds
Instructions
-
In the bowl of a stand mixer, combine dry active yeast, warm whole milk (warmed to between 100 – 110°F), and granulated sugar. Allow this mixture to sit undisturbed for about 10 minutes until it becomes visibly bubbly and frothy, indicating the yeast is active.
-
To the mixer bowl with the activated yeast mixture, add the all-purpose flour, softened unsalted butter, and kosher salt. Mix with the paddle attachment on low speed until the ingredients are just combined. Then, switch to the dough hook attachment and mix on medium speed for several minutes to develop the gluten. Continue mixing until a smooth, elastic, and slightly glossy dough forms that pulls cleanly away from the sides of the bowl.
-
Transfer the dough to a large bowl that has been lightly coated with cooking spray or oil. Cover the bowl securely with plastic wrap to create a humid environment. Place the covered bowl in a warm spot and allow the dough to proof until it has doubled in size, which will take approximately 1 – 1.5 hours.
-
Once the bulk proof is complete, gently punch down the dough to deflate it. For standard burger buns, divide the dough into 8 equal pieces, each weighing between 110 – 115 grams. Alternatively, you can eyeball 8 equal portions. For slider buns or dinner rolls, aim for pieces between 45-50g, and for hotdog buns, between 75-85g. This recipe is portioned to yield 8 hamburger buns, 36 slider buns, or 22 hotdog buns.
-
To shape each piece of dough: Take one portion and gently fold its four corners into the center, pinching to seal the seams. Flip the dough over so the seam side is down onto an un-floured surface. Place your palm over the dough ball and roll it in a circular motion, tightening it into a smooth, round ball. Use your thumb to tuck the dough under itself and pull back towards you with your other fingers to create surface tension. Continue until the surface is smooth and the ball sits up tall and proud. Place the shaped buns on a parchment-lined baking sheet, ensuring they are spaced about 3 inches apart.
-
Spray the surface of a piece of plastic wrap with non-stick cooking spray and carefully cover the shaped dough directly on the surface. This prevents a skin from forming and maintains moisture during the final proof.
-
Return the covered buns to a warm spot for their final proof. Allow them to rise until they feel light and airy when gently squeezed. They should be a bit more than doubled in size, appearing plump and delicate. This final rise typically takes approximately 30-45 minutes, depending on the warmth of your kitchen environment.
-
While the buns are completing their final proof, preheat your oven. If using a convection oven (with a fan), set it to 350°F (175°C). If using a conventional oven (no fan), preheat to 375°F (190°C).
-
Just before baking, gently brush the tops of the proofed buns with the beaten egg (egg wash) to achieve a glossy, golden crust. If desired, sprinkle sesame seeds (or other toppings) over the egg-washed surface.
-
Bake the buns in the preheated oven until they are beautifully golden brown on top and cooked through. This usually takes approximately 12-15 minutes. Once baked, transfer them to a wire rack to cool slightly before serving for the best texture and flavor.
Video Tutorial
Chef’s Notes & Tips
Presentation Perfection: For that iconic, irresistible glossy golden-brown top, make sure to generously brush your proofed dough with a well-beaten egg before you add any toppings. The egg wash is essential not only for shine but also for ensuring your sesame seeds (or other preferred toppings) stick firmly to the dough during baking.
Optimal Storage & Freshness: For the absolute best texture and flavor, I recommend enjoying these homemade brioche buns within 2-3 days of baking, stored well-wrapped at room temperature. Since they contain no preservatives, their peak freshness is relatively short. For longer storage, wrap them tightly and freeze for up to 2 months. Thaw unwrapped at room temperature. For day-old buns, a quick toast or gentle warming can revive their softness.
Nutrition Information
Before You Go: Explore More Bread Recipes from Chef Lindsey
I genuinely hope you’ve enjoyed mastering this incredible homemade brioche bun recipe and that it brings a touch of gourmet perfection to your table. Don’t stop your baking journey here! I invite you to explore all our other delightful yeasted bread recipes, which include favorites like these comforting potato rolls. Or, perhaps head straight over to my versatile whole wheat sandwich bread recipe for another fantastic bake. Happy baking!