
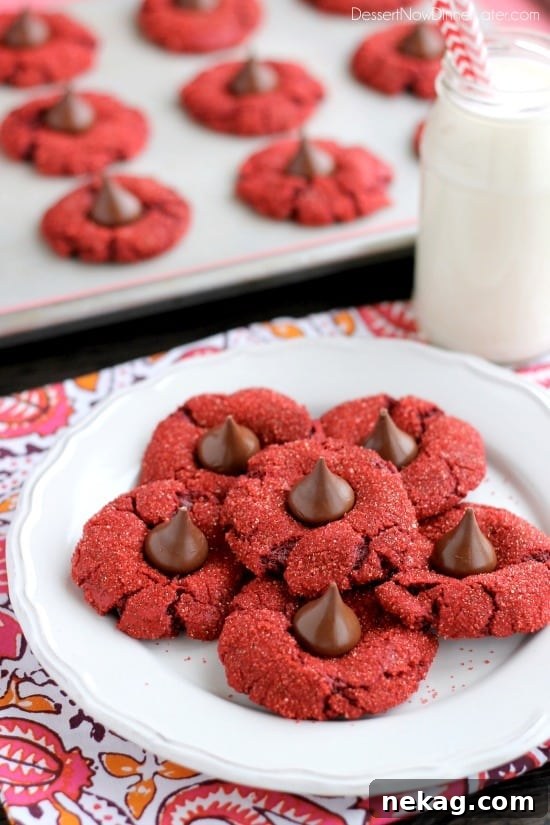
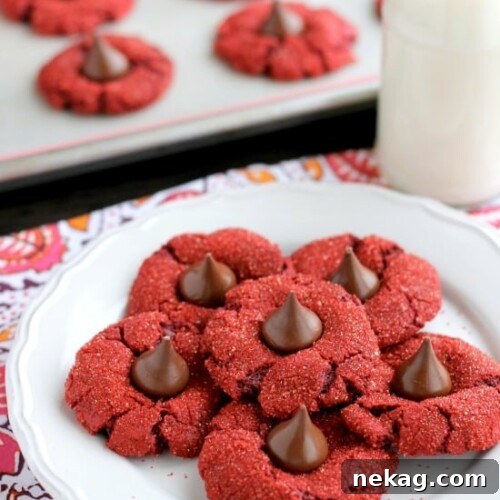
Red Velvet Blossom Cookies are a delightful treat, known for their vibrant color, soft texture, and a melting chocolate kiss at their heart. Crafted from a simple cake mix, these cookies are adorned with sparkling red sugar crystals, making them as visually appealing as they are delicious. They offer a quick and easy way to bake something special, perfect for any occasion that calls for a touch of red and a lot of sweetness.
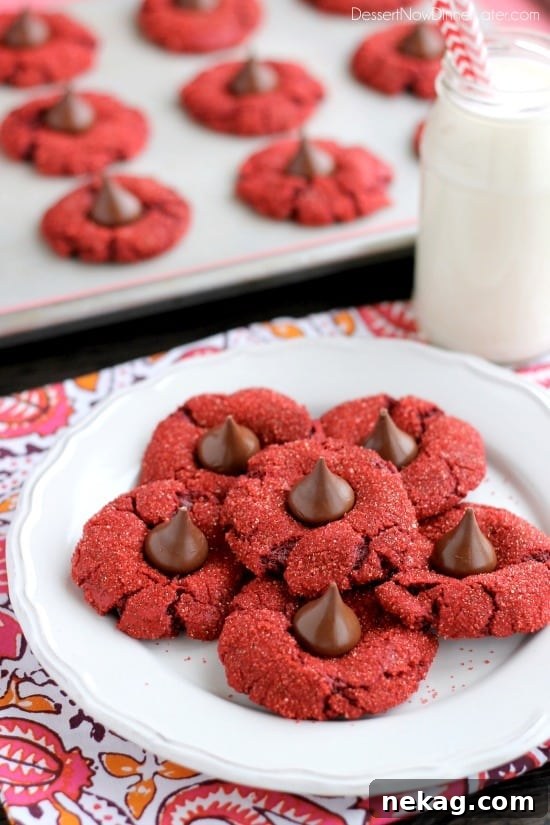
There’s an undeniable charm to red treats, especially as holidays like Valentine’s Day or Christmas approach. These Red Velvet Blossom Cookies are not just a festive delight; they are incredibly simple to make, requiring only five basic ingredients. This makes them an ideal baking project for busy individuals or a fun activity to share with children, who will love both the process of making them and, of course, devouring them!
While photographs may struggle to capture the full brilliance of their color, trust us when we say these cookies are truly magnificent. The vivid red, enhanced by the glimmer of sugar crystals, makes them stand out on any dessert platter, promising a burst of flavor and visual joy.
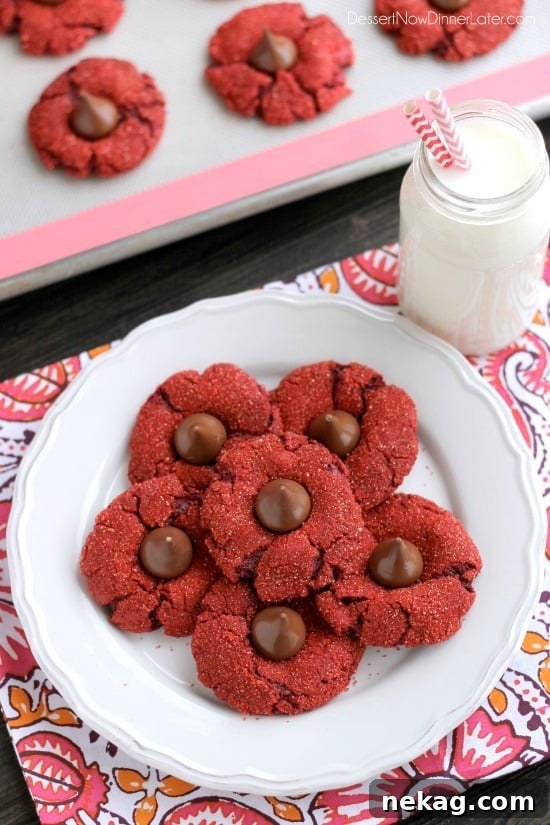
One of the true joys of these cookies is experiencing them fresh from the oven. The contrast between their delicately crisp exterior and their wonderfully fudgy, soft interior is simply divine. And that chocolate kiss on top? It remains wonderfully melty, creating a gooey, chocolatey surprise with every bite. It’s a texture and flavor combination that’s utterly addictive, making it hard to stop at just one.
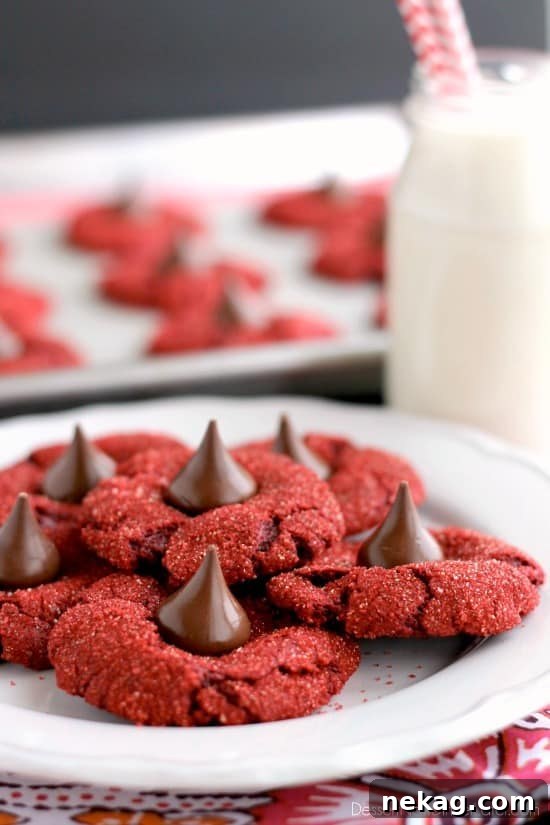
Be warned, however: these vibrant red cookies might just leave a festive tint on your mouth! It’s all part of the fun, especially for the little ones, who might get a bit messy but will certainly enjoy every moment. Despite the potential for a playful mess, these cookies are an absolute must-have red treat, perfectly suited for at least two major holidays each year, bringing cheer and deliciousness to your celebrations.
The Allure of Red Velvet Blossom Cookies: A Perfect Holiday Treat
Red Velvet Blossom Cookies are more than just a dessert; they are a celebration in cookie form. Their striking red color immediately evokes feelings of festivity and warmth, making them an unparalleled choice for special occasions. Whether you’re planning a romantic Valentine’s Day surprise, preparing for a joyful Christmas gathering, or simply want to brighten an ordinary day, these cookies deliver on every front.
Why These Easy Cake Mix Cookies Are a Must-Try
The beauty of this recipe lies in its simplicity and the impressive results it yields. Using a humble red velvet cake mix as the base significantly cuts down on prep time and ingredient list, making baking accessible even for novices. But don’t let the ease fool you; these cookies taste utterly homemade and decadent. The combination of a chewy cookie, sparkling sugar, and a creamy chocolate center creates a symphony of textures and flavors that will delight everyone.
- Effortless Preparation: With just five ingredients and minimal steps, these cookies are perfect for spontaneous baking urges.
- Festive Appeal: Their vibrant red color and glistening sugar coating make them ideal for holiday platters, gift baskets, or themed parties.
- Irresistible Texture: Enjoy a delightful contrast of a slightly crisp exterior giving way to a soft, fudgy interior, complemented by the melty chocolate kiss.
- Kid-Friendly Fun: Children love helping with rolling the dough in sugar crystals and pressing the chocolate kisses, making it a wonderful family activity.
- Versatility: While perfect for Valentine’s and Christmas, these cookies are a hit at any time of year!
Unlocking the Magic: The Simplicity of Cake Mix Cookies
For many home bakers, the thought of baking from scratch can be daunting, especially when time is limited. This is where the genius of cake mix cookies shines. A quality red velvet cake mix provides a pre-measured blend of dry ingredients, including flour, sugar, cocoa, and leavening agents, ensuring consistent results every time. By simply adding wet ingredients like oil and eggs, you transform a box mix into a batch of perfectly chewy and flavorful cookies.
The specific cake mix used in this recipe is crucial for achieving that authentic red velvet flavor and color. The oil contributes to the cookies’ moistness and tenderness, while the eggs bind everything together and add richness. These few additions are all it takes to create a dough that’s both pliable enough to work with and robust enough to hold its shape during baking, forming those characteristic “blossoms.”
Red Velvet Blossoms
Average rating: 4.33 from 52 ratings
Created by: Amber Brady
Prep Time: 10 mins | Cook Time: 8 mins | Total Time: 18 mins
Yields: 28 cookies
Ingredients
- 15.25 oz (432 g) box red velvet cake mix
- ⅓ cup (80 g) oil (canola/vegetable)
- 2 large eggs
- 3.5 oz (99 g) jar red sugar crystals
- Hershey Kisses (approximately 28, unwrapped)
Equipment
- KitchenAid 5-Qt. Stand Mixer
- #50 Scoop
- Silicone Baking Mat
- Aluminum Half Sheet Tray (2 Pack)
Instructions
- Preheat oven to 350 degrees Fahrenheit (175°C).
- In a stand mixer fitted with the paddle attachment, combine the red velvet cake mix, oil, and eggs. Mix on medium speed until no dry lumps remain and the mixture forms a thick, sticky batter.
- Pour the red sugar crystals into a separate shallow bowl. Use a small (#50) cookie scoop (approximately a heaping tablespoon) to portion the cookie dough. To prevent sticking, you may lightly spray the inside of your scoop with cooking spray, or use two spoons to form the balls. Gently release each dough ball directly into the bowl of red sugar crystals. Swirl the bowl to evenly coat the cookie dough ball with the sugar crystals. Place the coated dough balls a few inches apart on a prepared baking sheet lined with parchment paper or a silicone baking mat.
- Bake for 8 to 10 minutes, or until the edges are lightly set and the centers are still soft. Immediately upon removing from the oven, gently press one Hershey’s chocolate kiss into the center of each warm cookie.
- Allow the cookies to cool on the baking sheet for a few minutes before transferring them to a wire rack to cool completely. This helps the chocolate to set and the cookies to firm up.
Notes
- This recipe has been adjusted from the original to account for changes in cake mix sizing. There is no longer water in the batter, and an extra egg was added to ensure the perfect consistency and moisture.
- For extra sparkle, you can gently sprinkle additional sugar crystals over the warm cookies just before pressing in the Hershey Kisses.
- If you don’t have red sugar crystals, you can use regular granulated sugar, or even white nonpareils for a different festive look.
Recipe Video Insights
For visual learners, a recipe video can be incredibly helpful. This recipe is often featured in quick-step videos that demonstrate the simple process, from mixing the dough in a stand mixer to coating the balls in vibrant sugar crystals and pressing in the chocolate kisses. Watching these steps can ensure you achieve the perfect texture and appearance, especially when handling the sticky dough and timing the kiss placement. You can find many helpful tutorials online to guide you through making these beautiful Red Velvet Blossom Cookies.
Nutrition Facts
These nutritional values are provided as an estimation and can vary based on specific ingredient brands and preparation methods.
- Serving: 1 cookie
- Calories: 149 kcal
- Carbohydrates: 19g
- Protein: 2g
- Fat: 8g
- Saturated Fat: 1g
- Polyunsaturated Fat: 3g
- Cholesterol: 17mg
- Sodium: 18mg
- Sugar: 12g
Disclaimer: Nutritional values were calculated using a third-party tool and are provided as an estimation only.
Tips for Perfect Red Velvet Blossom Cookies Every Time
Achieving bakery-quality Red Velvet Blossom Cookies is simpler than you might think. Here are some essential tips to ensure your batch turns out perfectly:
- Dough Consistency: The dough will be thick and sticky, which is exactly what you want. Don’t be tempted to add more flour, as this can lead to dry cookies. If it’s too difficult to handle, chill the dough for 15-20 minutes.
- Handling Sticky Dough: A small cookie scoop (#50 is recommended) is your best friend here. Lightly spraying it with cooking spray before scooping each ball will make releasing the dough much easier. Alternatively, you can use two spoons to shape the dough.
- Even Coating: When rolling the dough in red sugar crystals, ensure each ball is thoroughly coated. This not only adds to the visual appeal but also provides a delightful crunch.
- Baking Time is Key: Bake for 8-10 minutes. The cookies should be set at the edges but still soft in the center. Overbaking will result in a tougher, drier cookie.
- Timing the Chocolate Kiss: The moment the cookies come out of the oven is critical. The residual heat will slightly melt the Hershey’s Kiss, allowing it to adhere beautifully and create that signature soft, melty center. If you wait too long, the cookies will cool and the chocolate won’t melt properly.
- Cooling Process: Allow the cookies to cool on the baking sheet for a few minutes before transferring them to a wire rack. This allows them to firm up slightly and prevents breakage.
Variations to Explore and Enjoy
While the classic Red Velvet Blossom Cookie is perfect as is, there’s always room for a little creativity:
- Chocolate Varieties: Experiment with different types of Hershey’s Kisses – milk chocolate, dark chocolate, white chocolate, or even flavored varieties like caramel or mint for a unique twist.
- Sugar Crystals: While red is traditional, you could use other colors of sparkling sugar to match different themes, such as green for St. Patrick’s Day or blue for a baby shower.
- Cake Mix Flavors: Don’t limit yourself to red velvet! Try chocolate cake mix for double chocolate blossoms, or yellow cake mix for a classic sugar cookie blossom.
- Miniature Size: For smaller treats, use a smaller cookie scoop and adjust baking time slightly.
Serving and Storage Suggestions
These Red Velvet Blossom Cookies are best enjoyed warm, when the chocolate is still wonderfully gooey. They pair perfectly with a cold glass of milk, a warm cup of coffee, or even a scoop of vanilla ice cream for an indulgent dessert.
To store, place the cooled cookies in an airtight container at room temperature for up to 3-4 days. For longer storage, you can freeze the baked cookies (without the Kisses) for up to 2 months. Thaw, then warm slightly and press fresh Hershey’s Kisses into the centers. You can also freeze the raw cookie dough balls (coated in sugar) for up to 3 months. When ready to bake, place them on a baking sheet and bake as directed, adding a couple of minutes to the baking time if baking from frozen.
Sharing this recipe with a link is both encouraged and appreciated. Copying/pasting and/or screenshots of full recipes to any social media is strictly prohibited. Content and photographs are copyright protected.
Did you make this?
Don’t forget to leave a rating below and make sure to follow on Pinterest and Instagram for more!