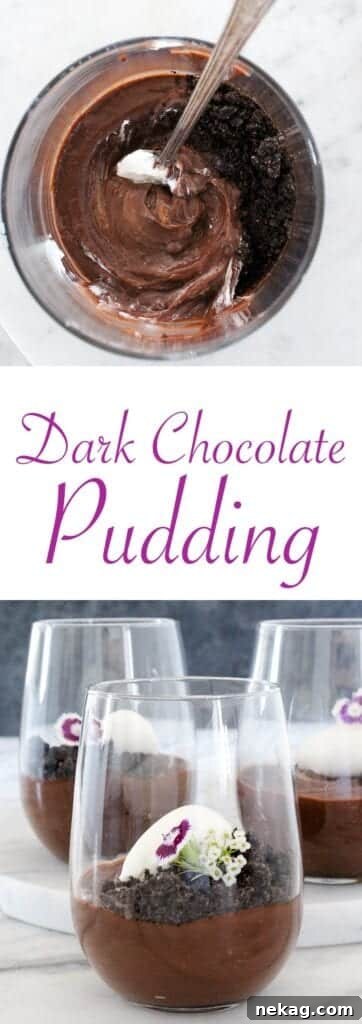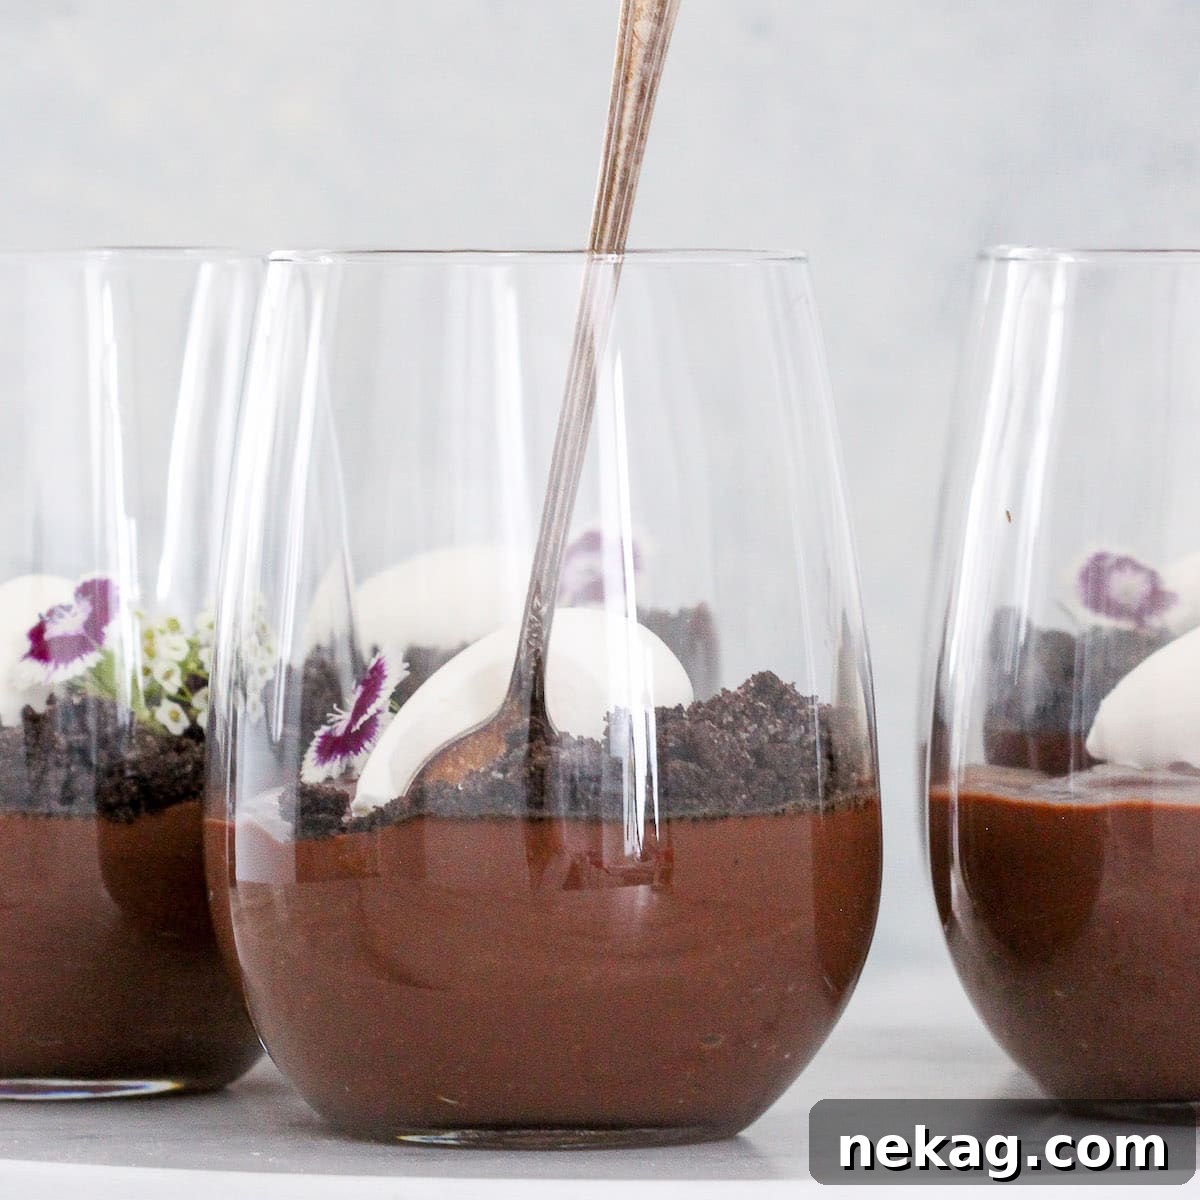
Experience the Ultimate Velvety Dark Chocolate Pudding: A Silky, Easy Homemade Treat
This dark chocolate pudding recipe transcends ordinary desserts, offering a truly rich, unbelievably silky, and delightfully easy culinary experience. Forget store-bought mixes; this no-bake marvel allows you to craft a professional-level pudding in under 30 minutes, transforming simple pantry ingredients into a decadent masterpiece.
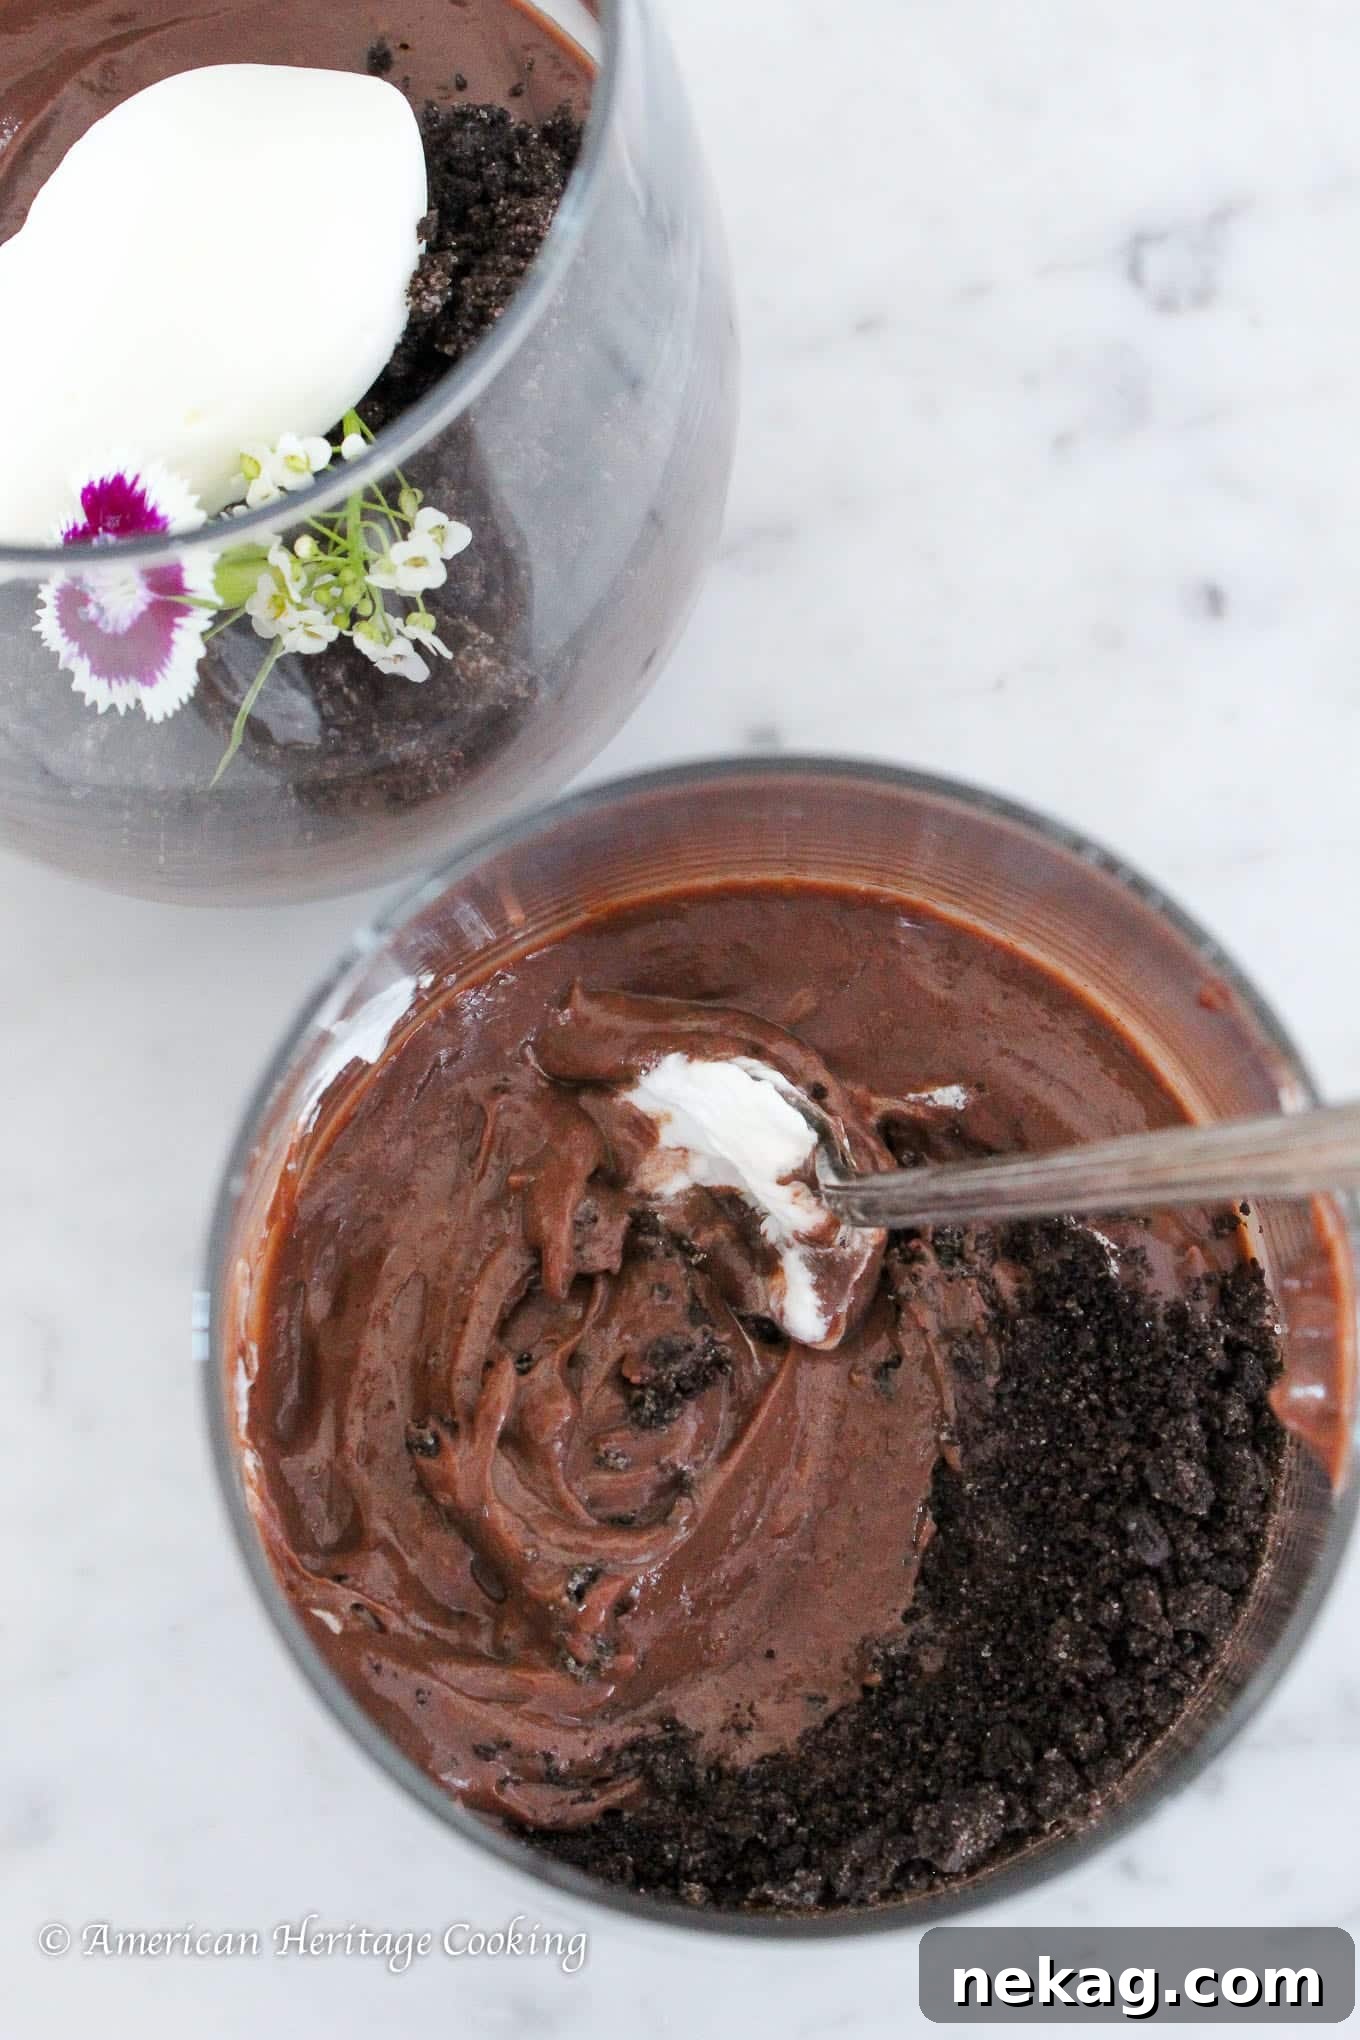
Equal parts nostalgic comfort and gourmet decadence, this chocolate pudding boasts a perfect silky texture that might just transport you back to childhood memories, but with a grown-up twist. Unlike those overly sweet pudding cups of yesteryear, this recipe delivers a profoundly decadent chocolate flavor without being cloyingly sweet, highlighting the true essence of rich dark chocolate.
With straightforward, easy-to-follow instructions and common pantry ingredients, you can whip up a batch of this luscious dessert any day of the week. As a professional chef, let me share a fundamental truth: pudding, especially this kind, is essentially a stirred custard! Much like a bright and tart lemon curd, a flavorful crème anglaise, or a velvety vanilla pastry cream, mastering the technique of a stirred custard is key to its exquisite texture.
Table of Contents
- Why You Will Love This Dark Chocolate Pudding
- Professional Tips for Homemade Chocolate Pudding
- Key Ingredients for Decadent Chocolate Pudding
- Exciting Variations and Serving Ideas
- Step-by-Step Guide: How to Make Silky Chocolate Pudding
- Chef Lindsey’s Recipe Tip for Success
- More Ways to Enjoy Your Homemade Chocolate Pudding
- Frequently Asked Questions About Chocolate Pudding
- The Ultimate Chocolate Pudding Recipe Card
- Before You Go: Explore More Decadent Desserts
Why You Will Love This Dark Chocolate Pudding
- Unrivaled Rich Chocolate Flavor: This recipe employs a powerful duo of high-quality Dutch-processed cocoa powder and premium dark chocolate. This “double chocolate” approach ensures an incredibly deep, complex, and robust chocolate taste that truly stands out, making it the perfect quick dessert for any chocolate enthusiast.
- Impeccably Smooth and Creamy Texture: Through professional techniques and careful attention to detail, you’ll achieve a lump-free pudding every single time. The addition of butter at the end is our secret weapon, creating an unforgettably luscious, silky-smooth finish that melts in your mouth.
- Effortlessly Customizable Batch Size: Whether you’re making a small treat for yourself or a generous dessert for a gathering, this recipe is easily scalable up or down. The only limit is the size of your pot and your willingness to whisk! Plus, it stays wonderfully fresh in the refrigerator for up to a week, ready whenever a craving strikes.
Professional Tips for Homemade Chocolate Pudding
- The Importance of Pot Selection: Just like Goldilocks finding the perfect bed, your pot choice is crucial. A pot that’s too tall will make it difficult to reach and whisk the edges, increasing the risk of burning. Conversely, a pot that’s too short invites spillage during vigorous whisking. Choose one that allows comfortable, full-range whisking of all ingredients.
- Constant Whisking is Paramount: A perfectly lump-free pudding begins even before cooking. Whisk your dry ingredients thoroughly to ensure cornstarch is evenly distributed. Next, whisk the eggs until no streaks remain and the mixture is homogenous. Once heat is applied, *do not stop whisking*. This continuous motion prevents scorching, ensures even thickening, and breaks down any potential lumps.
- Keep a Fine-Mesh Strainer Handy: In professional kitchens, we’re always prepared for the unexpected. A fine-mesh strainer is your safety net. If, despite your best efforts, the eggs curdle from overcooking or insufficient whisking, simply pour the hot pudding through the strainer directly over your chocolate and butter. Whisk it vigorously on the other side, and your pudding will often be saved, smooth and luscious once more.
- Patience on Medium Heat: Cooking stirred custards is a test of patience, but it’s entirely worth it. Heating the pudding over medium heat, rather than high, is critical. This gentle approach helps prevent the bottom from burning and significantly reduces the risk of your eggs curdling, ensuring a smooth, consistent texture throughout.
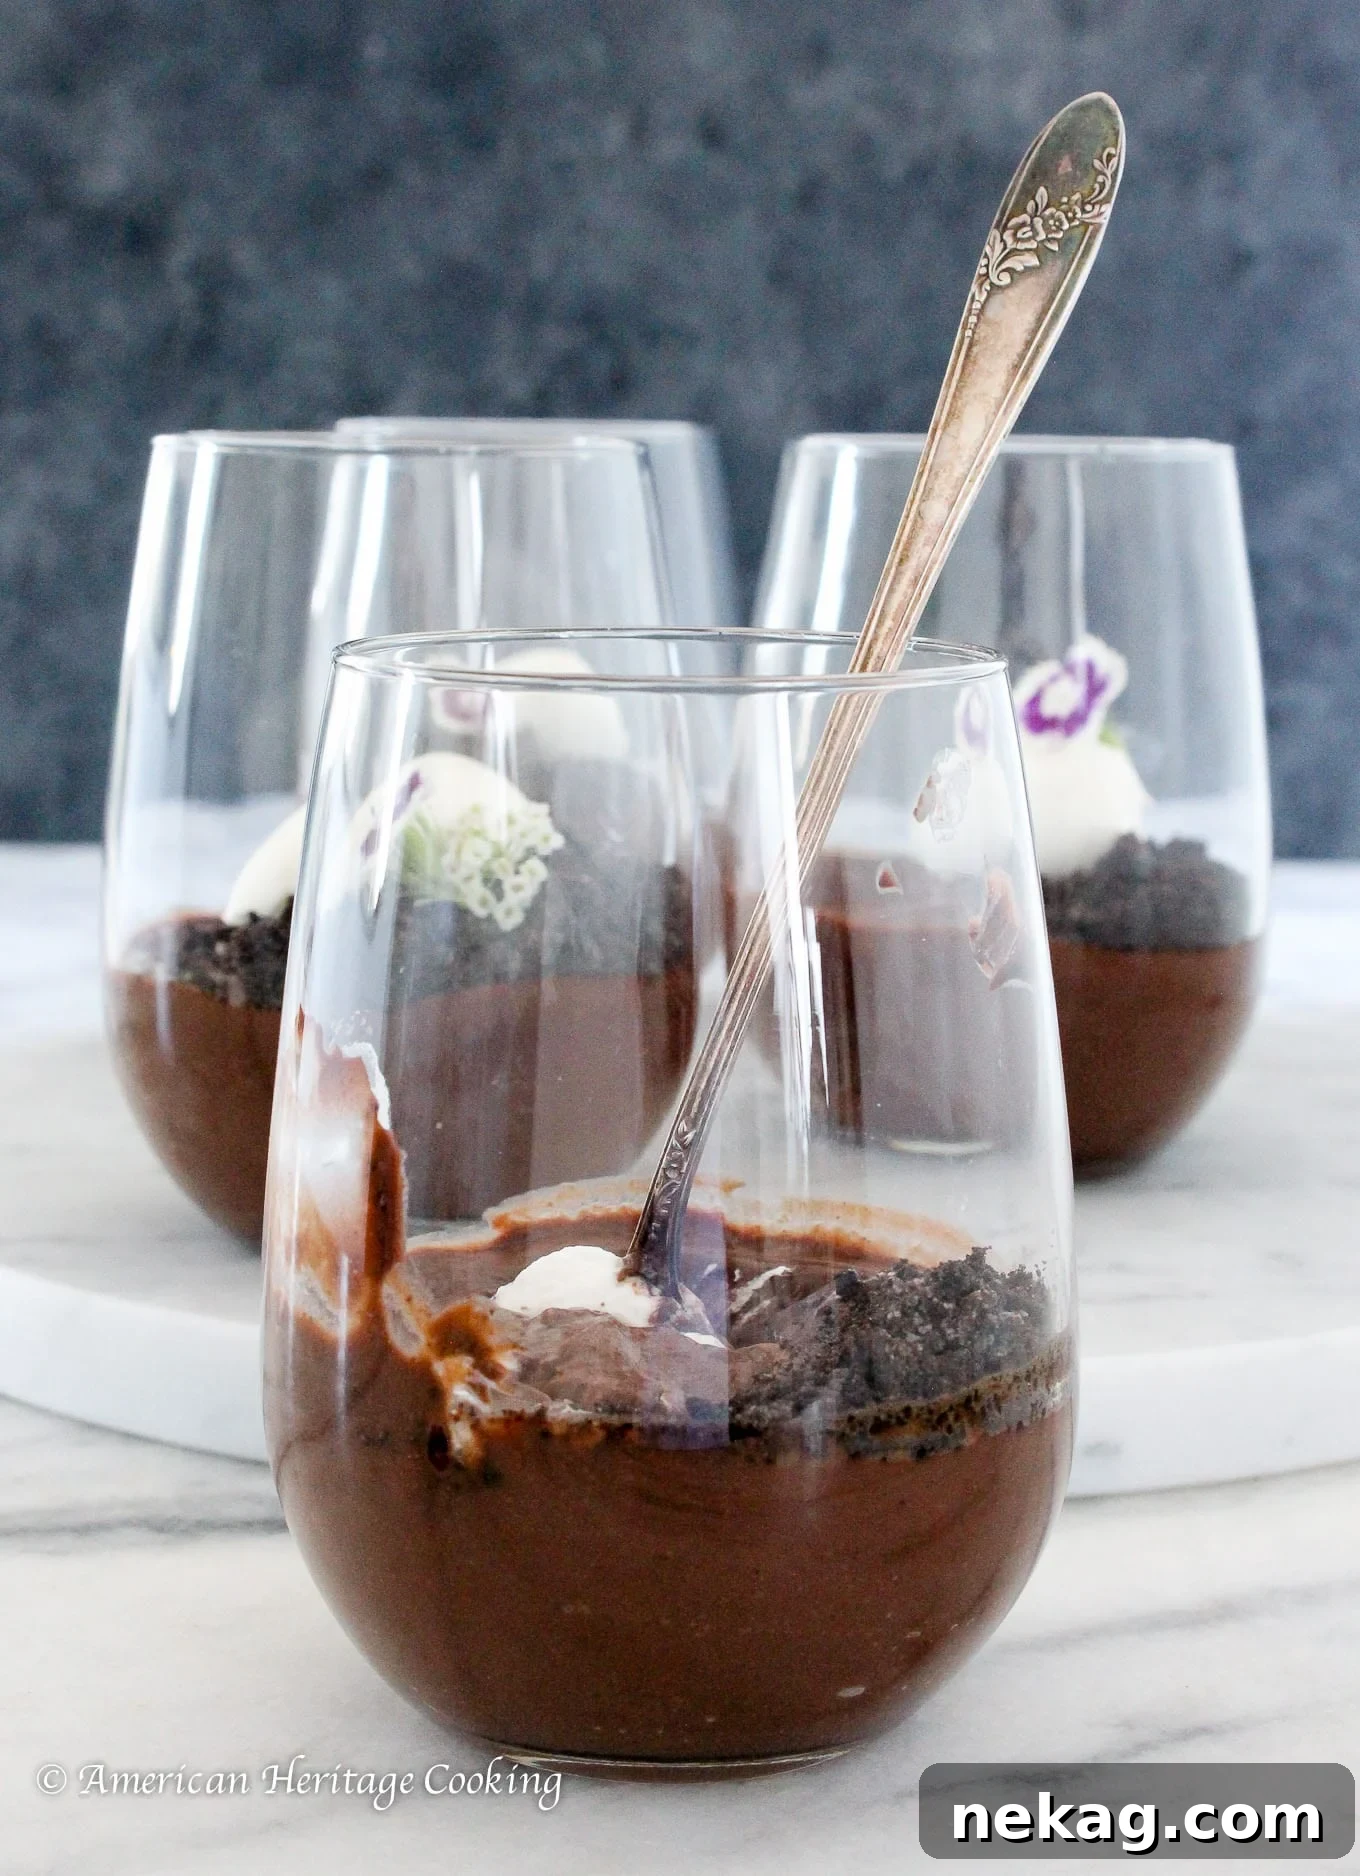
Key Ingredients for Decadent Chocolate Pudding
Each ingredient in this recipe plays a vital role in creating the perfect chocolate pudding. Using quality ingredients will elevate your dessert from good to truly extraordinary.
- Granulated Sugar: Beyond sweetness, sugar is a multi-tasker here. It helps protect the eggs from curdling when heated with milk and prevents the milk from scorching on the bottom of the pot.
- Dutch Processed Cocoa Powder: This unsweetened cocoa powder is essential for adding a profound depth to the chocolate flavor. The higher the quality of your cocoa, the more robust and richer your pudding will be. Dutch processing gives it a smoother, less bitter taste, enhancing the overall profile.
- Cornstarch: A powerful thickener, cornstarch works in conjunction with the eggs to bind all the ingredients and create that desirable thick, pudding-like consistency when cooked. It’s crucial for achieving stability and a smooth mouthfeel.
- Kosher Salt: A pinch of kosher salt is not just for seasoning; it magically enhances all the other flavors, particularly the chocolate, balancing the sweetness and adding complexity.
- Cinnamon (Optional): While optional, a touch of cinnamon introduces a subtle warmth and aromatic complexity that pairs beautifully with chocolate, adding a sophisticated “wow factor” to your pudding.
- Eggs: As the cornerstone of any stirred custard, the eggs are integral to the thickening process, contributing significantly to the pudding’s rich flavor and luxurious, silky texture.
- Milk: The liquid base of our pudding, milk provides richness and moisture. While full-fat milk adds a luscious mouthfeel, its fat content isn’t as critical as in some other recipes, so feel free to experiment with coconut milk or a lower-fat milk based on your preference.
- Dark Chocolate: For the best balance of sweetness and intense chocolate flavor, I recommend using dark chocolate with at least 54% cocoa solids, but up to 65%. Opting for a quality bar chocolate and finely chopping it yourself is always better than using chocolate chips, as bar chocolate melts more smoothly and incorporates better for that desired velvety texture.
- Unsalted Butter: Adding unsalted butter allows you precise control over the overall flavor profile. More importantly, it contributes incredible richness and is key to achieving that signature luscious, silky-smooth finish in your pudding.
- Vanilla Extract: A good quality vanilla extract brightens and complements the deep chocolate notes, adding another layer of aromatic depth to the pudding.
Refer to the comprehensive recipe card below for exact measurements and quantities for each ingredient.
Exciting Variations and Serving Ideas
This classic dark chocolate pudding is a fantastic base for numerous delicious customizations and serving presentations. Let your creativity shine!
- Alcohol Infusion: Elevate your pudding with a touch of spirits! After stirring in the butter and chocolate, whisk in up to 1 ½ tablespoons of dark rum, bourbon, brandy, or Grand Marnier for an adult twist.
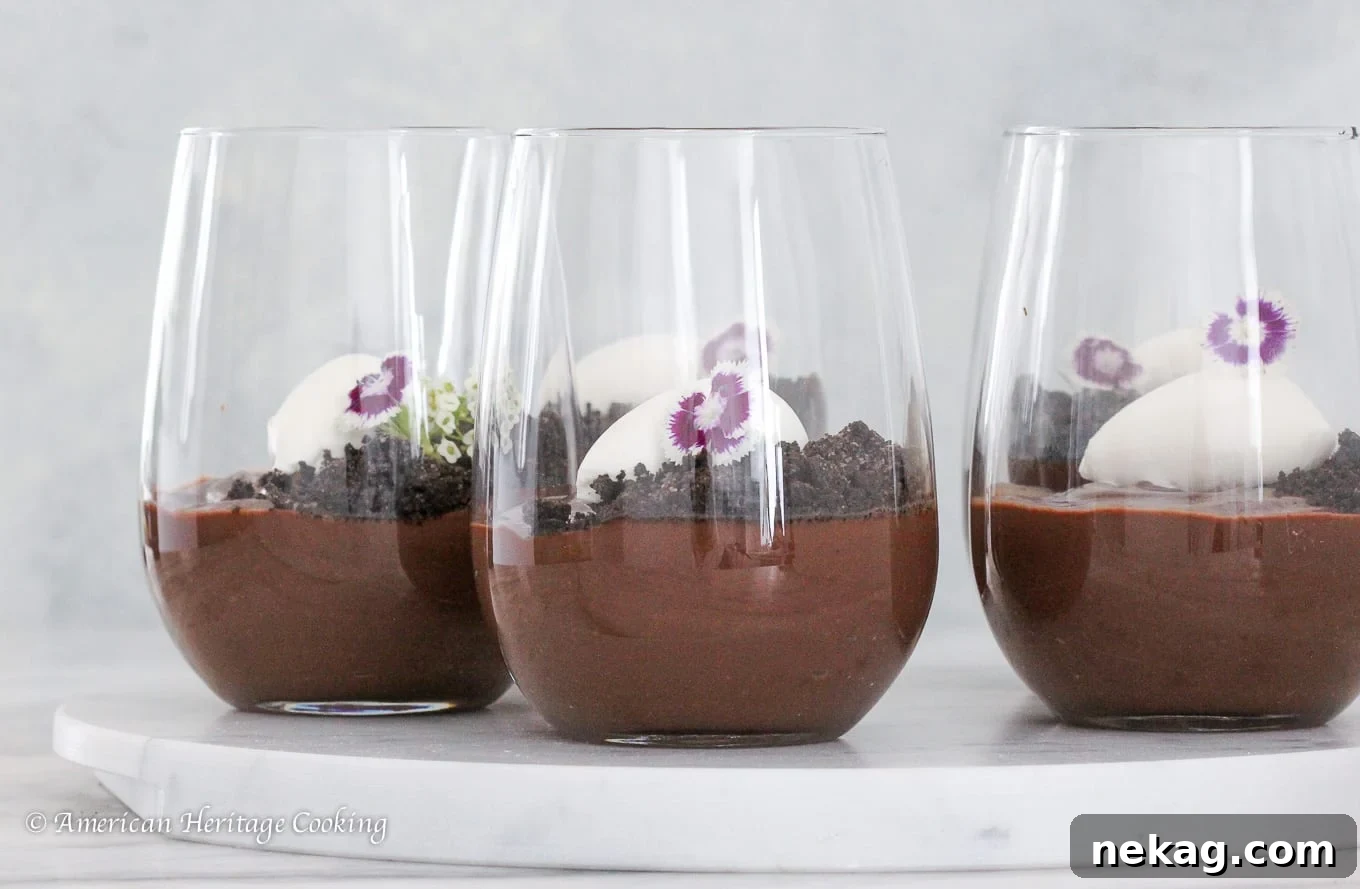
- Create a Layered Budino: For an elegant dessert, pair this chocolate pudding with a contrasting caramel pudding. Pipe alternating layers into individual glasses or swirl them together for a beautiful marble effect. Top with lightly sweetened whipped cream for a sophisticated dessert, perfect for a dinner party or even just a special Tuesday night treat!
- Chocolate Cherry Trifle: Assemble a delightful trifle by layering this chocolate pudding (perhaps lightened with a bit of homemade whipped cream), vibrant cherry preserves, and slices of cherry almond pound cake. It’s a stunning dessert for any occasion.
- Espresso Powder Boost: Enhance the chocolate flavor by adding espresso powder. Simply dissolve 1-2 teaspoons of espresso powder into the milk before whisking it into the sugar mixture. Espresso doesn’t make it taste like coffee; it deepens the chocolate notes.
- Spicy Chili Chocolate Pudding: For a subtle kick, add a pinch of cayenne pepper (¼ to ½ teaspoon) along with the cocoa powder and cinnamon. The heat beautifully complements the dark chocolate.
- Mint Chocolate Dream: Stir in a few drops of pure peppermint extract (to taste, start with ¼ teaspoon) along with the vanilla for a refreshing mint chocolate experience.
Step-by-Step Guide: How to Make Silky Chocolate Pudding
Follow these detailed instructions to create a consistently smooth, rich, and utterly delicious chocolate pudding every single time. More precise measurements and ingredient quantities are provided in the recipe card at the end of this article.
Prepare the Pudding Base:
Step 1: Combine Dry Ingredients. In a medium-sized, heavy-bottomed pot, vigorously whisk together the granulated sugar, Dutch-processed cocoa powder, cornstarch, kosher salt, and optional cinnamon. Whisking dry ingredients first ensures the cornstarch is perfectly dispersed, preventing lumps later on.
Pro Tip: Have Your Strainer Ready! As mentioned in our professional tips, always keep a fine-mesh strainer within reach. If, during cooking, your eggs unexpectedly curdle from overcooking or insufficient whisking, you can quickly pour the hot pudding through the strainer directly over the chocolate and butter. Whisk thoroughly on the other side, and in many cases, your pudding will be beautifully smooth and salvageable.
Step 2: Incorporate Eggs and Milk. Whisk in the beaten eggs until the mixture is completely smooth and homogenous. It’s crucial that there are no visible streaks of egg or lingering lumps of cornstarch at this stage. Once fully combined, gradually whisk in the milk until well incorporated.
Troubleshooting Lumps: If you notice any stubborn lumps of cocoa powder or cornstarch, gently press them against the side of the pot with the back of a spoon to break them up. Then, whisk again until smooth.
Step 3: Mise en Place. Before you even think about turning on the heat, ensure all your remaining ingredients – the chopped dark chocolate, cubed unsalted butter, and vanilla extract – are precisely measured and ready to go. Stirred custards cook quickly and demand your full attention; they truly “wait for no one.” Having everything prepped prevents panic and ensures a smooth cooking process.
Cook and Cool the Pudding to Perfection:
Step 4: Cook Until Thickened. Place the pot over medium heat and begin whisking constantly. Continue whisking without interruption until the pudding starts to bubble and visibly thickens. Once it begins to bubble, you must continue to whisk for at least 1 full minute. This extended whisking time is critical to fully activate the cornstarch for proper thickening and, importantly, to cook away any raw cornstarch flavor, which can leave an unpleasant mouthfeel.
Saving a Lumpy Pudding During Cooking: Don’t despair if you see lumps forming while cooking, perhaps due to heat that’s too high. Immediately reduce or turn off the heat and whisk vigorously until the lumps disappear. If they persist, finish cooking the pudding as instructed, then immediately strain it through a fine-mesh colander directly into your prepared chocolate and butter mixture.
Step 5: Finish with Chocolate, Butter, and Vanilla. As soon as the pudding has thickened after its minute of bubbling, remove the pot from the burner. Immediately stir in the cubed unsalted butter, chopped dark chocolate, and vanilla extract. Whisk continuously until the butter and chocolate have completely melted and are fully incorporated, leaving no streaks of either ingredient. This step creates that incredible silky texture and rich flavor.
Step 6: Chill for Perfect Setting. Pour the hot pudding into your desired serving dishes – whether it’s a large bowl, a plastic-lined sheet tray for easier cooling, or individual ramekins/cups. To prevent an undesirable “skin” from forming on the surface, immediately cover the pudding with a piece of plastic wrap, pressing it directly onto the surface. Poke a few small holes in the plastic wrap to allow steam to escape. Refrigerate the pudding for at least 3-4 hours, or until thoroughly chilled and set, developing its full velvety texture.
Achieving Extra Smoothness with an Ice Bath: For an exceptionally smooth pudding, immediately after finishing in Step 5, pour your hot pudding into a bowl that has been nested in an ice bath. Actively chill the pudding by whisking or stirring it with a spatula. This rapid, active cooling prevents clumping as it sets. Once thoroughly cooled, if it feels too stiff, you can vigorously whisk it (or use a stand mixer with a paddle attachment if your arm is tired!) to loosen and smooth it out perfectly.
Chef Lindsey’s Recipe Tip for Success
Master the “Mise en Place” for Stirred Custards! My biggest tip for making perfect stirred custards like this chocolate pudding is to have all your tools and ingredients meticulously prepared and within arm’s reach before you even begin cooking. These custards are fast-moving once on the heat, and once they’re done, you need to remove them from the heat source and out of the hot pot as quickly as possible to prevent any scorching on the bottom. Organization is key to success!
More Ways to Enjoy Your Homemade Chocolate Pudding
This rich chocolate pudding is fantastic on its own, but its versatility shines when paired with various toppings and accompaniments. Here are some of my favorite ways to serve it:
- S’mores Themed Dessert: Transform your pudding into a gourmet s’mores experience! Add a generous dollop of fluffy marshmallow fluff or marshmallow frosting on top, then lightly toast it with a kitchen torch for that signature charred marshmallow flavor. For an extra layer of authenticity, consider adding a crumbled graham cracker crust to the bottom of your serving cups.
- Add a Delightful Crunchy Element: Contrasting textures are always a hit! Sprinkle your pudding with crushed chocolate biscotti cookies, crispy homemade gingersnaps, crumbled old-fashioned peanut butter cookies, or a buttery streusel topping. Any of your favorite crunchy cookies or brittle would be a fantastic addition.
- Complementary Flavor Pairings: I often top my puddings, including this one and my butterscotch pudding or vanilla bean rice pudding, with either unsweetened or lightly sweetened whipped cream. A drizzle of luscious salted caramel sauce adds a sophisticated touch, or lean further into the chocolate indulgence with a warm hot fudge sauce. Fresh berries or sliced fruit like raspberries, strawberries, or bananas are also always a beautiful and refreshing complement. You could also create a stunning dessert by layering it with homemade vanilla pudding.
- Brooklyn Blackout Cake Inspired: This thick, rich chocolate pudding is the perfect filling for a traditional Brooklyn Blackout Cake. Alternatively, create themed pudding cups by layering it with crumbles of devil’s food cake or chocolate pudding cookies, and topping with a swirl of chocolate buttercream frosting for an epic chocolate overload!
Frequently Asked Questions About Chocolate Pudding
Store your freshly made chocolate pudding in an airtight container in the refrigerator for up to 1 week. To prevent a skin from forming, press a piece of plastic wrap directly onto the surface of the pudding before covering. I do not recommend freezing pudding, as it will cause it to separate upon thawing and significantly affect its silky texture.
Not always. If you have diligently whisked your pudding throughout the cooking process and observe no visible lumps or curdled bits, then there is no need to strain it. Straining is primarily a “what if” backup plan if something goes wrong, ensuring a smooth result even if small imperfections occur.
Eggs contribute immensely to the rich flavor and luxurious, silky texture of this particular recipe, making it a true stirred custard. However, if you prefer or need to omit them, you can. The cornstarch is the primary thickening agent. If you decide to go egg-free, I recommend increasing the cornstarch to 3 tablespoons to ensure your pudding still achieves a nice, thick consistency.
While technically possible, I highly recommend using quality bar chocolate (54-65% cocoa solids) and chopping it yourself. Bar chocolate contains less stabilizers and melts much more smoothly, incorporating better into the pudding to create that truly silky, homogenous texture. Chocolate chips, designed to hold their shape, may result in a slightly less smooth or grainy finish.
If your pudding is too thin, it likely hasn’t cooked long enough for the cornstarch to fully activate. Return it to medium heat and whisk constantly for another 1-2 minutes until it visibly thickens and boils. Remember to whisk for a full minute after it starts bubbling. Ensure your measurements were accurate, especially for the cornstarch, as too little can prevent proper thickening.
If you tried and loved this incredible chocolate pudding recipe, please consider leaving a 🌟 star rating and share your thoughts in the comments below. Your feedback truly makes my day!
The Ultimate Dark Chocolate Pudding Recipe
Chef Lindsey
20
15
35
6 people
Ingredients
- ¾ cups granulated sugar
- ¼ cup Dutch processed cocoa powder
- 2 tablespoons cornstarch
- ½ teaspoon kosher salt
- ¼ teaspoon cinnamon optional
- 2 large eggs beaten
- 2 ½ cups milk
- 4 oz dark chocolate chopped (I used 55% cocoa solids)
- 2 tablespoons unsalted butter cubed
- 2 teaspoons vanilla extract
Instructions
Prepare the Pudding Base:
-
In a heavy-bottomed pot, vigorously whisk together the sugar, cocoa powder, cornstarch, kosher salt, and cinnamon (if using) until thoroughly combined and lump-free.
-
Whisk in the beaten eggs until the mixture is smooth and homogenous, ensuring no egg streaks or cornstarch lumps remain. Once fully incorporated, gradually whisk in the milk until combined.
-
Before turning on the heat, have your chopped dark chocolate, cubed butter, and vanilla extract measured and ready. This “mise en place” is crucial for seamless cooking.
Cook and Cool the Pudding to Perfection:
-
Cook the mixture over medium heat, whisking constantly and without interruption, until it becomes bubbly and noticeably thickens. Once the pudding starts to bubble, continue whisking for at least 1 minute to ensure the cornstarch is fully cooked and activated, eliminating any raw starchy taste.
-
Immediately remove the pot from the burner. Stir in the butter, chopped chocolate, and vanilla extract. Whisk vigorously until all the butter and chocolate have melted and are completely smooth and integrated, with no streaks visible.
-
Pour the warm pudding into a clean bowl, a plastic-lined sheet tray, or individual serving cups. Cover the surface of the pudding directly with plastic wrap to prevent a skin from forming. Poke a few small holes in the plastic to allow steam to escape. Refrigerate for at least 3-4 hours, or until thoroughly chilled and set, developing its full velvety texture.
Video Guide
Chef’s Notes
Flavor Tip – Since chocolate is the star here, always use your favorite high-quality dark chocolate. Its flavor will be prominent, so make sure it’s one you absolutely love!
Storage Tip – For professional-looking serving, once cooled, you can transfer the pudding into a pastry bag. This allows for easy piping into desired serving dishes or elegant dessert components later.
Nutrition Facts
Carbohydrates: 43g |
Protein: 7g |
Fat: 17g |
Saturated Fat: 10g |
Polyunsaturated Fat: 1g |
Monounsaturated Fat: 5g |
Trans Fat: 0.2g |
Cholesterol: 77mg |
Sodium: 259mg |
Potassium: 366mg |
Fiber: 3g |
Sugar: 35g |
Vitamin A: 368IU |
Vitamin C: 0.003mg |
Calcium: 154mg |
Iron: 3mg
Dessert
American
347
Before You Go: Explore More Decadent Desserts
I sincerely hope you savored this professional chef-tested recipe for velvety dark chocolate pudding. If you loved crafting this simple yet sophisticated dessert, I invite you to explore our other exquisite custard recipes. For another custardy chocolate indulgence, why not try my renowned French Silk Pie next, or perhaps its delightful banana variation, the Classic Banana Cream Pie? Happy baking (or rather, no-baking)!