
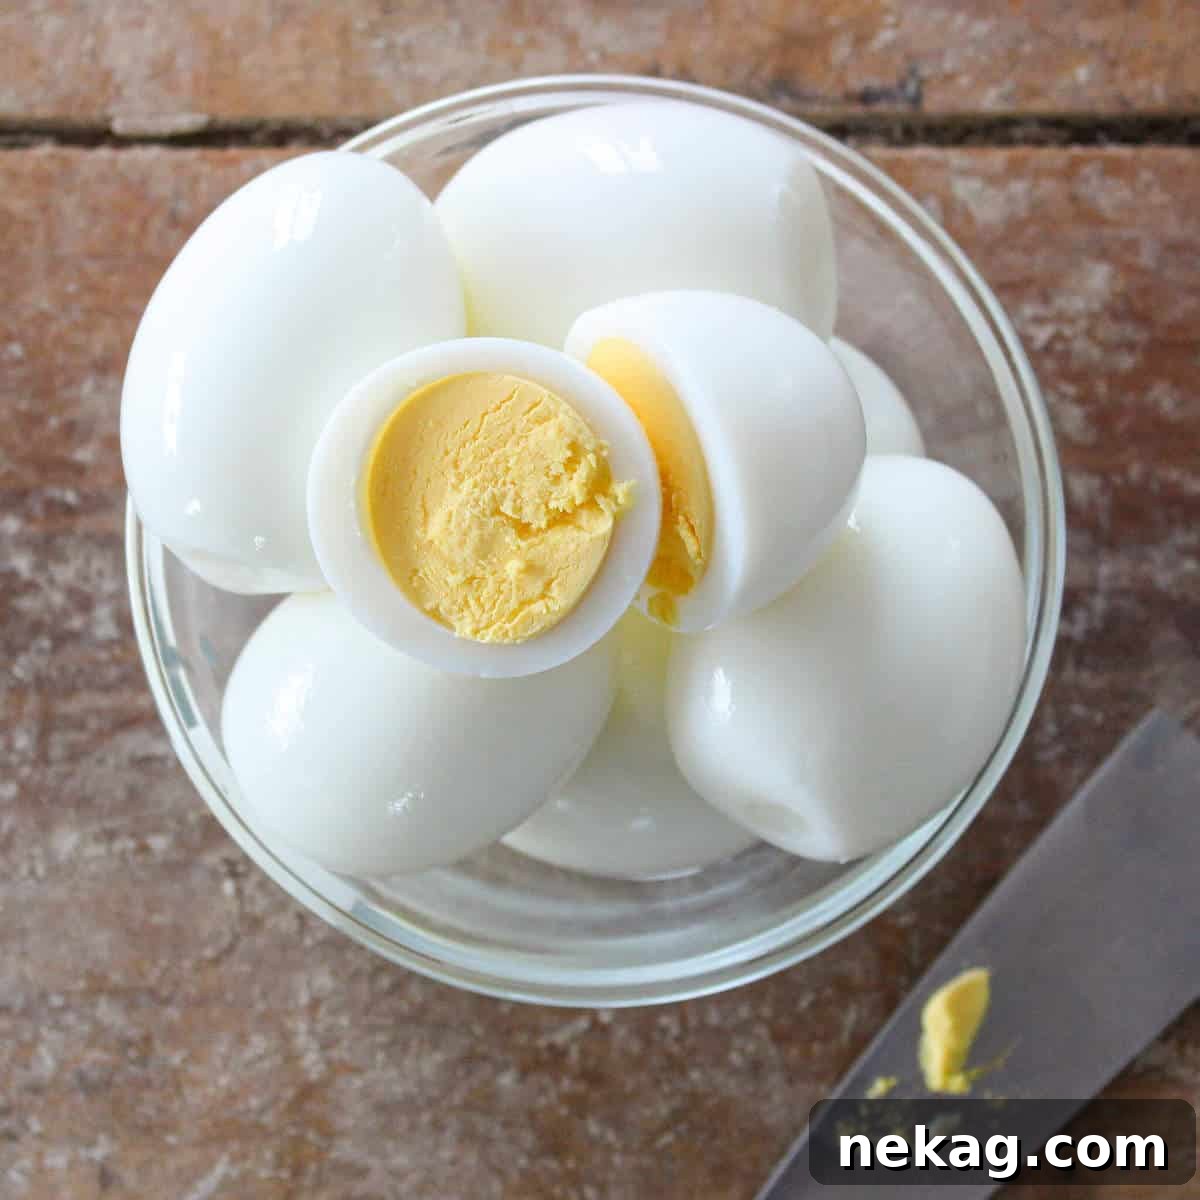
Unlock the secret to consistently perfect hard-boiled eggs with this incredibly simple, chef-approved method. Say goodbye to the endless quest for the ideal boiling time and the frustration of stubbornly peeling shells. This comprehensive guide, straight from a professional pastry chef, promises effortlessly peelable, beautifully cooked eggs every single time. Whether you’re a seasoned home cook or just starting your culinary journey, these proven techniques will transform your egg-boiling experience and elevate your dishes to a new level of perfection.
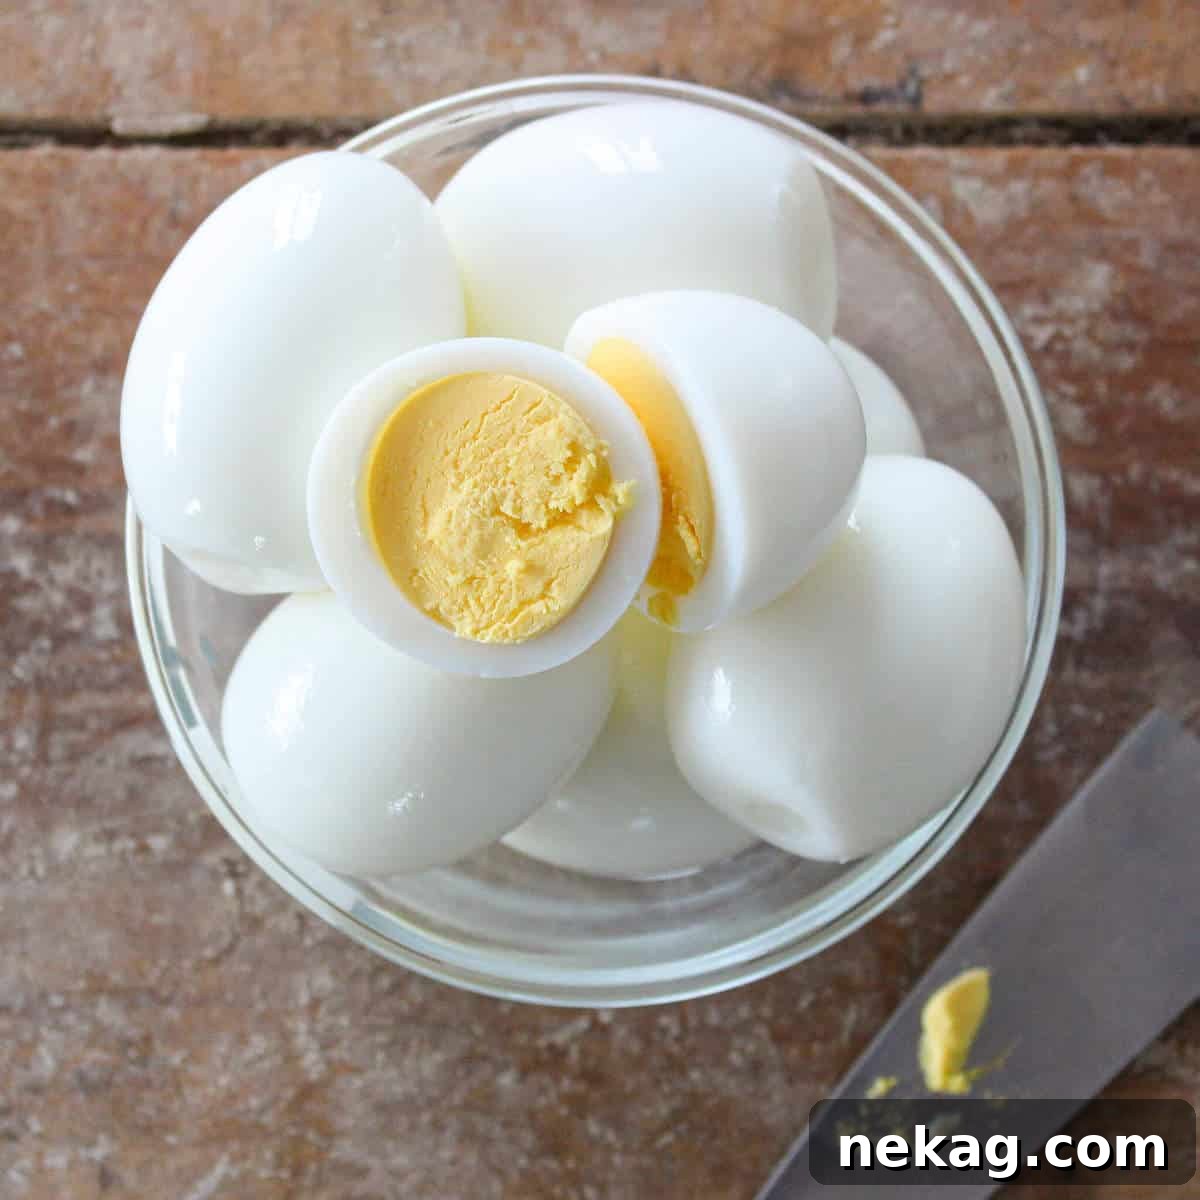
Mastering the Art of Hard-Boiled Eggs: A Professional Chef’s Perspective
In the culinary world, even the simplest tasks can spark the most passionate debates. How do you truly know if your cooking method is the best? You gather insights from your peers, of course! Working in two dynamic professional restaurant kitchens—Restaurant Marc Forgione and Peasant—I’m fortunate to be surrounded by an abundance of opinionated chefs, passionate cooks, and attentive front-of-house staff. What I discovered is that “How to Hard Boil an Egg” is an astonishingly contentious topic. One might think I was instigating a political discussion, given the strong opinions! Yet, this very debate fueled my quest to find and perfect the ultimate hard-boiled egg technique.
My personal journey to perfecting the hard-boiled egg intensified during a period where I was going through a significant “hard-boiled egg phase.” These versatile protein powerhouses became a staple in my diet. I incorporated them into vibrant salads, like my popular shaved Brussels sprout salad, paired them with crispy air fryer chicken tenders, transformed them into classic deviled eggs, created savory deviled egg salad sandwiches, and even enjoyed them as a quick, satisfying snack with a dollop of sweet relish. Don’t judge my relish choice – it’s surprisingly delicious!
Beyond personal consumption, hard-boiled eggs also played a creative role in my professional baking. I once featured a delightful shortcake on the menu, and a unique trick I employed was cutting finely sieved hard-boiled egg yolks into the dry ingredients. This unexpected addition worked wonders, contributing to an incredibly tender crumb. (Speaking of shortcake, now I have my amazing lemon strawberry shortcake (for two) on my mind!) In any given week, my kitchen duties often required me to hard boil an astounding three flats of eggs. For those not familiar with industry jargon, a “flat” of eggs refers to three dozen. As you can imagine, with such high volume and repetition, I quickly honed my skills and became adept at consistently producing the perfect hard-boiled egg. My passion for this humble ingredient runs deep, and I’m excited to share my foolproof method with you.
Essential Tips for Hard-Boiled Egg Success
Achieving perfectly cooked, easily peelable hard-boiled eggs is not just about timing; it’s about understanding a few key principles. These professional tips will ensure your success:
- Always Start with Cold Water: This is a point of contention among chefs, with some advocating for adding eggs to already boiling water to prevent protein coagulation at the surface. However, my extensive testing has shown that starting eggs in cold water is the most reliable way to achieve consistently perfect results. It allows the eggs to heat up gradually, minimizing cracks and ensuring even cooking throughout the yolk and white. With this method, I know with absolute certainty that my eggs will be flawlessly cooked at precisely 10 minutes. This gradual temperature increase also helps in creating a less sulfurous, more pleasant-tasting egg.
- Size Truly Matters: This recipe is specifically calibrated for large eggs. Using medium eggs will result in overcooked yolks, while extra-large eggs require a slight adjustment in cooking time. For large eggs, stick to the 10-minute boil. If you are using extra-large eggs, increase the cooking time to 11 minutes to ensure they are cooked through to perfection. Medium eggs are rarely used in professional kitchens for consistent recipes, so my focus remains on large and extra-large for reliable results.
- The Secret to Easy Peeling: Distilled White Vinegar: This groundbreaking tip was an accidental discovery from my childhood. Whenever my mom prepared eggs for Easter dyeing, she would add white vinegar to the water. While her intention was to help the dye adhere better to the shells, I retrospectively noticed that those Easter eggs were *always* significantly easier to peel than any other hard-boiled eggs. The acidity of the vinegar gently breaks down the calcium carbonate in the eggshell, making it more porous and less adherent to the membrane, leading to a smooth, frustration-free peeling experience. Don’t worry, the vinegar won’t affect the taste of your eggs!
- Never Skip the Ice Bath: This step is non-negotiable for perfectly cooked and easily peelable eggs. Immediately transferring the hot eggs from the boiling water into an ice bath serves two critical purposes. First, it halts the cooking process abruptly, preventing the eggs from becoming overcooked, which can lead to that unsightly green ring around the yolk. Second, the rapid temperature change causes the egg white to shrink ever so slightly, separating it from the inner membrane of the shell. This tiny separation is the key to a clean, effortless peel.
- Peel Under Cold Water if Stuck: Even with all the right techniques, sometimes you might encounter a stubborn spot. If you find yourself struggling to peel an egg, simply place it back under the running cold water from the ice bath. The water helps to further loosen the delicate membrane that lies between the egg white and the shell, allowing the shell fragments to float away more easily. While it might be a bit chilly on your hands, this trick often provides the extra assistance needed for a perfect peel.
- Understanding Egg Age and Type: It’s a common misconception that super fresh eggs are ideal for hard boiling. In reality, older eggs (about a week to 10 days old) are generally easier to peel. As eggs age, the pH level of the egg white increases, causing it to shrink slightly and separate more easily from the inner membrane. Conversely, farm-fresh eggs, while delicious, are notoriously difficult to peel due to their strong, fresh membrane. Regarding shell color, white eggs tend to be slightly easier to peel than brown eggs, likely because their shells are often thinner and less porous.
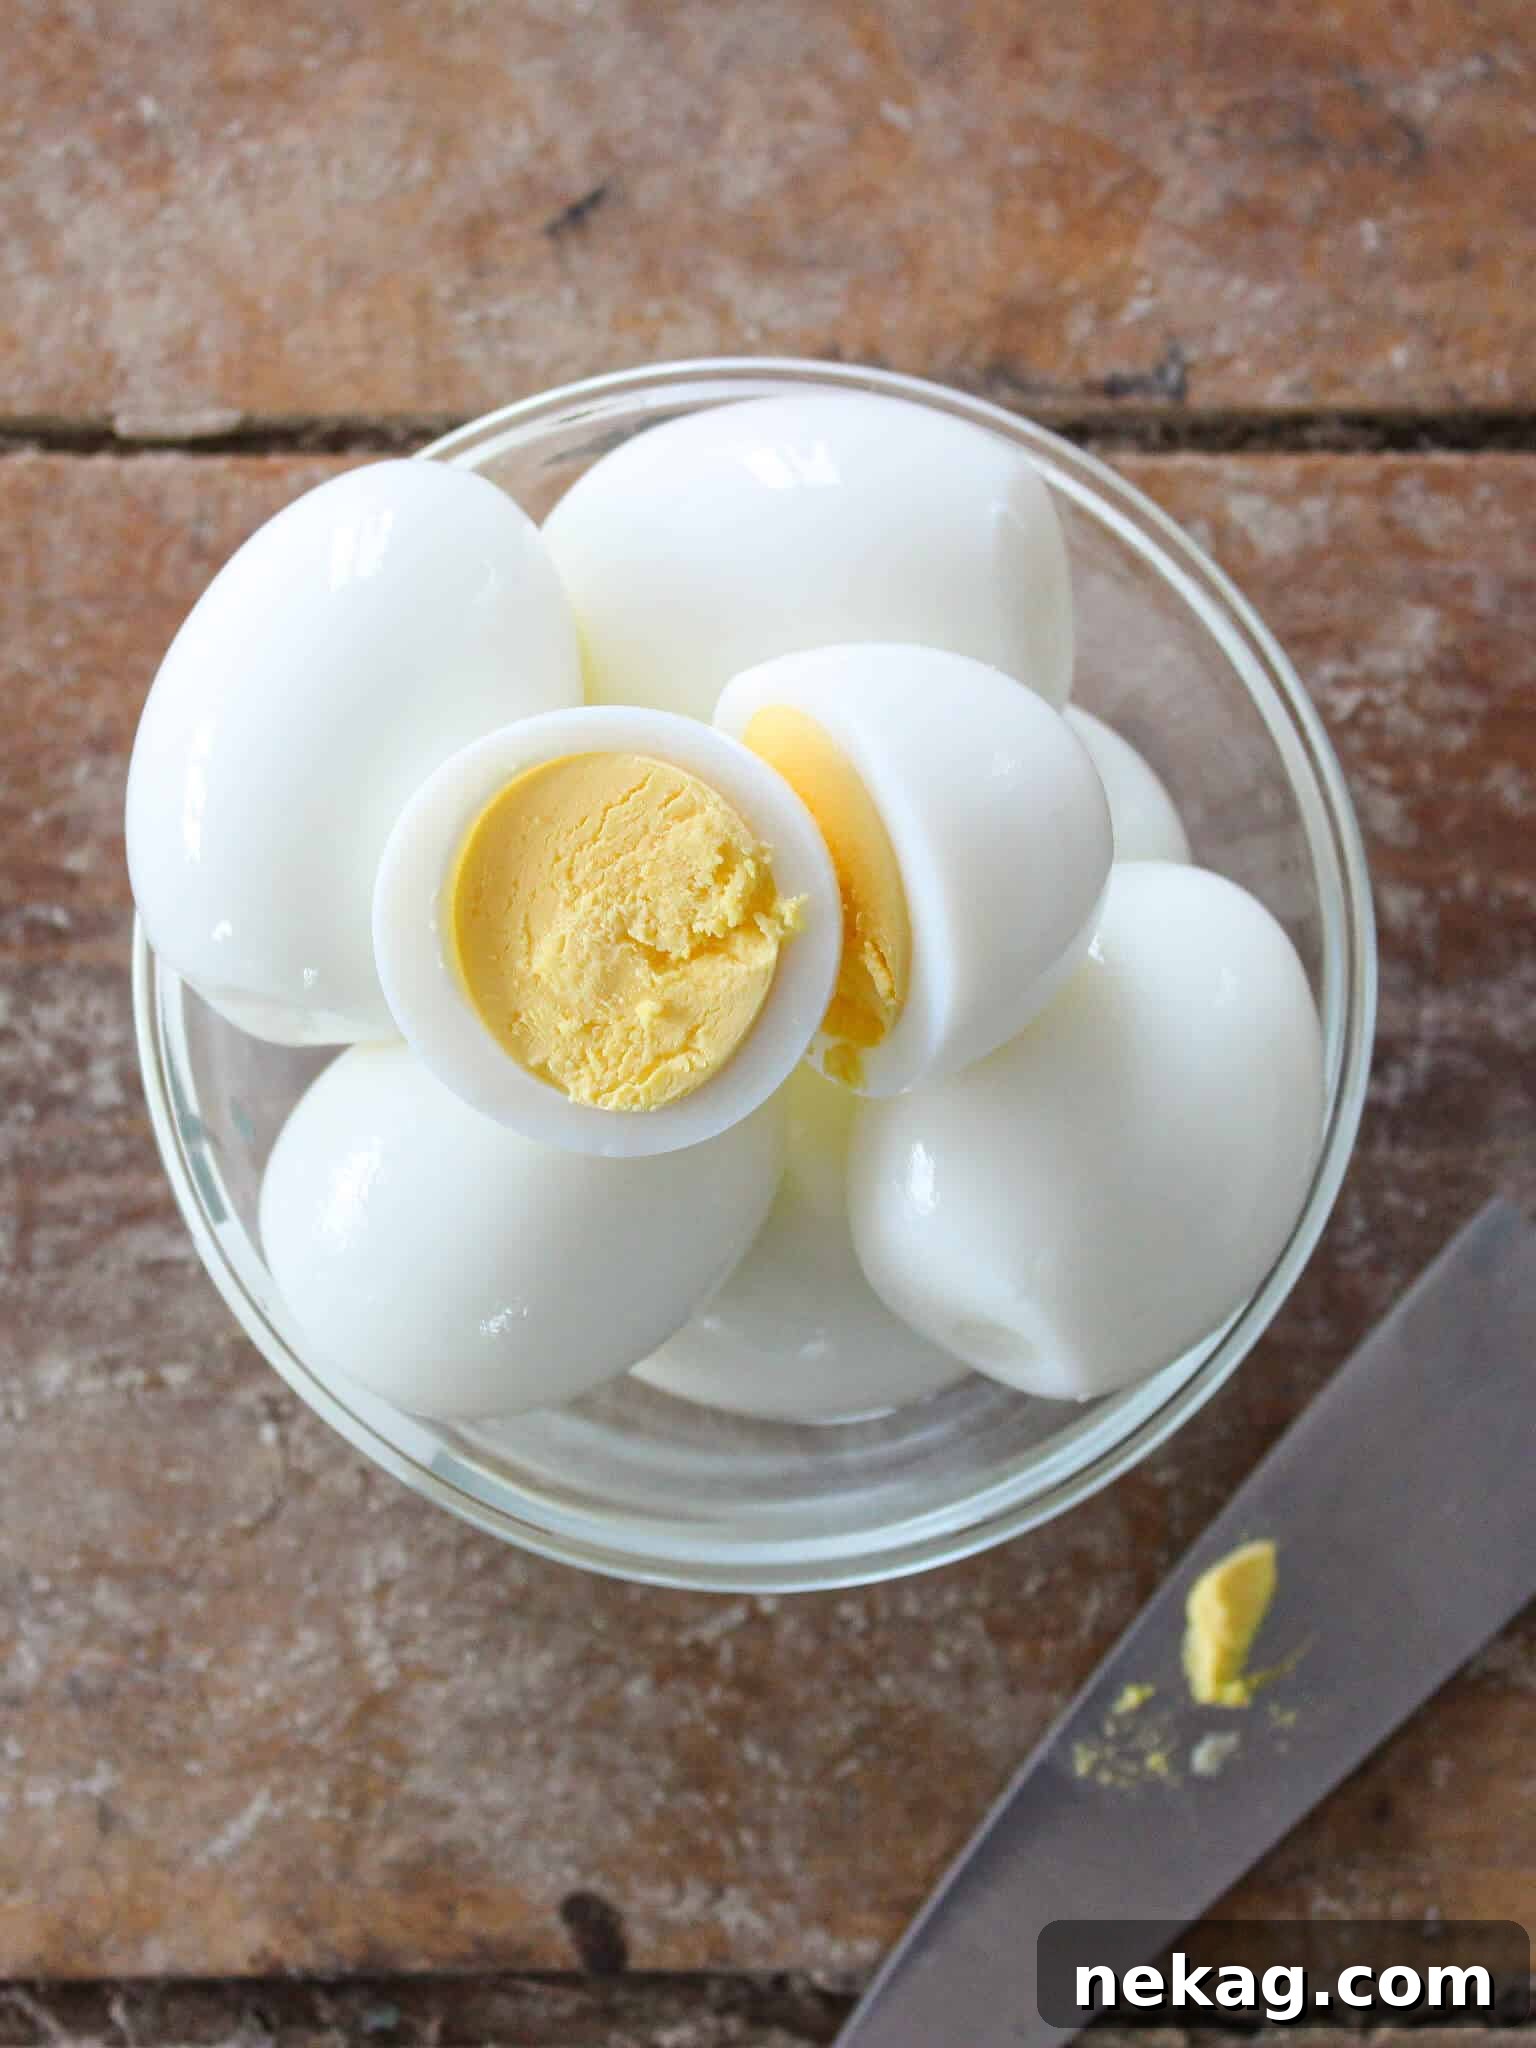
How to Hard Boil an Egg
Comment
Print Recipe
Ingredients
- 12 large eggs
- 1 qt Cold water to cover eggs
- 2 tbsp Distilled white vinegar (approximately 2 Tablespoons for each quart of water)
- Ice
Instructions
-
Gently place the eggs in a single layer on the bottom of a large pot. Ensure they are not stacked to prevent uneven cooking and cracking.
-
Fill the pot with cold water, just enough to cover the eggs by about an inch. Too much water will increase boiling time; too little might not cover all eggs.
-
Carefully pour in about 2 tablespoons of distilled white vinegar. This crucial step, as detailed in our tips, is the key to effortlessly peelable eggs without imparting any vinegar taste.
-
Place the pot on high heat and bring the water to a rapid, consistent boil. Watch closely as the water begins to bubble vigorously.
-
As soon as a rolling boil is achieved (when large bubbles are breaking the surface continuously), set a timer for exactly 10 minutes. Do not boil for longer than this for perfect large eggs.
-
While the eggs are boiling, prepare an ice bath. Fill a large bowl with plenty of ice. You don’t need to add water yet, but have it ready.
-
Once the 10-minute timer goes off, immediately remove the pot from the heat. Using a slotted spoon, gently transfer each hot egg into the bowl of ice. Now, add enough cold water to the bowl to ensure the eggs are completely submerged and encapsulated by the ice water. This rapid cooling process is vital to stop cooking and facilitate easy peeling.
-
Allow the eggs to cool in the ice bath for at least 15 minutes. For the easiest peeling, many find that peeling them while still slightly warm, right after the ice bath, works best. Gently tap the eggs on a hard surface, then roll them to create small cracks all over the shell before peeling under cool water.
Video
Notes
Remember that cooking times vary slightly by egg size. While this recipe is designed for large eggs at 10 minutes, Extra Large eggs will require 11 minutes to reach the same level of perfectly firm yolk and white.
Common Hard-Boiled Egg Troubleshooting
- Green Ring Around the Yolk: This is a classic sign of an overcooked egg. It happens when hydrogen sulfide, formed from the sulfur in the egg white, reacts with iron in the yolk, creating ferrous sulfide (the green ring). To prevent this, strictly adhere to the 10-minute cooking time for large eggs and ensure an immediate ice bath to stop the cooking process.
- Cracked Shells During Boiling: Cracking can occur if eggs are dropped into boiling water, if they are too cold (thermal shock), or if the pot is overcrowded. Starting with cold water, as instructed, helps prevent thermal shock. Also, ensure eggs are in a single layer to avoid jostling and cracking.
- Difficulty Peeling (Even with Vinegar/Ice Bath): While our method significantly reduces peeling issues, extremely fresh eggs can still be a challenge. If you encounter this, try peeling under running water or submerging them in a bowl of water while peeling. The water helps to get under the membrane, making it easier to separate. Sometimes, a batch of eggs may just be exceptionally fresh, in which case a slightly older egg (around a week old) would peel easier.
Creative Ways to Enjoy Your Perfect Hard-Boiled Eggs
Hard-boiled eggs are incredibly versatile and nutritious. Beyond a simple snack, here are more ideas to incorporate them into your meals:
- Salads: Chop them into a shaved Brussels sprout salad, a classic Cobb, or a vibrant Nicoise. Their creamy texture complements crisp greens beautifully.
- Sandwiches & Wraps: Mash them for a delightful egg salad sandwich, or slice them into a turkey wrap for added protein and richness.
- Deviled Eggs: The ultimate party appetizer! Our perfectly cooked yolks are ideal for creamy, flavorful deviled eggs.
- Snacks: A quick and healthy snack on their own, perhaps with a sprinkle of salt, pepper, or a dash of hot sauce.
- Avocado Toast Topping: Slice and arrange on avocado toast for a satisfying breakfast or light lunch.
- Ramen & Noodle Bowls: A soft-boiled egg is traditional, but a perfectly hard-boiled egg can also add richness and protein to your favorite ramen or noodle soup.
- Curries & Stews: Incorporate them into various curries or stews, where they absorb the rich flavors of the sauce.
- Garnish: Finely chop them as a garnish for soups, stews, or even a classic steak tartare.
Storage Tips for Hard-Boiled Eggs
Proper storage is essential to maintain the freshness and safety of your hard-boiled eggs:
- Unpeeled Eggs: Hard-boiled eggs, when left unpeeled, can be stored in the refrigerator for up to one week. Keeping them in their shells helps to protect them from absorbing odors from other foods in the fridge and maintains moisture. It’s best to store them in a covered container to prevent them from drying out.
- Peeled Eggs: If you’ve already peeled your hard-boiled eggs, store them in an airtight container filled with a little cold water to keep them from drying out. Change the water daily for optimal freshness. Peeled hard-boiled eggs should also be consumed within one week.
- Freezing: It is generally not recommended to freeze whole hard-boiled eggs, as the whites tend to become rubbery and watery upon thawing. However, hard-boiled egg yolks can be frozen and used later for recipes like egg salad or as a garnish.
Nutrition
With these expert tips and a precise method, you’re now equipped to make perfectly hard-boiled eggs every single time. No more guesswork, no more frustrating peels, just consistent culinary success. Whether you’re preparing them for a nutritious snack, a vibrant salad, or a delicious deviled egg platter, these eggs will be a testament to your newfound skill. Go ahead, give it a try, and taste the difference a professional touch can make. We’re confident you’ll never go back to your old ways!