
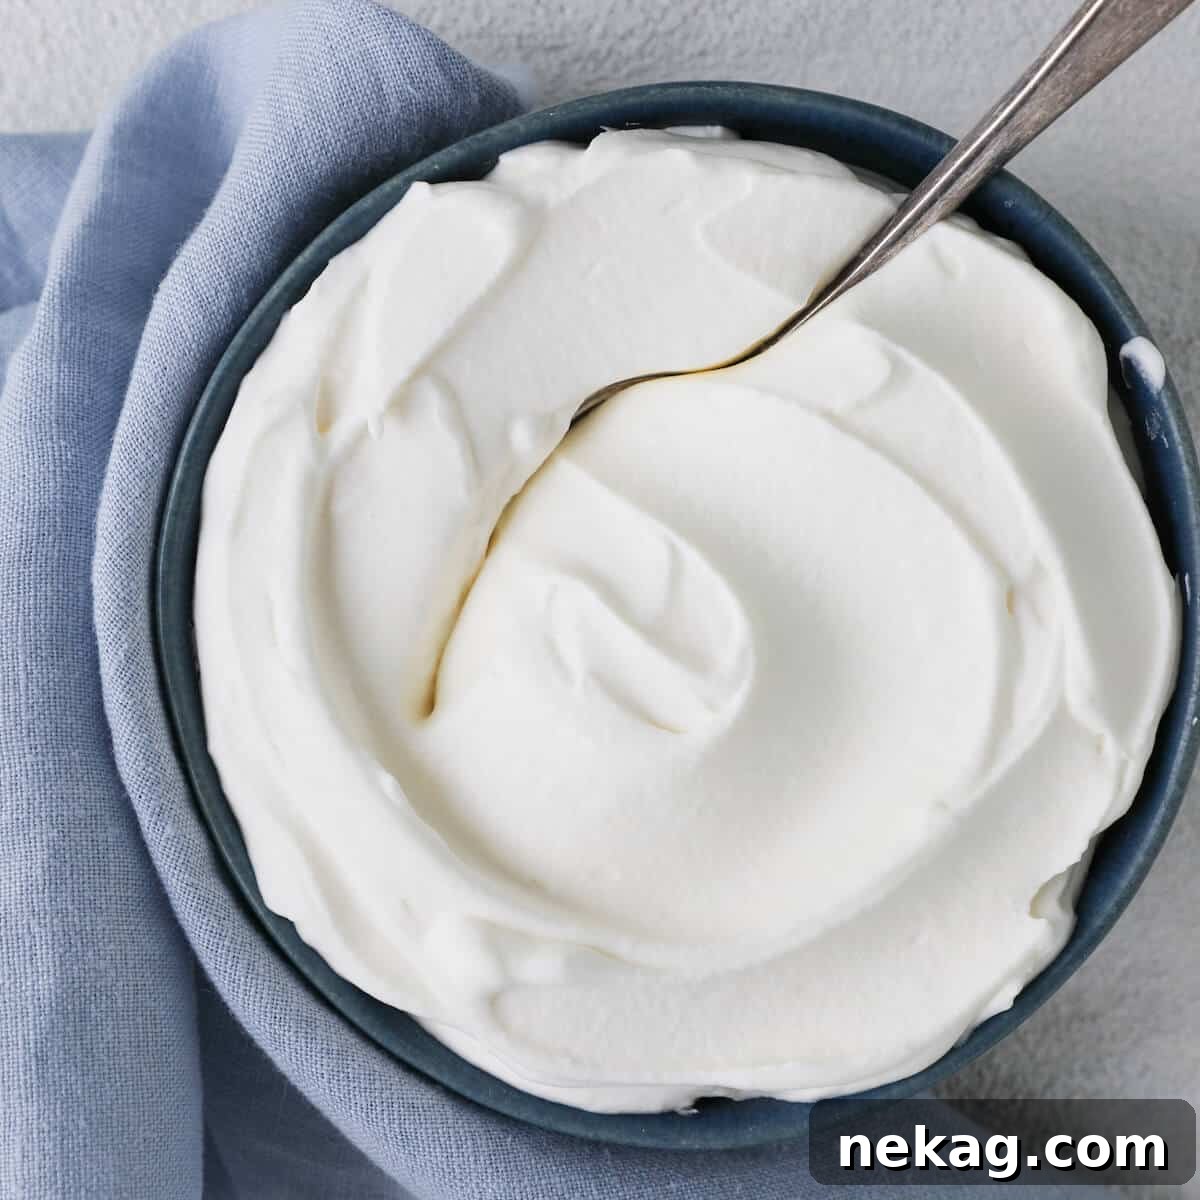
There’s a magical simplicity in homemade whipped cream that store-bought versions simply can’t replicate. This easy-to-follow recipe, requiring just three essential ingredients, transforms ordinary heavy cream into a rich, silky-smooth, and perfectly sweetened cloud of pure delight. Whether you’re a seasoned baker or a kitchen novice, you can whip up this irresistible topping with an electric mixer or even by hand in under 5 minutes, elevating any dessert from good to absolutely extraordinary.
A Quick Look At The Recipe
This is a brief summary of the recipe. Jump to the detailed recipe below for complete instructions.
Jump to Recipe
Prep Time
5 minutes
Total Time
5 minutes
Servings
8 people
Difficulty
Easy
Calories *
211 kcal per serving
Technique
Combine ingredients, whisk until fluffy, and serve.
Flavor Profile
Delightfully creamy and perfectly sweet vanilla-infused whipped cream.
* Based on nutrition panel
Who knew making homemade whipped cream would be so easy and so delicious! I will not be buying Cool Whip or aerosol whipped cream anymore! Having only 3 ingredients makes my heart happy. ⭐⭐⭐⭐⭐
Mara
Homemade whipped cream is truly the understated hero of the dessert world. Much like a classic pair of patent-leather pumps, it effortlessly pulls together almost any sweet creation with minimal fuss, enhancing flavors rather than competing with them. A generous dollop of this pillowy cloud can transform even the simplest bowl of sliced strawberries into a sophisticated and novel dessert experience, making every bite feel like a special treat.
In my professional experience as a pastry chef, I always strive to create balance, not just within individual desserts but across an entire menu. While some desserts undeniably shine with a scoop of rich ice cream, creamy gelato, or refreshing sorbet, others find their perfect complement in a delicate serving of whipped cream. Sometimes, a straightforward, classic whipped cream is all that’s required. Yet, for those occasions when you want to elevate your creation further, consider infusing it with bright flavors like a zesty lemon whipped cream or adding a sophisticated tang with a crème fraîche whipped cream. For an added textural dimension, earn bonus points by sprinkling a crunchy brown sugar streusel or a delightful pumpkin seed brittle on top!
Table of Contents
- Creative Ways to Use Homemade Whipped Cream
- Essential Ingredients for Perfect Whipped Cream
- Can You Over-Whip Cream? The Dangers of Overworking
- Mastering the Art: How to Make Perfect Homemade Whipped Cream
- Frequently Asked Questions About Whipped Cream
- Homemade Whipped Cream Recipe Card
- Before You Go: Explore More Delicious Desserts!
Creative Ways to Use Homemade Whipped Cream
The versatility of homemade whipped cream knows no bounds. Its light, airy texture and delicate sweetness make it the ultimate companion for countless desserts. Here are some inspiring ideas to put your freshly made whipped cream to delightful use:
- Effortless Berry Bliss: Elevate simple macerated berries, such as strawberries or cherries, by pairing them with a generous dollop of homemade whipped cream for an easy, light, and refreshing dessert. For an extra layer of flavor, swirl in some bright lemon curd – you’ve undeniably got yourself a party-ready treat!
- Trifle Transformations: Create stunning layered trifles that are perfect for entertaining. Whipped cream provides a fantastic canvas; consider adding aromatic spices for a unique twist, like in this festive red velvet raspberry trifle, or keeping it light and fruity with a vibrant lemon berry trifle.
- Pie Perfection: Serve a dollop on your favorite pie as a lighter, yet equally indulgent, alternative to ice cream. Or, for a truly show-stopping presentation, generously top the entire pie, as seen with this incredible homemade peanut butter ice cream pie.
- Lightening Up Fillings: Gently fold whipped cream into richer dessert components like caramel pastry cream, luscious lemon curd, or decadent chocolate mousse. This technique creates a lighter, airier, and more ethereal texture, reducing the intensity without sacrificing flavor.
- Elegant Dessert Parfaits: Layer whipped cream with fresh fruit, tangy lemon curd, or homemade fruit compote and a sprinkle of streusel for an easy-to-assemble yet elegant dessert parfait that’s perfect for individual servings.
- Cake’s Best Friend: A generous spoonful of homemade whipped cream is the quintessential accompaniment for almost any cake, offering a delightful contrast in texture and taste. It’s especially delicious with rich cakes like the best fig cake, a comforting chocolate pound cake, or a spiced gingerbread cake.
- Frozen Delights: Integrate whipped cream into icebox cakes, such as this delightful banana pudding ice box cake. It’s also a key ingredient for creating rich, creamy no-churn ice cream or sophisticated semifreddo, offering a luscious texture without the need for an ice cream maker.
Essential Ingredients for Perfect Whipped Cream
Making incredible whipped cream requires only a handful of ingredients, but selecting the right ones is key to achieving that rich, silky-smooth texture and delightful flavor. Here’s a closer look at what you’ll need:
- Heavy Cream: The Foundation of Fluffiness
Always opt for full-fat heavy cream, often labeled as “heavy whipping cream.” The high fat content (typically 36-40%) is crucial for creating stable, voluminous whipped cream that holds its shape beautifully. Light whipping cream, with its lower fat content, simply will not whip to the same consistency; it’s prone to over-whipping and results in a less stable, less smooth product that can separate quickly. Starting with very cold cream is also paramount for successful whipping, as cold fat molecules emulsify and incorporate air more efficiently.
- Powdered Sugar: For Silky Sweetness
I exclusively use powdered sugar, also known as confectioner’s sugar, to sweeten homemade whipped cream. Unlike granulated sugar, which can leave a slightly gritty texture or require more vigorous whisking to dissolve fully, powdered sugar contains a small amount of cornstarch. This not only helps it incorporate seamlessly into the cream, resulting in an impeccably silky-smooth texture, but the cornstarch also contributes to the overall stability of the whipped cream, helping it hold its shape longer. Remember that powdered sugar is sweeter by volume and weight than granulated sugar, so start with a light hand and adjust to your taste.
- Vanilla Extract: A Touch of Aromatic Elegance
A good quality vanilla extract is more than just a flavor enhancer; it’s a critical component that elevates homemade whipped cream. Its warm, aromatic notes complement the richness of the cream beautifully, creating a flavor profile that is wonderfully reminiscent of a classic vanilla ice cream. While vanilla is a staple, don’t hesitate to experiment with other extracts like almond, peppermint, or even a splash of liqueur for different dessert pairings.
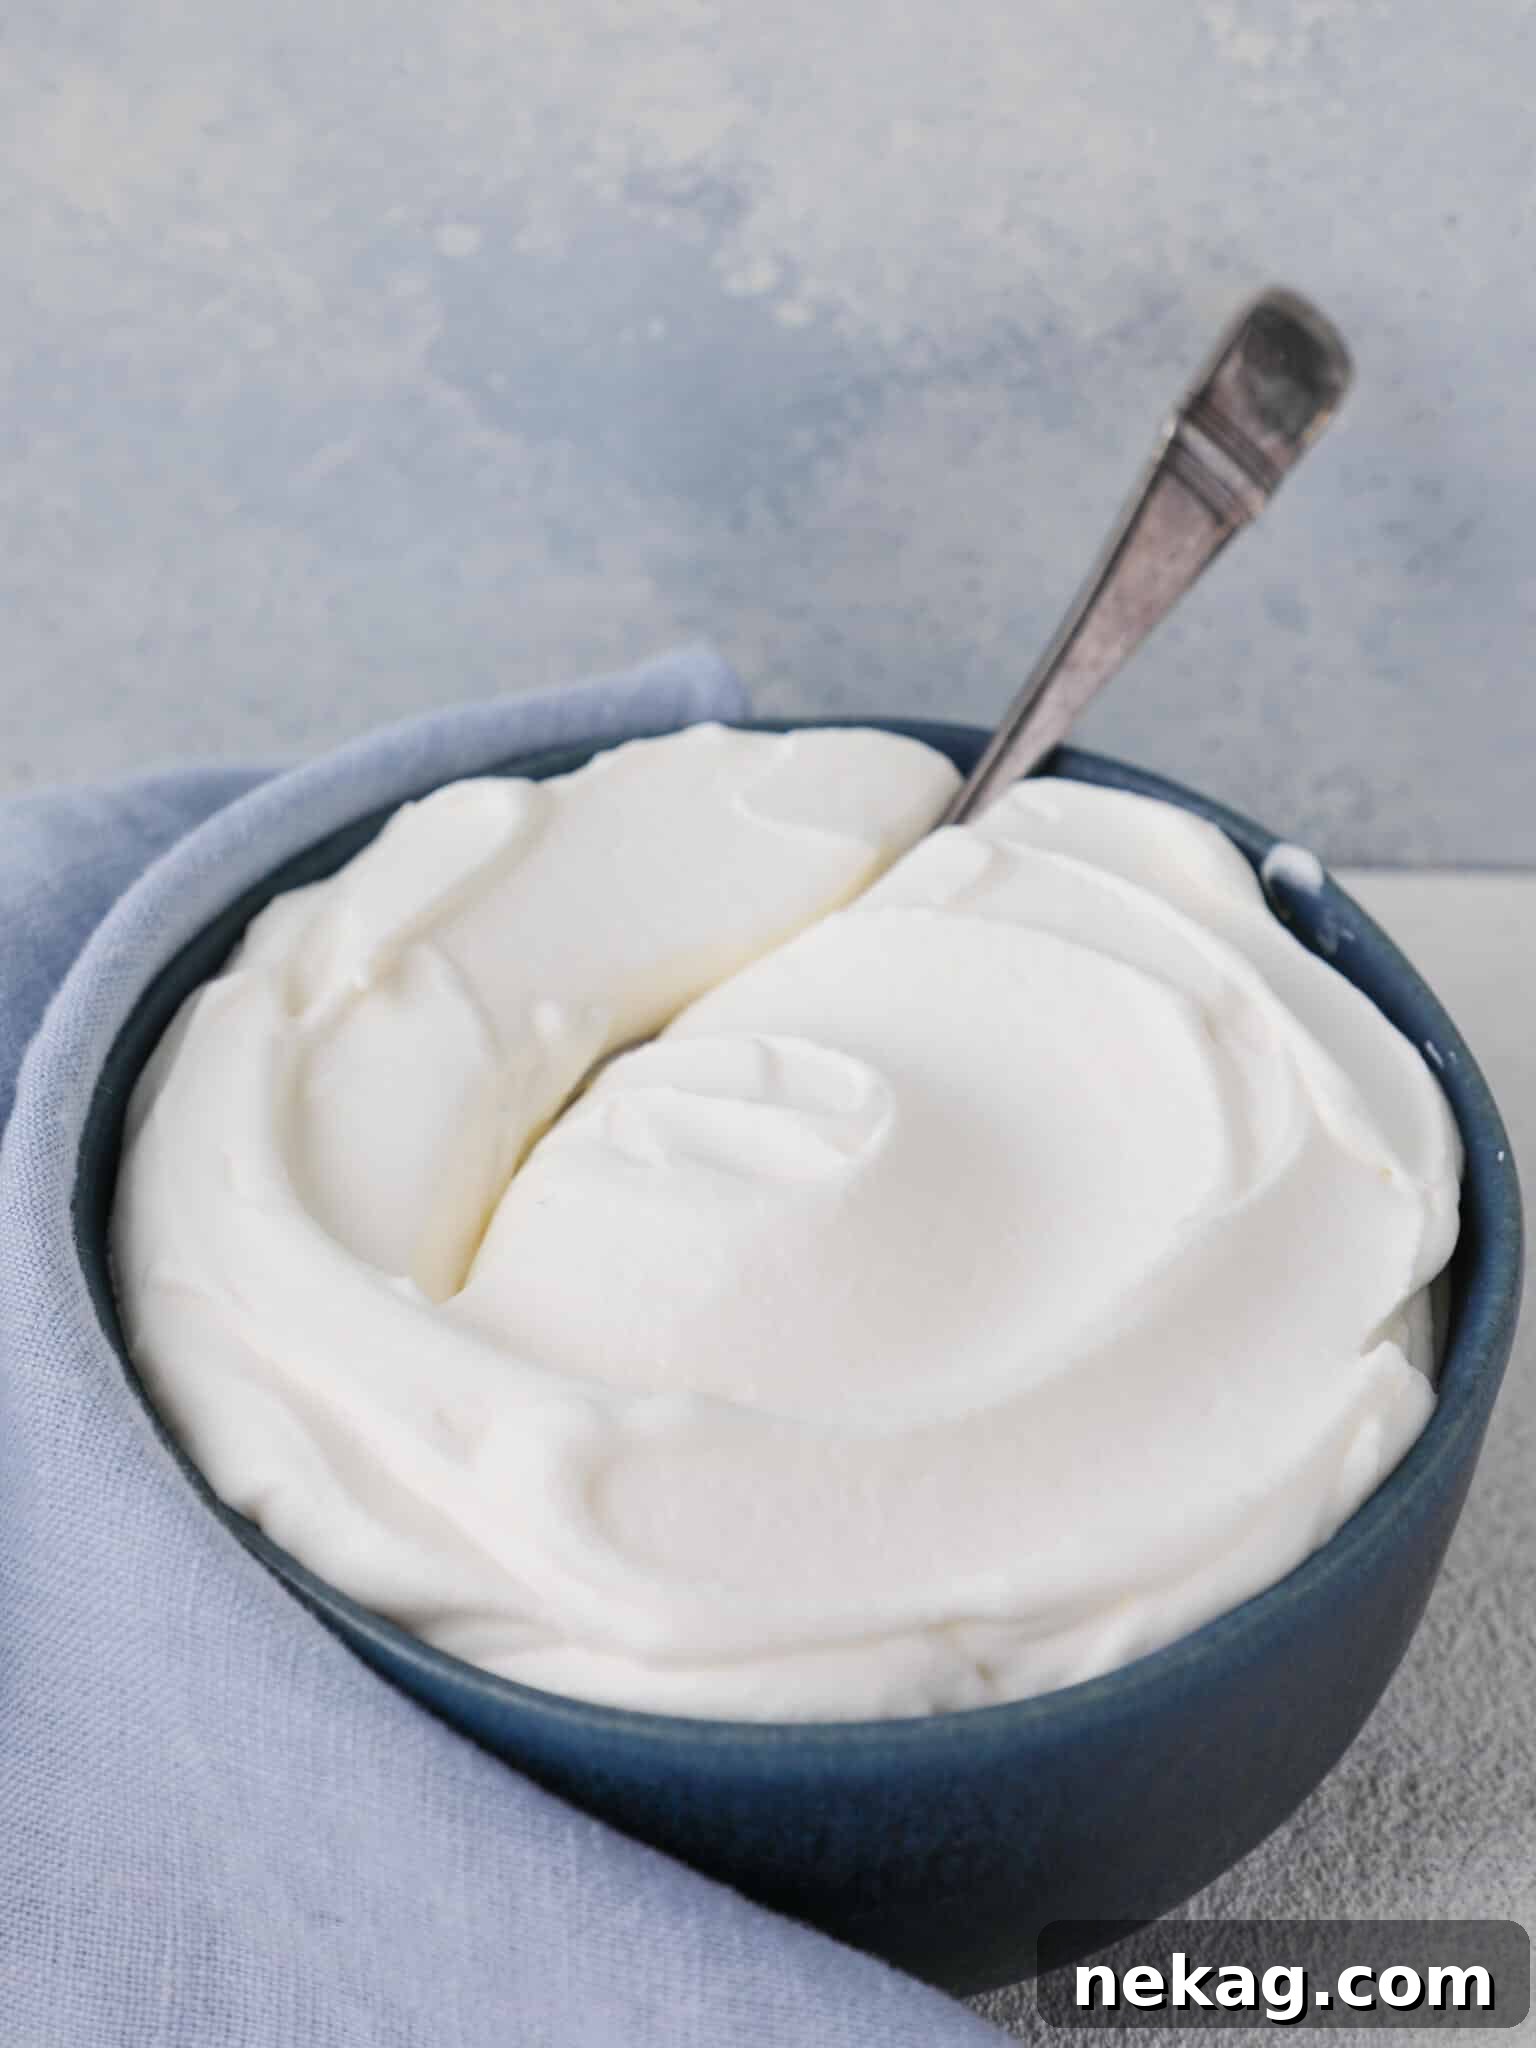
Can You Over-Whip Cream? The Dangers of Overworking
Yes, absolutely! It’s a common pitfall in the world of baking, and it can happen much faster than you might expect. Over-whipped cream loses its smooth, luxurious texture and instead takes on a grainy, curdled appearance, often resembling cottage cheese or separated milk. This happens when the fat globules in the cream become too tightly packed, expelling the liquid and creating a butter-like consistency. While it won’t be good for dessert topping, if you continue to whip it, you’ll eventually end up with homemade butter!
The best way to prevent over-whipping is to pay close attention and stop frequently to check the consistency. Remember that any form of agitation will continue to “whip” the cream, even after you’ve removed it from the mixer. This includes piping whipped cream onto a cake or pie, or even gently swirling it into another dessert. The friction and movement can cause it to become overworked and curdled. The golden rule is simple: stop when it reaches your desired stiffness (soft or stiff peaks), and resist the urge to keep going “just a little longer.” If you see it start to look slightly lumpy, that’s your cue to stop immediately.
Mastering the Art: How to Make Perfect Homemade Whipped Cream
Achieving consistently perfect whipped cream is a simple skill that yields impressive results. Here’s a detailed guide to ensure your whipped cream is always stable, thick, and utterly delicious:
1. Start Chilled: The single most important factor for successful whipped cream is temperature. Always begin with very cold heavy whipping cream. The colder the cream, the faster and more stably it will whip. For an extra advantage, especially if your kitchen is warm, chill your mixing bowl and whisk attachment in the refrigerator or freezer for 10-15 minutes before you begin. This helps maintain a low temperature throughout the whipping process, preventing the cream from warming up too quickly.
2. Choose the Right Equipment: Use either the whisk attachment on a stand mixer or a large mixing bowl with a sturdy hand whisk. When selecting a bowl, opt for one that is larger than you think you’ll need. A larger bowl allows for more air circulation and gives the whisk ample space to incorporate air, which helps achieve more volume and can speed up the whipping process.
3. The Art of Whipping Speed: While it might be tempting to crank up the mixer to its highest setting for speed, patience is a virtue here. For the most stable, thick, and luxurious whipped cream, whether you’re using a stand mixer or whisking by hand, aim for a medium to medium-low speed. Whipping at a lower speed takes a bit longer, but the results are significantly superior: your whipped cream will be thicker, richer, and will hold its structure much longer, even when refrigerated. This slower, gentler aeration creates finer, more uniform air bubbles, leading to a more stable emulsion.
Conversely, I generally advise against using a hand mixer on high speed for whipped cream. Even on a low setting, some hand mixers can be too forceful, making it incredibly easy to over-whip the cream. While it can certainly be done with a hand mixer, I find that cream whipped this way tends to be less stable and separates faster when sitting. It also increases the risk of reaching that unfortunate curdled stage.
4. Know Your Peaks: Whisk until your desired stiffness is reached. There are generally two main stages:
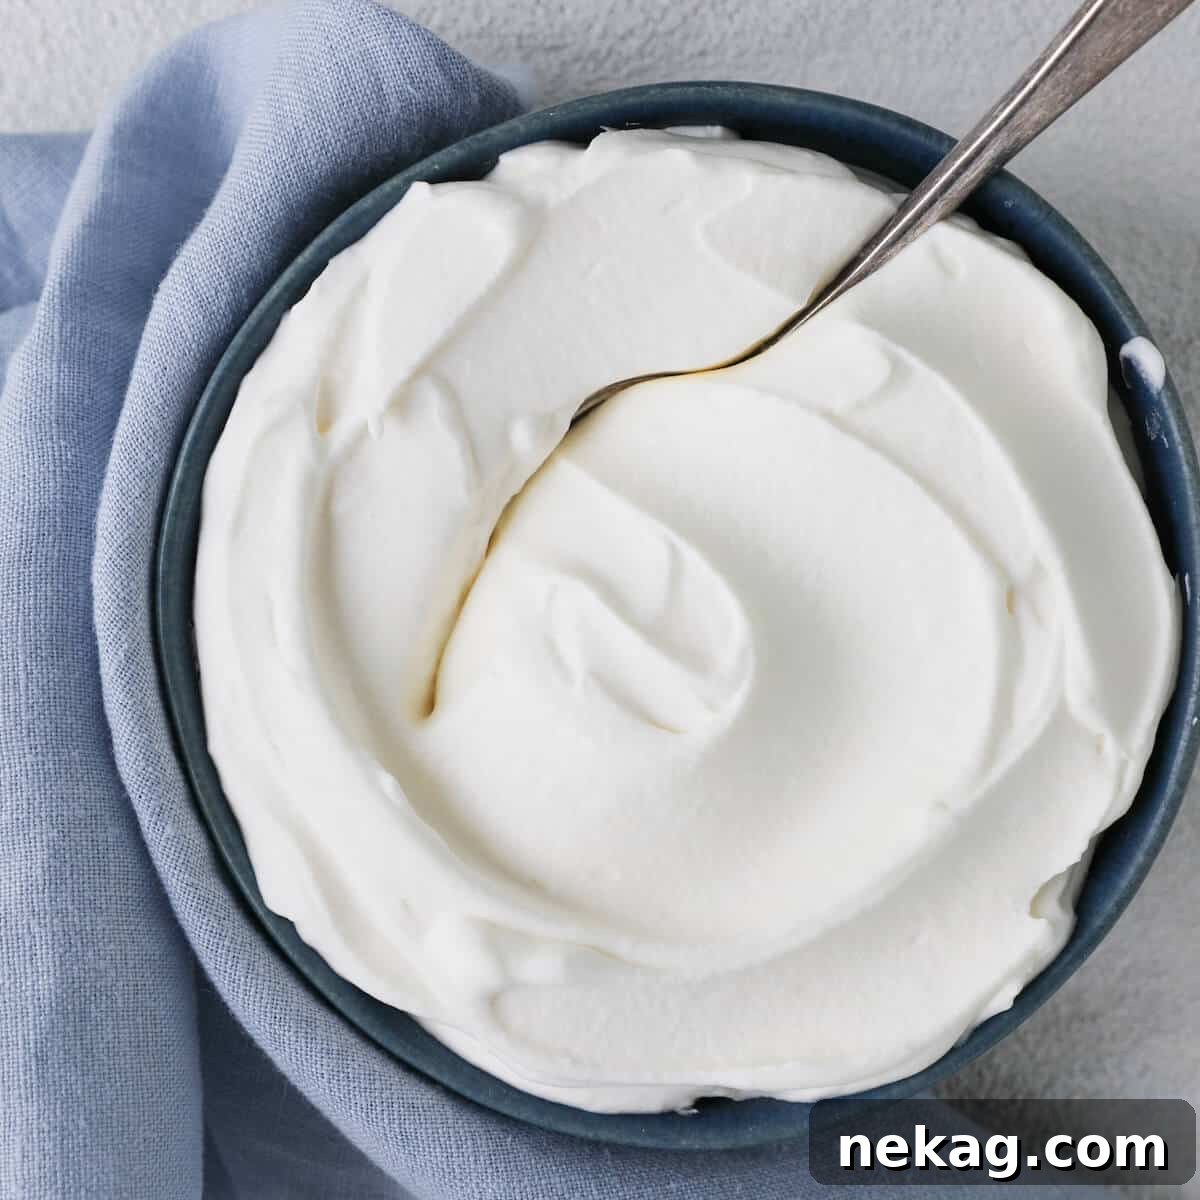
- Soft Peaks: When you lift the whisk from the cream and invert it, the cream forms a peak that gently droops or curls over itself. This consistency is ideal for lighter desserts, folding into mousses, or as a delicate topping that melts beautifully.
- Stiff Peaks: Continue whisking just a little longer. When the whisk is removed and inverted, the cream forms a peak that stands tall and holds its vertical shape without drooping. This is perfect for piping, garnishing robust desserts, or when you need the whipped cream to maintain its structure for longer periods.
Often, just a few vigorous whisks stand between soft and stiff peaks, so remain vigilant and stop the mixer frequently to check your progress. It’s always better to under-whip slightly and continue for a few more seconds than to accidentally over-whip.
Frequently Asked Questions About Whipped Cream
If your whipped cream has just barely started to look grainy or slightly curdled, there’s a good chance you can rescue it. The trick is to add a small amount of very cold, unwhipped heavy cream to the mixture, usually about a tablespoon or two at a time. Gently whisk by hand until the texture smooths out and reaches your desired stage of stiffness. This method works best for only slightly over-whipped cream. If it has gone too far and resembles butter or has completely separated, unfortunately, there’s usually nothing to do but start fresh. Don’t discard it entirely, though; you can always churn it further into butter!
The most common culprit for uncooperative cream is insufficient chilling. Heavy cream needs to be very cold to whip properly. Ensure your cream has been refrigerated for at least several hours, ideally overnight. Using a very cold mixing bowl and whisk can also significantly help, especially if your kitchen environment is warm. Another critical reason might be the fat content: double-check that you are using full-fat heavy cream, which typically has 36-40% butterfat, and not light whipping cream or half-and-half, which have too low a fat percentage to create stable peaks.
To maintain its freshness and texture, store homemade whipped cream in a clean, airtight container in the coldest part of your refrigerator. Ensure the container is sealed tightly to prevent it from absorbing odors or drying out.
Properly stored homemade whipped cream will typically keep well for about 2-3 days in the refrigerator while maintaining its peak texture. After this period, it may begin to “weep” or leak liquid, a natural separation process. While it might lose some of its initial fluffiness, you can often re-whip it gently by hand to restore some of its volume and use it for up to a week for less critical applications. Factors such as a contaminated container or utensils, a warmer refrigerator temperature, or older cream can cause it to spoil faster.
Unfortunately, no, you cannot freeze plain homemade whipped cream and expect it to maintain its original texture upon thawing. The freezing and thawing process causes the fat and water to separate, resulting in a grainy, watery consistency that cannot be re-whipped. However, if you wish to enjoy it frozen, it can be incorporated as a component of other frozen desserts, such as an icebox cake, no-churn ice cream, or semifreddo, where its frozen state is the intended final texture. Once thawed, it will weep and lose its structural integrity.
Yes, absolutely! Homemade whipped cream can be prepared up to three days in advance of when you plan to use it. Store it in an airtight container in the refrigerator. When you’re ready to use it, give it a gentle whisk by hand for a few seconds to restore its perfect consistency before piping or spreading it onto your finished dessert. This makes it a fantastic option for meal prep or entertaining.
Certainly! This recipe is incredibly adaptable and can be easily scaled up to meet your needs. You are only limited by the capacity of your stand mixer bowl or the size of the mixing bowl you are using. Just remember to ensure all your equipment and ingredients are thoroughly chilled, and adjust your whipping time accordingly – larger batches might take a little longer to reach the desired consistency.
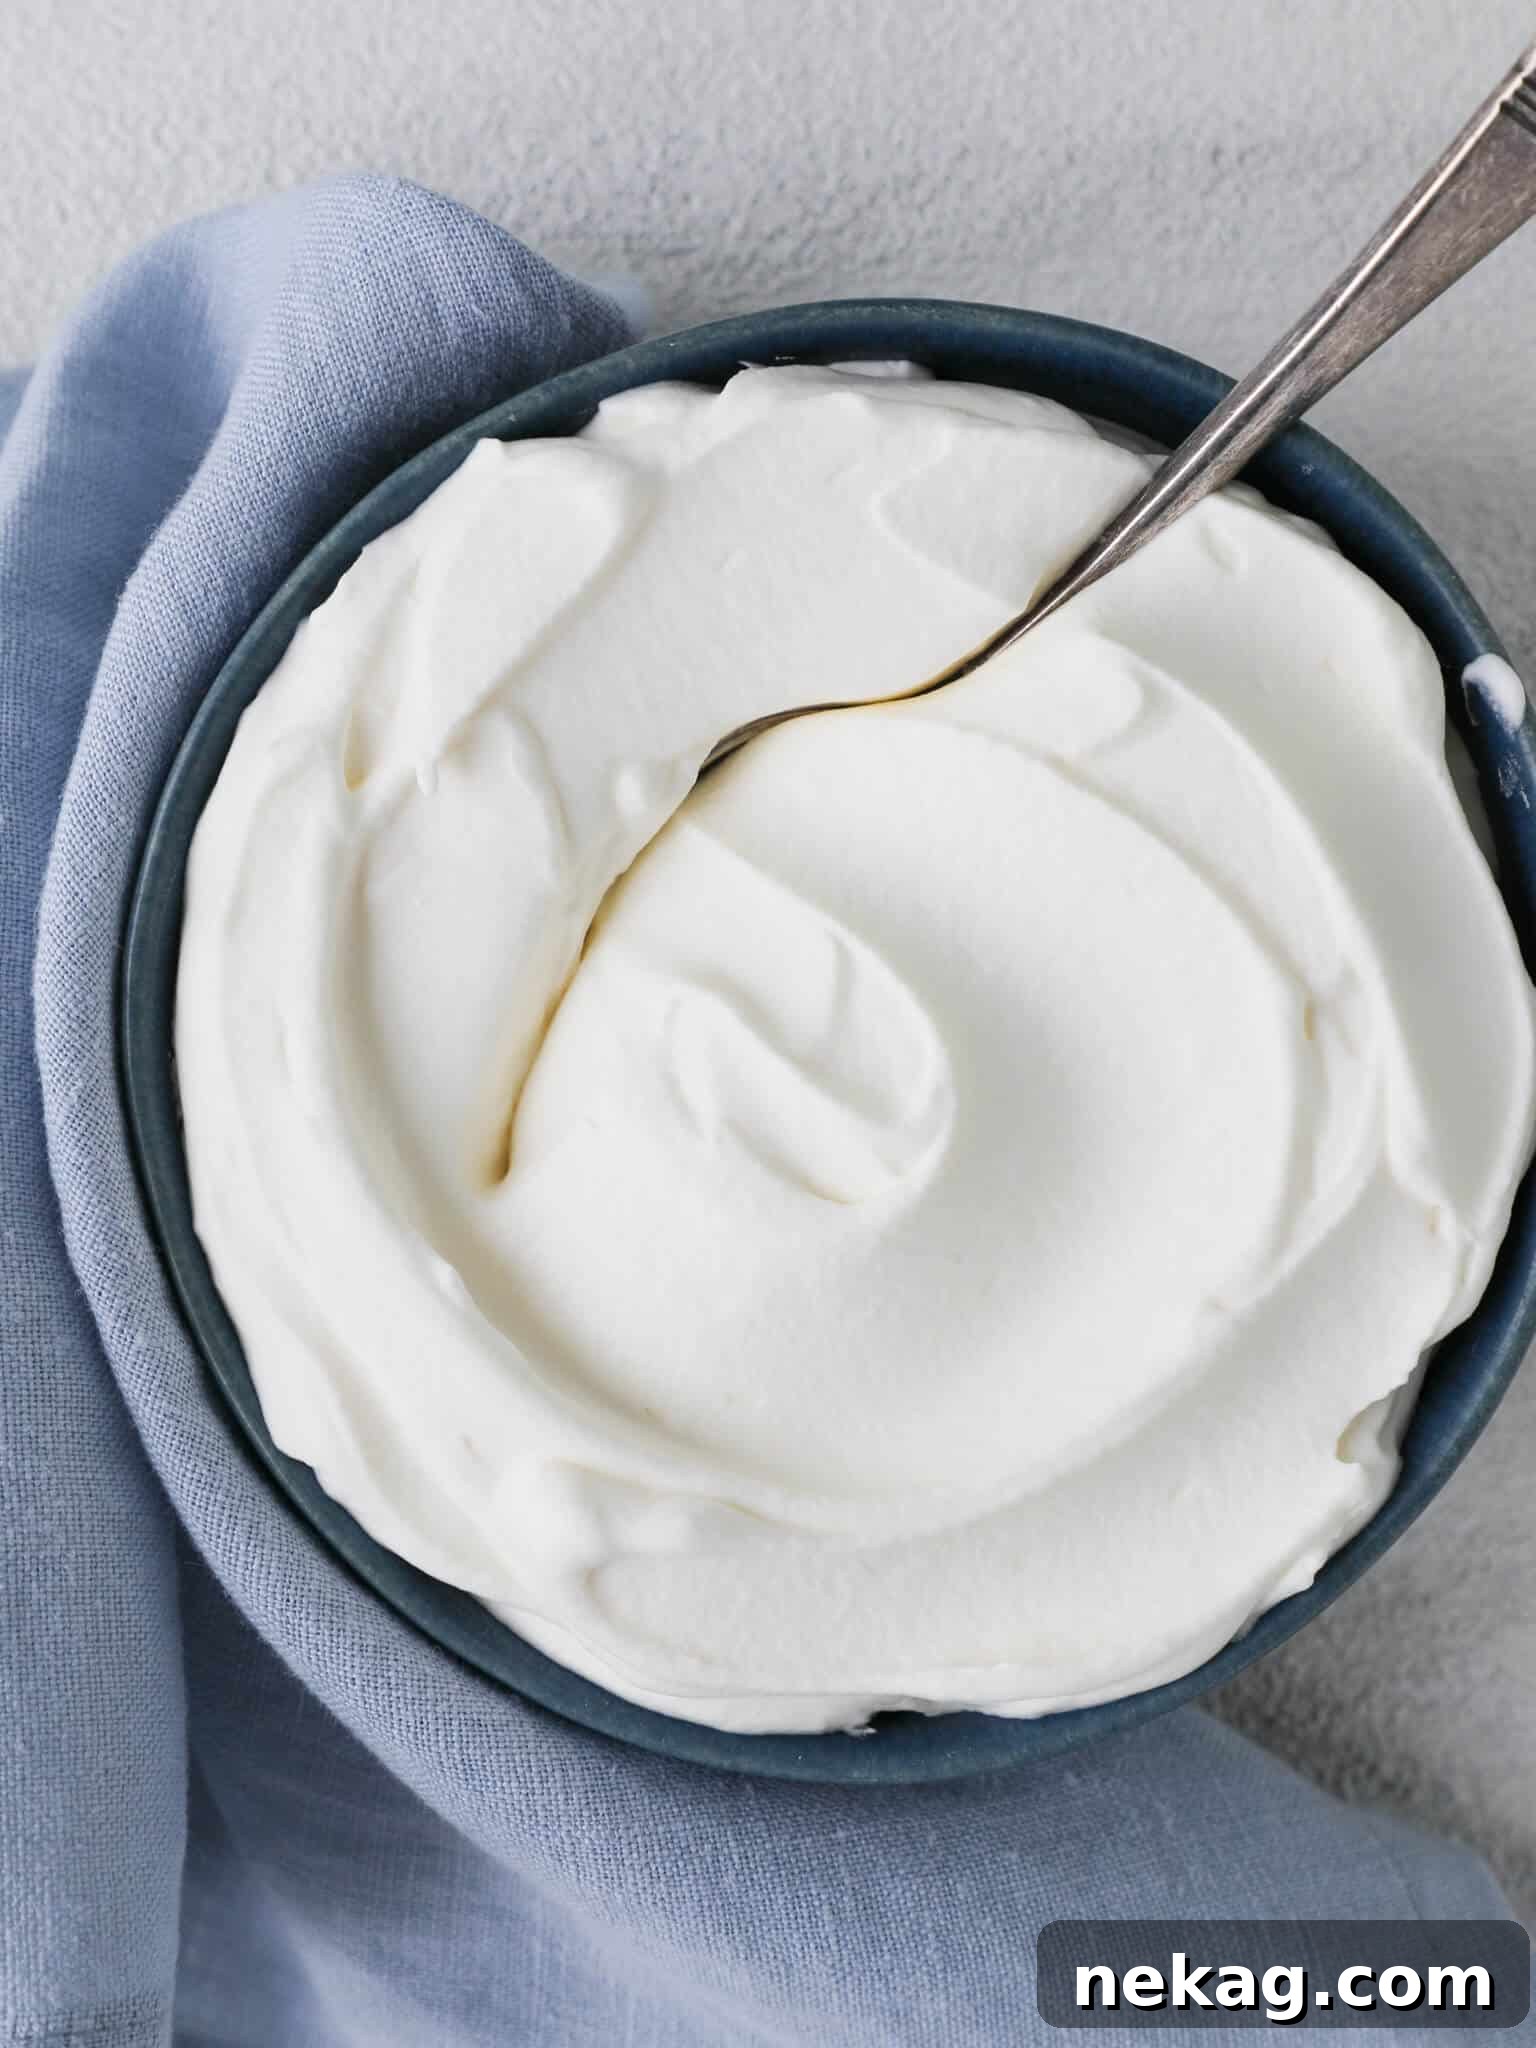
Homemade Whipped Cream
Chef Lindsey
5 mins
5 mins
8 people
Comment
Print Recipe
Equipment
-
1 KitchenAid Stand Mixer with 6-Quart Bowl (or large mixing bowl)
-
1 Sturdy Whisk (or stand mixer whisk attachment)
Ingredients
- 2 cups Heavy Cream (full-fat, very cold)
- 2 tbsp Confectioner’s Sugar (powdered sugar, sifted if lumpy)
- ½ tsp Vanilla Extract (pure vanilla for best flavor)
Instructions
-
In the chilled bowl of a stand mixer fitted with the whisk attachment, or in a large, cold mixing bowl if whisking by hand, combine all the ingredients: cold heavy cream, confectioner’s sugar, and vanilla extract. If your confectioner’s sugar has any lumps, I highly recommend sifting it first to ensure a perfectly smooth whipped cream. Otherwise, sifting is not strictly necessary. Ensure your cream is as cold as possible for optimal whipping.
-
Begin whisking on medium to medium-low speed if using a stand mixer, or whisk vigorously by hand. While whisking at a lower speed may take a little longer, it yields a significantly more stable, thicker, and more luxurious whipped cream that holds its shape beautifully for extended periods. For this reason, I generally avoid using a high-speed hand mixer for whipping cream, as its forceful action can easily over-whip the cream, even on a low setting. While a hand mixer can certainly get the job done, I’ve found that whipped cream made this way tends to be less stable and prone to separating faster when sitting. It also greatly increases the risk of over-whipping.
-
Continue whisking until the desired stiffness is reached. For soft peaks, lift the whisk from the cream; the cream should form a peak that gently droops or curls over itself. This is ideal for a lighter consistency. For stiff peaks, continue whisking for just a bit longer until, when the whisk is removed, the cream forms a peak that stands tall and holds its vertical shape without drooping. Pay close attention during this stage, as often just a few vigorous whisks can be the difference between soft and stiff peaks, and it’s easy to go from perfect to over-whipped very quickly.
-
Serve your freshly made homemade whipped cream immediately or store it in an airtight container in the refrigerator for later use, as desired.
Notes
Nutrition
Calories:
211kcal
|
Carbohydrates:
4g
|
Protein:
2g
|
Fat:
21g
|
Saturated Fat:
14g
|
Polyunsaturated Fat:
1g
|
Monounsaturated Fat:
5g
|
Cholesterol:
67mg
|
Sodium:
16mg
|
Potassium:
57mg
|
Sugar:
4g
|
Vitamin A:
875IU
|
Vitamin C:
0.4mg
|
Calcium:
39mg
|
Iron:
0.1mg
Dessert, Topping
American, European
211
Enjoyed this recipe? Leave a comment below!
Share your experience and tips!
Before You Go: Explore More Delicious Desserts!
Now that you’ve mastered the art of homemade whipped cream, why not explore other delightful creations? Be sure to check out our extensive collection of chef-developed Dessert Recipes for more inspiration and treats!