
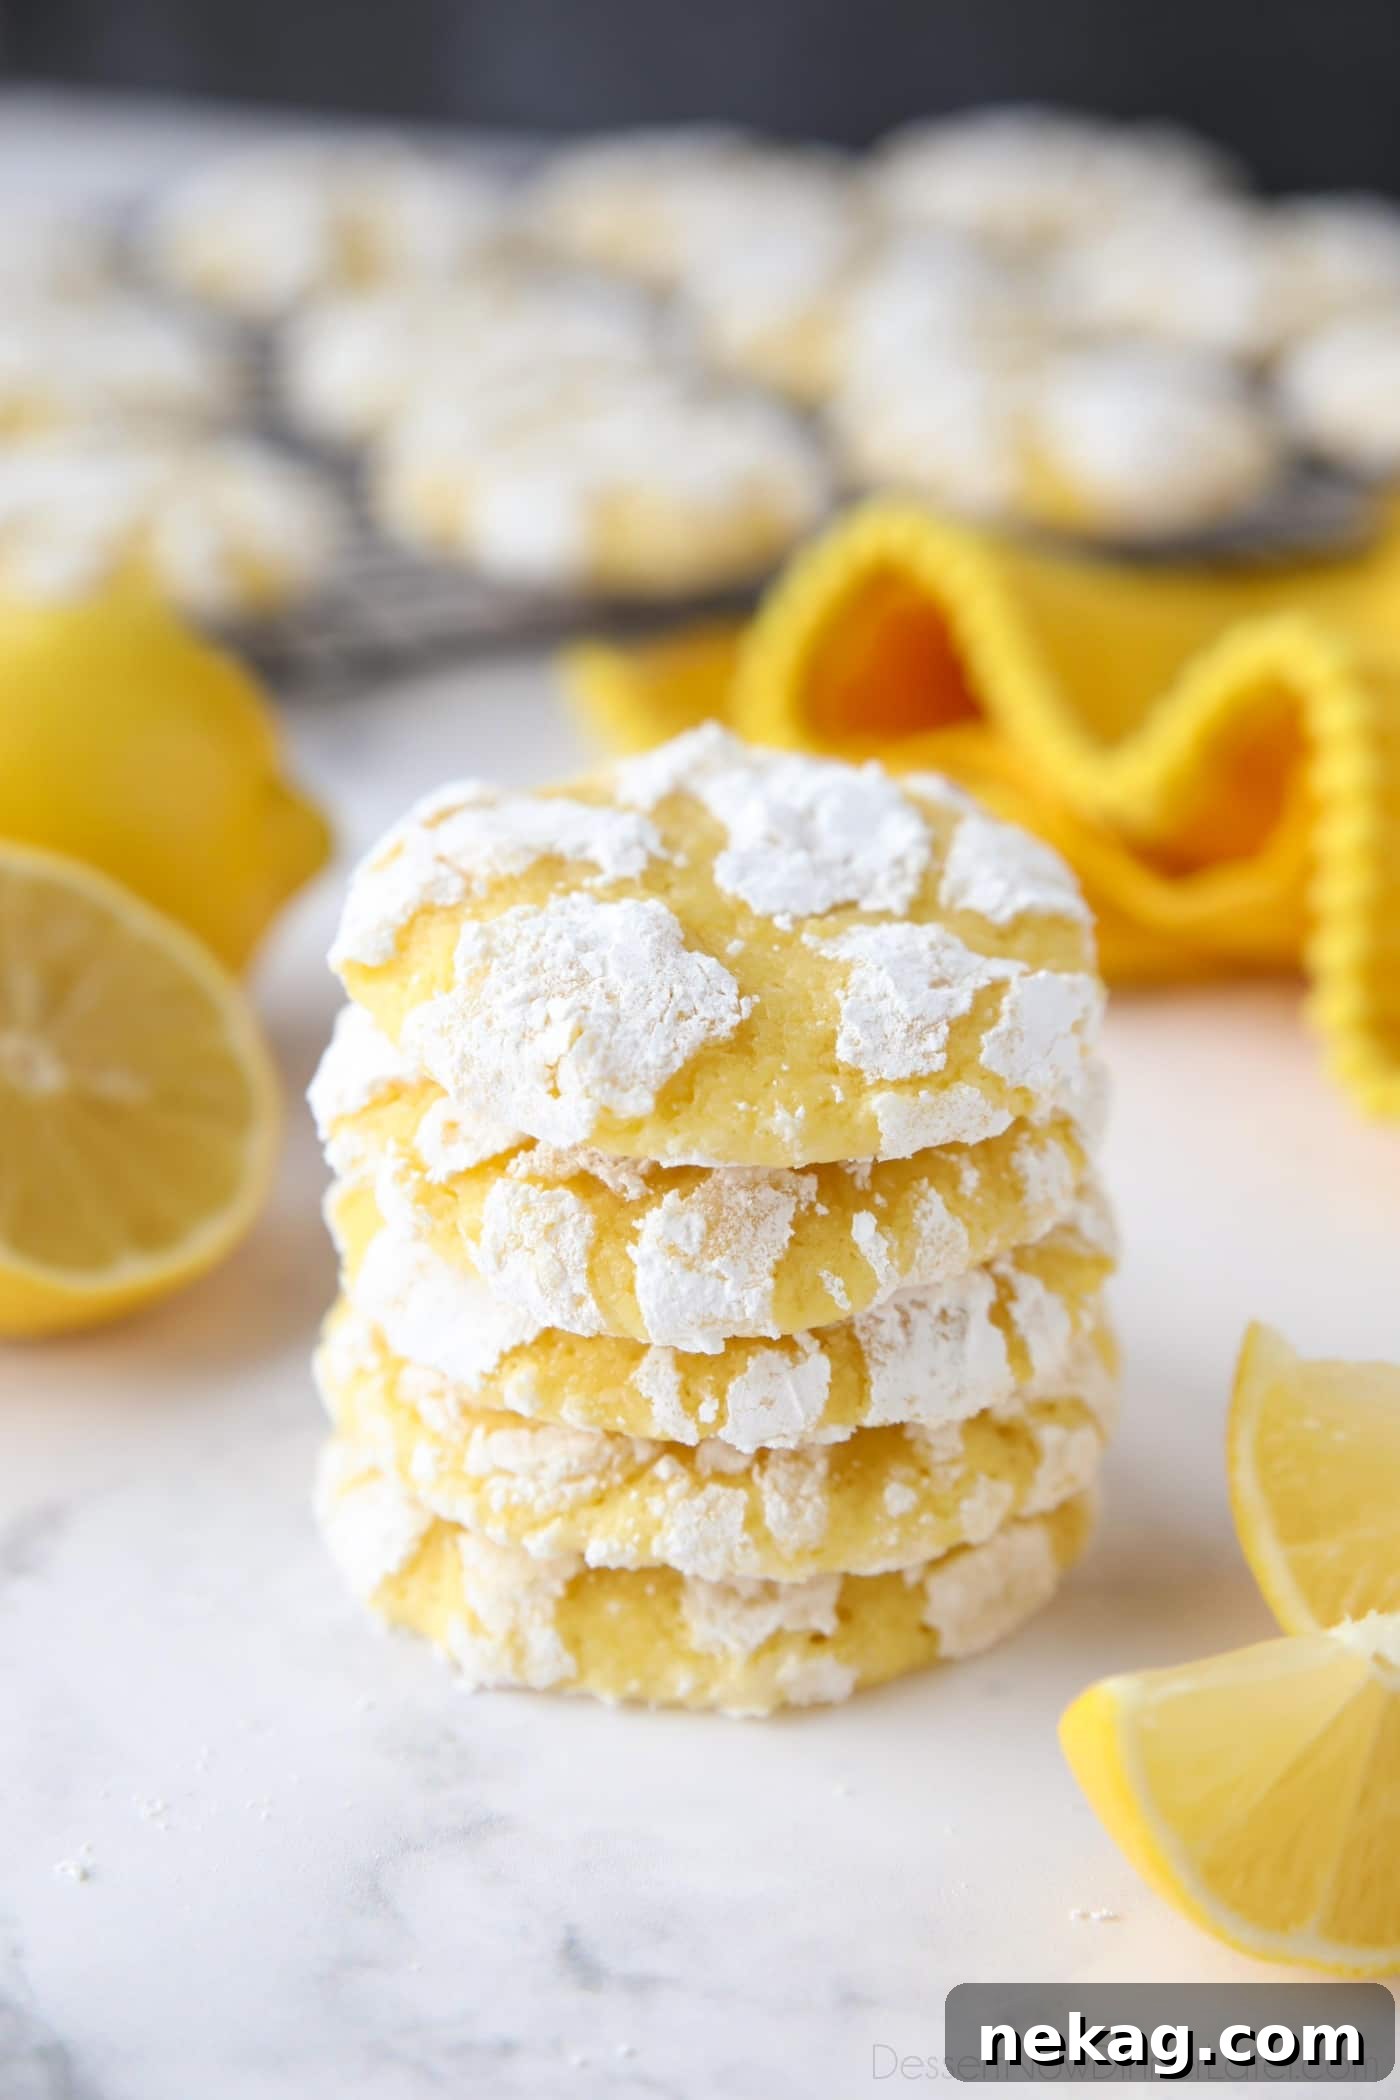
Welcome to the enchanting world of homemade cookies, where flavor meets delightful texture in every bite! Today, we’re diving into a recipe that promises to brighten any day: our irresistible Lemon Crinkle Cookies. These cookies are a symphony of sweet and tangy, bursting with the vibrant essence of real lemon zest and juice. They’re not just a dessert; they’re a celebration of citrus, offering a refreshing twist on a classic comfort treat.
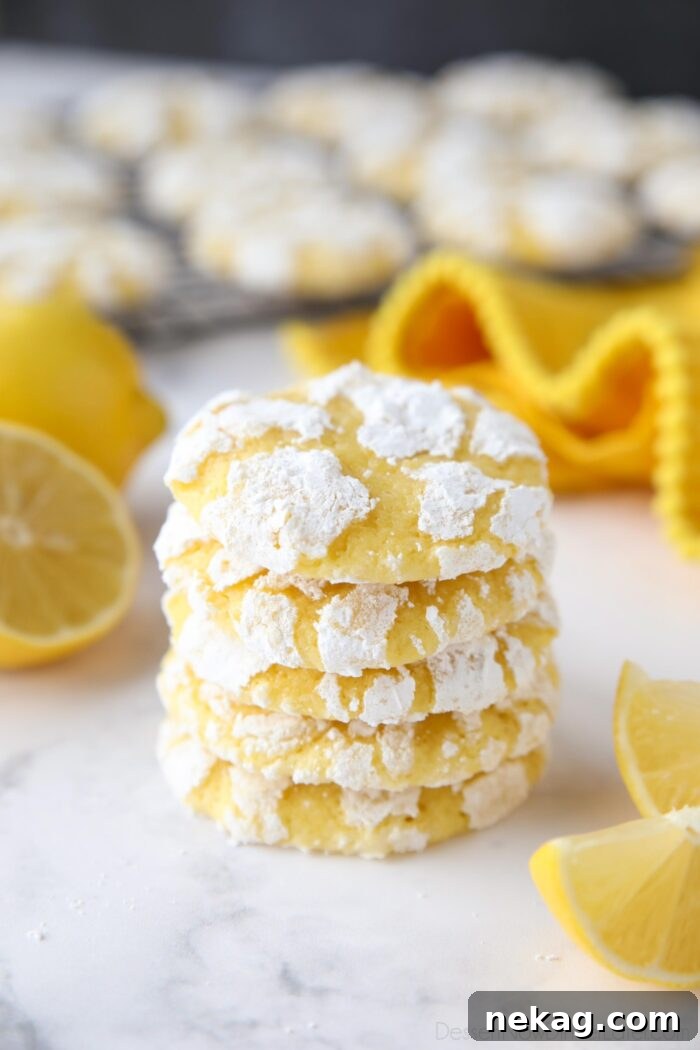
What Makes a Cookie “Crinkle”? The Allure of the Crinkle Cookie
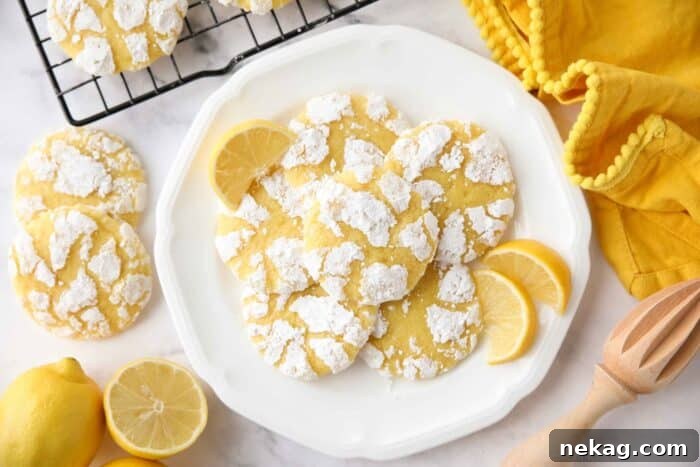
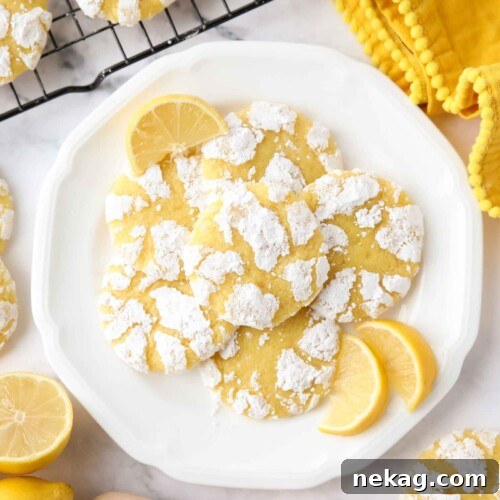
Have you ever wondered about the origin of the term “crinkle” in the context of cookies? Crinkle cookies are renowned for their distinct, charmingly cracked appearance, which is not accidental but intentionally achieved during the baking process. This signature look is created by rolling the cookie dough in granulated sugar first, and then a generous layer of powdered sugar before baking. As the cookies expand in the oven, the inner dough pushes through the outer sugar coating, causing it to crack and create those beautiful, contrasting “crinkles.” The result is a visually appealing cookie with a slight crispness on the outside and a wonderfully soft, chewy interior.
While the most famous iteration might be the classic chocolate crinkle cookies, the versatility of this baking method allows for endless flavor possibilities. Over the years, I’ve experimented with various flavors to create unique crinkle cookie experiences. Some fan favorites include pumpkin crinkle cookies for autumn, zesty key lime crinkle cookies with coconut for a tropical touch, and even apple butter cookies that achieve a similar cracked texture, albeit coated in cinnamon-sugar instead of powdered sugar. Each variation brings its own unique charm, but they all share that captivating cracked surface that makes crinkle cookies so special.
Now, it’s time to add a new star to this beloved lineup, one that shines with a bright, citrusy glow: these exceptional Lemon Crinkle Cookies!
A Zesty Delight for Every Lemon Lover
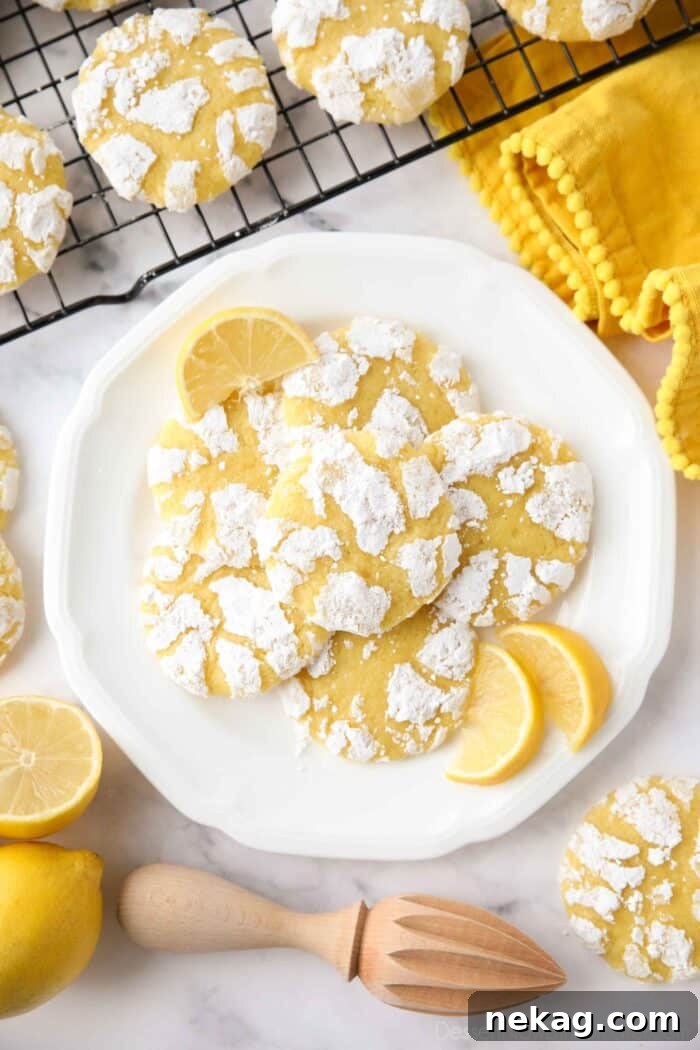
For those who adore the bright, invigorating taste of lemon, these cookies are an absolute dream come true. Lemon desserts hold a special place in my heart, and these Lemon Crinkle Cookies truly capture the essence of what makes citrus treats so appealing. We don’t hold back on the lemon flavor here; these cookies are infused with the vibrant aromatics of real lemon zest and the refreshing tang of fresh lemon juice.
The use of both the zest and juice is key to achieving a deep, authentic lemon profile that artificial flavorings simply cannot replicate. The zest, rich in essential oils, provides a potent burst of aroma and concentrated citrus flavor, while the juice adds that essential tangy counterpoint to the sweetness of the cookie. The result is a cookie so intensely lemony, it tastes remarkably similar to classic lemon bars, but in a convenient, portable, and utterly delicious cookie form. It’s the perfect treat for anyone who appreciates the invigorating power of lemon!
Mastering Lemon Crinkle Cookies: A Step-by-Step Guide
Creating these delightful cookies is a straightforward process, and one of the best parts? There’s no need to chill the dough before baking, saving you precious time and allowing you to enjoy these treats even sooner! While chilling is optional for a thicker cookie, this recipe is designed for immediate gratification.
Crafting the Perfect Lemon Cookie Dough
The foundation of any great cookie lies in its dough. For these Lemon Crinkle Cookies, we focus on a harmonious blend of wet and dry ingredients, ensuring a tender, flavorful base. Here’s a detailed look at the process:
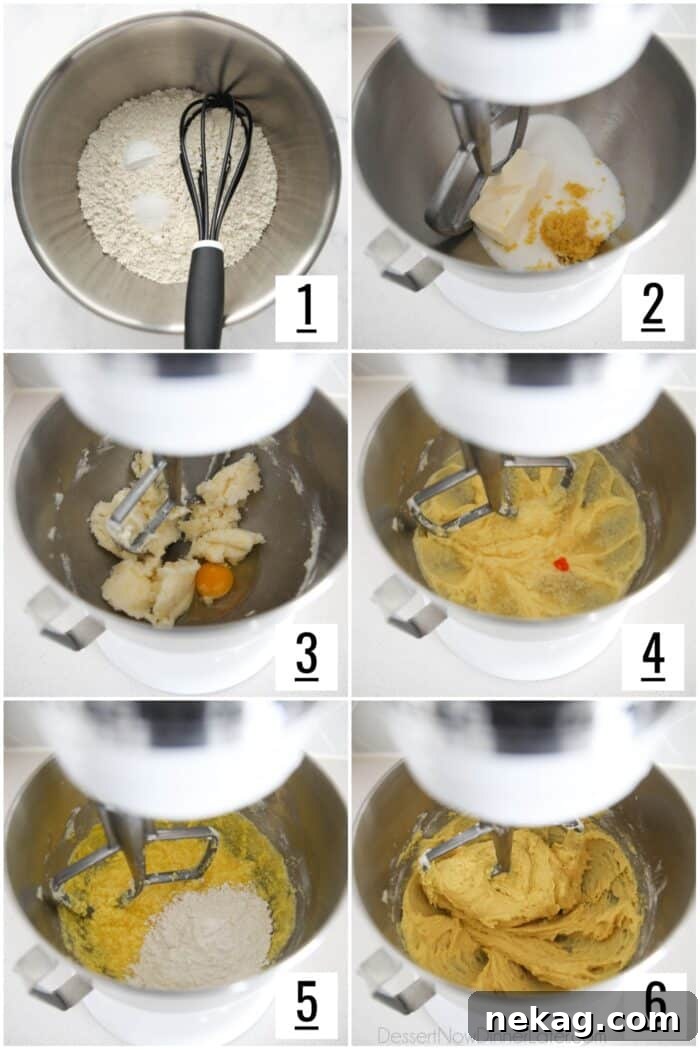
- Begin by combining your dry ingredients. In a medium bowl, whisk together the all-purpose flour, baking powder, and salt. This step is crucial for ensuring leavening agents and salt are evenly distributed throughout the dough, leading to consistent texture and flavor in every cookie. Set this mixture aside.
- Next, we move to the heart of the flavor. In the bowl of a stand mixer fitted with the paddle attachment (or using an electric hand mixer), cream together the room temperature unsalted butter, granulated sugar, and fresh lemon zest. This creaming process should continue until the mixture is visibly light and fluffy. This aeration is vital for giving the cookies a delicate, airy texture. The lemon zest, with its concentrated oils, truly infuses the butter and sugar with intense citrus flavor during this stage.
- Incorporate the eggs. Add the large eggs one at a time, making sure to mix well after each addition. This allows each egg to fully emulsify with the butter mixture, creating a smooth and cohesive dough.
- Introduce the liquid lemon power! Stir in the fresh lemon juice. At this point, you can also add a drop or two of yellow food coloring, if desired, to enhance the visual appeal and give the cookies a brighter, more vibrant lemon hue. Mix until just combined.
- Finally, gradually add the dry ingredients to the wet. With the mixer on low speed, gradually add the flour mixture, mixing only until it is just combined. Be careful not to overmix the dough, as this can develop the gluten in the flour too much, leading to tough cookies. The dough at this stage will be thick and slightly sticky.
Expert Tip: If your dough feels excessively wet or sticky, it might be an indication that your butter was a bit too soft to begin with. Don’t worry, this is easily remedied! Simply place the cookie dough in the refrigerator to chill for about 20-30 minutes, or until it firms up enough to be easily scooped.
The Art of Scooping and Double Coating
The distinctive crinkle effect is heavily reliant on the proper coating technique. This double-coating method ensures a beautiful, lasting powdered sugar finish that won’t disappear during baking or storage.
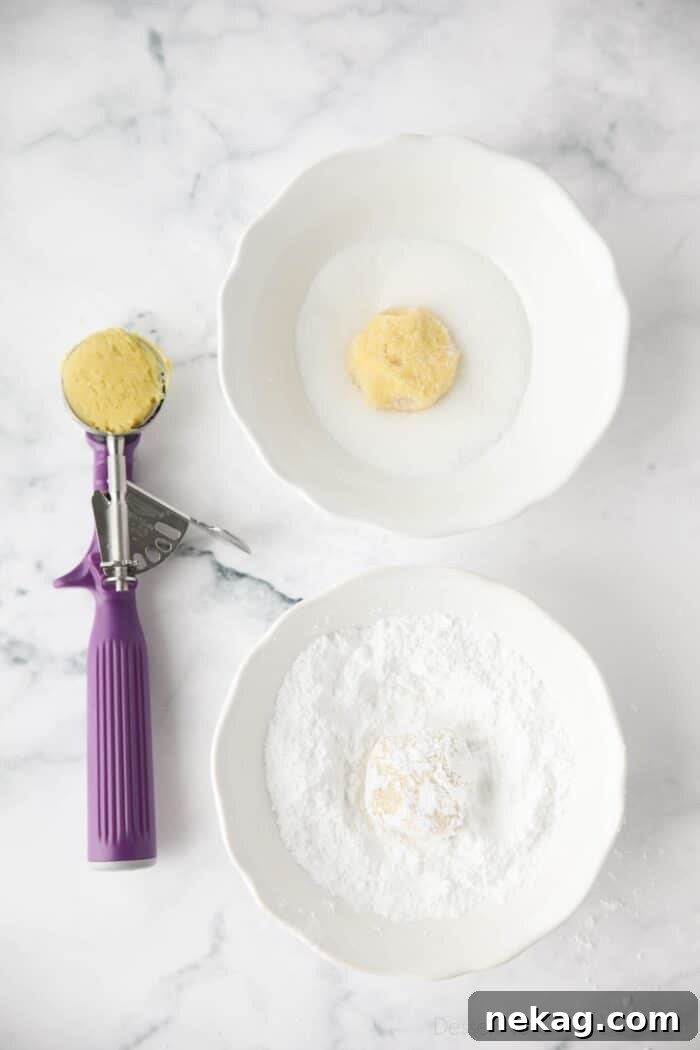
- Prepare your coating stations: Place the granulated sugar and the powdered sugar (also known as confectioners’ sugar) into two separate small bowls.
- Scoop the dough: Using a medium cookie scoop (a #40 scoop, which holds approximately 1.5 Tablespoons of dough, is ideal), portion the cookie dough into uniform balls. A trigger-release scoop is highly recommended for this recipe, as the dough’s inherent stickiness can make handling it a bit challenging.
- First coat – granulated sugar: Drop each dough ball into the bowl of granulated sugar. Roll it around gently to ensure it’s completely coated, then shake off any excess. This initial layer of granulated sugar helps to make the dough balls more manageable and less sticky, preparing them for the next coating.
- Second coat – powdered sugar: Immediately after the granulated sugar, generously coat each dough ball with powdered sugar. Don’t be shy with this layer; a thick coating is essential for achieving those prominent, beautiful cracks.
Baking to Perfection and Storing for Freshness
Once your dough balls are beautifully coated, they’re ready for their transformation in the oven.
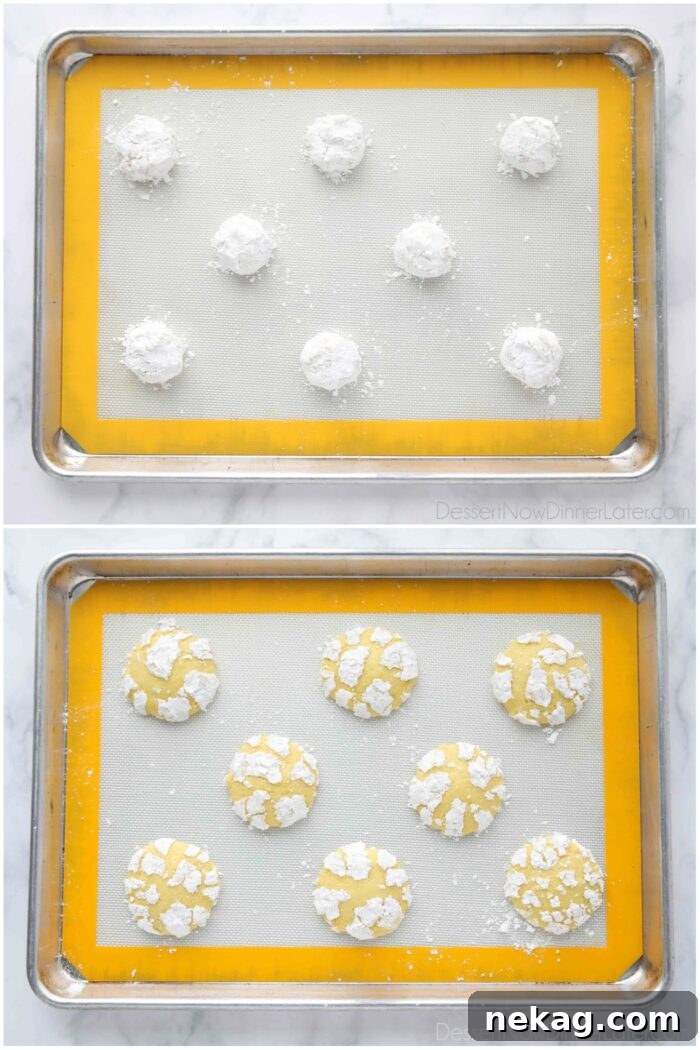
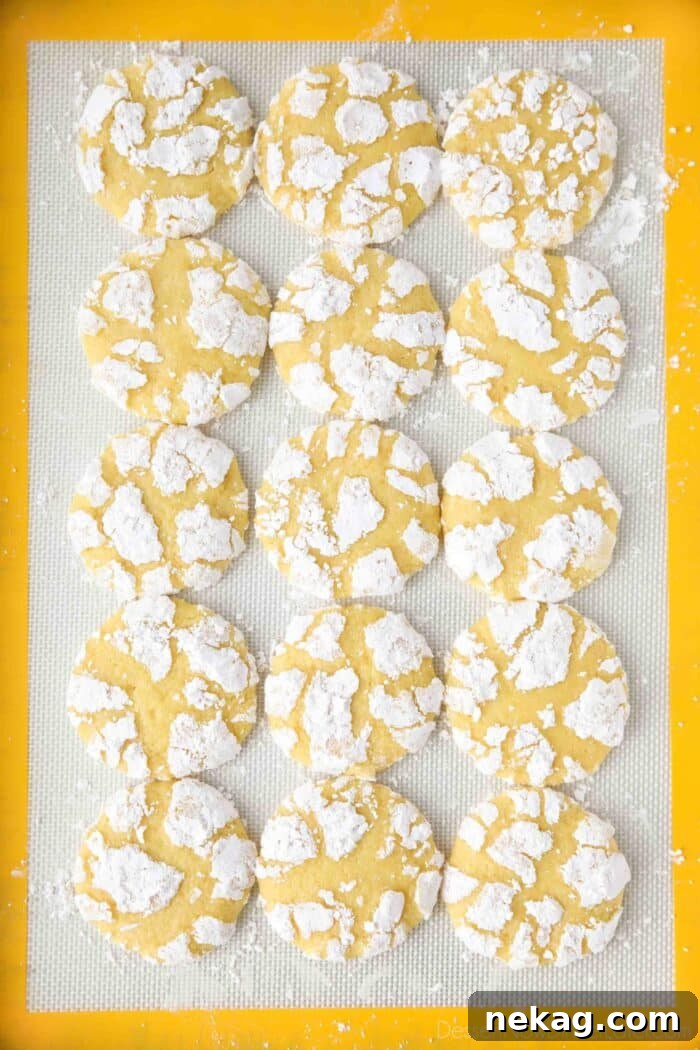
- Arrange the cookies: Place the coated cookie dough balls on a baking sheet lined with parchment paper or a silicone baking mat, ensuring they are positioned several inches apart. This allows for proper air circulation and prevents them from spreading into each other.
- Bake: Bake at 350˚F (175˚C) for 9-11 minutes. The cookies are done when they appear puffy and the edges are set and firm to the touch. The centers of the characteristic crinkles should be almost matte, with just a slight hint of wetness or shine still visible. Overbaking can lead to dry cookies, so keep a close eye on them!
- Cool: Allow the cookies to cool on the baking pan for a few minutes before carefully transferring them to a wire rack to cool completely. This initial cooling on the warm pan helps them set up and prevents them from breaking.
- Store: Once completely cooled, store your Lemon Crinkle Cookies in an airtight container at room temperature. They will stay fresh and delicious for up to 1 week.
Tips for Crinkle Cookie Success
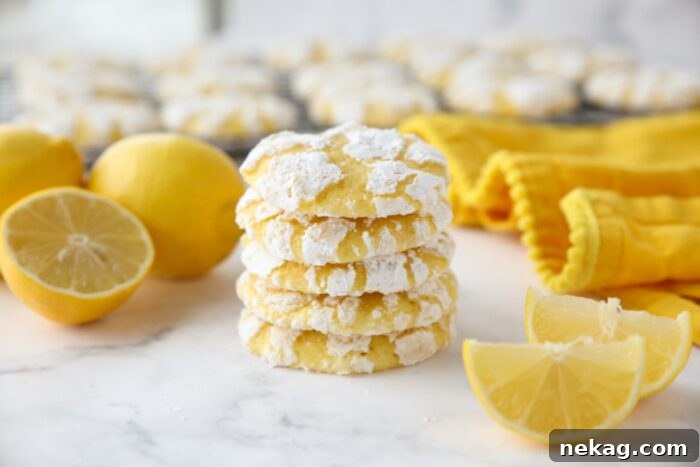
Achieving the perfect Lemon Crinkle Cookie is simple with a few key considerations. These tips will help ensure your cookies turn out beautifully cracked, soft, and bursting with lemon flavor every time.
- The Importance of Room Temperature Butter: This is a golden rule in baking, especially for cookies. “Room temperature butter” means butter that is cool to the touch but pliable. When you gently press it with your finger, it should leave a slight indent without feeling greasy or mushy. Butter that is too soft or melted will lead to cookies that spread too much in the oven, losing their ideal shape and potentially impacting the crinkle effect. If you suspect your butter was too soft, don’t despair! Simply chill your prepared cookie dough in the refrigerator until it firms up enough to handle and scoop.
- The Double Coating Secret: As a self-proclaimed crinkle cookie enthusiast, I’ve discovered the magic of the double coating. Rolling the dough first in granulated sugar, then in powdered sugar, serves a crucial dual purpose. Firstly, it creates a robust barrier that prevents the powdered sugar from dissolving into the cookie dough during baking and storage, ensuring those beautiful white cracks remain prominent. Secondly, this dual layer contributes to a delightful textural contrast: a slight crispness on the exterior that gives way to a wonderfully soft and chewy interior.
- For Thicker Cookies, Consider Chilling: While this recipe is conveniently designed for immediate baking, if you prefer a thicker, puffier cookie, a brief chill can work wonders. Chilling the dough slows down the spread of the butter in the oven, resulting in cookies that maintain more of their height. Even 30 minutes to an hour in the refrigerator can make a noticeable difference in cookie thickness.
How to Freeze Lemon Crinkle Cookies for Later Enjoyment
These delightful Lemon Crinkle Cookies are perfect for making ahead, and they freeze beautifully, either before or after baking. This makes them an excellent option for meal prepping desserts or having a sweet treat ready at a moment’s notice.
- Freezing Unbaked Cookie Dough Balls:
- Scoop the cookie dough into individual balls as directed in the recipe, but do not coat them with sugar yet.
- Place the uncoated dough balls on a baking sheet lined with parchment paper, ensuring they don’t touch.
- Freeze for 1-2 hours, or until solid.
- Once frozen, transfer the dough balls to a freezer-safe bag or airtight container. They can be stored in the freezer for up to 3 months.
- When ready to bake, remove the desired number of dough balls from the freezer. Roll them first in granulated sugar, then in powdered sugar.
- Bake from frozen, adding a few extra minutes to the baking time (typically 2-4 minutes more, depending on your oven). Alternatively, you can thaw the dough balls in the refrigerator overnight before coating and baking as usual.
- Freezing Baked Cookies:
- Allow the baked Lemon Crinkle Cookies to cool completely on a wire rack.
- Arrange the cooled cookies in an airtight freezer-safe container, placing layers of parchment paper between them to prevent sticking.
- Freeze for up to 3 months.
- To thaw, simply place the frozen cookies in the refrigerator overnight or leave them on the counter at room temperature for a few hours until soft.
We hope you love this recipe as much as we do! Your feedback is incredibly valuable. Please consider rating and reviewing it in the comments section below. Thank you!
Lemon Crinkle Cookies
Yields: 28 cookies
Prep Time: 15 minutes
Cook Time: 10 minutes
Total Time: 25 minutes
Created by: Amber Brady
Ingredients
- 2⅓ cups (280 g) all-purpose flour, stir, spoon & level
- 1 tsp baking powder
- ½ tsp salt
- ½ cup (113 g) unsalted butter (1 stick), room temperature
- 1¼ cups (250 g) granulated sugar
- 1 Tbsp lemon zest, about 2 lemons
- 2 large eggs
- ¼ cup (59 ml) lemon juice, about 2 lemons
- Yellow food coloring, optional
For Coating:
- ¼ cup (50 g) granulated sugar
- ½ cup (60 g) powdered sugar
Equipment
- KitchenAid 5-Qt. Stand Mixer
- Electric Hand Mixer
- Zester
- #40 Cookie Scoop
- Aluminum Half Sheet Tray (2 Pack)
- Silicone Baking Mat
Instructions
- Preheat oven to 350℉ (175˚C). Line baking sheets with silicone mats or parchment paper. Set aside.
- Whisk together the flour, baking powder, and salt in a bowl. Set aside.
- Using a stand mixer with the paddle attachment, cream the butter, sugar, and lemon zest until light and fluffy.
- Add the eggs, one at a time, mixing well after each addition. Add the lemon juice and a drop or two of yellow food coloring (optional). Mix to combine.
- On low speed, gradually add the flour mixture and mix until just combined. The dough will be thick and slightly sticky. NOTE: If the dough seems especially wet and sticky, your butter may have been too soft. Simply chill the dough until it’s firm enough to scoop.
- Place the granulated sugar and powdered sugar for coating the dough in two separate small bowls. Use a medium cookie scoop (#40 scoop; about 1.5 Tablespoons) to spoon the cookie dough into a ball. (A trigger scoop is recommended due to the stickiness of the dough.)
- Drop the dough into the granulated sugar. Roll it around and shake off any excess. (This helps make the dough more manageable.) Next, generously coat the dough with powdered sugar. Place the cookies several inches apart on the prepared baking sheets.
- Bake at 350℉ (175˚C) for 9-11 minutes, until cookies are puffy and the edges are firm to the touch. The center of the cracks will be almost matte (just slightly wet/shiny still). Cool for several minutes on the pan, then transfer cookies to a wire rack to cool completely. Store cookies in an airtight container at room temperature for up to 1 week.
Notes
You can freeze lemon crinkle cookies before or after baking.
- Freeze scooped cookie dough balls, uncoated, on a baking sheet. Then transfer frozen dough to a freezer-safe bag. Freeze up to 3 months. Coat dough balls with both sugars and add a few extra minutes of bake time if baking from frozen. You may thaw dough balls in the fridge overnight, if desired.
- Freeze baked cookies, after they have cooled completely, in an airtight container with parchment paper between the layers for up to 3 months. Thaw in the refrigerator or on the counter.
If even more lemon flavor is desired, you can add 1/8 tsp of lemon essential oils, or 1 tsp of lemon extract to the dough.
Nutrition
Disclaimer: Nutritional values were calculated using a third-party tool and are provided as an estimation only.
Sharing this recipe with a link is both encouraged and appreciated. Copying/pasting and/or screenshots of full recipes to any social media is strictly prohibited. Content and photographs are copyright protected.
Did you make this?
Don’t forget to leave a rating below and make sure to follow on Pinterest and Instagram for more!