
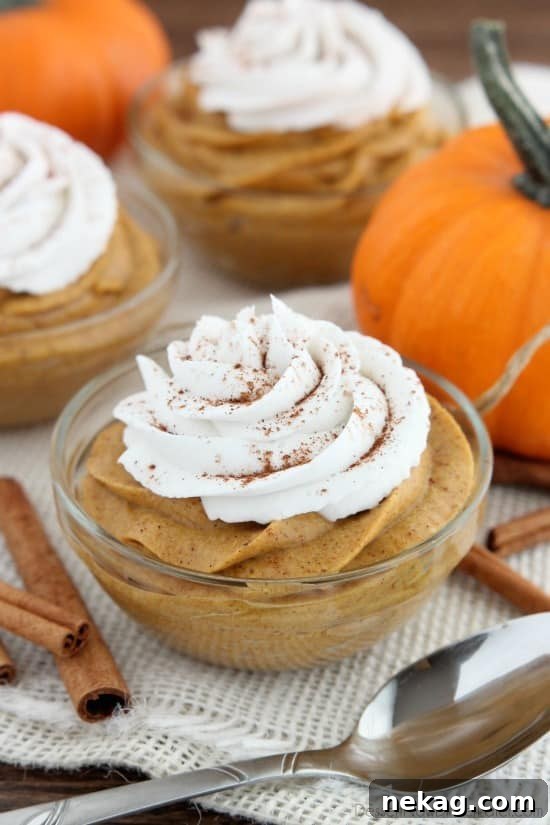
Indulge in the rich, comforting flavors of autumn with this lightened-up Pumpkin Mousse. Crafted to be both gluten-free and dairy-free, and bursting with aromatic pumpkin spices, this dessert offers a healthier yet incredibly satisfying option for your Thanksgiving table or any fall gathering. Prepare to delight your taste buds without compromising your dietary preferences or waistline!
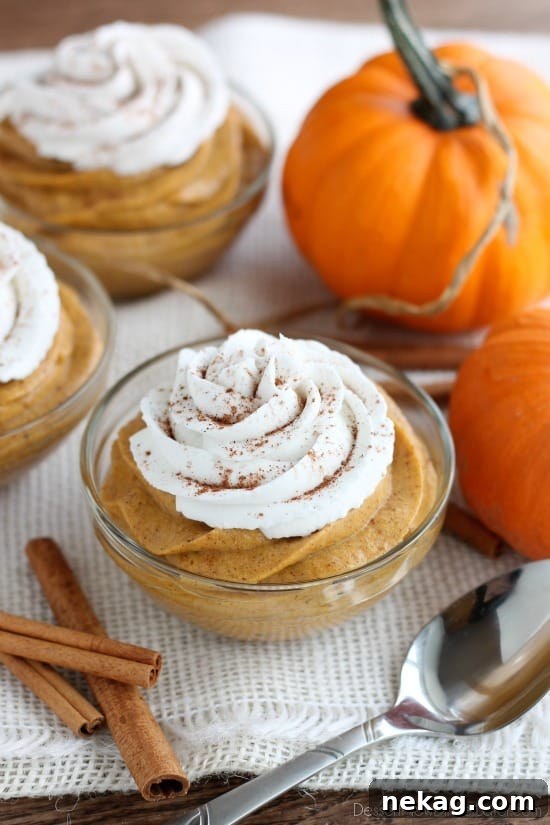
Are you searching for a delightful and healthier pumpkin dessert that perfectly fits the upcoming holiday season? Look no further! This exquisite pumpkin mousse is an absolute game-changer. It’s a harmonious blend of creamy pumpkin, natural honey, a symphony of warming spices, and the luxurious richness of coconut cream. The magic of coconut cream, which is essentially the thick, creamy top layer of chilled full-fat coconut milk, transforms this dessert into a wonderfully dairy-free treat. And since there’s no traditional crust involved, it naturally becomes a fantastic gluten-free option as well. This makes it an ideal choice for anyone with special dietary needs or those simply seeking a lighter, more wholesome indulgence.
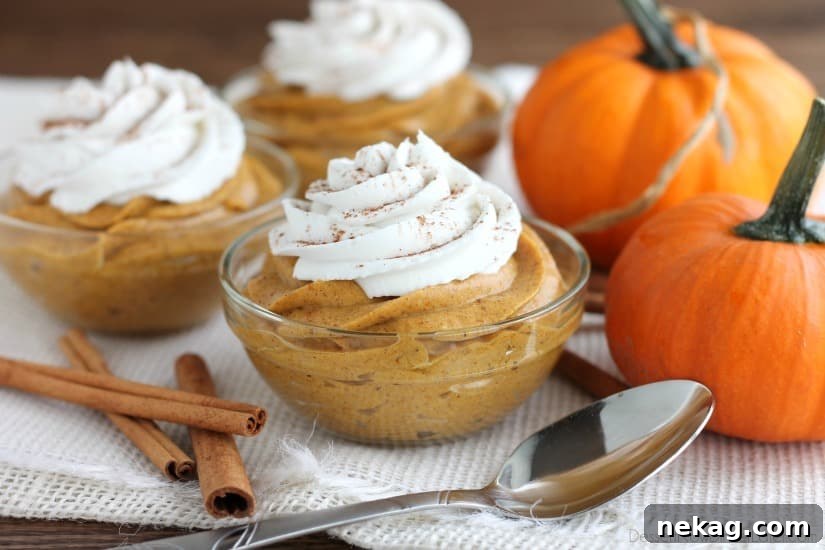
Why You’ll Fall in Love with This Healthy Pumpkin Mousse
This Pumpkin Mousse isn’t just a dessert; it’s a celebration of fall flavors and mindful eating. It offers a refreshing alternative to heavier holiday treats, proving that healthier can still mean incredibly delicious. Here’s why this recipe deserves a prime spot in your autumn repertoire:
- Dietary Inclusive: Being both gluten-free and dairy-free, it caters to common dietary restrictions, making it perfect for entertaining guests with various needs. No one has to miss out on dessert!
- Naturally Sweetened: Using honey (or maple syrup for a paleo version) provides a natural sweetness that complements the pumpkin beautifully, avoiding refined sugars often found in traditional desserts.
- Rich and Creamy Texture: Thanks to the full-fat coconut cream, this mousse achieves a surprisingly rich and velvety texture that rivals its dairy-based counterparts. It’s light, airy, and melts in your mouth.
- Bursting with Fall Flavors: Generous amounts of pumpkin puree and pumpkin pie spice ensure every spoonful is packed with the nostalgic tastes of autumn.
- Kid-Approved: As proven by a picky four-year-old, the delightful coconut whipped cream topping and naturally sweet flavor can easily trick even the most discerning young palates into enjoying a healthier dessert packed with hidden goodness.
- Mostly No-Bake: While a brief simmer on the stovetop is required to meld the flavors, the majority of the preparation is chilled, making it a wonderful option for freeing up oven space during busy holidays.
- Make-Ahead Friendly: This mousse needs time to chill and set, making it an excellent make-ahead dessert. Prepare it a day or two in advance, and simply garnish before serving.
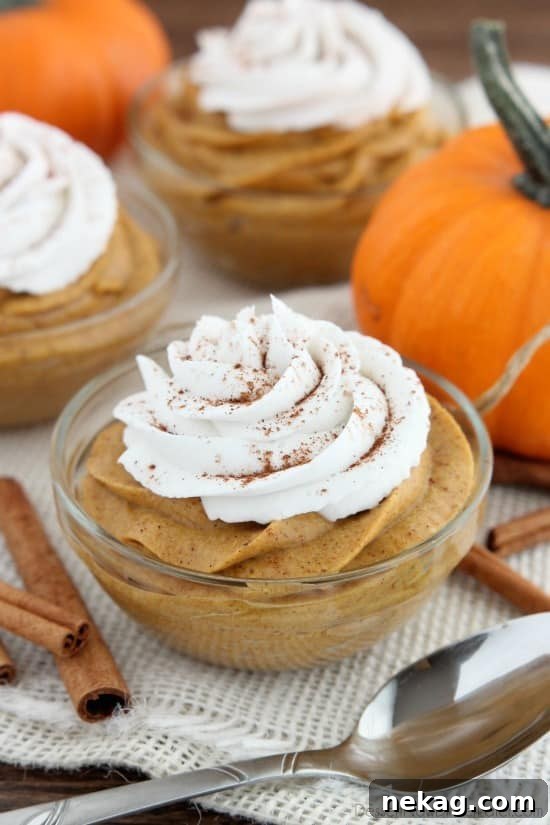
Understanding the Key Ingredients
The beauty of this pumpkin mousse lies in its simple, wholesome ingredients. Each component plays a crucial role in creating the perfect texture and flavor profile:
- Pumpkin Puree: Ensure you use pure pumpkin puree, not pumpkin pie filling. Pie filling often contains added sugars and spices, which would alter the recipe’s intended flavor and sweetness levels. Pumpkin is rich in vitamins, minerals, and antioxidants, adding a healthy boost to your dessert.
- Full-Fat Coconut Milk: This is the star ingredient for creating a dairy-free creamy base and whipped topping. The “full-fat” part is essential because it contains the higher concentration of coconut cream needed for whipping. Chilling the cans overnight allows the thick cream to separate from the clear liquid, making it easy to scoop out.
- Honey: A natural sweetener that adds depth and a subtle floral note. For those following a paleo diet or wishing for a vegan option, pure maple syrup is an excellent substitute, offering a similar sweetness and a complementary flavor profile.
- Vanilla Extract: A splash of vanilla enhances all the other flavors, adding a warm, aromatic finish. Use pure vanilla extract for the best results.
- Pumpkin Pie Spice: This blend of cinnamon, nutmeg, ginger, cloves, and sometimes allspice is what truly defines the “pumpkin” flavor of the mousse. You can use a store-bought blend or make your own for a customized touch.
- Salt: A pinch of salt might seem counterintuitive in a dessert, but it’s crucial for balancing the sweetness and intensifying all the other flavors, preventing the mousse from tasting flat.
- Stevia or Sugar (Optional for Whipped Cream): While the mousse itself is sweetened with honey, you have the option to add a touch more sweetness to the coconut whipped cream topping with stevia packets or a small amount of granulated sugar, depending on your preference.
Crafting the Perfect Pumpkin Mousse: A Step-by-Step Guide
This no-bake dessert, while requiring a small amount of stovetop cooking, is surprisingly straightforward to prepare. The key to its success lies in careful chilling and gentle handling. Follow these steps to create a truly irresistible pumpkin mousse:
- Prepare Your Coconut Milk: Begin by refrigerating all three cans of full-fat coconut milk overnight. This crucial step allows the solid coconut cream to separate from the liquid, making it easy to scoop out the thick cream needed for both the mousse and the whipped topping.
- Chill Your Equipment: For perfect coconut whipped cream, a cold environment is key. Place the bowl of your stand mixer (or a large mixing bowl) and the whisk attachment in the refrigerator for at least 20 minutes, or in the freezer for about 10 minutes.
- Extract the Coconut Cream for Mousse: Remove one can of chilled coconut milk from the fridge. Flip it upside down and open it from the bottom. Carefully pour out the clear liquid (coconut water) into a separate container – don’t discard it! It’s excellent for smoothies or soups. Scoop the thick coconut cream into a medium saucepan.
- Simmer the Pumpkin Mixture: To the saucepan with the coconut cream, add the pumpkin puree, honey, vanilla extract, pumpkin pie spice, and salt. Cook this mixture over medium heat, stirring occasionally, until it begins to simmer gently. Reduce the heat to low and continue to simmer for about 5 minutes, allowing the flavors to meld and the mixture to thicken slightly.
- Rapid Cooling: Immediately remove the saucepan from the heat and pour the pumpkin mixture into a large bowl. Place this bowl inside a larger bowl filled with ice water (an “ice-water bath”). Stir the pumpkin mixture frequently to help it cool down quickly and evenly. Keeping the mixture cold is paramount to achieving a firm, mousse-like consistency rather than a soupy one. Let it sit in the ice bath while you prepare the whipped cream.
- Whip the Coconut Cream: Once the pumpkin mixture is cool, it’s time to make the glorious coconut whipped cream. Take the remaining two cans of chilled coconut milk, turn them upside down, and open them. Drain the clear liquid as before. Scoop the solid coconut cream into your pre-chilled mixing bowl. Using your chilled whisk attachment, whip the coconut cream until stiff peaks form. If desired, you can add two packets of stevia or two teaspoons of sugar at this stage for extra sweetness.
- Gently Fold: Carefully and gently fold two-thirds to three-quarters of the whipped coconut cream into the cooled pumpkin mixture. Use a spatula and a light hand, folding just until combined. Avoid over-mixing, as this can deflate the cream and compromise the mousse’s light texture.
- Portion and Chill: If you have a pastry bag fitted with a star tip, fill it with the pumpkin mousse mixture and pipe it into 6 to 8 small dessert dishes or glasses. Work quickly to prevent the mousse from warming too much from your hands. If you don’t have a pastry bag, simply spoon the mousse into your chosen dishes.
- Garnish and Serve: Top each serving with a little swirl or dollop of the remaining whipped coconut cream. For an extra touch of elegance and flavor, sprinkle a tiny bit of cinnamon on top. Chill the pumpkin mousse in the refrigerator for at least an hour or two before serving. This allows it to fully set and for the flavors to deepen.
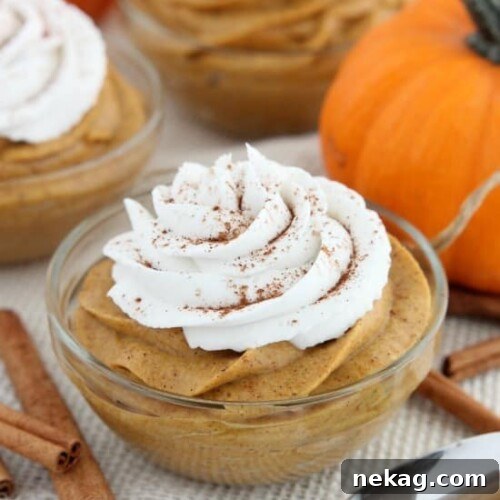
Pumpkin Mousse
Rating: 4.50 out of 5 stars (from 4 ratings)
Created by: Amber Brady
This lightened up Pumpkin Mousse is gluten and dairy free, and full of pumpkin spices! Perfect for a healthier Thanksgiving or fall dessert!
Pin Recipe
Rate this Recipe
Save Recipe
Yields: 6 to 8 servings
Ingredients
- 15 oz (425 g) can pumpkin puree
- 3 (13.5 oz / 400 ml) cans full fat coconut milk
- ½ cup (168 g) honey
- 1 Tbsp vanilla extract
- 2 ½ Tbsp pumpkin pie spice (homemade recipe available)
- ¼ tsp salt
- 2 packets stevia, or 2 tsp sugar (optional, for whipped cream)
Instructions
- REFRIGERATE ALL 3 CANS OF COCONUT MILK OVERNIGHT. This is crucial for separating the cream.
- CHILL the bowl of a stand mixer and whisk attachment in the fridge (20+min) or freezer (10 min) for optimal whipped cream results.
- Remove 1 can of coconut milk from the fridge, turn it upside down, and open the can. Pour out the clear liquid into a container to store in the refrigerator for later (excellent for smoothies, soups, etc.). Scoop out the thick coconut cream with a spoon and place it in a medium saucepan.
- Add the pumpkin puree, honey, vanilla, pumpkin pie spice, and salt to the saucepan with the coconut cream. Cook on medium heat until the mixture gently simmers. Reduce heat to low and simmer for 5 minutes, stirring occasionally to prevent sticking.
- Remove from heat and pour the mixture into a large bowl. Place this bowl inside an ice-water bath (another larger bowl filled with ice and water). Stir the pumpkin mixture to cool it faster. It’s important to keep everything cold so the pumpkin mousse becomes stiff and creamy, not soupy. Let it sit in the ice-water bath while you proceed.
- Once the pumpkin mixture has cooled sufficiently, prepare the coconut whipped cream. Remove the remaining 2 cans of coconut milk from the refrigerator, turn them upside down, and open the cans. Pour out the clear liquid into a container for later use. Scoop out the thick cream with a spoon and place it in the chilled mixing bowl. Attach the whisk to the stand mixer and whip until stiff peaks form. If desired, add 2 stevia packets (or 2 tsp sugar) to sweeten the whipped coconut cream.
- Gently fold in ⅔ to ¾ of the whipped coconut cream into the cooled pumpkin mixture. Be careful not to over-mix, as this will deflate the mousse.
- Fill a pastry bag (fitted with a star tip, if available) with the pumpkin mixture and pipe it into 6 to 8 small dessert dishes. Work in small batches to prevent warming the mousse too much with your hands. (If you don’t have a pastry bag, you can simply scoop the mousse into dishes.)
- Top each serving with a little swirl or dollop of the remaining whipped coconut cream, and a sprinkle of cinnamon, if desired. Chill the pumpkin mousse in the refrigerator for an hour or two before serving to allow it to fully set.
Notes
- To make this a paleo-friendly dessert, substitute the honey with pure maple syrup.
Nutrition Information
Disclaimer: Nutritional values were calculated using a third-party tool and are provided as an estimation only.
Sharing this recipe with a link is both encouraged and appreciated. Copying/pasting and/or screenshots of full recipes to any social media is strictly prohibited. Content and photographs are copyright protected.
Tips for Success and Troubleshooting
Even with a simple recipe, a few insider tips can make all the difference:
- Chill Thoroughly: The most important rule for this recipe is to chill everything – the coconut milk, the mixing bowl, the whisk, and the final mousse. Warm temperatures are the enemy of stiff coconut cream and a well-set mousse.
- Use Full-Fat Coconut Milk ONLY: Light coconut milk will not work for this recipe as it won’t produce enough thick cream to whip or create the desired consistency for the mousse.
- Avoid Over-Mixing: When folding the whipped coconut cream into the pumpkin mixture, be gentle. Over-mixing can deflate the cream, leading to a denser, less airy mousse. Fold just until no streaks of white remain.
- Taste and Adjust: Feel free to adjust the amount of honey or pumpkin pie spice to your liking. If you prefer a bolder spice flavor, add a little extra.
- Piping vs. Scooping: While a pastry bag makes for an elegant presentation, scooping the mousse into dishes works perfectly fine. Don’t let specialized equipment deter you!
Delicious Variations and Serving Suggestions
While this Pumpkin Mousse is fantastic on its own, a few additions can elevate it further:
- Spiced Crumble Topping: For a textural contrast, sprinkle some crushed gluten-free ginger snaps or a simple toasted pecan crumble on top.
- Chocolate Drizzle: A drizzle of melted dairy-free dark chocolate can add a sophisticated touch and an extra layer of flavor.
- Toasted Coconut Flakes: Lightly toasted coconut flakes can add a lovely crunch and enhance the coconut flavor.
- Fresh Fruit: A few fresh berries or thinly sliced apples can offer a burst of freshness and color.
- Layered Parfait: For a more elaborate presentation, layer the pumpkin mousse with dairy-free granola or chopped nuts in a clear glass.
- Coffee Infusion: Add a tiny amount of instant espresso powder to the pumpkin mixture for a coffee-pumpkin twist.
This Pumpkin Mousse is incredibly versatile and can be served in various ways to suit your occasion. Individual dessert cups or small martini glasses make for an elegant presentation, perfect for a holiday dinner. For a more casual setting, a large trifle bowl layered with the mousse and other goodies can be a stunning centerpiece.
Storage Instructions
This pumpkin mousse is an excellent make-ahead dessert. Once assembled and chilled, it can be stored in an airtight container in the refrigerator for up to 1 week. The flavors often deepen and improve overnight, making it even more delicious the next day. If you’ve garnished with fresh ingredients, add them just before serving for the best appearance and texture.
Whether you’re celebrating Thanksgiving, hosting a fall dinner party, or simply craving a comforting yet healthy treat, this Gluten-Free and Dairy-Free Pumpkin Mousse is sure to impress. Its light texture, rich flavors, and wholesome ingredients make it a guilt-free pleasure everyone can enjoy. Give this recipe a try and let the cozy spices of fall fill your home and your heart!
Did you make this delicious Pumpkin Mousse?
We’d love to hear about your experience! Don’t forget to leave a rating below and make sure to follow us on Pinterest and Instagram for more inspiring recipes and culinary adventures!