
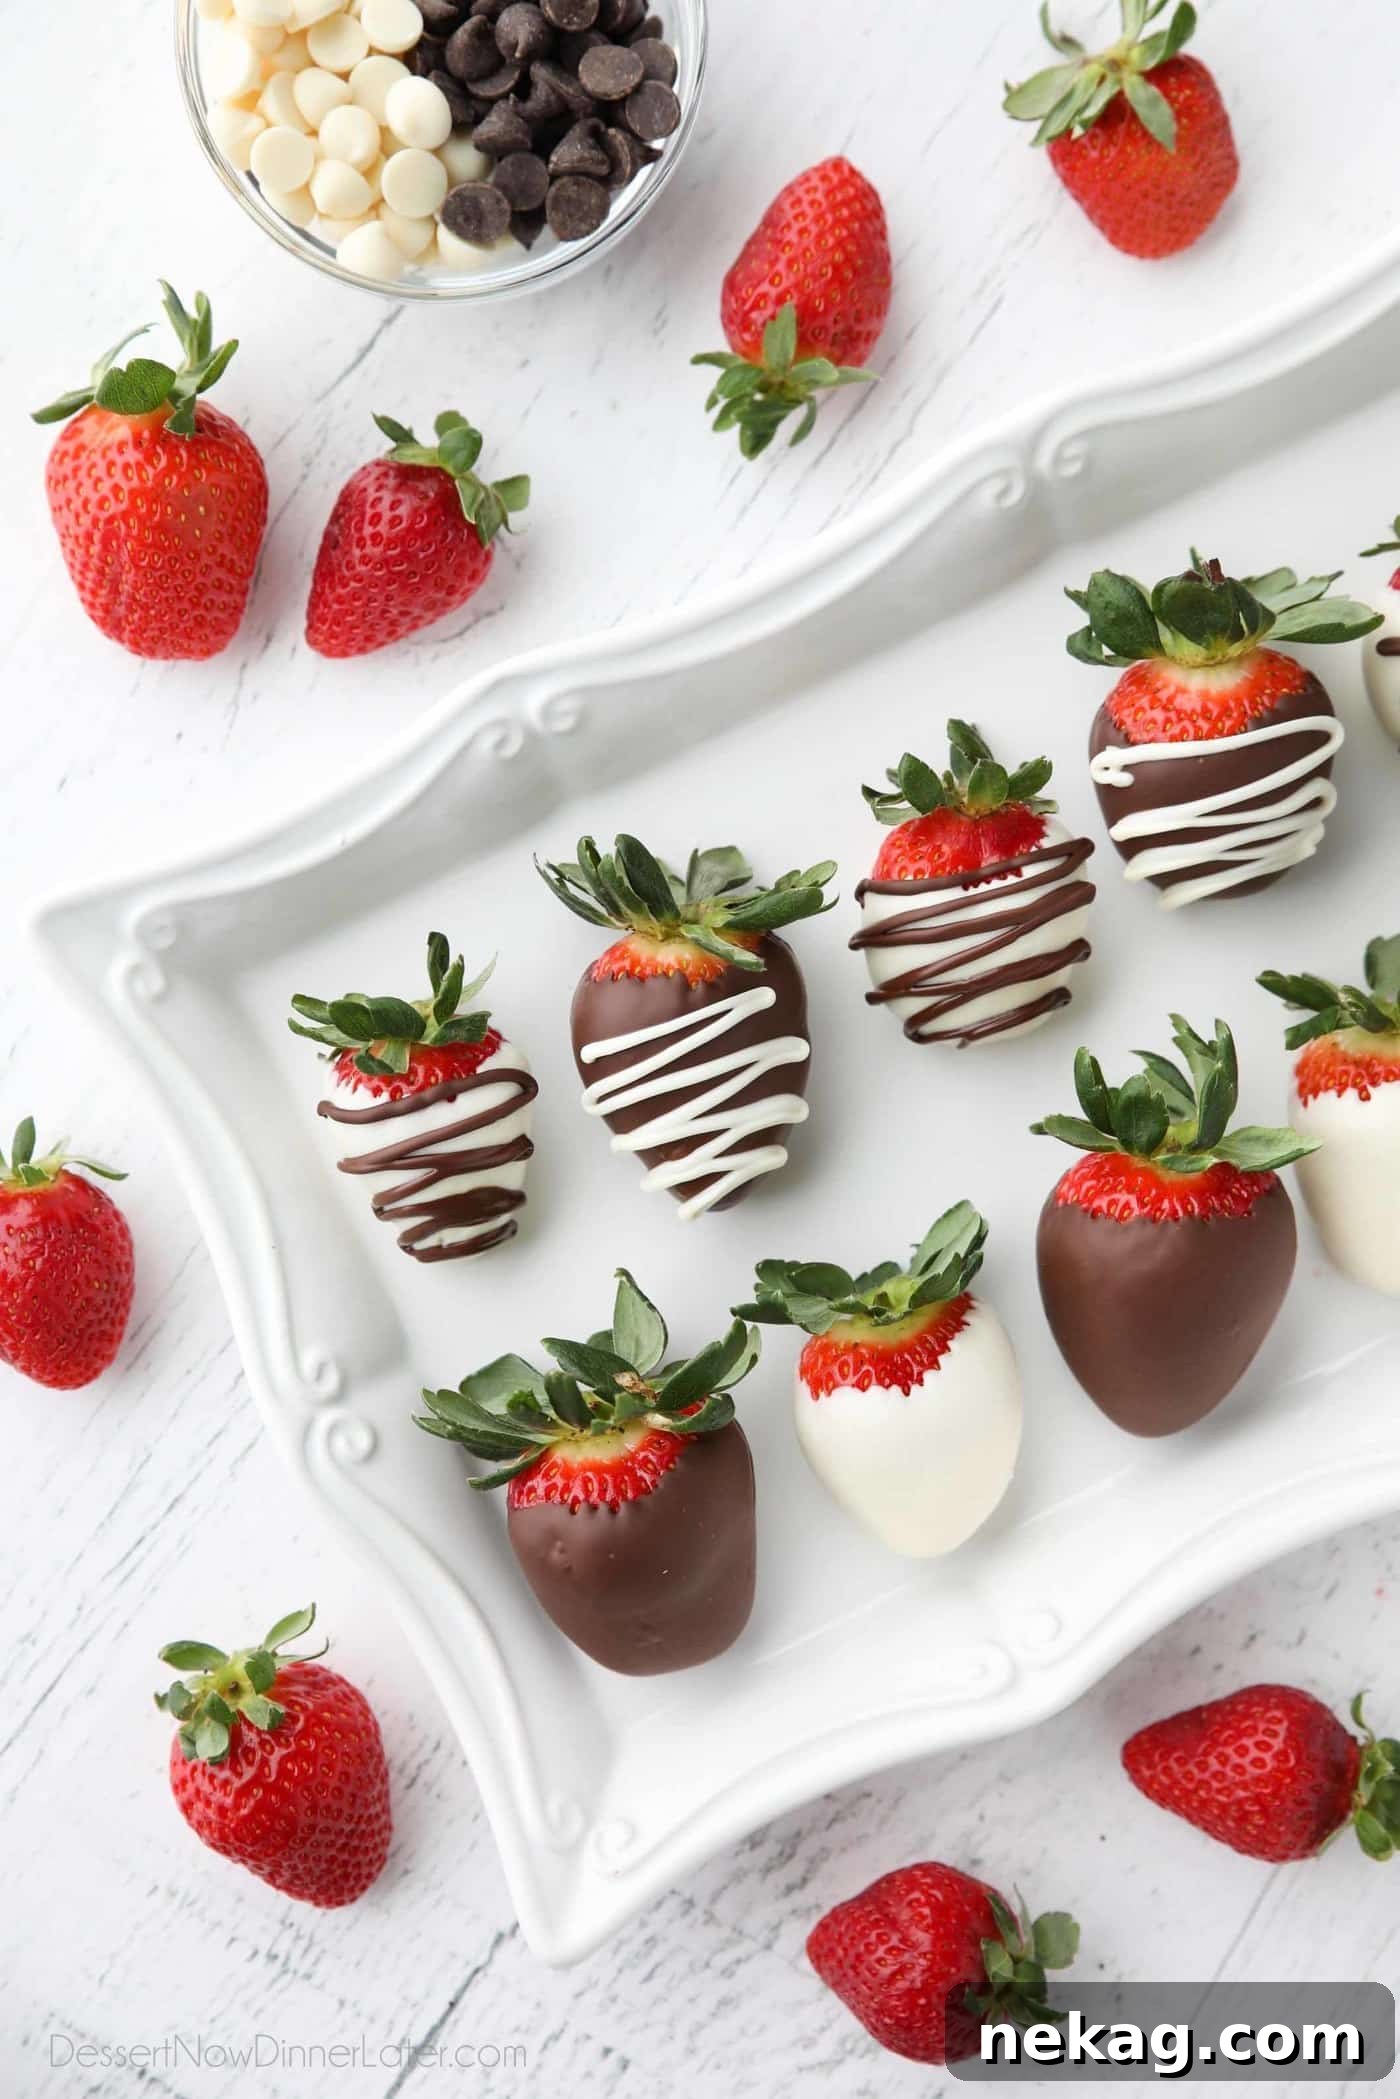
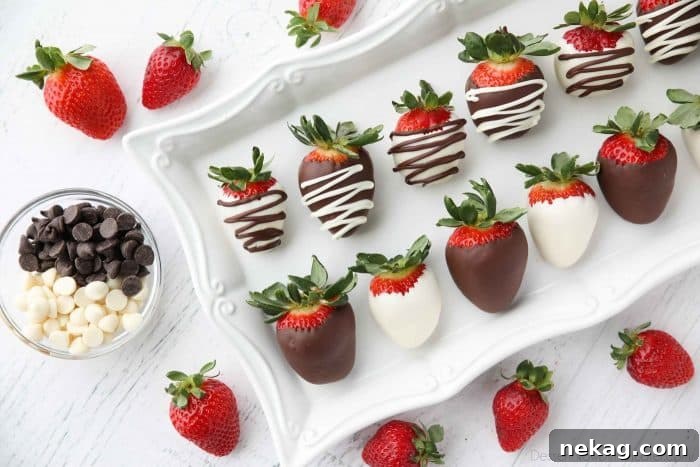
Indulge in the irresistible delight of chocolate covered strawberries, a gourmet dessert that’s surprisingly simple to create at home. From elegantly plain chocolate-dipped berries to artfully drizzled two-toned masterpieces, this guide provides all the essential tips and tricks to transform fresh fruit into a luxurious treat. Perfect for romantic occasions, special celebrations, or simply to satisfy a sweet craving, homemade chocolate strawberries offer an unmatched level of freshness, quality, and customization.
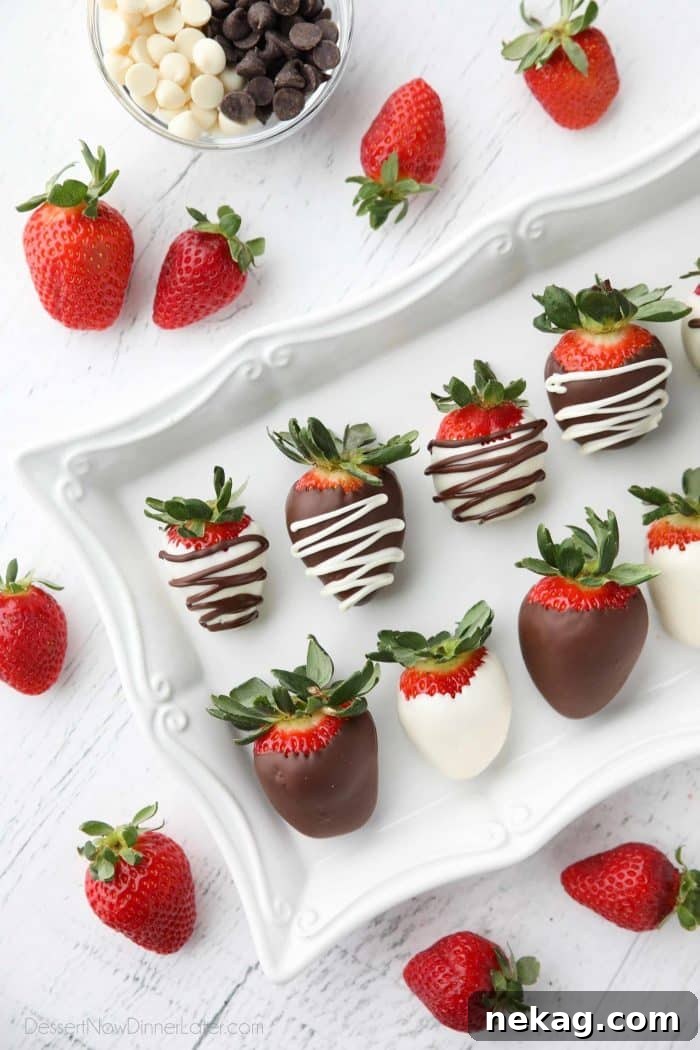
Chocolate covered strawberries are more than just a dessert; they are a timeless symbol of romance and sophistication, especially cherished during moments like Valentine’s Day. While store-bought or online options can be quite pricey for just a small batch, crafting these decadent treats in your own kitchen offers a cost-effective and deeply satisfying experience. You gain complete control over the quality of ingredients, the richness of the chocolate, and the choice of vibrant, fresh strawberries.
Imagine biting into a perfectly ripe, juicy strawberry enveloped in a crisp layer of premium chocolate – a symphony of flavors and textures that tantalizes the palate. Making them at home ensures every berry is dipped to perfection and adorned with your personal touch, turning a simple fruit into an exquisite confection. Whether you prefer the classic elegance of dark chocolate, the creamy sweetness of milk chocolate, or the subtle charm of white chocolate, the possibilities for customization are endless.
Selecting the Perfect Chocolate for Dipping
The secret to truly spectacular chocolate covered strawberries lies in choosing high-quality chocolate. Not all chocolates are created equal when it comes to melting and coating. For a smooth, glossy, and firm finish, the presence of real cocoa butter is paramount. Many cheaper chocolate varieties or “candy melts” rely on palm oil or other vegetable fats instead of cocoa butter, which can result in a streaky, dull, or waxy texture when set.
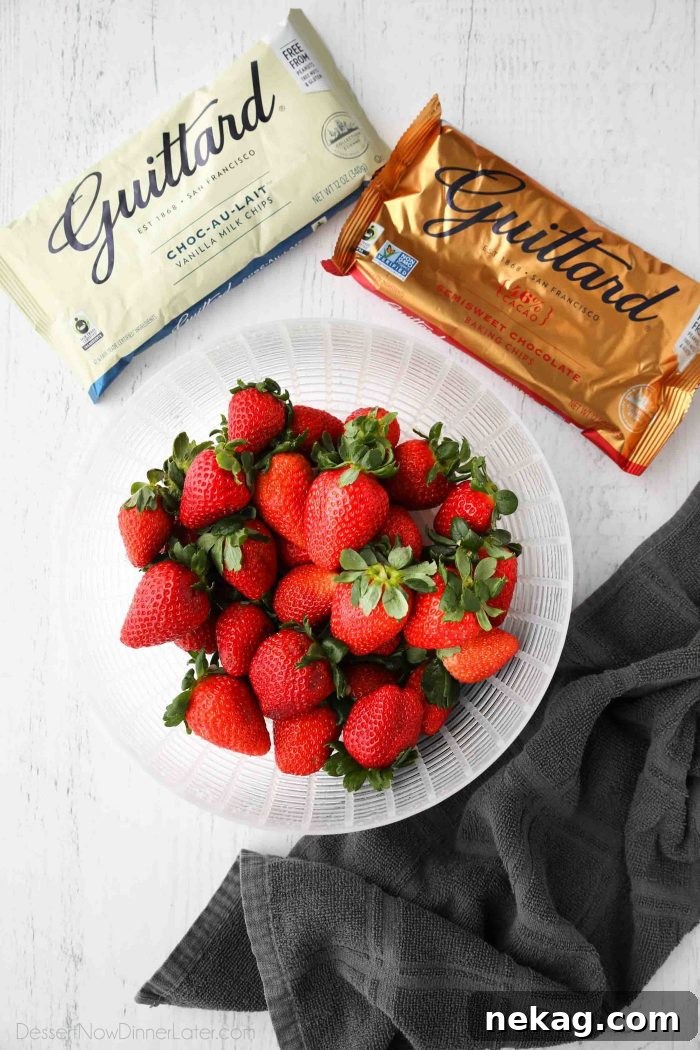
I highly recommend using baking chips or bars from reputable brands that prioritize quality ingredients. Brands like Guittard are excellent choices because their chips are made with genuine cocoa butter, ensuring a beautifully smooth and creamy melt. You have the freedom to choose between milk chocolate, semi-sweet chocolate, or even dark chocolate, based on your personal preference. Each offers a distinct flavor profile that pairs wonderfully with the sweetness of fresh strawberries.
When working with white chocolate, the ingredient list becomes even more critical. True white chocolate is made with cocoa butter, sugar, and milk solids. If a white chocolate product contains only palm oil or coconut oil as its fat component, it’s technically a “white confectionary coating” or “candy melt.” While these can be easy to melt, they may not bond properly with cocoa-butter-based milk or dark chocolates, leading to an inconsistent finish if you’re aiming for multi-layered designs or drizzles.
For consistent, professional-looking results, always opt for chocolate that lists cocoa butter among its primary ingredients. This ensures your melted chocolate will be fluid enough for dipping, harden beautifully, and maintain its rich flavor and appealing sheen.
Alternatively, for those seeking the utmost convenience, specialty melting wafers are specifically formulated for candy making and dipping. These wafers typically contain ingredients that help them melt smoothly and set quickly with a stable finish, making them a foolproof option for beginners or anyone short on time.
The Time Commitment: Surprisingly Quick!
You might assume that creating such an elegant dessert is a time-consuming affair, but the truth is, making chocolate covered strawberries at home is remarkably quick and straightforward. The entire process, from washing your berries to setting the final chocolate, typically takes only about 20-30 minutes of active time. This makes them an ideal last-minute treat or a fun project for an afternoon with friends or family.
Beyond the speed, the cost-effectiveness is a major draw. With just two pounds of fresh strawberries and a bag or two of quality chocolate, you can yield anywhere from 30 to 40 beautiful, gourmet chocolate covered strawberries, depending on the size of your berries. This offers a significantly better value than purchasing them from a specialty store, allowing you to enjoy more of this delightful confection for less.
The satisfaction of crafting these treats yourself, knowing exactly what ingredients went into them, and customizing each one to your liking, adds an extra layer of enjoyment that store-bought versions simply can’t replicate.
Step-by-Step Guide to Perfect Chocolate Covered Strawberries
Creating these luscious treats is a simple process once you have your ingredients ready. Follow these steps for flawless results every time:
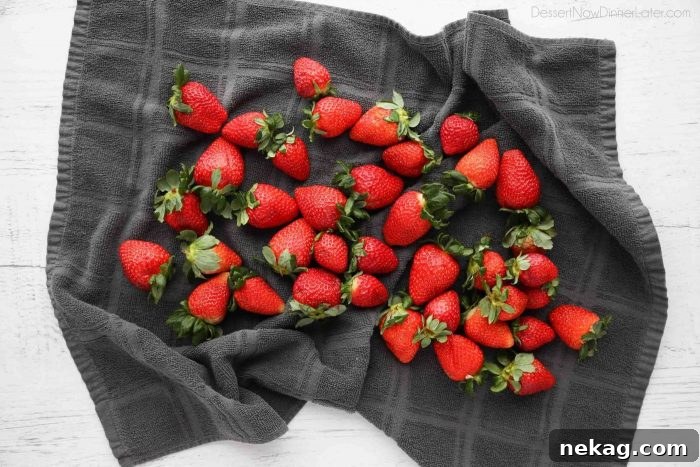
- Thoroughly Wash and Dry Your Strawberries: This is perhaps the most critical step. Any moisture on the surface of the strawberries will cause the chocolate to seize or not adhere properly, resulting in a clumpy, unsightly coating. Rinse your strawberries under cool water, then gently spin them in a salad spinner to remove excess water. Follow up by carefully drying each individual berry, including the stem, with a clean paper towel or kitchen towel. Ensure they are bone dry!
- Prepare Any Desired Toppings: While plain chocolate covered strawberries are delicious on their own, toppings add extra flavor, texture, and visual appeal. If you plan to use toppings like chopped nuts (almonds, pistachios), toasted coconut flakes, colorful sprinkles, crushed cookies (like Oreos or graham crackers), or even a dash of sea salt, have them ready. Place each topping in a separate shallow bowl for easy rolling.
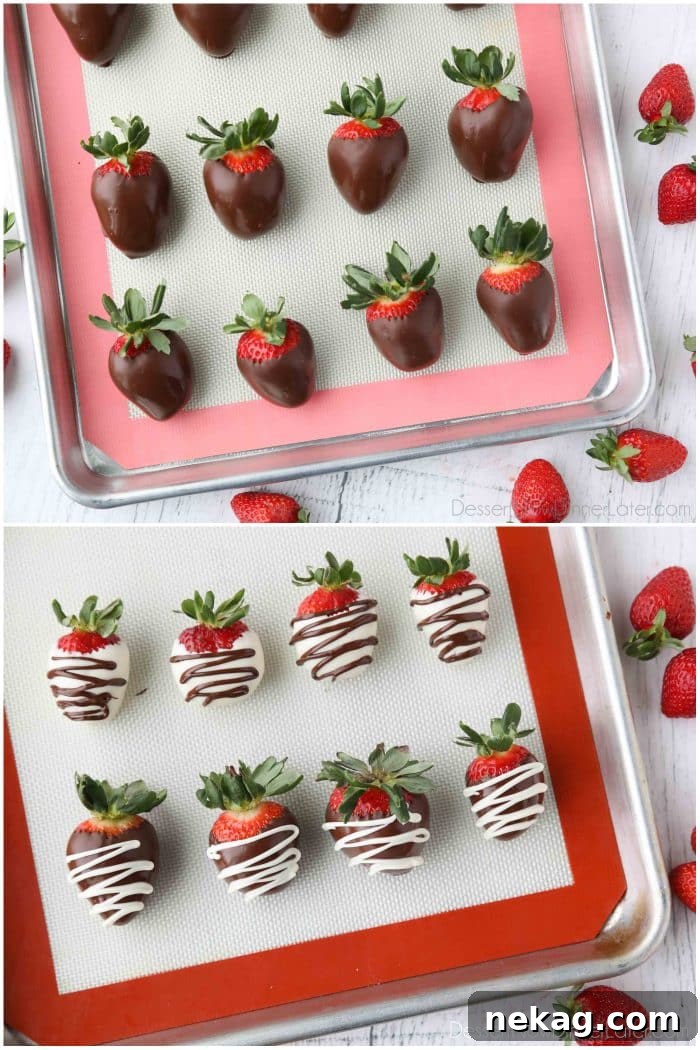
- Line Your Baking Sheet: Prepare a baking sheet by lining it with parchment paper, wax paper, or a silicone baking mat. This non-stick surface will prevent the chocolate from sticking to the pan as it sets, making removal easy and mess-free. This prepared sheet will also go directly into the refrigerator to help the chocolate harden quickly.
- Melt the Chocolate: Choose your preferred melting method (double boiler or microwave – detailed instructions below). Melt your chosen chocolate until it is completely smooth and free of lumps. If you are using more than one type of chocolate (e.g., milk and white for drizzling), melt them in separate bowls.
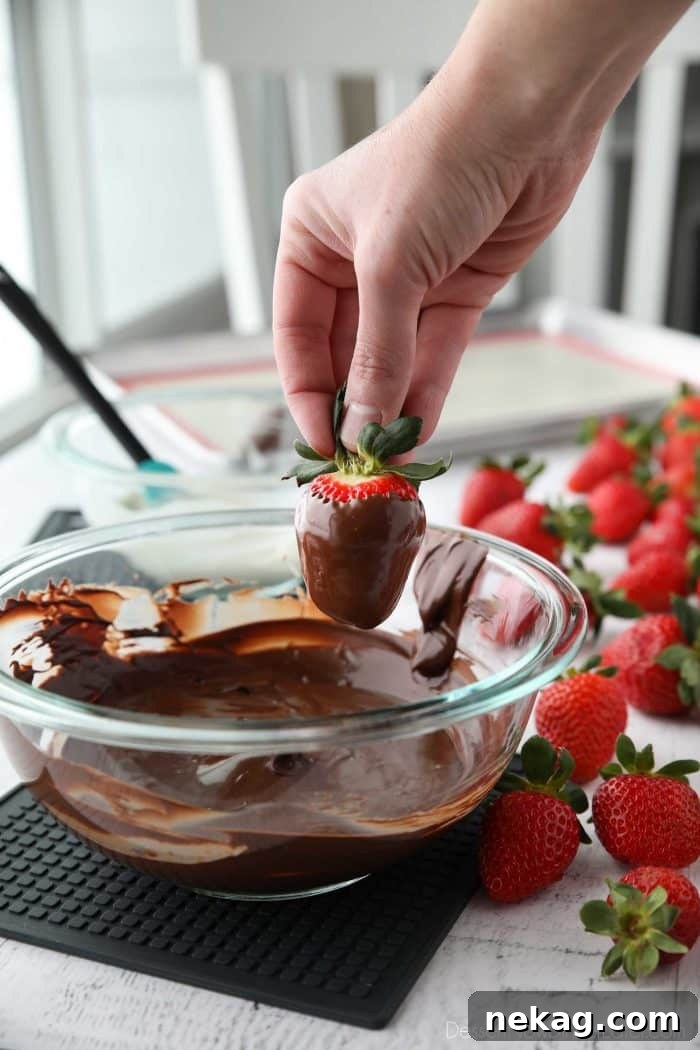
- Dip the Strawberries: Grasp a strawberry firmly by its stem. Dip the berry into the melted chocolate, rotating it gently to cover all sides evenly. Lift the strawberry from the chocolate and pause for a moment, allowing any excess chocolate to drip back into the bowl. You can also lightly scrape the bottom of the strawberry against the rim of the bowl to remove extra chocolate, creating a clean edge.
- Apply Toppings (Optional): If using toppings, immediately after dipping and before the chocolate sets, gently roll or sprinkle the desired topping onto the chocolate-covered strawberry.
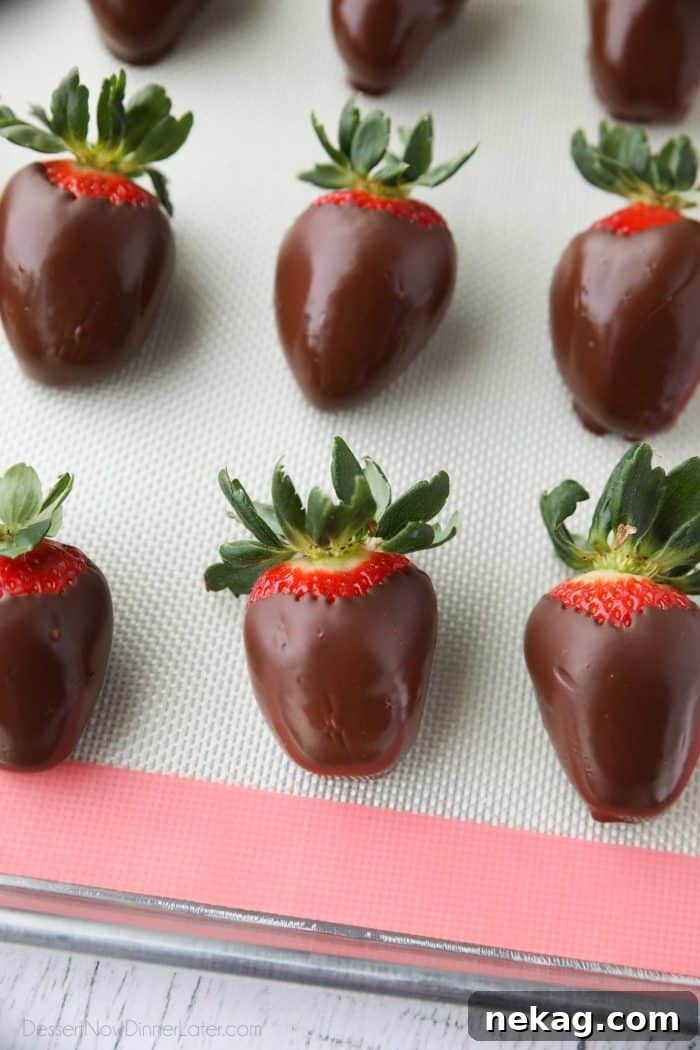
- Set the Dipped Strawberries: Place each dipped strawberry on your prepared baking sheet. Allow them to rest at room temperature for a few minutes, then transfer the baking sheet to the refrigerator to chill. The chocolate should set and harden completely in about 15-20 minutes.
- Drizzle for a Two-Toned Look (Optional): For an elegant touch, drizzle melted white chocolate (or another contrasting color) over your set chocolate covered strawberries. You can do this while the first layer of chocolate is still wet for a marbled effect, or after it has fully set for more defined lines. To drizzle, transfer melted chocolate to a small zip-top bag, snip a tiny corner, and squeeze to create fine lines. Alternatively, use a fork or spoon for a more rustic drizzle. Return the drizzled strawberries to the refrigerator until the drizzle is also set.
Expert Techniques for Melting Chocolate
Achieving perfectly melted chocolate is crucial for a smooth, even coating. Here are the two most common and effective methods:
Double Boiler Method (Recommended for Best Results)
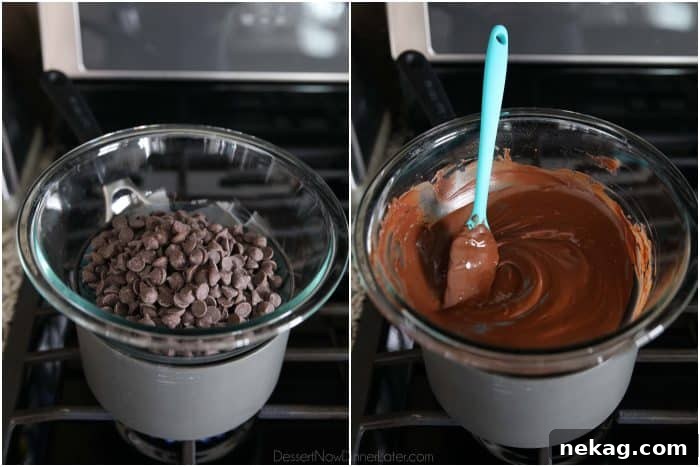
Using a double boiler is often considered the best way to melt chocolate because it provides gentle, indirect heat, which prevents the chocolate from burning or seizing. This method ensures an even, consistent melt, yielding beautifully smooth chocolate for dipping.
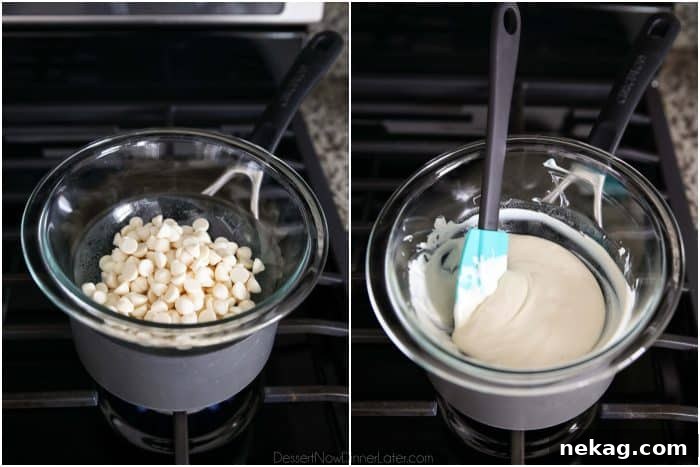
How to Melt Chocolate with a Double Boiler:
- Set Up Your Double Boiler: If you don’t own a dedicated double boiler, you can easily create one. Fill a small saucepan with about 1/4 inch of water and bring it to a gentle simmer over low to medium heat.
- Place Chocolate in a Bowl: Select a heat-safe glass or metal bowl that fits snugly over the saucepan without touching the water. It’s absolutely critical that the bottom of the bowl does not touch the simmering water, as direct contact can scorch the chocolate. Ensure the bowl fits tightly enough to prevent steam from escaping and mixing with the chocolate.
- Melt and Stir: Add your chocolate chips or chopped chocolate to the dry bowl. As the water simmers, the gentle steam will gradually melt the chocolate. Stir the chocolate constantly with a rubber spatula or spoon until it is completely melted and beautifully smooth. Remove the bowl from the saucepan immediately once melted.
- Use Immediately: Place the bowl of melted chocolate on a towel or hot pad and use it right away for dipping.
Microwave Method (Quick and Convenient)
For a quicker approach, the microwave can be used, especially with high-quality chocolate chips or finely chopped chocolate. The key is to melt slowly and stir frequently to prevent burning.
How to Melt Chocolate in the Microwave:
- Prepare Chocolate: Place your chocolate chips or finely chopped chocolate in a heatproof glass bowl or container.
- Heat Gradually: Microwave the chocolate at half power (50%) for 30-second intervals.
- Stir Between Intervals: After each 30-second burst, remove the bowl from the microwave and stir the chocolate thoroughly, even if it doesn’t look melted. This redistributes the heat and prevents hot spots.
- Finish Melting: Continue heating and stirring in 30-second intervals until only small lumps of chocolate remain. At this point, remove the bowl from the microwave and continue stirring. The residual heat will melt the remaining lumps, resulting in a smooth consistency. Overheating can cause chocolate to seize and become unusable.
Pro Tip for Thinner Chocolate: If your melted chocolate seems too thick for dipping, you can stir in 1 teaspoon of coconut oil or shortening (per 12 oz of chocolate) until fully incorporated and melted. This will help thin the chocolate to a more desirable consistency for a smoother coating.

Essential Tips for Success
- Use Room Temperature Strawberries: Always remove your strawberries from the refrigerator 15-30 minutes before you plan to dip them. Dipping cold strawberries directly into warm melted chocolate can cause condensation to form on the fruit, which will prevent the chocolate from adhering properly. Room temperature berries also prevent the chocolate from seizing or cracking. Additionally, choose firm, ripe strawberries without any bruises for the best texture and appearance.
- Optimal Consumption Time: Chocolate covered strawberries are truly at their peak when enjoyed the day they are made. The flavors are freshest, and the chocolate coating is perfectly crisp.
- Short-Term Storage at Room Temperature: If you plan to serve them within 10 hours, you can safely leave your chocolate covered strawberries at room temperature. Simply keep them on the parchment-lined baking sheet, uncovered, in a cool, dry place away from direct sunlight or any heat sources.
- Refrigerator Storage for Longer Periods: For storage up to two days, place the strawberries, still on their parchment-lined baking sheet and uncovered, in the refrigerator. Storing them uncovered helps prevent condensation from forming on the chocolate.
- Never Freeze Chocolate Covered Strawberries: Freezing is not recommended for chocolate covered strawberries. As the berries thaw, they release a significant amount of moisture, which will ruin the texture of both the strawberry and the chocolate coating, making the chocolate soft, sticky, and unappealing.
Chocolate Covered Strawberries
Created by Amber Brady
Prep Time: 10 mins
Cook Time: 5 mins
Chill Time: 15 mins
Total Time: 30 mins
Learn how to make beautiful chocolate covered strawberries, from classic dipped to elegant two-toned drizzled varieties, perfect for any occasion.
Yields: 30-40 strawberries
Ingredients
- 12 oz (340 g) Guittard Baking Chips (semi-sweet or milk chocolate)
- 6 oz (170 g) Guittard White Baking Chips (½ package)
- 2 lbs (908 g) fresh strawberries, room temperature
Equipment
- Silicone Baking Mat or parchment paper
- Aluminum Half Sheet Tray (2 Pack)
- Saucepan for double boiler
- Heat-safe glass or metal bowls
Instructions
- Wash and dry the strawberries thoroughly. Rinse the strawberries, drain the water, and dry them very well, including the stems. A salad spinner followed by individual drying with a kitchen towel works best to ensure no moisture remains.
- Prepare a pan for the dipped strawberries. Line a cookie sheet with parchment paper, wax paper, or a silicone baking mat to place the dipped strawberries on. This non-stick surface allows for easy removal after chilling.
- Melt the two chocolates in separate double boilers. Fill a saucepan 1/4 full with water and bring it to a light simmer. Place a heatproof glass or metal bowl over the pot (ensuring it doesn’t touch the water) and add the chocolate. Stir constantly until melted and smooth. Remove from heat immediately and set on a towel or hot pad for use. Make sure the bowl fits tightly to prevent steam from escaping.
- Dip the strawberries in the melted chocolate. Firmly hold a strawberry by the stem, then dip and twist the berry to fully cover all sides. Allow excess chocolate to drip back into the bowl, or gently scrape the bottom of the strawberry against the side of the bowl. Place the dipped strawberry on the prepared baking sheet. Repeat for all berries. Chill the strawberries in the refrigerator until the chocolate sets, which typically takes about 15 minutes.
- To drizzle (optional): For a two-toned look, you can drizzle additional melted chocolate (e.g., white chocolate) over the set chocolate covered strawberries. Drizzle by squeezing chocolate from a zip-top bag with a corner snipped off, or by using a fork or spoon. Chill in the refrigerator until the drizzle is also set.
Notes
- To melt chocolate in the microwave: Place chocolate in a heatproof glass bowl and heat at 50% power for 30-second intervals. Stir after each interval until only small lumps remain, then stir until completely smooth from residual heat.
- To thin the chocolate: If you desire a thinner coating, stir 1 teaspoon of coconut oil or shortening into the melted chocolate until fully incorporated.
- Toppings: Have chopped nuts, toasted coconut, sprinkles, or crushed cookies ready in separate shallow bowls. Apply toppings immediately after dipping the strawberry, before the chocolate sets.
- Storage: Chocolate covered strawberries are best consumed the day they are made. They can be stored at room temperature (uncovered, in a cool, dry place away from heat/sunlight) for up to 10 hours. For longer storage (up to two days), refrigerate them uncovered on the baking sheet.
- Do not freeze: Freezing will cause the strawberries to release too much moisture upon thawing, ruining the chocolate coating and berry texture.
Nutrition (Estimated)
- Serving: 1 strawberry
- Calories: 106 kcal
- Carbohydrates: 12g
- Protein: 1g
- Fat: 6g
- Saturated Fat: 4g
- Polyunsaturated Fat: 0.2g
- Monounsaturated Fat: 2g
- Trans Fat: 0.01g
- Cholesterol: 2mg
- Sodium: 7mg
- Potassium: 127mg
- Fiber: 2g
- Sugar: 9g
- Vitamin A: 11 IU
- Vitamin C: 18mg
- Calcium: 23mg
- Iron: 1mg
Disclaimer: Nutritional values are estimated using a third-party tool and are for guidance only. Actual values may vary.
Sharing this recipe with a link is both encouraged and appreciated. Copying/pasting and/or screenshots of full recipes to any social media is strictly prohibited. Content and photographs are copyright protected.
Did you make this?
Don’t forget to leave a rating below and make sure to follow on Pinterest and Instagram for more delicious inspiration!