Sourdough Hot Crossed Buns: A Timeless Easter Treat Perfected
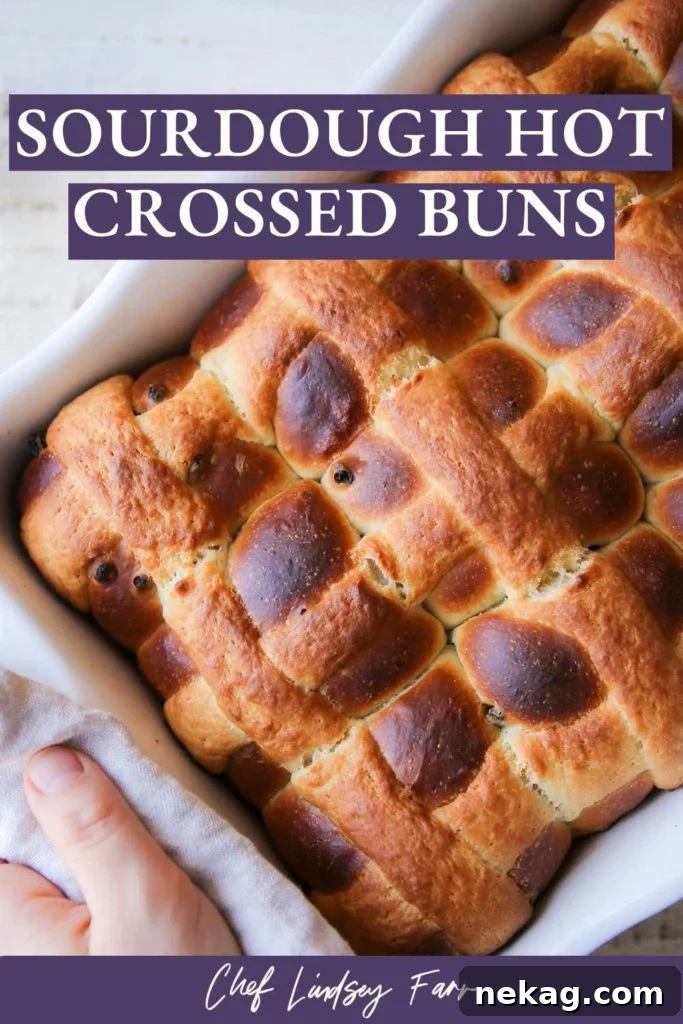
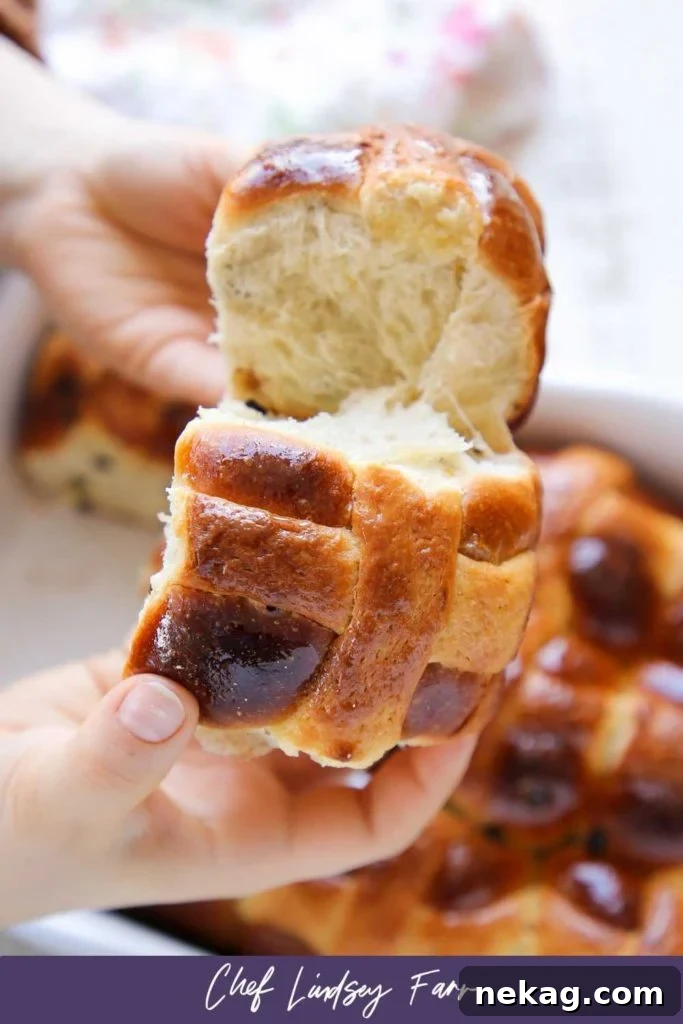
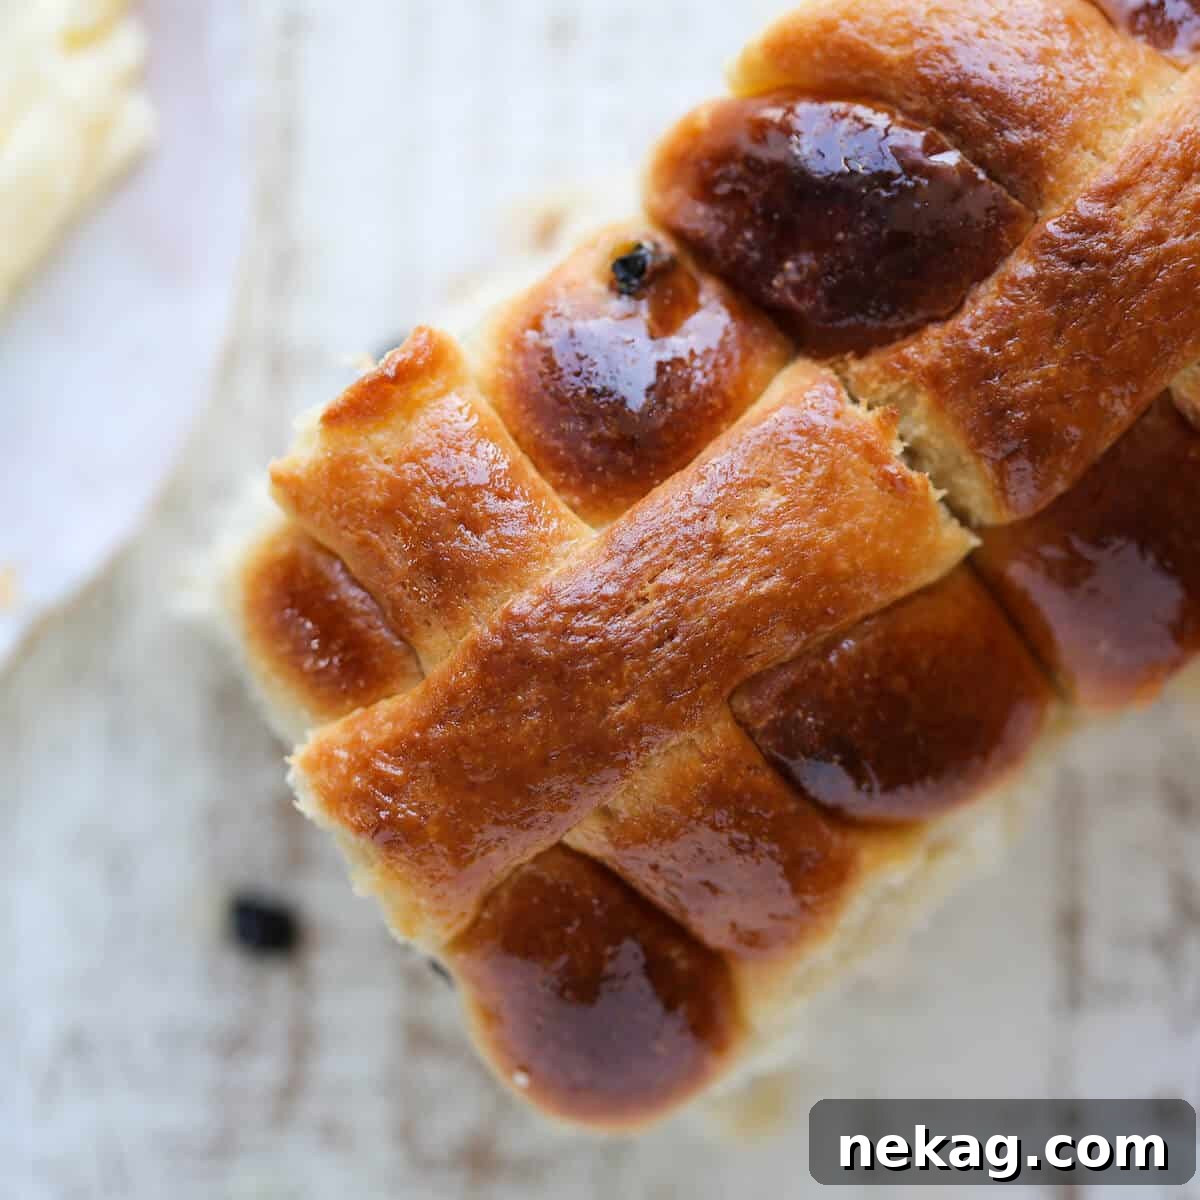
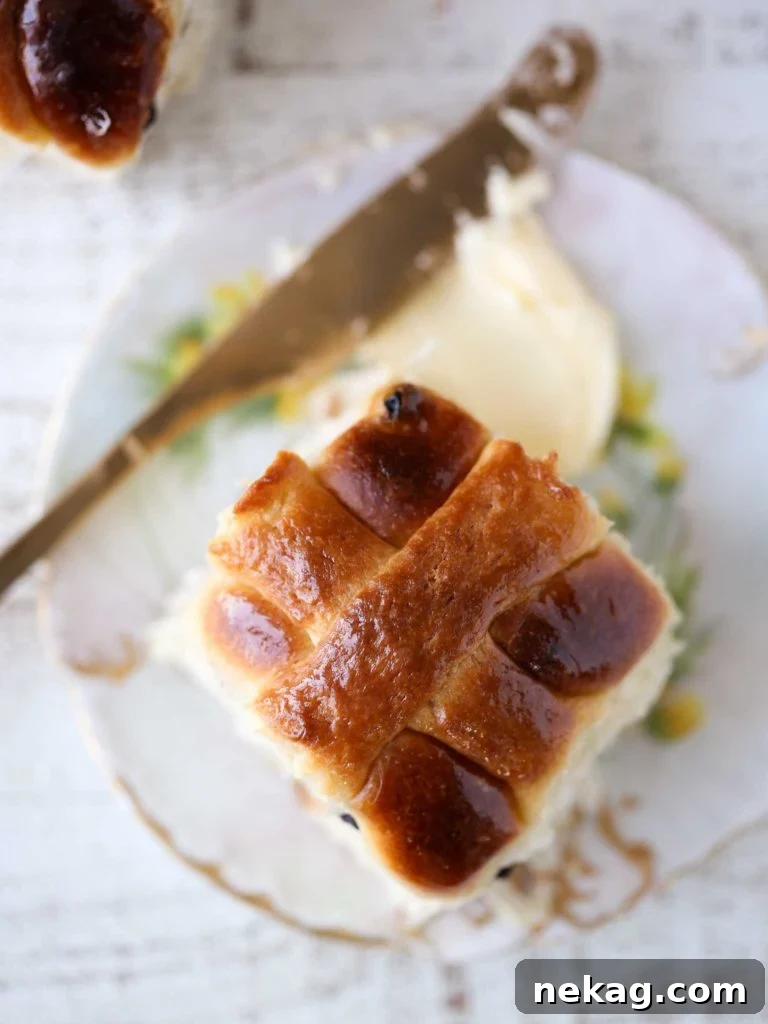
Step into the enchanting world of traditional Easter baking with a modern, artisanal twist. These Sourdough Hot Crossed Buns redefine what this classic treat can be: incredibly soft, luxuriously tender, and bursting with delightful flavors. Each bun is a symphony of warm orange zest, comforting allspice, and sweet, juicy currants, all lovingly embraced by a rich, enriched sourdough crumb. But the magic doesn’t stop there. Our rendition features the signature butter-flour cross piped elegantly on top, transforming into a tender, almost sugar-cookie-like layer as it bakes, melting harmoniously into the golden-brown bun beneath. Prepare to elevate your Easter table with a recipe that promises an unparalleled baking experience and a truly unforgettable taste.
The Quest for the Perfect Hot Crossed Bun
For years, the idea of crafting the quintessential Hot Crossed Bun has lingered on my culinary aspirations list. It was a challenge I often postponed, always waiting for that ‘perfect’ moment or season. But as time would inevitably pass, I’d find myself shrugging, resigning to the promise of “next year.” This cycle of anticipation and deferral fueled a persistent desire to truly master these iconic spiced buns. My business partner, Mara, shared this sentiment, having been consistently underwhelmed by countless Hot Crossed Buns throughout her life. It was a shared culinary frustration, a mutual disappointment with buns that were often dry, lacking in flavor, or simply not living up to their beloved reputation.
The Sourdough Revelation: “Next Year” is Now!
That “next year” finally arrived, not with a grand declaration, but during a relaxed Friday in “the office.” My sourdough starter, vibrant and active, practically bubbled with enthusiasm, yearning to be put to good use. Mara and I, seasoned sourdough enthusiasts, readily succumbed to the irresistible call of new sourdough bread recipes. We’ve explored everything from savory sourdough pizza dough to aromatic rosemary sourdough rolls, but the Hot Crossed Bun remained an unconquered frontier. This time, armed with a thriving starter and a renewed determination, I declared it my mission to “crack the secret code” of truly exceptional Hot Crossed Buns. I envisioned traditional Easter buns encompassing all the qualities I cherish in my favorite breads: a captivating fragrance of citrus and spice, a wonderfully soft and tender enriched crumb, a generous touch of butter for that indulgent richness, and, of course, the delightful inclusion of currants.
Why Sourdough for Hot Crossed Buns?
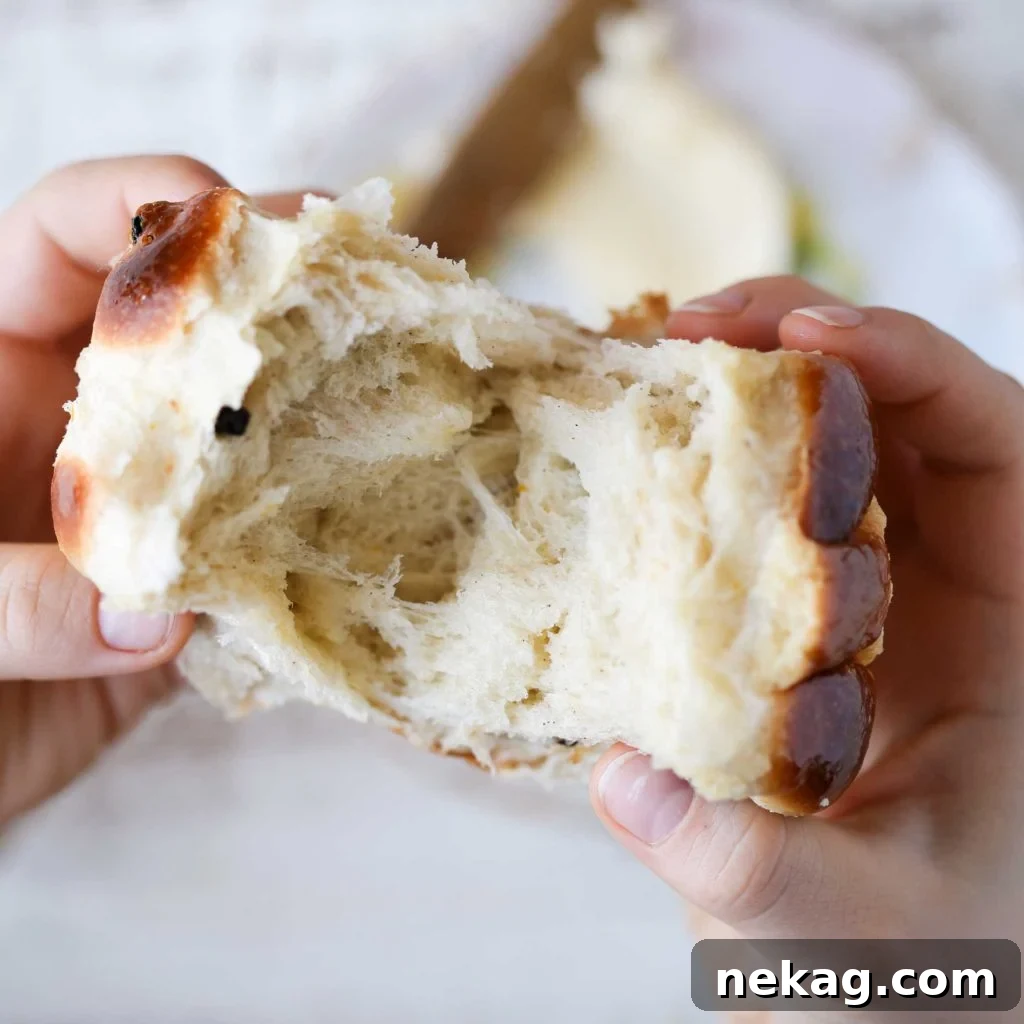
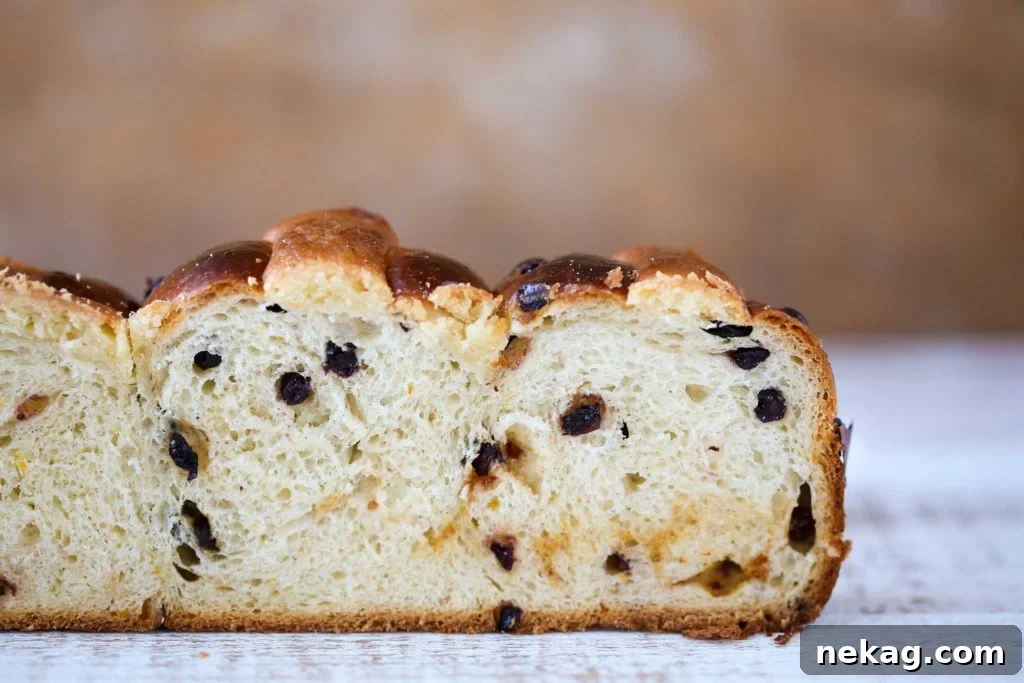
Incorporating sourdough into Hot Crossed Buns isn’t just a trend; it’s a game-changer for flavor and texture. The natural fermentation process of sourdough contributes a subtle tang that beautifully balances the sweetness and spices of the buns. It also leads to an incredibly complex flavor profile, far deeper and more nuanced than buns made solely with commercial yeast. Beyond taste, sourdough enhances the texture, resulting in a more tender, moist, and pillowy crumb that stays fresh longer. The slower fermentation also helps to break down gluten, making the buns potentially easier to digest for some. It’s this combination of superior flavor, enhanced texture, and natural goodness that truly elevates these Hot Crossed Buns from good to extraordinary, transforming a seasonal treat into a year-round craving.
The Enduring Charm of Currants
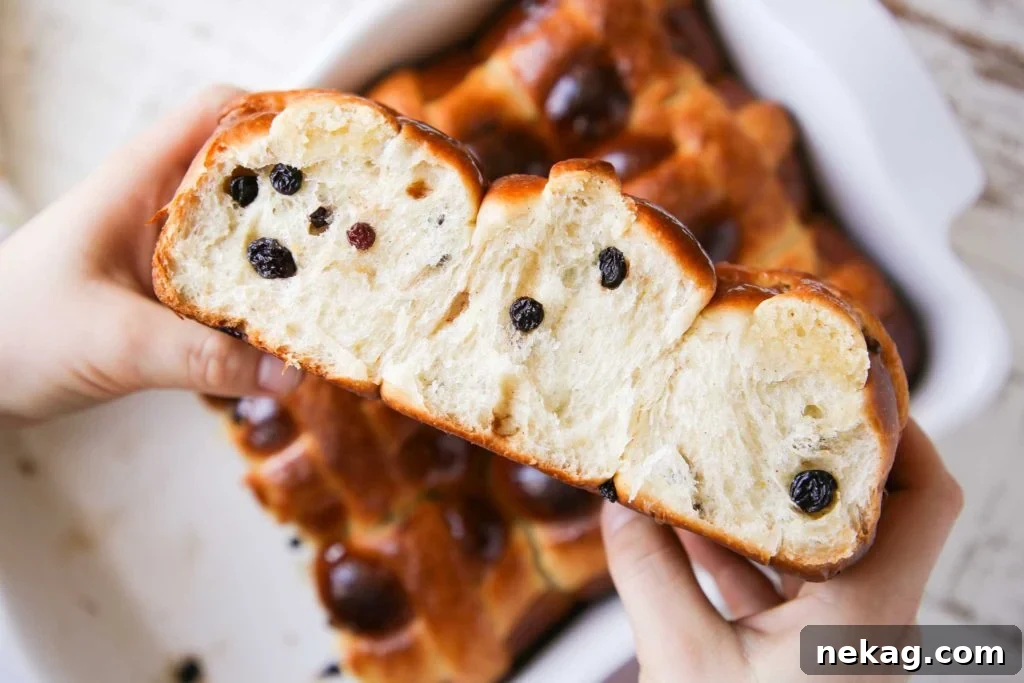
Currants hold a special place in my baker’s heart – a secret passion, if you will. Their tiny, intensely flavorful presence in baked goods adds a burst of tart-sweetness and a delicate chew that I find utterly irresistible. Unlike raisins, currants offer a more concentrated flavor and a finer texture, distributing evenly throughout the dough without overwhelming it. In these Sourdough Hot Crossed Buns, they are not merely an addition but an essential element, contributing to the traditional character and offering a delightful contrast to the citrus and spice. Perhaps someday, I’ll share the full story behind my adoration for these little jewels, but for now, know that their inclusion is a deliberate choice for ultimate deliciousness.
Mission Accomplished: Your New Favorite Sourdough Hot Crossed Buns
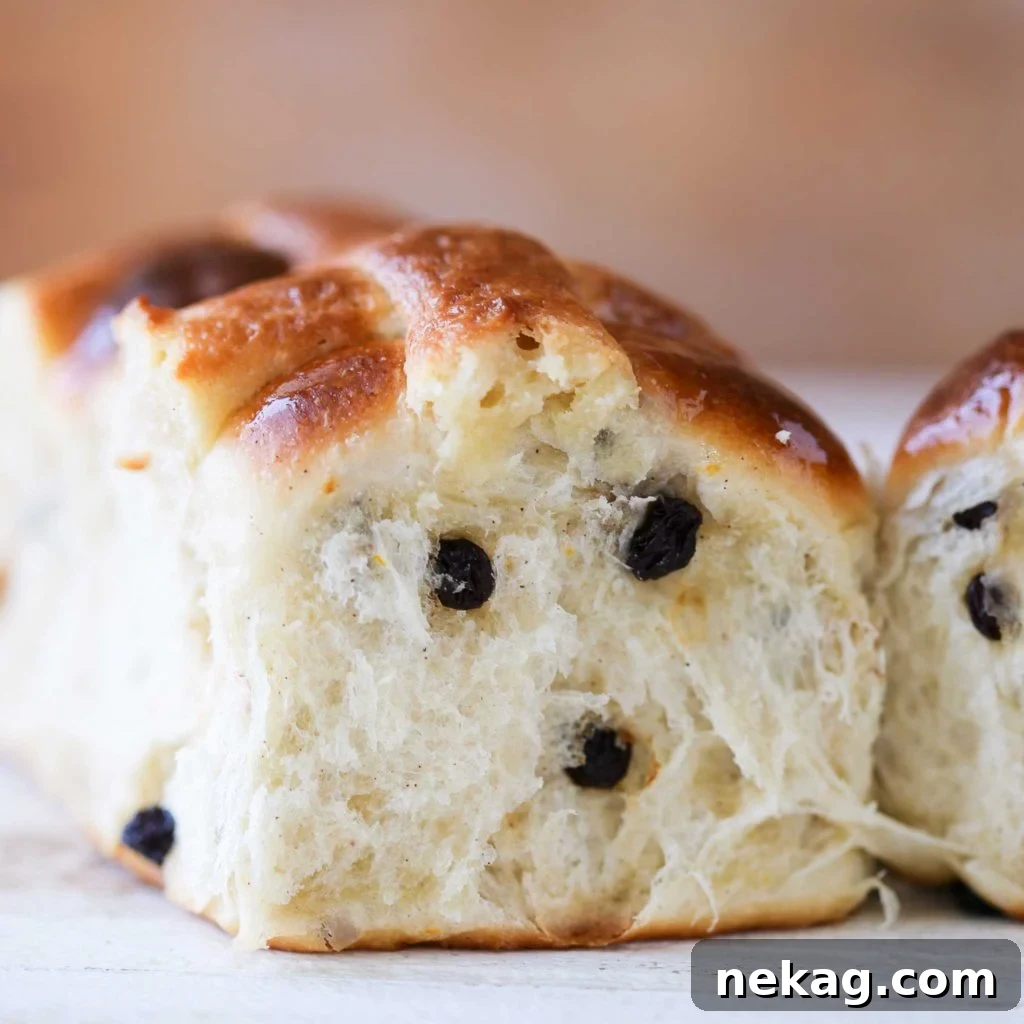
Spoiler Alert: I not only cracked the code; I shattered it! These Sourdough Hot Crossed Buns are everything I envisioned and more. They are the culmination of dedication, experimentation, and a deep love for baking. Prepare to embark on a new culinary chapter where the memory of mediocre Hot Crossed Buns becomes a distant past. This recipe delivers unparalleled softness, a rich, aromatic interior, and that distinct, almost cookie-like cross that truly sets it apart. And here’s the best part? Despite their gourmet appeal, they are surprisingly easy to make, even for those new to sourdough baking. With clear instructions and a little patience, you’ll be creating bakery-worthy buns right in your own kitchen.
Getting Started: Your Sourdough Starter Journey
Are you eager to create these alluring Sourdough Hot Crossed Buns but feeling a bit daunted by the first essential step—cultivating a sourdough starter? Fret not! Consider this your early holiday gift, because a vibrant sourdough starter is truly nature’s most incredible present to any baker. With our incredibly easy-to-follow sourdough starter recipe guide, you can be actively baking delectable fresh sourdough bread from your very own robust starter in as little as five days! Our comprehensive guide offers a day-by-day roadmap, detailing each feeding and observation, alongside thorough answers to all your common starter-related questions. Once your starter is thriving, you can hone your skills with our foundational easy sourdough bread recipe or explore more adventurous options like our cherry pecan sourdough bread to build confidence before tackling these magnificent buns.
Understanding Your Sourdough Starter for Enriched Doughs
A sourdough starter is a living culture of wild yeast and bacteria, naturally present in flour and the air around us. It’s the engine behind sourdough baking, providing both leavening power and a distinctive flavor. For this recipe, we specifically call for a 100% hydration starter. This simply means your starter is fed with equal parts flour and water by weight. A healthy, active starter is crucial for successful sourdough baking, so ensure it’s well-fed and bubbly before you begin. You’ll know it’s ready when it has visibly doubled in size a few hours after its last feeding, showing numerous small bubbles on the surface and along the sides of its jar. This activity indicates a strong, vigorous starter, perfect for giving your Hot Crossed Buns their incredible rise and complex flavor. Because enriched doughs (like this one, with butter, sugar, and egg) can slow down fermentation, having a very active starter is even more important to ensure a proper rise.
Tips for Baking Flawless Sourdough Hot Crossed Buns
Achieving bakery-quality Sourdough Hot Crossed Buns is a rewarding experience, and a few key techniques can make all the difference:
Proper Kneading for a Tender Crumb
The “window pane” test is your best friend when developing the dough. Unlike rustic sourdoughs, enriched doughs like these buns require thorough kneading to activate the gluten sufficiently. This creates a strong, elastic network that can trap the gases produced by your sourdough starter and yeast, leading to that characteristic soft, airy crumb. Don’t be afraid to let your stand mixer work; proper gluten development is paramount here for ultimate tenderness.
Proofing in a Warm, Consistent Environment
Sourdough, while flavorful, can be slower than commercial yeast alone. Combining active dry yeast with your sourdough starter in this recipe ensures a reliable rise, but temperature still plays a critical role. A warm, draft-free spot (around 75-80°F or 24-27°C) is ideal for both the sponge and the subsequent dough proofs. Consistent warmth helps the yeast and sourdough cultures thrive, leading to a quicker and more predictable rise. Consider using your oven with the light on (but turned off) as a makeshift proofing box, or a warm spot near a sunny window.
The Art of Shaping and Spacing
Dividing the dough into equal portions and shaping them into smooth, round buns is essential for even baking and a beautiful presentation. Take your time to gently cup and roll each piece of dough on a lightly floured surface to create tension on the outside. When placing them in your baking dish, remember that they will expand. Give them just enough space so that they eventually touch during the final proof, allowing them to rise upwards rather than spreading out too much, resulting in tall, fluffy buns.
Ingredient Spotlight: What Makes These Buns Special
Every ingredient in this recipe plays a crucial role in creating the exquisite flavor and texture of these Sourdough Hot Crossed Buns:
- Orange Zest: Fresh orange zest provides a vibrant, aromatic citrus note that brightens the rich dough and complements the warm spices beautifully. Always zest before juicing the orange!
- Allspice: This wonderfully fragrant spice, a cornerstone of traditional Hot Crossed Buns, offers notes of clove, nutmeg, and cinnamon, giving the buns their signature comforting aroma.
- Currants: Small, dark, and intensely flavorful, currants are my preferred dried fruit for these buns. Their tart-sweetness and tender chewiness distribute perfectly throughout the dough, providing bursts of fruit without overwhelming the other flavors. If you can’t find currants, small dried cranberries or chopped raisins can be substituted, though the flavor profile will differ slightly.
- Whole Milk & Butter: These rich dairy components are what classify this as an “enriched dough.” They contribute to the dough’s incredible tenderness, moisture, and luxurious flavor, creating a truly melt-in-your-mouth experience. Ensure your butter is softened for easy incorporation into the dough.
- Sourdough Starter & Dry Active Yeast: This recipe cleverly uses both. The sourdough starter provides complex flavor and natural leavening, while a touch of dry active yeast ensures a robust and reliable rise, which can sometimes be a challenge with highly enriched sourdough doughs alone.
Variations & Serving Suggestions for Your Hot Crossed Buns
While this recipe for Sourdough Hot Crossed Buns is perfection as is, don’t hesitate to experiment with minor variations to suit your taste:
Customizing Your Flavors:
- Spices: Feel free to adjust the allspice or add a pinch of ground cinnamon, nutmeg, or even a hint of cardamom for a different spice profile.
- Dried Fruits: If currants are not available or preferred, small diced raisins (golden or dark), dried cranberries, or even chopped candied peel can be used. Ensure they are small enough to distribute well.
- Citrus: Lemon zest can be used in place of orange zest for a brighter, more tangy note.
- The Cross: For a simpler cross, a paste made of just flour and water can be piped. However, our unique butter-flour cross is highly recommended for its distinct sugar-cookie-like texture and flavor.
Enjoying Your Buns:
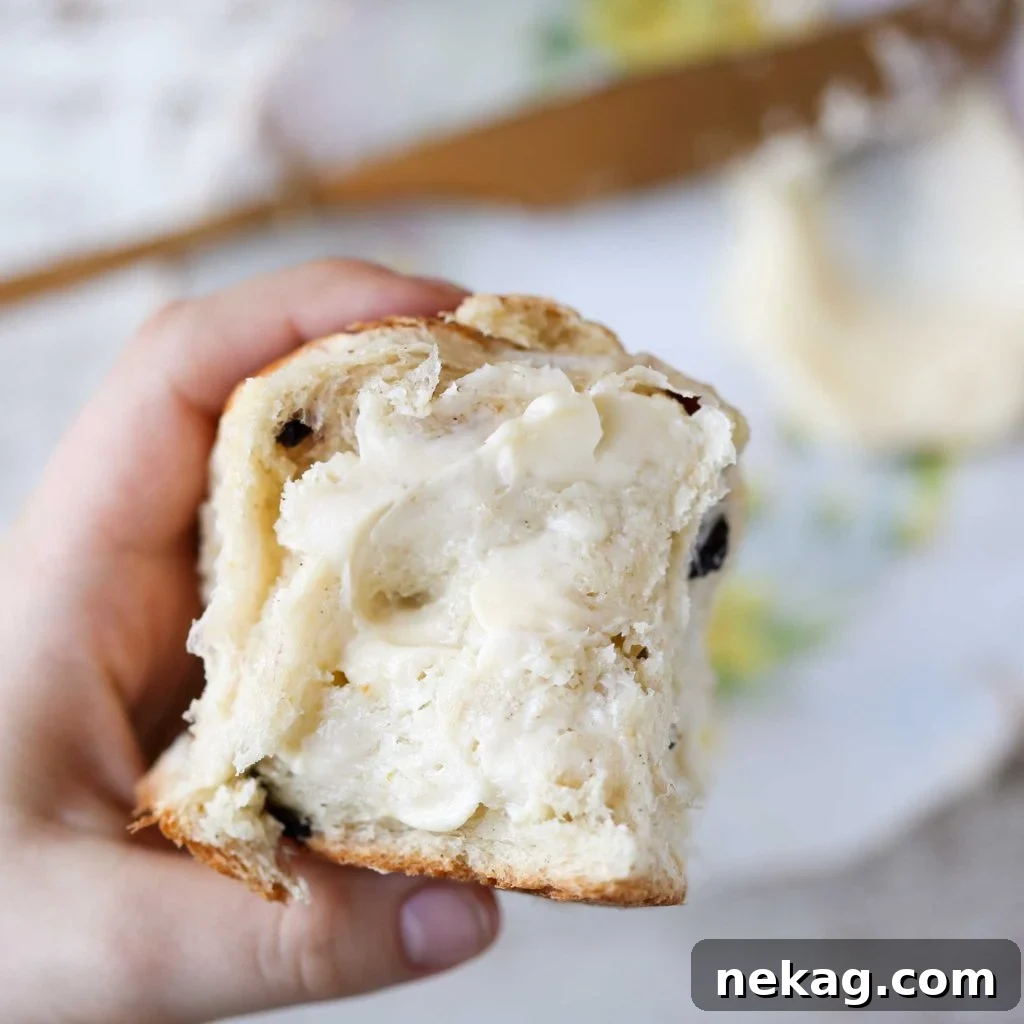
These Sourdough Hot Crossed Buns are divine on their own, especially when warm. However, they are also wonderful:
- Split and lightly toasted, then spread with butter, jam, or marmalade.
- Served alongside your Easter breakfast or brunch spread.
- As an afternoon treat with a cup of tea or coffee.
Storage and Reheating Advice
These buns are undoubtedly at their finest on the day they are baked. The soft crumb and aromatic flavors are most vibrant when fresh. However, if you happen to have any leftovers (a rare occurrence, I assure you!), they can be stored at room temperature in an airtight container for 2-3 days. For longer storage, you can freeze the baked and cooled buns for up to a month. To reheat, simply place them in a warm oven (around 300°F or 150°C) for 10-15 minutes until they are soft and fragrant again. A quick toast in a toaster oven also works wonders for reviving their deliciousness.
Frequently Asked Questions About Sourdough Hot Crossed Buns
Can I make these Hot Crossed Buns without a sourdough starter?
While this recipe specifically leverages sourdough for flavor and texture, you could adapt a traditional enriched bun recipe using only commercial yeast. However, you would miss out on the unique depth of flavor and tender crumb that sourdough provides. If you’re new to sourdough, our starter guide linked above is a great place to begin!
Why is my sourdough starter not very active?
Several factors can affect starter activity: temperature (it prefers warmth), feeding schedule (regular feedings with fresh flour and water are key), and the type of flour used. Ensure you’re following a consistent feeding routine and that your starter is kept in a warm environment (70-78°F / 21-26°C is ideal) before baking.
What if I don’t have blood oranges?
Regular navel oranges or any sweet, flavorful orange can be used for zesting. Blood oranges offer a slightly more exotic and visually appealing touch, but the primary purpose is the fragrant zest.
Can I prepare the dough in advance?
Yes, you can slow down the final proof. After shaping the buns and placing them in the baking dish, cover them tightly with plastic wrap and refrigerate overnight (8-12 hours). Take them out of the fridge an hour or two before baking to allow them to warm up slightly and finish proofing at room temperature.
My cross topping spread too much, what went wrong?
The cross topping should be a thick paste. If it’s too runny, it will spread. This might be due to incorrect measurements or if it was piped while too warm. Allowing it to cool slightly before piping helps it hold its shape.
Explore More Sourdough Bread Recipes
Dinner Roll Recipes
Flavorful Sourdough Rolls
Sourdough Bread Recipes
Our Easy Sourdough Bread Recipe
Sourdough Bread Recipes
Wholesome Sourdough Raisin Bread
Sourdough Bread Recipes
Delightful Cherry Sourdough Bread
If you tried this recipe and loved it, please consider leaving a 🌟 star rating and sharing your experience in the comments section below. Your feedback truly brightens my day, and I love hearing how these recipes turn out for you!

Sourdough Hot Crossed Buns
Pin Recipe
Comment
Print Recipe
Ingredients
US Customary
Metric
1x
2x
3x
Sponge:
- ⅓ cup 100% Sourdough Starter
- 1 teaspoon Dry Active Yeast
- ¾ cup + 1 ½ tablespoons Whole milk
- 1 tablespoon Sugar
- ¾ cup All Purpose Flour
Final Dough:
- 3 cups All Purpose Flour
- ¼ cup Sugar
- 1 ea Blood Orange zested
- 1 teaspoon Kosher Salt
- 6 ½ tablespoon Butter softened
- 1 Egg
- ½ teaspoon Allspice
- 1 cup Currants
Total Dough (Calculated from Sponge + Final Dough):
- ⅓ cup 100% Fresh Starter
- 1 teaspoon Dry Active Yeast
- ¾ cup + 1 ½ tablespoons Whole milk
- ⅓ cup Sugar
- 3¾ cup All Purpose Flour
- 1 teaspoon Kosher Salt
- 6 ½ tablespoons Butter
- 1 Egg
- ½ teaspoon Allspice
- 1 Blood Orange
- 1 cup Currants
For the Crosses:
- ¼ cup Butter melted
- 2 ½ tablespoons Milk
- ½ tablespoon Vanilla Extract
- ¾ cup Sugar
- ¼ e Egg beaten
- 1 cup All Purpose Flour
Simple Syrup
- ½ cup Sugar
- ½ cup Water
Instructions
Prepare Starter:
-
This recipe calls for a 100% hydration sourdough starter, meaning it’s fed with equal parts flour and water by weight. Ensure your starter is robustly active and has at least doubled in size approximately 12 hours before you plan to mix your sponge. A vigorous starter is key for the best rise and flavor.
Make the Sponge (Pâte Fermentée):
-
Gently warm the whole milk to approximately 95°F (35°C). You can do this in a small pot over low heat or briefly in the microwave. This temperature is ideal for activating the yeast.
-
In a medium-sized mixing bowl, combine all the ingredients designated for the “Sponge.” Using your hands to mix this wet mixture ensures everything is thoroughly incorporated and helps you get a feel for the dough’s consistency. While a spoon can be used, your hands will be more effective given its sticky nature.
-
Cover the bowl tightly with plastic wrap to prevent a skin from forming, and place it in a warm, draft-free spot. Allow it to ferment until it’s visibly bubbly and has increased in volume, which should take approximately 30 minutes, depending on the warmth of your environment and the activity of your starter.
Mix and Proof the Dough:
-
While your sponge is actively bubbling and developing, take this time to accurately weigh or measure the remaining ingredients for the “Final Dough.” This pre-preparation, known as ‘mise en place,’ ensures a smooth baking process.
-
In the bowl of a stand mixer, finely zest the blood orange directly over the granulated sugar. Rub the zest into the sugar with your fingertips or the back of a spoon until fragrant; this technique releases the essential oils, intensifying the orange flavor. Add the flour, salt, softened butter, and allspice to the bowl. Finally, introduce the egg and the prepared sponge.
-
Attach the paddle attachment to your stand mixer and mix on low speed until all the ingredients are just combined and a shaggy dough forms. Be careful not to overmix at this stage.
-
Switch to the dough hook attachment. Increase the mixer speed to medium and continue mixing until the dough develops strength and a rough “window pane” can be achieved. This means that if you pinch off a small piece of dough and gently stretch it, you should be able to see light through it without it tearing, revealing a thin, translucent membrane. The dough around the hook should look cohesive, though not necessarily perfectly smooth. This development of gluten is crucial for a soft, elastic bun.
-
Reduce the mixer speed to low. Add the currants and mix only until they are evenly dispersed throughout the dough. Overmixing after adding inclusions can toughen the dough.
-
Gently scrape the dough from the mixer bowl into a separate, lightly oiled bowl. Cover the bowl with plastic wrap and let it proof in a warm spot for 30 minutes. After 30 minutes, perform a set of “stretch and folds”: grab one side of the dough, pull it upwards and out, then fold it over approximately one-third of the dough. Rotate the bowl 180 degrees and repeat with the opposite side. Then, rotate the bowl a quarter turn (90 degrees) and repeat the folding technique twice more. This process helps strengthen the dough’s gluten structure. You should now have a neat, tight square packet of dough.
-
Admire your newfound dough-handling prowess! Re-cover the bowl with plastic wrap and allow the dough to undergo its bulk proof until it has visibly doubled in size. This typically takes an additional hour, but timing can vary based on ambient temperature and starter activity. While the dough is completing its bulk proof, prepare a 9×13-inch baking dish by generously greasing it with cooking spray or, for an extra touch of richness, butter.
-
Once the dough has doubled in size and feels light and airy to the touch, gently turn it out onto a very lightly floured work surface. This enriched dough typically requires minimal additional flour, preserving its tender consistency.
-
Divide the dough into 12 equal portions. For precision, you can weigh each portion (they should be approximately 97g each), or you can eyeball the division. Shape each portion into a smooth, round bun. Arrange the buns in the prepared 9×13-inch baking dish, ensuring they are spaced relatively equidistant from each other, as they will expand during the final proof and baking.
-
Cover the dish loosely with plastic wrap and return it to a warm spot for its final proof (also known as ‘proving’ or ‘retarding’). This last proof should take approximately one hour, or until the buns are noticeably puffy and almost doubled. During this time, prepare the cross topping mixture and the simple syrup.
Craft the Simple Syrup Glaze:
-
In a small saucepan, combine the sugar and water, stirring initially to help the sugar dissolve. Place the saucepan over medium heat, stirring occasionally, until the mixture reaches a rolling boil and all the sugar crystals have completely dissolved, creating a clear syrup. Remove the syrup from the heat and allow it to cool to room temperature.
-
A beneficial tip: This simple syrup can be prepared several weeks in advance and stored in an airtight container in the refrigerator, making your baking day even smoother. You’ll likely have more than needed for this recipe, so save the extra! It’s fantastic for sweetening cocktails, iced tea, or coffee. It can be challenging to make a significantly smaller batch successfully, as the sugar needs sufficient liquid to dissolve before boiling.
Prepare the Iconic Cross Topping:
-
In a small saucepan, melt the butter over low heat. Add the sugar and cook, stirring continuously, until the mixture is bubbly and smooth, forming a glossy paste. Stir in the remaining ingredients (milk, vanilla extract, beaten egg, and all-purpose flour) until thoroughly combined. The mixture will form a thick paste, somewhat resembling a choux dough in consistency. Allow it to cool slightly to a manageable temperature before transferring it to a piping bag fitted with a small, round tip.
-
Preheat your oven to a robust 440°F (225°C). This initial high heat helps the buns rise quickly and achieve a beautiful golden crust.
-
Once the buns have completed their final proof and are ready for baking, carefully pipe the traditional crosses onto their surface. Pipe continuous lines across the entire dish in one direction, allowing the cross dough to gracefully dip down into the crevices between each bun. Use a pair of kitchen scissors to snip the piping when you reach the end of each row. Rotate the baking dish 90 degrees (a quarter turn) and repeat the piping process in the other direction, completing the iconic cross pattern on each bun.
-
For individual crosses on each bun, use your scissors to gently cut the cross dough between each bun where the lines intersect. Bake the buns in the preheated oven for 10 minutes. After this initial bake, rotate the dish 180 degrees and reduce the oven temperature to 350°F (175°C). Continue baking for an additional 10-15 minutes, or until the internal temperature of a bun, measured with an instant-read thermometer inserted into the center of a middle bun, registers 185°F (85°C). If you don’t have a thermometer, a cake tester or toothpick inserted should come out with moist crumbs clinging to it, but no raw streaks of dough.
-
Immediately upon removing the hot buns from the oven, generously brush them with the prepared simple syrup. This step adds a beautiful shine, locks in moisture, and imparts an additional layer of delicate sweetness.
-
Traditionally, Hot Crossed Buns are allowed to cool slightly before serving, but honestly, who possesses such patience when warm, fragrant buns are calling? I wholeheartedly encourage you to dig right in and savor them fresh from the oven!
Notes
Nutrition
Enjoyed this recipe? Share your thoughts below!
More Delights from Our Kitchen
I sincerely hope you enjoyed creating and savoring this meticulously developed Sourdough Hot Crossed Buns recipe from a professional chef’s kitchen. If the joy of baking with enriched doughs has captured your heart, I invite you to explore more of our delightful yeasted bread recipes. For those who can’t get enough of buttery, tender breads, prepare for a culinary journey straight to heaven with my incredibly popular potato rolls, the rich and decadent brioche bread recipe, or the comforting simplicity of my classic potato bread recipe! Each recipe is designed to bring warmth and deliciousness to your home baking adventures.