
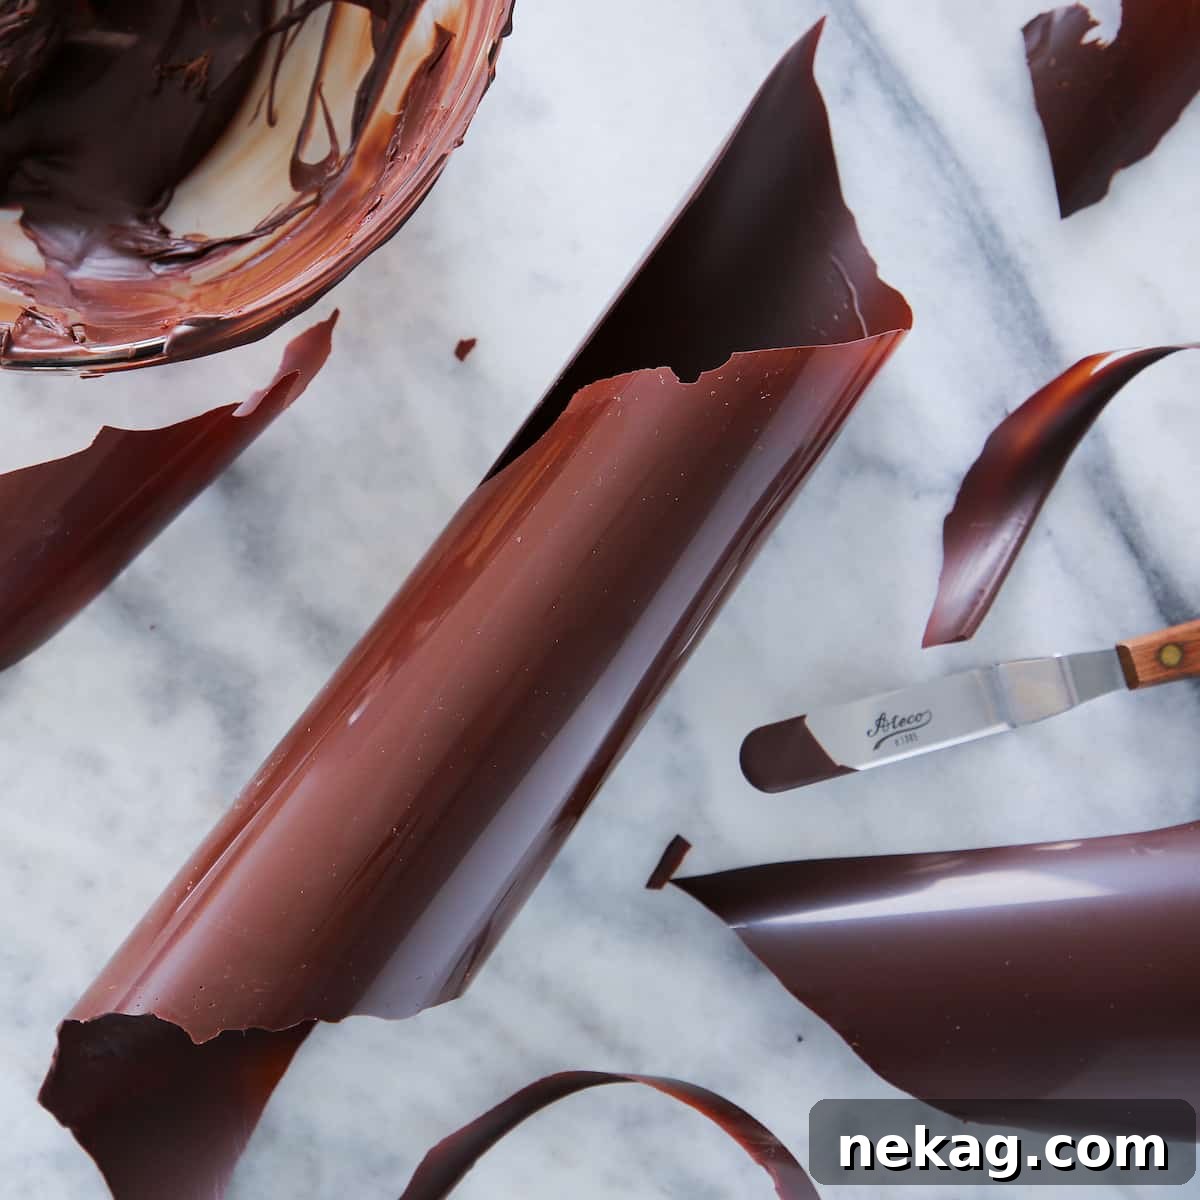
Welcome to the definitive guide for tempering dark chocolate using the ice bath method. As a pastry chef, I’m thrilled to share a simple, yet highly effective technique that allows you to achieve perfectly tempered chocolate, boasting a brilliant shine and satisfying snap, no matter where you are. Forget about specialized equipment like marble slabs or intricate seeding methods; all you need is a bowl, some ice, and a little patience.
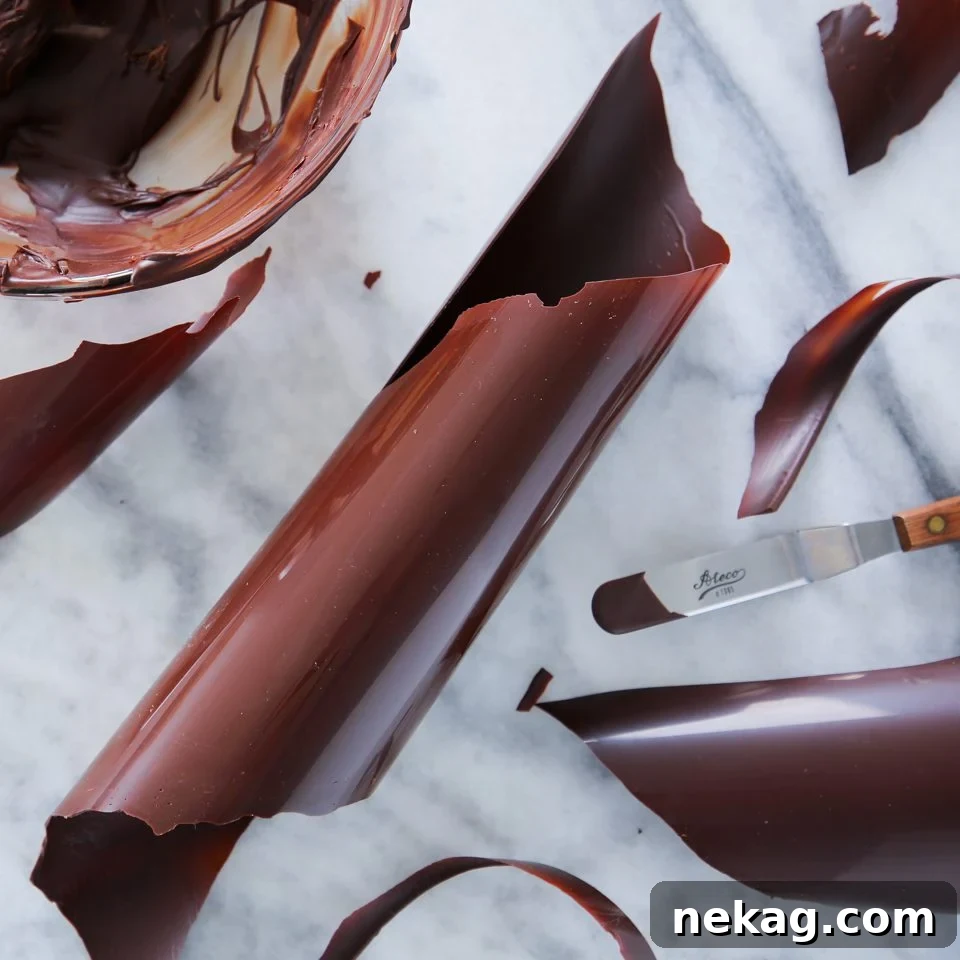
This method is your reliable companion for achieving professional-quality tempered chocolate in any kitchen. It demystifies a process often considered daunting, proving that exquisite results are within reach for home bakers and aspiring chocolatiers alike. Prepare to transform your chocolate creations with unparalleled luster and texture.
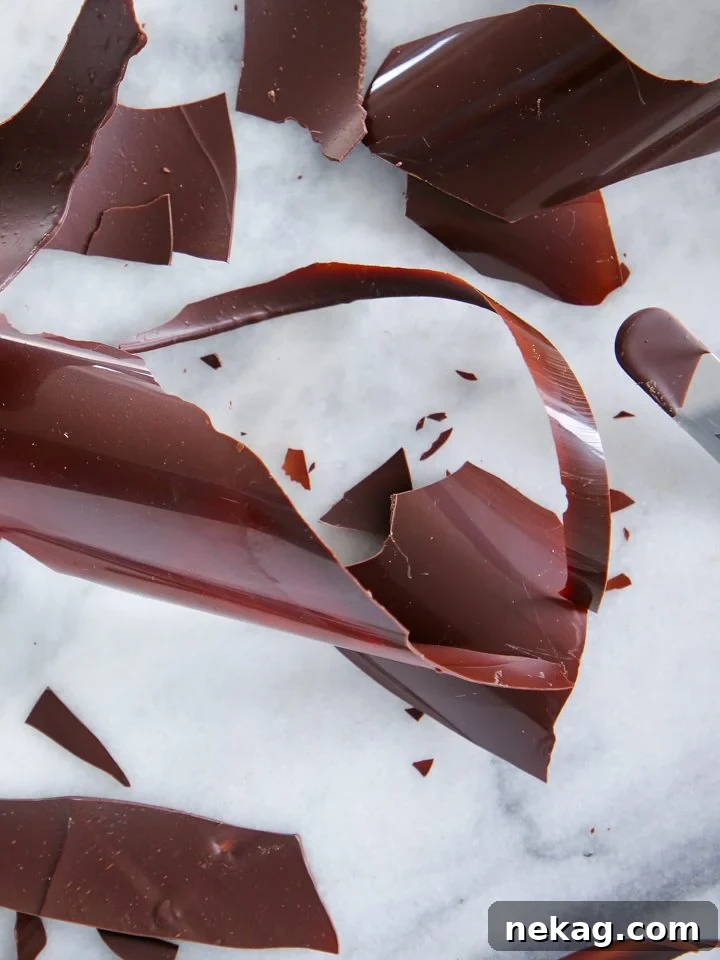
Table of contents
- What is Tempering Chocolate?
- How Do I Know When Dark Chocolate Is in Temper?
- Essential Tips for Tempering Dark Chocolate
- Troubleshooting Common Tempering Issues
- Key Facts: Ice Bath Tempering Method
What is Tempering Chocolate?
Tempering chocolate is a crucial process that involves carefully heating and cooling chocolate to stabilize the cocoa butter crystals. Untempered chocolate can result in dull finishes, a crumbly texture, and unsightly “bloom” (white streaks or splotches) due to unstable crystal structures. The goal of tempering is to encourage the formation of highly stable Beta crystals (specifically Form V), which are responsible for chocolate’s desirable characteristics: a beautiful sheen, a firm snap when broken, and a smooth, melt-in-your-mouth texture.
This precise heating and cooling cycle is essentially a “reset” for the cocoa butter’s crystalline structure. For dark chocolate, we first heat it to a specific temperature, around 120°F (49°C), to completely melt all existing crystal forms, both “good” and “bad.” This ensures a clean slate, eradicating any unstable crystals that could later cause bloom or a poor texture. Think of it as fully dissolving all existing crystal memories.
Next, we rapidly cool the chocolate down to a lower temperature, ideally 81°F (27°C). This rapid cooling encourages the formation of the desired Beta crystals while preventing the formation of undesirable, unstable crystal types. This phase is critical; dropping below 80°F (26.7°C) for too long can cause bad crystals to re-form, jeopardizing your temper. Maintaining constant agitation during this cooling phase is essential for promoting uniform crystal growth throughout the chocolate mass.
Finally, the chocolate is gently reheated to its “Working Range,” which for dark chocolate is typically 88-91°F (31-33°C). In this range, the chocolate remains liquid enough to work with, while the stable Beta crystals are maintained. This allows for applications like dipping, molding, or creating decorative elements, ensuring your finished products set correctly with the desired shine and snap.
How Do I Know When Dark Chocolate Is in Temper?
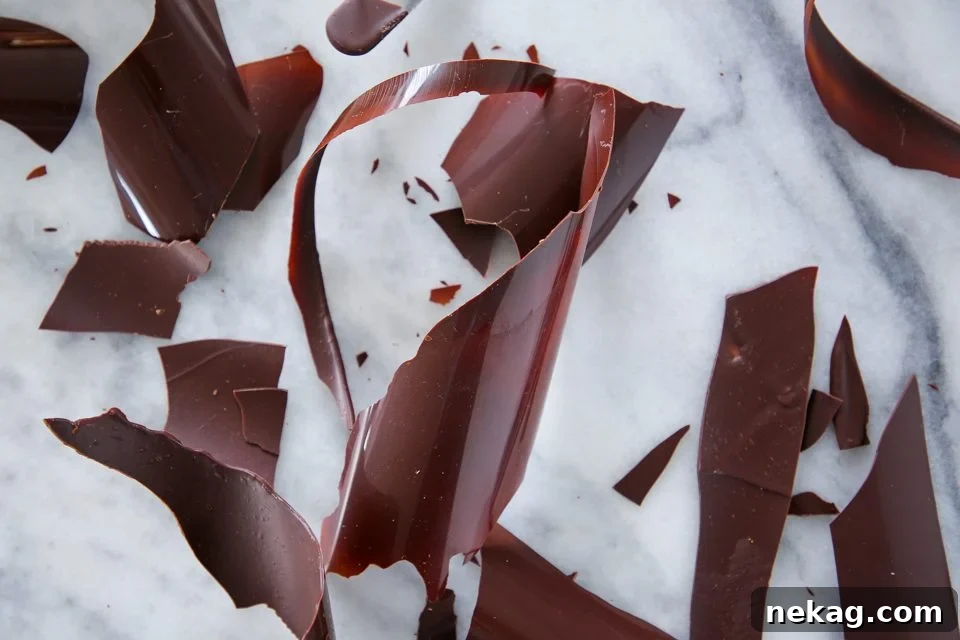
Identifying perfectly tempered chocolate is straightforward once you know what to look for. The hallmarks of well-tempered dark chocolate are unmistakable and contribute significantly to the sensory experience of eating it:
- Brilliant Shine: Tempered chocolate will have a glossy, uniform surface that reflects light beautifully. This is a direct result of the organized Beta crystals.
- Sets at Room Temperature: Unlike untempered chocolate, which can remain soft or sticky for an extended period, properly tempered chocolate will set relatively quickly (within minutes) at a comfortable room temperature (around 68-72°F or 20-22°C).
- Clean Snap: When broken, a piece of tempered chocolate will emit a distinct, crisp snap, rather than bending or crumbling. This firm texture is another indicator of stable crystallization.
- Smooth Mouthfeel: Tempered chocolate melts cleanly and smoothly on the tongue, without any waxy or grainy sensation. The uniform crystals ensure a delightful melt.
It’s important to note that even perfectly tempered chocolate can struggle to set if your environment is too humid or excessively warm. High humidity can cause sugar bloom (white spots or streaks from sugar drawing moisture to the surface), and high temperatures prevent the chocolate from cooling sufficiently to solidify properly. Always aim for a cool, dry working environment for the best results.
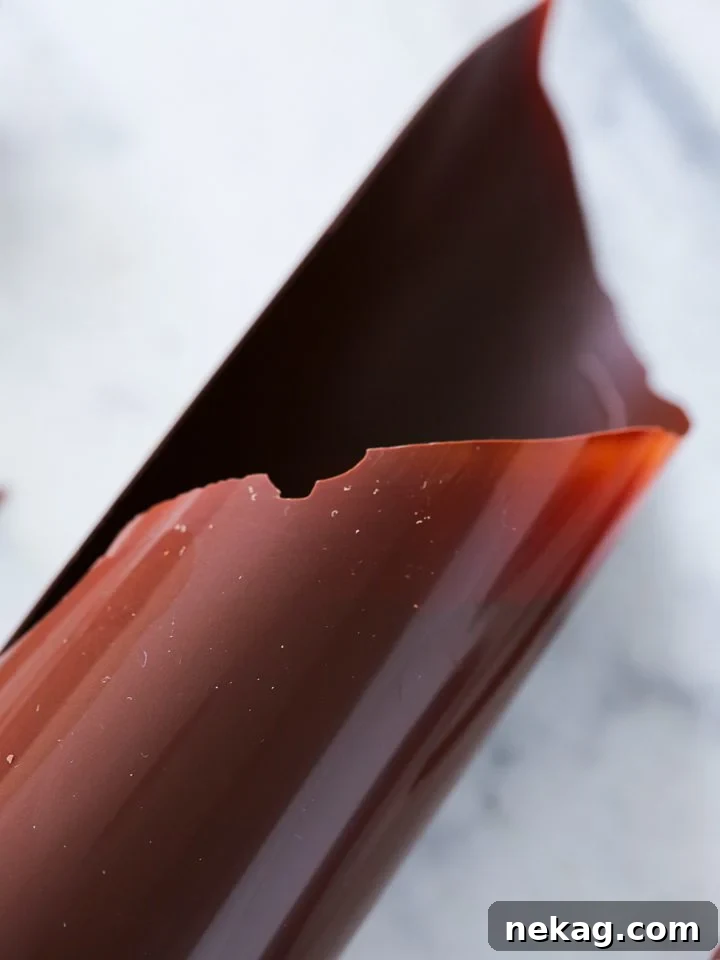
While ideally, you’re aiming for perfect temper every time, there are varying degrees of success. Chocolate that is “less than perfectly tempered” will still set at room temperature but might exhibit a duller finish, a less satisfying snap, or subtle streaking on its surface. These imperfections arise when some unstable crystal forms manage to develop alongside the desirable Beta crystals. While still edible, it won’t offer the premium quality of chocolate that has been meticulously tempered. Consistent practice and attention to detail will lead to increasingly perfect results.
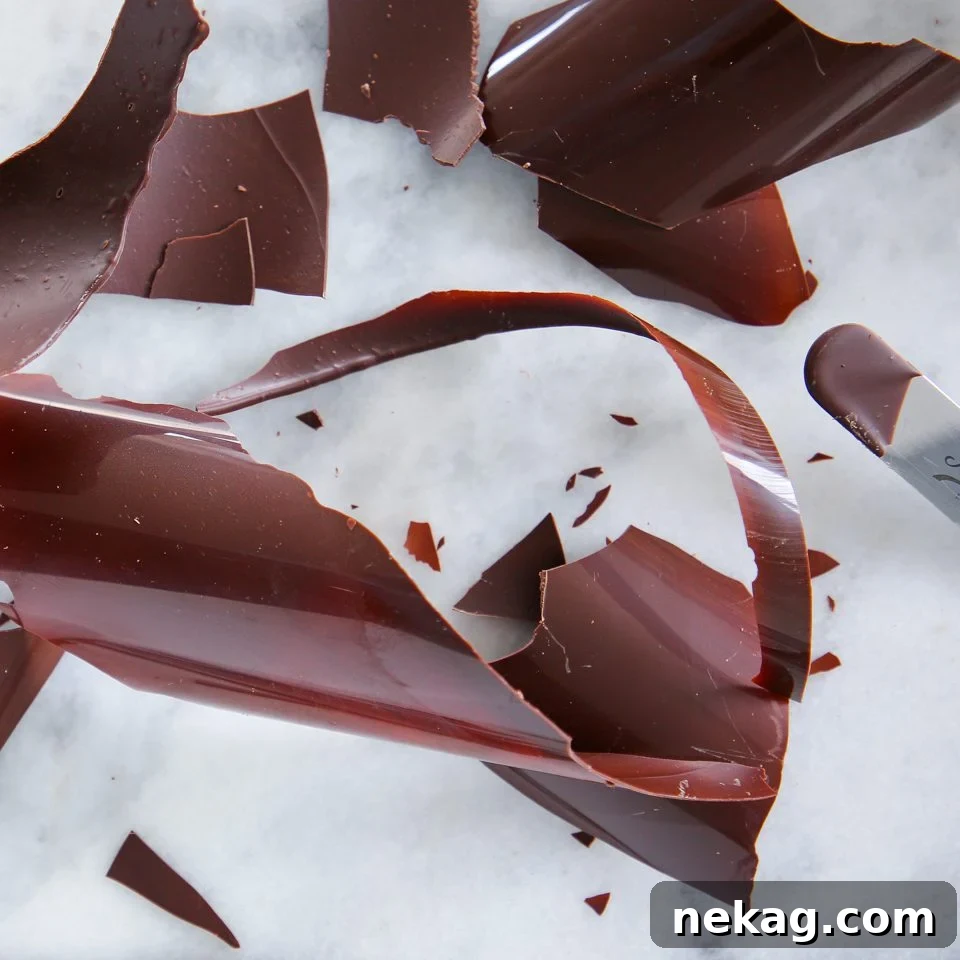
Essential Tips for Tempering Dark Chocolate:
- Water is Enemy #1: Any amount of water introduced into melting chocolate can cause it to seize, transforming it into a thick, grainy paste. This happens because water causes the sugar particles in the chocolate to clump together, disrupting the smooth texture. Seized chocolate cannot be tempered successfully and will not yield a shiny, snappy finish. If a little water gets in, it might still temper, but you’ll likely see “water bloom” (a dull, unattractive blooming) on the surface, indicating the crystal structure was compromised. Always use completely dry bowls and utensils. If your chocolate seizes, don’t despair! It’s still perfectly fine for baking. Melt it down and use it in a rich flourless chocolate cake, indulgent chocolate ice cream, creamy chocolate buttercream, or fudgy brownies.
- Keep it Moving!: Tempering chocolate requires constant agitation, especially during the cooling phase. Continuous stirring helps to evenly distribute the temperature and encourages the cocoa butter to form the desired Beta crystals throughout the entire mass. Without sufficient stirring, the chocolate can cool unevenly, leading to streaks or an inconsistent temper. Be prepared for at least an hour of stirring, moving your bowl on and off the ice bath as needed. This consistent movement is your best defense against streaky, poorly tempered chocolate.
- The Perfect Ice Bath: When preparing your ice bath, don’t just use ice alone. Ensure there’s enough water mixed with the ice to create a true “bath.” This water allows the bottom of your chocolate bowl to make even, efficient contact with the cold surface, facilitating faster and more uniform cooling. Without water, direct contact with ice cubes can create cold spots, leading to inconsistent crystallization. Make sure the ice bath bowl is larger than your chocolate bowl, and the water level is low enough to prevent any splashes from contaminating your chocolate.
- Always Test Your Temper: Even seasoned pastry chefs never skip this crucial step. Before committing your entire batch of tempered chocolate to dipping or molding, perform a quick test. Dip the tip of a paring knife, an offset spatula, or a piece of parchment paper into the chocolate. Allow it to sit at room temperature for a minute or two. If it begins to set quickly, with a smooth, shiny finish, your chocolate is in temper. If it remains liquid, dull, or streaky, it’s not tempered, meaning it either got too hot, too cold, or didn’t receive enough agitation at some point. Testing prevents wasted time and ingredients on large batches.
- Opt for Metal Bowls: While ceramic or Pyrex bowls might seem convenient, their heat retention properties can make tempering significantly more challenging. These materials hold onto heat or cold for too long, making it difficult to precisely control the chocolate’s temperature as it transitions through the critical phases. Metal bowls, particularly stainless steel, conduct heat and cold much more efficiently, allowing for rapid temperature adjustments. This precision is vital for hitting and maintaining the narrow temperature ranges required for perfect temper. Investing in a good set of metal mixing bowls will save you a lot of frustration.
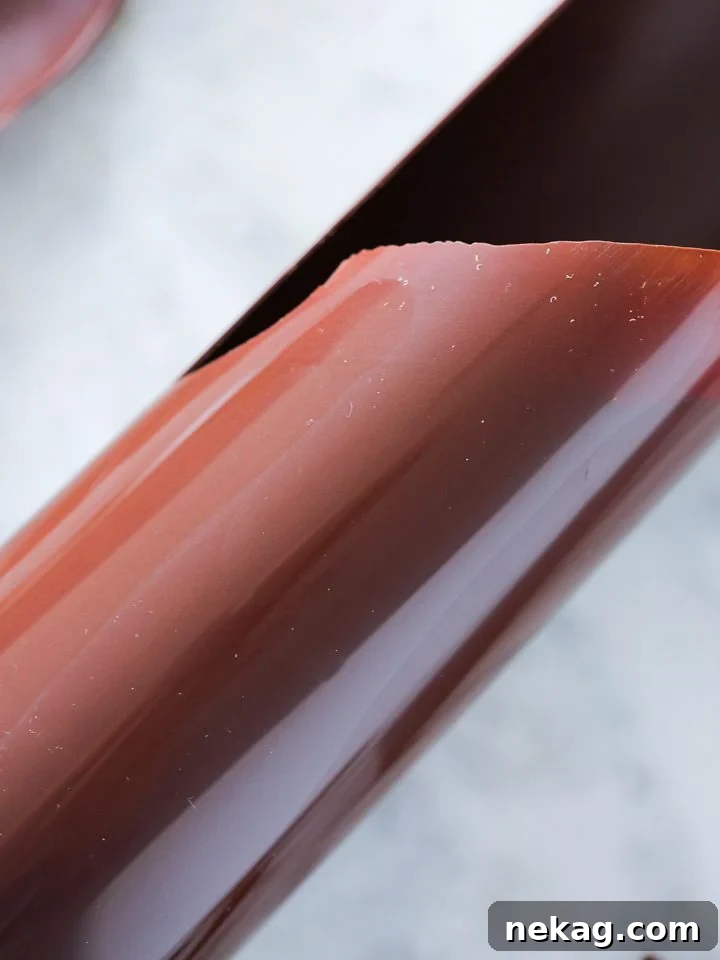
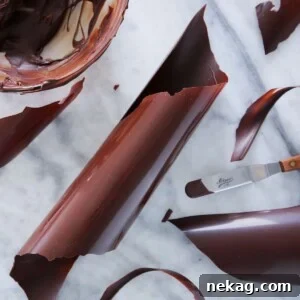
- Acetate is Your Best Friend for Shine: Tempered dark chocolate will indeed set on almost any surface – sometimes a blessing, sometimes a curse! However, if you aim for truly brilliant, mirror-like décor or precise cutouts, acetate sheets are indispensable. Acetate provides an incredibly smooth, non-porous surface that allows the tempered chocolate to set with an unparalleled shine. You can find acetate sheets in various sizes, from small cake collars to large sheets perfect for extensive decorative work. Using parchment paper or silpat mats will yield a matte finish, so for maximum gloss, stick with acetate.
- Critical Mass Matters: Working with too little chocolate can make the tempering process incredibly difficult, especially with the ice bath method. Small quantities of chocolate will heat and cool too rapidly, rushing through the critical temperature ranges before you have adequate time to react and control them. Aim for at least a pound (450g) of chocolate for a manageable batch size. This “critical mass” ensures the chocolate retains its temperature more predictably, giving you better control over crystal formation. Don’t worry about excess; perfectly tempered chocolate can be stored and re-tempered, or simply used in a delicious dessert that calls for melted chocolate or chopped into chips for baking.
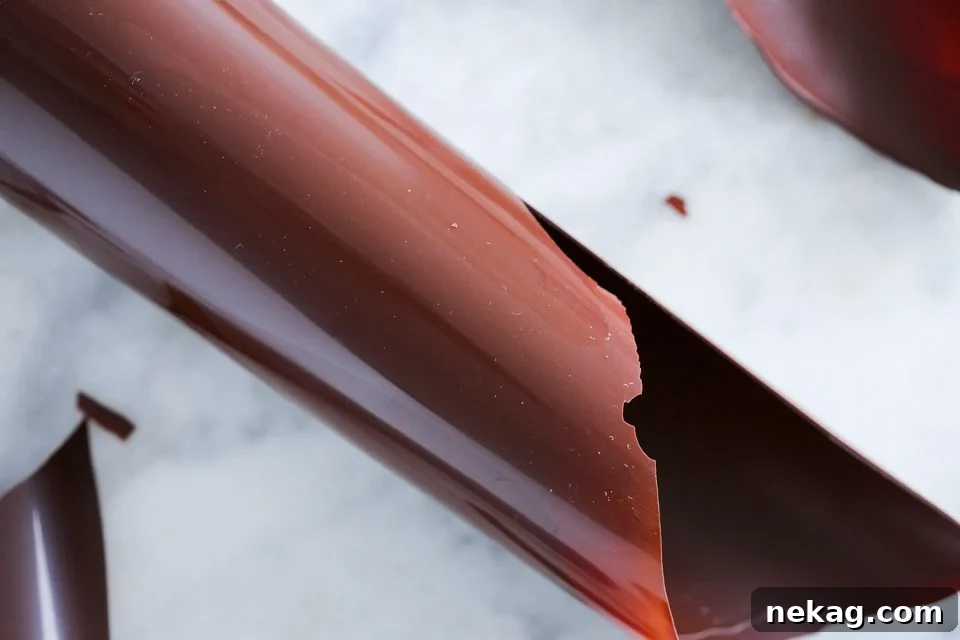
Troubleshooting Common Tempering Issues:
- “I can’t get my chocolate to stay in range!”: This is a common frustration, and it often comes down to equipment and technique. First, ensure you are using a metal bowl for optimal temperature control, as discussed above. Second, invest in a reliable thermometer. An instant-read digital thermometer or an infrared temperature gun is highly recommended. If using a gun, remember it reads surface temperature, so continuous stirring is vital to get an accurate reading of the entire mass. Practice makes perfect; learning how quickly your chocolate heats and cools will improve your control.
- “Why are there streaks in my set chocolate?!”: Streaks or irregular marbling on your set chocolate are a tell-tale sign of insufficient agitation during the heating and cooling phases. The cocoa butter crystals didn’t form uniformly, or the temperature wasn’t evenly distributed throughout the batch. It’s tempting to multitask, but tempering demands your full attention, particularly constant stirring. Dedicate yourself to the stirring process to ensure a homogeneous and streak-free finish.
- “Why won’t it set? I swear I did everything right!”: If your chocolate remains liquid or soft, it indicates that it never truly entered temper, or lost it due to incorrect temperatures. It either didn’t reach the correct seeding temperature (81°F) or wasn’t maintained within the working range (88-91°F) effectively. Don’t get discouraged! Tempering is a delicate balance, and it often takes a few attempts to master. Consider trying again with a higher quality couverture chocolate, which typically has a higher cocoa butter content and is more forgiving to temper. Remember, even failed tempered chocolate is perfectly good melted for a delicious chocolate cake or a rich hot chocolate—think of it as a tasty bonus!
- “Why isn’t it shiny?”: A lack of shine indicates that your chocolate, while perhaps technically “set,” did not achieve a high-quality temper. The desired Form V Beta crystals, responsible for shine, likely didn’t form optimally. This could be due to slightly incorrect temperatures, insufficient stirring, or even high humidity in your environment. While not perfectly shiny, rest assured that even chocolate with a duller finish will still taste delightful, especially when enrobing bonbons or other treats! Focus on refining your technique for next time.
- “She thick!”: If your chocolate is too thick to work with, even within the correct working range, it’s likely that you’re not using a true couverture chocolate. Couverture chocolates are specifically formulated with a higher percentage of cocoa butter, which gives them superior fluidity, making them ideal for dipping, molding, and creating thin decorative elements. The extra cocoa butter contributes to a smoother texture and a more brilliant shine when tempered correctly. You can emulate this by adding a small amount of pure cocoa butter (either in powdered form or as “callets”) to your chocolate during the melting phase. Most high-quality consumer dark chocolates will have sufficient fluidity for general tempering, but for professional results, seek out couverture.
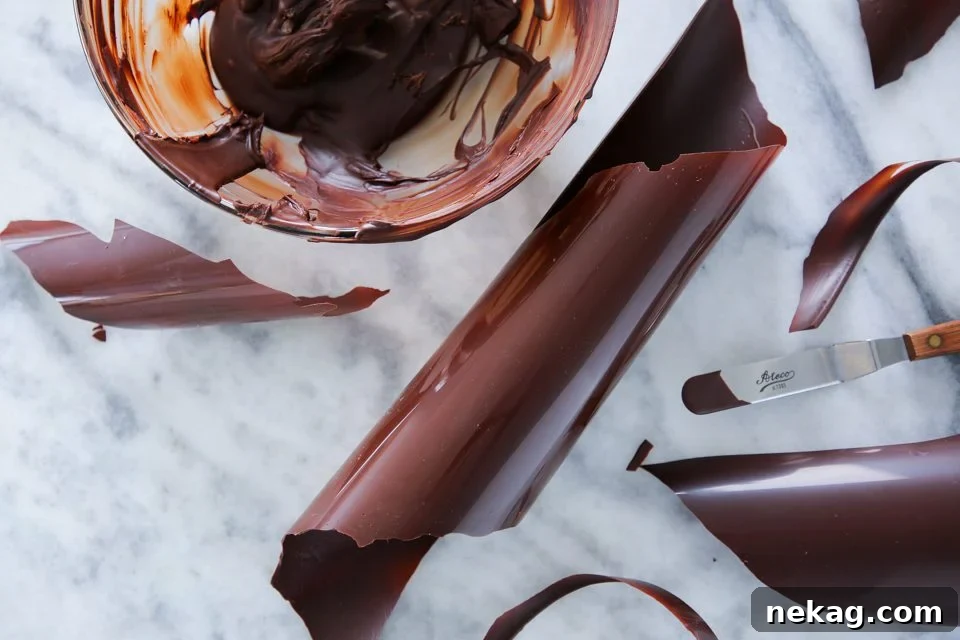
Woah, that was a lot of information! Need a concise recap? I hear you, and I feel that to my core. Here’s a summary of the most critical points for tempering dark chocolate successfully.
Key Facts: Ice Bath Tempering Method for Dark Chocolate:
- Critical Temperatures:
- Melting Phase: Melt your dark chocolate to 120°F (49°C) to eliminate all existing crystal structures.
- Cooling/Seeding Phase: Cool the chocolate on an ice bath, stirring constantly, until it reaches 81°F (27°C). This is where the desirable Beta crystals begin to form.
- Reheating/Working Phase: Gently reheat the chocolate back to its working range of 88-91°F (31-33°C).
- Working Range Explained: The working range of 88-91°F (31-33°C) is where your dark chocolate is perfectly stable and ready for use. For applications requiring a very thin coating or delicate décor, aim for the higher end of this range (90-91°F). This slight increase in temperature makes the chocolate more fluid, allowing it to spread thinly and set with an even, glossy finish.
- The Cutting Point: This refers to the precise moment during the setting process when tempered chocolate is firm enough to handle but still pliable enough to be cut, shaped, or scored without cracking. It’s crucial for creating clean lines on chocolate cutouts or intricate molded designs. Achieving the cutting point means your shapes will have sharp edges and perfectly smooth surfaces once fully set.
- Always Test Your Temper: This cannot be stressed enough. Before starting any major project, dip the tip of a clean paring knife or metal offset spatula into your chocolate. Remove it and let it sit for one to two minutes. If the chocolate sets with a glossy finish and a firm texture, you’re good to go. If it remains soft, dull, or streaky, your chocolate is not in temper, and you’ll need to restart the process from the initial melting phase. Patience and testing save valuable time and ingredients.
- Maintain Critical Mass: To ensure proper control over the temperature fluctuations, always work with a substantial amount of chocolate. A minimum of one pound (450g) is recommended for this method. Working with smaller quantities will cause the chocolate to heat and cool too rapidly, making it exceedingly difficult to hit and maintain the precise temperature ranges necessary for successful tempering. A larger volume provides more thermal stability, giving you a better window to manage the crystallization process.
Tempering Dark Chocolate with the Ice Bath Method:
Chef Lindsey
45 minutes
45 minutes
10 people
Comment
Print Recipe
Ingredients
- 454 g Dark Chocolate or enough to work with (at least 1 lb)
- Ice
Instructions
-
1. Prepare Your Bain Marie: Set up a bain marie by placing a heatproof bowl over a pot of simmering water. Ensure the bottom of the bowl does not touch the water to prevent the chocolate from overheating or seizing. The bowl should also be wide enough to prevent condensing steam from dripping directly into the chocolate. Control steam buildup by occasionally lifting the bowl.
-
2. Set Up the Ice Bath: Prepare your ice bath with both ice and a sufficient amount of water. This creates a uniform cold environment for even cooling. The ice bath bowl should be larger than your chocolate bowl, and the water level should be low enough to prevent any splashes from contaminating the chocolate.
-
3. Melt the Chocolate: Place a critical mass of dark chocolate (at least 1 pound or 454g) into your metal bowl over the bain marie. Melt the chocolate slowly, stirring frequently, until it reaches 120°F (49°C). This temperature ensures all cocoa butter crystals are completely melted. Once melted, immediately remove the bowl from the bain marie.
-
4. Cool on the Ice Bath: Transfer the bowl of melted chocolate to the ice bath. Stir constantly and vigorously. As the chocolate cools, remove the bowl from the ice bath periodically to equalize the temperature and prevent overcooling. Continue stirring until the chocolate reaches 81°F (27°C). At this point, the chocolate is technically in temper, but it needs to be brought to the working range.
-
5. Reheat to Working Range: Return the bowl to the bain marie (or use a warm, dry towel underneath). Gently reheat the chocolate, stirring constantly, until it reaches its working range of 88-91°F (31-33°C). For applications requiring a thinner coating, aim for the higher end of this range (e.g., 90-91°F).
-
6. Test Your Temper: This crucial step confirms your success. Dip the tip of a clean paring knife or metal spatula into the chocolate, tap off any excess, and let it sit at room temperature for 1-2 minutes. If the chocolate begins to set quickly with a shiny, smooth finish, it’s in temper! If it remains dull, streaky, or liquid, you’ll need to restart the tempering process by melting the chocolate down again.
-
7. Begin Your Creation: Congratulations! With perfectly tempered dark chocolate, you are now ready to mold stunning chocolate pieces, dip exquisite bonbons, enrobe confections, or pour out elegant chocolate décor. Embrace the world of chocolate artistry with confidence!
Video
Nutrition
Carbohydrates: 21g |
Protein: 4g |
Fat: 19g |
Saturated Fat: 11g |
Polyunsaturated Fat: 1g |
Monounsaturated Fat: 6g |
Trans Fat: 1g |
Cholesterol: 1mg |
Sodium: 9mg |
Potassium: 325mg |
Fiber: 5g |
Sugar: 11g |
Vitamin A: 18IU |
Calcium: 33mg |
Iron: 5mg
Like this? Leave a comment below!